
TooMuchBoost
Comp Diesel Sponsor
When coating a new plastic part I like to sand with either a grey scotchbrite pad or a sponge sanding pad such as this Indasa 320 pad along with Presta Scuff Stuff and water. The Scuff Stuff is an excellent pre-cleaner for plastics IMO.
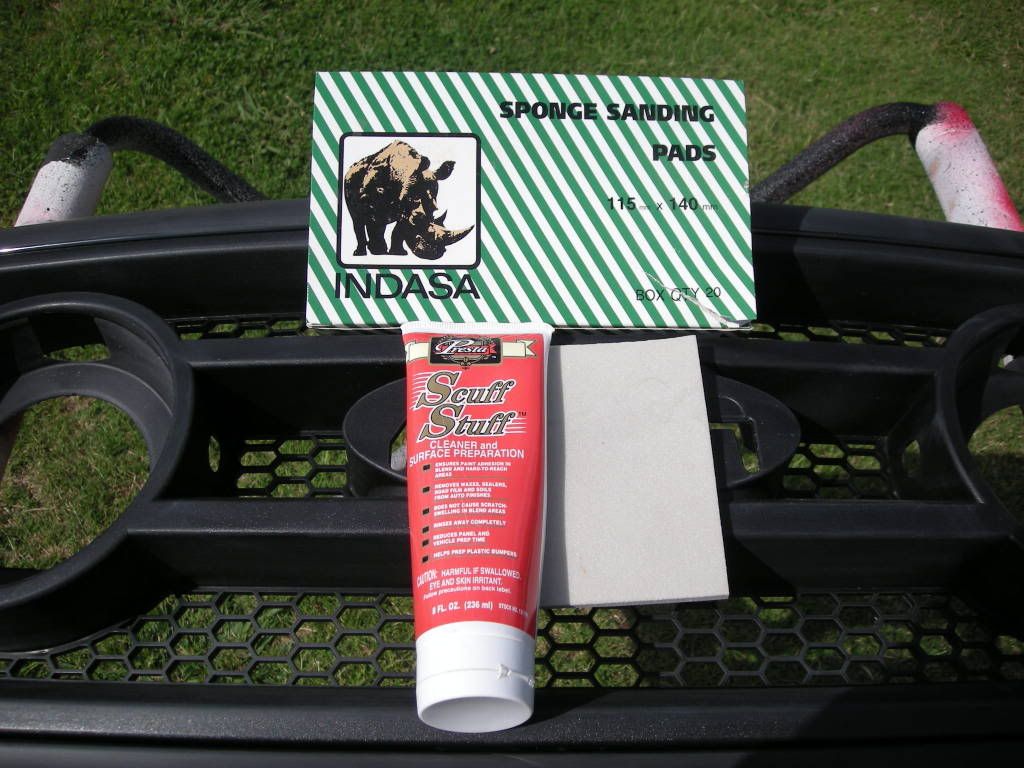
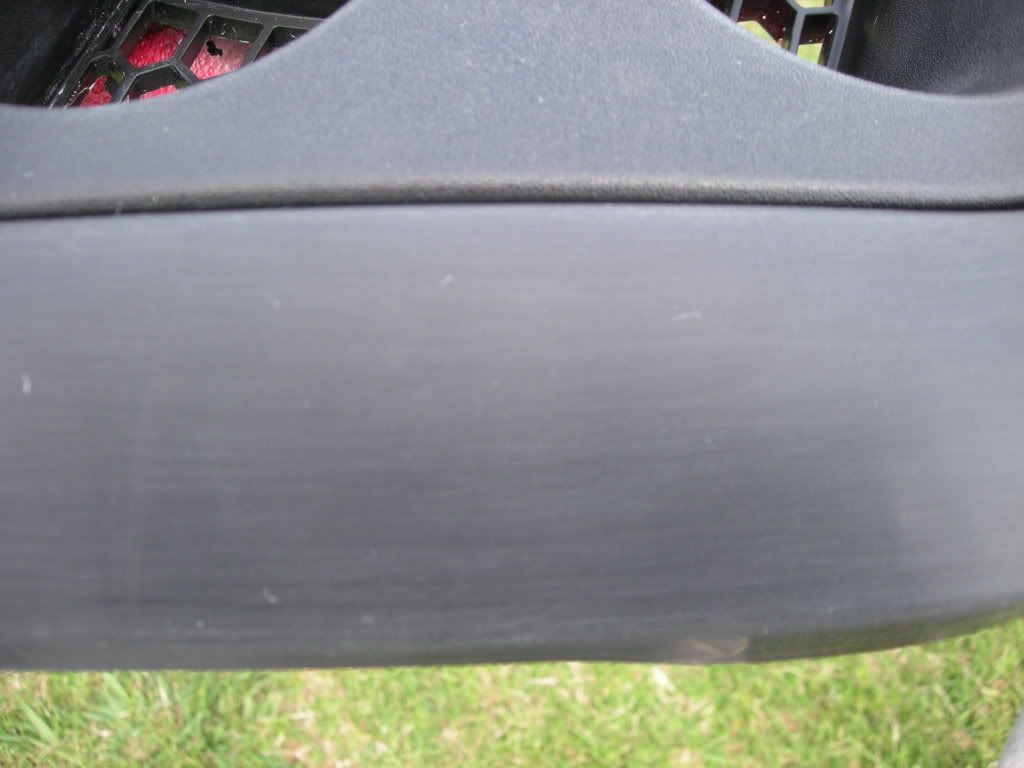
The goal is to sand uniformly until the plastic no longer shiny new looking but a consistent dull look.
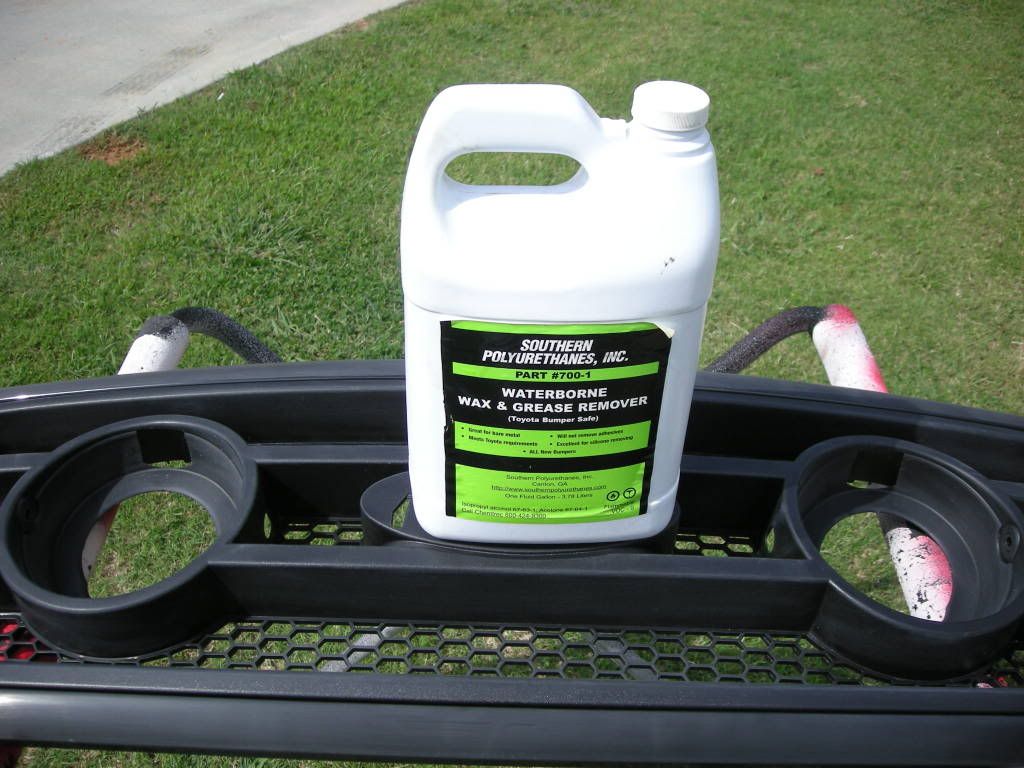
Once the plastic has been sanded it needs to be cleaned and I recommend using a waterborne wax and grease remover instead of the more common mineral spirits based wax and grease remover because the waterborne cleans plastic parts more effectively. To clean get 2 new lint free paper towels and wet one paper towel with wax and grease remover. Wipe a 1' or 2' area and while its still wet dry this area with you other clean lint free paper towel. If you let the W&G Remover evaporate before you dry you are pissing in the wind.
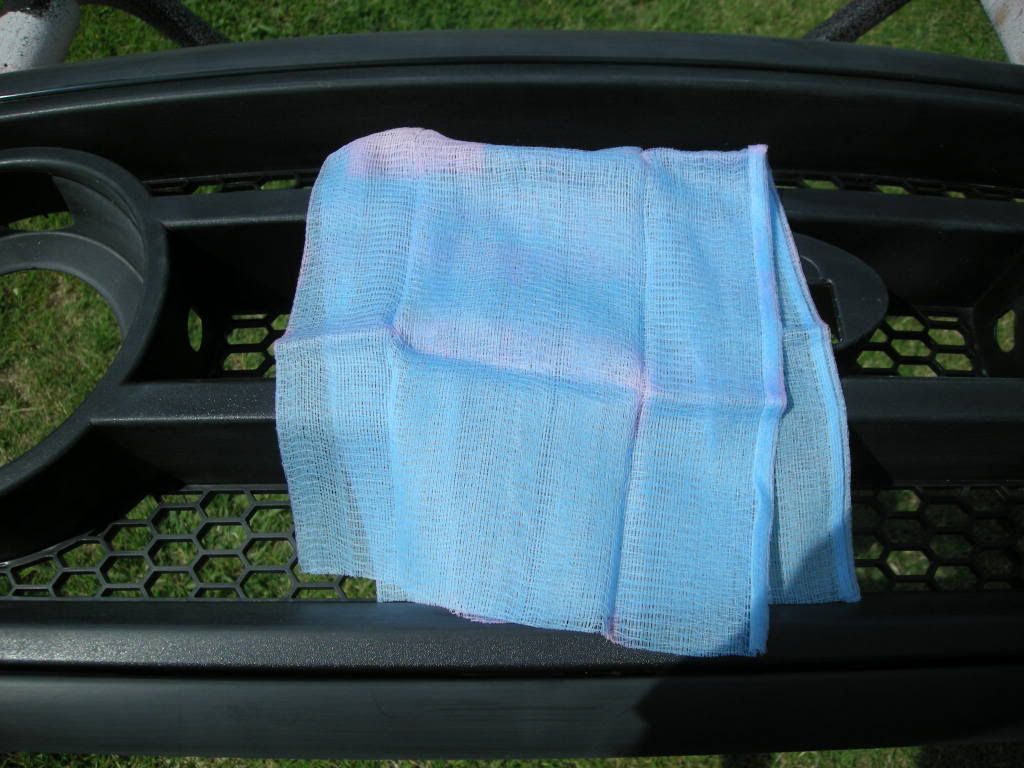
Now using a new tack cloth lightly wipe the area to painted with the tack cloth which will remove any dust, dirt and lint.
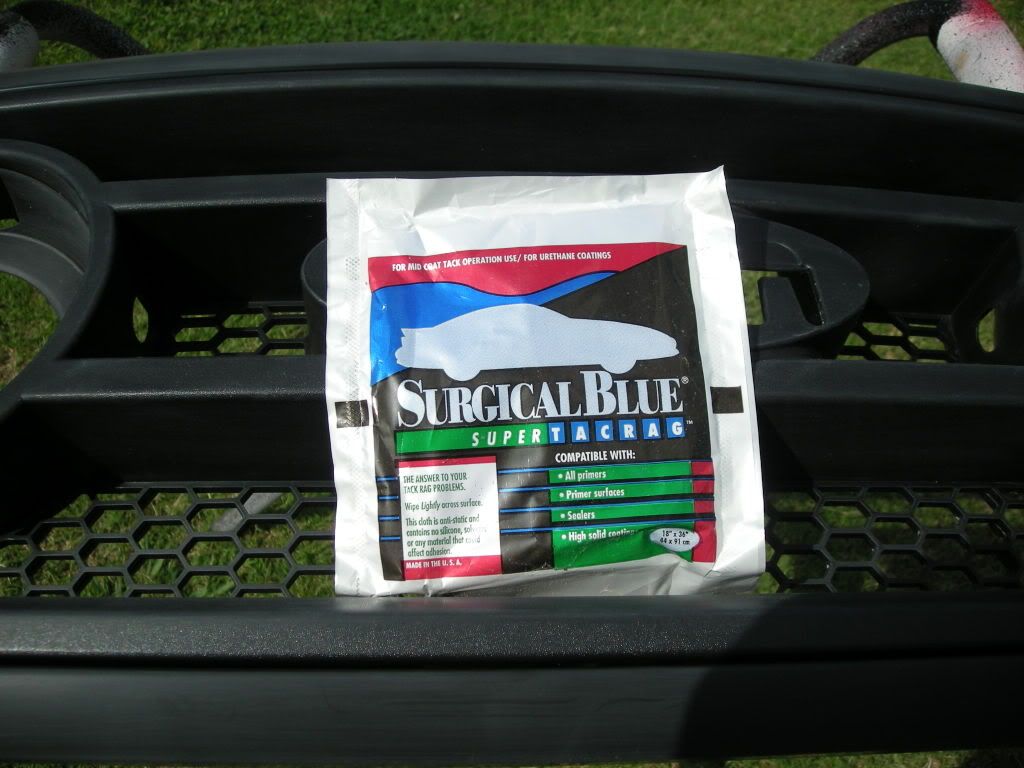
I prefer Surgical Blue Tack Clothes myself.
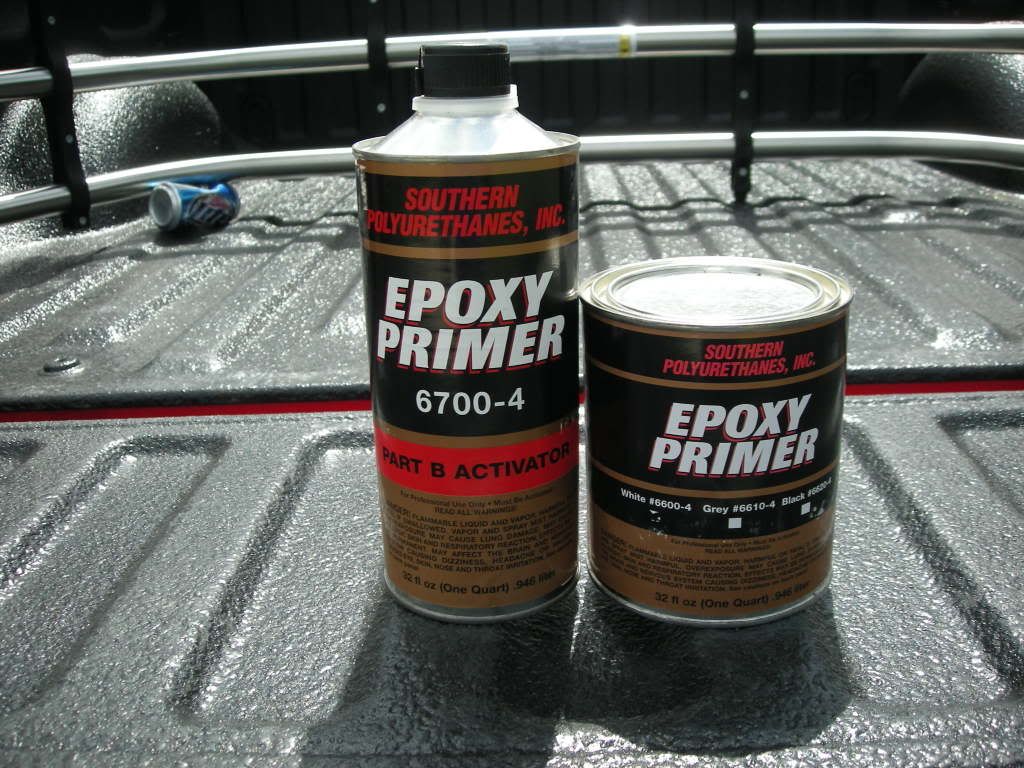
Next apply your sealer or primer which will give you adhesion between the raw plastic and your base/color coat. I prefer to use epoxy primer for its unsurpassed adhesion and I chose white (over grey or black) in this application because the grill will be paint E4 which is a bright red and I know bright reds cover this white epoxy in 3 coats.
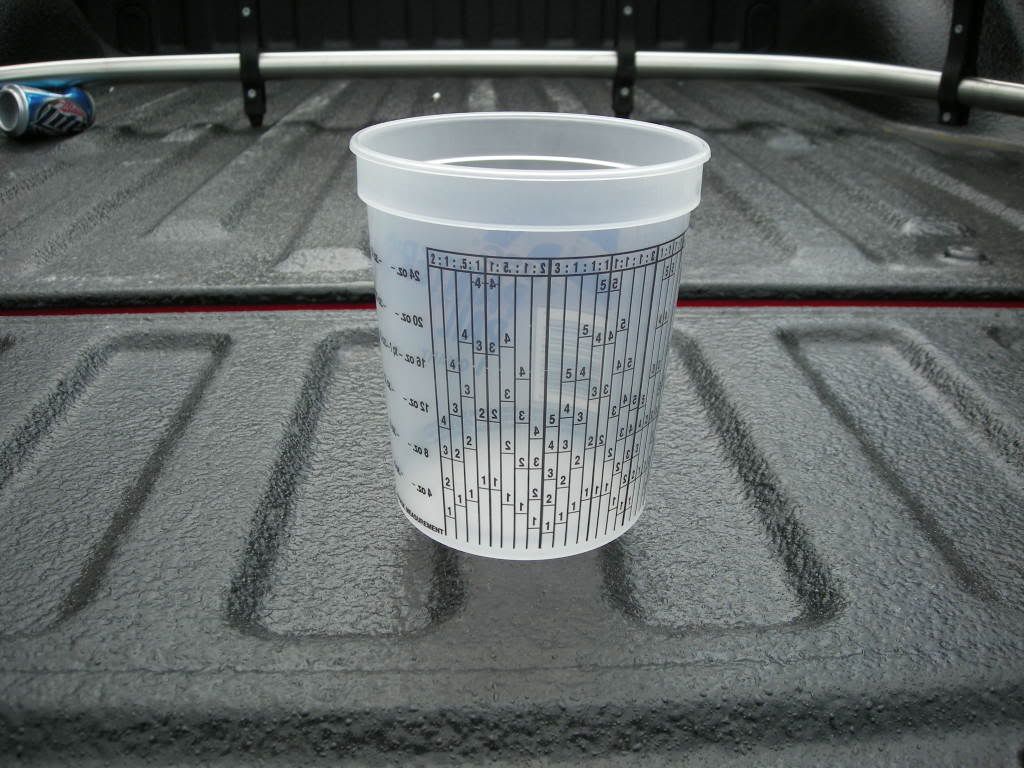
Automotive coatings only have about 10% error built into their formulation so its imperative that you mix your coating per their instructions with a mixing cup. Its impossible to accurately mix coatings on ratio without using a mixing cup or mixing stick. A properly activated and mixed product will also perform as specified as well.
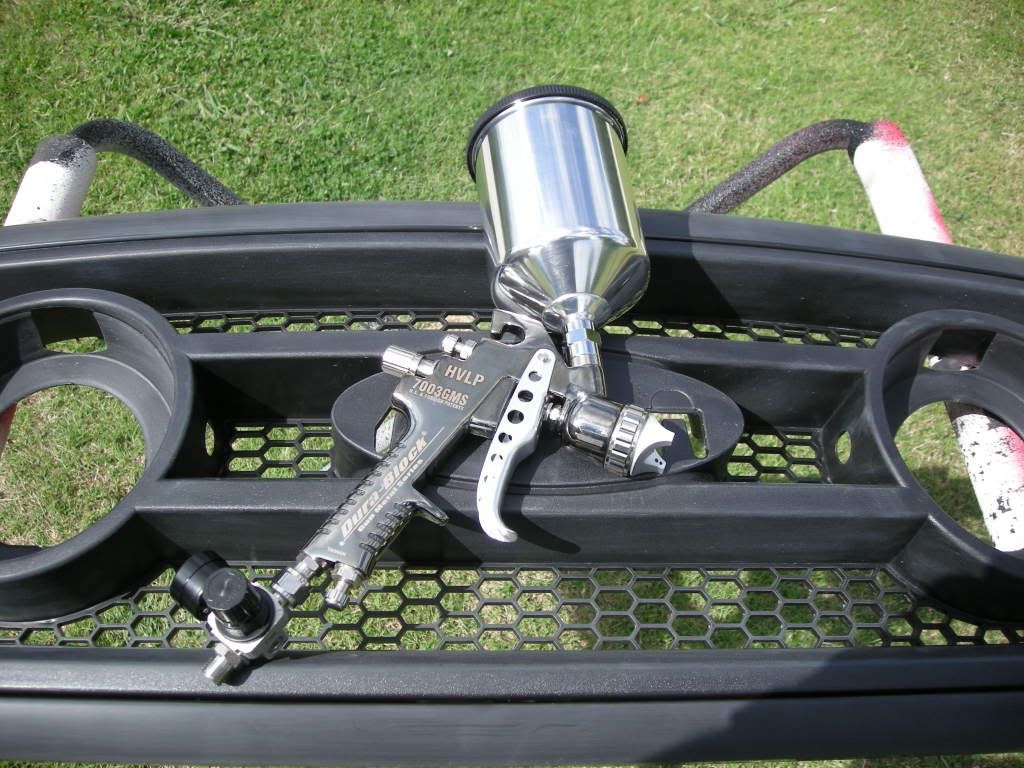
I'm intentionally using this imported Tonka Toy paint gun vs. one of my $600 Sata's to prove you don't need a fancy gun for typical DIY use. Plus, I picked this gun up on Blowout for $40 so I might not even clean it after my last coat of clear is laid.
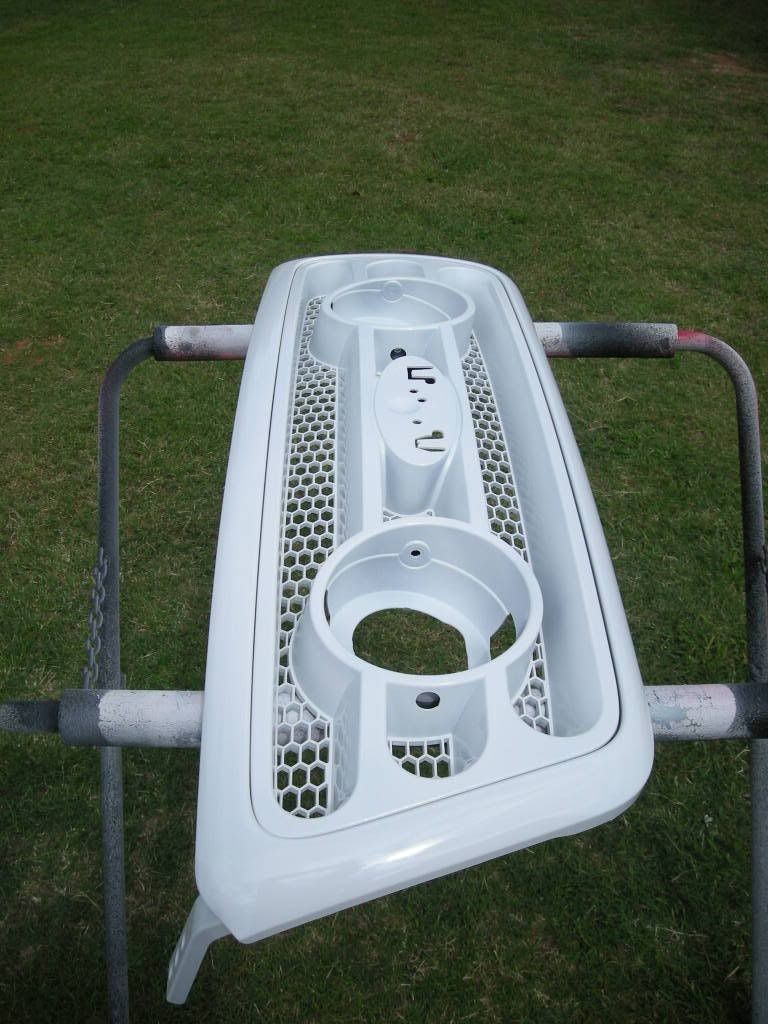
Here's the grill after 1 coat of epoxy is sprayed medium wet which means slick enough to paint over without needing to sand imperfections out but with just enough reserve to prevent a run with all the narrow and awkward crevices.
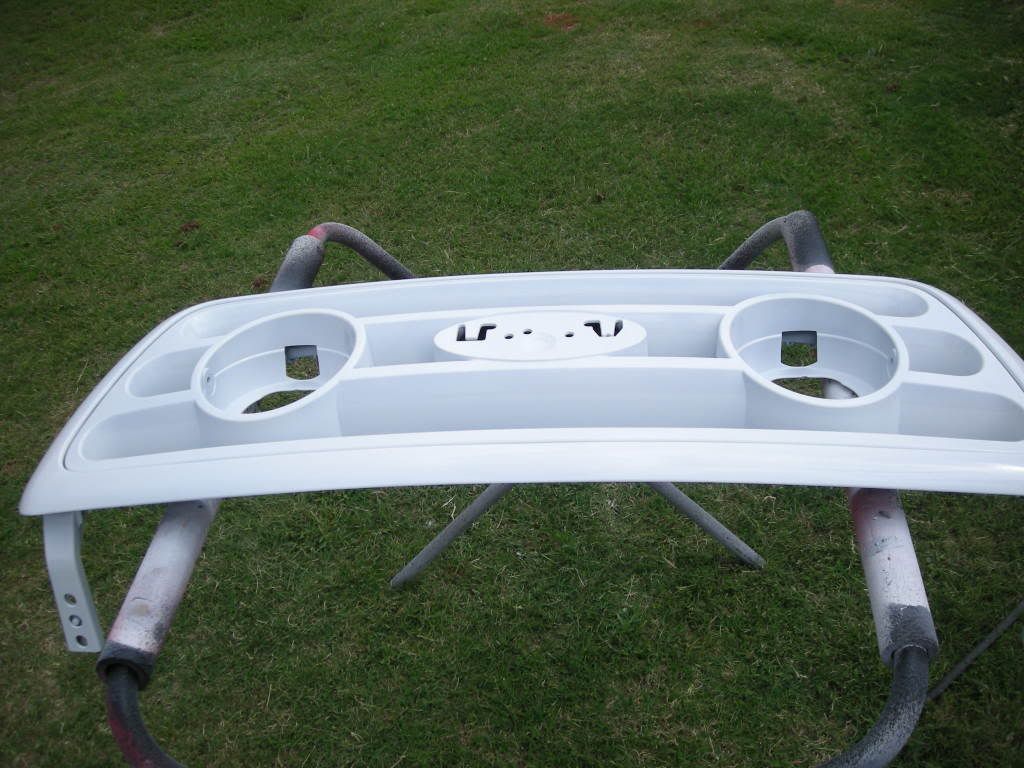
This particular epoxy may be painted over in 30 minutes at 75 degrees but I'm going to let it set overnight just because I can and its the most ideal when coating over fresh epoxy. Once again letting it set overnight is not necessary in a collision shop environment but it's what you would do if you were in a restoration shop.
If I have time I'll basecoat and clearcoat this grill tomorrow and post the next steps and their results but if I don't have time tomorrow I have 7 days to apply basecoat over this epoxy primer without having to sand it for adhesion. All I need to do is pre-clean the epoxy with W&G Remover, tack it off with a tack cloth then apply basecoat as long as I'm in the 7 day window. If I get outside of that 7 day window I would sand with 500 grit paper before pre-cleaning and applying base.
The goal is to sand uniformly until the plastic no longer shiny new looking but a consistent dull look.
Once the plastic has been sanded it needs to be cleaned and I recommend using a waterborne wax and grease remover instead of the more common mineral spirits based wax and grease remover because the waterborne cleans plastic parts more effectively. To clean get 2 new lint free paper towels and wet one paper towel with wax and grease remover. Wipe a 1' or 2' area and while its still wet dry this area with you other clean lint free paper towel. If you let the W&G Remover evaporate before you dry you are pissing in the wind.
Now using a new tack cloth lightly wipe the area to painted with the tack cloth which will remove any dust, dirt and lint.
I prefer Surgical Blue Tack Clothes myself.
Next apply your sealer or primer which will give you adhesion between the raw plastic and your base/color coat. I prefer to use epoxy primer for its unsurpassed adhesion and I chose white (over grey or black) in this application because the grill will be paint E4 which is a bright red and I know bright reds cover this white epoxy in 3 coats.
Automotive coatings only have about 10% error built into their formulation so its imperative that you mix your coating per their instructions with a mixing cup. Its impossible to accurately mix coatings on ratio without using a mixing cup or mixing stick. A properly activated and mixed product will also perform as specified as well.
I'm intentionally using this imported Tonka Toy paint gun vs. one of my $600 Sata's to prove you don't need a fancy gun for typical DIY use. Plus, I picked this gun up on Blowout for $40 so I might not even clean it after my last coat of clear is laid.
Here's the grill after 1 coat of epoxy is sprayed medium wet which means slick enough to paint over without needing to sand imperfections out but with just enough reserve to prevent a run with all the narrow and awkward crevices.
This particular epoxy may be painted over in 30 minutes at 75 degrees but I'm going to let it set overnight just because I can and its the most ideal when coating over fresh epoxy. Once again letting it set overnight is not necessary in a collision shop environment but it's what you would do if you were in a restoration shop.
If I have time I'll basecoat and clearcoat this grill tomorrow and post the next steps and their results but if I don't have time tomorrow I have 7 days to apply basecoat over this epoxy primer without having to sand it for adhesion. All I need to do is pre-clean the epoxy with W&G Remover, tack it off with a tack cloth then apply basecoat as long as I'm in the 7 day window. If I get outside of that 7 day window I would sand with 500 grit paper before pre-cleaning and applying base.
Last edited: