Okay, you asked for it!
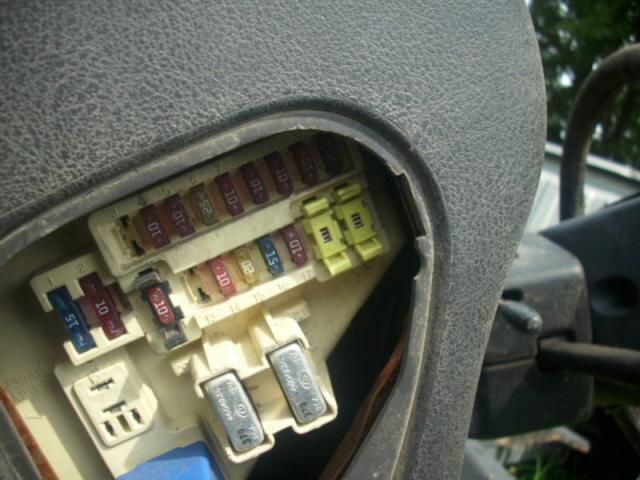
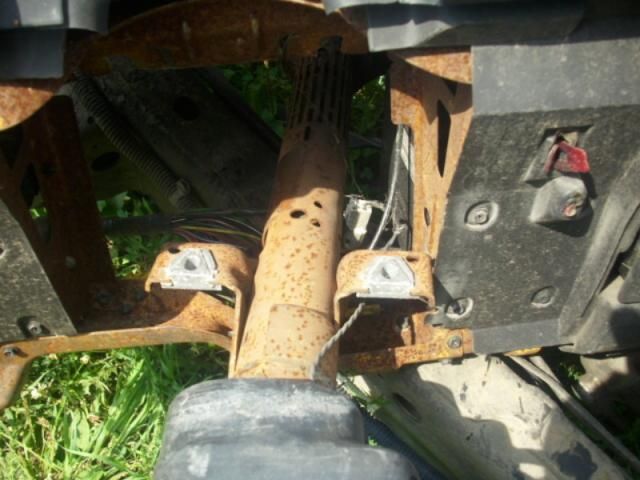
Before I started anything, I would definitely pull any air bag fuses and disconnect the batteries.
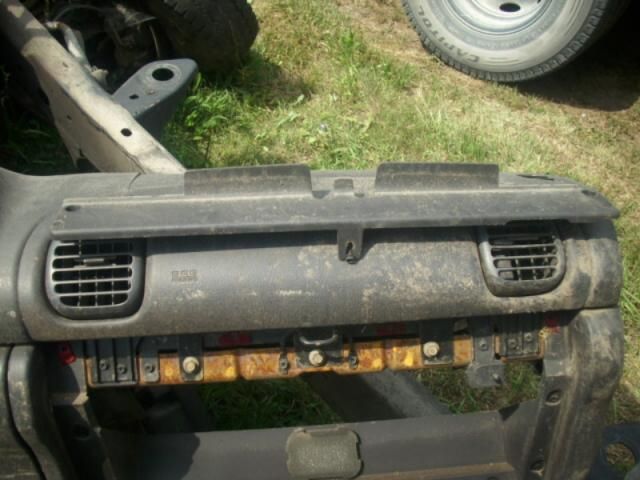
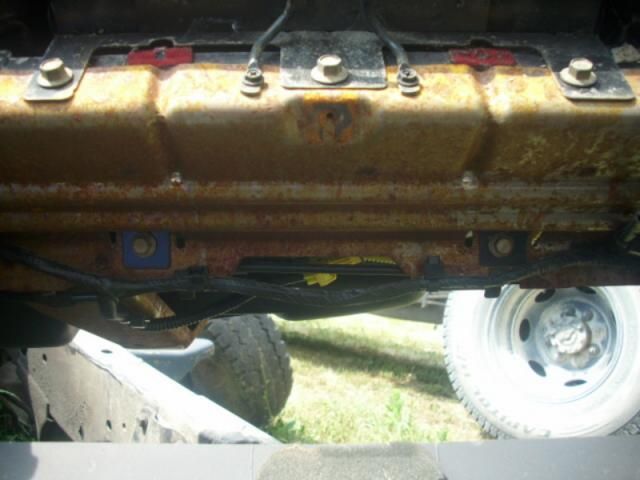
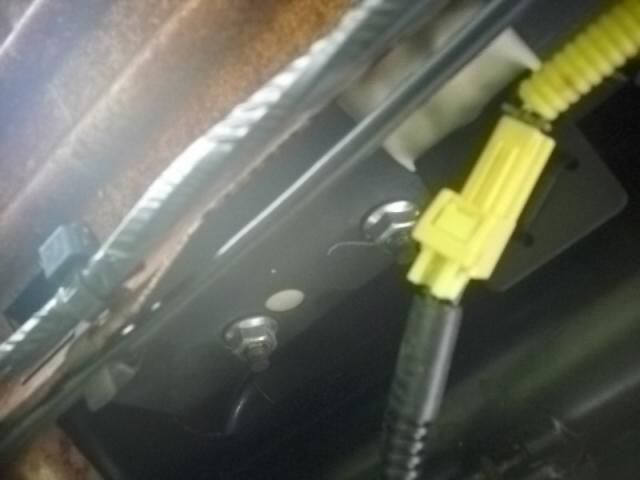
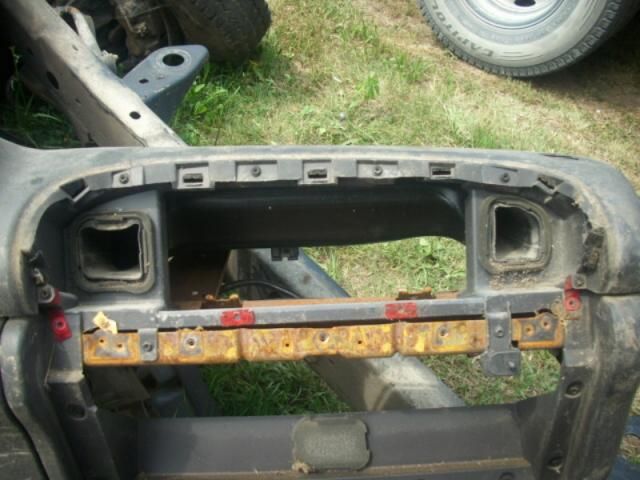
The air bag fuses are the ones in the yellow clips in this pic:
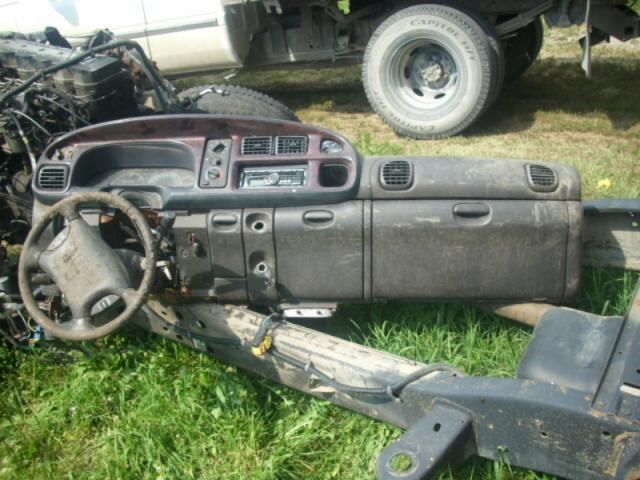
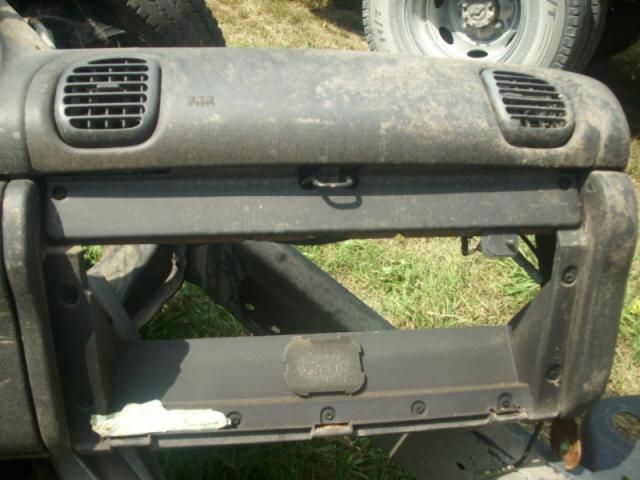
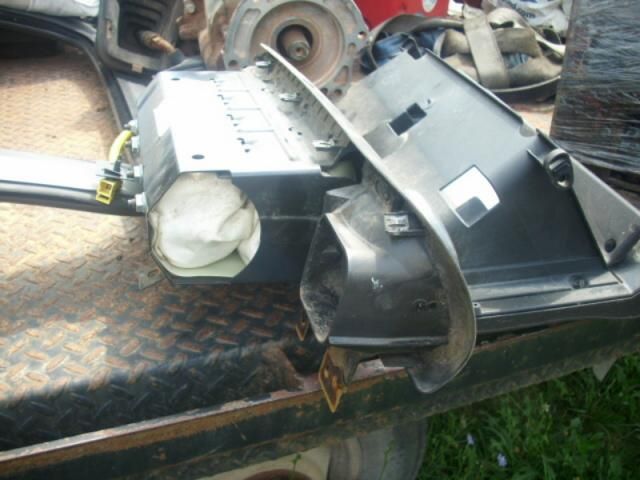
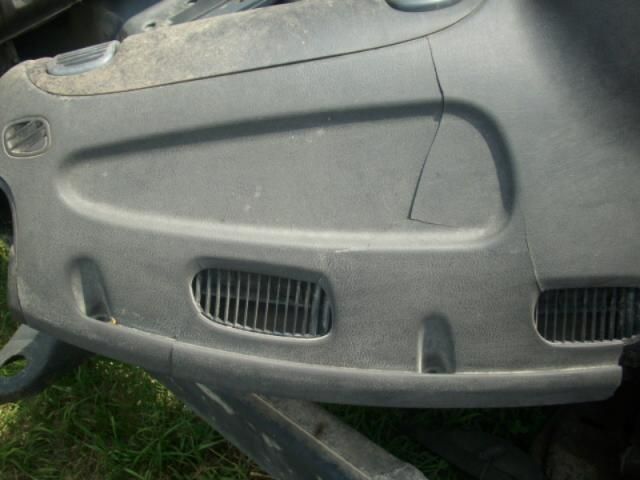
Here is a pic of my guinea pig for this article, note that it is not installed in the vehicle. I will still run through the procedure for "tipping" it:
Honestly, the way I do it is "tip" the dash back, which means you need to at least drop the column (not "remove" it, per se).
To do this I start by dropping the column down, after removing the bolster cover, then the automatic indicator cable.
I then remove both driver's and passenger's side kick/sill panes and LOOSEN both corner bolts at the ends of the dash, which are located under the kick panels.
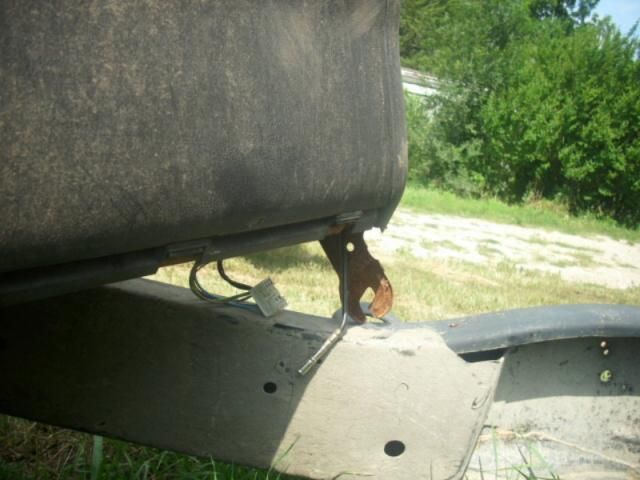
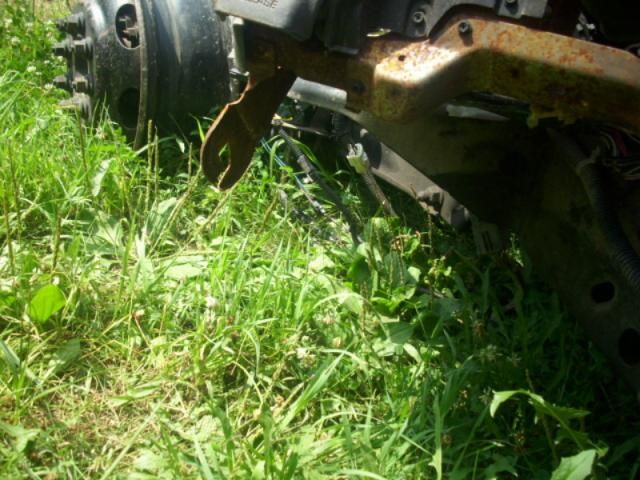
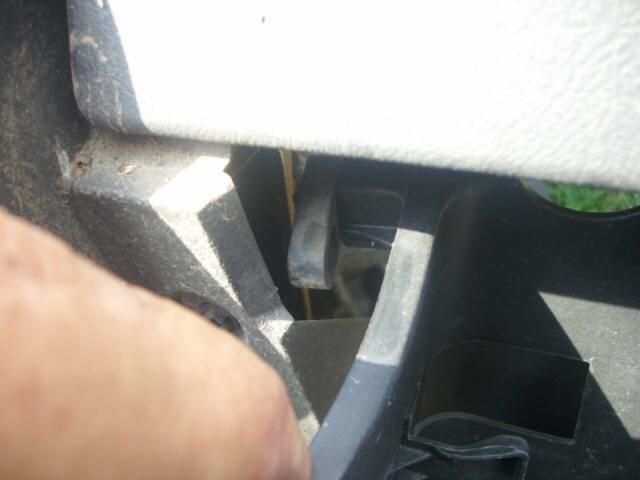
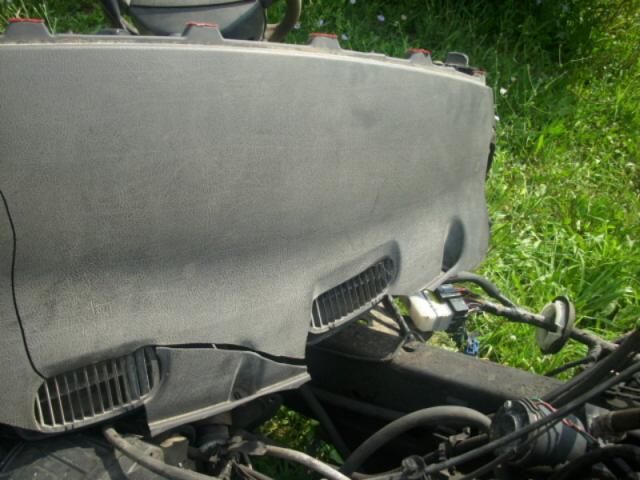
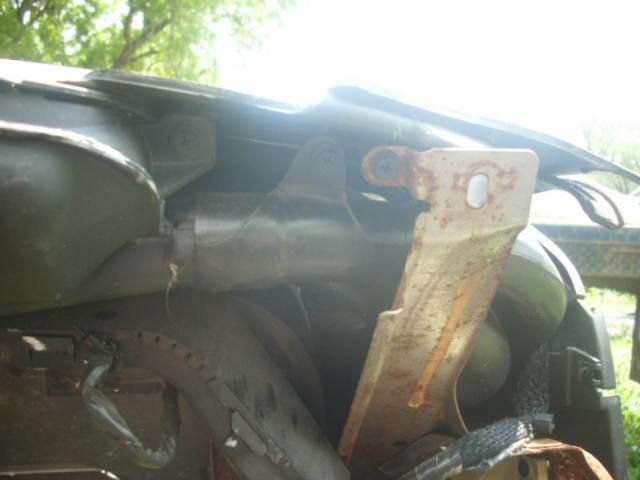
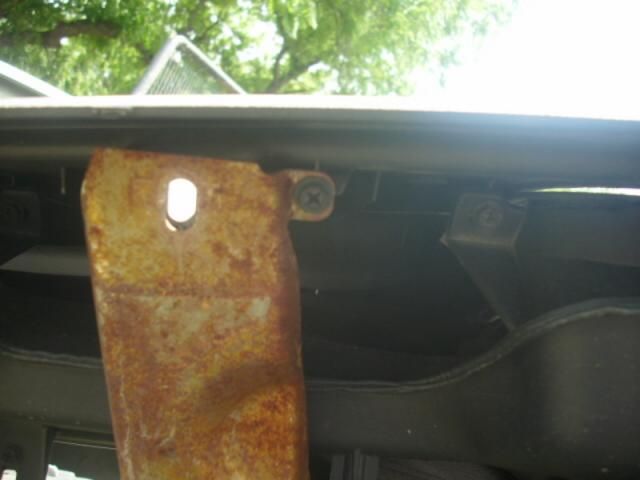
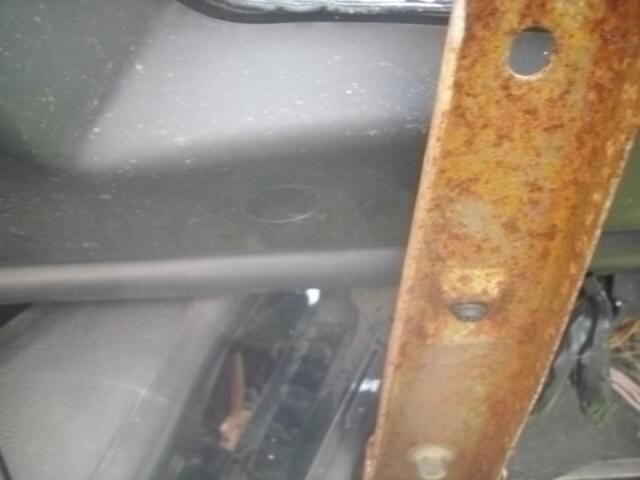
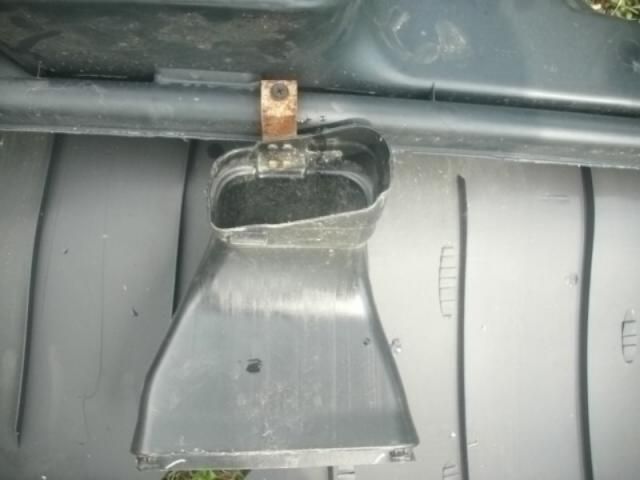
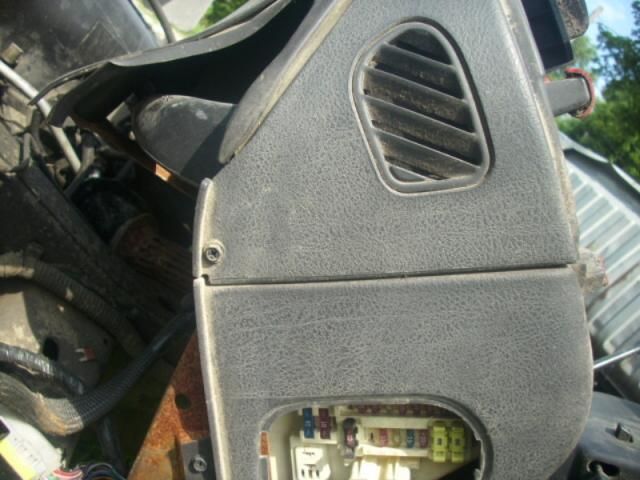
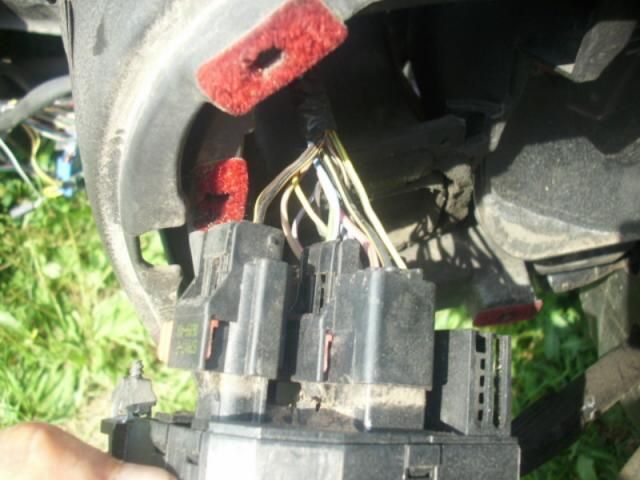
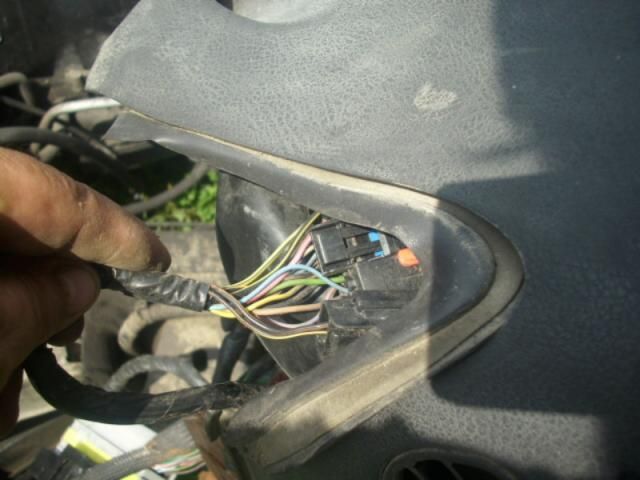
The next 3 pics illustrate the ends of the dash and the column "dropped":
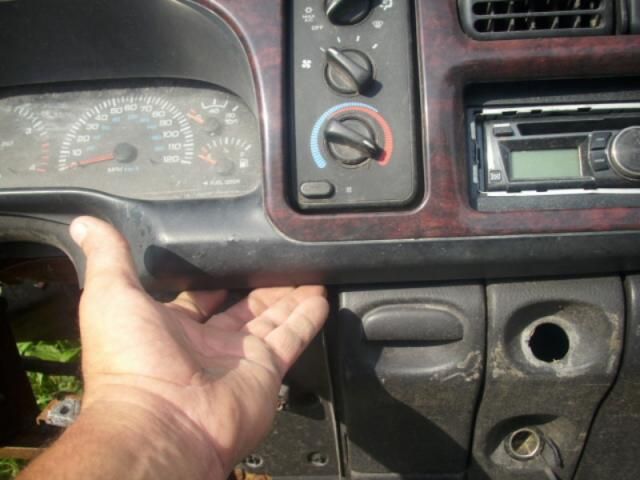
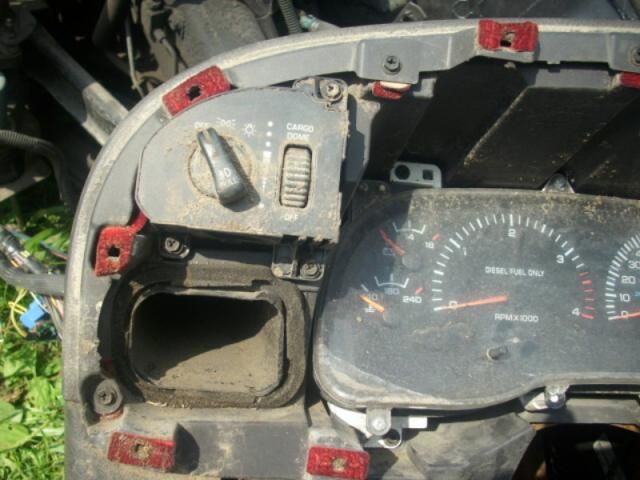
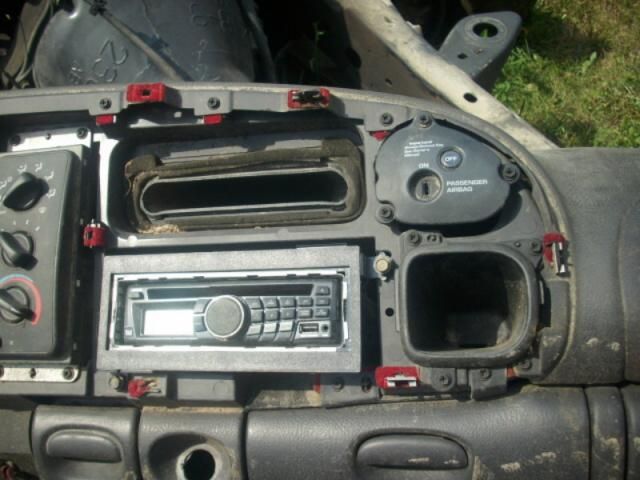
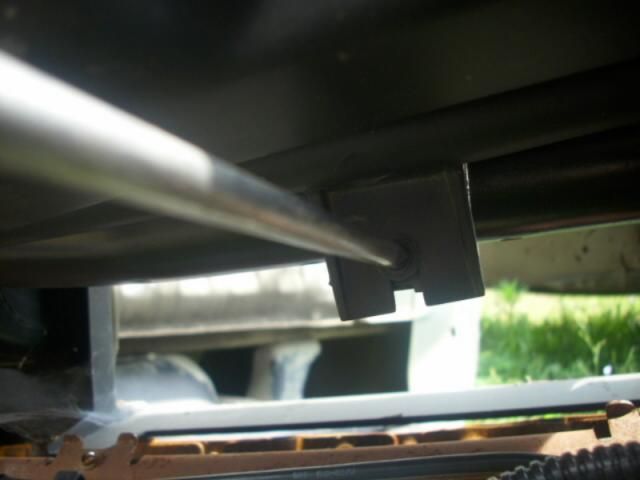
Once the column is dropped, I then remove the instrument cluster bezal, STARTING AT THE BOTTOM EDGE FIRST, as pictured here:
Be careful when pulling it free from the clips, the retainers are as flimsy as the cover itself is!
Just work your way around tugging or using a medium screwdriver and some sense.
Next, I'll want to remove the bomb (air bag) from the passenger's side, so I'll open the glovebox, remove it by collapsing each side inward to release the stops and drop it downward to the floor and out.
Like the 2 pics below show, you just "pinch" the edges of the glove box towards each other:
And then the next pic shows how the hinge just pulls apart:
Now to REMOVE THE BOMB!
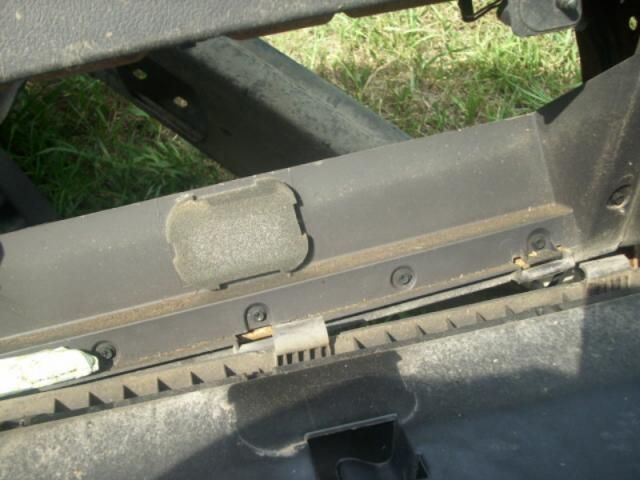
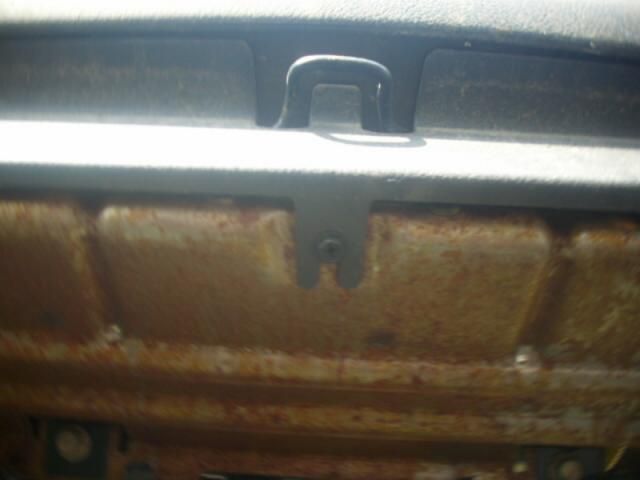
Looking at the latch, there is a strip surrounding it that's held in with 3 phillips screws, 2 on the face of the dash and 1 under the edge, go ahead and remove it.
Installed it looks like this:
Removed it looks like this:
Note the center tab, which can be missed:
Now remove the latch wire pictured here and note the 5 10mm bolts for the air bag housing assembly and remove them.
Their postition is shown in the pic below:
There are also 4 7mm/phillips screws that hold the air bag cover over the air bag assembly. These attach to the face of the steel structure, they are the 2 sets of 2 screws in the plastic at each end of this pic:
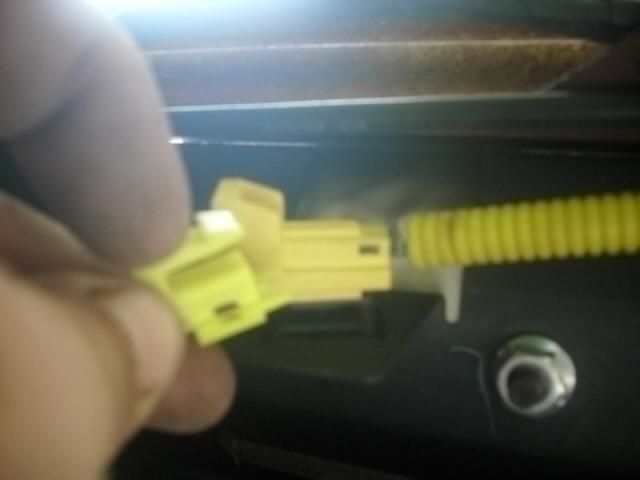
Once the bag is loose, slip under the dash and you should see something like this, which is the connector for the air bag:
The airbag has a lock on the connector which looks like this:
Once the wire is disconnected, it takes some tugging and coaxing, but the bag ends up coming out looking like this:
I then remove the console (or the auto equivalent) and take the lower dash support bolts OUT, not just "loose". These bolts are located near the ABS module. SORRY I DON'T HAVE PICS OF THIS STEP!
After that I remove all of the dash top face screws, of which MOST are shown in this series of pics:
Next to come out is the font dash mounting screws, the ones near the windshield, which are 8mm (or 5/16").
Here's pics of some places where they are located:
Once the dash is sitting loose, tip it back, then remove the passenger's side lower corner bolt and ease the dash partway towards the seat.
~~~~~~~~~~~~~~~~~~~~~~~~~~~~~~Continued Next Post~~~~~~~~~~~~~~~~~~~~~~~~~