Rebirth of Monster Mudder

I really don't know. My son and I picked up the cab back before the cage was put in it, it wasn't too bad then. I picked up one side and then the other tonight to get it off the cherry picker, much heavier with the cage in it. Will break out the race scales at some point and weigh it just to see. Or I will weigh the frame before and after I put it back on.
 
What's the tear down for this time? I've scanned back over the thread but I guess I keep missing it.

Sent from my SAMSUNG-SM-G890A using Tapatalk
 
I'm moving the engine/trans/tcase about 16 to 19 inches back. Also moving the cab back that far as well. Been racing super street and pro street classes in the main org I race with, but the other orgs I race with don't have an equivalent of the super street class, so just dropping the super street class and going full out for pro street and cut tire classes.
 
Worked the legion lounge Fri night and cleaned and setup for Veterans day lunch we served there, got home about midnight, then back up at 6, hooked up my small gooseneck flatbed and loaded the little chuckwagon utv my wife got from her parents and headed to the legion again. Decorated the utv for the parade, finished the main float, road in the parade with my gran daugther on my lap and my dad next to me on the float, then back at the legion ran the bar till about 4pm. Went to Tractor supply after and made good use of the 15% veterans discount by getting 2600lbs of feed, 110 tposts, 10 gallons of 15w40 rotella t and a few salt and mineral blocks. Saved about 170 dollars and now have enough posts to finish the last 1/4 mile of my exterior fence.

Today got to spend a little while out in the shop and we cleaned up some piles that accumulated, moved my frame over to the first bay so I have access to the 220 volt welder outlet, then pulled my daughters race truck into the shop for the winter. We pulled her front wheels off so they could start getting the mud cleaned out from the front diff so I can figure out the issue turning right.

On my truck, pulled all the fuel and transmission lines out of the frame. Removed the 3/0 battery cables and removed the drive shafts off the truck.

26597800779_27e5c98bed_b.jpg


38343465562_4dcb6cdaca_b.jpg


37659682414_5ba78159de_b.jpg


26597796319_21bd3e688f_b.jpg
 
I hate short winter days.... managed to get 25 t posts spaced and driven in before it started getting dark after I finished work today at the house. Won't get home in time tomorrow to do anything outside except maybe feed the cows before it gets dark. Have about 90 more posts to put in on the last 1/4 mile of fence.

Spent a little time on the truck tearing down some of the engine parts, removed the t4-t6 adapter, exhaust manifold, injector lines and injectors and injection pump.

38395705602_1a5cd2675c_b.jpg


38395705112_16a54b0a9b_b.jpg


38395701042_0a37ffeef6_b.jpg


38395700942_ec067334ba_b.jpg
 
Spent some time tearing more apart on the truck. Removed the starter, power steering / vacuum pump, intake manifold, water neck on the side of the block and transfer case.

Plan on removing the head tomorrow night.

Ordered a t6 flange from steed today so I can cut off the t4 flange and weld on the t6 flange.

Need to try and find a place I can get new lines for my front shocks made with a banjo on the shock end instead of the straight in fitting. If I can get one made, then I can switch over to the flat plates and get longer limit straps for the front.

Front shocks I need the line for
31932766843_6ddacccb73_b.jpg


Another pile of removed parts
38416189142_c09513c1db_b.jpg


38416187842_ac310ed9e8_b.jpg


38391813206_40985dc225_b.jpg


38391812426_fde43b1d1d_b.jpg


37560761805_a2ea468edc_b.jpg
 
Tonight I pulled the head off of the engine, first time I've pulled it with the head gasket still sealing good.

Pulled the transmission and converter as well, easiest job lifting it up over the frame from the top. Knocked out the trans xmember as well.

Just have 2 bolts left holding the engine in....

Checked out the rules for the class I want to run in all 3 orgs,

KMRO 6 Harmonic balancer need to be over center line of front axle, Front axles must be within 12” of centerline of fender

MAMR 4 Harmonic Balancer must be on centerline of the front axle or forward.

ELITE 4B Front Face of Harmonic Balancer must not be behind centerline of front axle.

The only one that's going to be fun dealing with is the kmro rule of the fender and wheel centerline, will have to get creative to make it good.

We played around with the tape and a straight edge, looks like I could move the engine back almost 22"

That would make a short arse bed... but really shift the weight back in the truck.

38417933306_5a320b4e9f_b.jpg


38473661851_755530604f_b.jpg


38417931156_cf787c8a8e_b.jpg
 
Been busting hump getting the last quarter mile of fence done since it's been decent outside over the weekend and today. Finished it this afternoon, finally after 9 years, I have all of the outside fence replaced with good posts and wire. 2 miles barbwire fence replaced. Still need to pull about a mile of old fence out, but will do that when I have time.

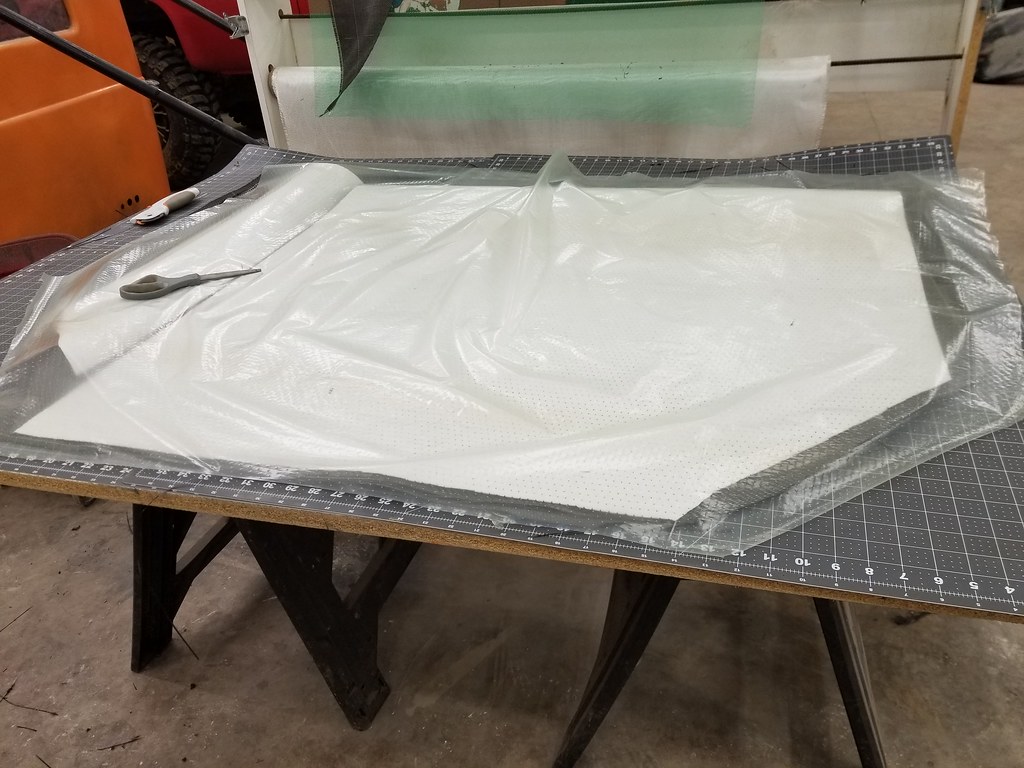
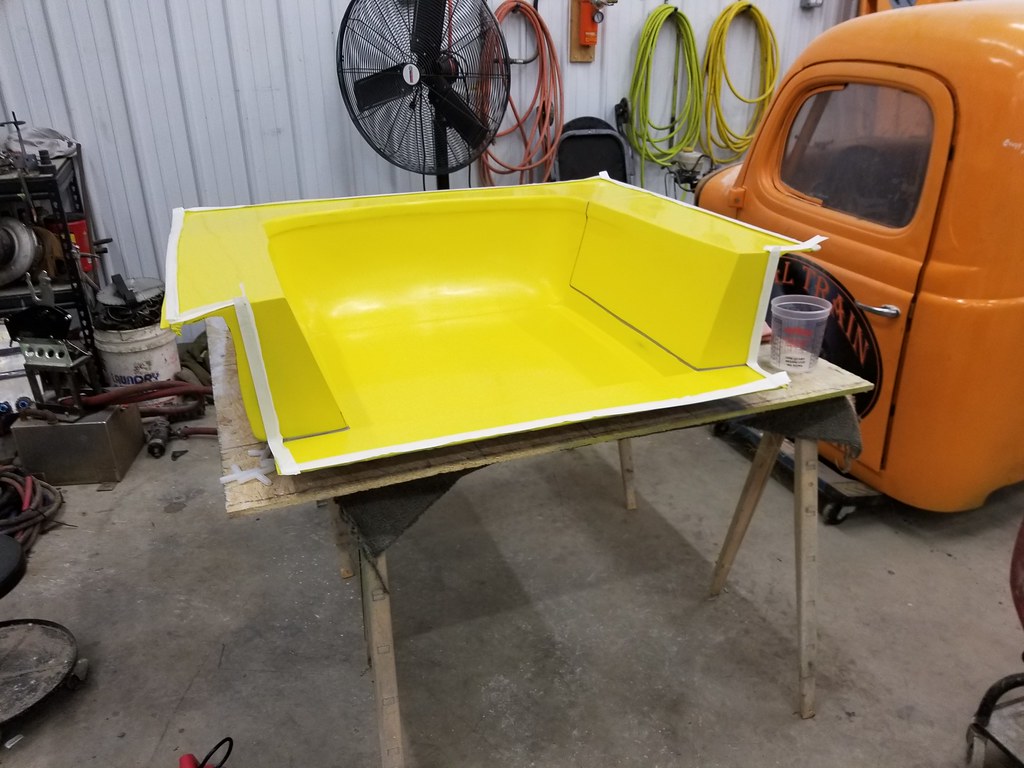
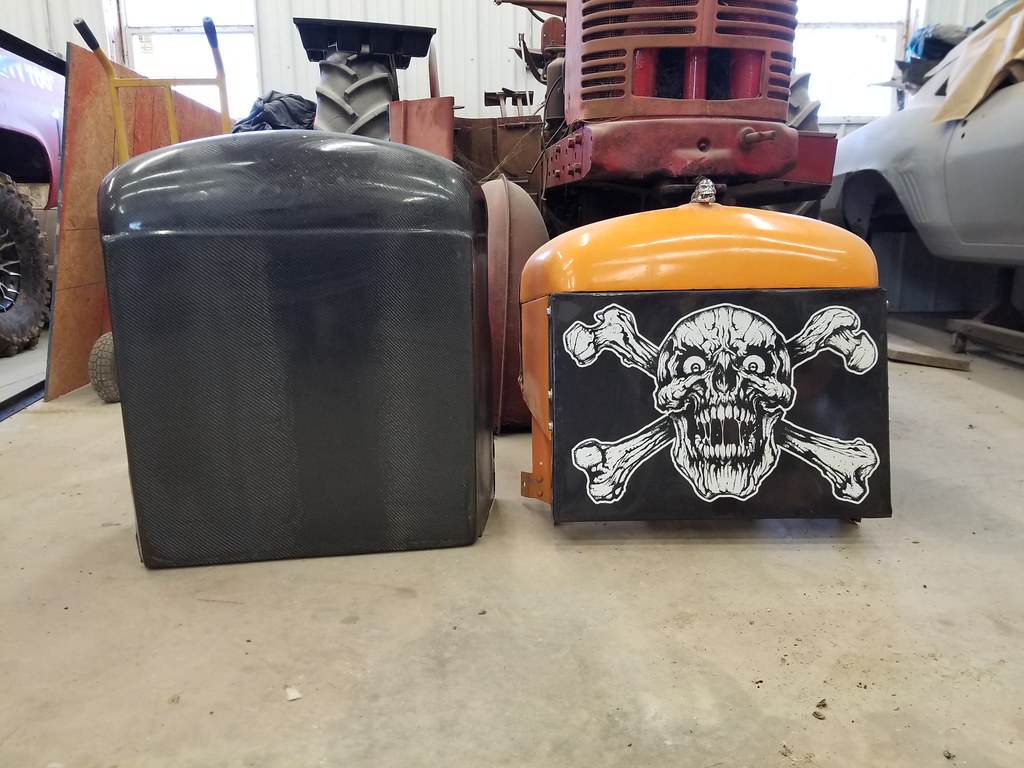
Last night I dug out my CF rack and setup the mold and work table to begin the process of making a mold. Tonight I started the waxing steps, wax it, rub it off, let stand an hour. Got 3 coats on tonight, need to do 1 more tomorrow, then start the layers of pva.

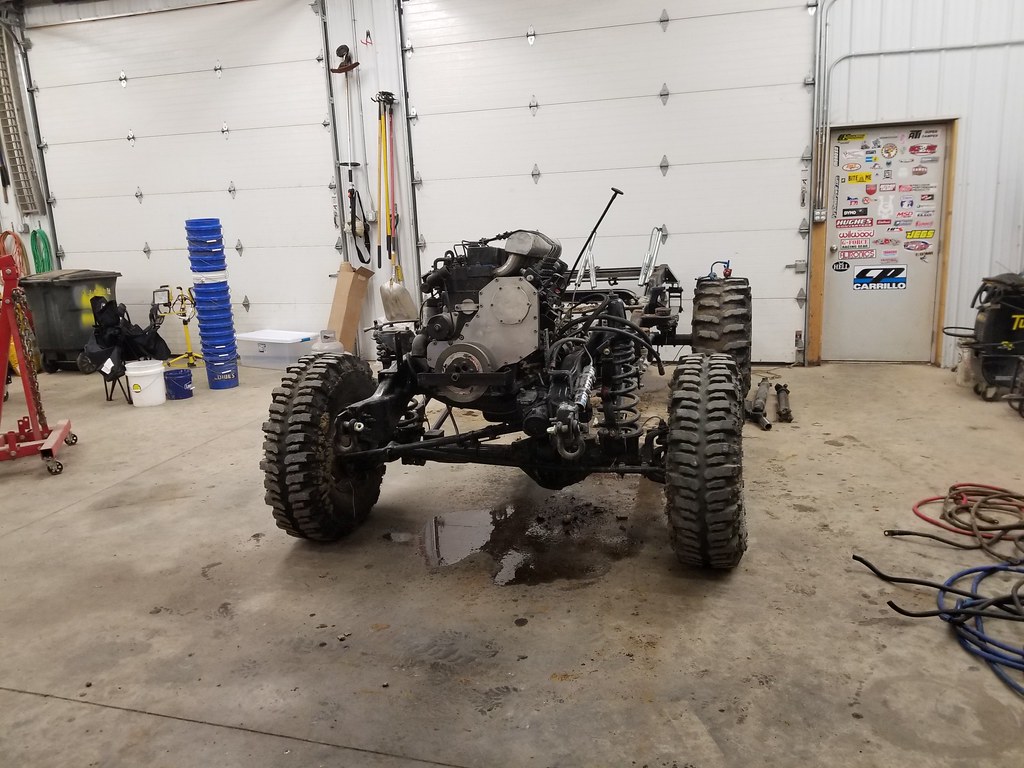
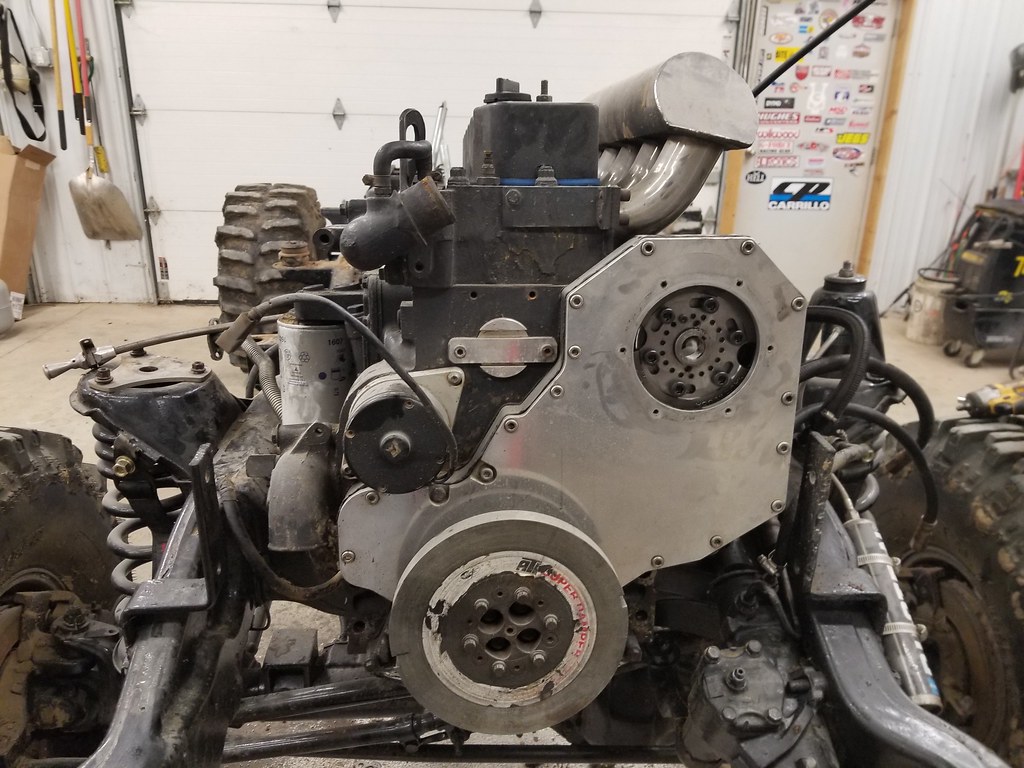
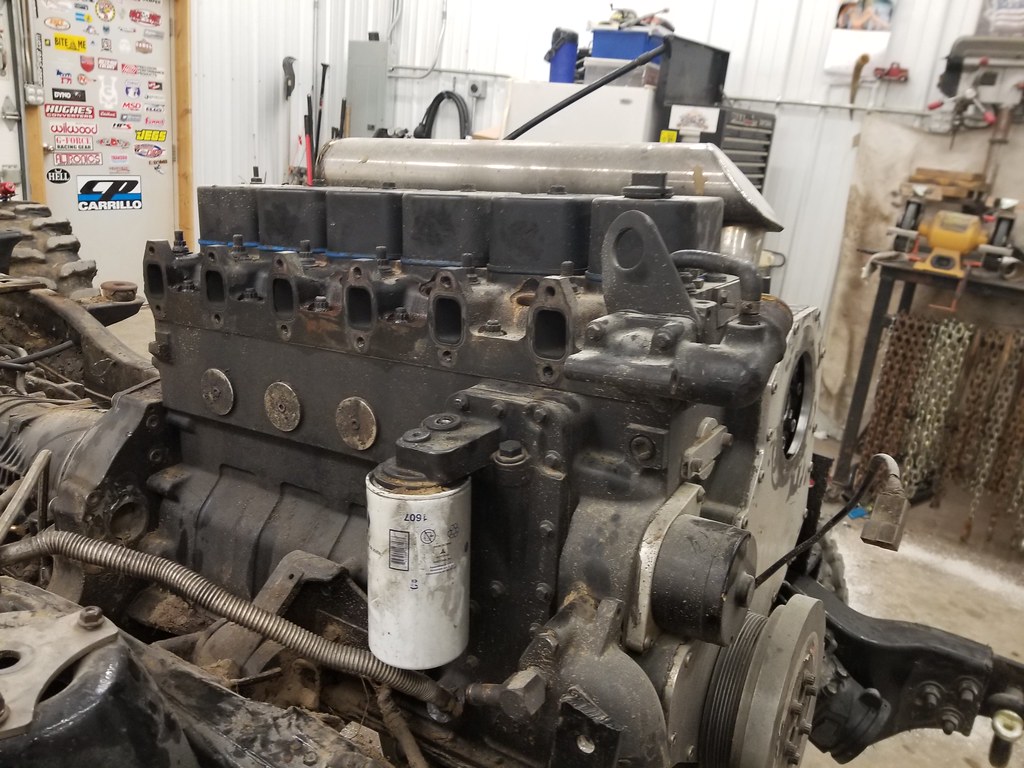
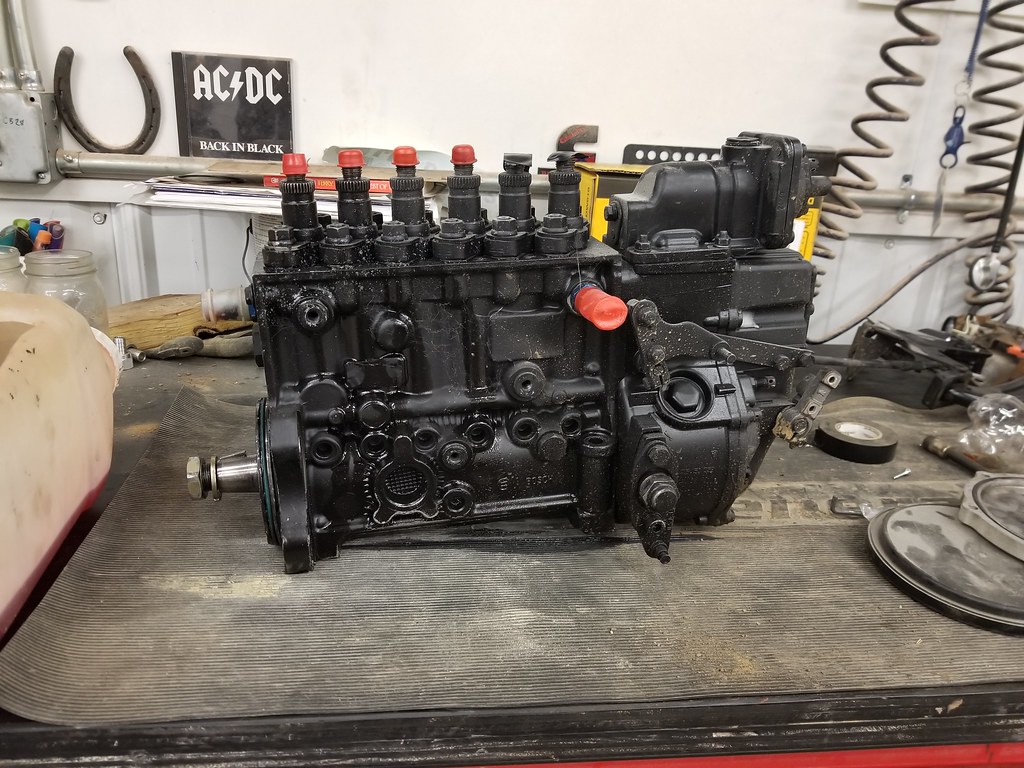
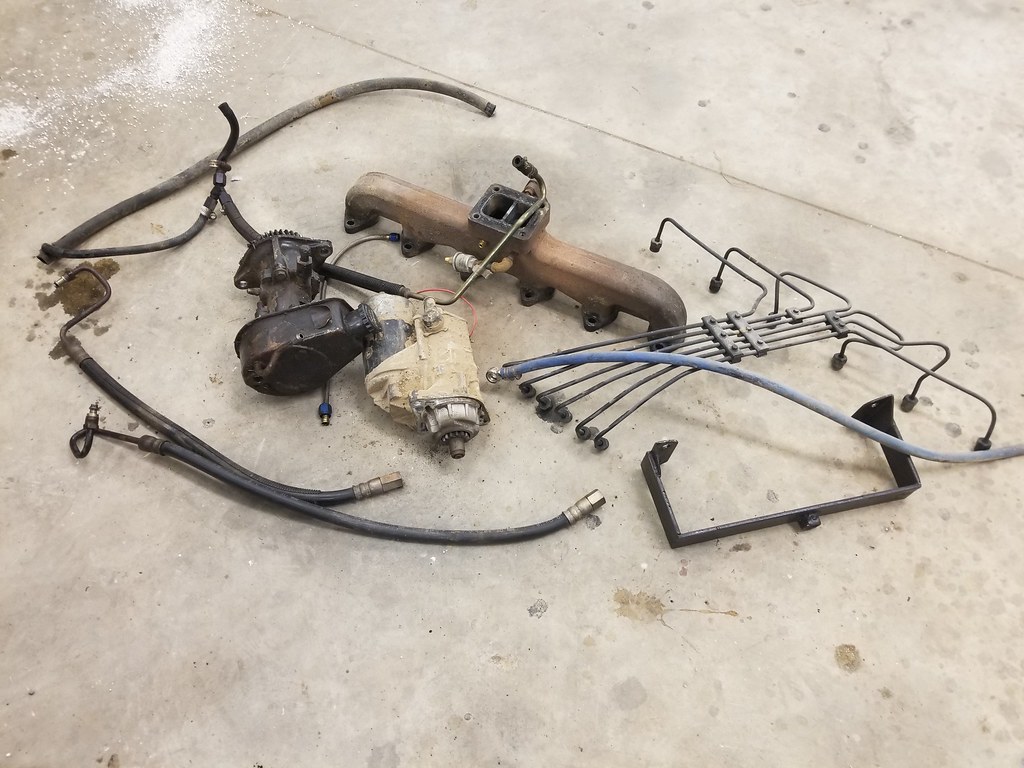
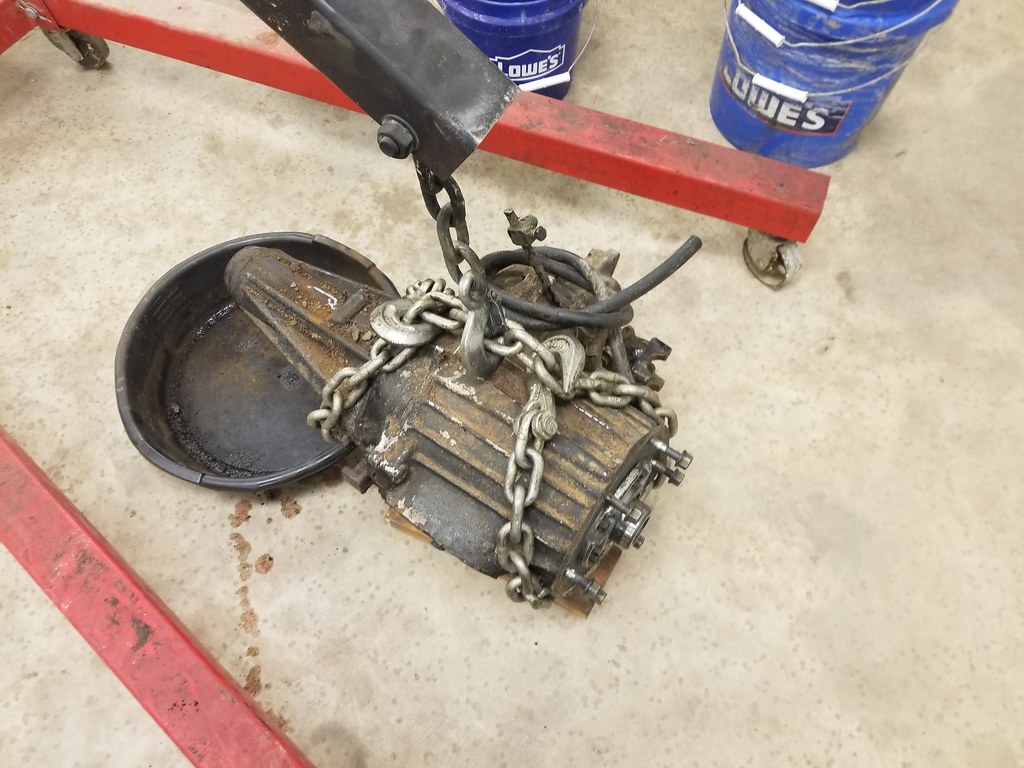
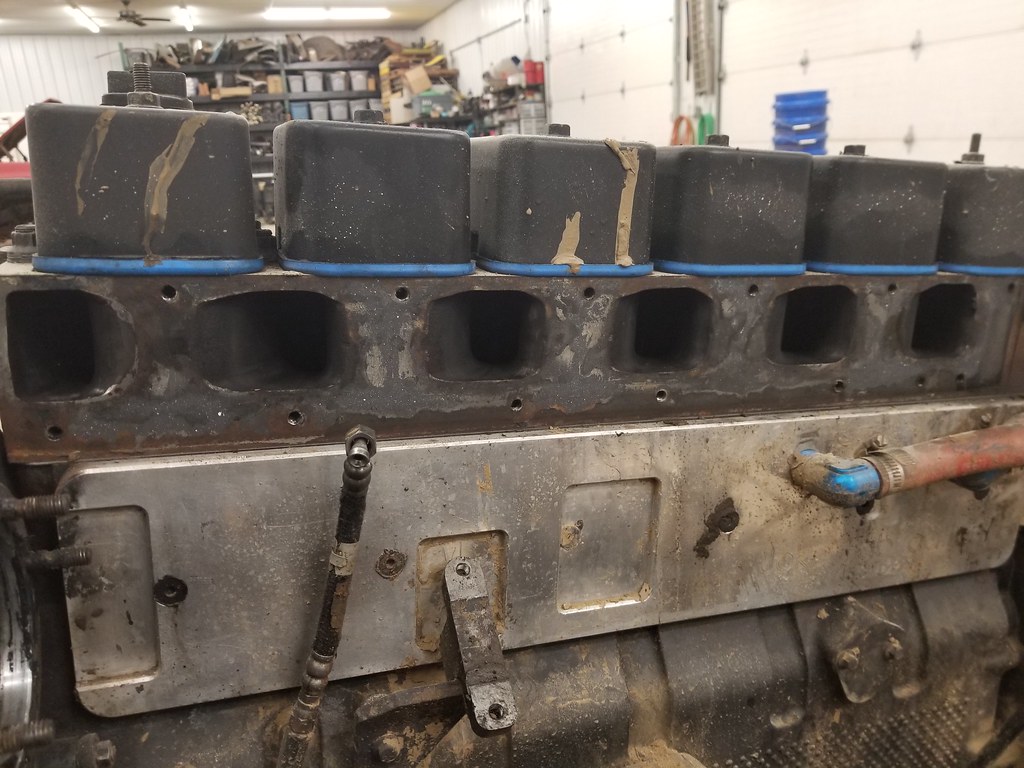
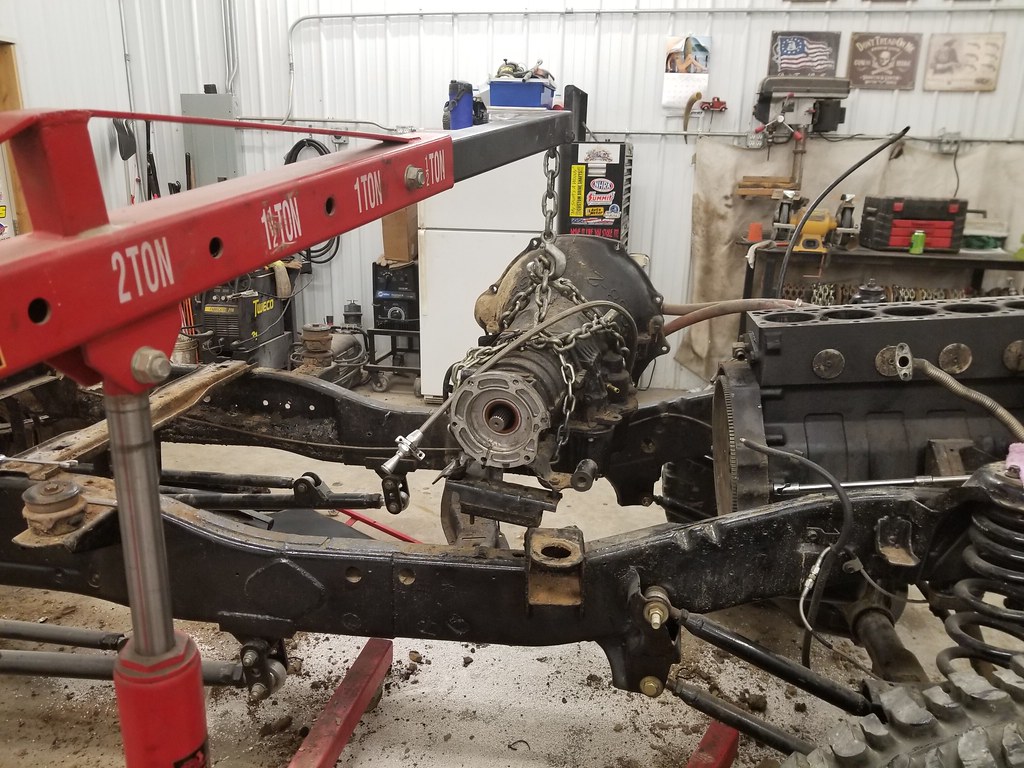
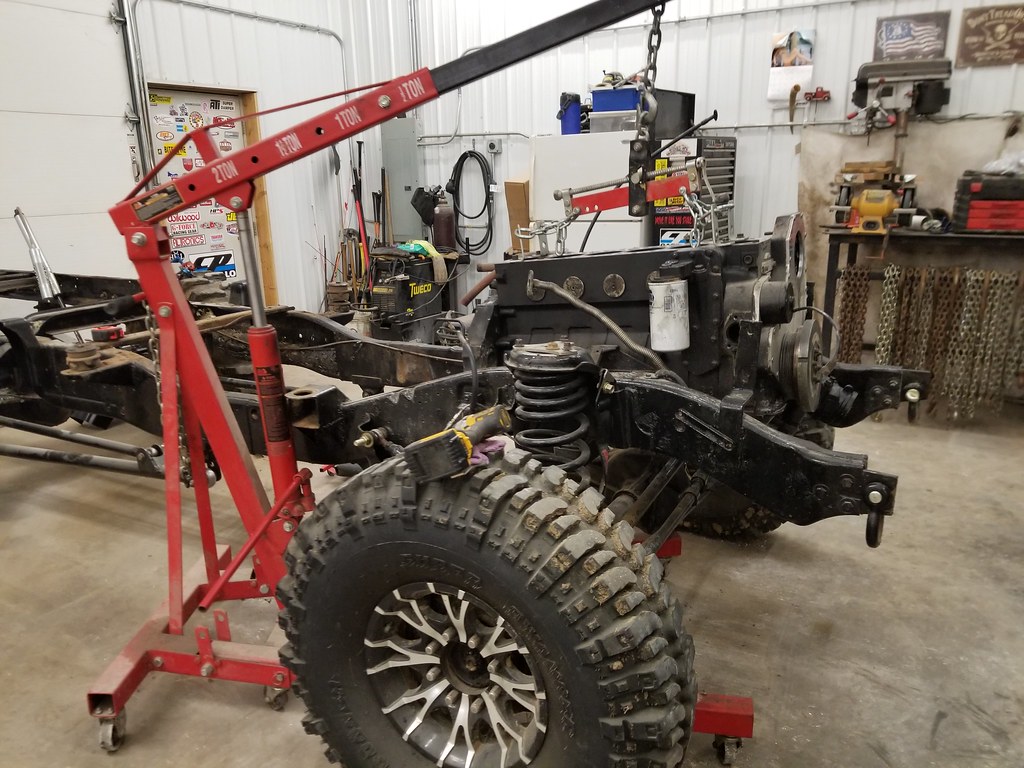
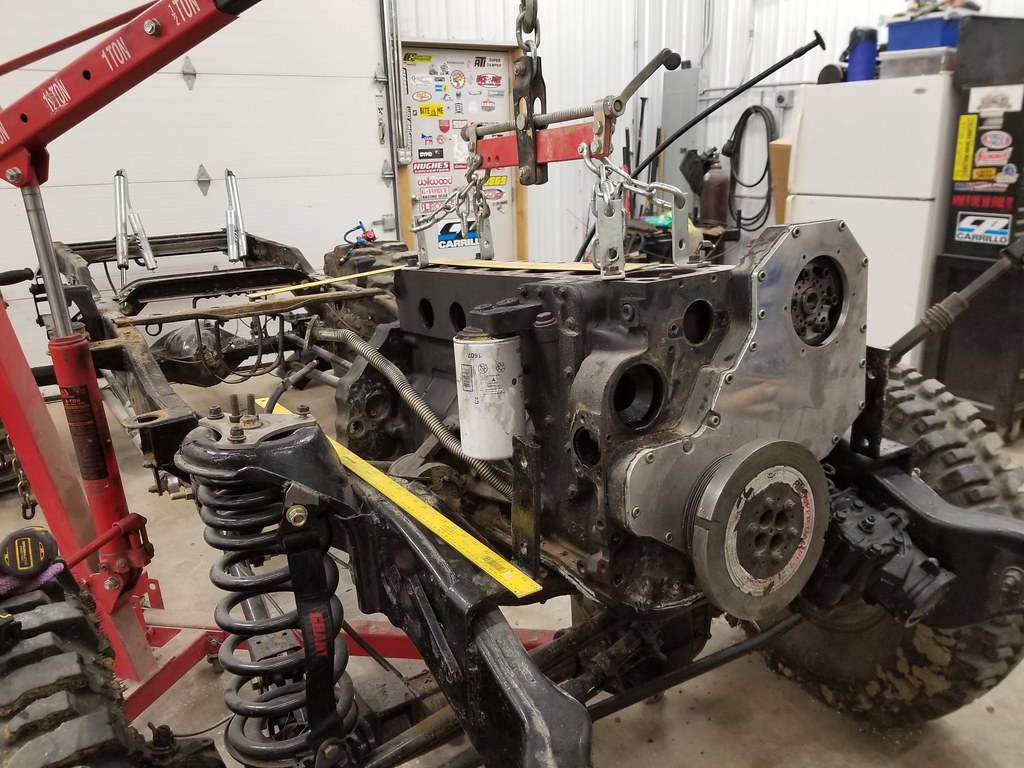
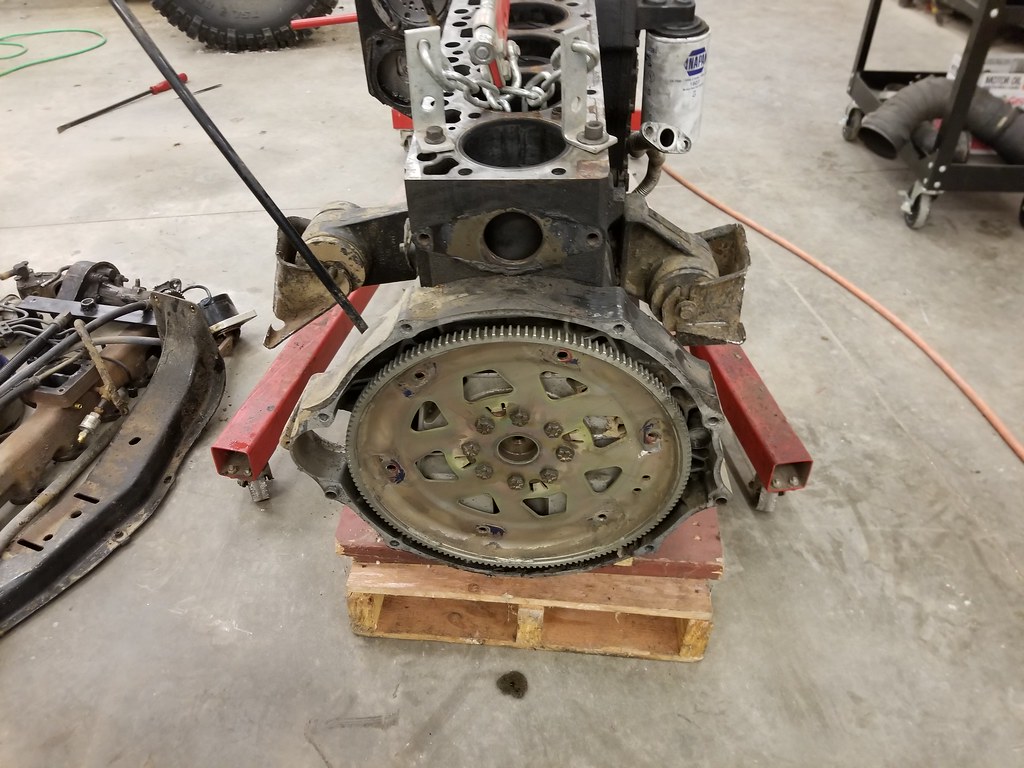
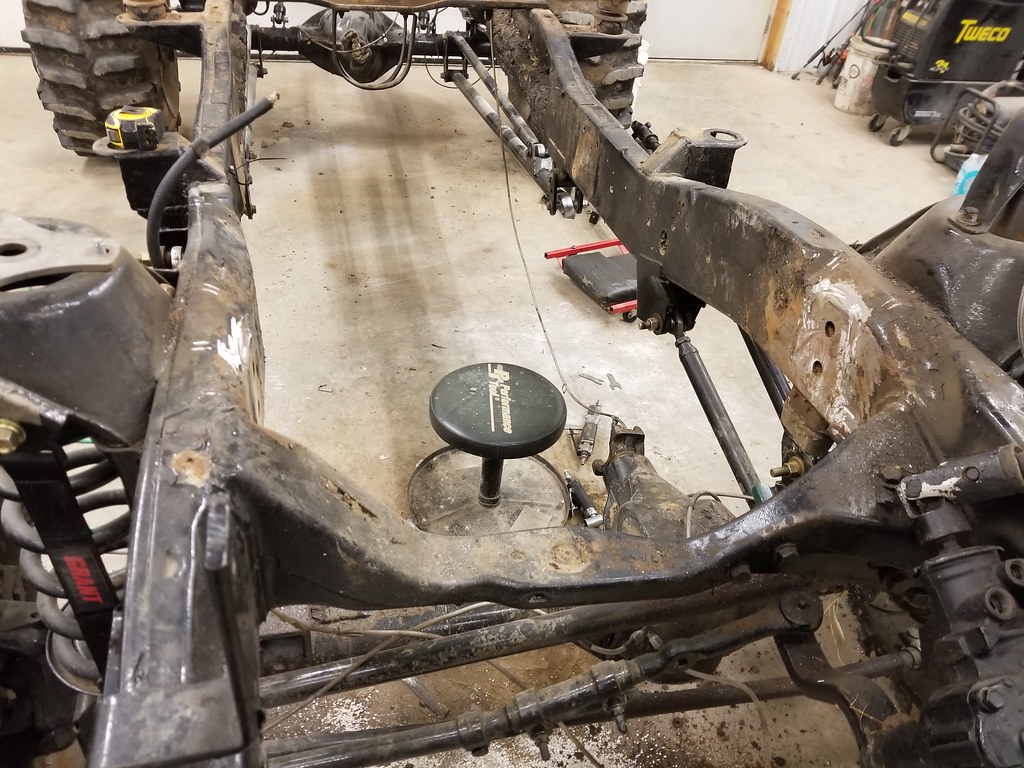
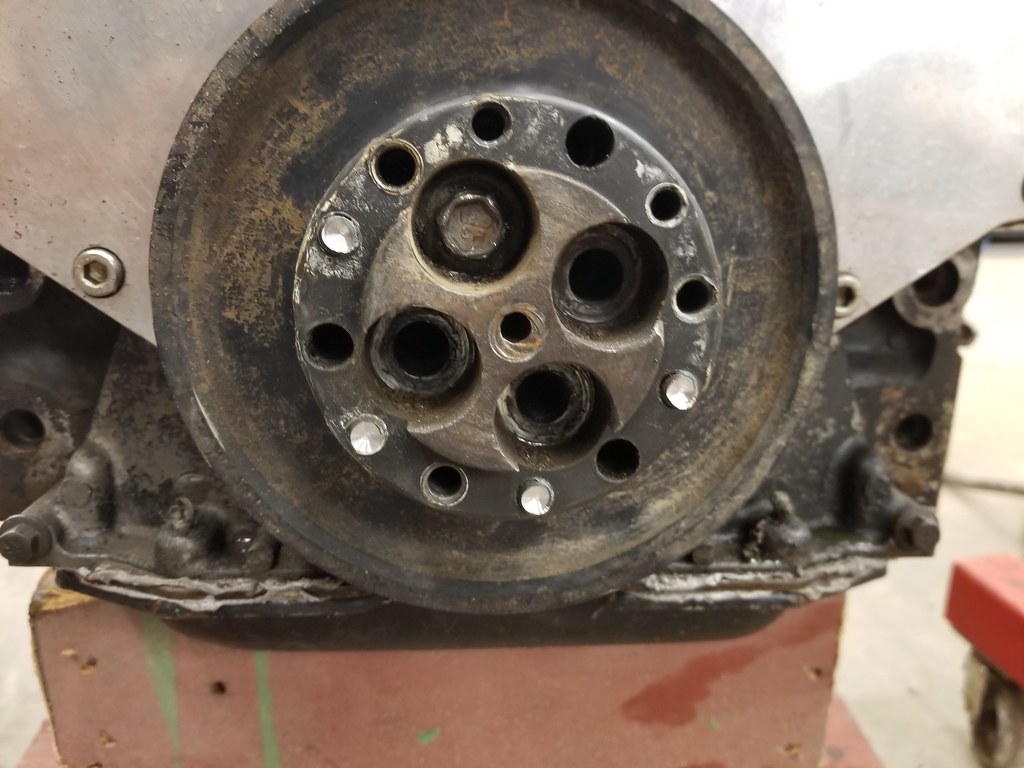
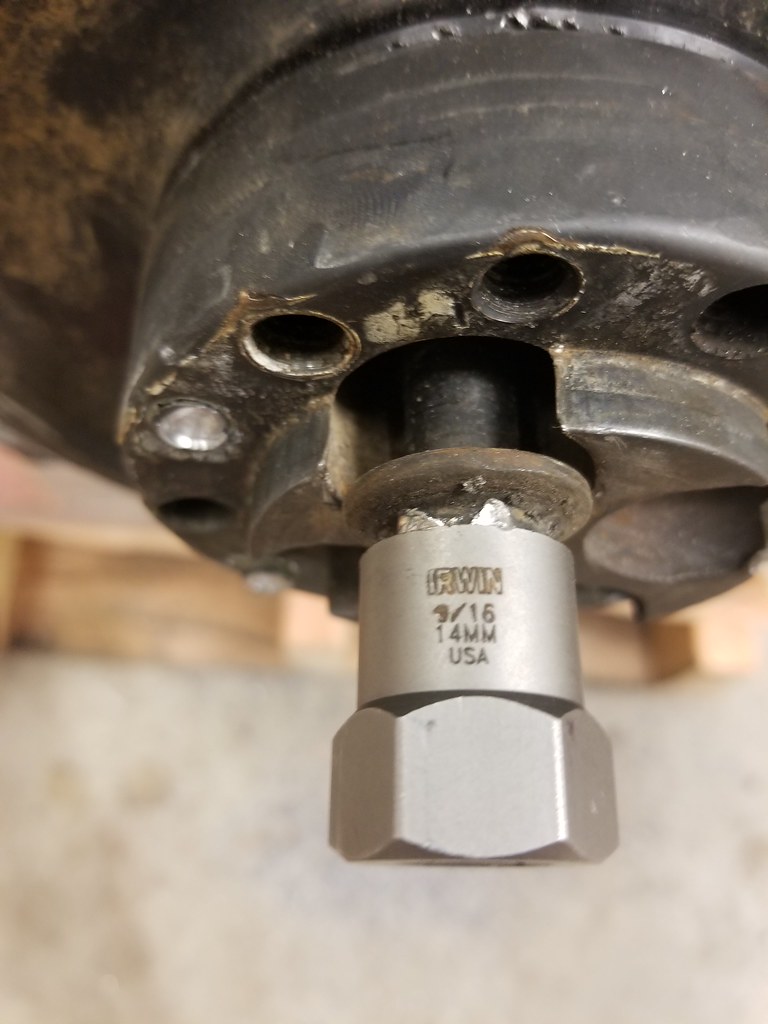
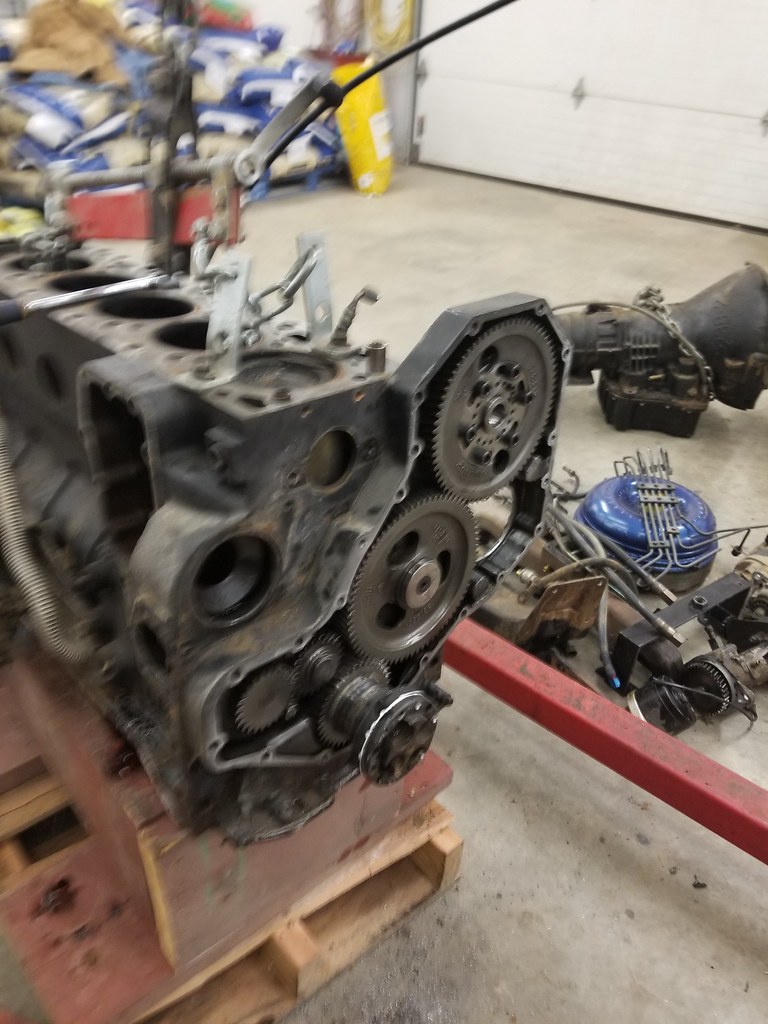
While waiting on off gassing time, pulled the freeze plugs, brakets, etc... off the enginge and then pulled it out and took some measurements on where to relocate the engine. Think it's going to be right at 18" back. Waiting on responses from 2 orgs on how they measure on the balancer, center of balancer or front face... from the center or some other point.

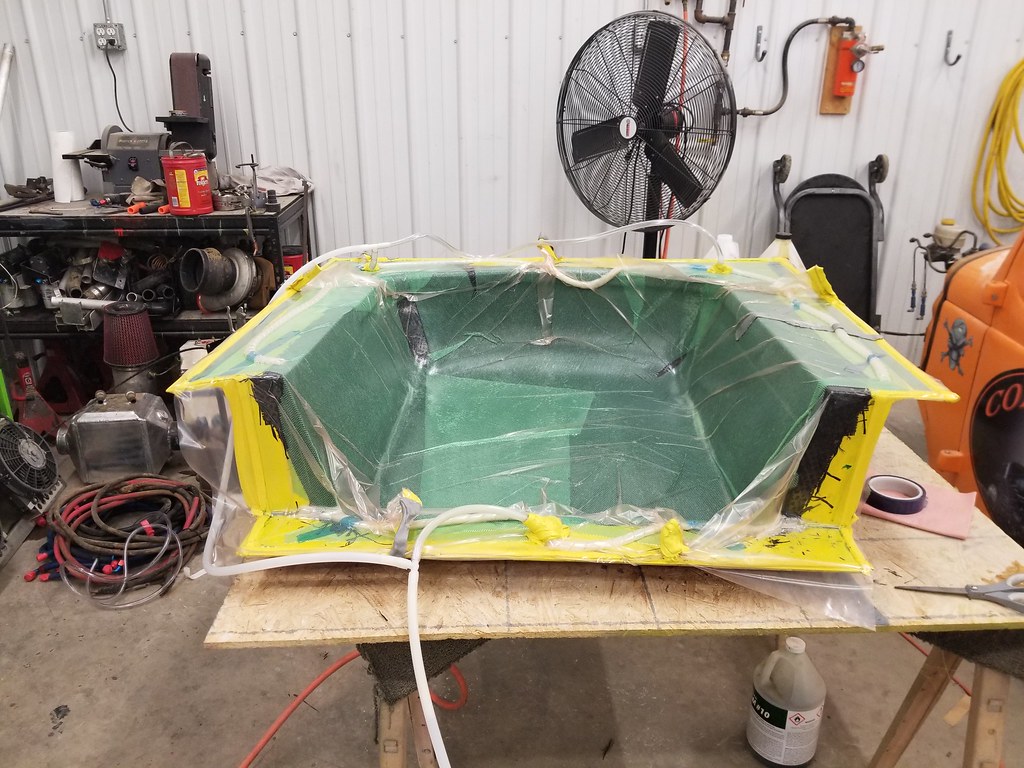
Cut out cf, foam and peel ply
38496657956_8455ce64db_b.jpg


3 coats of wax
24680716728_b1f82b0c08_b.jpg


37665122115_0473feeb66_b.jpg


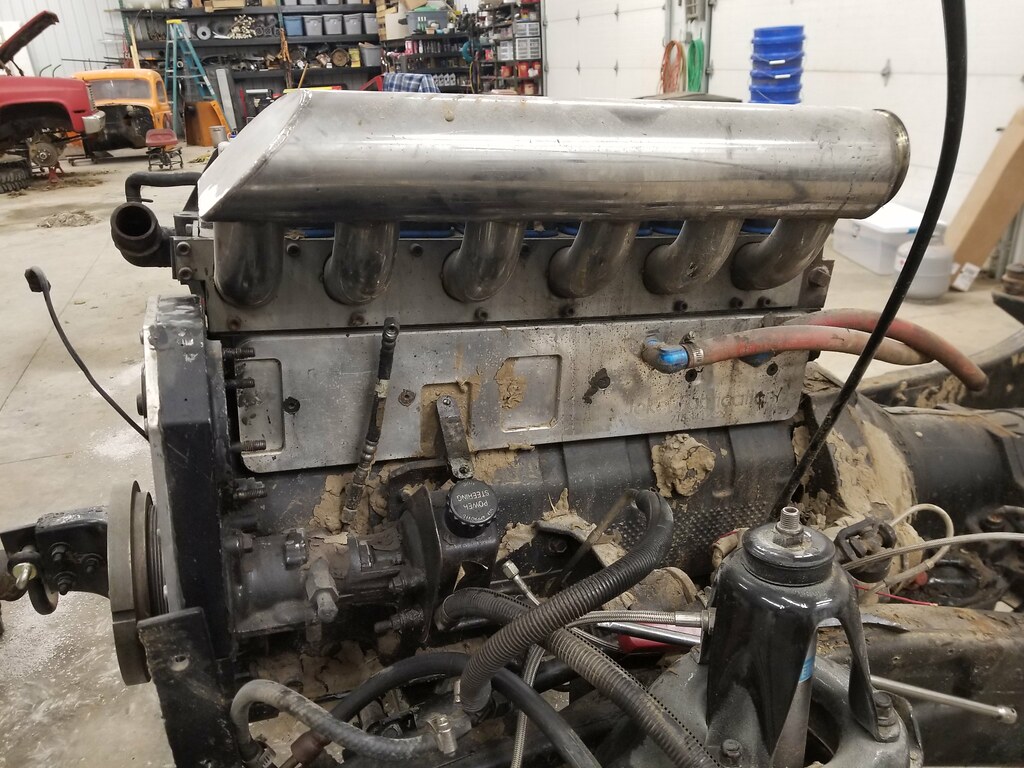
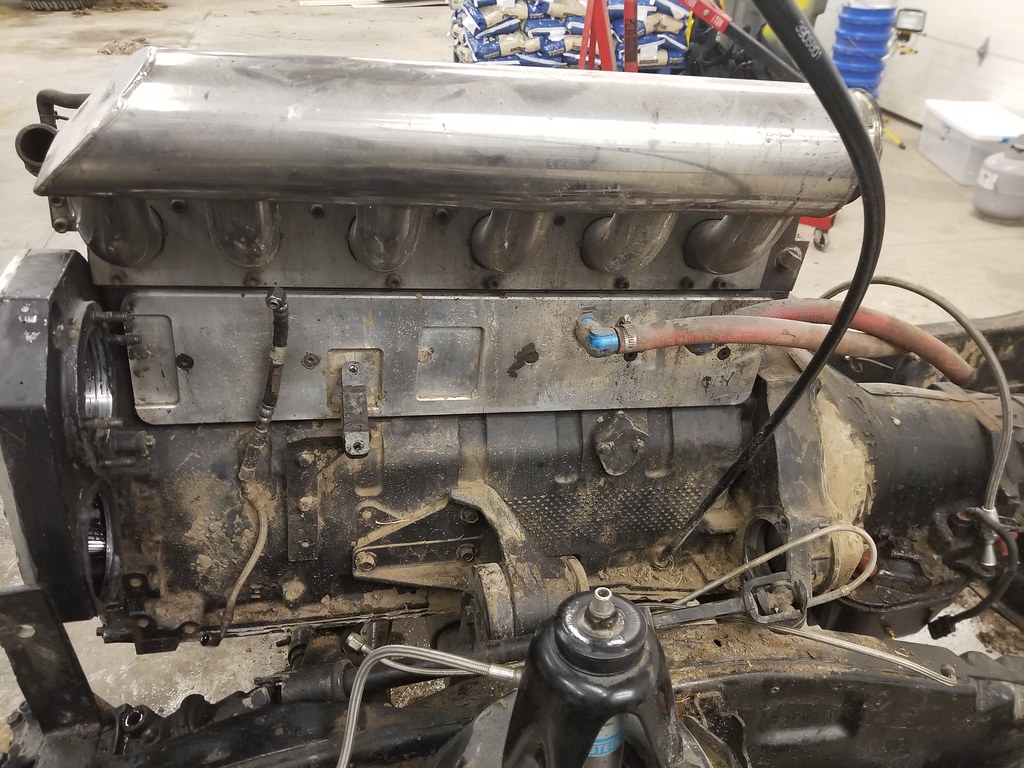
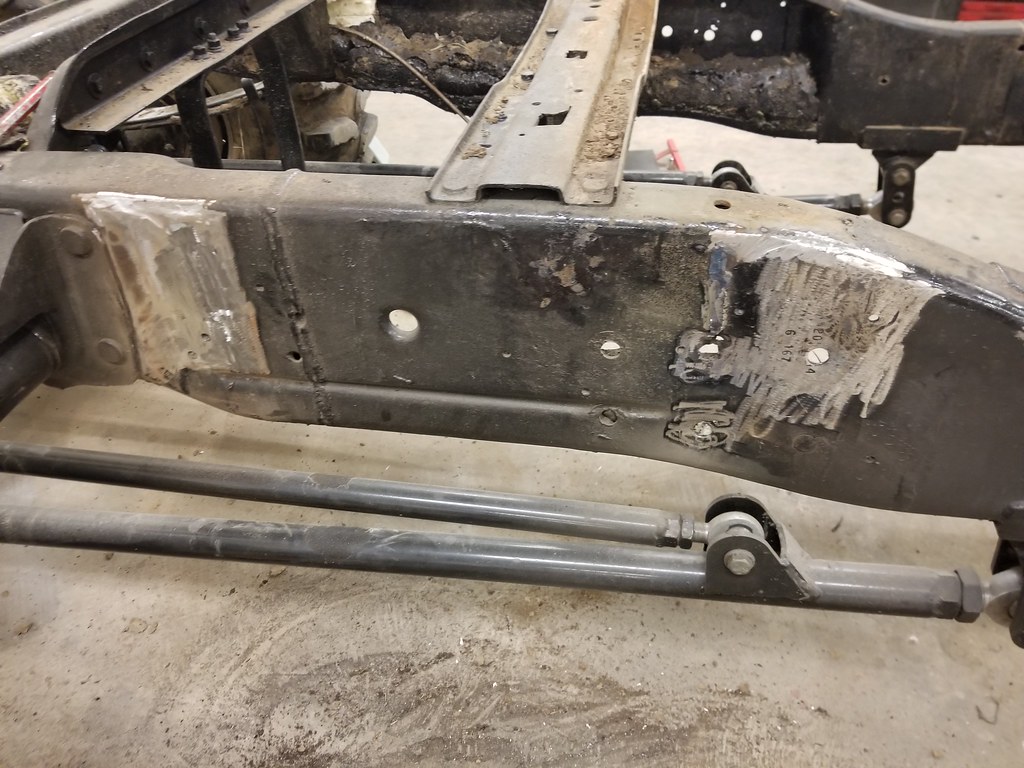
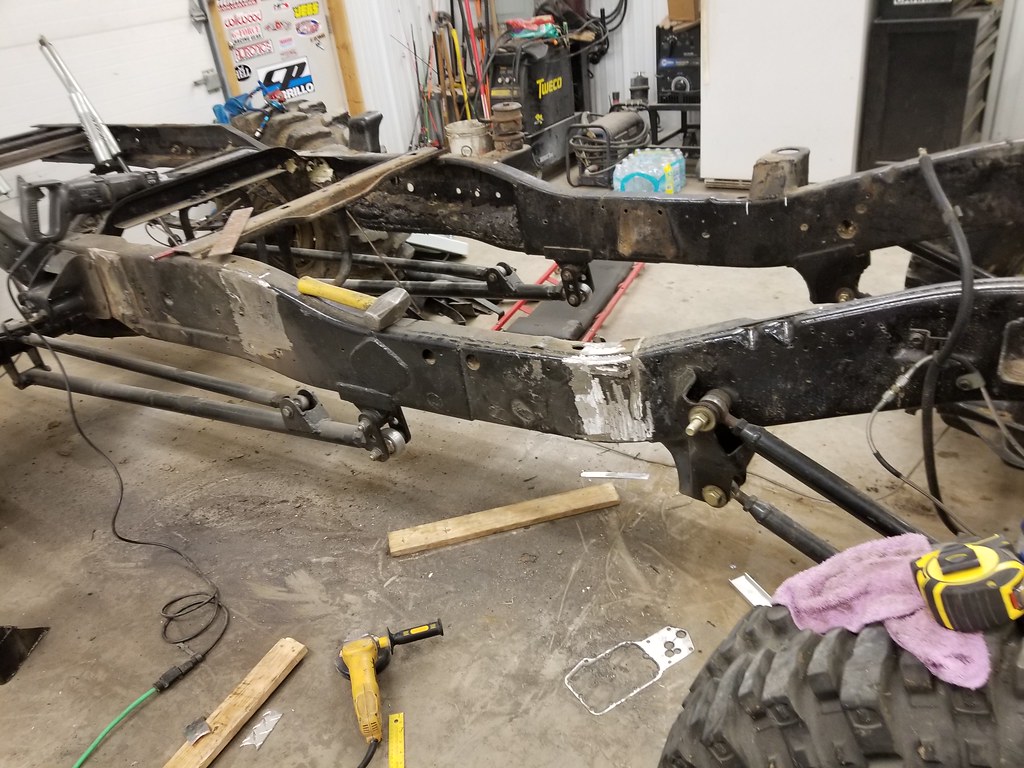
Measuring height of deck front and back so I can place it back at the same height in it's new location.
38496654916_af84188c80_b.jpg


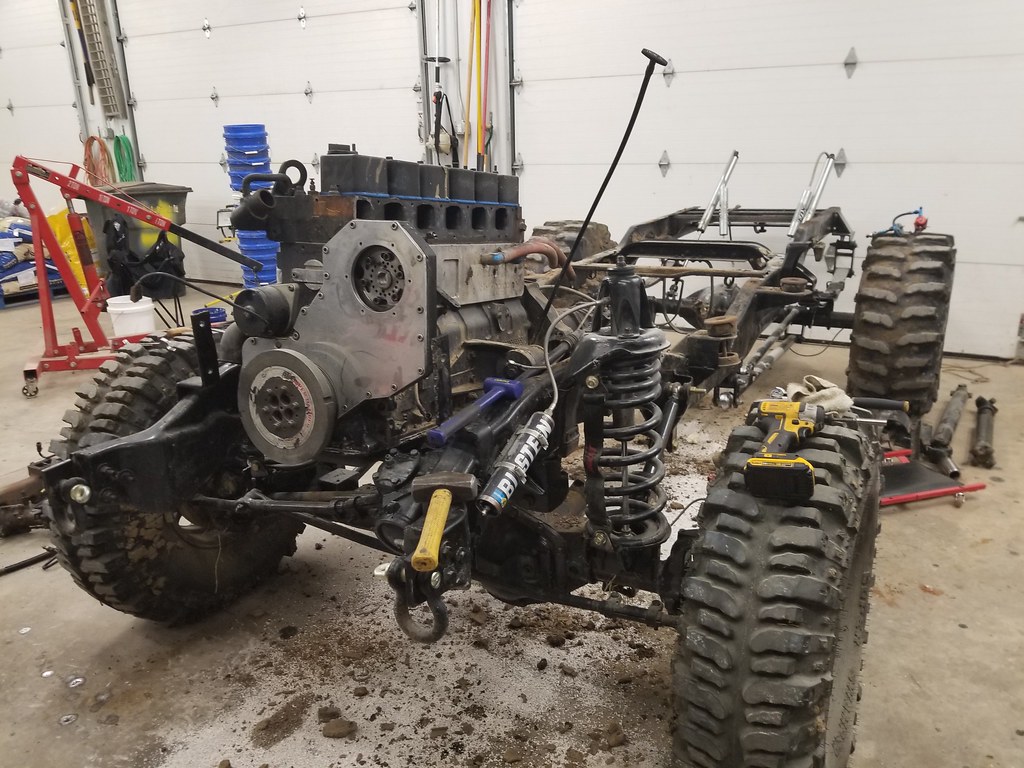
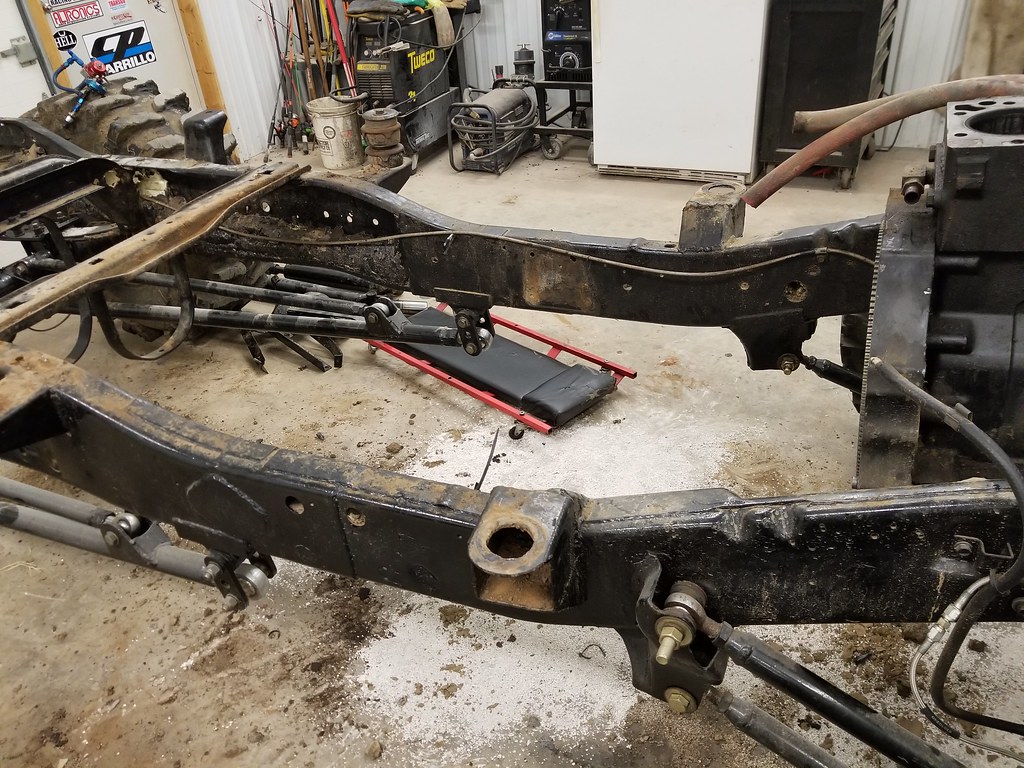
Marks on the from of where it's going to be
38521158292_97d36feb89_b.jpg


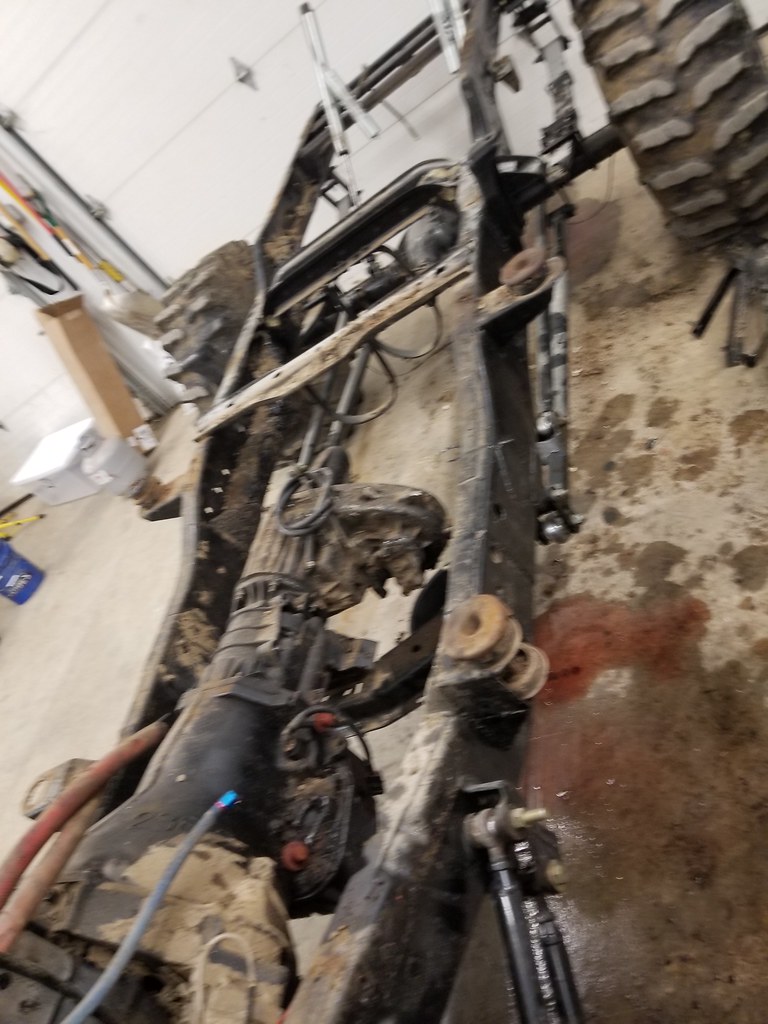
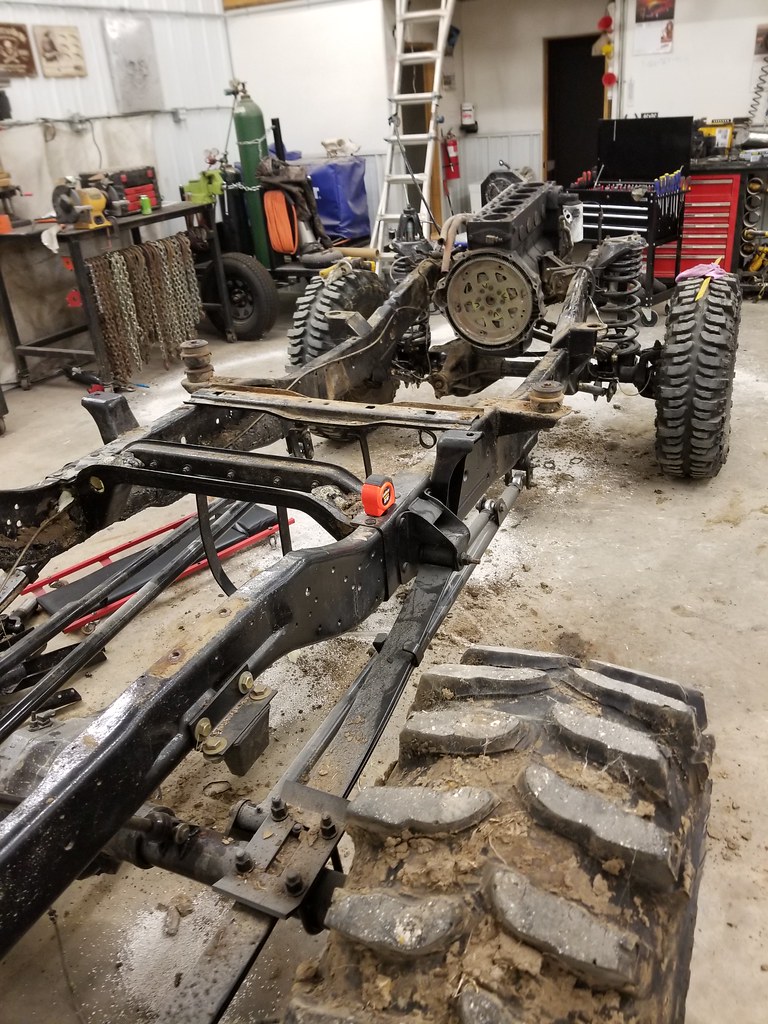
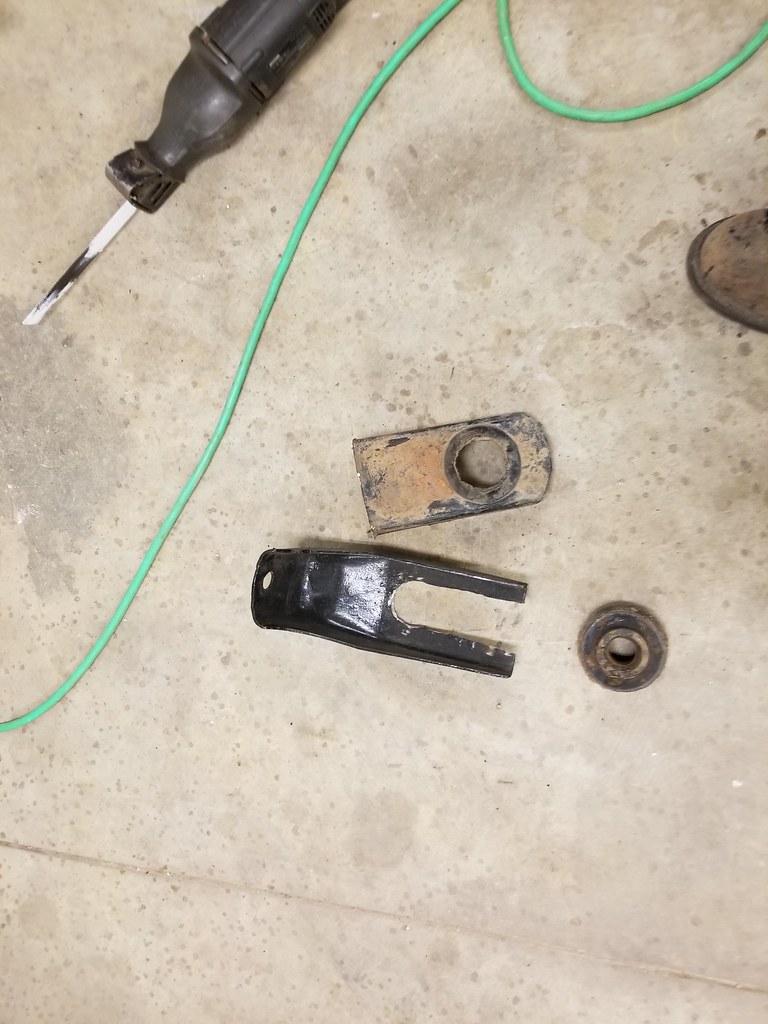
Engine is out, now to cut off the motor mounts
26777004689_5f77b46fe9_b.jpg
 
After a trip to Skiatook to pick up some tubing and connectors I needed for vacuum bagging the mold, I worked on a fender for a legion member that is using it on his harley trailer he pulls behind his rv. Wanted me to weld up all the bolt holes and gromet holes he wasn't using.

Also finished up the last coat of wax on the mold and got 3 coats of PVA on it as well. Need to do more tomorrow and I might actually make the part tomorrow as well.

Then spent quite a long while working on cutting off the engine mounts out of the frame. After a few cut off wheels and worn out or broken saws all blades, I got them both cut off.

Got final confirmation today that all three orgs measure the same, the front face of the balancer, so I need to figure out which balancer I'm going to run, right now leaning toward switching to a fluidampr competition version, then I can take my final meausurements and figure out placement for the motor mounts and then space all the other mounts back that much as well. The other mounts shouldn't be that much of a pita to cut off I hope.

Looks like I will have to build some spacers to add to the width of the mounts as the frame widens out where I'm looking at putting the engine.

38516112076_fb4ef1fbc4_b.jpg


26796168549_e7fa55b034_b.jpg


38541142362_7893be4c35_b.jpg


38541142352_69e124c6c2_b.jpg
 
Decided to get the grill made today, finished up the coats of PVA I needed to put on the mold and once it finished sitting for an hour after the last coat, I laid up layers of CF wet this time to see if it forms better with this epoxy I'm using since it doesn't flow well for infusion. Was a bunch of work to get all of it laid in, wetted out and the next layer going. So will pull it apart some time tomorrow to see the results.

Also tried to pull that ^$%^$%%^$%#$ ati damper off my old engine, 3 center bolts broke loose easy, 4th one I broke 3 or 4 sockets trying to get it broke loose. The outer bolts came out but the damned allen bolts snapped 2 allen sockets off in them, so I'm trying to drill them out to get the outer part of the balancer off and then maybe I can get the last bolt broke loose off the crank. Had hell getting it off last time as well.

38533777606_600b2048e7_b.jpg
 
Looking good Johnnie!!! If the Org's will let you engine plate, I would recommend a mid plate and fab up some light mounts for the front of the engine while your into this much surgery.

Lol, also while its on my mind, look at that heavy boxed frame. Grab a creeper and look up under your daughters truck, I bet the old square body frame weighs less than 1/2 of what the second gen frame does. It would be interesting to cut one foot out of each frame and actually weigh them. Then, go one step further as most orgs only require a factory frame, and compare everything else to a mid '70's CJ frame.

Could you PM me your CP Carrillo contact. I need to check on some rods and pistons.
 
Yeah, my frame is pretty heavy, but I've never worried about it twisting or breaking either. I might eventually switch over to an S10 frame to go really lighter at some point in time, but this year, I'm pretty limited budget wise on what I can do, so will pretty much just use my frame and existing motor mounts with some spacers and move the cab and build a shorter bed and fab up a one piece front clip.

Pulled the front grill out of the mold today, took a bit of work getting it out of the mold, took both me and my son pulling on it to get it out of the mold, but overall it looks great. There are a few areas that will be painted that aren't perfect, but the area where the grill was and will be left exposed as CF looks great. Need to trim it up and wash off the PVA and then get a weight as it sits.

Got the outer portion of the ATI damper off finally today, ended up having to drill and try to extract the 6 hex bolts out, 4 broke the heads off and 2 actually came out, then I got the outer portion off, still can't get the last bolt out of the hub from the crank, will have to get a turbosocket or something to try and get it broke loose.

Fixed a smoked turkey today, prepped it making a rub of butter, 1/2 lb of bacon, some fresh herbs and rubbed it down under and over the skin before I covered it in 3 1/2lbs of bacon and then smoked it for 5 hours till it was done. Tasted excellent.

38551387806_82a9663919_b.jpg


26831615779_63e94f88fe_b.jpg


38551388066_d82c1c11f0_b.jpg
 
Cleaned up some of my messes in the shop from making the grill and some other things. Went up and staked out the perimeter of my corral and found I need to make some changes now seeing it in real life, so I need to make some changes to the cad drawing and then I think it will be ready to start putting posts in the ground to get it started.

Still can't get the last bolt out of the balancer hub, need to pickup a set of turbo sockets and hopefully can get it out.

Trimmed up the edges of the CF grill, need to sand them level all the way around it and got most of the PVA off of it and the clay I used for transitions, need to wet sand it a bit and then work on the areas that are imperfect to fix them, then it will be on hold till I build the hood and will paint it and the hood together and then clear coat it all. If you look at the picture, I made the new grill taller than what the factory looks like, but I had removed the lower piece this past year and replaced the front with an aluminum skinned piece to shave off some weight.

Cut off one bed mount and one body mount today, still need to finish cleaning up the frame where the body mount was.

Taking the grand daughter (turbo) to see Paw Patrol in the morning, so hoping I can swing by somewhere that might have turbo sockets tomorrow so I can get that hub off the crank.

38593112942_dfcc3a81f0_b.jpg


26849557679_93b1ae6ab3_b.jpg


38625652841_1d67c2b834_b.jpg


38625652811_68ef8ac558_b.jpg
 
Took little Turbo to see Paw Patrol today at the BOK, she loved it. While in T town, picked up a set of irwin turbo sockets and when I got home this evening was finally able to get that bolt off and that hub off the crank. Even the hub was stubborn. Had my son pull off the billet front cover and the side oil filter plate while I worked on cutting off more on the mounts.

Made a mark on the hub where the front face of the fluidampr will be on the engine and after cleaning it up so it slipped on and off put it back on the crank. Planning tomorrow to put the engine back in the frame and get measurements on where the engine will sit and how much spacing front and back I will need to create to weld the mounts back in the frame.

24771323448_b827757a1e_b.jpg


26867999419_321f8a64c1_b.jpg
 
That grille turned out great!
I like where this build is heading......

I'm betting the bacon turkey was stellar.
 
Last edited:
Thanks, hoping my ideas all work out to right.

Yes the turkey was great, nice smokey flavor with a hint of bacon

Finished cutting off the front body mount today, still need to finish cleaning up the frame from it. Need to pick up some more cut off wheels and saws all blades tomorrow.

My son and I spent a while moving a ladder around the outside walls of the shop so I could caulk the roof to wall seem, if I get high winds and rain or snow, I will get water in the shop, My long term plan was to build overhangs on both sides, but it's taking longer than I wanted to get them built, so decided to just seal the seam in the mean time.

This evening we picked the engine up and test fit placement and figure out how much spacing I need to make for the motor mounts to the frame. Looks like 1 1/4" in front and 1 3/4" in back. Think I'm going to cut out some pieces of my 3/8" plate I have to make the spacers and then will finish boxing it in once I get it welded on the frame.

Factory placement:
37665122115_0473feeb66_b.jpg


Where it's going
38634194122_07a151afd4_b.jpg


All the mounts cut off the passenger side
38634194612_acbbccbf13_b.jpg
 
Thanks for keeping us updated. I am looking to relocate an engine towards the rear on a second gen chassis as well. I'm Interested in how you do yours. Thanks for all the pics!
 
Back
Top