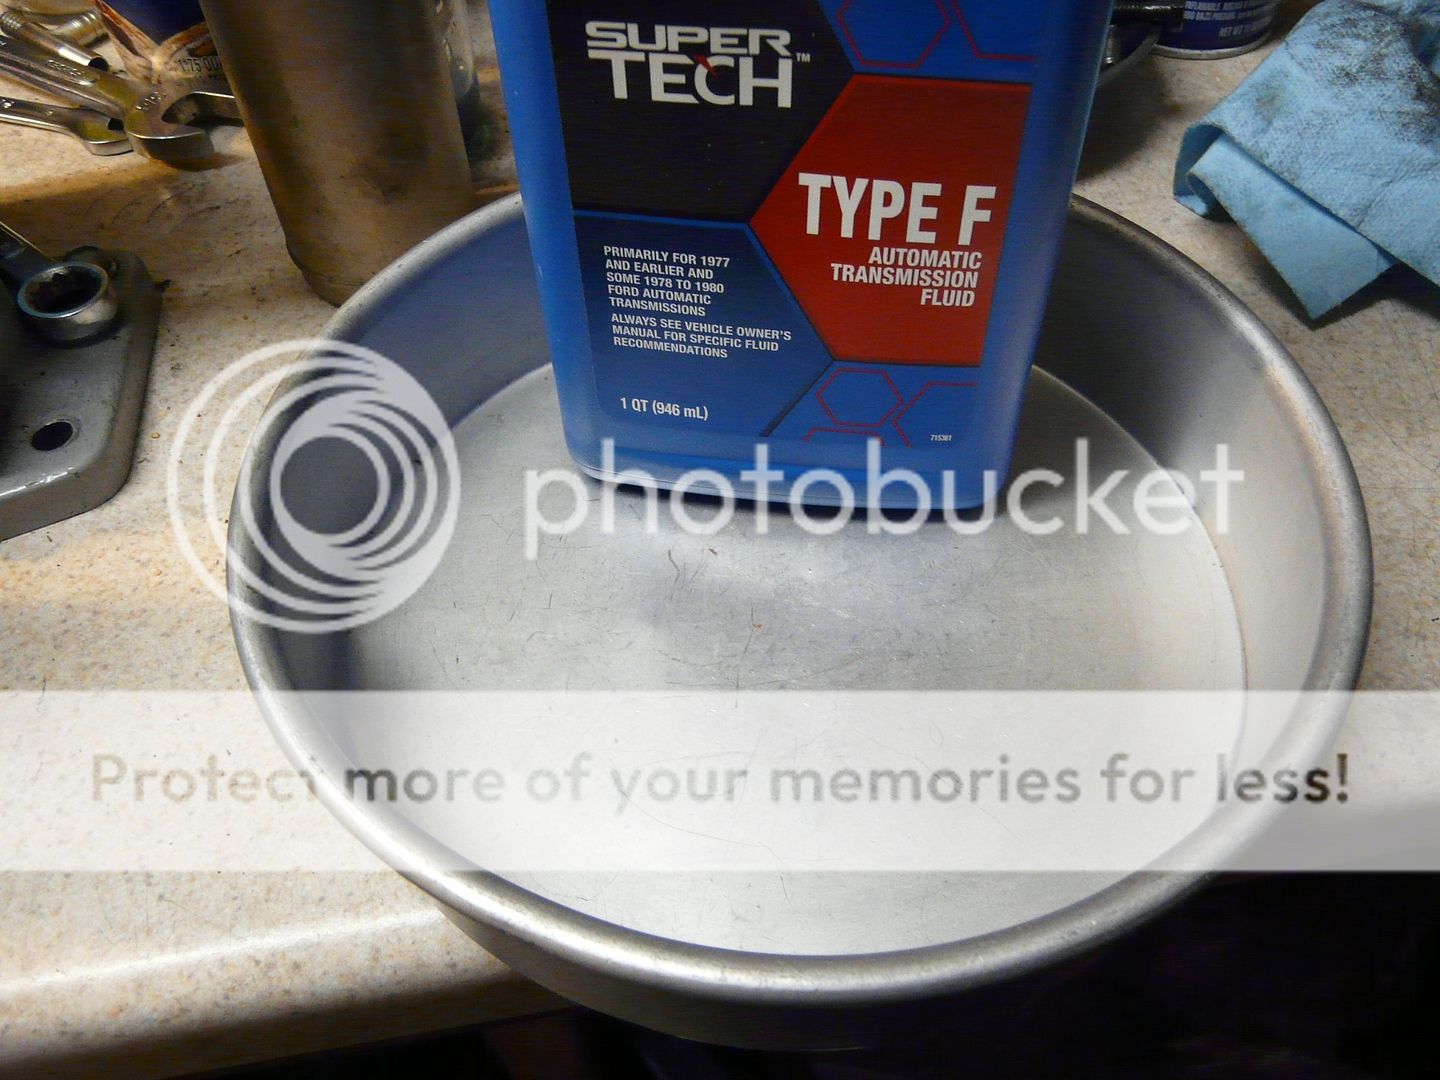
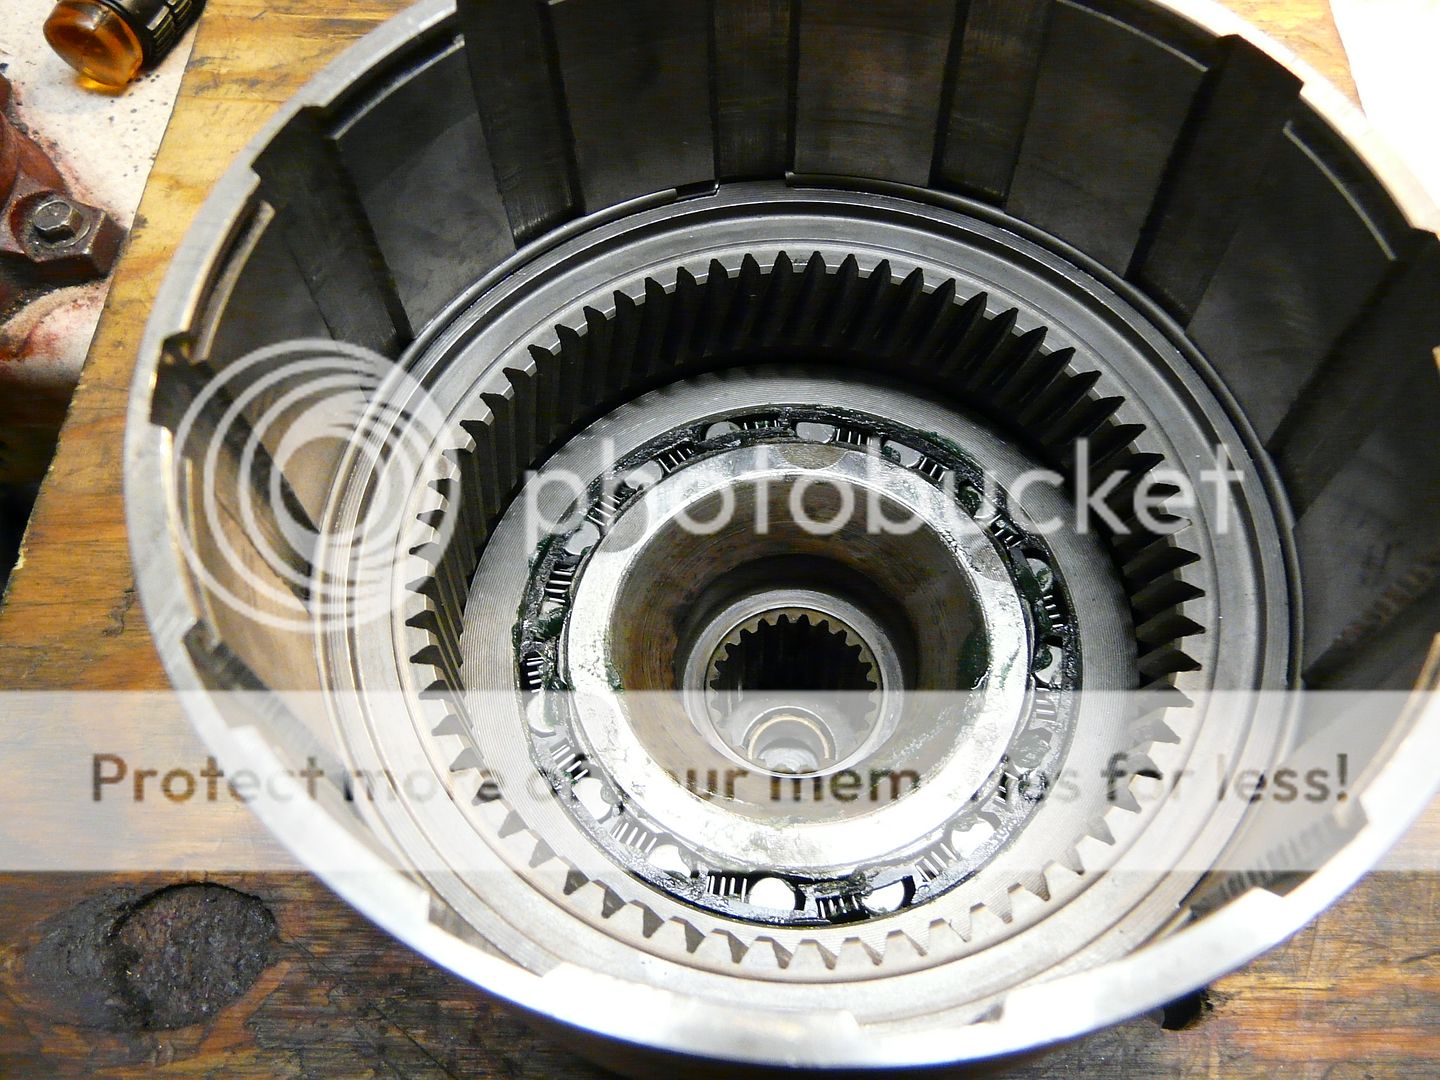
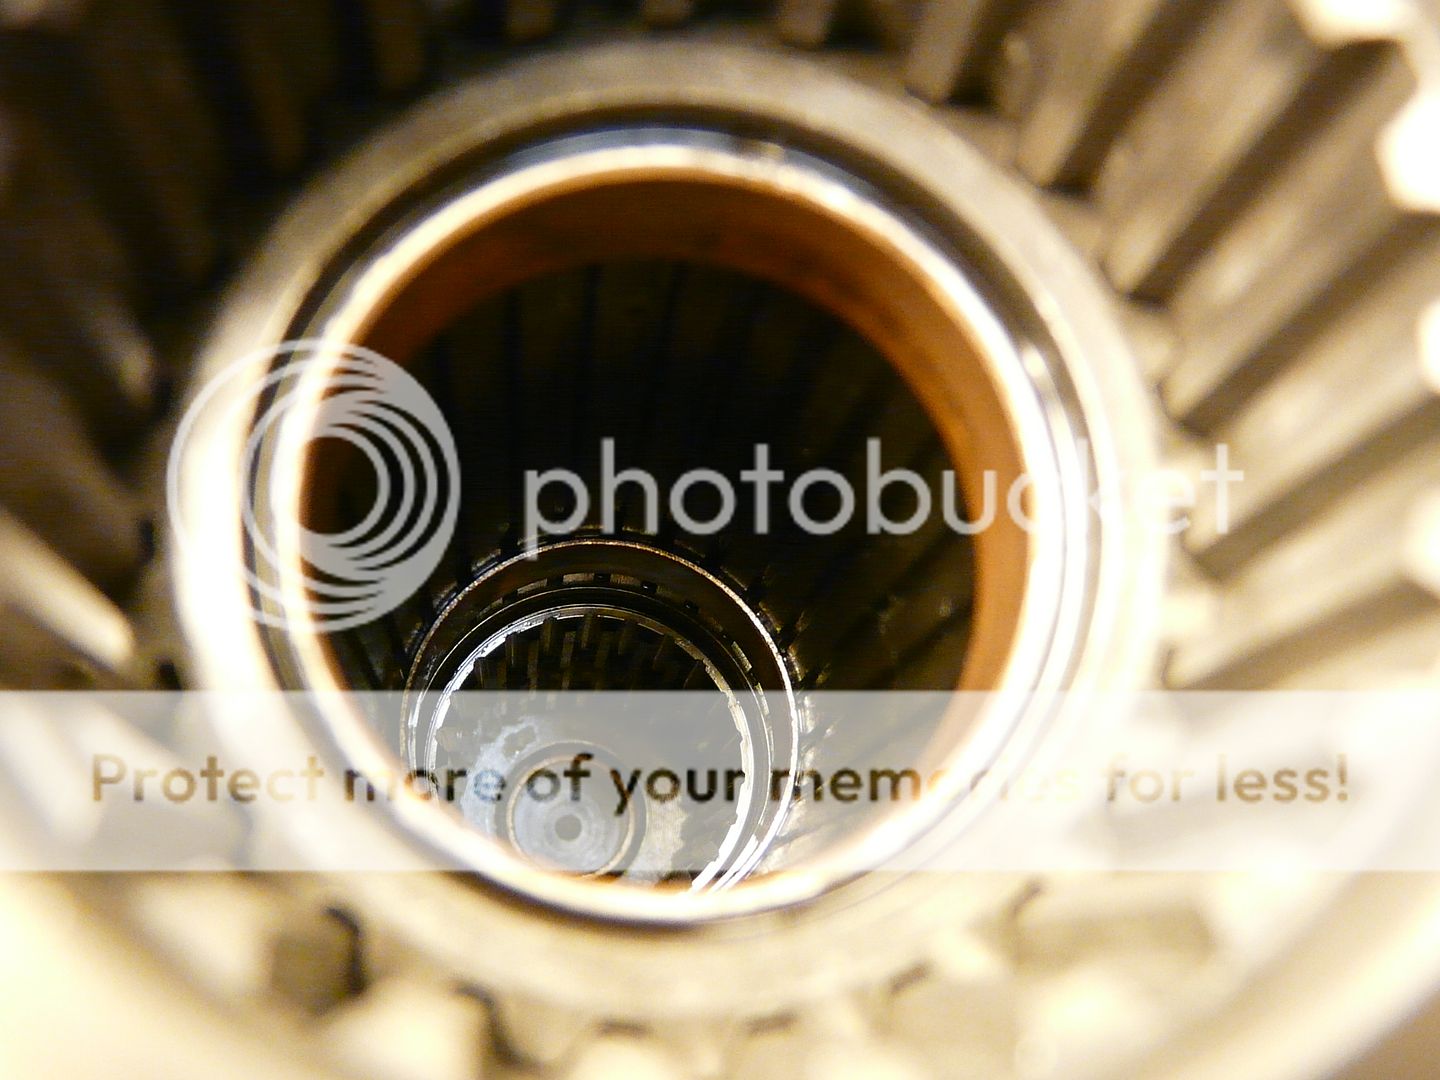
For the next steps, you'll need a cake pan full of ATF to soak clutches, bearings, etc.

New overdrive bearing presoak in ATF:

I like this assembly grease/lube for hot Vegas weather when assembling trans parts, Vasoline or Petroleum Jelly will work fine in colder climates:


New Overdrive Sprag:

Lubed:

Ready to install with new bearing in-place, fresh out of the ATF bath:


Installed, it's easiest to lower the assembly into the case using large snap ring pliers expanded into the center splined portion.

Next the stock (6) pinion overdrive planet drop down with a little pre-lube on the spur gears, 47rh & re transmissions came stock with a (5) pinion overdrive planet.


Next replace the bearing and race on the overdrive sun gear assembly:

The bearing kit came with both a new bearing and a race:

Remove (1) snap ring to remove and replace the race, otherwise just replace the bearing if the race is going to be reused. All pre-lubed and ready to install:


Install the large overdrive direct spring on the bearing race:


Install the lower reaction plate over the splined hub and start installing the pre-soaked overdrive/direct clutches and steels, (10) clutches in this pack:


Stock upper reaction plate, notice snap ring groove faces upward.

The splines need to be aligned before the big spring is compressed, there is a special tool available, or many shops use a cut-off intermediate shaft. I simply use a full length intermediate shaft since it doesn't interfere with my make-shift spring compressor.


Pre-lube the lower half of the shaft with ATF to ease assembly and removal:
