New Pro Stock Diesel build - 2 D Max

What should Michael name his new truck?

  • 2-D-Max

    Votes: 40 60.6%
  • 2wD-Max

    Votes: 7 10.6%
  • Something else (please post ideas)

    Votes: 19 28.8%

  • Total voters
    66
Just a quick update - after a long couple weeks of SEMA prep and the actual show (including an emergency trip to support an install at an OEM customer), I am back to work on this project. I picked up a plasma cutter yesterday, I figured it would pay for itself with all the tubes I am moving around. Going to play with it on scrap stuff for a while (same thing I am doing with my TIG welder), while I work on the design of the changes to the chassis. At SEMA I talked at length with Chris Alston Jr., Jeff from Strange, and Rick Lefever (who built his own Pro Mod Quad Turbo Mercedes), getting chassis setup and building advice. Rick was particularly helpful, as he'd like to see me break the record of his former employer (and no, he didn't work for Wade) ;)
I love it. Good going Michael looking forward to it.
 
I'll keep racing my tube chassis Vega, will probably bring it with me too on most trips with the race truck in case I can find a good gasser non-electronics race along the way. Will probably clean up & sell my small block street/strip Vega though, if nothing else to make some room!

I should have more photos to post today when I get home.
 
Sorry, I have been planning to post a few photos but keep hoping to make a little more progress to add to it! I've spent more time researching parts and talking to potential suppliers and sponsors lately than actual work on the truck. This included a trip to the PRI show, where I was able to meet face to face with several in one shot.

I've reached a sponsorship agreement with Chris Alston's Chassisworks for a large discount on most of my suspension stuff, I need to sit down this weekend and finalize my "shopping list" with them and get the parts on their way. Also reached an agreement with Strange Engineering on the rearend. The back half will be all Pro-Mod stuff, including a full-floater rearend and massive anti-roll bar and huge bars on the 4-link. Front will be aluminum double-adjustable struts from Chassisworks. This thing will have more tunability than I know what to do with!

I have brought the chassis home and pulled all of the body panels off except the cab, looks like I have to make a few strategic cuts on the cab to remove it from the chassis (as well as remove a couple of tubes). I decided to build a full-blown chassis jig and mount the chassis on there before I cut any more tubes out. The jig is about half completed right now, hope to finish it this weekend and resume cutting on the chassis. Hoping I can get the Chassisworks components before Christmas and spend that time putting things back together!
Sounds like a great deal of work accomplished in a short time! I wish I would have the spare time to move that fast!
 
Shhh, Enterprise isn't aware of their involvement with my racing operations ;)

Crap, ended up sick over the weekend & barely got anything done on it, but feeling better now and should get some work done after work tonight.
 
Okay, I'll throw in a quick update!

Like I mentioned before, I've spent a lot of time on "procurement". I have my order in now for all of the suspension stuff (front struts, steering rack, column, 4-link, wishbone, anti-roll-bar). This is part of a sponsorship deal with Chris Alston's Chassisworks. They came highly recommended from several people I talked to in the industry, and it turns out their Sales Manager worked previously in the diesel industry and was eager to sponsor a diesel truck!

Also working on the engine combination, and just bought my atmospheric charger (106 mm ball-bearing unit), when I came across a killer deal on a new-in-box unit. I'll be working with Industrial Injection and Adrenaline Truck Performance (Idahorob) on the rest of my combination. I have the LMM engine at my house now, but need to get it torn down and get the CP3 and injectors sent off to Industrial for reworking. LOL, I didn't realize that you have to pull the dang oil pan off before you can remove the bellhousing adapter so you can bolt it to an engine stand!

Speaking of killer deals, I have a long list of parts to buy as I can afford them, and that includes electronic scales for initial chassis setup and continuous monitoring. I had picked out a specific model I wanted after checking them out at the PRI show. Lo and behold, the week after PRI a set pops up on Racingjunk, brand new and only used once (still in the shipping plastic), for $250 less than new and with free shipping. I was lucky enough to see the ad just after it was posted, and the guy told me he would sell them to whoever was the first to get him a postal money order for the amount. I rushed to the post office and overnighted him one, and he confirmed that I was the first to get the money to him (and that a local buyer was planning to come by the next day). I get a weird message from him the next day that the shipping was going to be over $500 and he was going to refund my money. I called him back and suggested that he may have clicked on "overnight" to get that shipping quote (he did), and to please check the ground freight prices, and if it was too much I might share the freight with him. After not hearing from him again for a while, he just called and said he was sending my money back, it appears he just sold them to the local customer to save himself the shipping. I hate it when someone does not keep their damn word!

I spent a couple of evenings getting my TIG and plasma machines set up on a cart with all their supplies, so it should be a lot easier now to cut and weld without dragging things out and putting them back away.

I have the chassis at home now to continue the work. No, I don't have a spacious shop, just an oversize 2-car garage! In these photos I have removed all the body panels except the cab, and was test-fitting the new plastic seat.

IMGP9884.jpg


IMGP9882.jpg


IMGP9883.jpg


I went to remove the cab, and discovered that some of the items had been welded on after the cab was put on. I already knew that the rear rollcage struts would have to be removed before pulling the cab (since they passed through the rear window opening). Even the dang door hinges were put on afterwards, so I had to notch the cab fiberglass to remove it.

IMGP9972.jpg


Once I did that I was able to lift the cab a ways, so I could get access to the top of the rear supports for cutting them out (wanting to cut them as close as possible so I could reuse the tubes in other locations).

IMGP9975.jpg


I decided to hold off on cutting any more tubes out until I get the chassis jig finished and this thing mounted on it. I think I've finally figured out my design for the chassis jig, and have all the parts in hand. The real bear will be getting the chassis on top of it!

One thing I discovered once the cab was raised up - the top of the rollcage around the driver's head was NOT welded!!!

IMGP9976.jpg


I'm so glad I am tearing into this thing completely so I can be sure it's done right (or if it's done wrong it's my fault)!!!

I hope to get the jig finished and the chassis mounted on it over the next couple of days, then resume cutting bars out. I just discovered another undersized bar in the cage, so I'm glad I bought extra tubing!
 
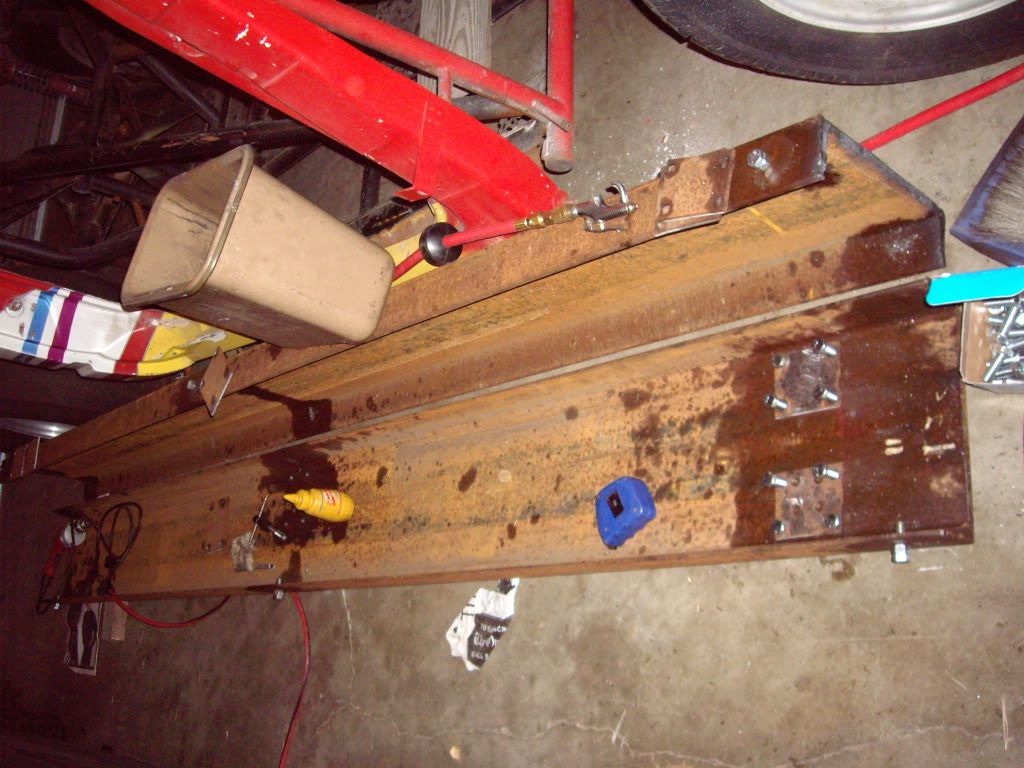
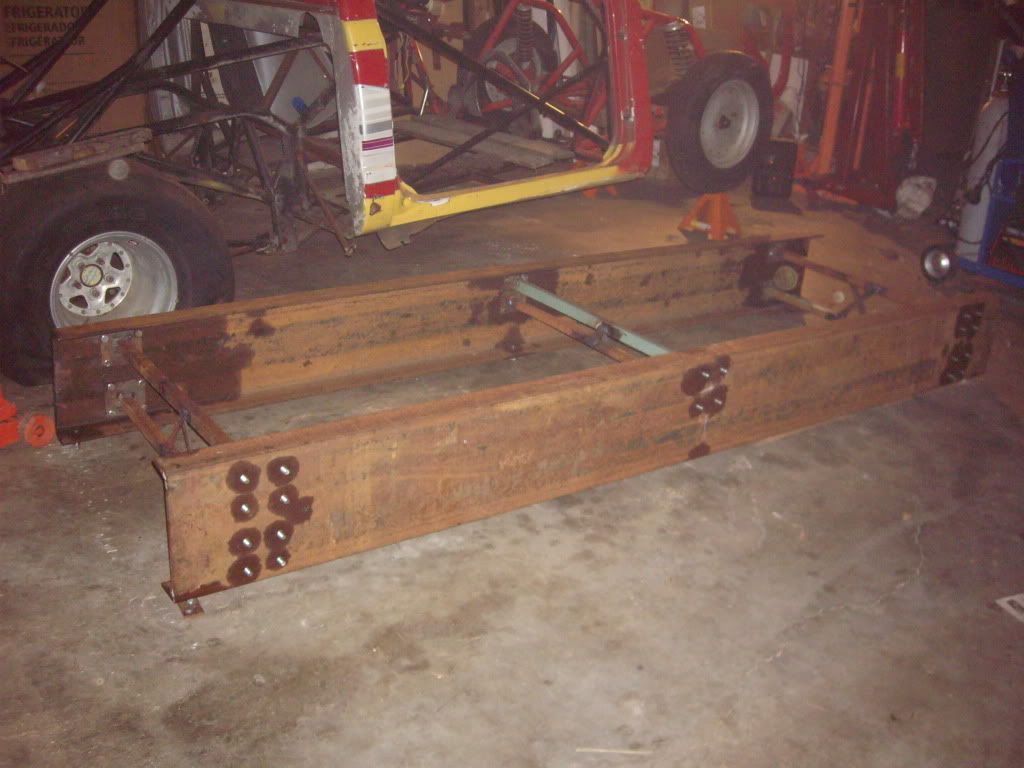
Okay, I went for a while without making much progress, first getting ready for Christmas, then just after Christmas I had a bit of a freak accident. I was trying to move and flip over one of the big 305 lb C-channels that make up my jig rails, picking up one end and trying to flip it in the direction with the channel "legs" facing the ground. Just as I had it almost rotated over, the other end (resting on the pavement while I had my end chest-high), slid violently away from me, pulling me out of my good lifting stance, while spinning in the other direction that gravity felt better about. Within a few minutes I couldn't feel my left hand, and I knew I really tweaked the muscles in my left leg and back. I was unable to walk when I woke up in the morning, which was pretty dang scary!
IMGP0052.jpg


After several weeks of healing and rehabilitation exercises (and a few prescription drugs) I am finally feeling like myself again.

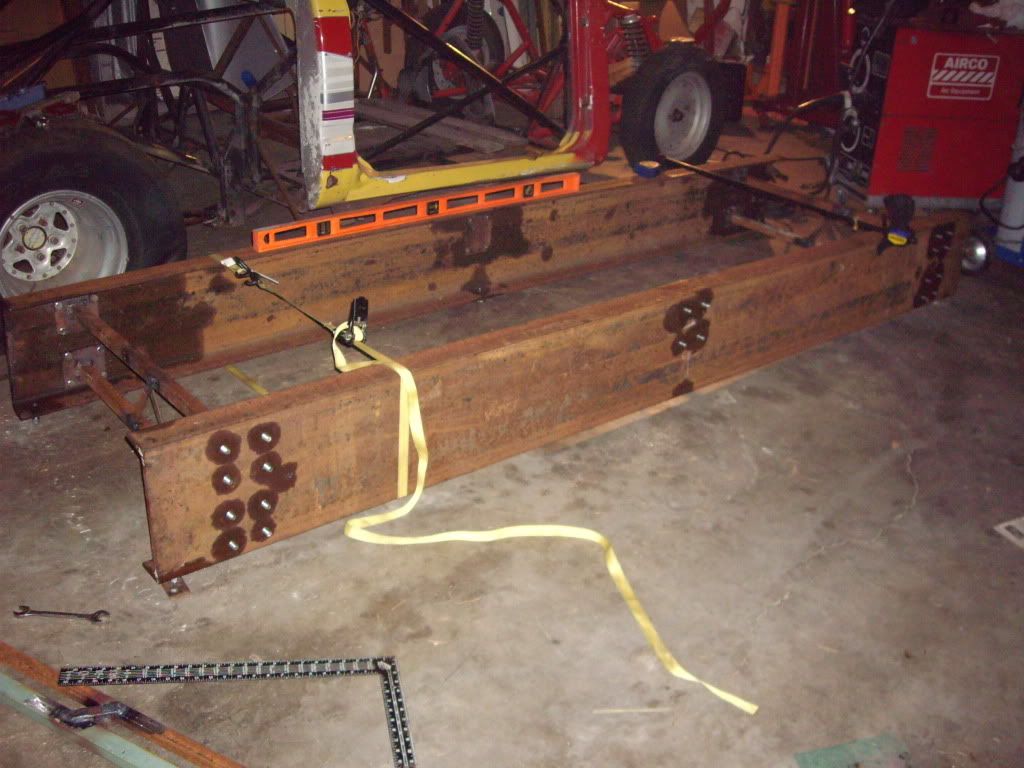
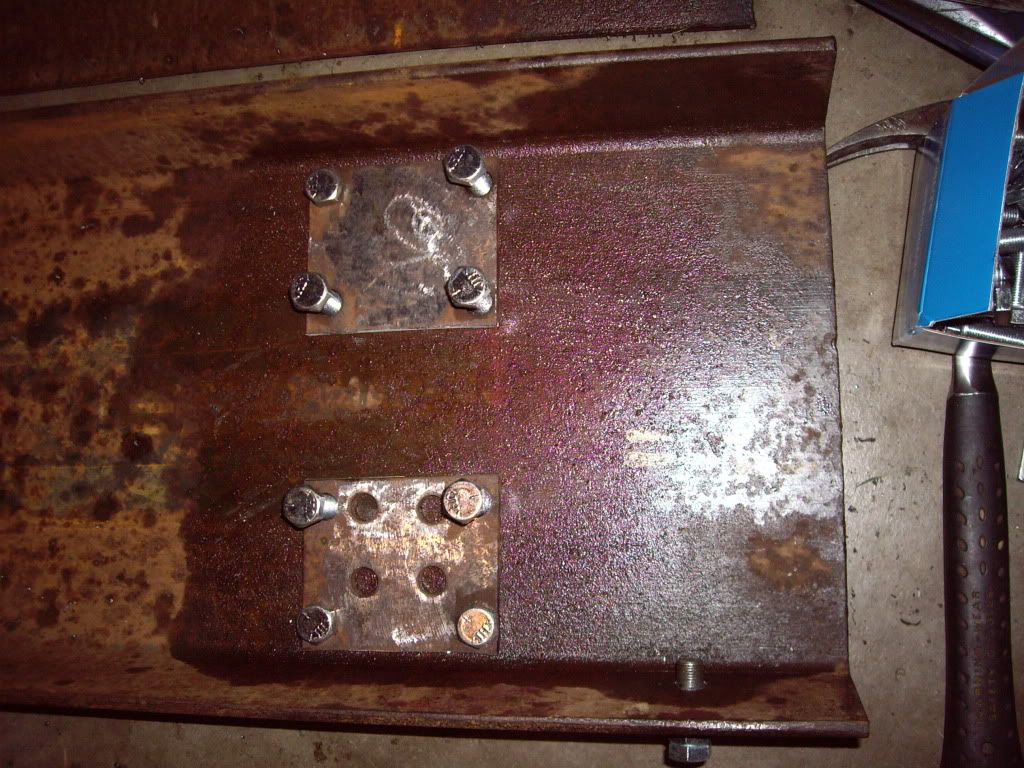
As my back was slowly healing, I started drilling and tapping the 1/2" holes (24 per side), and finished the first side. Having learned a thing or two, I used more mental power than brute strength to move the 2nd channel into position for drilling and tapping. I squared everything up then welded crossmembers to the bolted-in plates. I want this thing to be very rigid, but I want to be able to dismantle it for storage after I am done.
IMGP0053.jpg


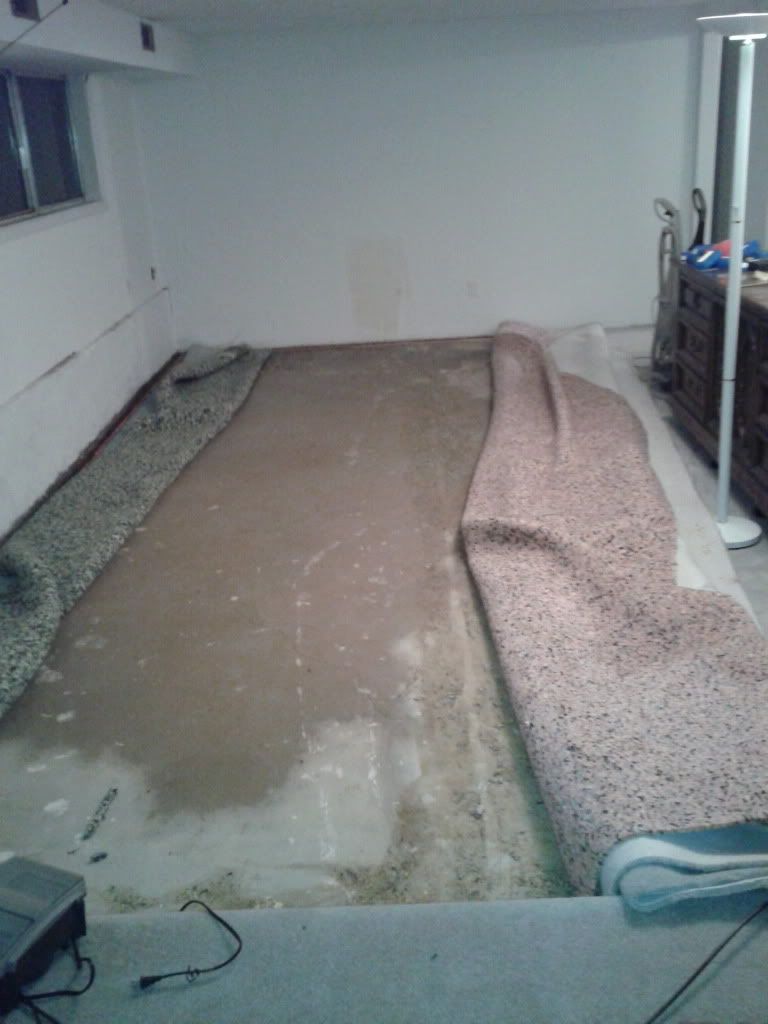
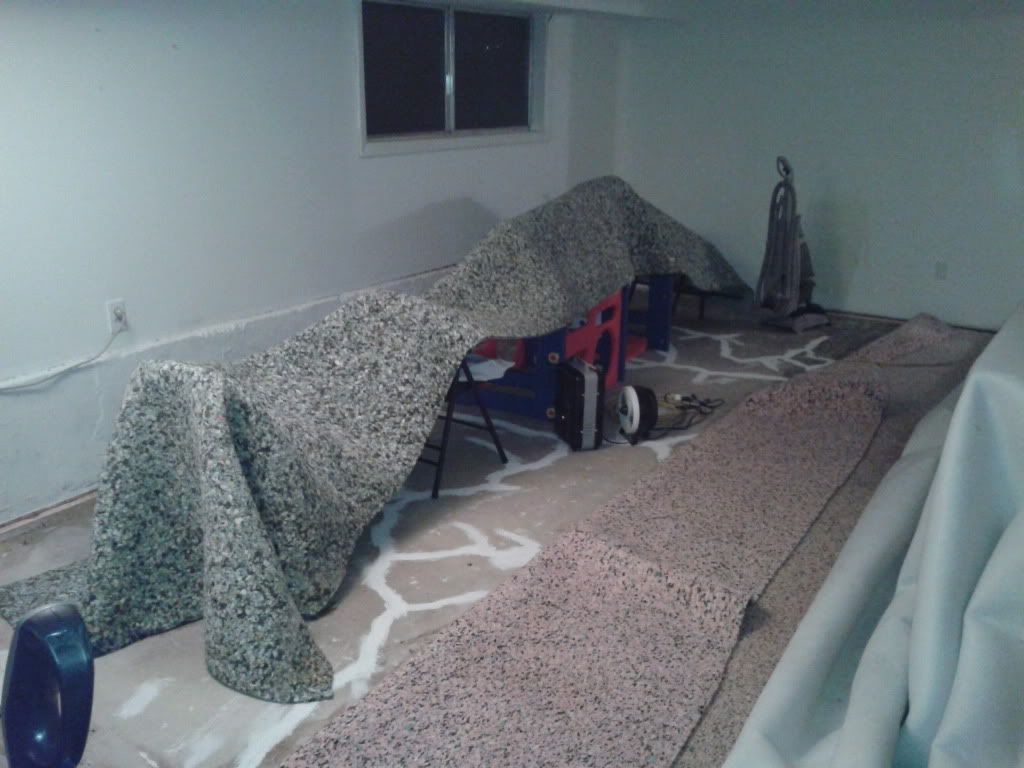
It sometimes seems like God either doesn't want me to finish this project, or REALLY wants me to appreciate it once I am done! Just as my back was feeling well enough to resume heavier work, I spent a long evening working on the truck then was heading to bed (part of my bedroom has a sunken floor), stepped down and felt water gush through my toes. Yes, my bedroom was flooding. We had been deluged by rain and snow for weeks, and the storms had also totally filled my gutters and clogged my downspouts with pine needles. There is a small crack in the concrete floor that is letting the water in when the ground is that saturated. After hours of wet vacuuming to keep the carpet as dry as possible (while more water was coming in), and a treacherous time on my roof cleaning out the gutters (in the dark early morning, with high winds and pounding rain, with spots of slippery moss to add to the difficulty), the water inflow finally stopped. I pulled the carpet and pad, and spent several days with heaters and fans getting the place dried out, then sealed the cracks up. I also discovered that wrestling with a wet roll of 330 square feet of carpet is exhausting! I finally have everything put somewhat back together, but still need to do a final stretching of the carpet to get out the wrinkles.
2012-01-21182201.jpg

2012-01-22141444.jpg

2012-01-22213307.jpg


While laid up with the back injury I was able to do a bunch of "parts shopping". I need to take some photos of the new parts stacked up here, will do so later. I think I smelled smoke coming off of my credit card after all of those purchases! I do think the UPS man is going to file a workman's comp claim before this project is done. Within a 1 week period I had several "over 70 lbs" packages arrive, including a couple that were 120+ lbs.

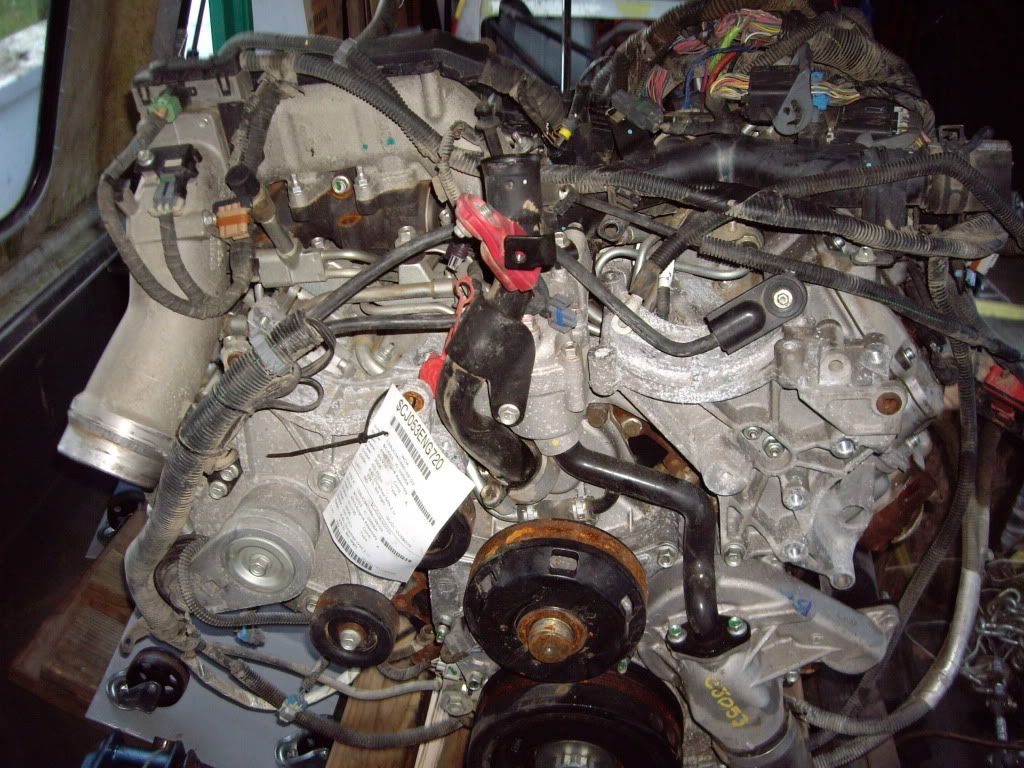
I previously picked up my core engine, which was supposed to be an LMM. As long as it was an LBZ or LMM I didn't care, but it might matter for harness purposes. It turned out to be an LBZ, which should make things a little easier.

IMGP0062.jpg

IMGP0055.jpg


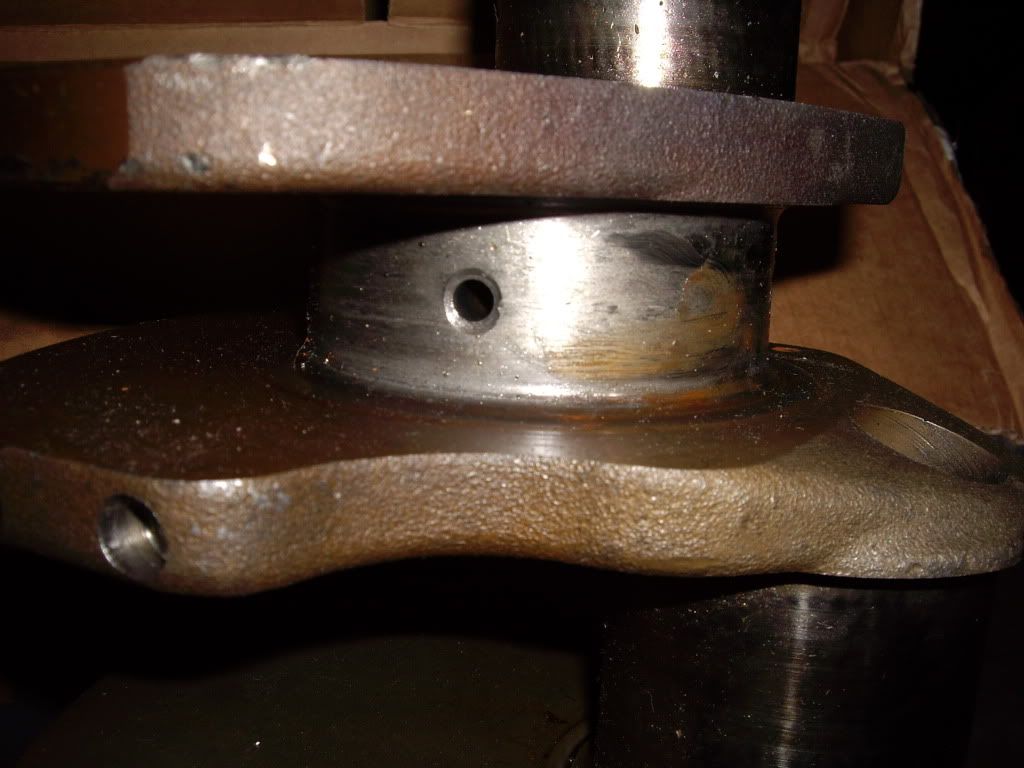
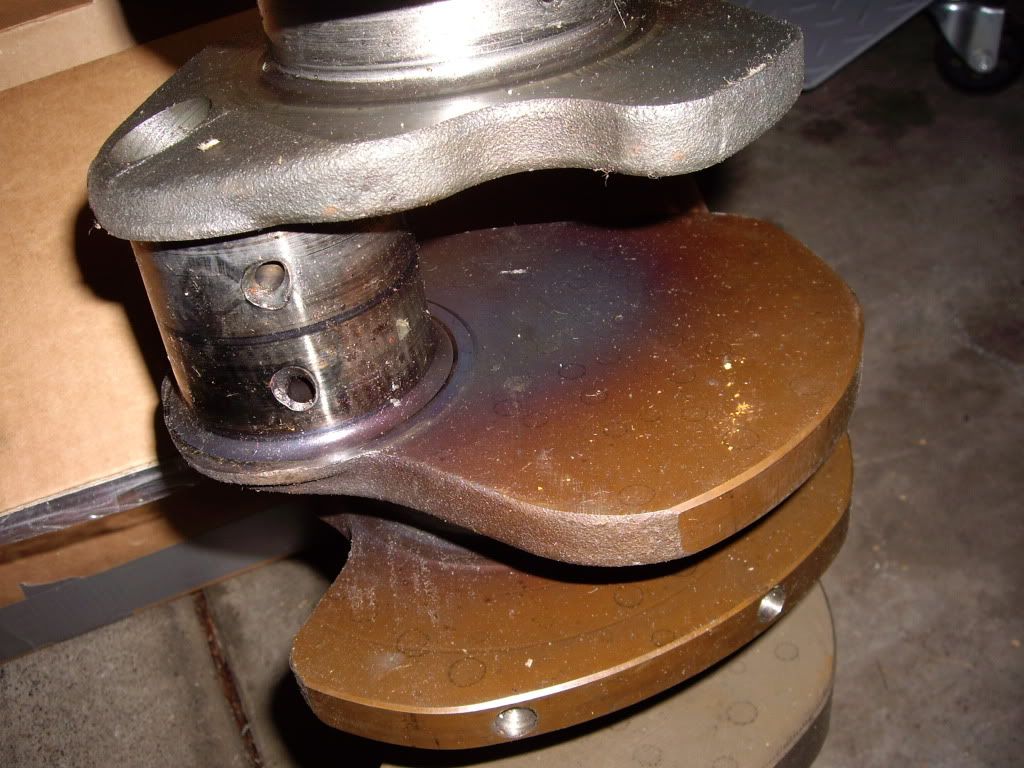
I picked up an LMM throttle pedal assembly off of a wrecked truck, but will have to confirm that they are interchangeable (and will just buy a new LBZ one if they are not). After doing some research I learned that the LB7 cranks were stronger, so I started searching for one. Thanks to a tip from one of my online buddies, I picked up an LB7 crank from a wrecking yard in California.
IMGP0084.jpg

IMGP0083.jpg


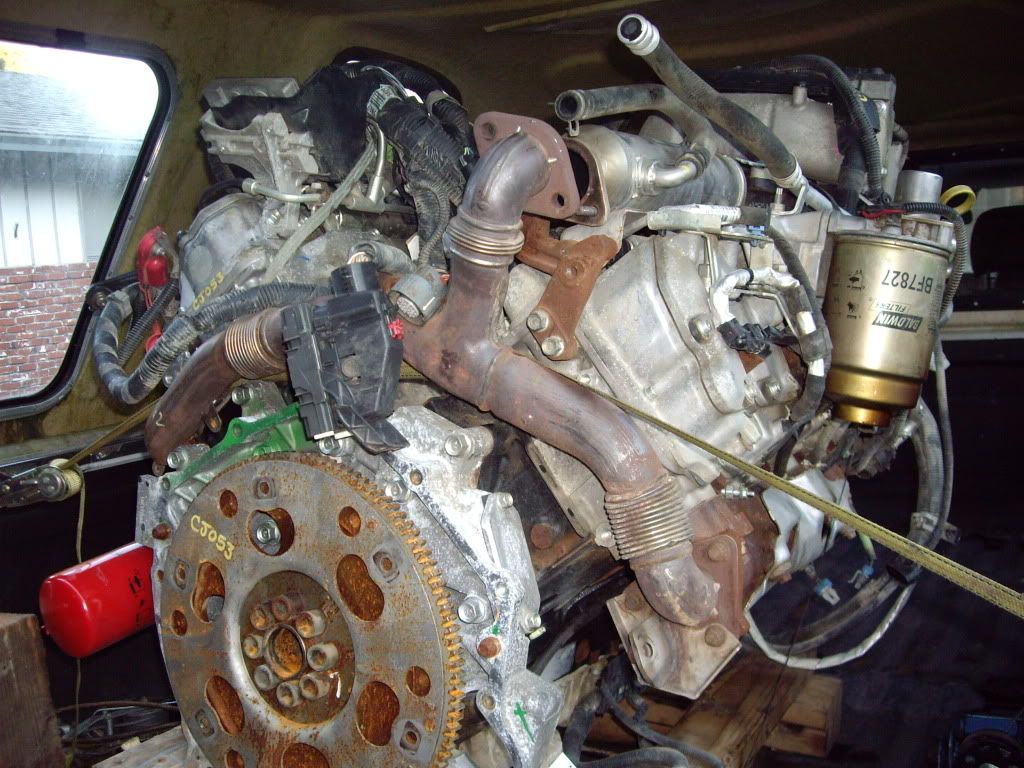
It obviously spun the #1 main bearing, and probably got driven a ways like that seeing how much burned oil residue there is around the front 2 mains.

I'll be getting my machine work done by Tabor Machine, a local gasser race engine shop that did the work on Jerry Mullins' Super-Street Duramax. After discussing it with Richard Tabor, I decided to find a crank that didn't require grinding, as apparently it is getting hard to have the cranks re-hardened after grinding. At some point I would like to experiment with an undersize ground crank, with generous fillets left at the edge of each main (and possibly an extra stress relief ground in at that area). While it seems somewhat counterintuitive, sometimes you can make something stronger by removing material, by allowing deflection to occur across a wider portion of the component so that a single spot doesn't "absorb" all the deflection and reach its fracture stress/strain.

I'm planning to go with Mahle pistons (and wish I could wait for the new Monotherms but will go with their forged aluminum parts for now). Also going with Carillo rods.

I have all of the weld-on components for the chassis, courtesy of a sponsorship discount from Chris Alston's Chassisworks. As I was shopping for these kind of components, I was told that the Chassisworks parts are a little more money than the more common mail order parts, but beautiful quality. Looking at the workmanship of the parts like the aluminum double-adjustable front struts, I am glad I went with the premium quality parts! The components include the struts, front brakes and hubs, driveline loops, 4-link brackets & tubes, wishbone (centers the rear axle), anti-roll bar (which helps keep the launch straight), and steering column. Once I get a little further in the chassis build, I will be having Chassisworks build me a Fab9 rearend, with all the extra gusseting and full floating axles. The 3rd member will be all Strange components, with 2.91 large pinion pro gears.

I will eventually add a Gear Vendors overdrive, and may switch to a lower (higher numerically) rear gear at that point. Still probably going to use a Hughes XP-5 lockup Powerglide transmission, but need to figure out if I can work it into my budget!

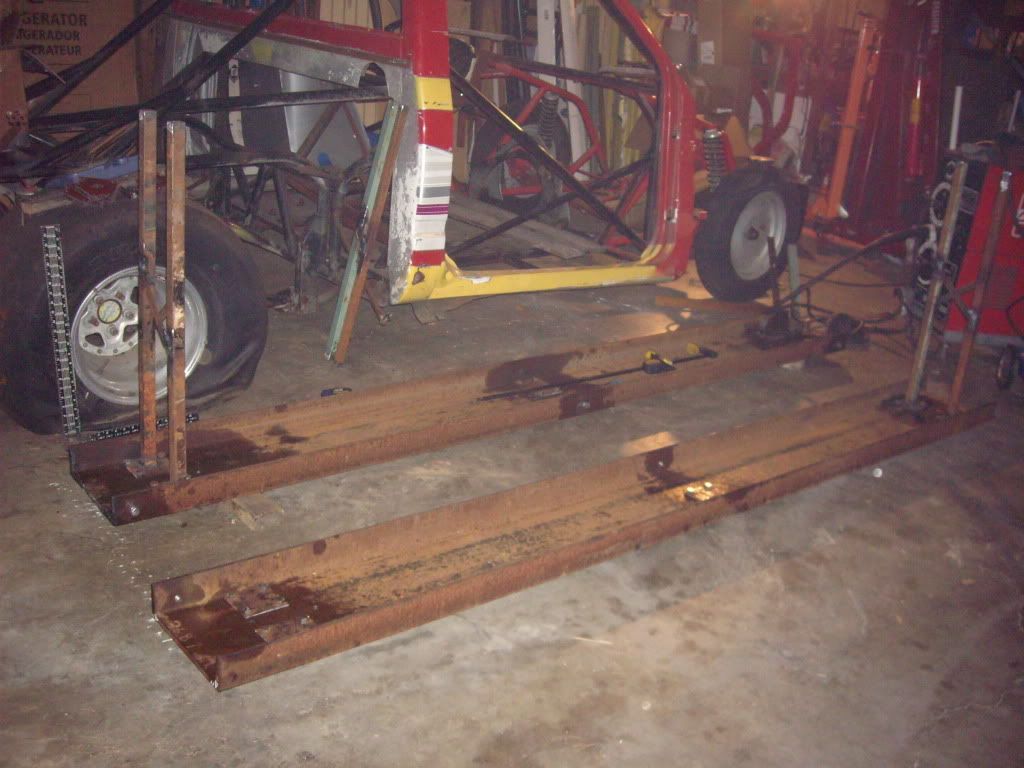
This past week I was able to make more progress. I finished the jig welding, initially using the TIG welder for more practice, but having to switch to my big MIG welder for the heavier components (the 200A TIG was too slow trying to weld 5/16" wall thickness stuff). Of course I ran out of Argon (75/25 Ar-CO2 mix) on the MIG welder before I was done, and had to finish up with the TIG anyway. If I would have thought about it I could have either grabbed the pure Argon tank from the TIG welder or the pure CO2 tank from the keg.
IMGP0086.jpg

IMGP0087.jpg

IMGP0088.jpg


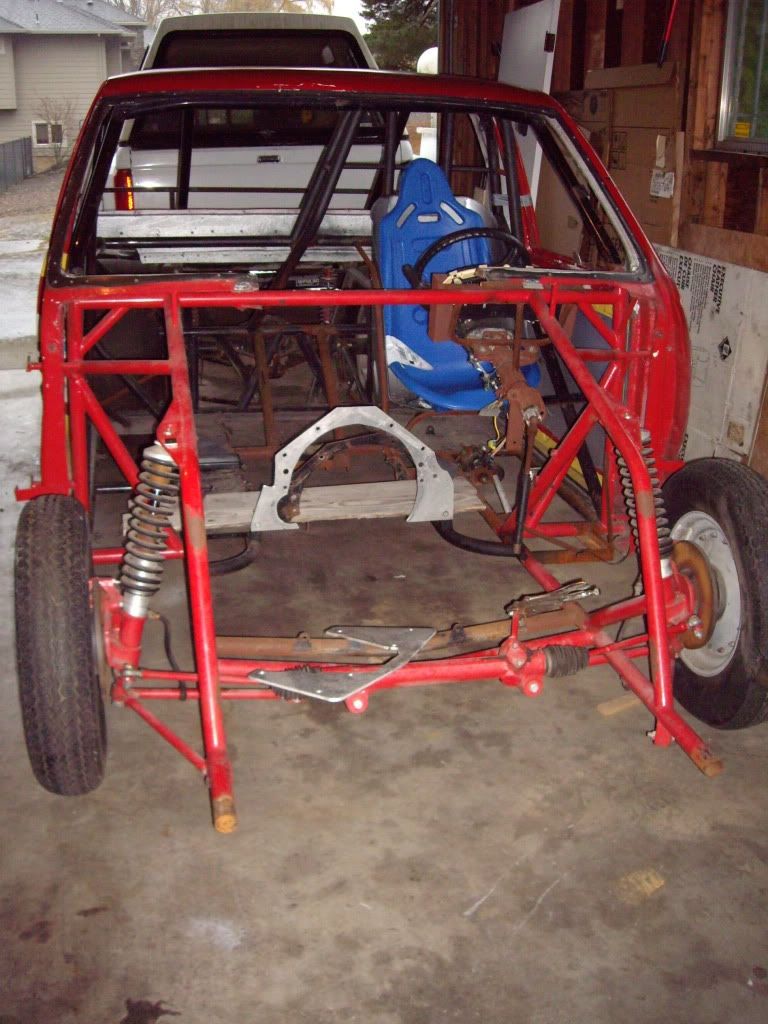
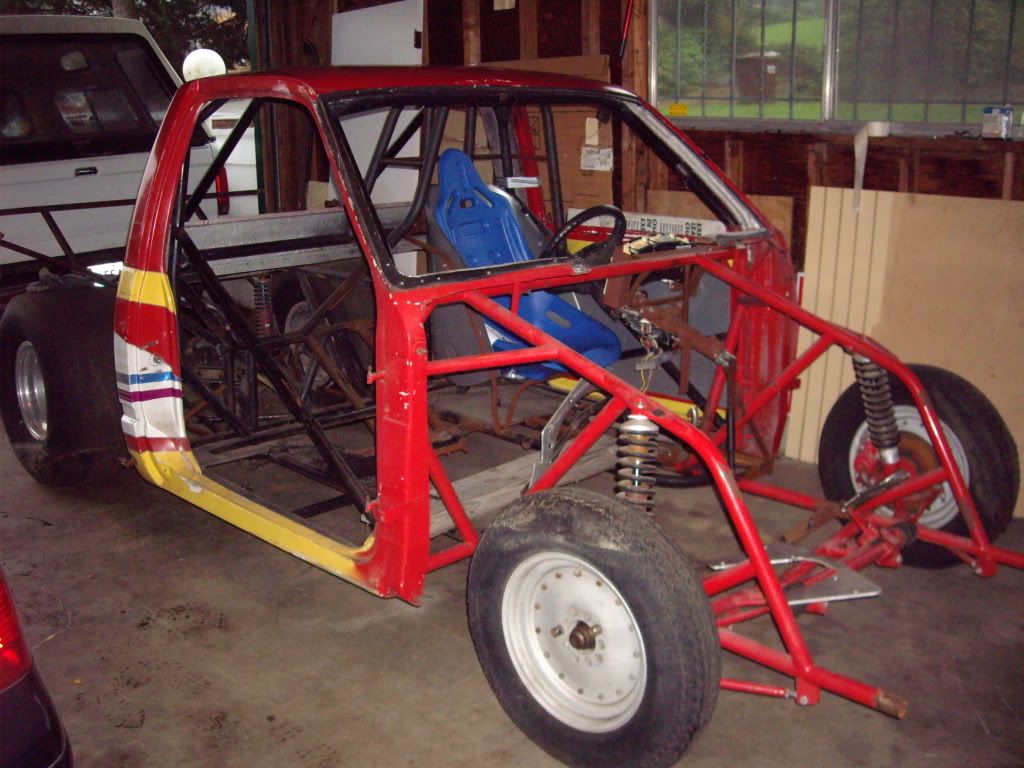
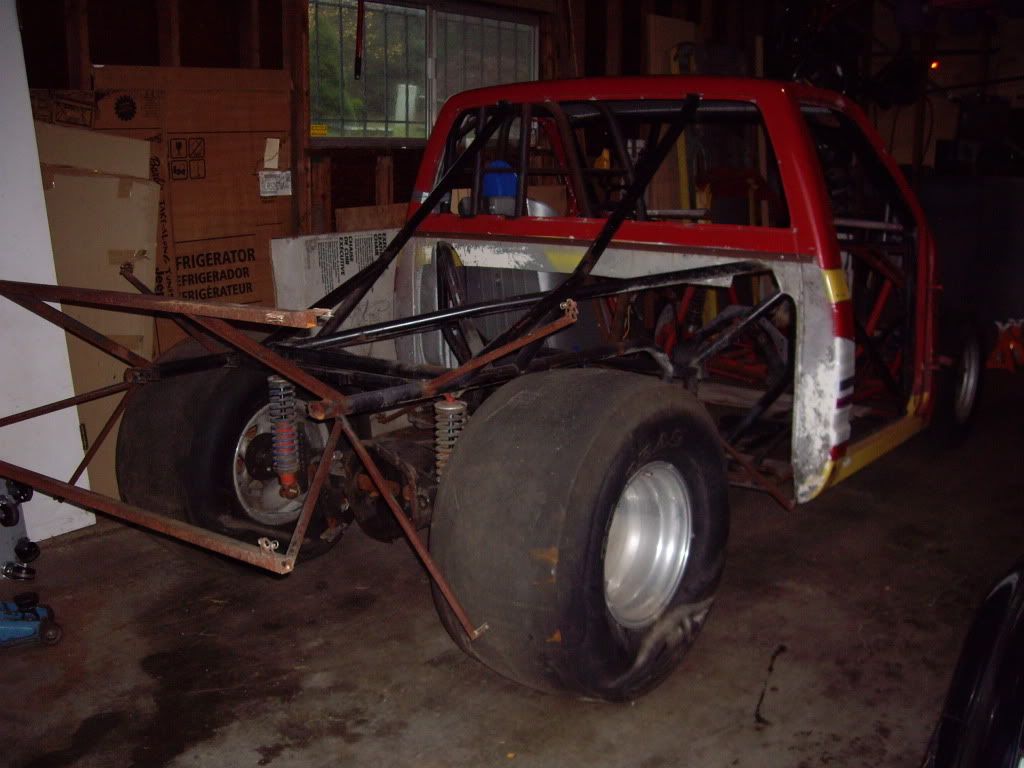
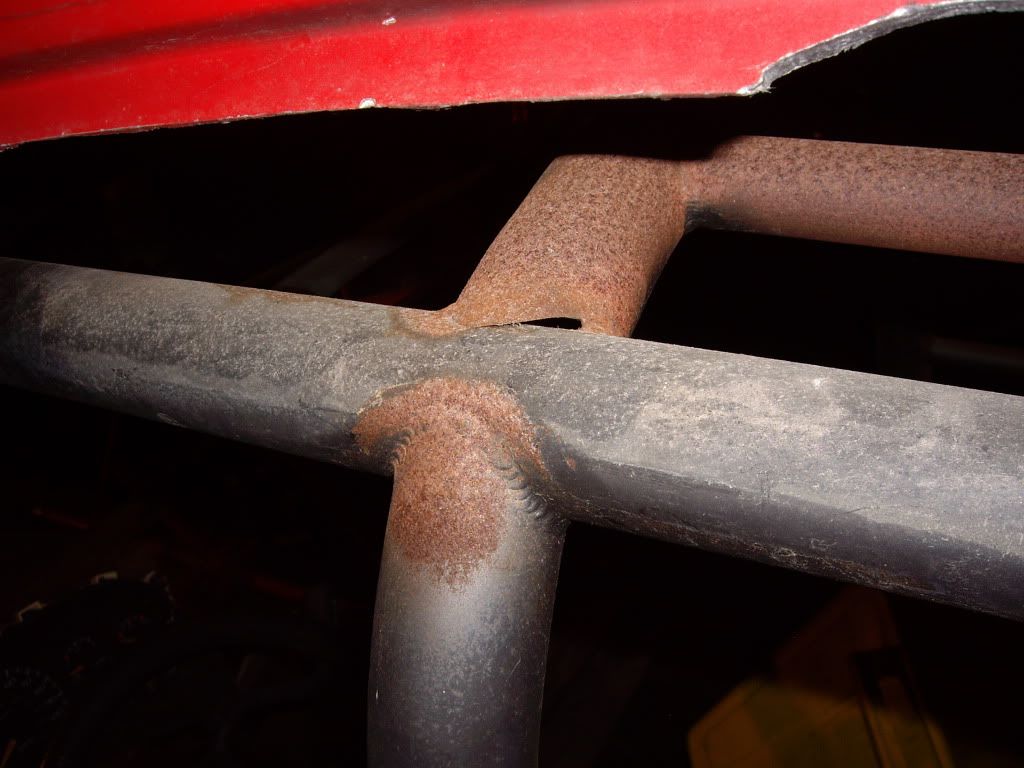
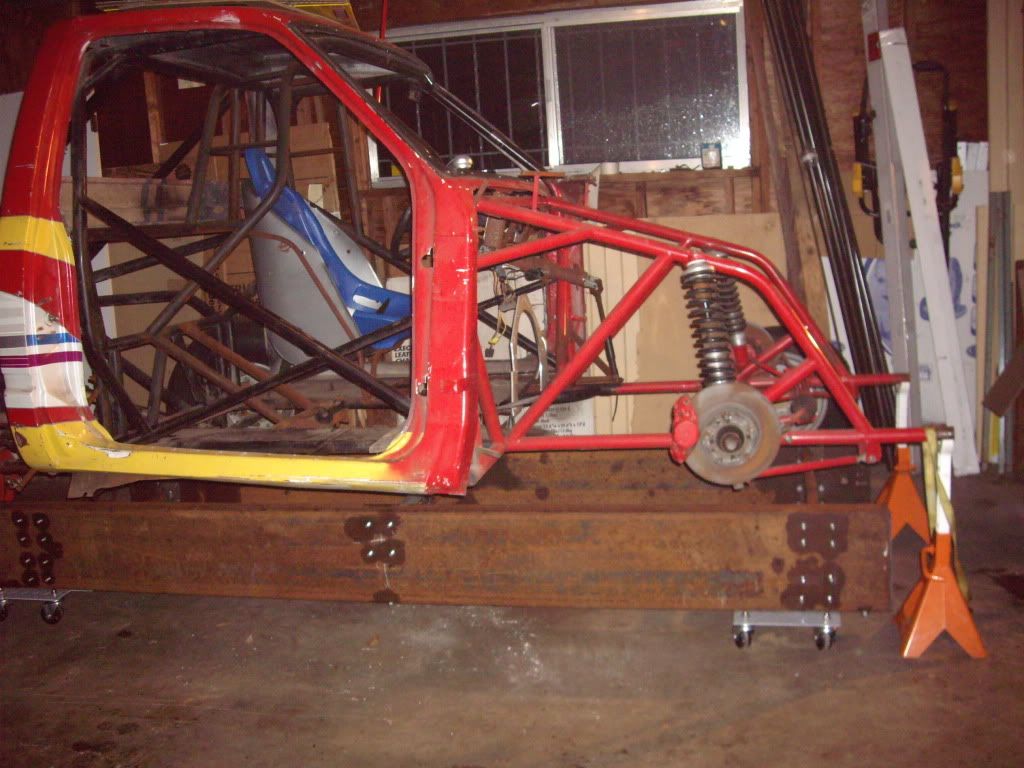
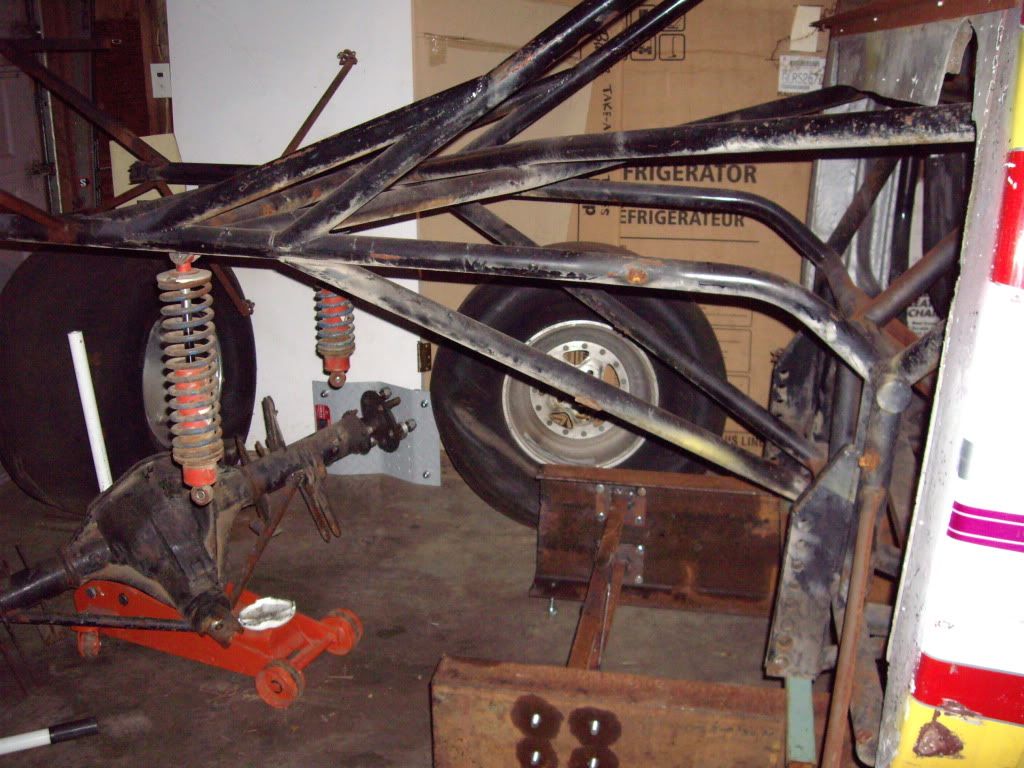
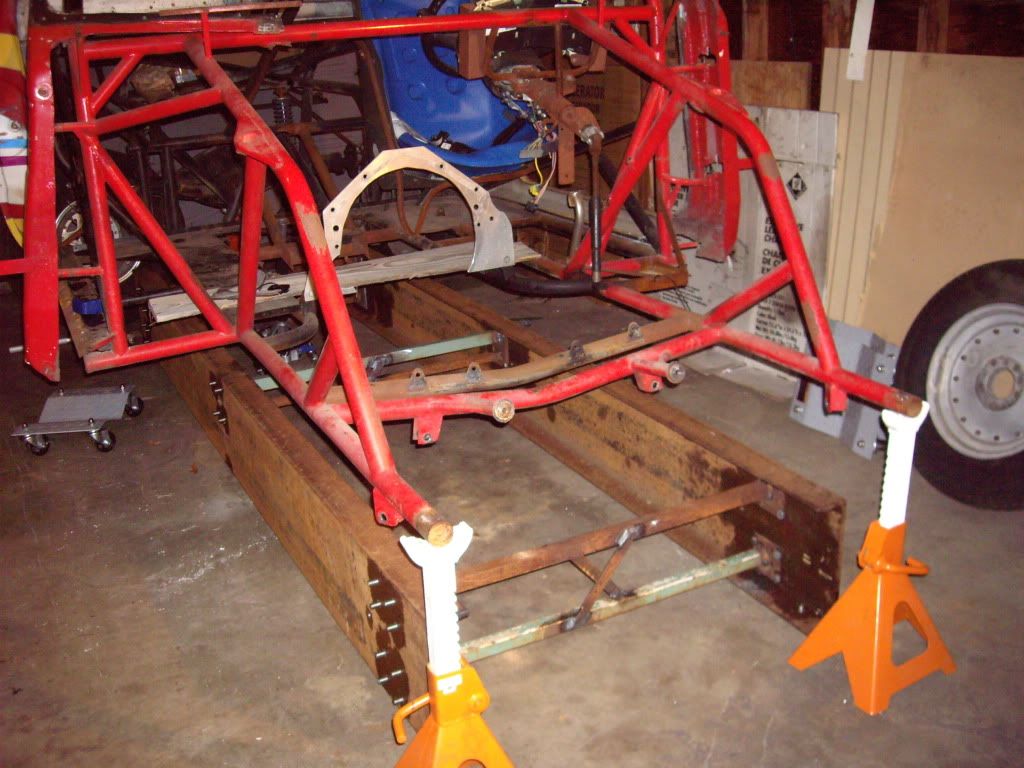
It turned out my garage floor wasn't nearly as level as I thought, requiring longer leveling screws on one end. I was able to get it perfectly level then square up the chassis on top of it. Once the chassis was on the perfectly straight and square jig I could see that the chassis main rails were noticeably crooked, glad I am cutting all of them off! Basically all I am reusing is part of the original cage structure.
IMGP0089.jpg


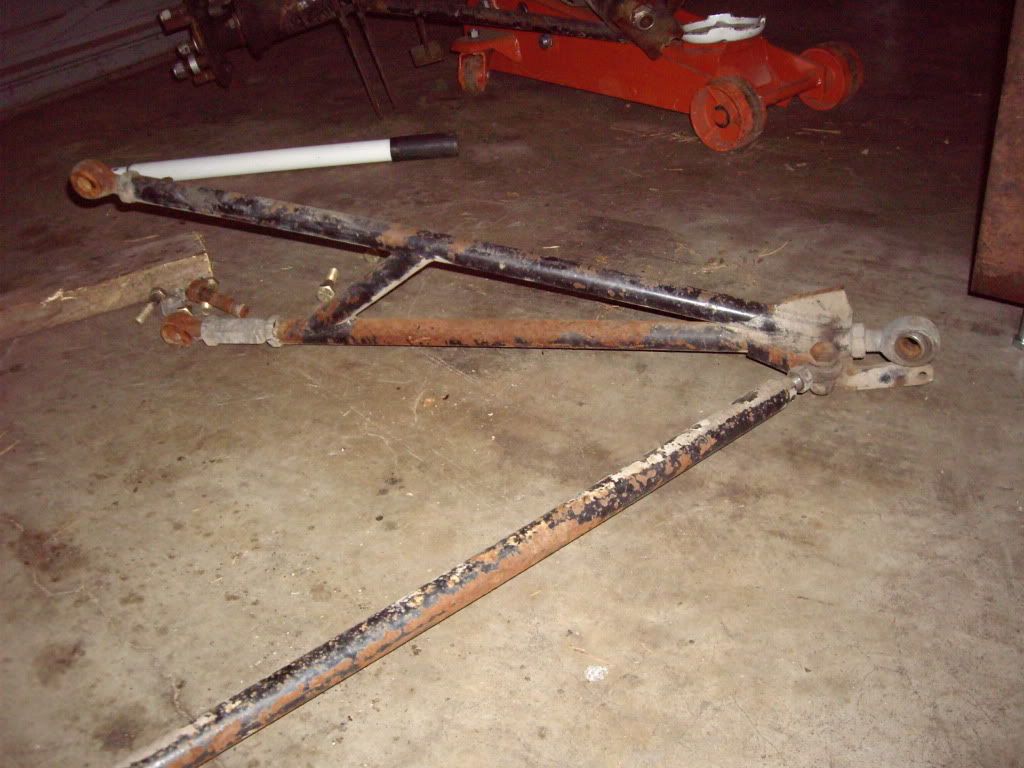
I removed the rearend and ladder bars. I dicovered that the front heim joints on the ladder bars were completely worn out. Good thing I am not reusing the ladder bars!
IMGP0101.jpg

IMGP0103.jpg

IMGP0106.jpg


I removed all of the bolted on components like the front struts and steering rack.
IMGP0098.jpg

IMGP0100.jpg


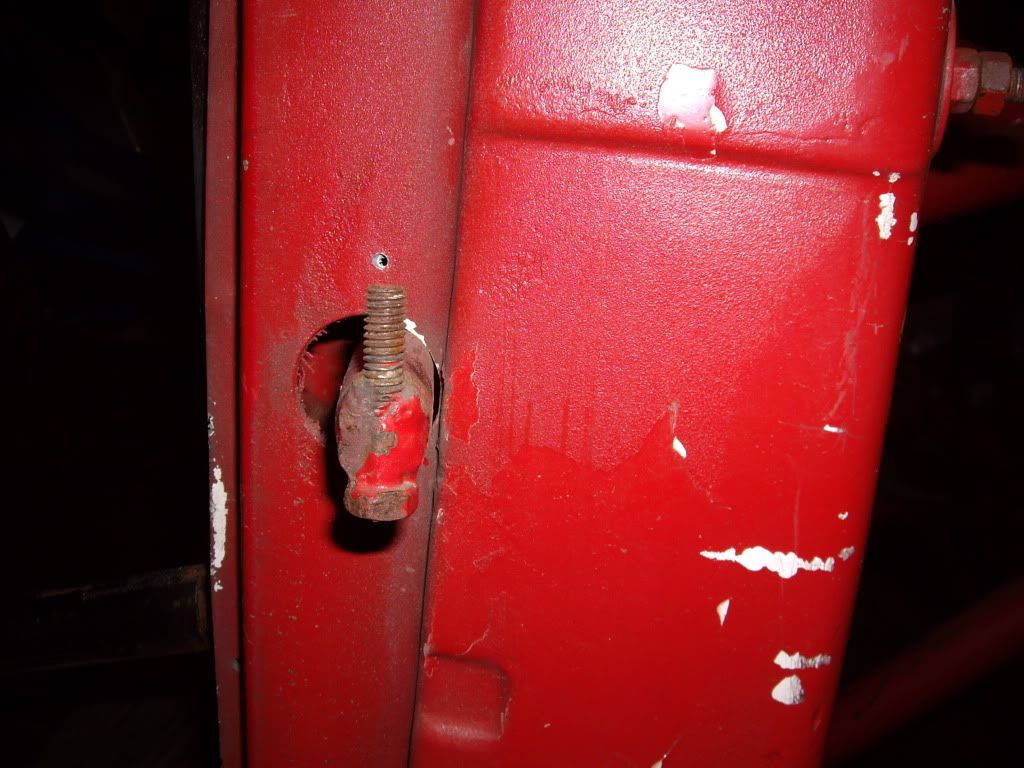
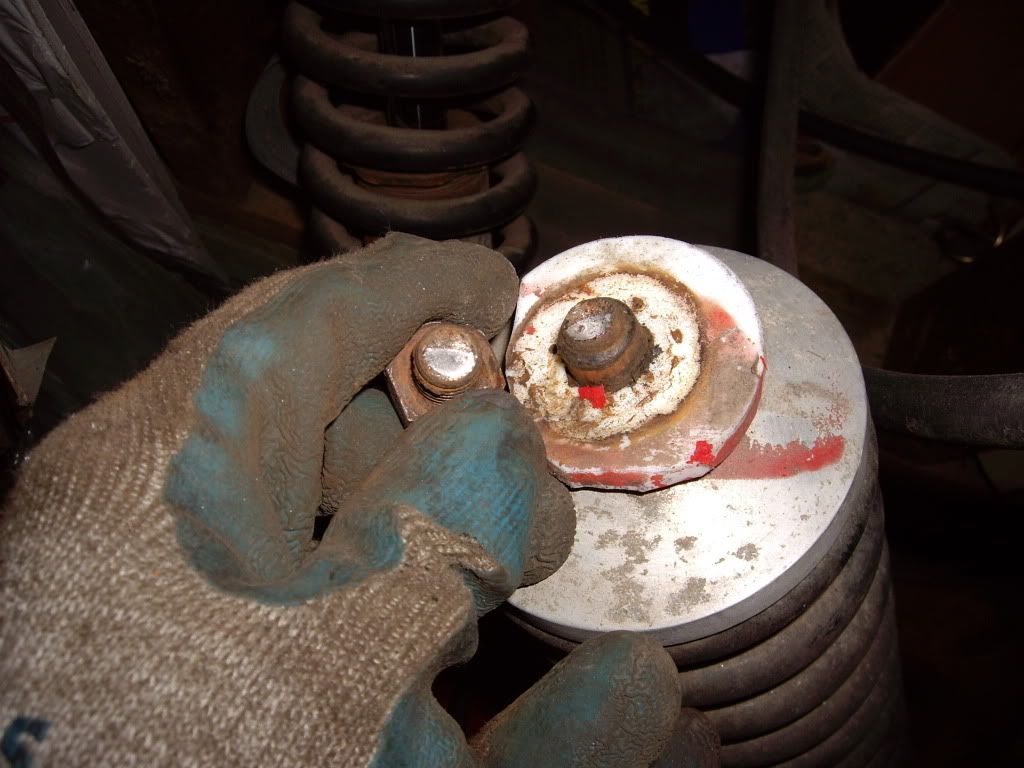
I discovered at this point that I REALLY dodged a bullet in not re-using the struts that came with the chassis. When removing the nut from the driver's side strut's top stud (the single part holding everything important to the chassis at that location), the stud twisted off. It was clear that it was previously cracked halfway through its cross-section, and broke the rest of the way at this time. Yikes, that could have been VERY ugly if it happened on track!
IMGP0097.jpg


About to start firing up the plasma cutter and removing more tubes. Should be a fun next couple of days!
 
wow bro that truck is a piece of work but i have no doubt that it will be badazz when you get done

Yup, I knew it was a bit of a "diamond in the rough", but I didn't realize just HOW rough!

I had previously seen that it had a ton of bump steer from the steering geometry, but as I pulled the steering rack I noticed that it has about 1/4" of play in both sides. The more I see of this truck the more I think it was a death trap when it was last raced as a gasser! With things like the ladder bars and the rack, I suspect they used WELL used parts when they assembled the truck originally.
 
Back
Top