Rebirth of Monster Mudder

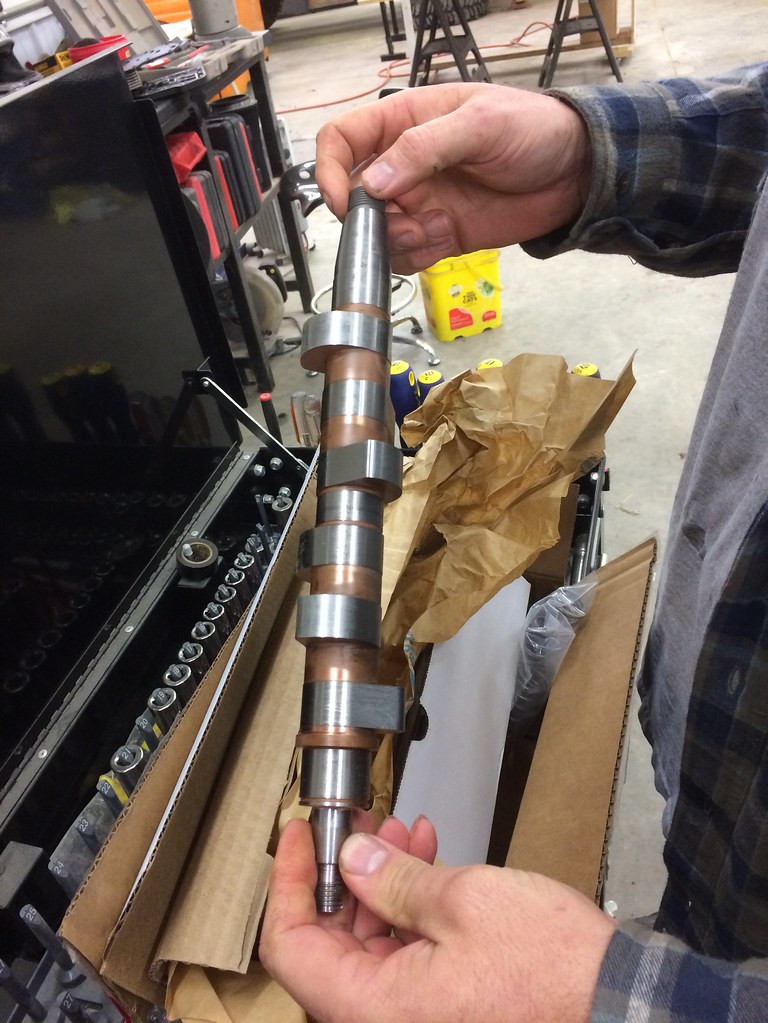
I bought the irwin ones, only ones I could find at steve's wholesale, I know others make them from bluepoint to s&k. Once I figured out you had to beat it onto the bolt head with a hammer, I put a 7/8" socket in 1/2" drive and then used an adapter to go to my 3/4" ratchet and using the bar over tool on the back to hold the engine from turning over, busted it right loose, so I think it worked pretty good. Could have been a lot worse.

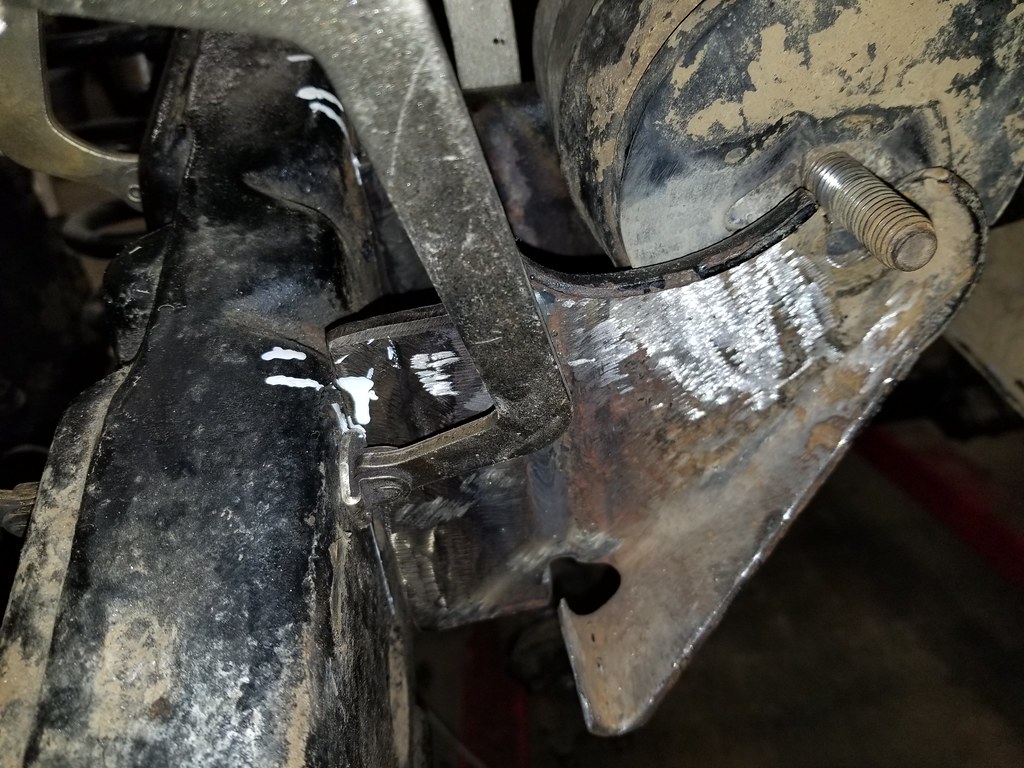
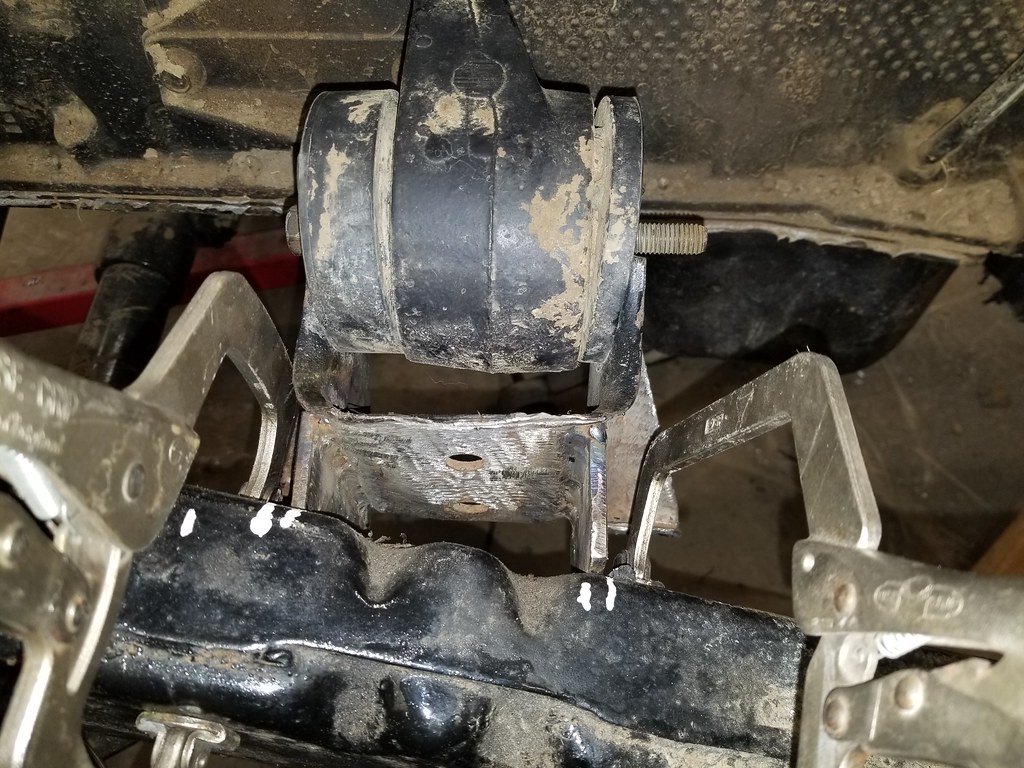
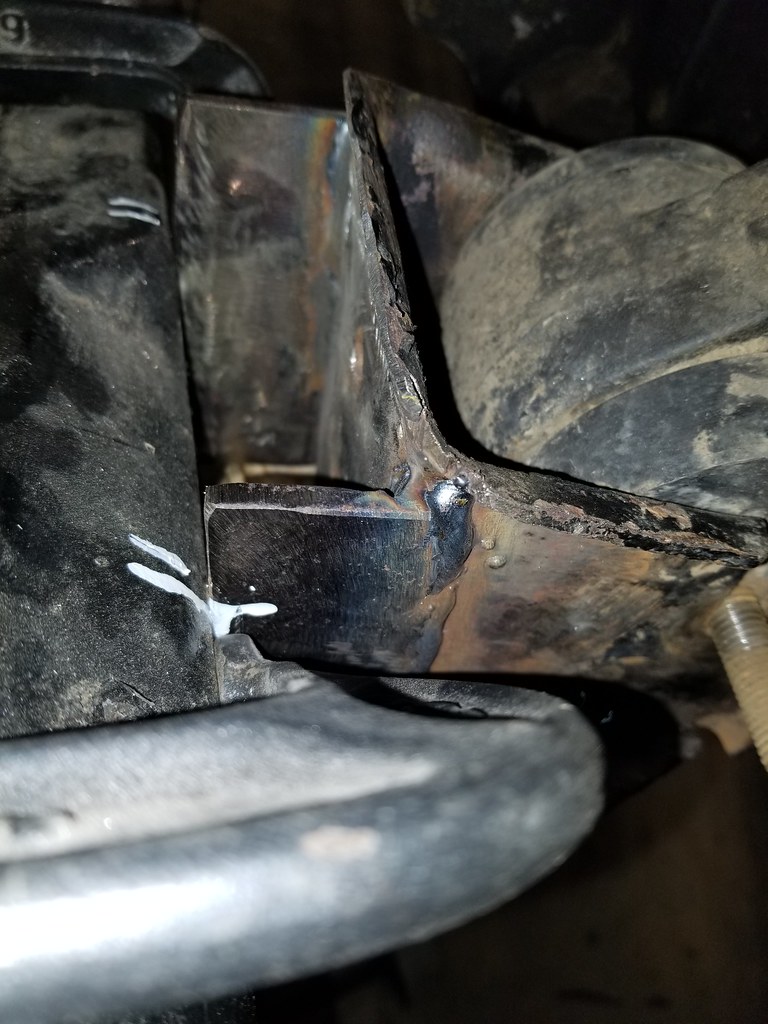
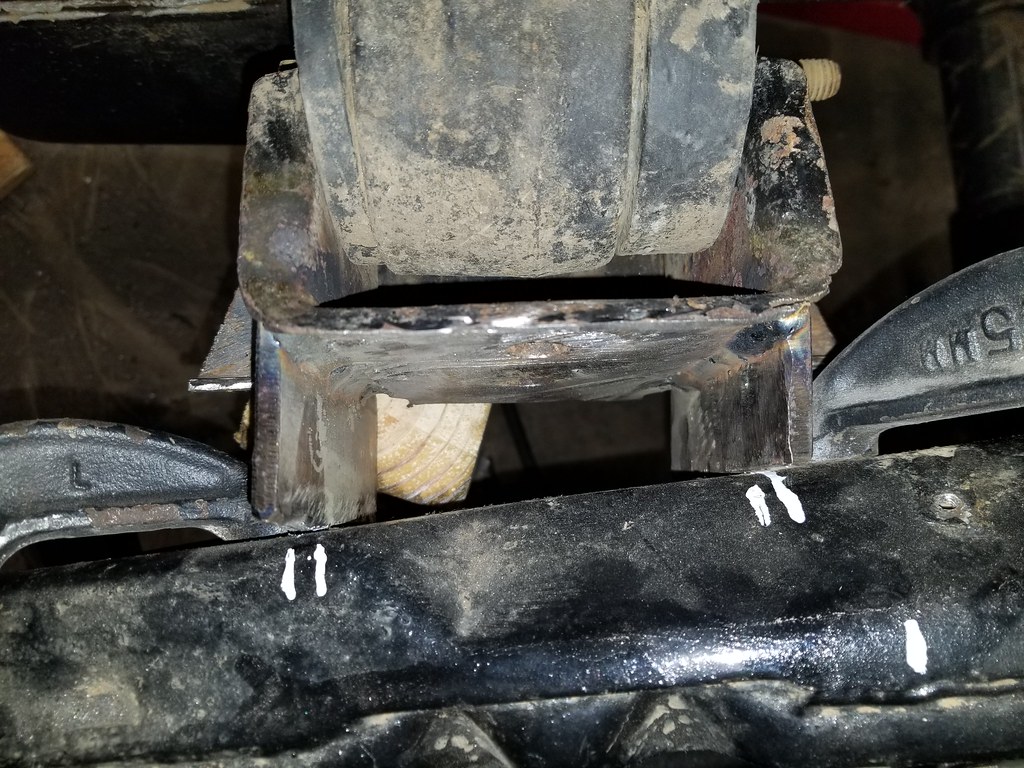
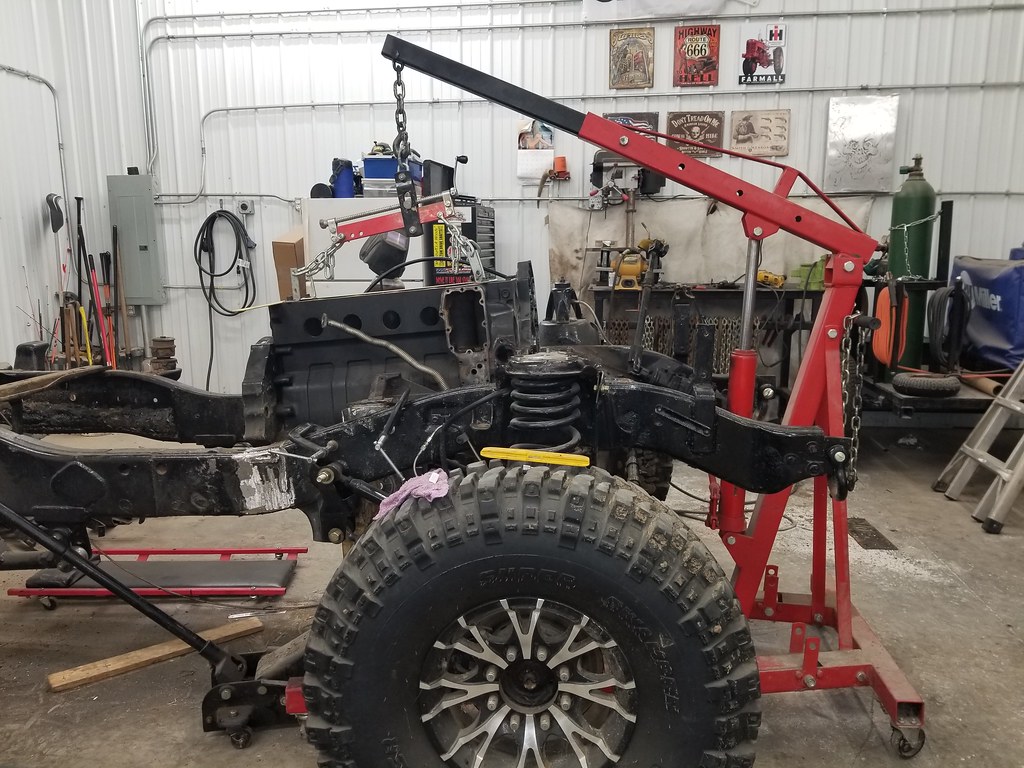
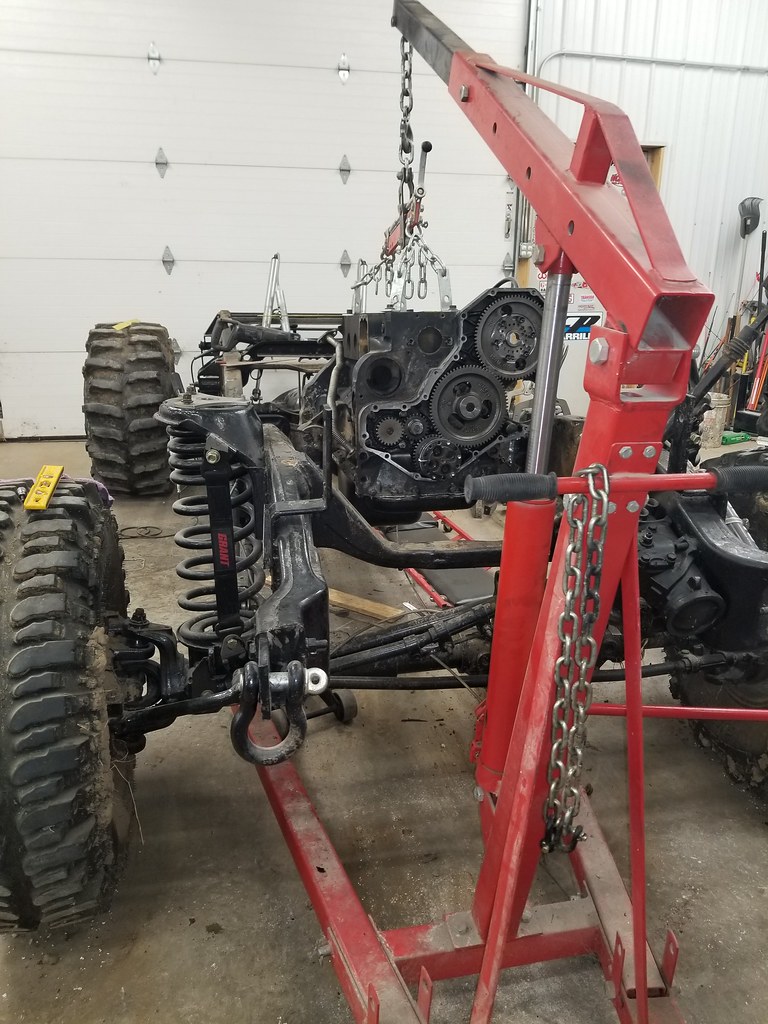
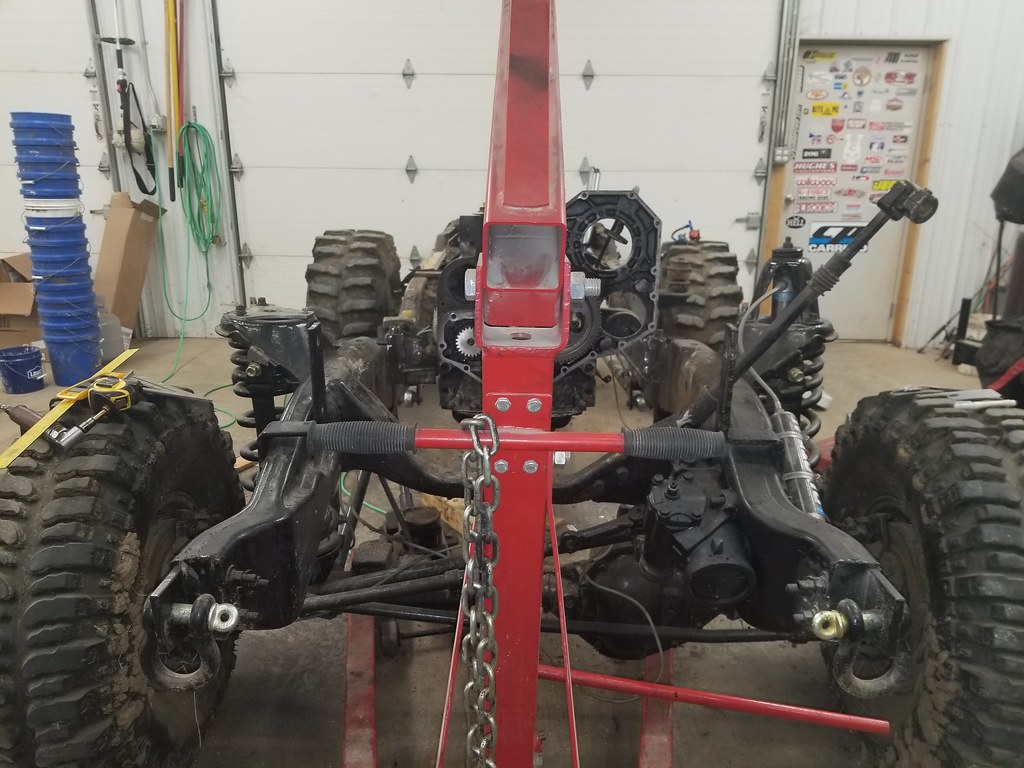
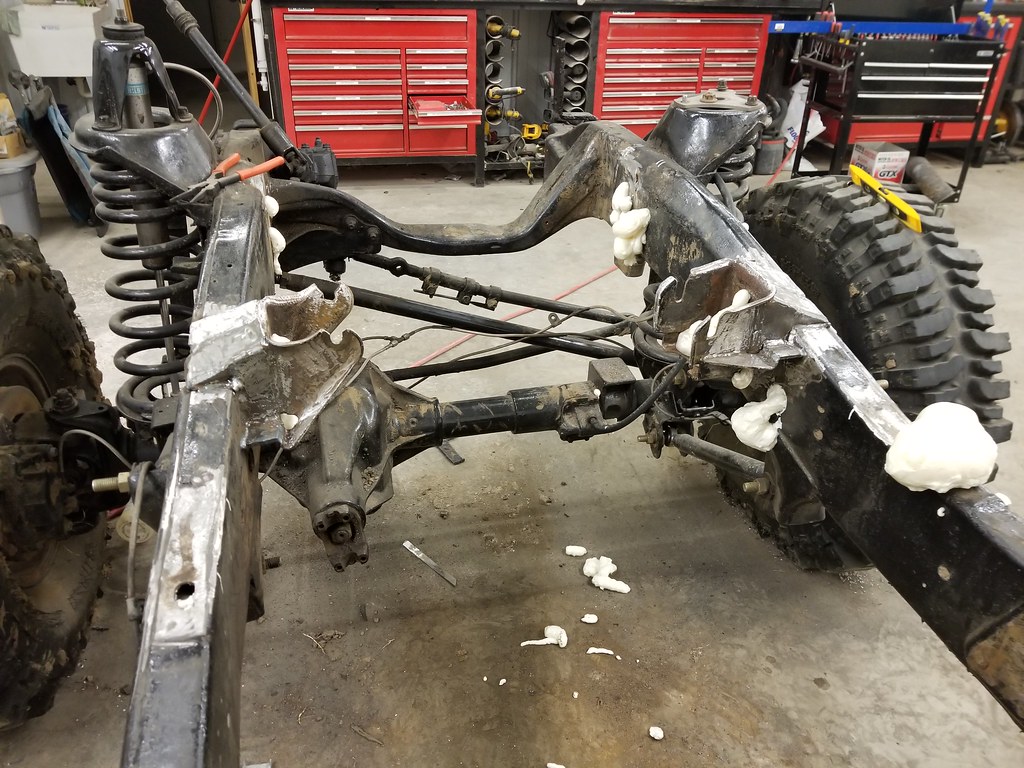
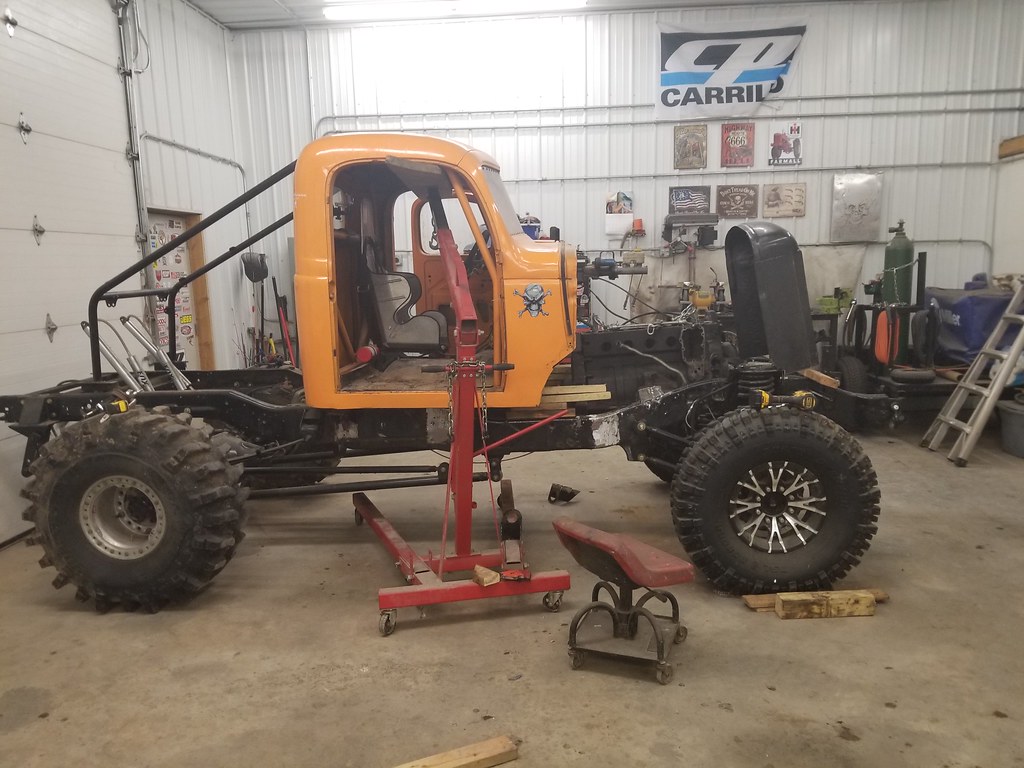
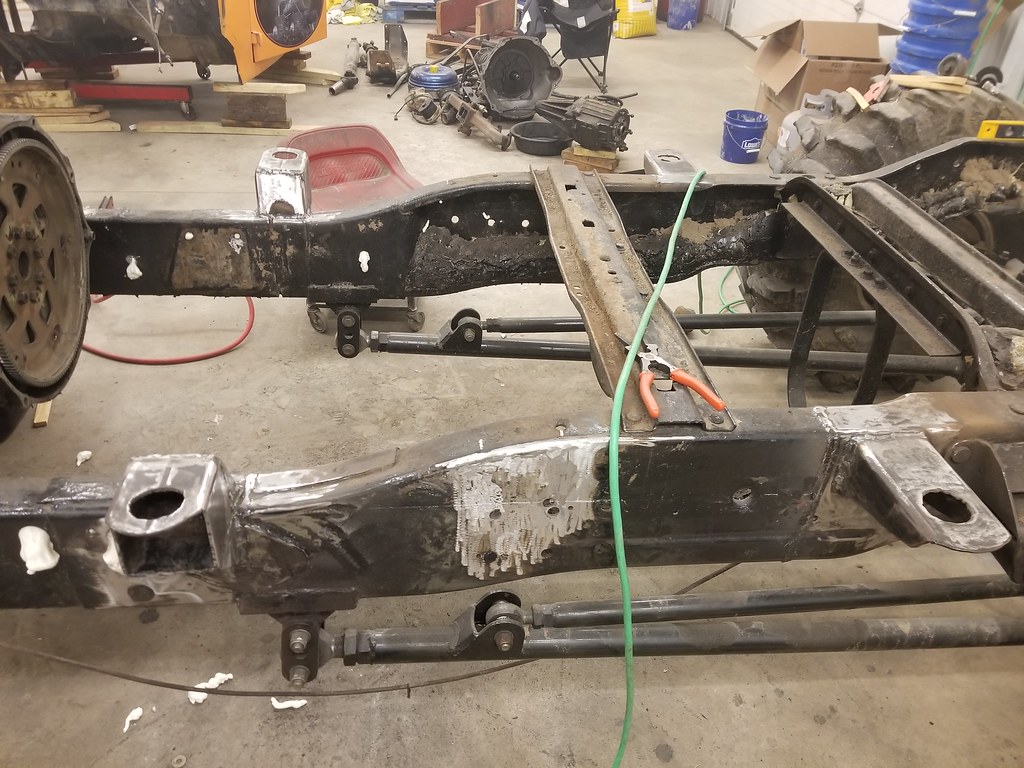
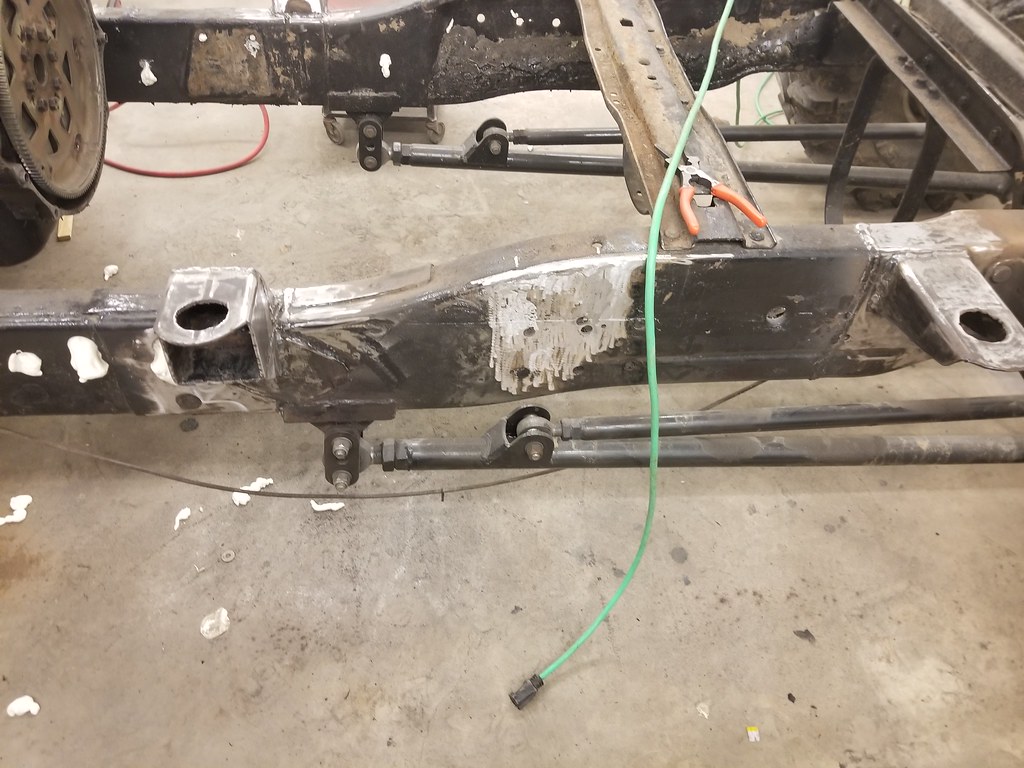
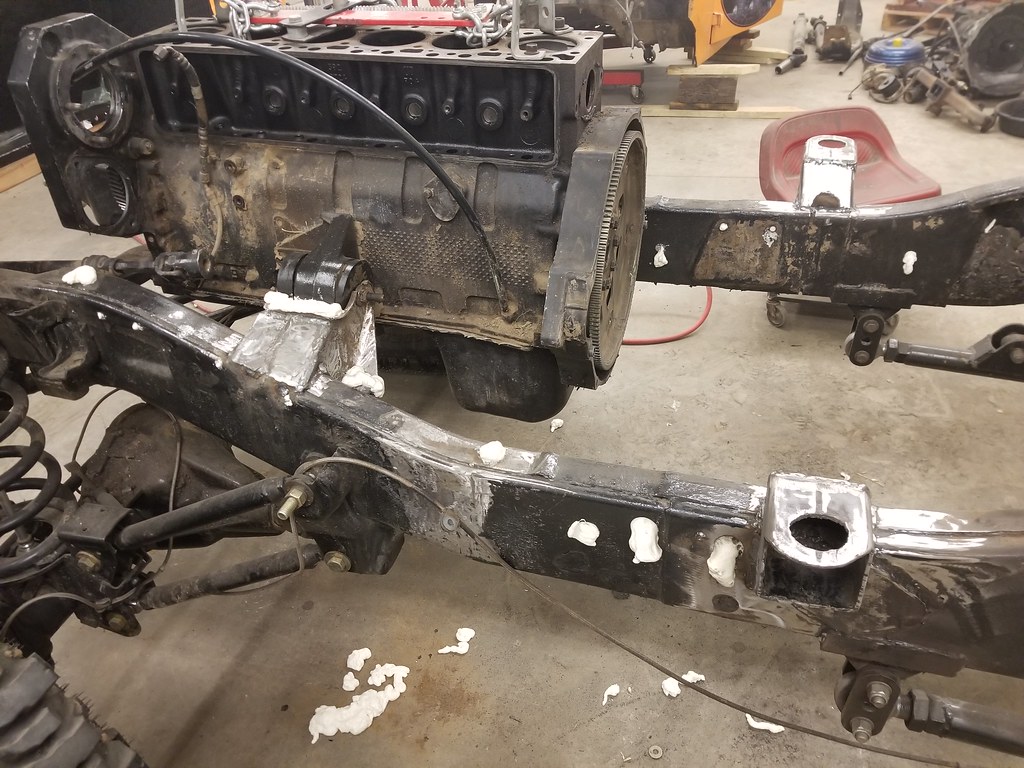
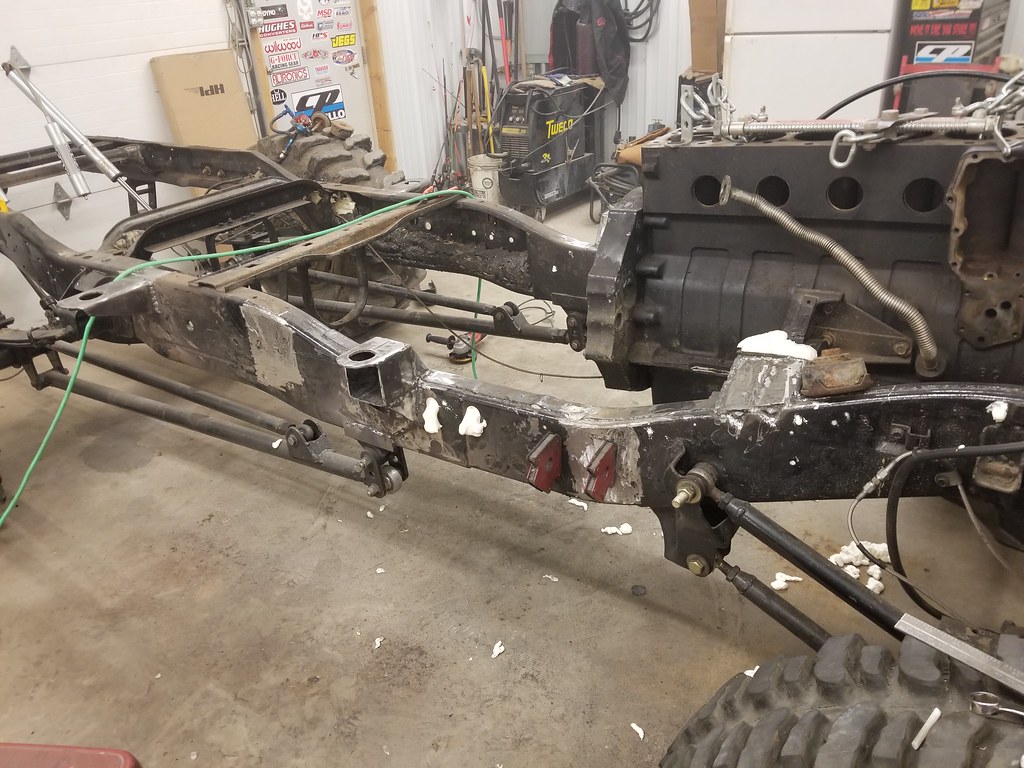
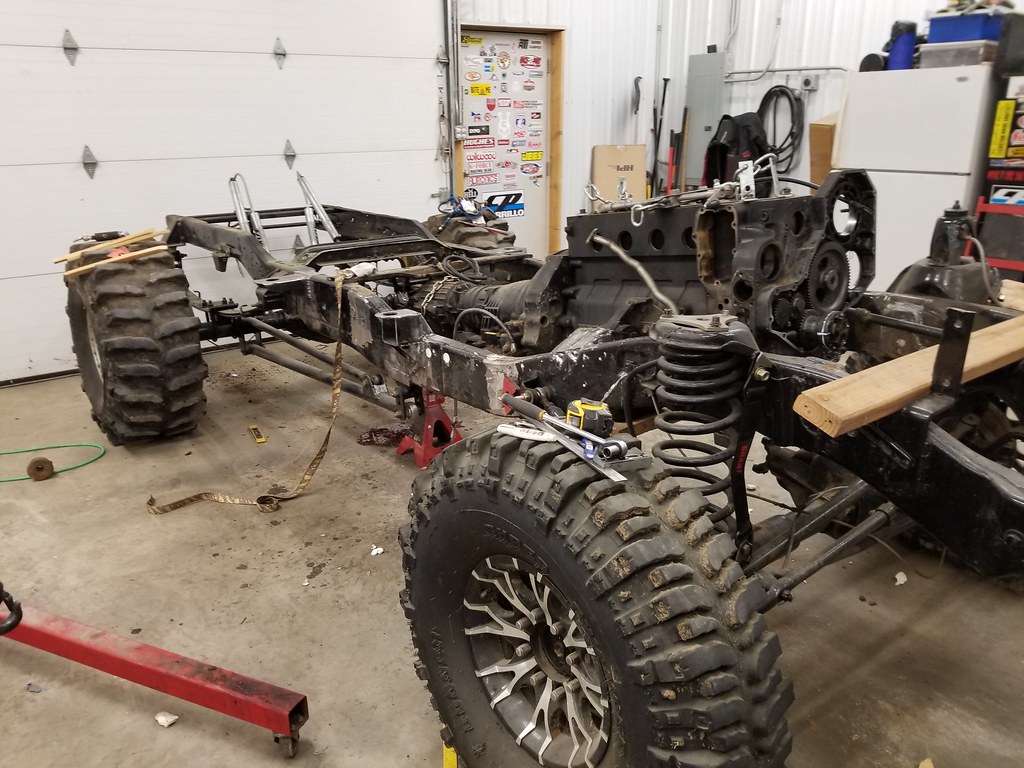
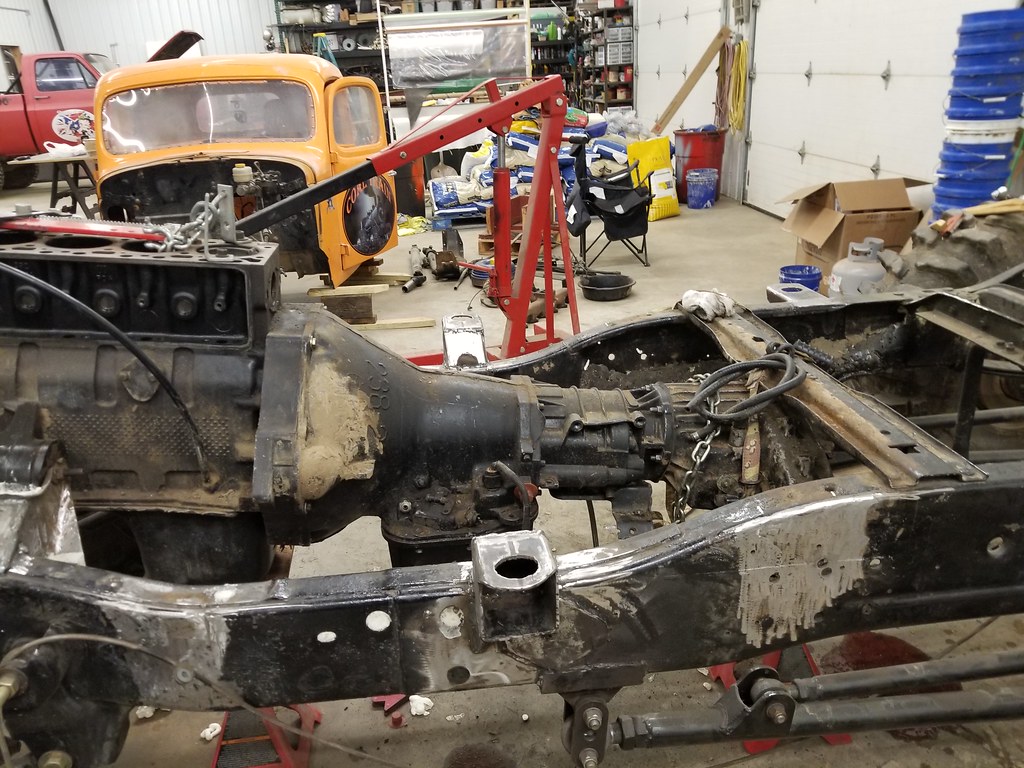
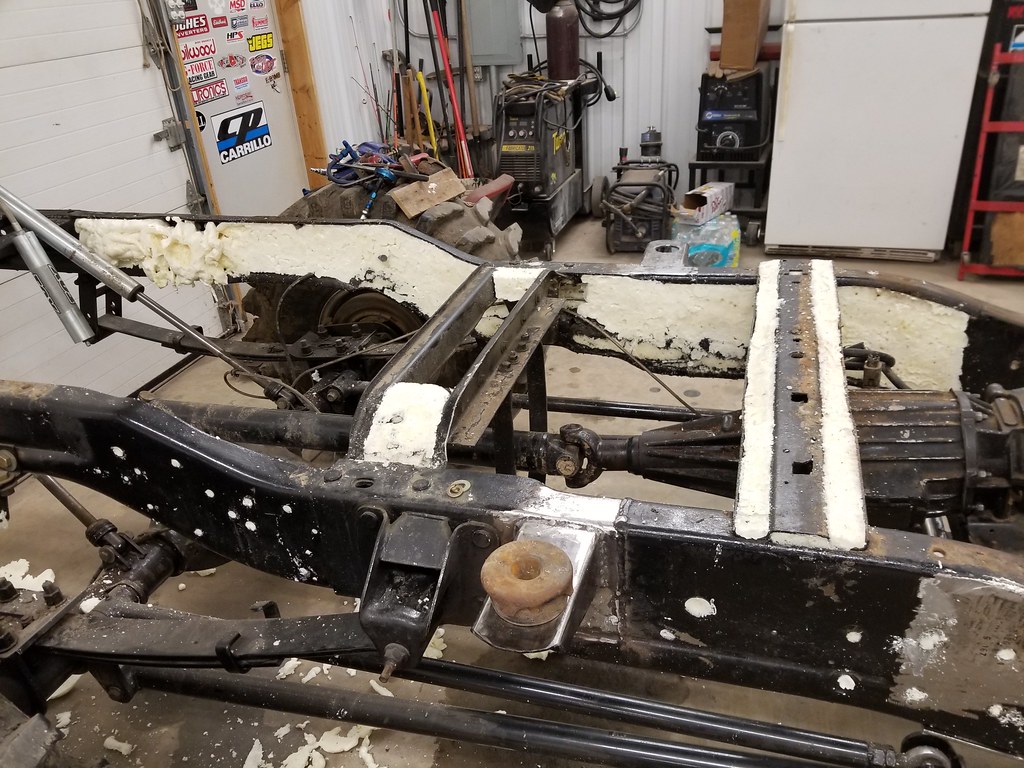
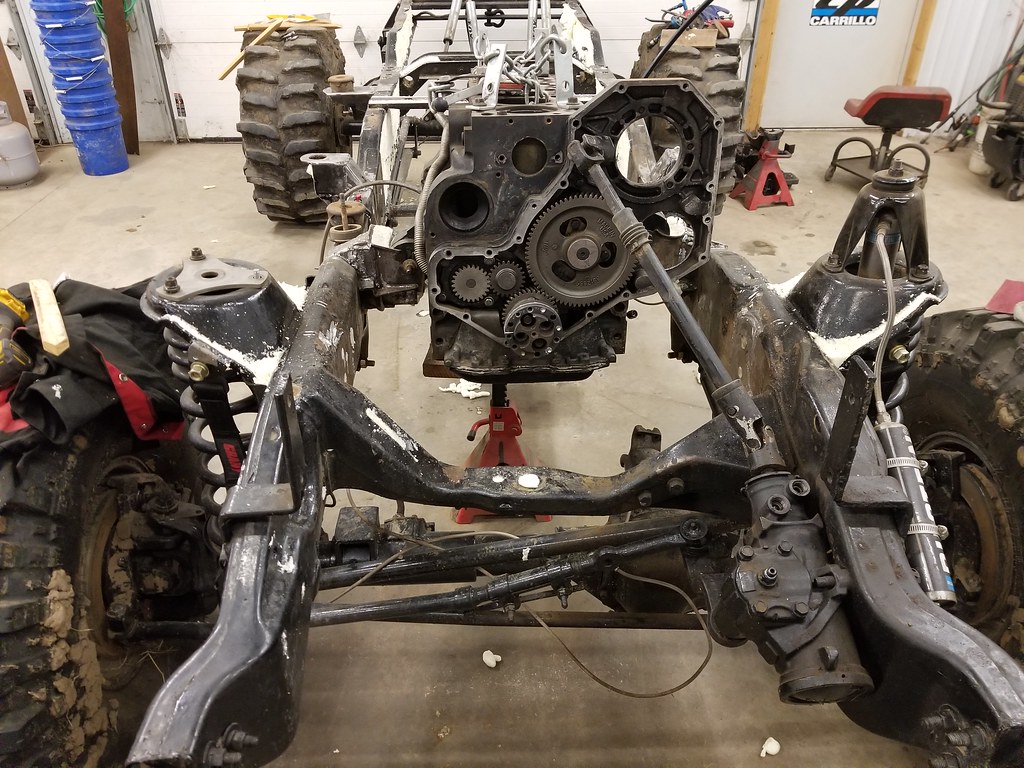
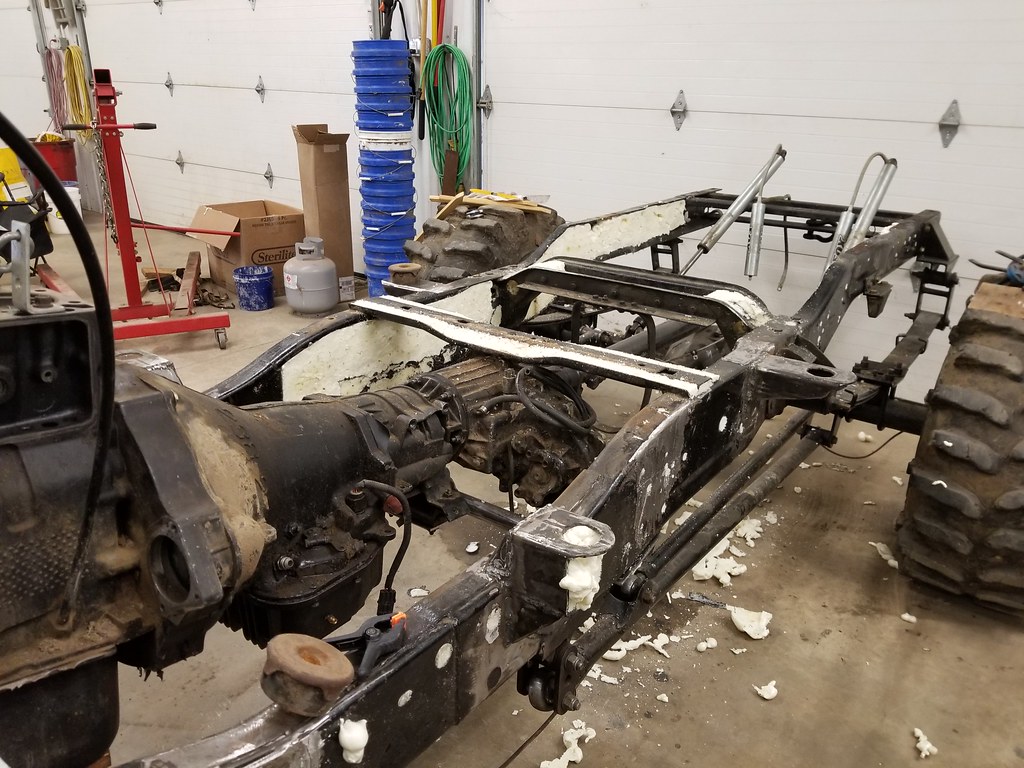
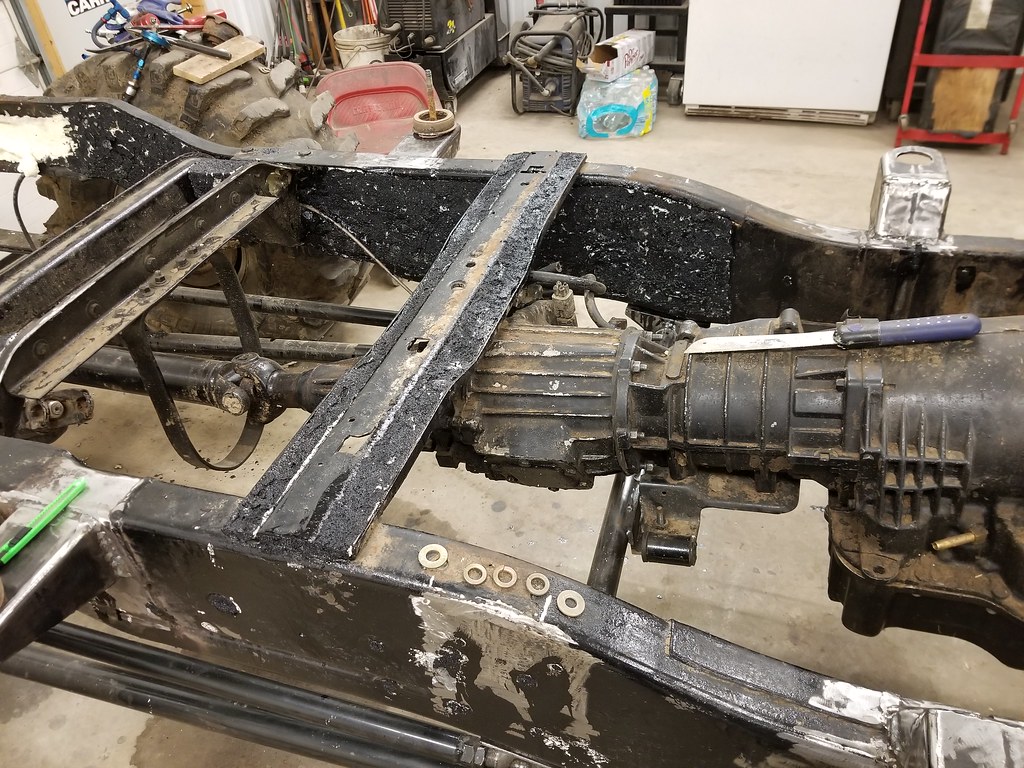
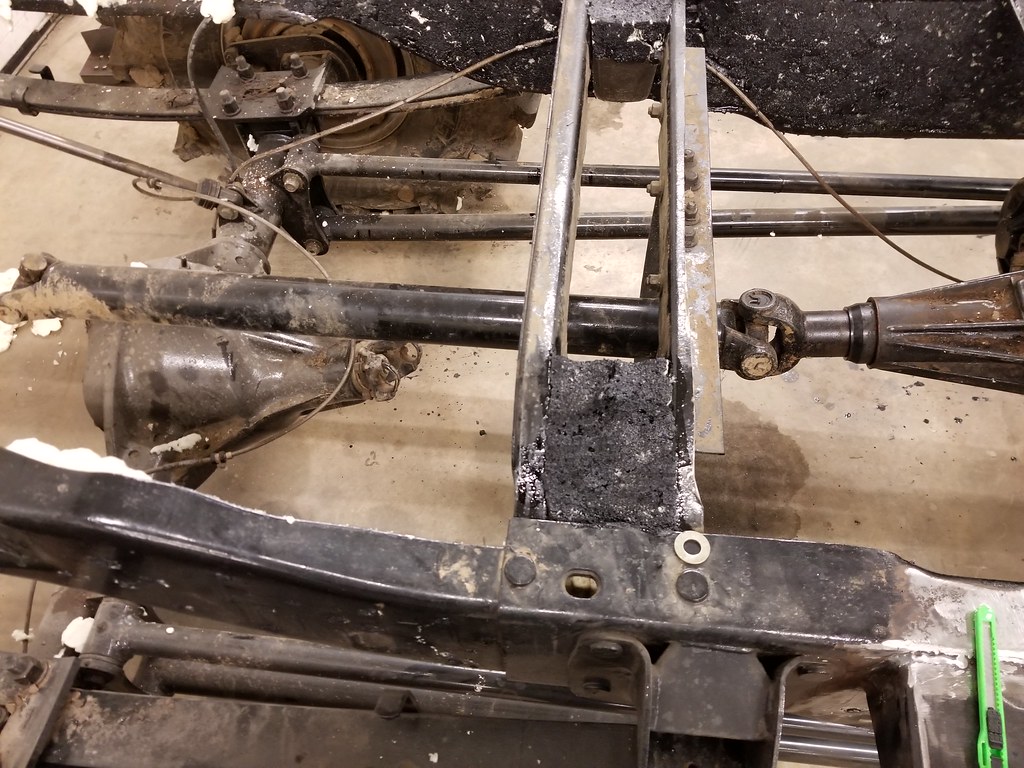
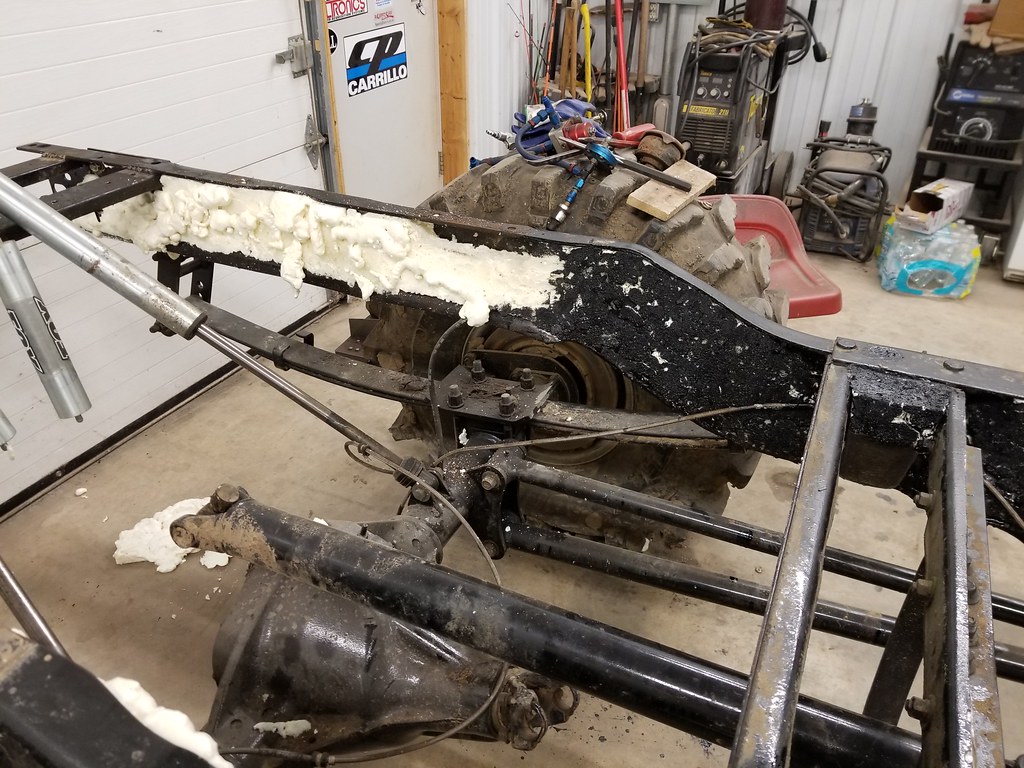
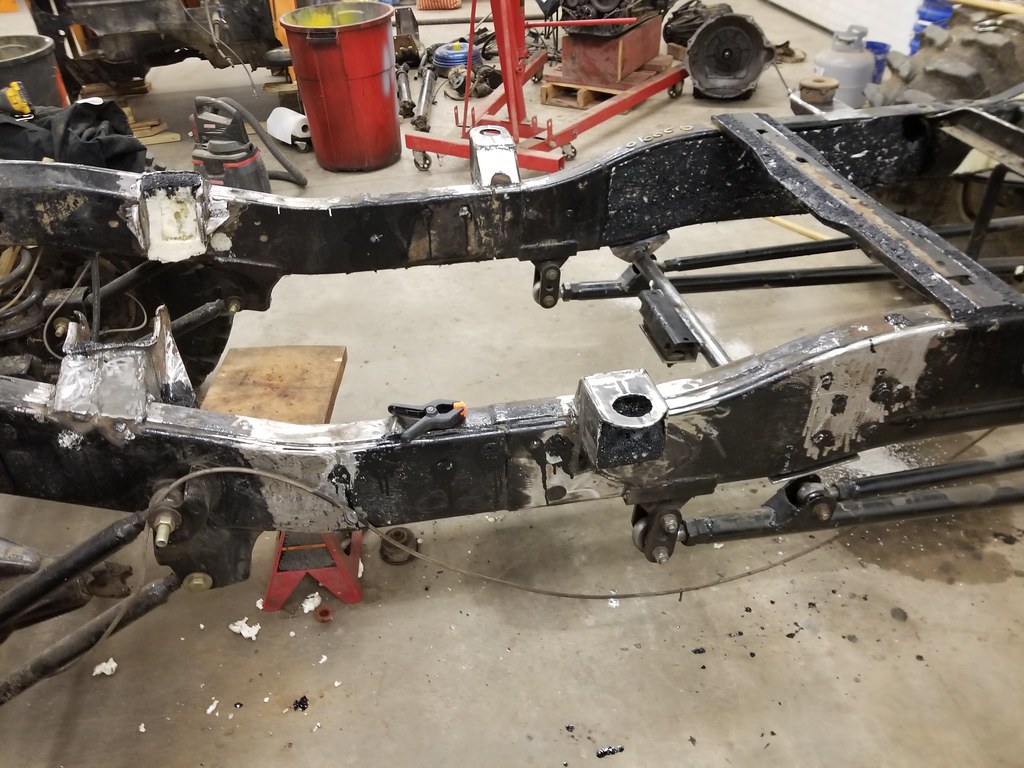
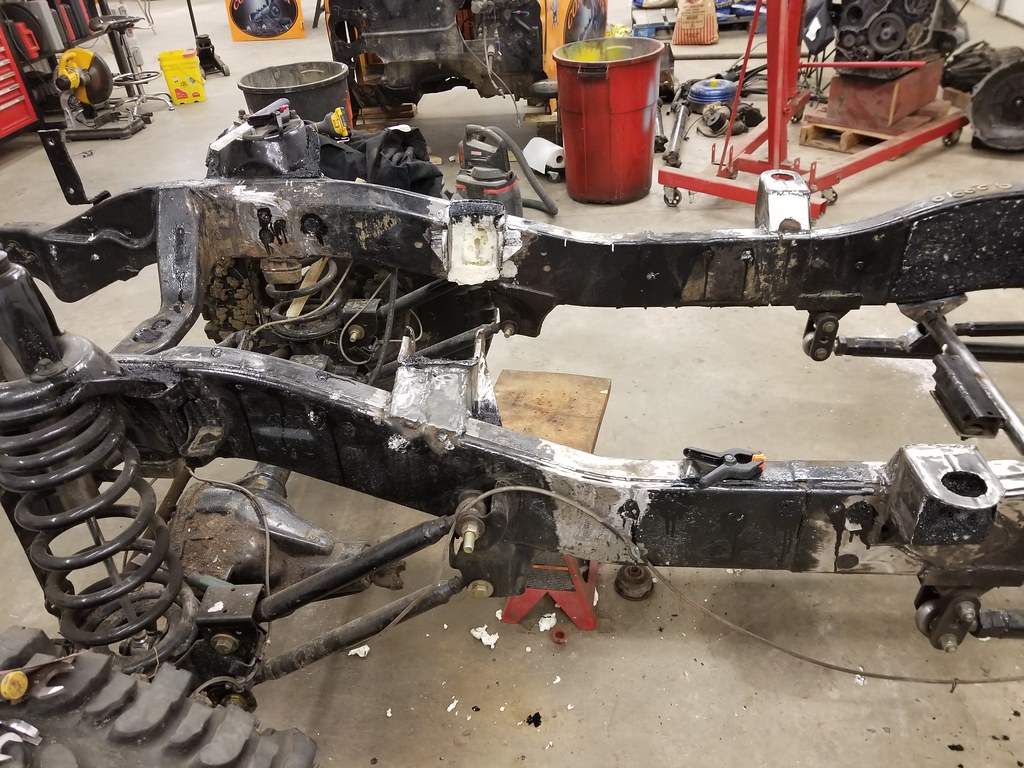
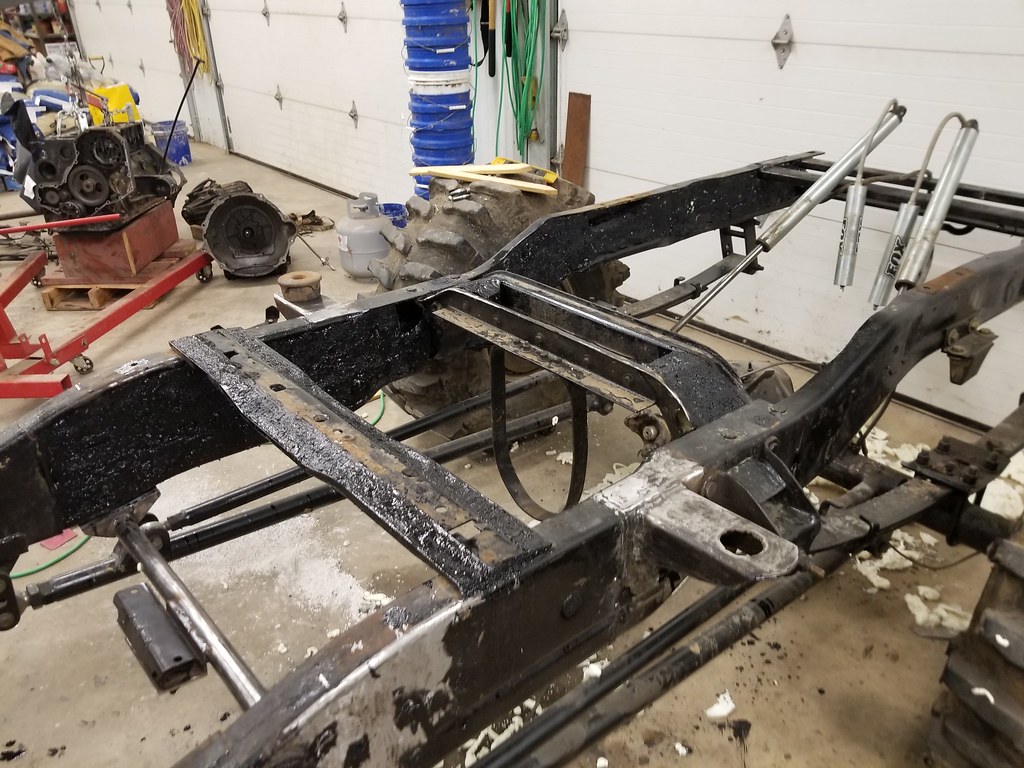
This is the first time I've relocated an engine, so I feel like I'm moving at a snails pace, but trying to keep the engine on the same plane it was on and ensure I don't go too far back so I break the class rules, but not too far forward where I don't get all the benefits....
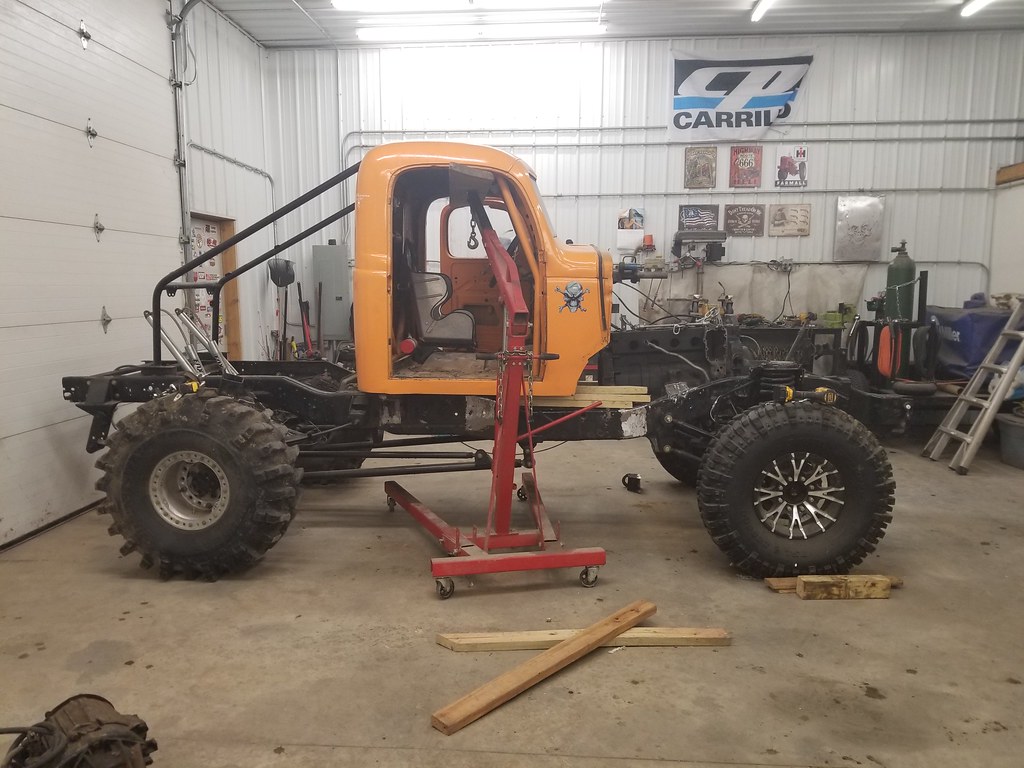
 
Got out to the shop tonight, finished caulking the roof line before it got dark, so that should end water penetration during high winds and rain.

Once that was done, I cleaned up both of the frame motor mounts I cut off and then found a piece of 1/4" plate that I cut pieces off of to make the mount to frame connections.

Got all the pieces cut off with the plasma torch and then cleaned them up with the grinder and then welded them onto the mounts. Hopefully tomorrow night I can get my son to help me and we can trial fit the engine back into the frame with these on and get some better measurements if we aren't fighting it moving side to side.

38682014172_ba3cd27fb1_b.jpg


38658687626_fc3094b09f_b.jpg
 
Nice work on the truck. Man, that turkey sounded amazing. 2 miles of replaced fence, that's a lot. How many acres do you have? Nice 69 Camaro too btw.

Man, that is a lot of movement rear ward. Your truck will probably pull wheelies now, you better be careful. :) The grill looks awesome too.
 
Thanks, and the turkey was good. I have 120 acres here, wish it were more, but the chances of buying any connected land is doubtful.

Got home tonight after work and headed out to the shop after supper with my son and we worked on finding the exact spot to set the engine, was a huge pita to get it oriented just right, level left to right and with the right slope front to back. Marked the frame and pulled it back out. Needed to trim the drivers side spacer just a hair to get a good fit. If I remember right, it worked out to be a move of 19" backward after all is said and done.

Managed to get another body mount cut off tonight as well before calling it quits. Hoping to do another trial fit of the engine tomorrow night and possibly tack the mounts onto the frame if I can get it set up right and have time to get the frame cleaned where it's going.

My cam and springs for my p pump came in today as well. Need to drain the oil in the pump and get it crated up to ship to Seth to be fixed and cam swapped in. Hoping to send it off in a week or so.

26959442659_e3864deefc_b.jpg


26959443069_7b955a0340_b.jpg


38735751991_0b000329ef_b.jpg


26959446429_8d93da0778_b.jpg


23870563517_a5afec7773_b.jpg


37848278455_ab76f116b6_b.jpg


38018664134_d70a0b250c_b.jpg
 
Got the mounts back on the engine after some adjustments last night to them and bolted them tight on the block so they didn't move as I was positioning the engine in the frame (learned from that last night). With it tight in the frame rails, took a few taps with my hammer to get it just perfect. Checked all the axis and measurements, I'm 18 3/4" back from stock with a 1/2" forward of the centerline of the front axle on where the balancer front face will be. Gives me just a bit of wiggle room.

Welded that sucker to the frame on the outside of both mounts and pulled the engine out and then welded the insides. Finished cleaning up the frame from the last 2 mounts I cut off and then started cutting pieces of 1/4" plate to start boxing in the mounts to the frame.

Finally got the total of what I had my wife pick up black friday shopping... 20 more packs of 6 cheap wash rags. That shelf has many many wash rags stacked to the back of the wall 3 rows wide. the other side is stuffed with micro fiber towels. Depending on what they are used for, they either go in the trash or a bag to be washed in the house when the wife isn't home...

38724210842_b879a63d24_b.jpg


38038930874_c67e27b779_b.jpg


38038927864_366796aacb_b.jpg


38724206712_0783dfdb2f_b.jpg
 
Took my wife out this weekend as her birthday present. Got us a hotel / spa package got home this afternoon and finished boxing in the mounts, need to clean up all the dingle berries and get them filled in with foam and then coat them with por 15.

Not sure how much will get done this week, Tues night is legion meetings, wife works weds - fri, I'm tending bar and running karaoke by my self fri night, then xmas at the mother in laws saturday and then seether concert sunday night.

I did get my head gasket / fire set in friday.

27042507129_3463d71eb5_b.jpg


23953779137_f6826276bd_b.jpg
 
Got the 2 motor mounts fairly cleaned up, still need to get some nooks and grannies still, but think they will work. Also filled up the front part of the frame with foam where it melted some while welding the mounts on.

Finished up tonight by cutting off the last 2 mounts on the drivers side of the frame and cleaned it up. Marked where the cab mounts will be going. Just want to stab the engine and then sit the cab on the frame to verify height of them.

Had to replace my aircat die grinder yesterday. It finally gave up after about 15 years of hard use. Bought a 90 and straight Napa one.

37997196535_c4824aefbd_b.jpg


25012674988_84134fc75e_b.jpg
 
On this days episode of sketchy redneck garage...

Dropped the block back in the frame and bolted it into the frame mounts. Then dug out the cab and cleared a path over to the frame. After spending half an hour getting the passenger door off, we picked it up with the cherry picker and moved it over to the truck. After some moving around and figuring out exactly where I wanted, I blocked it up on the frame to start getting it square and locating the mounts for sure on the frame. I plan on finishing squaring it up in the morning and start tacking on body mounts.

38018981955_5726d9afcd_b.jpg


27129025369_290a8f5f76_b.jpg


38869914622_4a36243ed9_b.jpg


24040760027_a277712289_b.jpg
 
Worked on the body mounts today and got all 4 of them placed, fitted and tacked on before moving the cab back off the frame and then welded them up. Cleaned off all the old por 15 on the mounts and filled up more areas on the front frame to get it filled up with foam so when I'm ready, I can start the por15 process to get it coated.

38205651414_042bc4fbd3_b.jpg


38034704735_ab46cc37eb_b.jpg


38920869291_35958bf5e0_b.jpg


38885264202_4f75d09920_b.jpg
 
Did manage to get a couple of hours out in the shop tonight, so I cut out the rear cross member that was in the way of the cage frame mounts and trimmed up the other one that would have hit the cab. Trimmed up all the foam sticking out as well on the frame.

Also bolted on the transmission and the transfer case and strapped it to the top and got some stands under the engine and the tcase in readyness to figure out a transmission mount. Need to really look at how I'm going to build the mount and have it not interfere with my traction bars. I really need to move the traction bars just inside the frame and raise the fronts higher.

Looks like the rear driveshaft will be about 24" long and the front about 56" long. Need to get good measurements so I can take the old ones in and have them modified.

24084119507_e5948d4988_b.jpg


25077642148_4d55ef939e_b.jpg


38062906715_1d4dfd70e6_b.jpg


38062907305_494422dbd2_b.jpg


25077646618_642883d1a0_b.jpg


25077647588_552ae30da3_b.jpg
 
I really need to move the traction bars just inside the frame and raise the fronts higher.

Why?? Unless you are going to lower it down, it already looks like your bars are plenty high in the front.
 
I got the idea of moving the front bars up higher after talking to a suspension person. I just don't see a way to do it though with the transmission mount there in the way.

Today, I cut out some foam in the frame and began figuring out a transmission mount. Used 2 pieces of 3" x 2" 1/4" angle iron to bolt to the frame and found a piece of dom left over from the roll cages and cut it to fit. Then took another piece of that 2x3 angle and mounted it to the mount on the transmission. Checked the clearance for the drive shaft and looks to be a good amount of clearance and shouldn't hit at all.

38082911785_ceee2f0d61_b.jpg


38969474771_970b7db3ff_b.jpg
 
Didn't accomplish a lot tonight out in the shop today, but I built a wooden crate for the injection pump, added the box with the cam, springs, afc foot and my injectors to the stack and then wrapped in in cardboard and taped it up good. Planning on shipping it out to Seth tomorrow.

Did some fine adjusting on the brackets for the transmission support, and have it all lined up and ready to be tacked into place before I pull it out. Will do that tomorrow night when my wife's at work and get it fully welded up.

38302182284_de2794665d_b.jpg


27240680389_8480aa6441_b.jpg
 
Got the injection pump shipped off this evening after work and spent some time out tacking the transmission cross member together. Pulled it out and cleaned the dom tubing up before finish welding it all together. Trimmed the dom side of the angle some and now have it mounted in the frame and holding the weight of the trans/tcase.

39010064192_7faa5ec171_b.jpg
 
Been playing with spray foam and cleaning out mud from places I wasn't able to get too when the truck was together. The front cross member was packed full, got several pounds of mud out of it as best I could, couldn't get it all. Been spraying a can and letting it set and then trimming it off and seeing where I need to add more. Really trying to just fill in areas that are a pain to wash out and where it piles up during a run and weights the truck down for the next pass.

Trans mount is in the truck and have the driveshaft changes figured out. Rear driveshaft will be 24" long and the front will be 56.5" long. Ready to pull all that out of the truck now and start getting areas where the por15 didn't stick good sanded and cleaned along with coating the foam. The por15 really hardens and seals that foam.

38195412825_e72514a235_b.jpg


25210472148_a7ea05ba7a_b.jpg


38366998254_80ebabd95c_b.jpg
 
The foam I'd put on there had setup and so I trimmed it all up and where the cab is going and the other areas I'd finished, I started coating the foam in por15. Will take several coats to get it fully covered and the por15 hardens and seals the foam. After this coat hardens, going to do a light sand on it to smooth it out some before giving it another coat.

Sprayed my last can on the end of the frame, will need 1 maybe 2 more cans to finish it up and then I can get it all coated in por15. Need to sand on the frame and get it washed but don't want to do that till I can get the foam sealed up.

Pulled the tcase, transmission and engine out as well today so I have more room to get in there and clean and paint the frame.

Saved a bunch of pits out of peaches and apricots we got at the porter peach festival this year, after soaking them in water for a few hours, I put them in plastic baggies with moist potting soil and stuffed them on the top shelf of my shop ice box to try and shock them and get them to germinate. Have never tried this before, but will be interesting to see if I can get them to grow and turn them into trees for here at the farm.

27317411459_27bd3d6b98_b.jpg


39094902001_930f5c91b7_b.jpg


39094899241_73ddba7bd6_b.jpg


24233903867_9bea2b29bf_b.jpg


27317403589_957ede05a8_b.jpg


27317403269_6f398dd6fa_b.jpg
 
Just been working on getting the foam and por 15 done so I can move on too the frame where the cab will sit and get the metal sanded some, washed and prepped to put on a fresh coat of por15 before putting the cab back on the truck frame. Just about have the front half of the foam where I want it, still needs work further back with some big crevices I need to top off with foam and trim it off. Waiting on the coat of por to dry then will go out later tonight and spray another can of foam to fill those areas.

38292656245_4095367b8a_b.jpg
 
Trimmed off the foam I sprayed last night to fill crevices and empty areas, then put a coat of por15 on all the foam. It's looking pretty decent, still have a few places that need another coat and will touch those areas up as I go. While waiting on that coat to dry, worked on sanding the metal parts of the frame to get it ready to wash and swept another big pile of cut off foam pieces up. After the sanding was finished, I sprayed the areas I plan on painting right now with degreaser and after a 15 minute wait, washed it down with water. Letting it dry overnight then will go out in the morning and spray it down with metal prep and wash that off and let it sit till I can get back out there.

I think I finally found me a place to make my shock hoses to get switched over to the flat plates and remove the shock towers. Waiting to find out how long it will take them to get the M12x1.5 banjo hose ends, hose will be -5 600 goodrich ptfe hose.

27410059839_310ed36698_b.jpg


39187057341_d893bf20a3_b.jpg


27410057789_3054190872_b.jpg


38479927584_07a20ab686_b.jpg
 
Back
Top