Brawnham
Second Gen Guru
Hoping to somewhat keep track of my build and make a few friends along the way with my truck, figured I'll make a build thread! If I help or inspire someone then its all worth it!
Everything done to my truck is done by me and me only, with assistance from friends and family when needed.
No big money from mom and dad or blank cheques to shops to build it for me
Instagram is @Brawnham, I post regularly on there too
So down to business, my truck is a 1998 Dodge Ram 2500 12 valve 5 speed extended cab long box, black, agate interior with cloth originally. Factory clearance lights too, its a bit of an oddball truck and I haven't seen another like if.
It has 420k kilometers and she's been tossed around like a corner store whor
I'm the 6th or 7th owner, a few owners before me it used to be really nice, then people with no money and kids got ahold of it and its gone downhill from there.
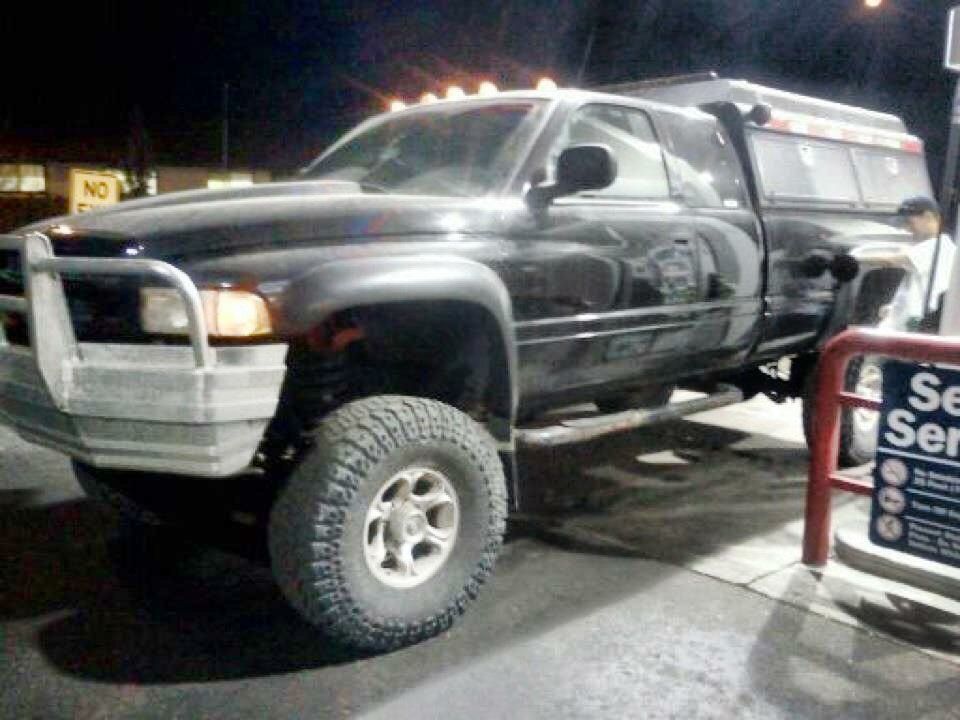
Here's the earliest photo I could find:
Here is when it was its nicest, had a brand new engine at 355k km.
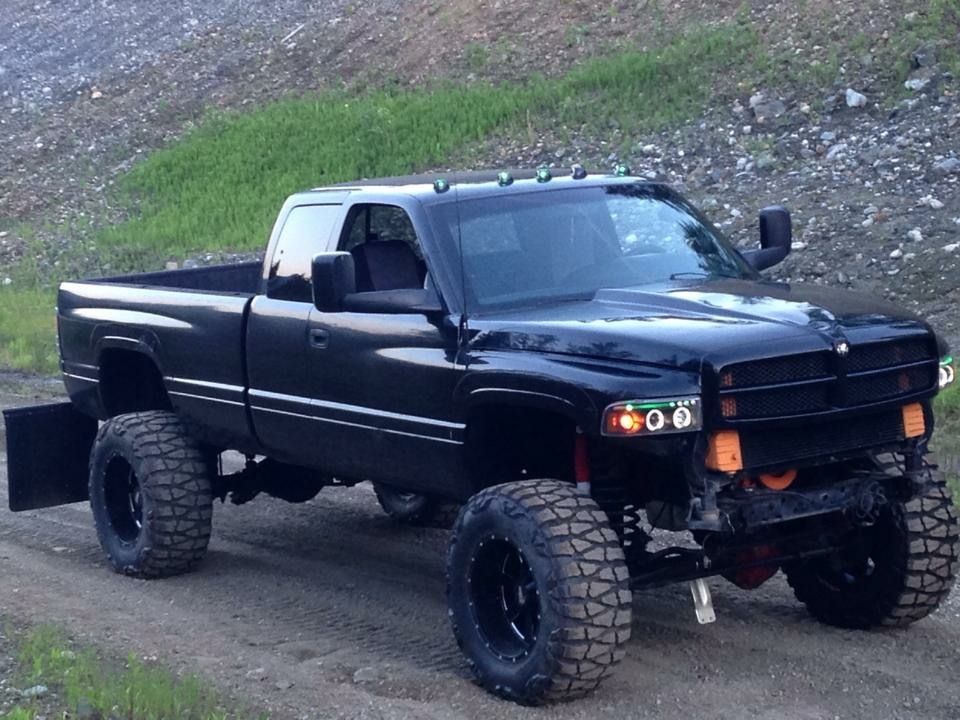
It was all down hill from there
Here it is as I got it.
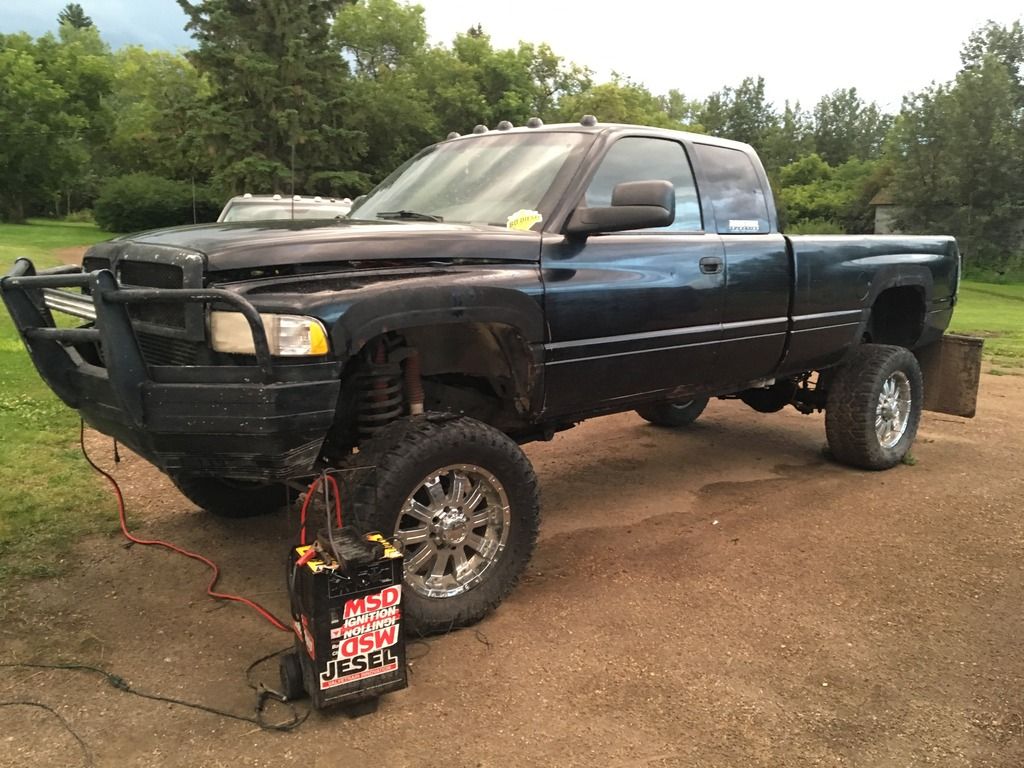
$6600, and a trove of electrical problems I figured was an alright price to pay given its a hard truck to find (was exactly what I was trying to find, no exceptions)
Had no park lights, alternator wouldn't charge, and the fuel solenoid didnt work.
Some gook got in the engine bay with a pair of snippers and cut the grid heater and solenoid wires, that took a while to figure out.
Then the park lights had a burnt wire in the pullout light switch
Finally, the alternator not charging took me 2 weeks solid to figure out, turns out the engine speed sensor was worn, and that the harmonic balancer was caked in ****/oil so it couldn't get a good reading!
And whole trove of just bad wiring PERIOD!

Next thing on the list was interior. While I was out working I left a milk jug on the back seat... the smell could gag a maggot
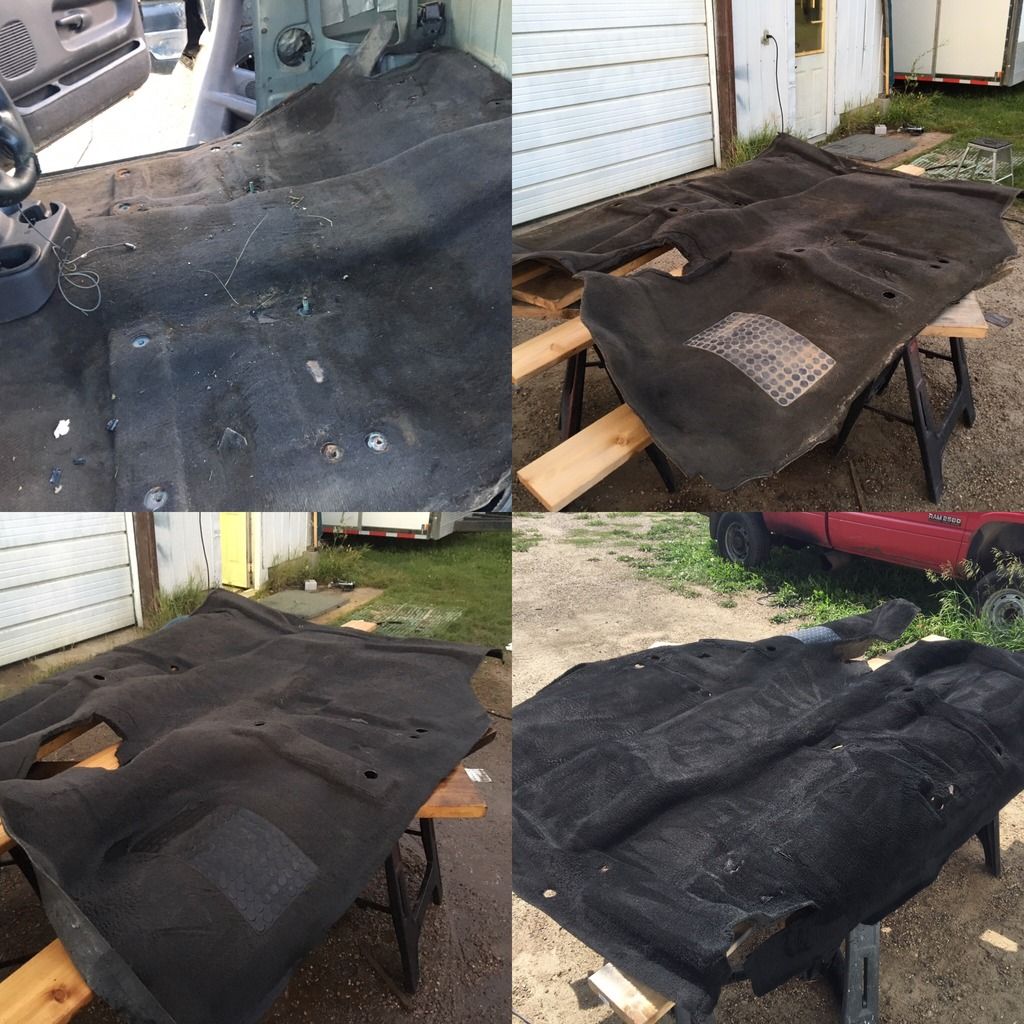
The carpet reeked and no amount of black ice scenty trees could mask that stench so I figure after 420k of god knows what kind of people walkin' over it the carpet was due for a wash and paintjob
The back seat was finished, the chunky white "milk" abortion soaked in and there was no saving it... so leather went in! And I cant have the front seat as cloth so I put in heated fronts to match.

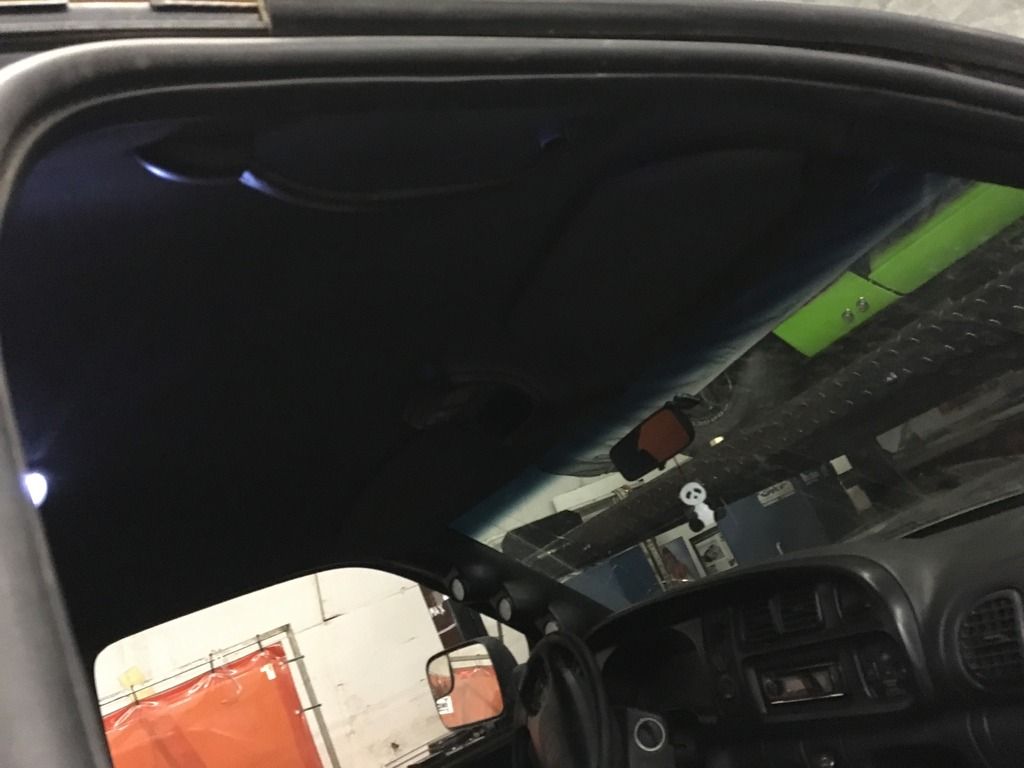
Recently I painted the headliner dark grey to tie in with everything and here is the finished product! Much better
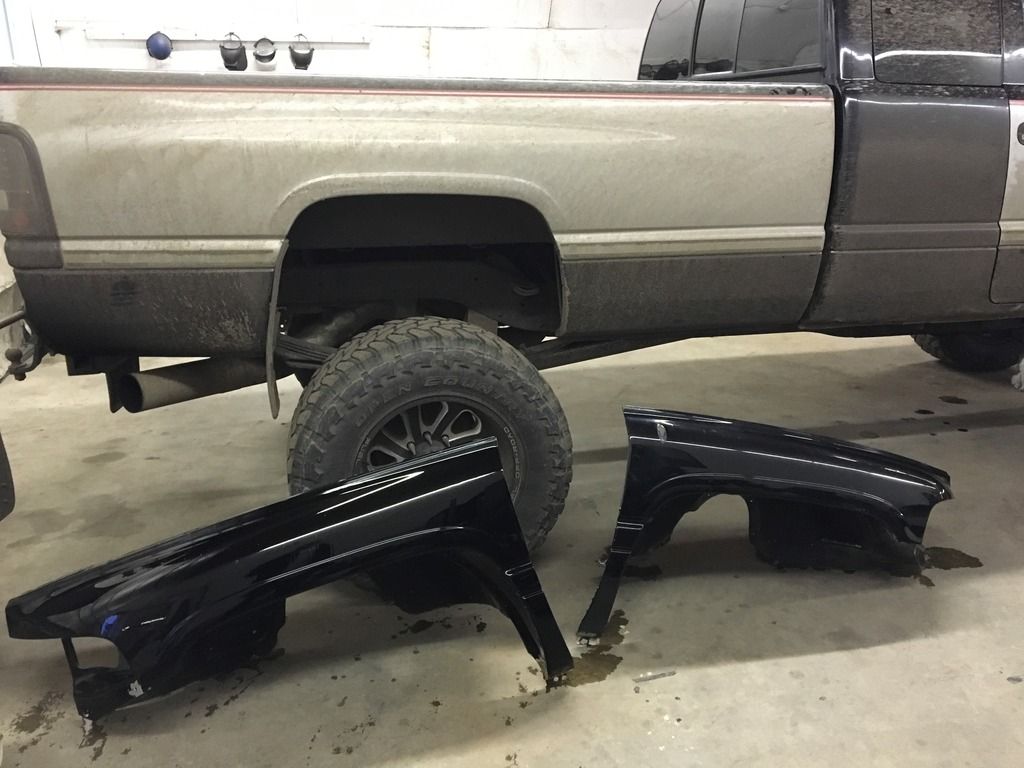
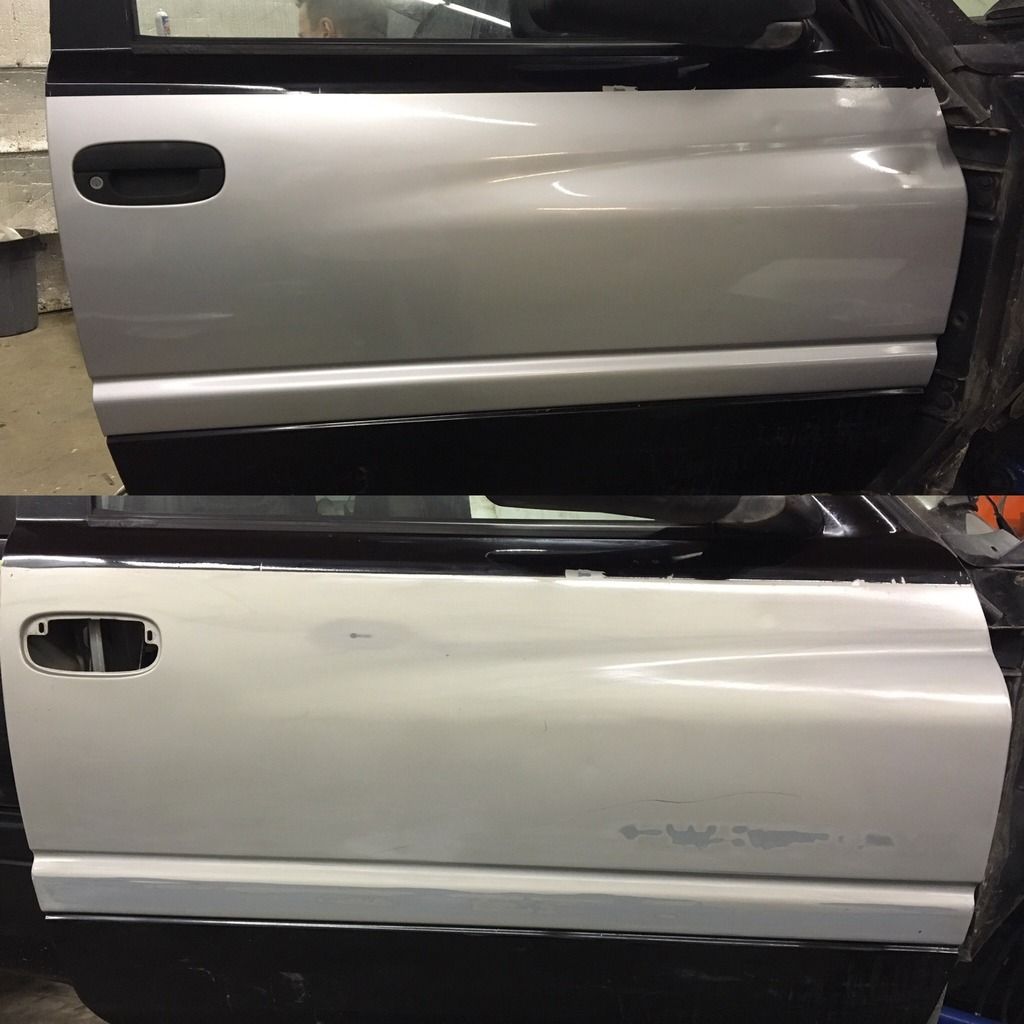
After the interior was done the next order of business is the body. I picked up a box, doors, and drivers fender for $400, all 100% free of rust, not a lick even starting! (Damn near impossible in Canada) I put POR-15 on all the seams and heres to hoping they'll last me a long time
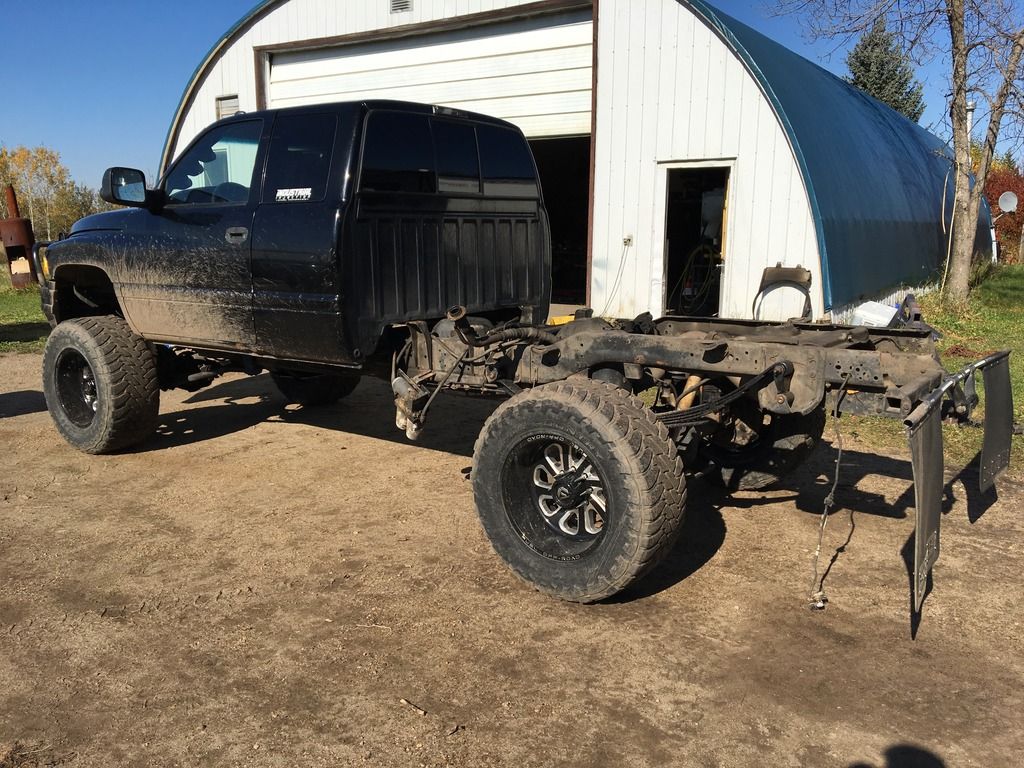
After the box and doors were on I had to do the fender, and while I was at that, fix the wiring....
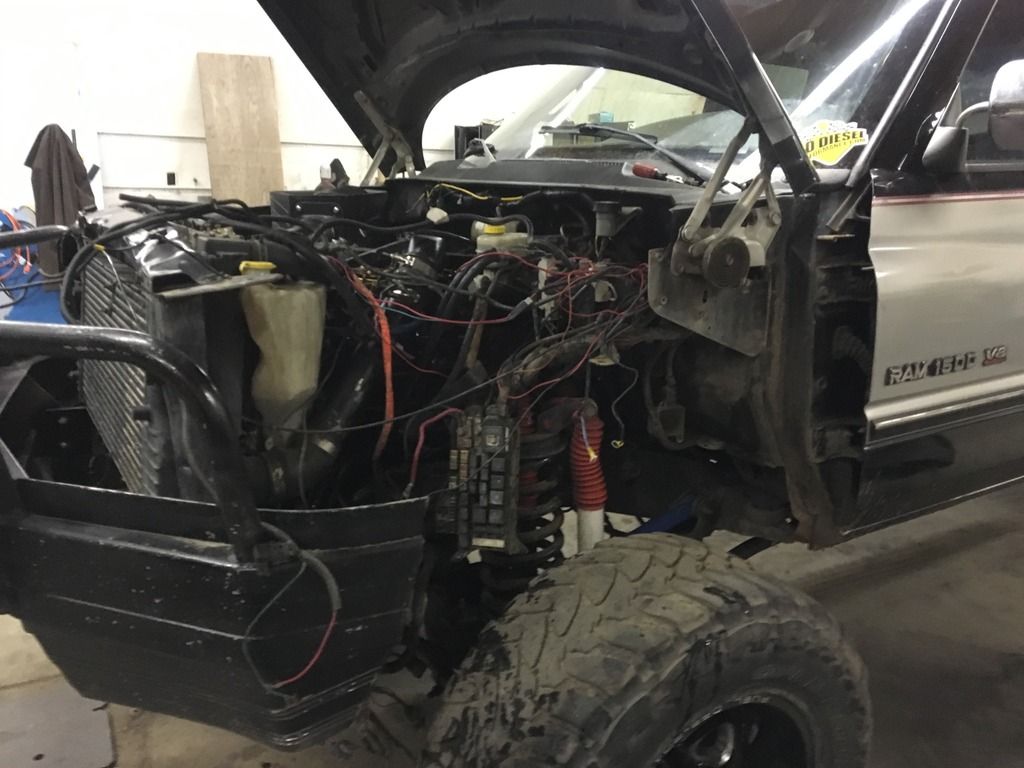
which was one hell of a battle... but all worth it!
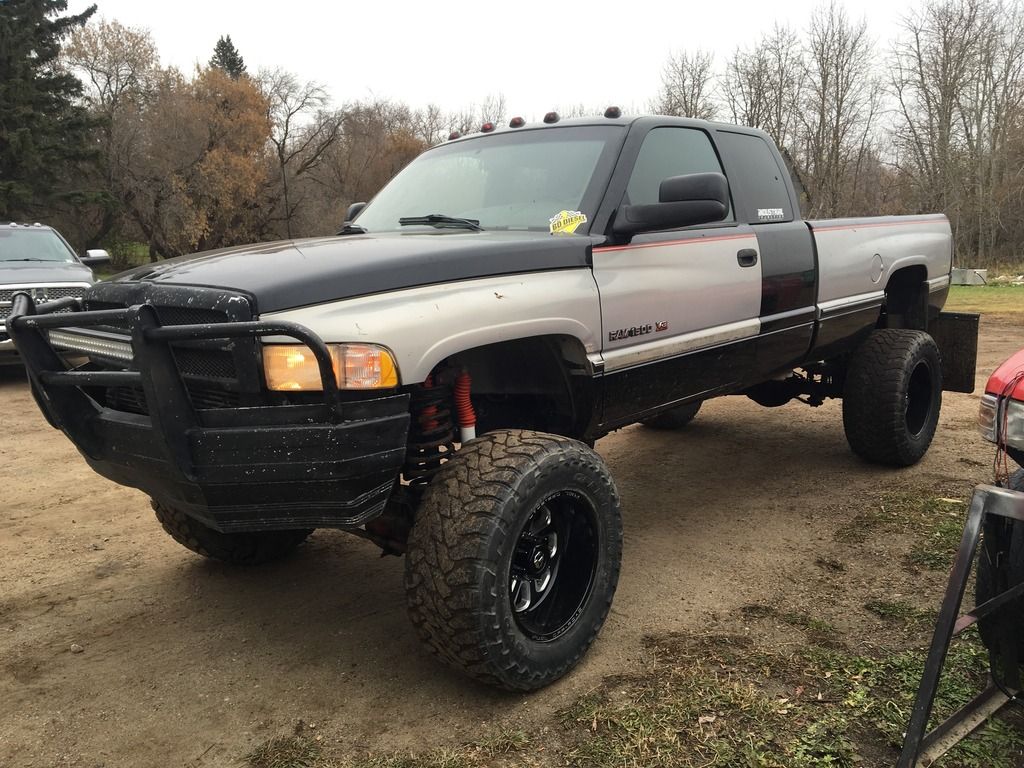
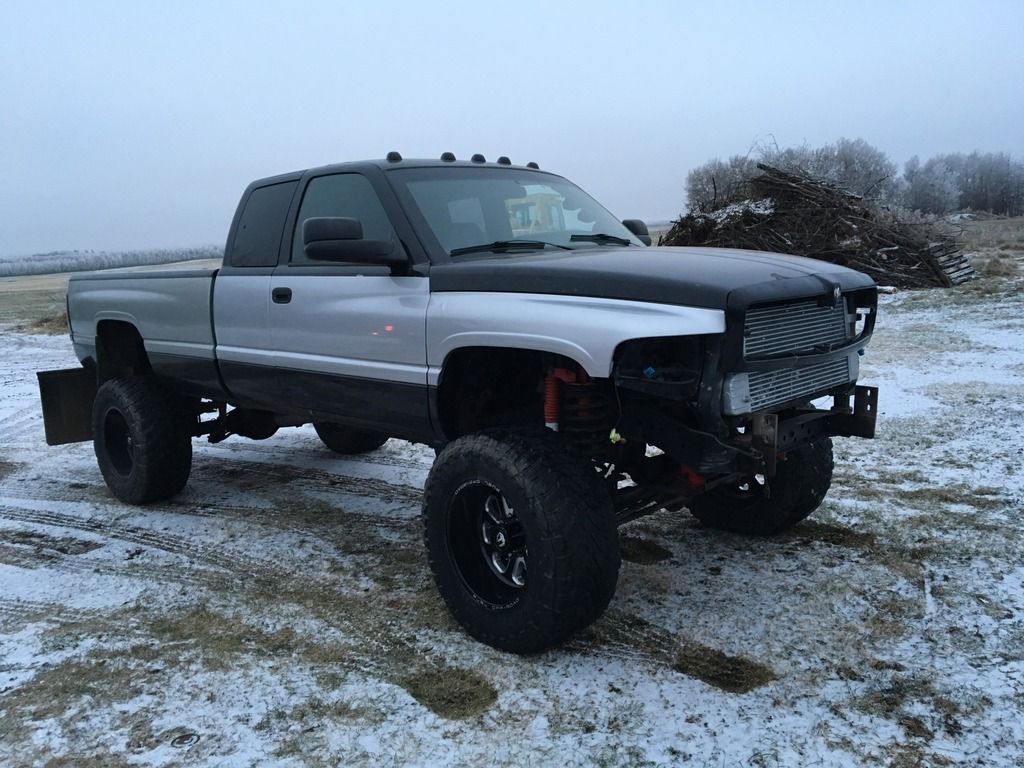
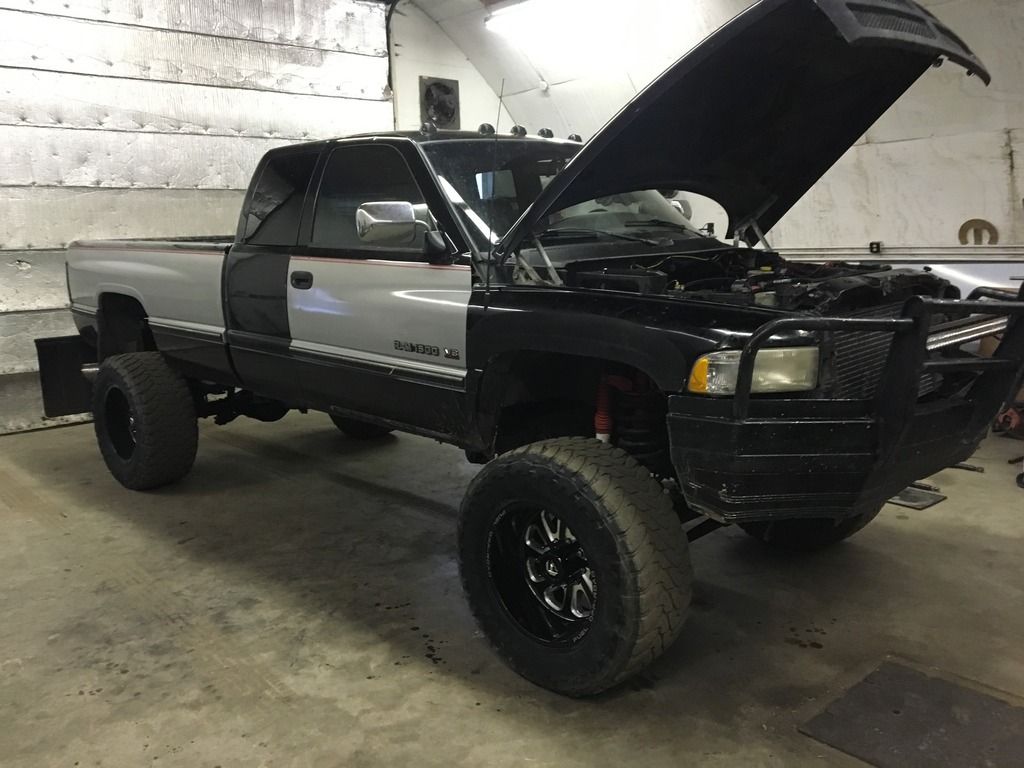
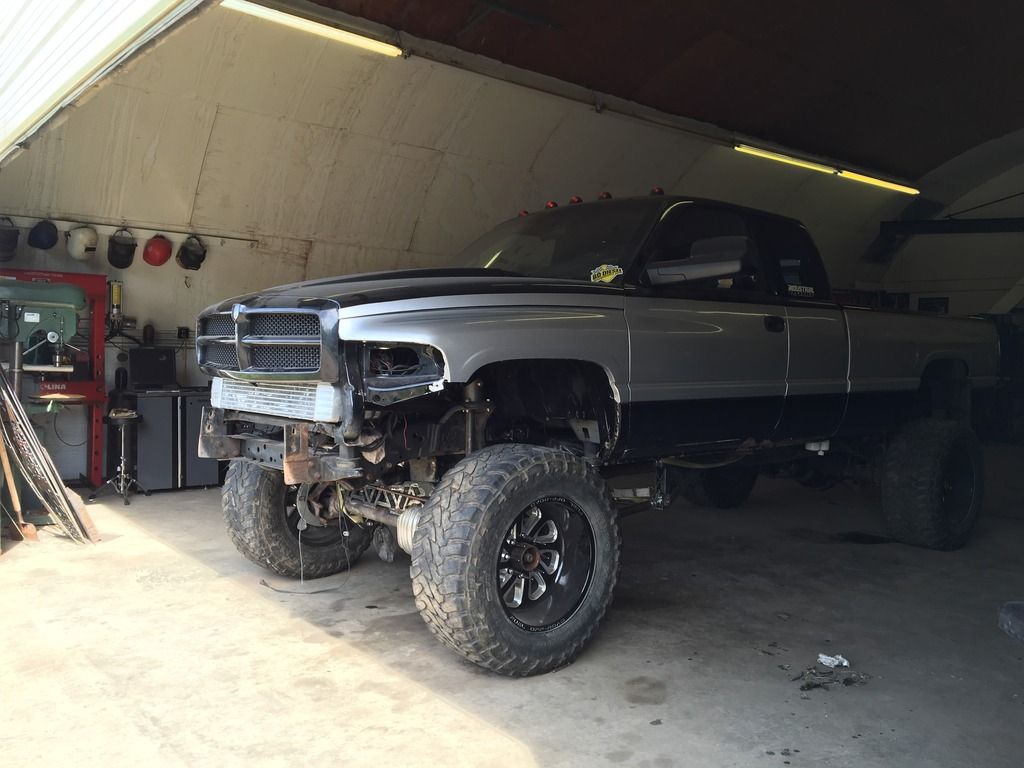
So thats enough for now, I've gotten much more done since and I'll cover everything over time, so the next post I'll cover more. This is the truck as it sits now, so you have an idea of whats to come:
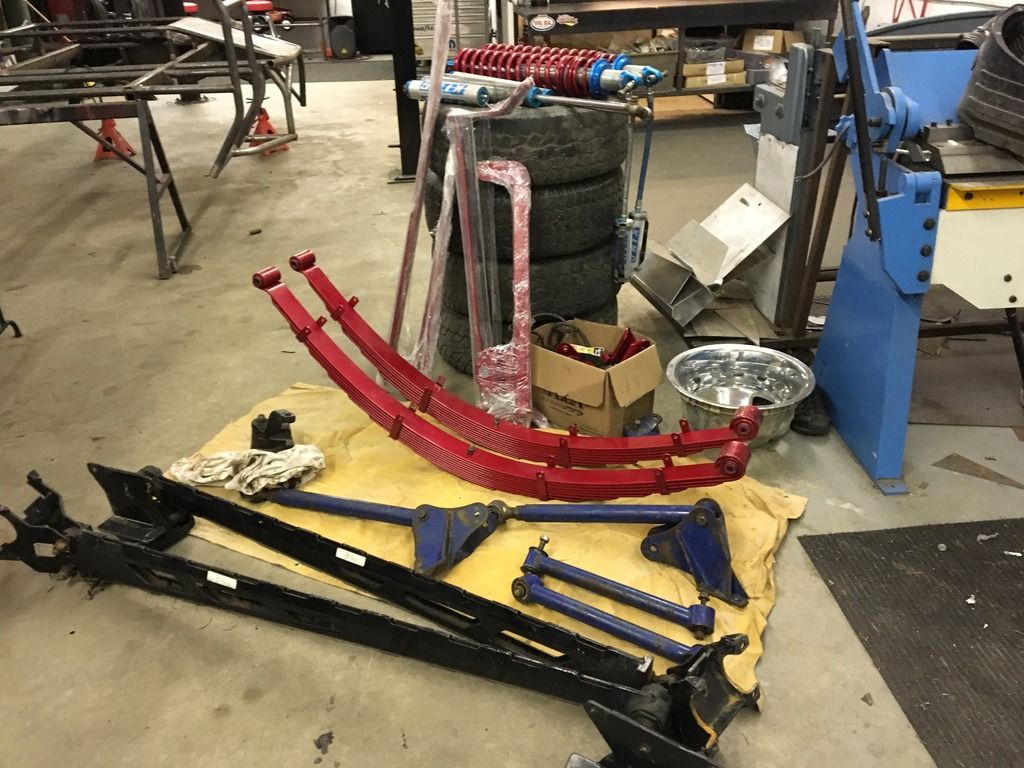
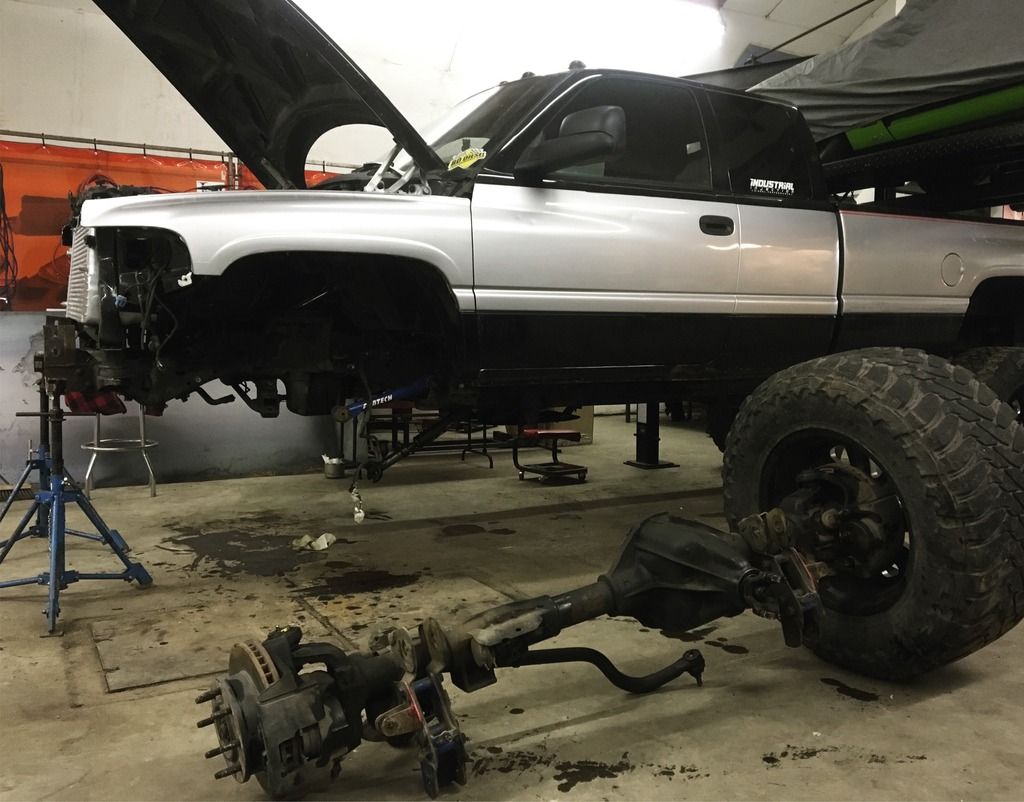
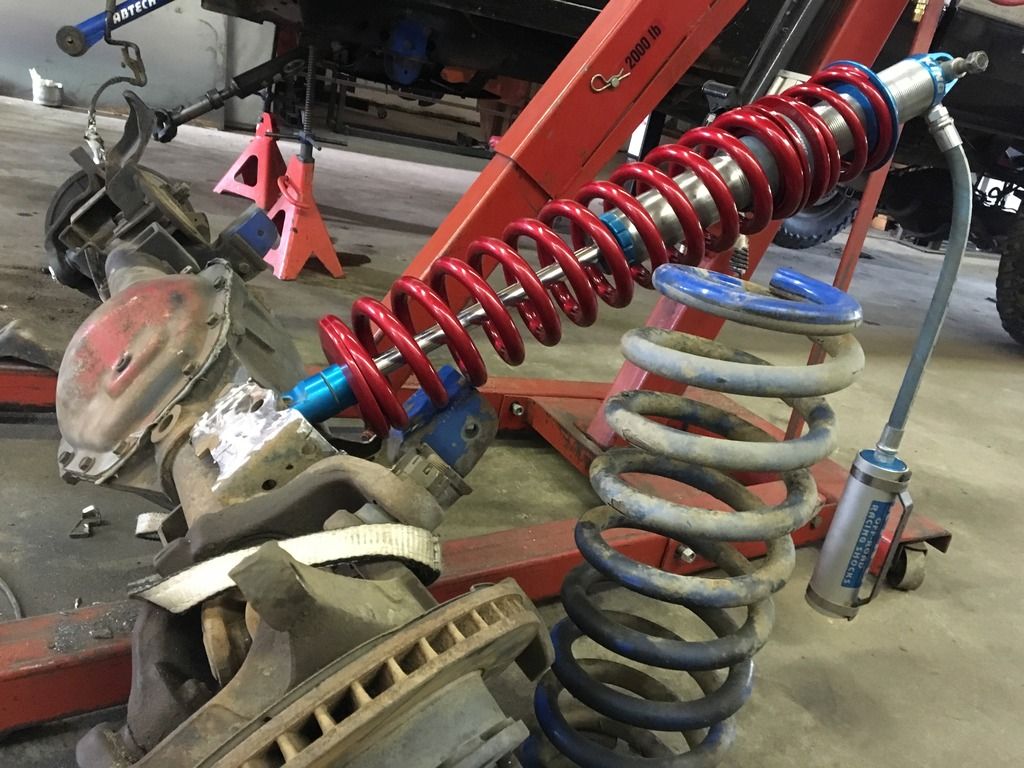
Here is the current mod list, some stuff isnt on yet but I have it.
Engine:
Only thing original is the rods
All new cummins hardware and gaskets @355k km
.040 Big Bowl Mahl pistons
New head
Manton Series 5 7/16 Pushrods
Hamilton 110lb beehive springs
Big stick stage 3 cam
ARP 425 Headstuds
All new gaskets
Rebuilt and benched 12mm pump, 215 cam, 180 pistons, the whole shootin match
Full cut delivery valves
AFC spring kit
4k gov spring kit
Killer dowl pin fixed
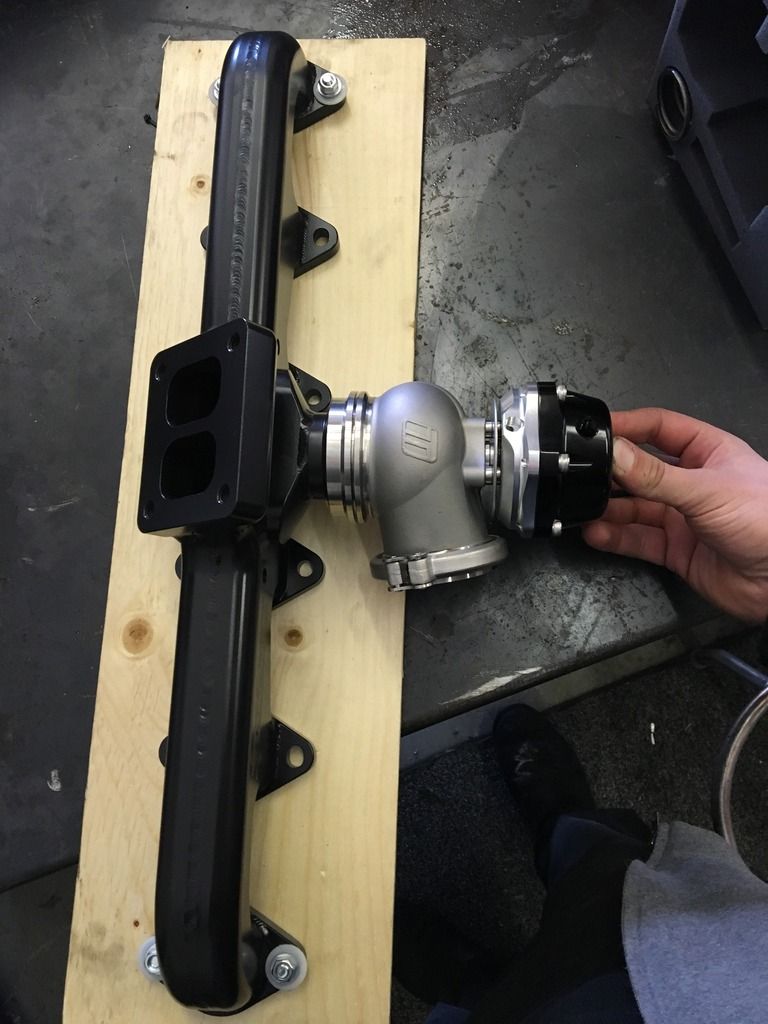
Steed Speed gated T4 manifold
S363SXE Turbo, 63/68/.91
S478 turbo with race cover and billet wheel, 1.15 exhaust side
DDP Supermental injectors
5" dual exhaust
ARP adjuster nuts and pedestal bolts
FASS fuel pump with big line
Dual fueler lines
Bigger draw straw
Magnetic oil pan plug
Billet valve covers
Billet tappet cover
Home made dual intake horn with dual grid heaters
3rd gen 6.7L starter
Trans:
48RE
Billet input, output, and intermediate
Billet front drum
Clutches, billet combo kit, pretty well the whole catalogue
Suncoast reverse manual valvebody
Suncoast triple disc billet converter
32 Row Thick 6L powerstroke trans cooler (biggest one I can find)
NP271 swapped
Frame and axles:
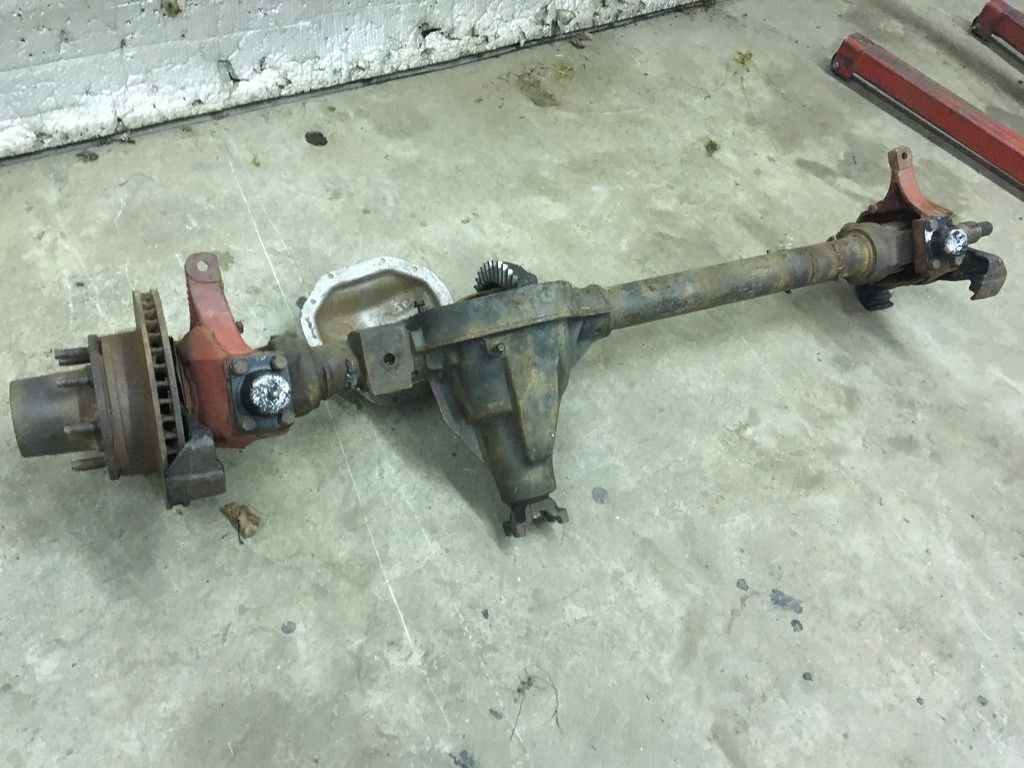
Ford Dana 60 kingpin, high pinion, 35 spline inners, 4.10 gears, trussed, warn 35 spline hubs and outters
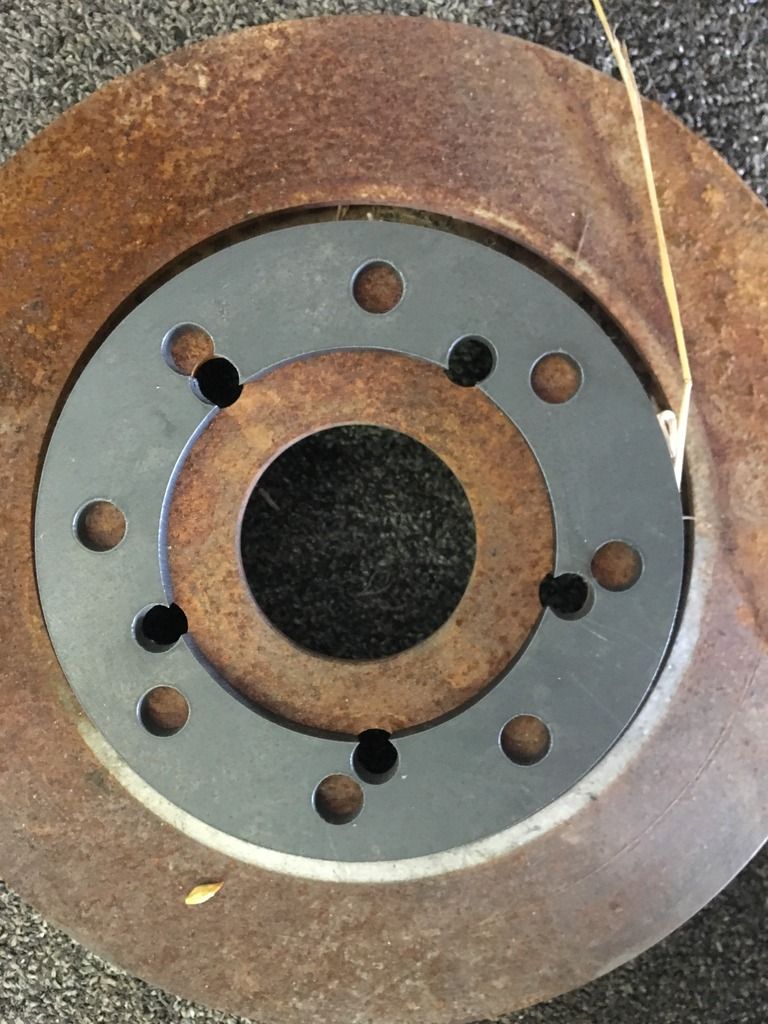
SRT10 Ram 4 piston Brembos and massive 15.4 inch rotors
Thuren sway bar
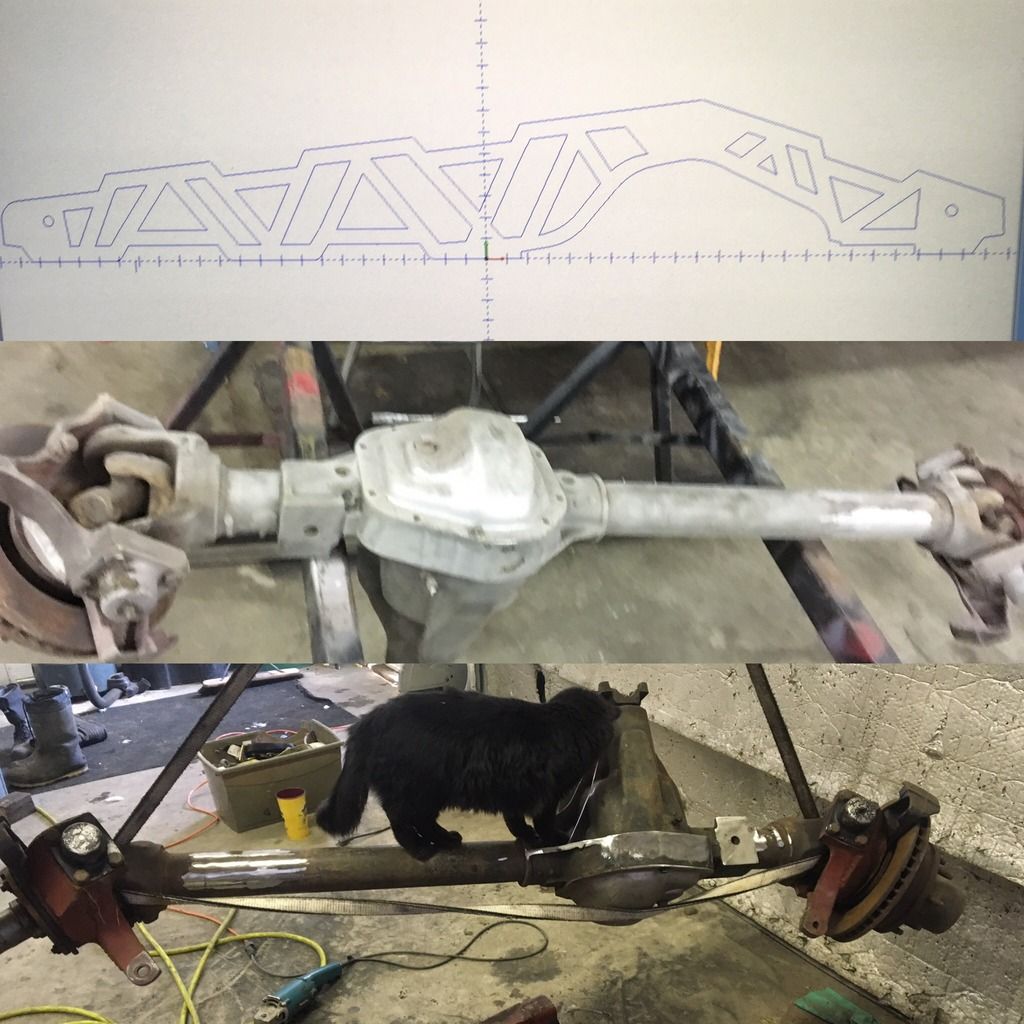
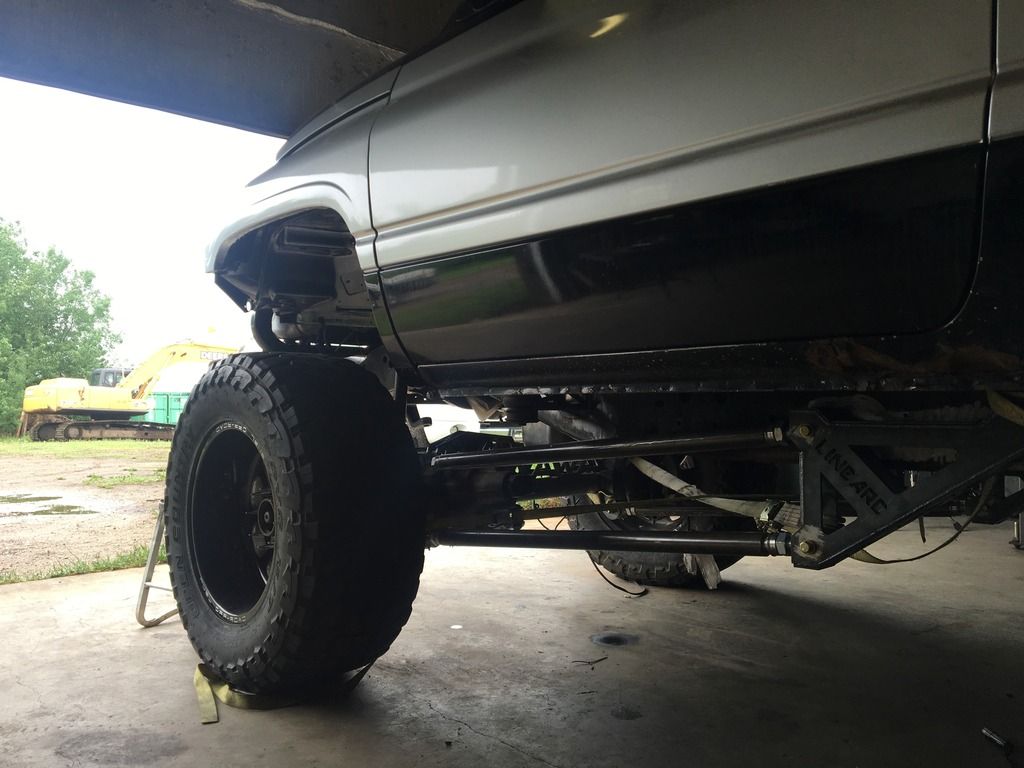
Parallel 4 link designed by myself, rear will be a 3 link. Both on air bags
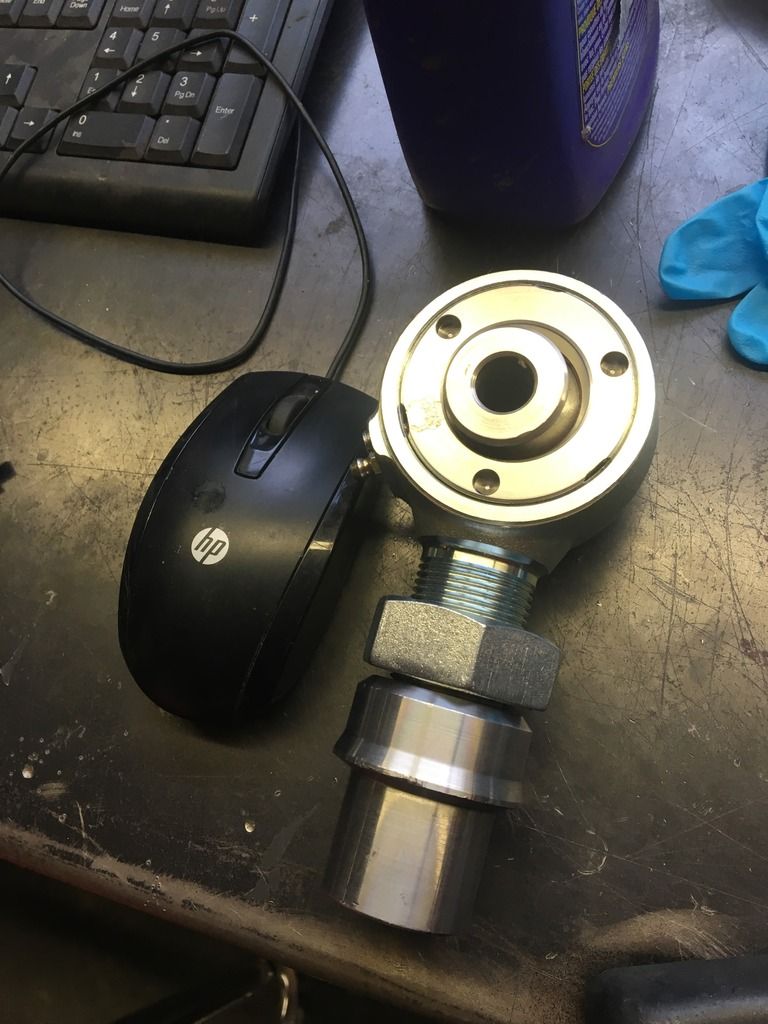
2" .250 wall control arms, ballistic fab 2.375 johnny joints
EMF tie rod ends, drag link, and track bar. 7/8 shank, 3/4 bolt.
Borgeson power steering pump
Reman steering box
Dana 80 rear, factory locker tightened up, needs 4.10s swapped in.
Rear sway bar (need a thicker one, suggestions?)
1 piece 5 inch aluminum driveshaft with 1480 U joints
New Proper length front driveshaft, double kardan
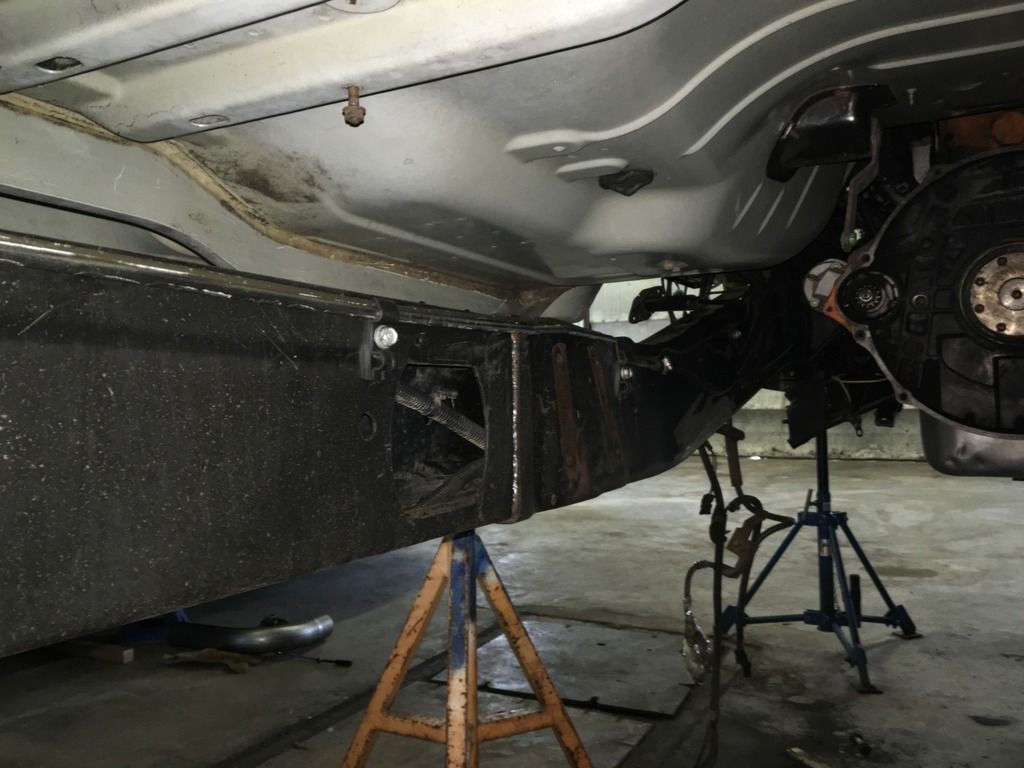
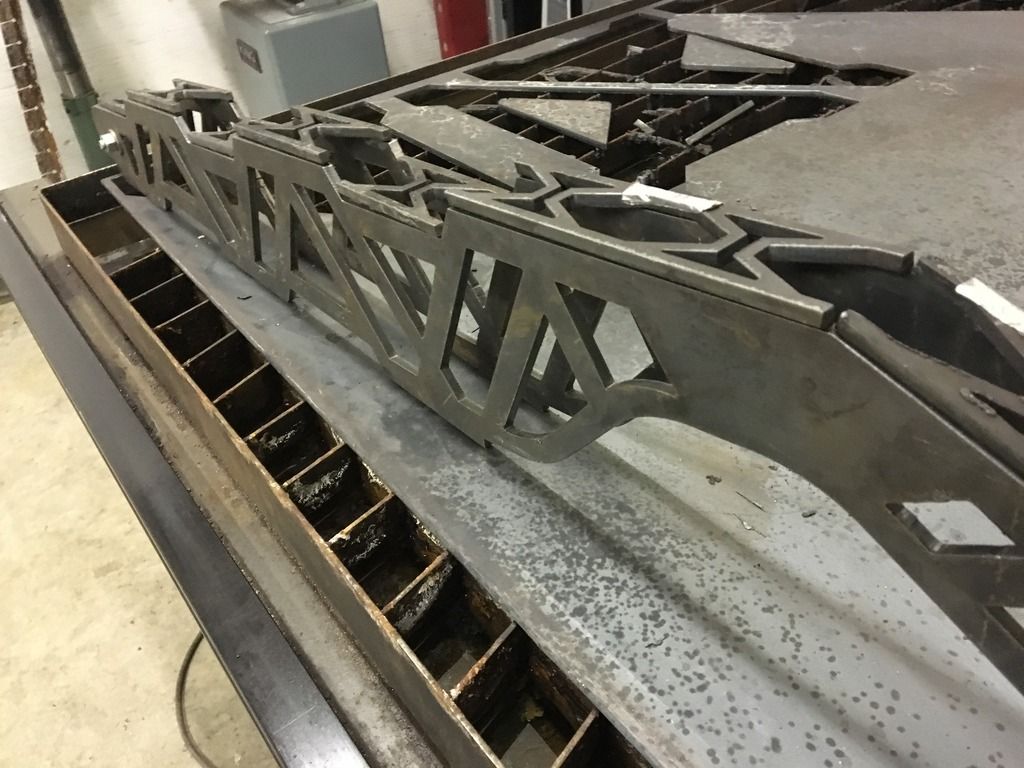
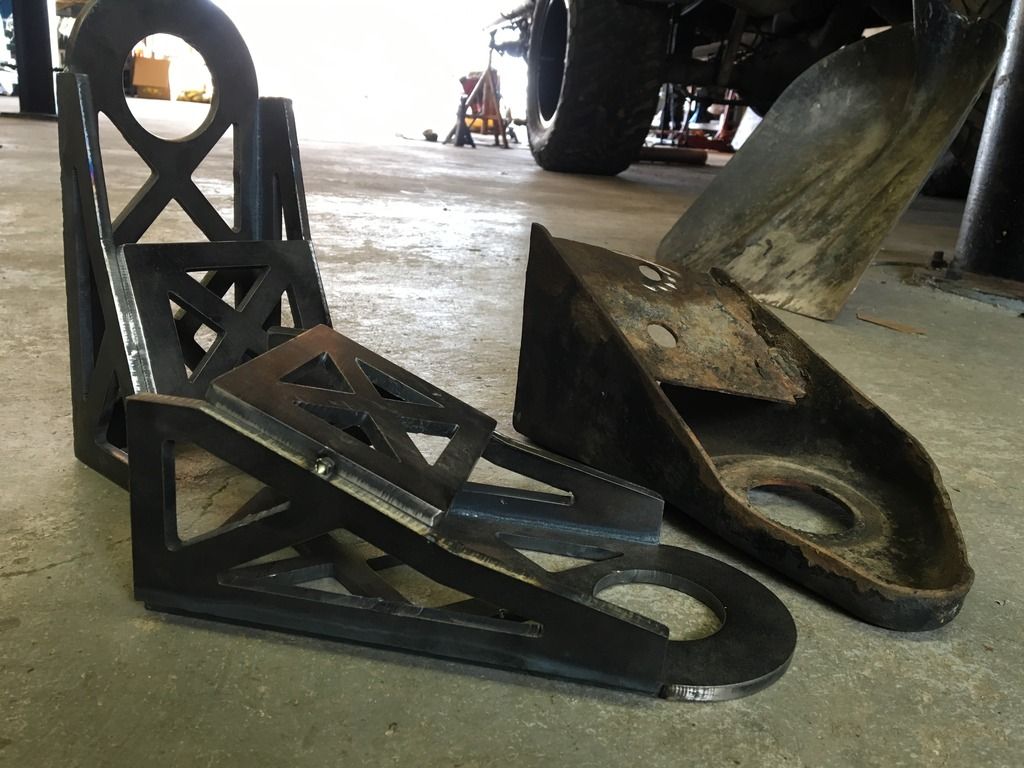
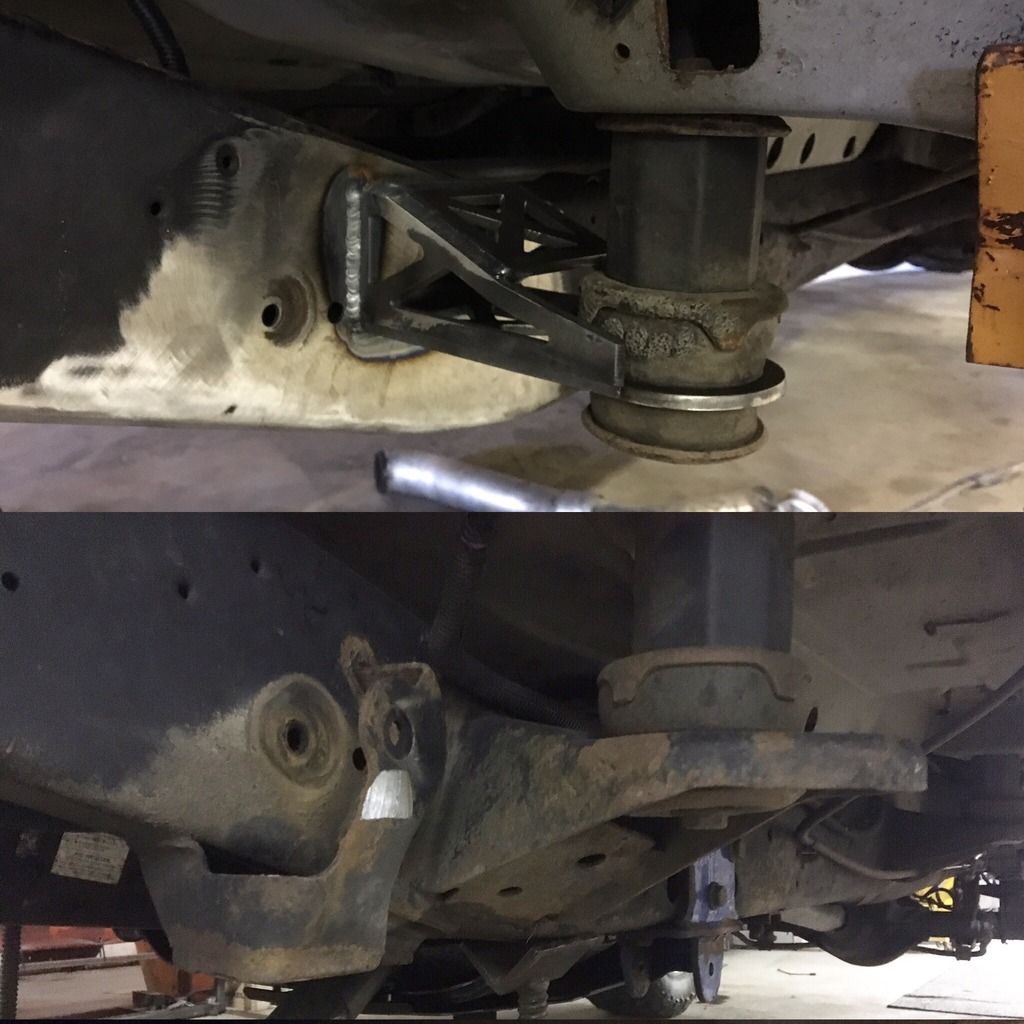
Fabricated front cab mounts for control arm clearance
Battery relocation box located on the passenger side rear on the frame
Body:
Flush mount roll pan
The nicest ****in tailgate on the planet (it opens really nice haha!)
Sport grille
Cowl hood
3 inch body lift (in for now, coming out soon, really made working on the truck easy)
LED tail lights
LED cargo light/high-mount brake light
Aftermarket headlights
Partial vinyl wrap (silver)
Interior:
Dual power heated leather seats
Black carpet
Dark grey headliner
EGT gauge
Boost Gauge
Pyro Gauge
Kenwood headunit
Lightning audio front and rear speakers
10" sub
B&M ratchet shifter in the stock center console
Well thats it for now! I'll make another post continuing on the build closer to the end of the day, any questions or comments are appreciated!
Everything done to my truck is done by me and me only, with assistance from friends and family when needed.
No big money from mom and dad or blank cheques to shops to build it for me
Instagram is @Brawnham, I post regularly on there too
So down to business, my truck is a 1998 Dodge Ram 2500 12 valve 5 speed extended cab long box, black, agate interior with cloth originally. Factory clearance lights too, its a bit of an oddball truck and I haven't seen another like if.
It has 420k kilometers and she's been tossed around like a corner store whor
I'm the 6th or 7th owner, a few owners before me it used to be really nice, then people with no money and kids got ahold of it and its gone downhill from there.
Here's the earliest photo I could find:
Here is when it was its nicest, had a brand new engine at 355k km.
It was all down hill from there
Here it is as I got it.
$6600, and a trove of electrical problems I figured was an alright price to pay given its a hard truck to find (was exactly what I was trying to find, no exceptions)
Had no park lights, alternator wouldn't charge, and the fuel solenoid didnt work.
Some gook got in the engine bay with a pair of snippers and cut the grid heater and solenoid wires, that took a while to figure out.
Then the park lights had a burnt wire in the pullout light switch
Finally, the alternator not charging took me 2 weeks solid to figure out, turns out the engine speed sensor was worn, and that the harmonic balancer was caked in ****/oil so it couldn't get a good reading!
And whole trove of just bad wiring PERIOD!
Next thing on the list was interior. While I was out working I left a milk jug on the back seat... the smell could gag a maggot
The carpet reeked and no amount of black ice scenty trees could mask that stench so I figure after 420k of god knows what kind of people walkin' over it the carpet was due for a wash and paintjob
The back seat was finished, the chunky white "milk" abortion soaked in and there was no saving it... so leather went in! And I cant have the front seat as cloth so I put in heated fronts to match.
Recently I painted the headliner dark grey to tie in with everything and here is the finished product! Much better
After the interior was done the next order of business is the body. I picked up a box, doors, and drivers fender for $400, all 100% free of rust, not a lick even starting! (Damn near impossible in Canada) I put POR-15 on all the seams and heres to hoping they'll last me a long time
After the box and doors were on I had to do the fender, and while I was at that, fix the wiring....
which was one hell of a battle... but all worth it!
So thats enough for now, I've gotten much more done since and I'll cover everything over time, so the next post I'll cover more. This is the truck as it sits now, so you have an idea of whats to come:
Here is the current mod list, some stuff isnt on yet but I have it.
Engine:
Only thing original is the rods
All new cummins hardware and gaskets @355k km
.040 Big Bowl Mahl pistons
New head
Manton Series 5 7/16 Pushrods
Hamilton 110lb beehive springs
Big stick stage 3 cam
ARP 425 Headstuds
All new gaskets
Rebuilt and benched 12mm pump, 215 cam, 180 pistons, the whole shootin match
Full cut delivery valves
AFC spring kit
4k gov spring kit
Killer dowl pin fixed
Steed Speed gated T4 manifold
S363SXE Turbo, 63/68/.91
S478 turbo with race cover and billet wheel, 1.15 exhaust side
DDP Supermental injectors
5" dual exhaust
ARP adjuster nuts and pedestal bolts
FASS fuel pump with big line
Dual fueler lines
Bigger draw straw
Magnetic oil pan plug
Billet valve covers
Billet tappet cover
Home made dual intake horn with dual grid heaters
3rd gen 6.7L starter
Trans:
48RE
Billet input, output, and intermediate
Billet front drum
Clutches, billet combo kit, pretty well the whole catalogue
Suncoast reverse manual valvebody
Suncoast triple disc billet converter
32 Row Thick 6L powerstroke trans cooler (biggest one I can find)
NP271 swapped
Frame and axles:
Ford Dana 60 kingpin, high pinion, 35 spline inners, 4.10 gears, trussed, warn 35 spline hubs and outters
SRT10 Ram 4 piston Brembos and massive 15.4 inch rotors
Thuren sway bar
Parallel 4 link designed by myself, rear will be a 3 link. Both on air bags
2" .250 wall control arms, ballistic fab 2.375 johnny joints
EMF tie rod ends, drag link, and track bar. 7/8 shank, 3/4 bolt.
Borgeson power steering pump
Reman steering box
Dana 80 rear, factory locker tightened up, needs 4.10s swapped in.
Rear sway bar (need a thicker one, suggestions?)
1 piece 5 inch aluminum driveshaft with 1480 U joints
New Proper length front driveshaft, double kardan
Fabricated front cab mounts for control arm clearance
Battery relocation box located on the passenger side rear on the frame
Body:
Flush mount roll pan
The nicest ****in tailgate on the planet (it opens really nice haha!)
Sport grille
Cowl hood
3 inch body lift (in for now, coming out soon, really made working on the truck easy)
LED tail lights
LED cargo light/high-mount brake light
Aftermarket headlights
Partial vinyl wrap (silver)
Interior:
Dual power heated leather seats
Black carpet
Dark grey headliner
EGT gauge
Boost Gauge
Pyro Gauge
Kenwood headunit
Lightning audio front and rear speakers
10" sub
B&M ratchet shifter in the stock center console
Well thats it for now! I'll make another post continuing on the build closer to the end of the day, any questions or comments are appreciated!
Last edited: