I figured I would toss up a quick how-to on a turbo swap. Us cummins guys are truly blessed with one of the easiest turbo swaps you can imagine, and hopefully a few pictures and explanation will help encourage folks to give this a shot. There are only a few bolts involved, and it is much easier than many folks imagine. Simple hand tools is all that you will need.
The turbo coming out is a 35/40 hybrid, but all of the connections are exactly the same as your factory turbo, so don't worry that the compressor housing is polished.
First, getting the old turbo out. Start by getting the oil feed line out of the way. You need 2 wrenches: a 19mm and a 21mm. Put the 21 on the lower connection that goes into the center section housing itself, and the 19 on the feed line.
Next you can get the exhaust out of the way. If you are using a factory replacement style turbo, you may want to pull the elbow off the compressor housing. If you're installing a new turbo, such as a hx40 style, you may as well disconnect the turbo from the downpipe. There are only 2 bolts that connect the elbow to the downpipe, and it would be good to start soaking these bolts a few hours in advance with penetrating oil.

After these 2 bolts, you can move onto the elbow that connects the compressor housing to the intercooler. This is a simple 11mm nut, but you will need a deep socket or a wrench.

Next, the turbo drain needs to be removed. You can either unbolt it from the turbo itself, or you can disconnect it from the down on the block. Personally, I like to take the tube clamp off down near the block and pull it out with the turbo. It makes it a little easier to bolt up on the bench, and you can really clean up the surface of the drain pipe where it bolts to the turbo.
After you get the drain disconnected, there are only 4 bolts holding the turbo in place. The bottom 2 are studs that are set in the exhaust manifold. The top 2 are bolts with washers, so you will need wrenches on both. The bottom 2 are generally the hardest to reach, and they are usually easier to start if you leave the 2 top tight. I start with the bottom rearmost bolt, move to the front most, and then work on the top 2 after they are completely off.
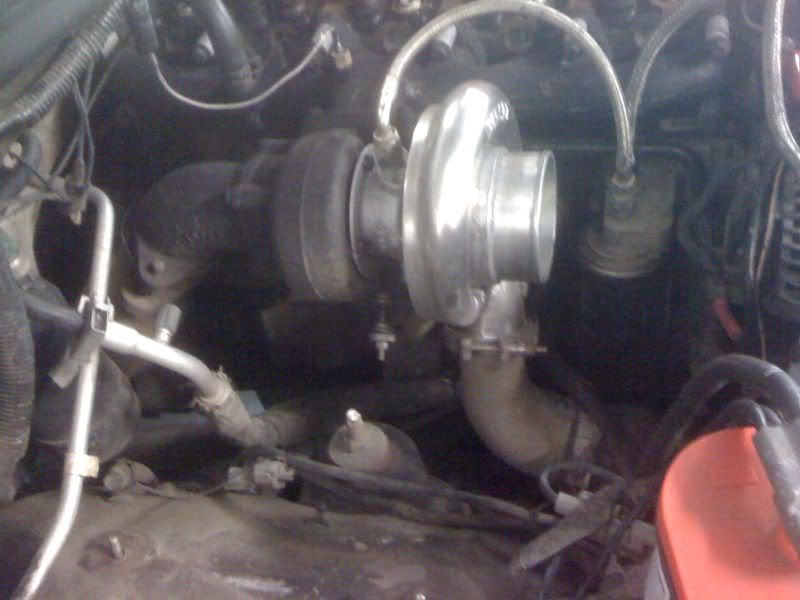
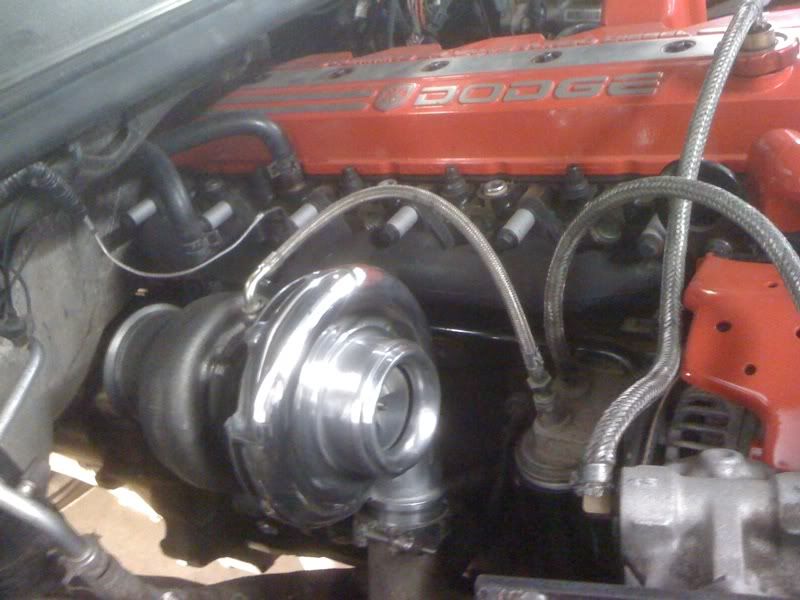
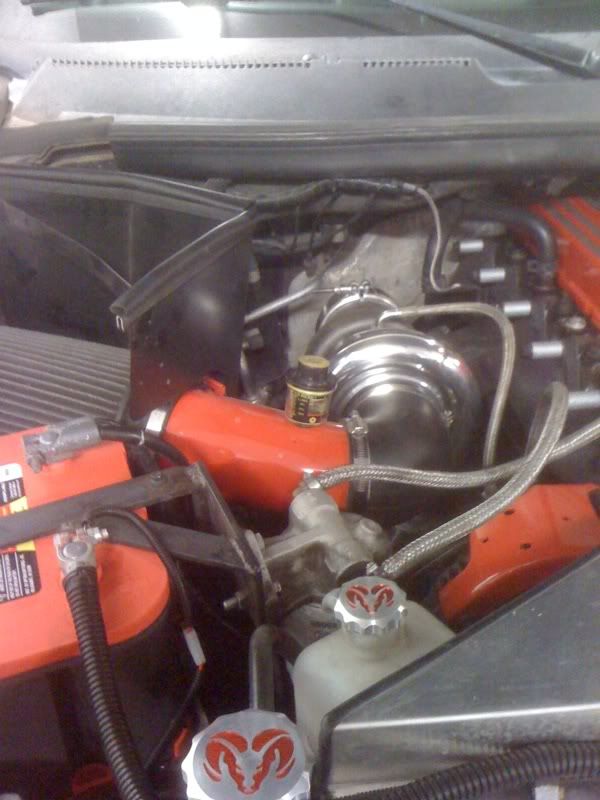
Once those final 4 bolts are off, the turbo is ready to be lifted out of the truck! I stuck the turbo drain back in place so you can see where everything goes in this picture:
New turbo bolts back in place just like the old one came out. If you connected the drain on the bench, make sure you line it up into the block as you bolt the turbo back in. Otherwise, just bolt up the 4 bolts and worry about the drain a little later.
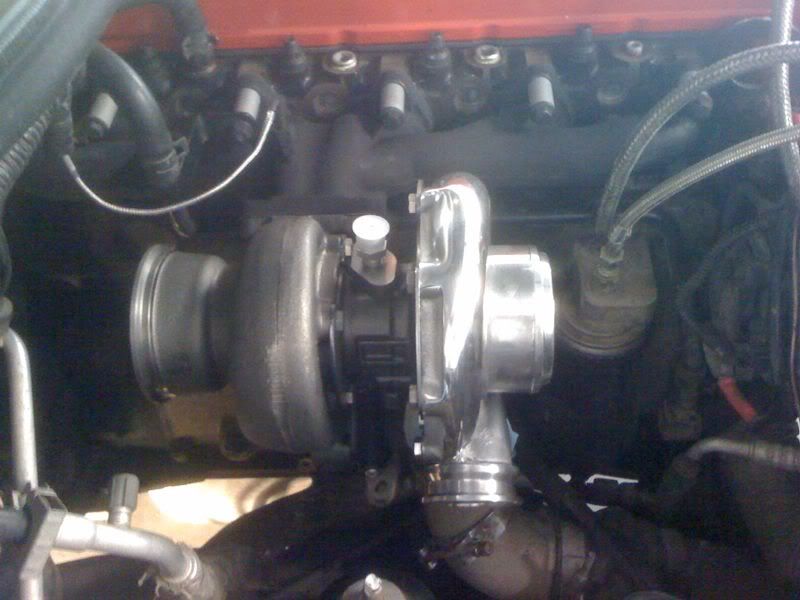
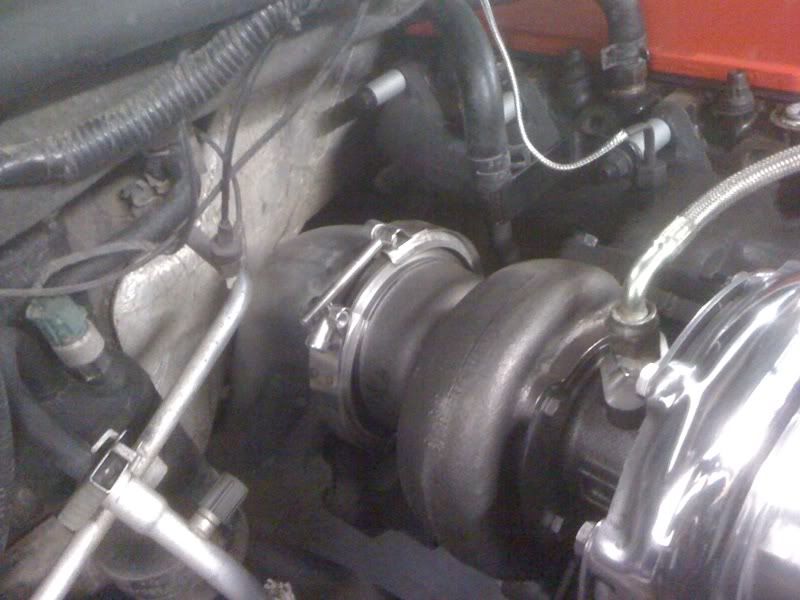
Now it is time to adjust the compressor housing and make sure that everything else lines up. Don't worry, it is extremely easy to adjust. On the s300 frames, there are a series of 13mm bolts on the back of the compressor that you need to loosen to move the compressor. On the holset series, there is a large ring similar to a snap ring. Either way, the adjustments are easy. If it is this far off, you will HAVE to make adjustments:
This is without question one of the most important steps. I've done several turbo swaps, and I still managed to screw this up on this install. If you have it off, even slightly, it will ruin the performance of the turbo. Take your time. Try it several times to get it right. Do not rush this part of the swap. If you need an extra set of hands, get them. If you have troubles with the new turbo, this is probably the place to start.
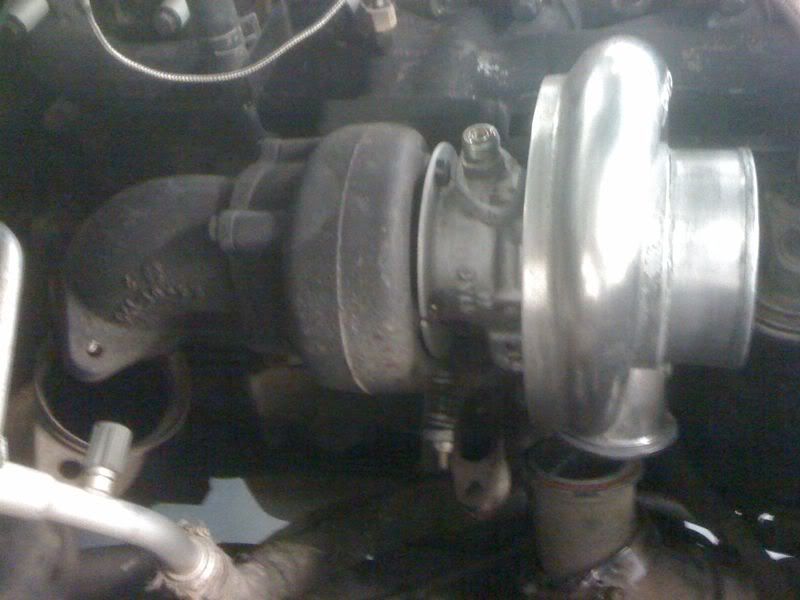
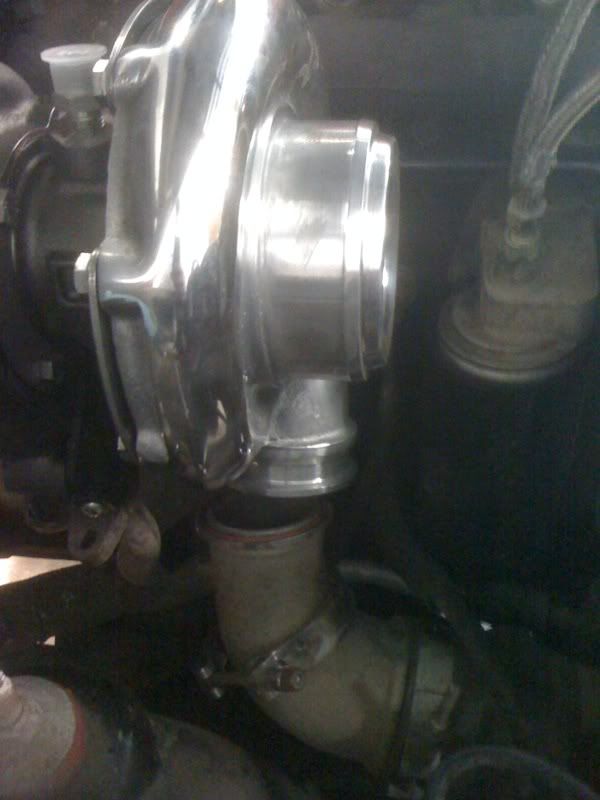
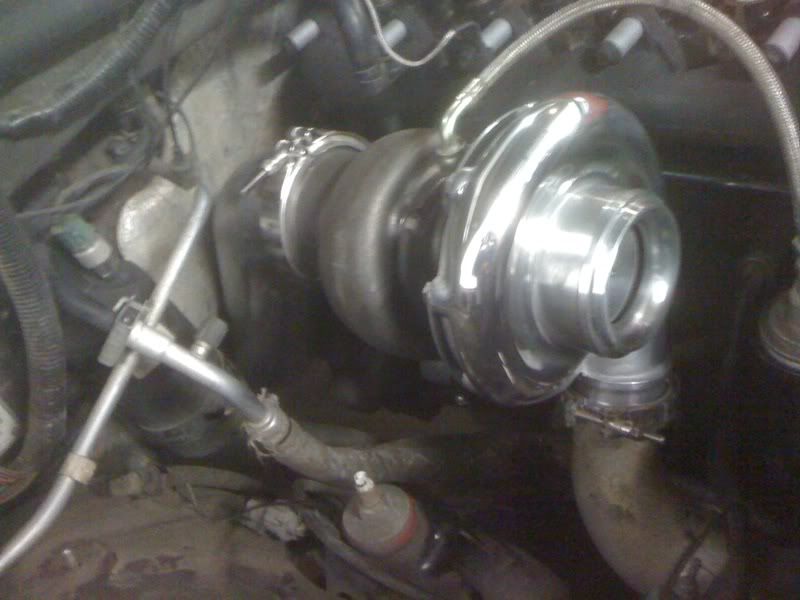
Once you adjust the housing until it lines up, you can connect the elbow between the compressor and the intercooler:
Once that is hooked up, connect the turbo drain to the center section. If you did this on the bench, you should have tried to make the drain go into the block before you bolted everything up. Otherwise, connect the drain now. If you need to turn the center section to clear the drain, now is the time to do it.
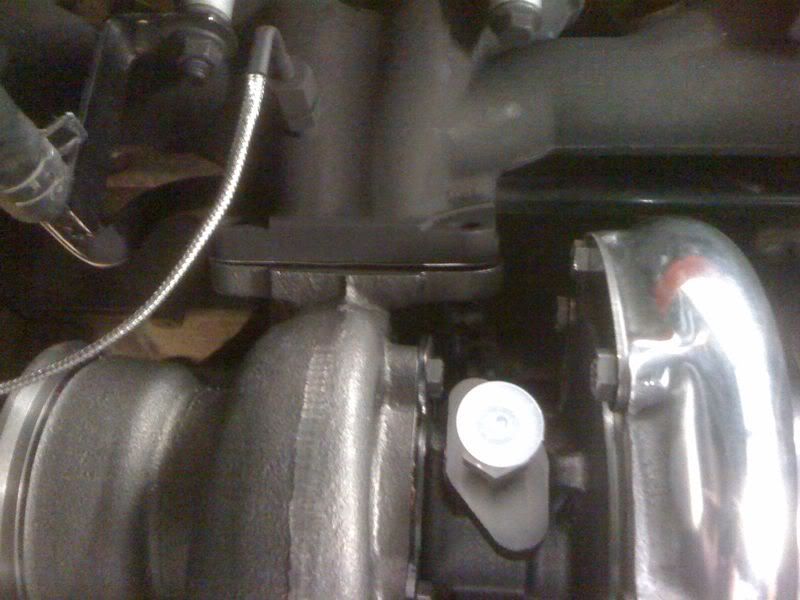
Take off the plastic cover on the oil feed port. Fill this port with oil until it just starts to come out, then spin the turbo slowly. This will help prime the turbo for when you start it. I would do this several times, until oil stops going through the center section.
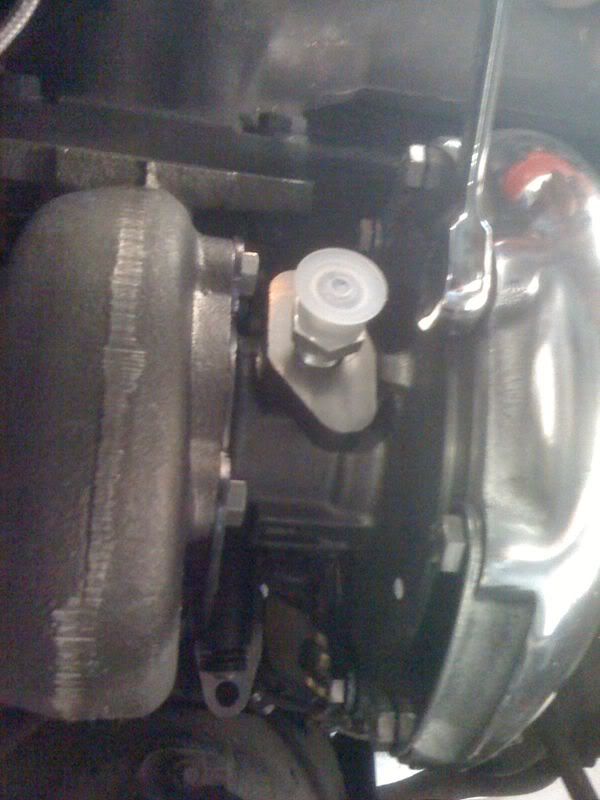
Connect the oil feed port, and you're pretty much set other than the downpipe:
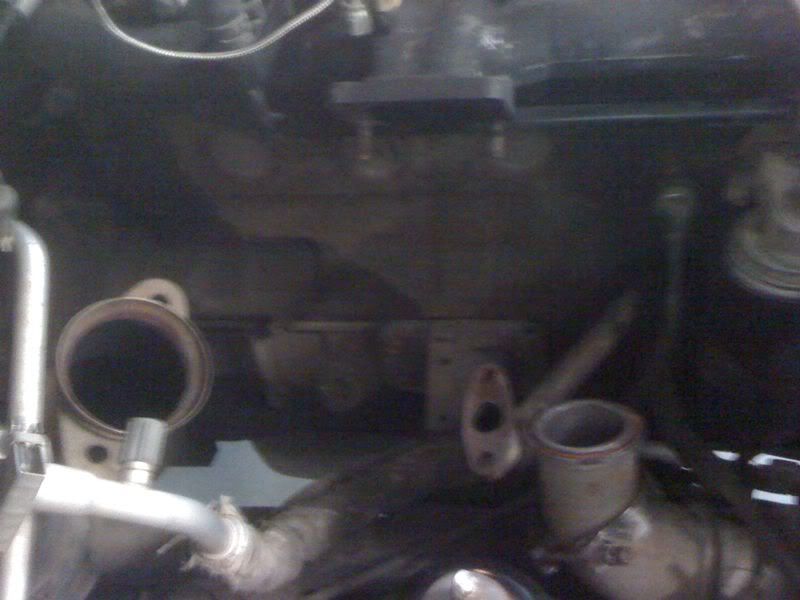
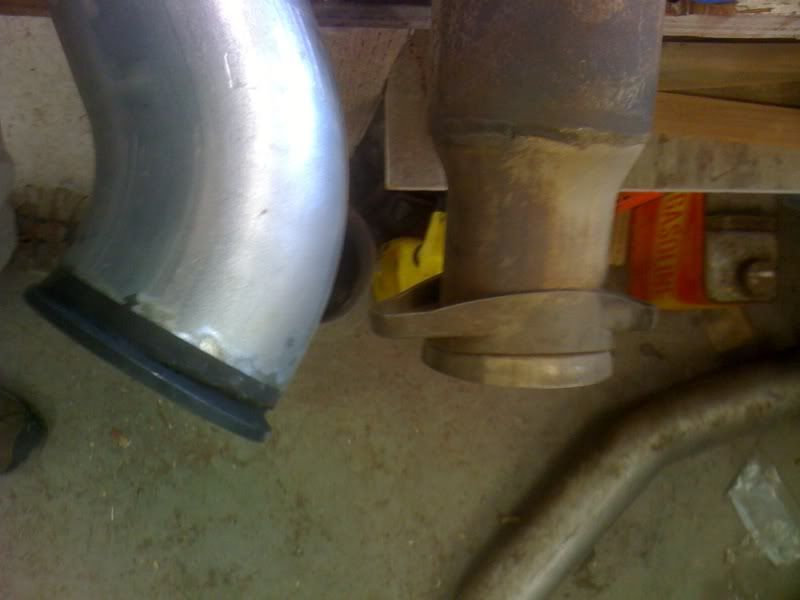
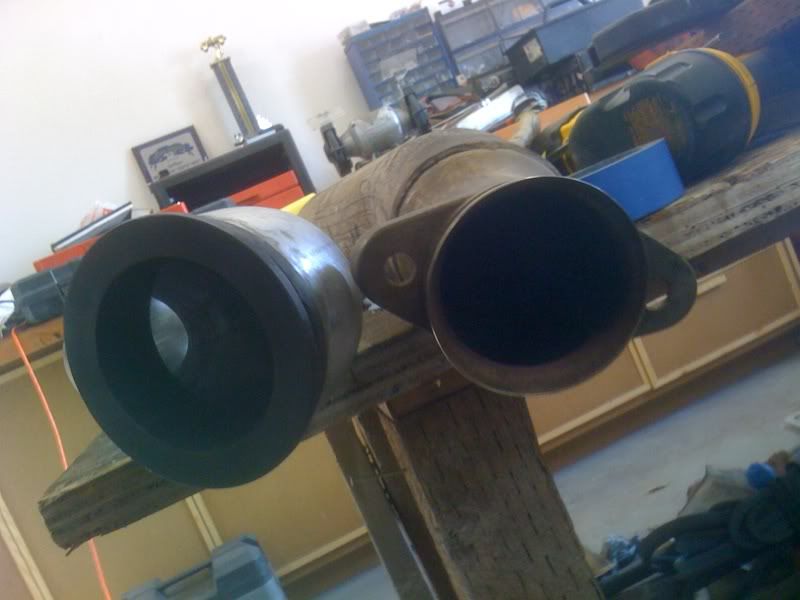
Here is a picture of 2 different styles of downpipes. On the right side is the HX35 style (factory), and on the left side is a 3rd gen style flange. You may have a HX40 style. Either way, you can see the difference in downpipe is very evident:
Once the downpipe is in place, you can connect it to the turbo itself:
Now it is time to start the truck. Most builders recommend you let the truck idle for 60 seconds before you drive it. Now is the time to check for weird noises or any oil leaks. If you hear anything out of place, or see any oil leaking, shut the truck down and fix it before you go any further!!
If there are no leaks and no noises, you can go ahead and bolt everything else up:
There are several different theories on how to break a turbo in.. Research all you like on this site, and pick one that makes sense to you!
If I missed anything, or if you have any questions, post up and we can get it added/edited!


