crzycowboy
Comp Diesel Sponsor
So what's crackin'?
The whip...LOL I'm still waiting to hear back. I've called them twice today, and still no reply. I wish I was their only customer...:bang...I'd have my parts by now...or atleast some better answers.

So what's crackin'?
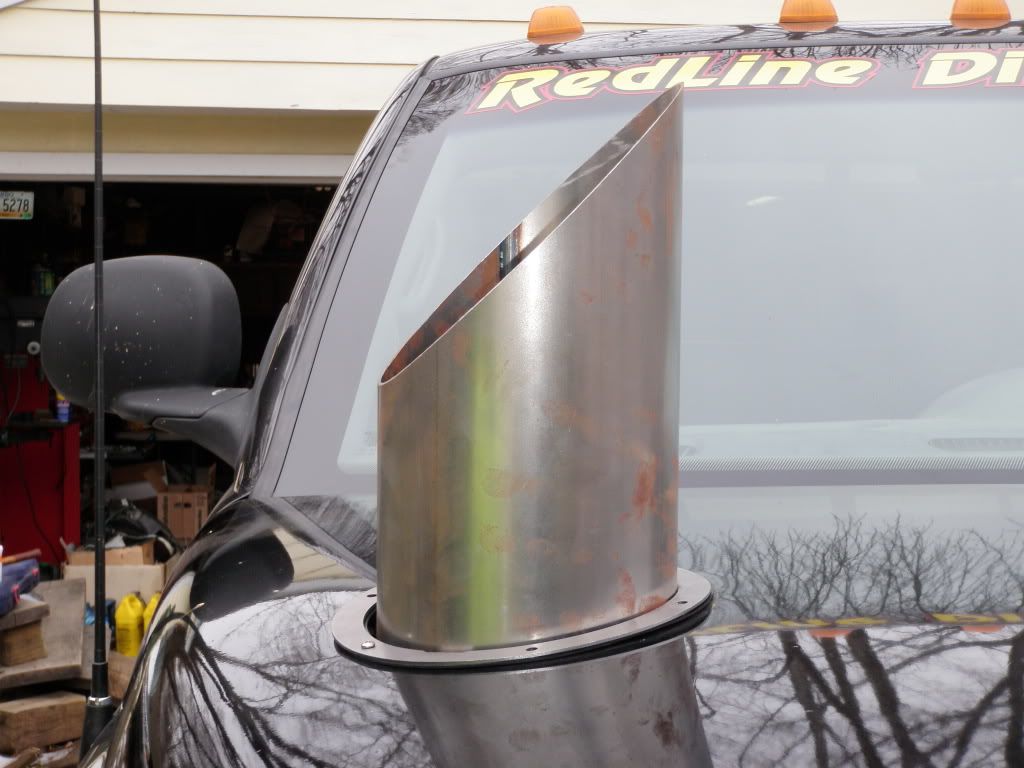
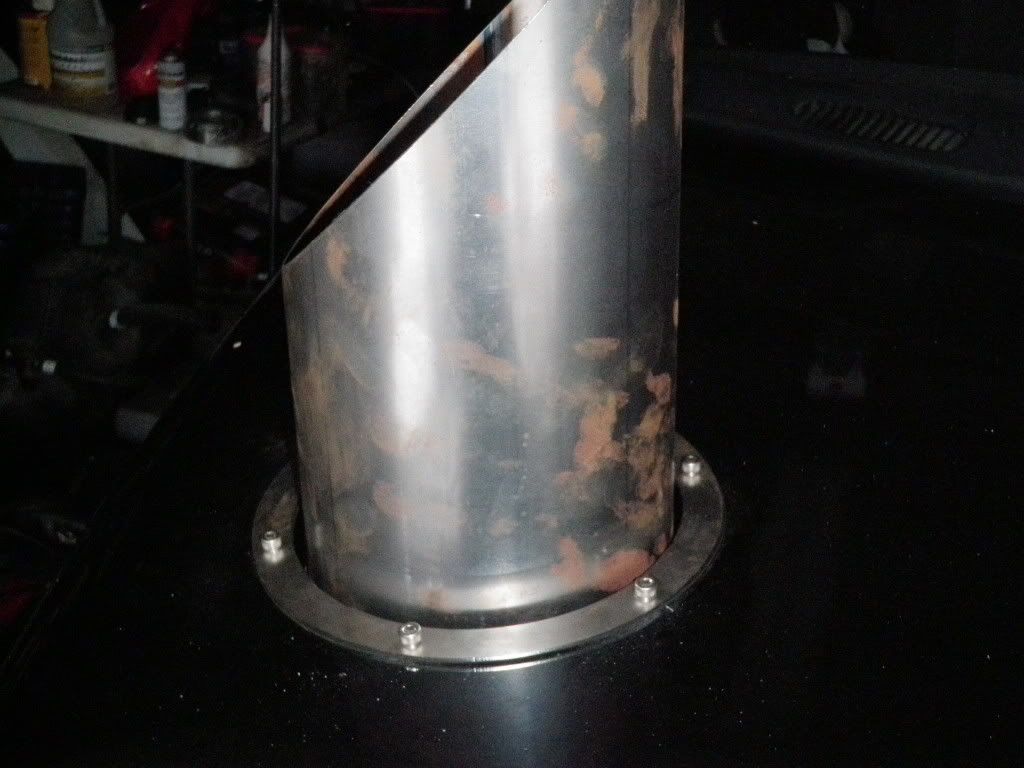
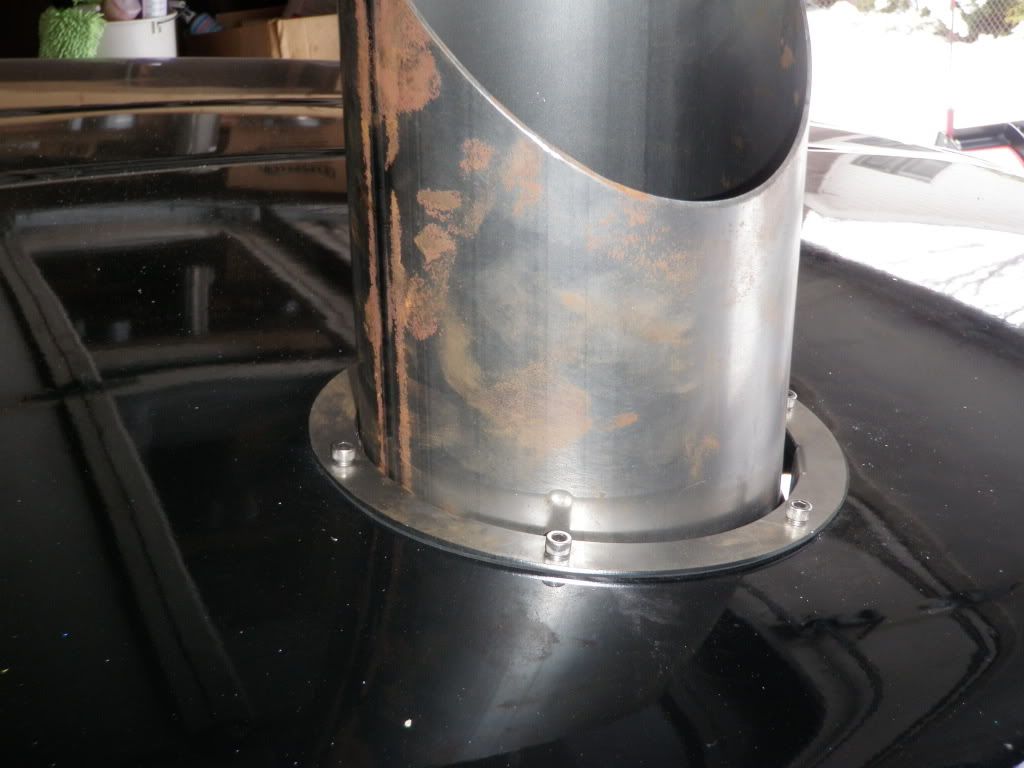
The hood stack is an awesome set up. We have been doing the r&d and cant wait till the finished product is done! Thanks Josh!
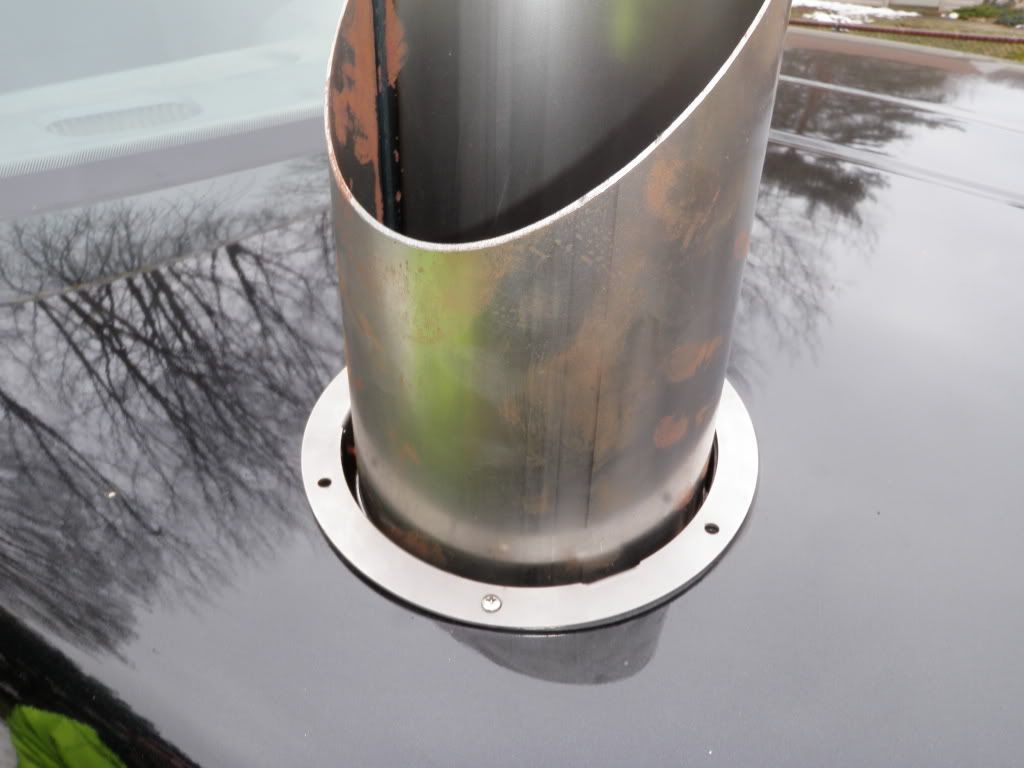
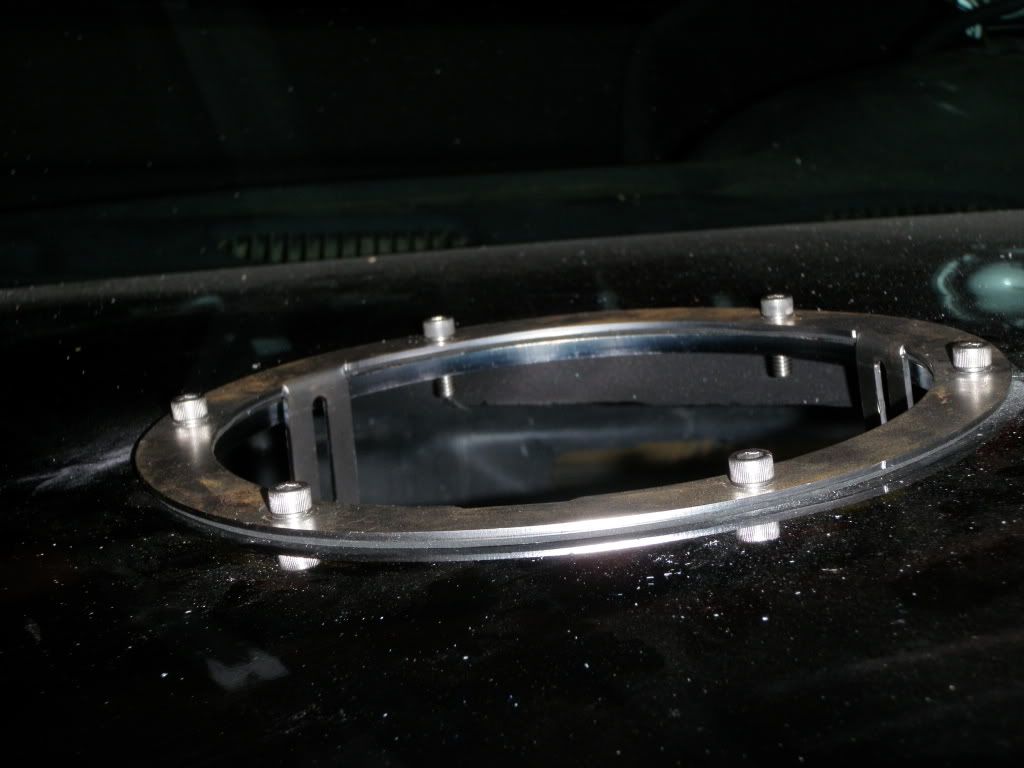
will there always be a gap between the ring and the stack?
Garrett
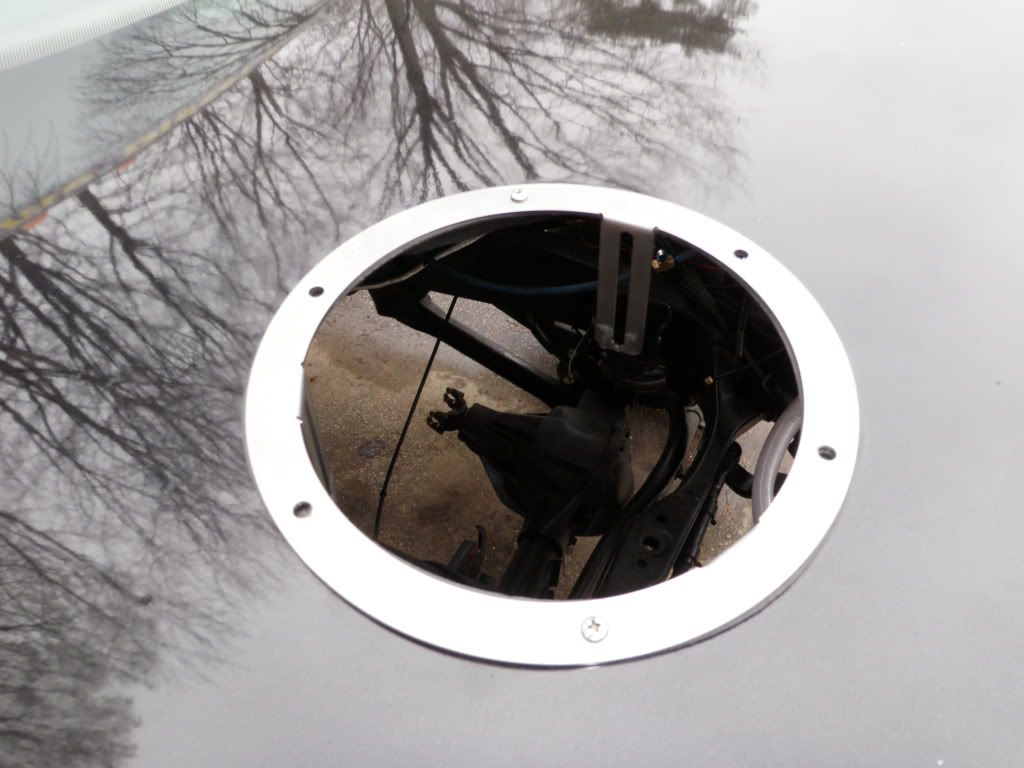
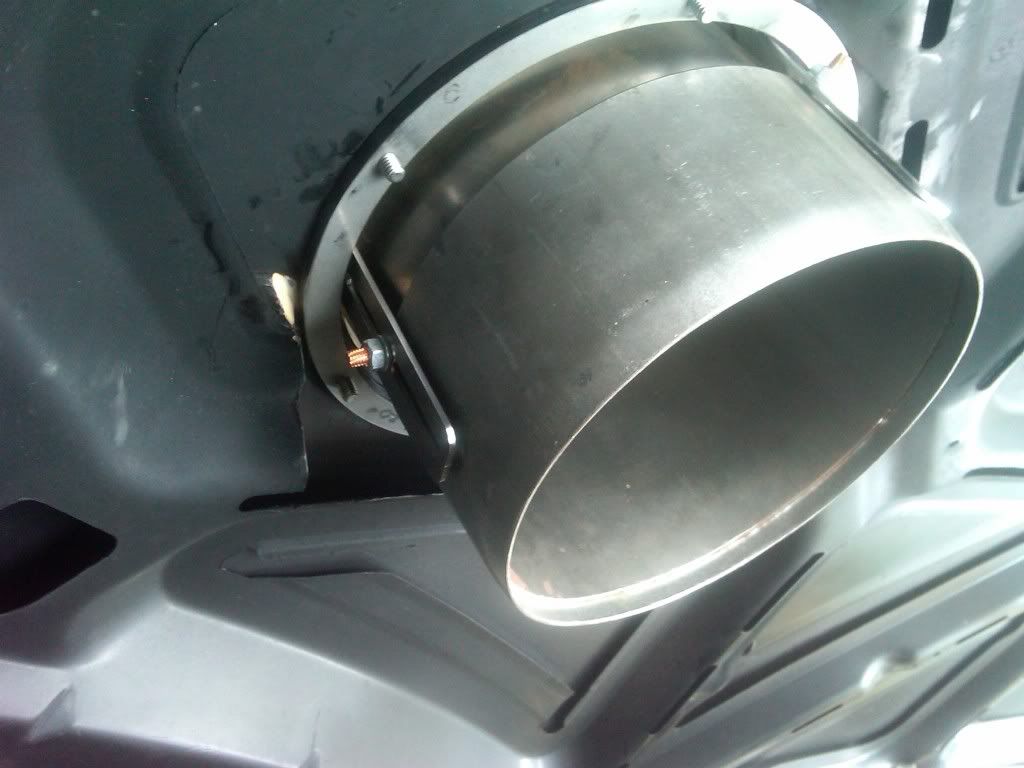
any underhood pics josh?

Yes, because of the design of it, If it were snug to the stack, you would have a crooked stack. This allows the ring to follow the contour of the hood, yet give the basket under the hood the movement it's needed to keep the stack straight. Some trucks may have more gap then others, depending on the where on the hood they place this.
I wish I wouldn't have spent all that $ on a new intake I don't think this will fit with it.
looks good, i like that pivot idea, really gives you some room for misalignment.
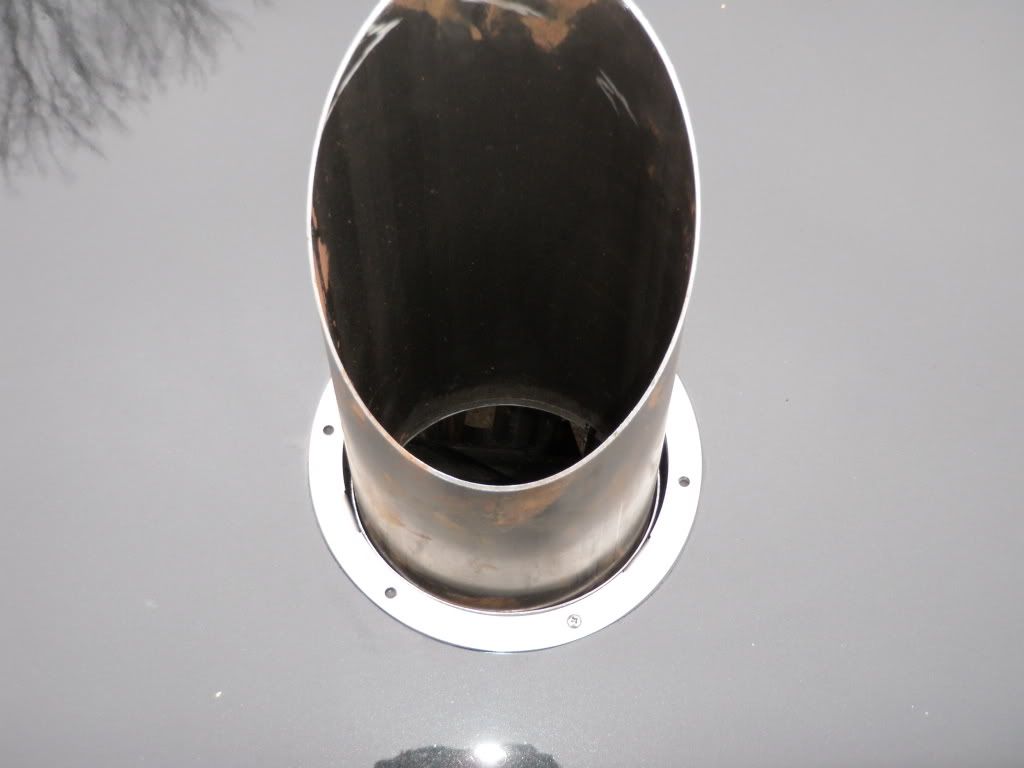
Any plans for more screws around the base so it doesn't sit high in some spots like it does now? Also i would assume it comes with a template to cut the hole.
good price too.