48RE Performance Transmission Rebuild

Big blue- can you maybe take pics of the difference between 47rh, 47re and the 48re?

I want to rebuild my 47re using 48re parts but I don't know if it's really worth it. My another questions, when 48re parts will be really good to have in the 47re/h at what power level?

And also thank for take time to share this rebuild with us.
 
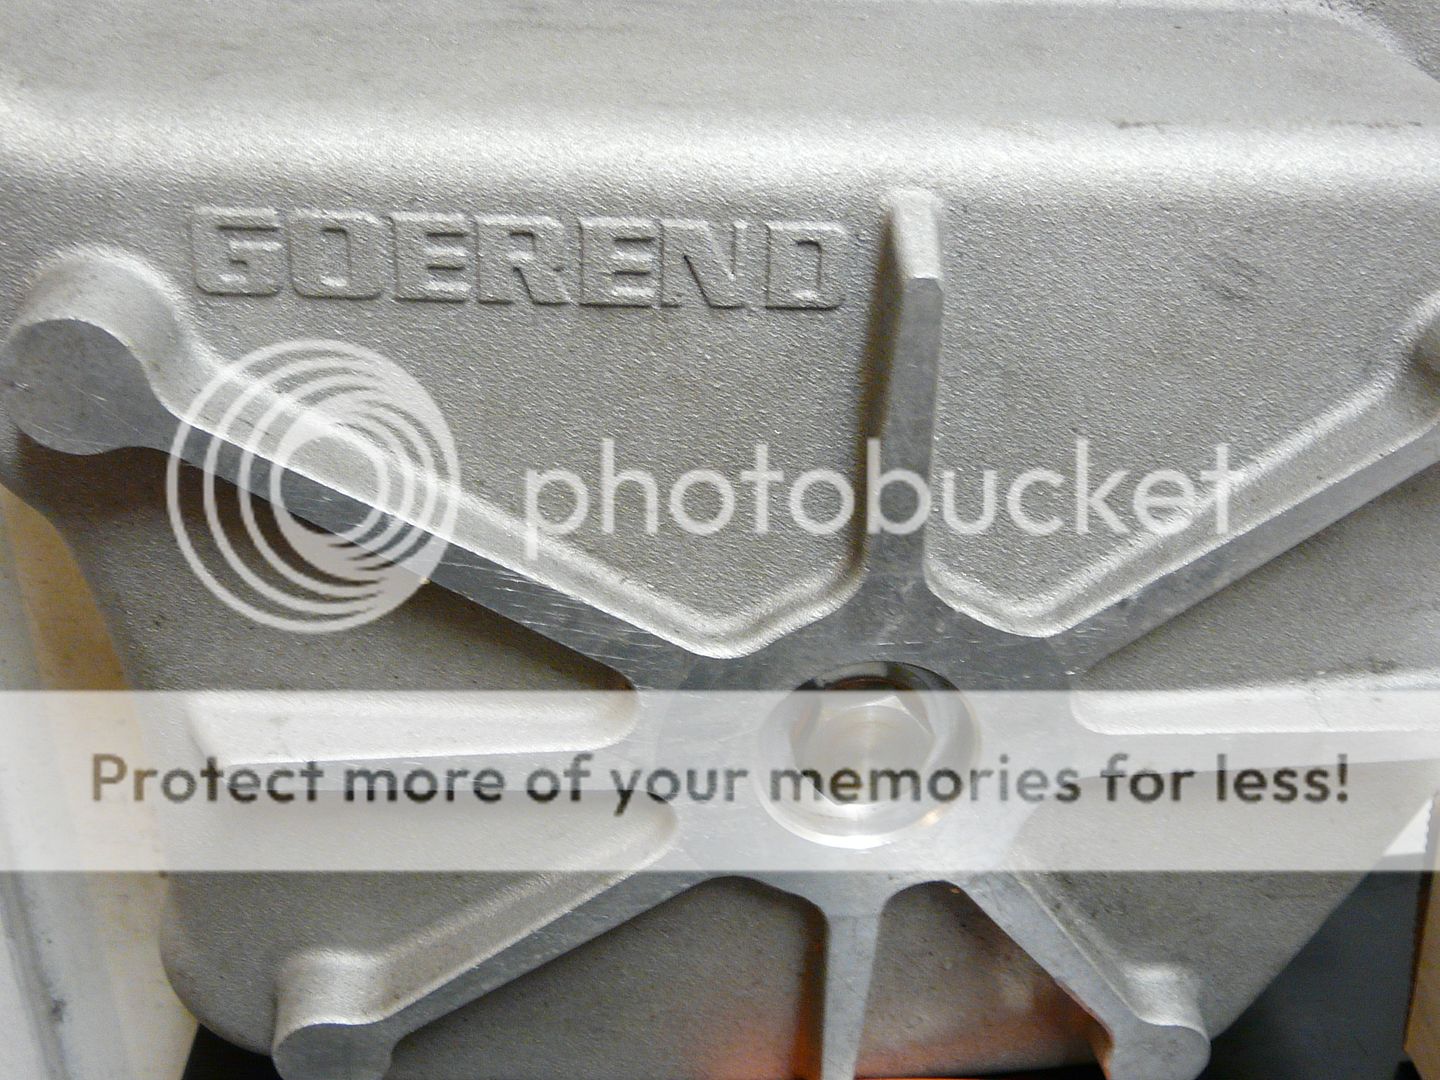
All of the upgraded parts have arrived so it's time to start the rebuild process.

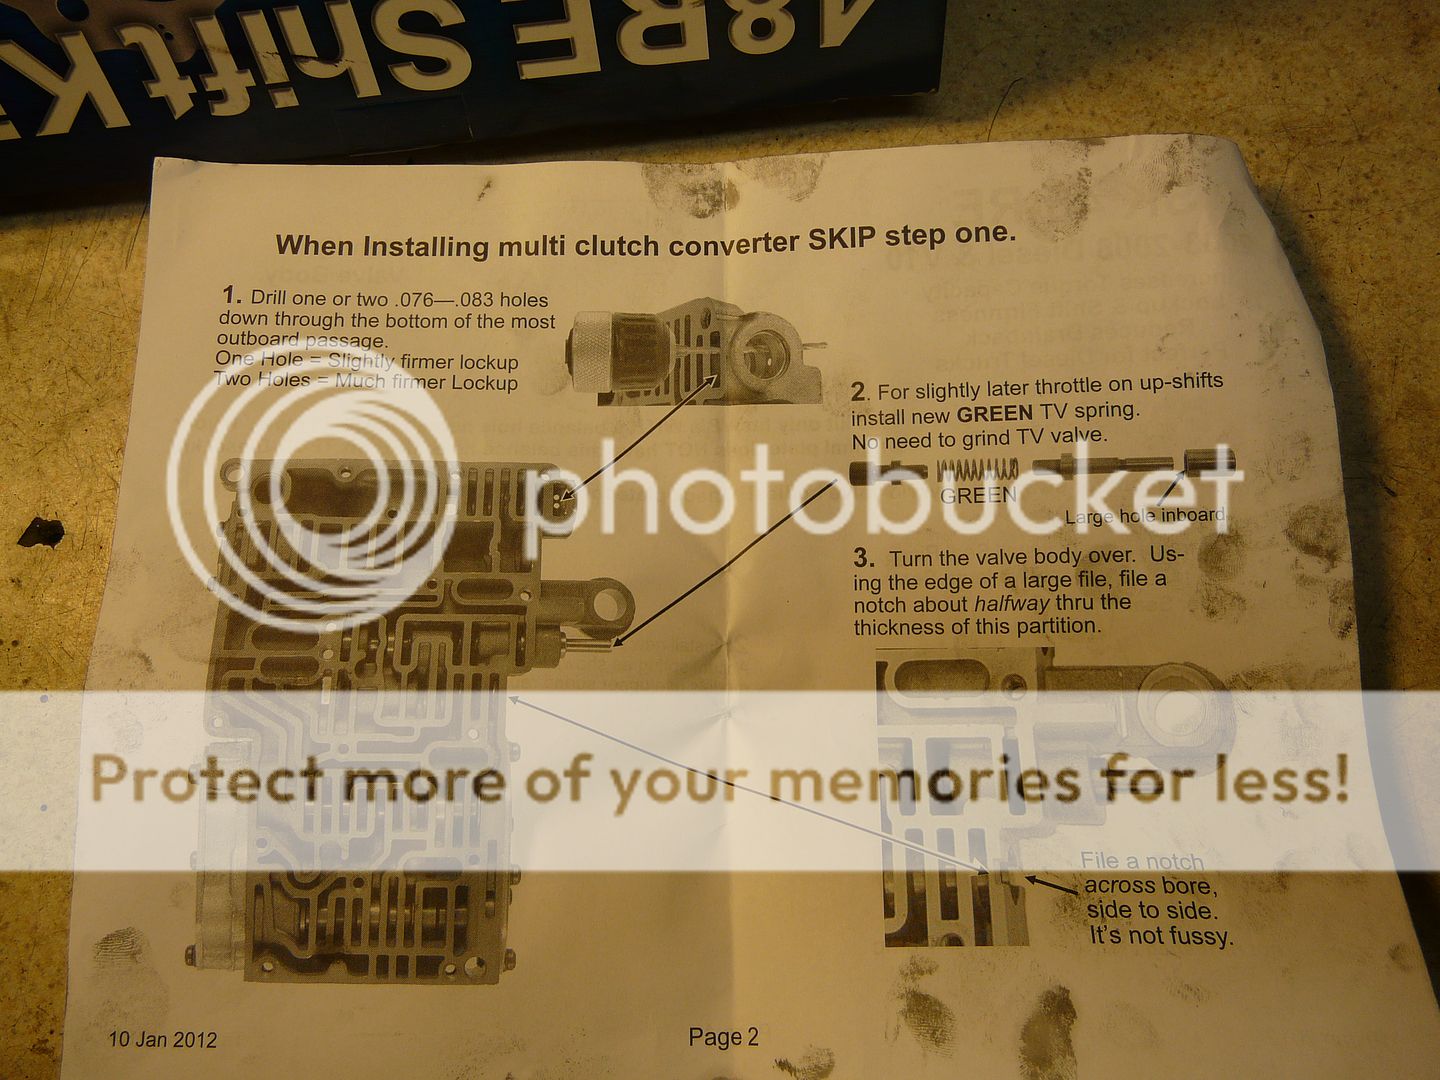
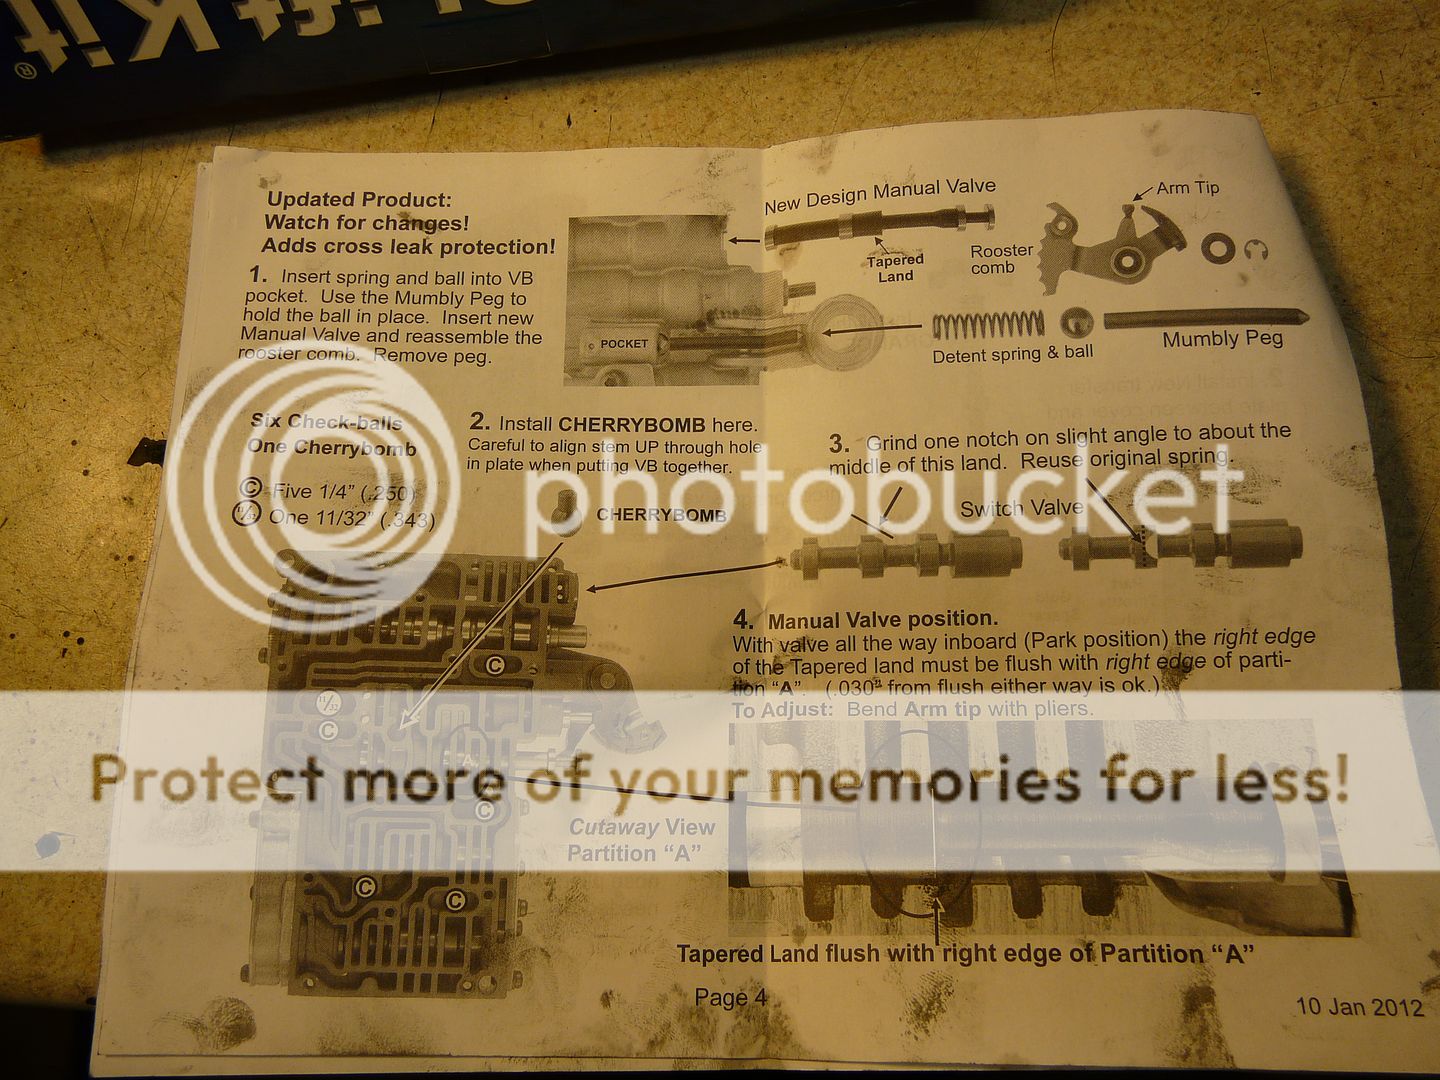
Billet Anchor, Strut, & 4.2 ratio lever, these are required to deal with the elevated line pressure in a performance transmission and are applied during 2nd gear. I've had the best luck with 2-3 shift timing using the 4.2 ratio lever vs 3.8, 4.4, or 5.0.

Parts1_zpse275f625.jpg


Sonnax upgraded low/reverse servo, I only upgrade this servo when the stock one is extremely worn, or the end user is notorious for manual 1-2 gear shifts.

Parts2_zps83d6dff3.jpg


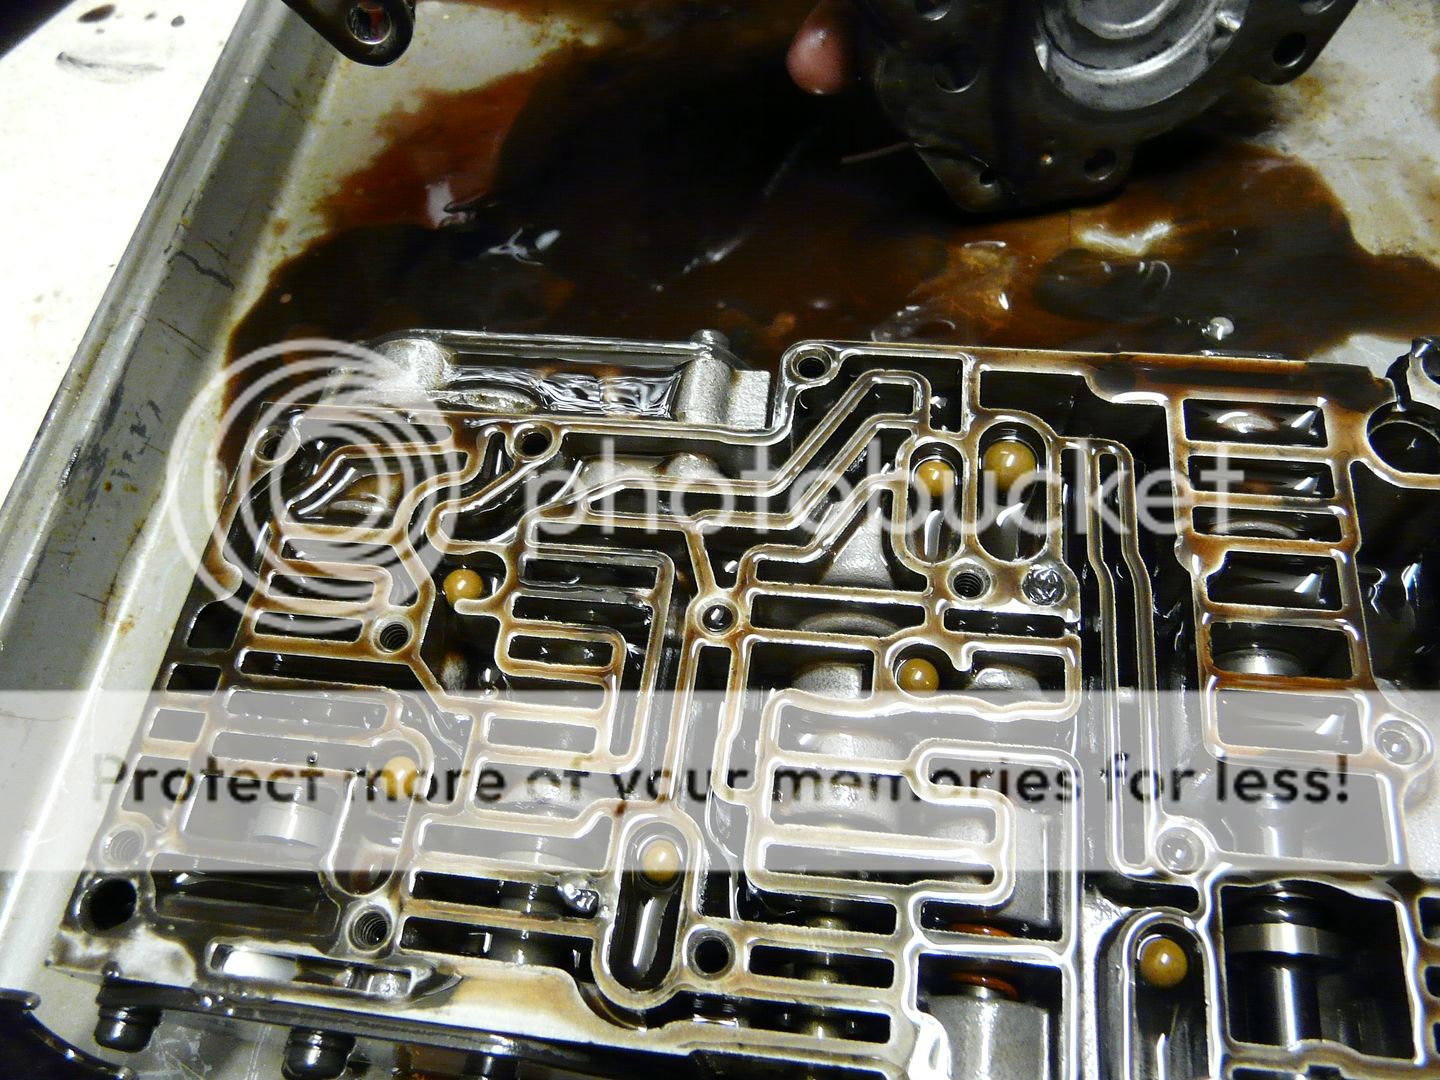
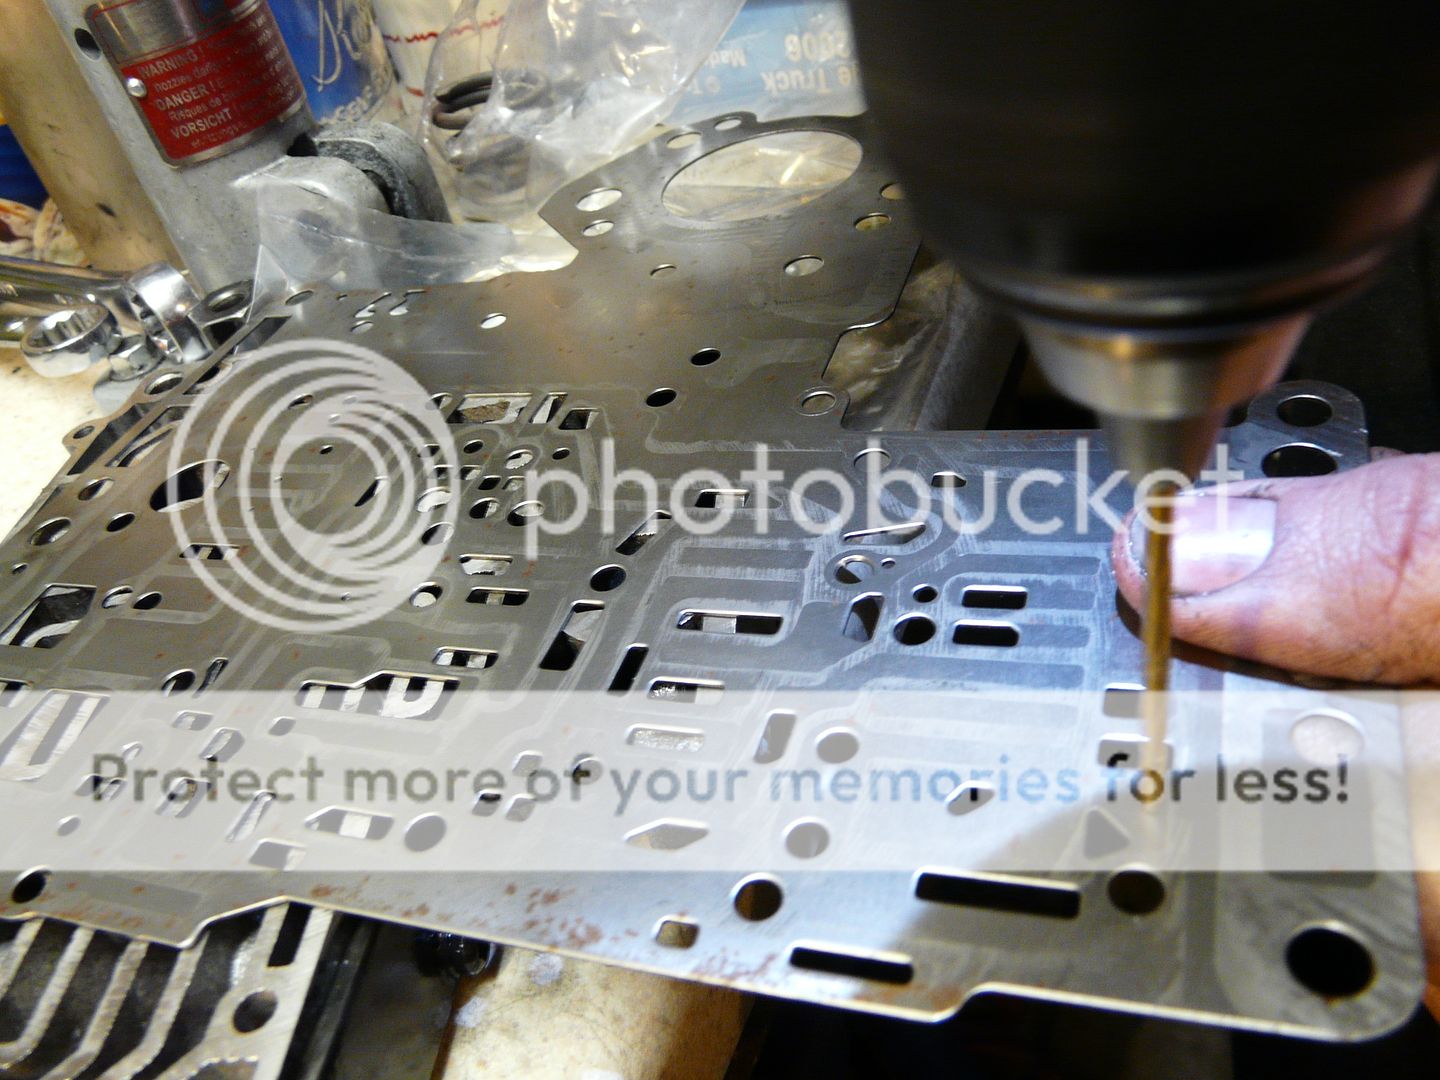
Sonnax upgraded 2nd/intermediate servo cover with added seal to stop leakage and clean-up the 2-3 gear shift. I don't use aftermarket oversized 2nd gear servos because I've never had good luck with 2-3 shift timing. Also, on a super high line pressure build, the oversized servo combined with 200+ psi line pressure can cause the billet lever to break the main transmission case or break the band.

Parts3_zpsf707ddca.jpg


My typical parts supplier was out of new 48re pump gears, so I sprung for this fancy teflon-coated pump gear setup.

Parts4_zps0d0e5ab8.jpg


New thrust washers for this rebuild, on a budget rebuild, many of the stock thrust washers can be reused.

Parts6_zps89309742.jpg


Parts21_zpsd512a3ed.jpg


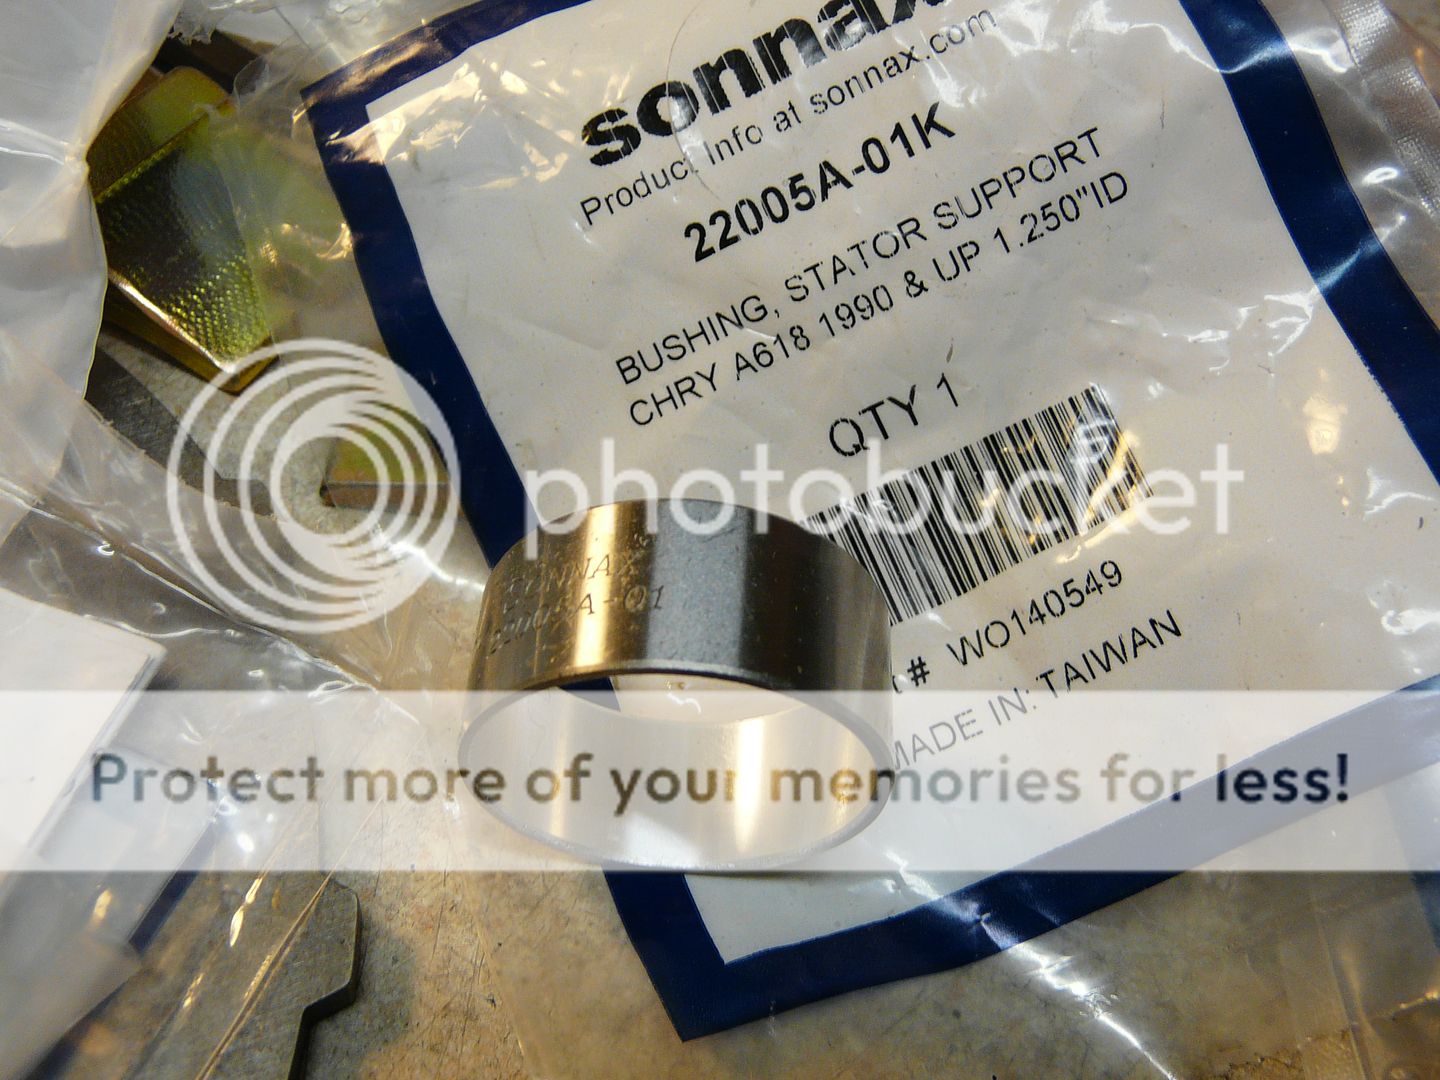
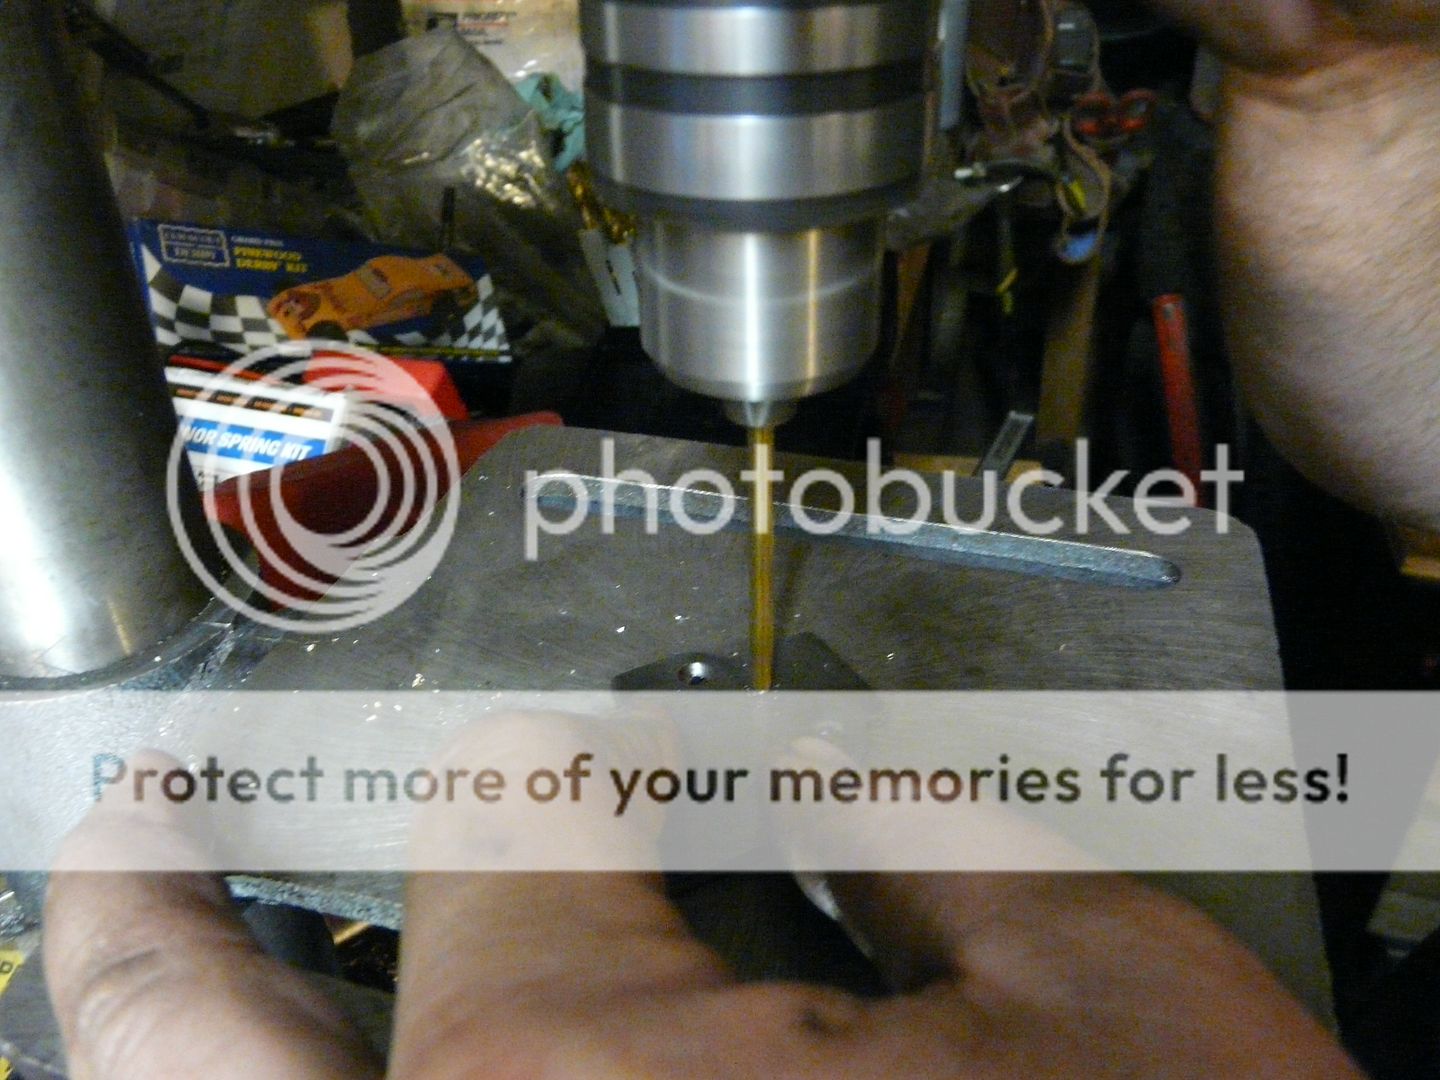
This upgraded sonnax stator support bushing is a pain to install requiring patience, the freezer for the bushing, and small brake hone if it's too tight on the input shaft. For a beginner builder, I'd skip this bushing and install a stock one or reuse the old one if it's in good shape.

Parts7_zps3898a8cf.jpg


Stepped backing plate for (1) additional overdrive brake clutch. This 48re was rebuilt by a Dodge dealer and they removed the stepped backing plate and installed a 47re backing plate which dropped the clutch count, so now I had to buy an aftermarket 47re upgrade plate to bring it back to the stock (6) clutch overdrive setup.

Parts8_zps14c8fcb2.jpg


Slimmer 3rd gear/direct clutch backing plate so (6) factory thickness clutches can be installed.

Parts9_zpse53f8036.jpg


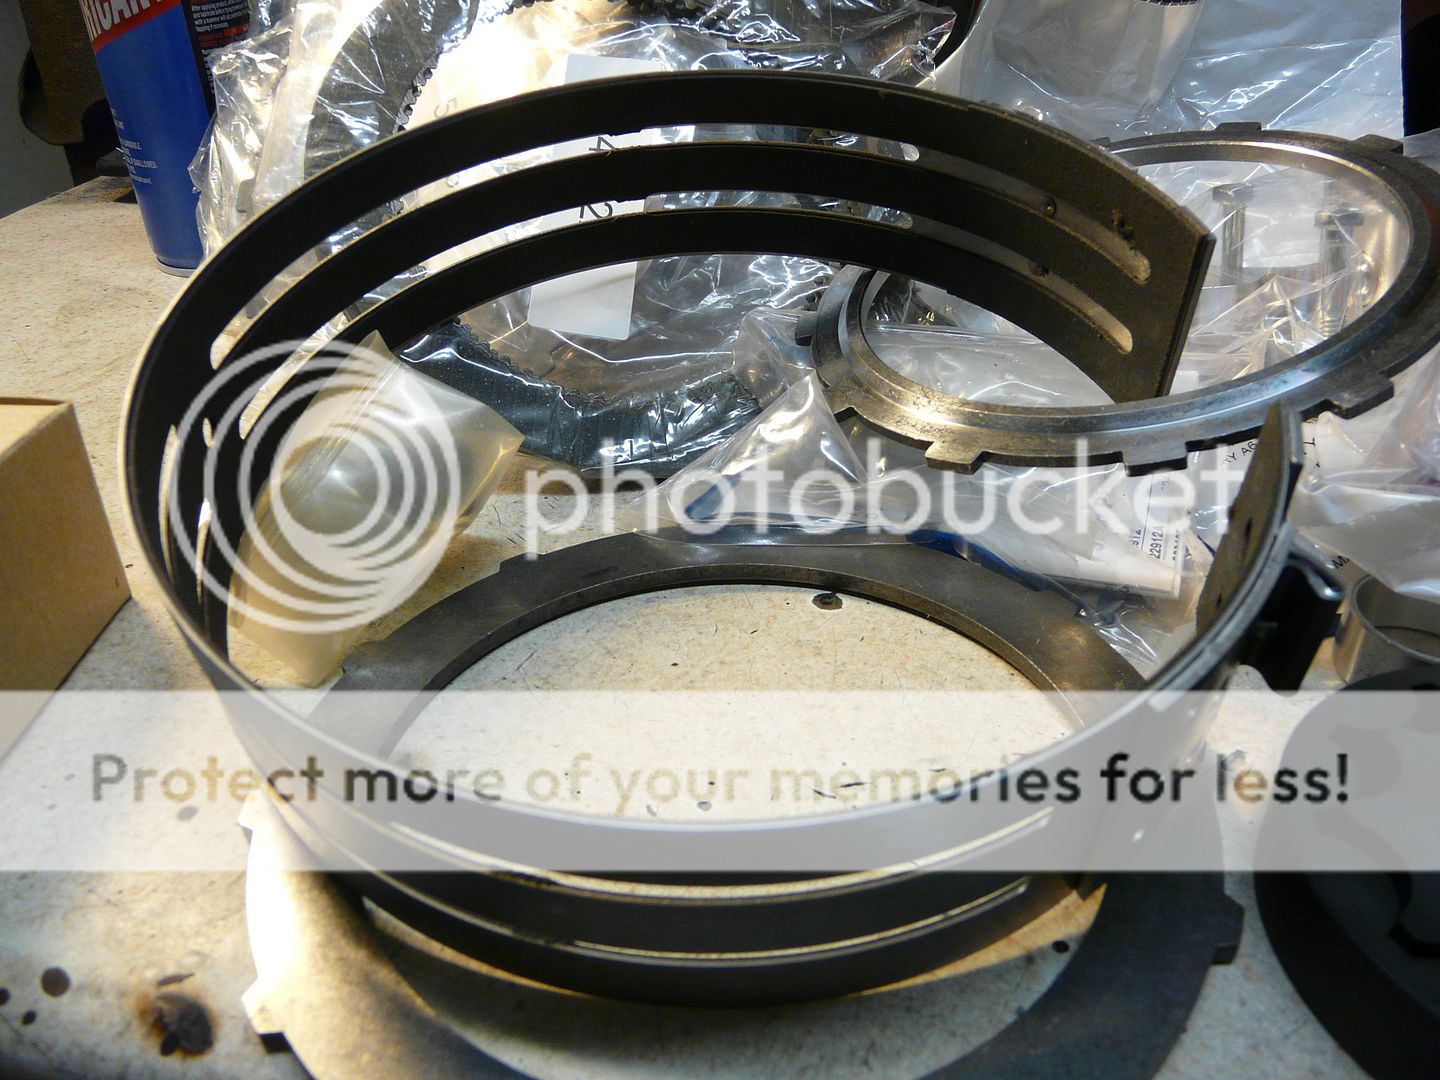
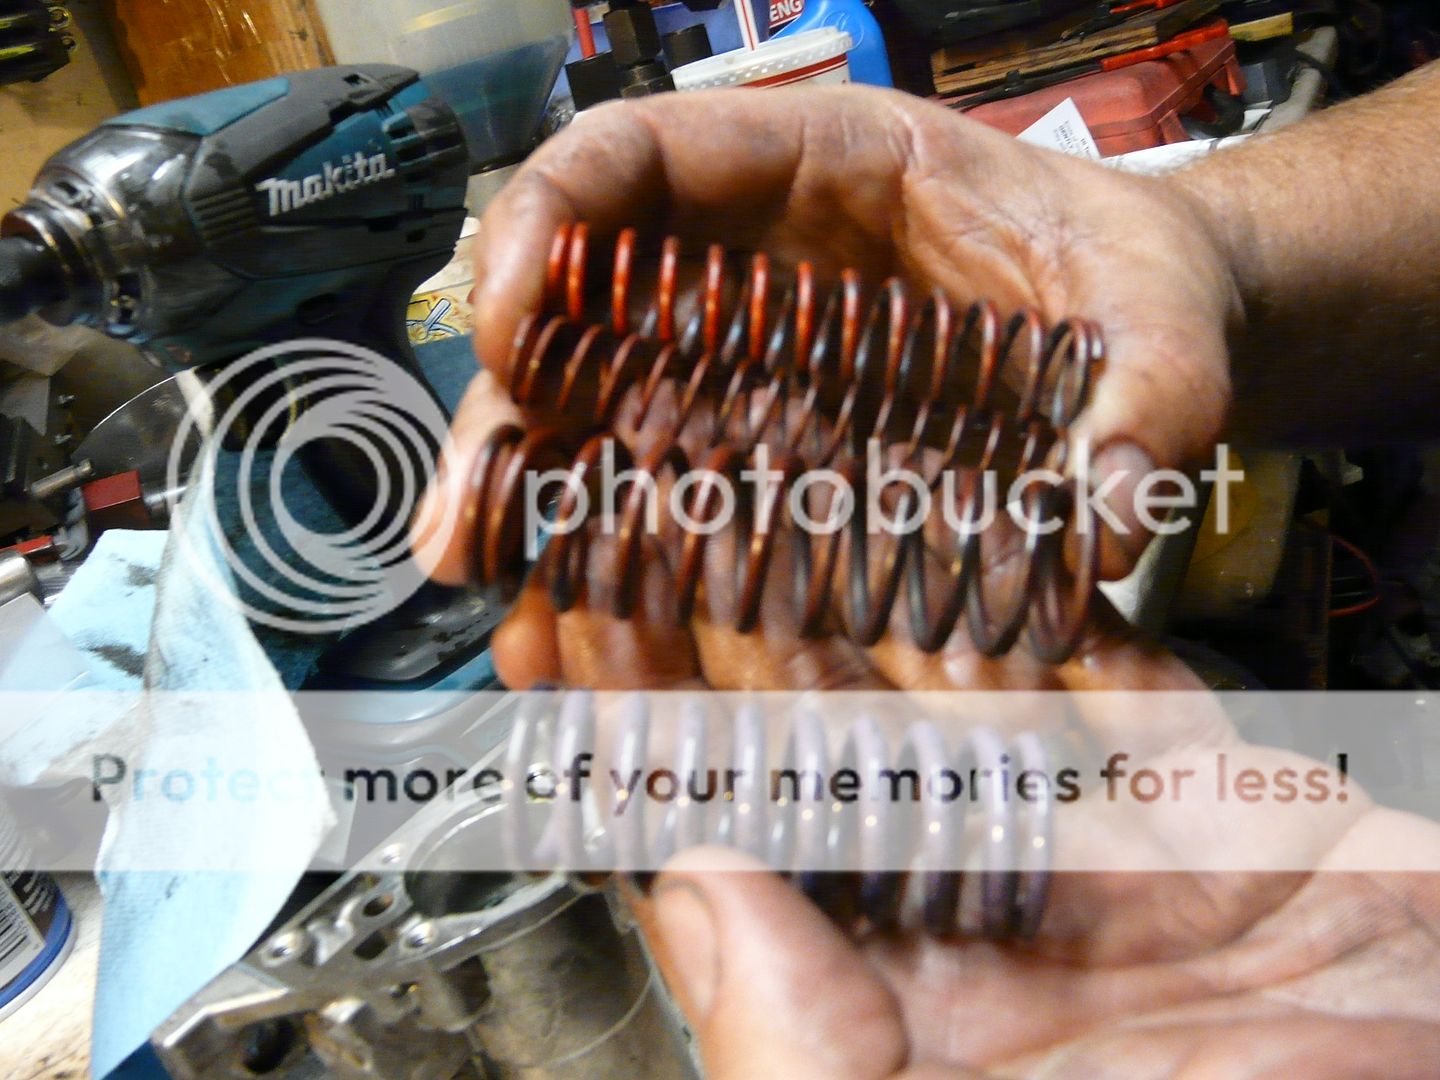
New 2nd gear flex band, decided to try a PATC brass mixture friction composition flex band in lieu of my standard $15 kevlar lined flex band.

Parts10_zps010dedb5.jpg


Extra clutches for the over stock count clutch pack upgrades:

Parts11_zpsf38a9515.jpg


New sprags, for my personal transmissions I usually re-use the stock sprags since they rarely fail, but on a higher $$$ rebuild, $50 for both sprags is cheap insurance.

Parts20_zpsbede5873.jpg


New bushings, many of the stock ones will be in excellent condition but on a higher $$$ non-personal rebuild, all of the main wear bushings should be replaced.

Parts22_zps493d657c.jpg


New torrington bearings for overdrive, usually the stock ones are in good shape and can be reused in a budget build. On a higher $$$ build, the $50 for new bearings is a necessary expenditure.

Parts23_zps1e3cd656.jpg


Parts24_zpsa972081f.jpg


The low/reverse drum has a plastic thrust/retaining washer between the drum and the snap ring, this upgraded metal thrust washer is only a couple of dollars so a cheap upgrade that may not be necessary since I've never seen the plastic part fail.

Parts25_zpsb31bae2a.jpg


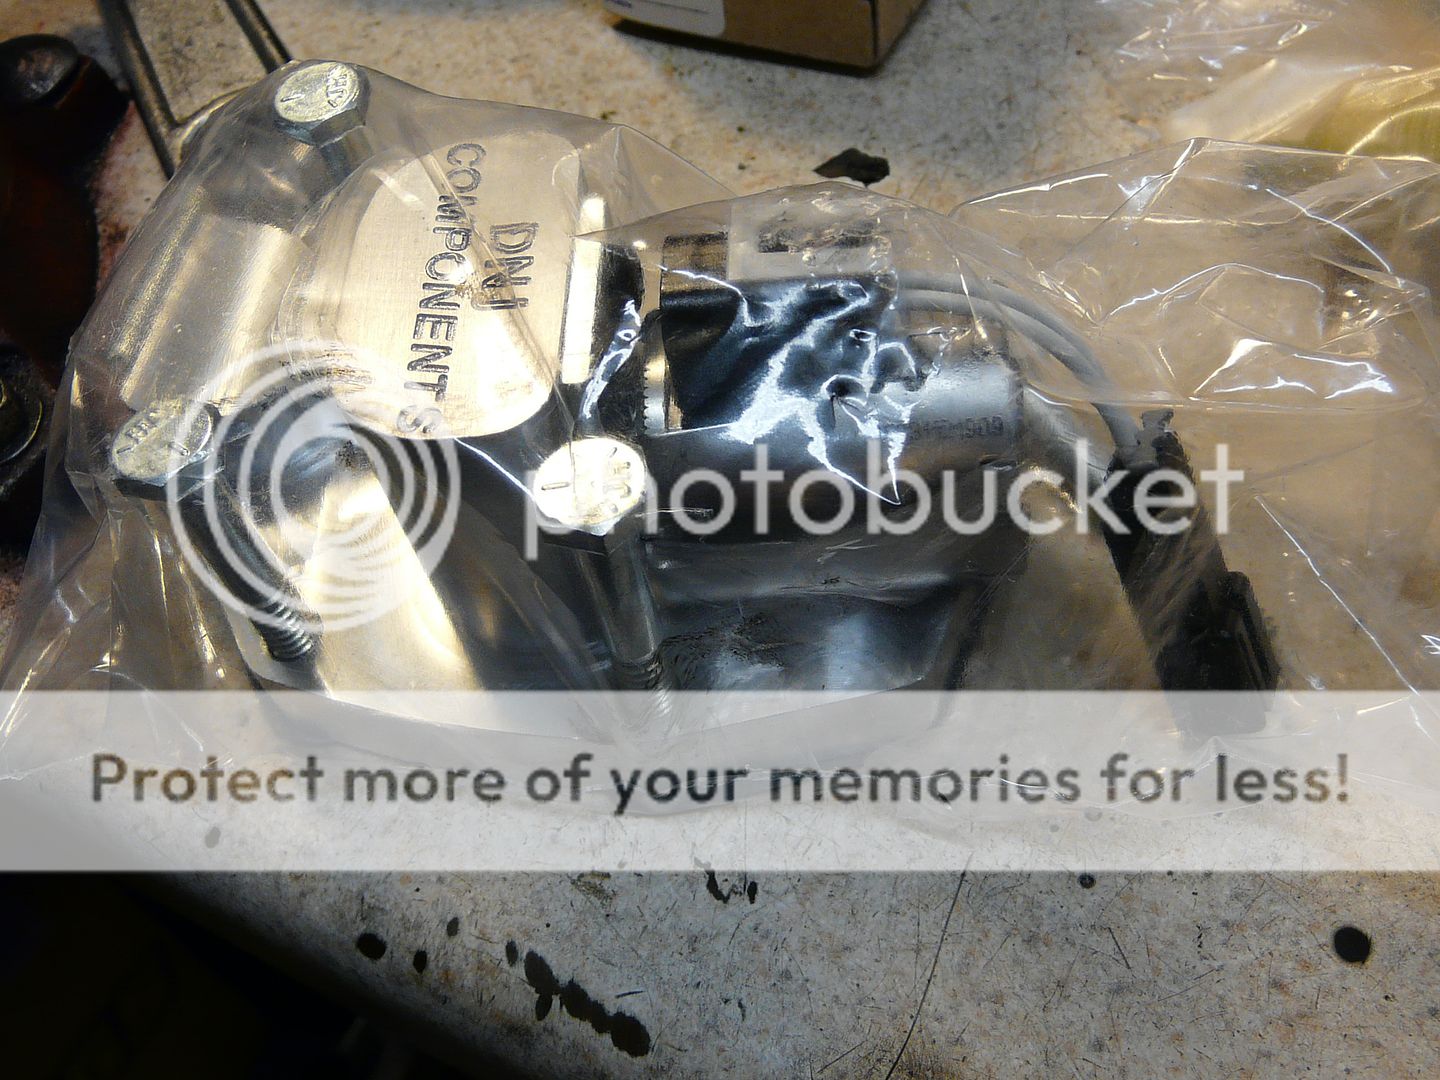
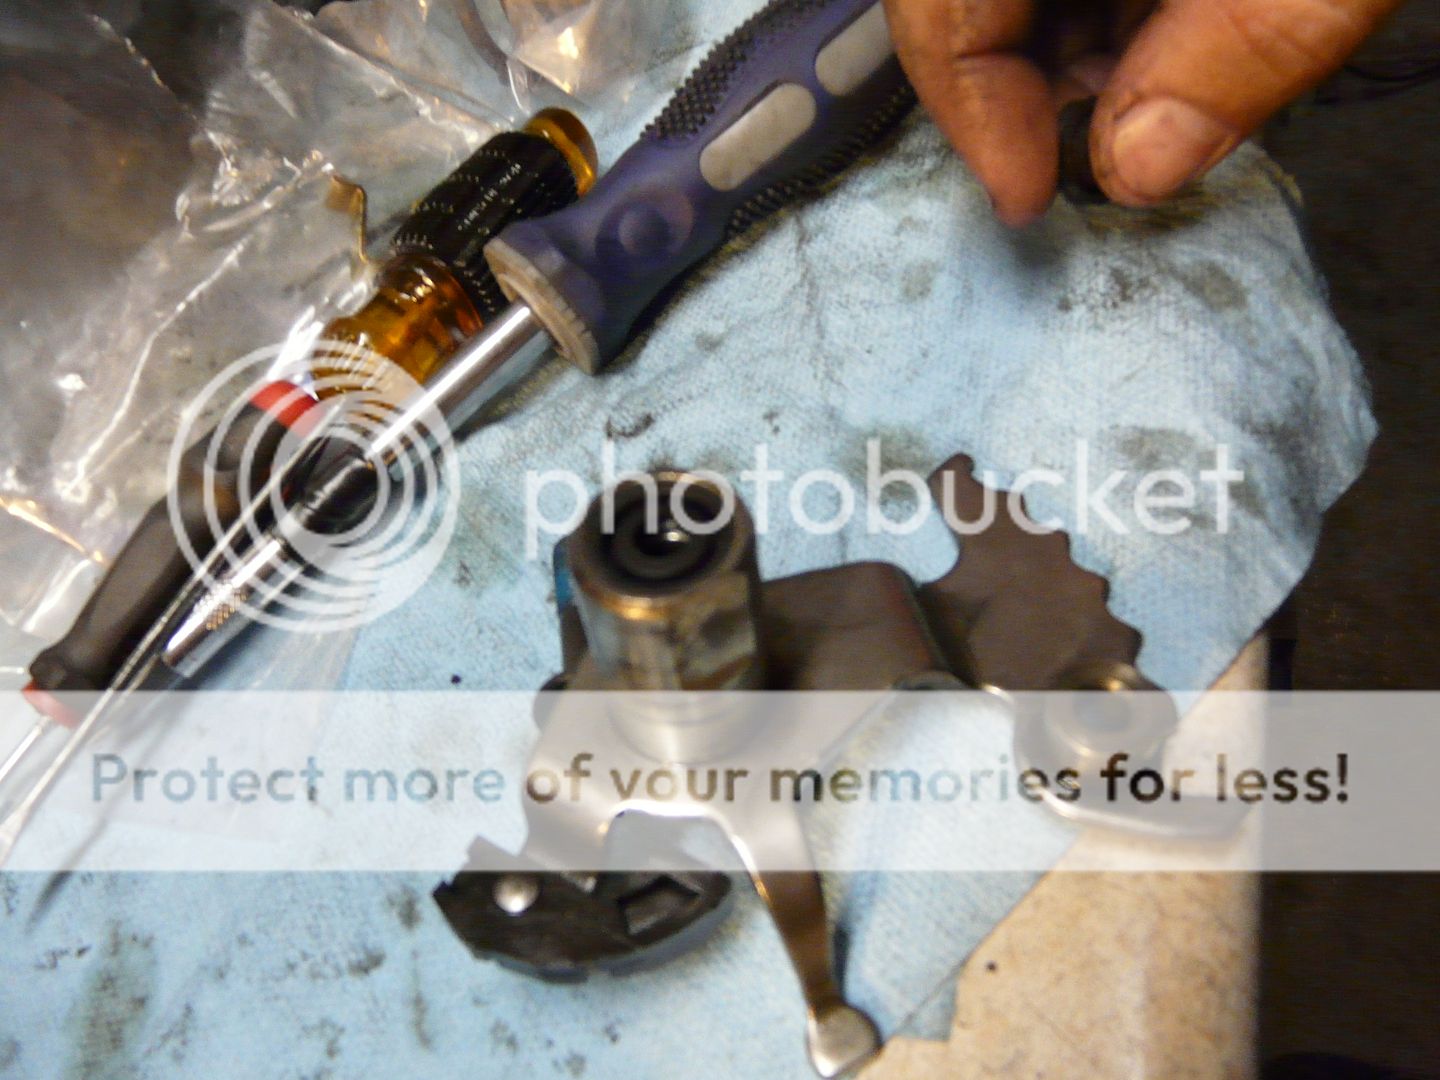
I always replace all electronic components in non-personal rebuilds. I can deal with an electrical failure, but a custom generally won't accept it. All electronics are replaced with new factory style parts except the governor solenoid. For the governor solenoid, many upgrade to the newer $60 Borg solenoid that seems to handle elevated line pressure better than the stock Dodge part. One step further is this custom machined block by DNJ with a Chevy 4L60e transmission solenoid. This upgrade used to cost $300 but with higher production and general usage and competition the cost has come down to $150-$200 range.

Parts17_zps75096a1e.jpg


Parts18_zps0ee73ba2.jpg


Parts19_zps9a71ae9a.jpg
 
For the valvebody, a Transgo 48re shift kit will be installed.

ShiftK4_zps60511bc4.jpg


The customer also provided his own billet input shaft, looks like a Precision Industries Shaft, billet output shaft, and Goerend pan.

All in all, the combined cost of upgraded parts plus a stock master rebuild kit, an upgraded flex plate, and last but not least: Phil Taylor - Diesel Performance Converters triple disk, there is between $3,500 & $4,000 worth of parts in this rebuild.


Parts12_zpsf035b154.jpg


Parts13_zps57b4a484.jpg


Parts14_zps8c94aaa1.jpg


Parts15_zps2267b8fd.jpg


Parts16_zps470c07e7.jpg
 
Looks more like a TCS input, the cheaper precision shafts I've seen are darker. I wouldn't use a precision shaft after my experience with them
 
What trans part supplier do you use?


Sent from my iPhone using Tapatalk

Several!!! No one supplier has the best prices on every part needed for a built transmission.

Ebay seems to be the cheapest source for stock rebuild kits, electronics, and Transgo shift kits.
 
Looks more like a TCS input, the cheaper precision shafts I've seen are darker. I wouldn't use a precision shaft after my experience with them

The early precision shafts had a nice dark finish, the more recent ones have the lighter colored finish. I was basing my assumption on the machining at the feed ports, the spline length, shaft diameter, etc.

The customer supplied the shaft so if a wicked 4x4 low range launch breaks a shaft, not my issue.

I understand, I try to steer my customers away from them now. Haven't used one in a year so that makes sense, hopefully your guy doesn't have an issue with it.

Nice write up!
 
Several!!! No one supplier has the best prices on every part needed for a built transmission.


Ebay seems to be the cheapest source for stock rebuild kits, electronics, and Transgo shift kits.


I see. I've been hunting around for parts. First time doing an auto build. Not sure who to use is all!


Sent from my iPhone using Tapatalk
 
48RE Transgo Shift Kit - Install

Parts26_zpsd411f047.jpg


Install new teflon seals on the input shaft, this step is only applicable if the transmission is apart. Install new accumulator spring, pretty self explanatory.
Parts27_zpsb52ace76.jpg


The problem that many have with Transgo's instructions is they are written for a trans builder that already has a rough idea on how to take the valvebody apart.
Parts28_zps8cc94176.jpg


I didn't get good pictures of removing the electronics, however, it is just (3) T-25 screws for the lockup/overdrive solenoids, (2) T-25 screws for the governor pressure solenoid & transducer, and (1) T-25 for the main harness plug.

ShiftK3_zps291d54b5.jpg


Next remove all the T-25 screws that hold the (3) main layers of the valve body together.

ShiftK2_zpsc9a4b42b.jpg


There is a bracket with (3) T-25 screws all different lengths that holds the adjuster for the main line pressure, this bracket must be removed to separate the valve body since on of the long screws ties through all the layers of the valve body.

48reshift15_zps0cf028d0.jpg


Picture of valvebody main layers coming apart, this is pretty dirty and not typical of a healthy valve body:

ShiftK5_zps62b374ea.jpg


ShiftK6_zps16cf565c.jpg


ShiftK7_zpsdecc1f97.jpg


Save the checkballs, all but (1) will be reused:

ShiftK8_zps896e71a5.jpg


The first step once you finally get the valvebody apart is to add a couple of vent holes to speed-up how quickly lockup engages. This doesn't change the MPH of lock-up that is controlled electronically, this changes how much time it takes the lock-up piston to fully engage from the time the electronic solenoid opens to the time the torque converter is solidly locked.

Transgo recommends you don't add multiple holes for triple disk converters because they already lock-up quite abruptly, for this build with a billet input shaft, I felt comfortable with (2) .076" holes.

ShiftK11_zps942975b9.jpg


Also the instruction call for a notch to be filed across the manual valve bore, I use a 4.5" grinder with a metal cutting blade.

ShiftK12_zpsadc5373c.jpg


ShiftK13_zps0183e362.jpg


Replacing the green TV spring is self-explanatory.
 
Last edited:
Page 3 Transgo 48re shift kit:

Parts29_zpse622a68f.jpg


Remove the (3) T-25 screws on the part throttle transfer body.
ShiftK14_zps39b83259.jpg


Swapping out the spring:

ShiftK15_zpse24968cb.jpg


ShiftK16_zps1f999121.jpg


Install the little pin, install the gold spacer, then re-install the part throttle transfer body with the kit supplied transfer plate:

ShiftK19_zps058f5fdb.jpg


ShiftK22_zpsad7d81f2.jpg
 
Page 4 Transgo Shift Kit:
Parts30_zpsb8c2a595.jpg


The cherrybomb replaces one of the stock check balls, transgo gives a good picture to correctly replace all the checkballs.

Grinding 4 land switch valve
ShiftK24_zpsa885098d.jpg


ShiftK25_zps0d83f42f.jpg


New manual valve compared to stock:
ShiftK26_zps91fc9b69.jpg


ShiftK27_zps7d9a5b62.jpg


Mumbly peg used to compress the ball and spring for the gear selector rooter comb:
48reshift7_zpsfb4f6fde.jpg
 
Last edited:
Transgo 48re shift kit page 5

Parts31_zps42e9bcd4.jpg


Remove the 3/4 accumulator body, (3) T-25 screws.
ShiftK28_zps7b85c16a.jpg


ShiftK29_zps2e8b7c22.jpg


Drill through with the kit supplied drill bit.

ShiftK30_zpsa3ecc6a2.jpg


ShiftK31_zpsaf970218.jpg


ShiftK32_zps0fba7235.jpg


Remove the (5) T-25 screws to remove the cover plate and gain access to the 3-4 accumulator piston. Remove the stock spring (sometimes it's broke in half) and install (3) new red springs provided in the kit. It is difficult to replace the cover with the higher spring pressure from the new springs. I also replaced the teflon seals on the accumulator piston with new seals provided in the master transmission rebuild kit. These seals rarely fail, but get replaced during a major overhaul/rebuild.

ShiftK33_zps72a3a7a6.jpg


ShiftK39_zps818f1501.jpg


ShiftK40_zps53fab79e.jpg


ShiftK41_zps9f630f12.jpg


Install the kit supplied plugs flush or just deeper than flush:

ShiftK35_zps5a20ce6e.jpg


ShiftK36_zpsb0960928.jpg


ShiftK37_zps27bcdb75.jpg


ShiftK38_zps18dc183b.jpg


Finally reinstall the 3/4 accumulator assembly with the kit supplied tranfer plate sandwiched between.
 
Last edited:
Transgo 48re shift kit page 6

Parts32_zps185d8379.jpg


The kit calls for the 2-3 shift holes marked as A & B to be drilled to .106", I went a little larger .116" because the customer requested FIRM shifts. The kit does not call out the 1-2 shift hole to be enlarged because most non-hotrod uses like soft 1-2 shifts. I opened up this passage to a conservative .088" or so.

Be advised, the higher you crank the line pressure, the firmer the shifts will become so stay conservative on the hole size if line pressure is going to be substantially increased.

The holes are to be drilled in the kit supplied separator plate, not the stock plate as "staged" in the picture below.

ShiftK1_zps9609c381.jpg
 
Transgo 48re shift kit page 7:
Parts33_zpse0f5b706.jpg


Remove the stock pressure screw and replace with the kit supplied shim, washer, plain inner, and orange outer spring. Interesting, the kit does not call for 2-4 turns of adjustment on the pressure screw. I recommend the pressure is turned up at least 2 turns and more for more line pressure = more torque capacity on the whole transmission.

48reshift3_zps50077b2c.jpg


48reshift5_zps4c2864fa.jpg


48reshift6_zps2356b54d.jpg


Transgo provide an upgraded clip, simply remove the plate and (3) T-25 screws:
48reshift18_zps90aecdd5.jpg


Drilling out the port in the plate increases lock-up pressure, not sure why the 48re kit does not call for this step, I used a .096" drill bit:
48reshift19_zps7cd84171.jpg


48reshift20_zpsf5c7c515.jpg


48reshift1_zps1b4a8cec.jpg


I also changed out the shaft seal (from the transmission master rebuild kit) on the TV lever/rooster comb:
48reshift9_zps60e709ac.jpg


48reshift10_zps7c8d22df.jpg


48reshift11_zps6d8c8762.jpg


48reshift14_zpsa732db8b.jpg


48reshift15_zps0cf028d0.jpg


I finished up by installing the new lock-up & overdrive solenoids:
48reshift16_zps6b21015a.jpg


A picture of the DNJ upgraded governor solenoid and block, these won't be installed until the valvebody is bolted to the main transmission case.

48reshift17_zpse7e2c3e4.jpg
 
Curious to see how your rebuild turns out.

I just rebuilt the 48re in my 05 at 120k, had never done a dodge trans before. Learned a lot.

My 2nd gear band was toast as well, very similar to yours. Input shaft was stuck in hub because of clutch material build up. I did most of everything you're doing as well except for new bearings and bushings.

Why are you using the DNJ gov solenoid body? Why not just use an adjustable gov pressure solenoid from Borg Warner?

Either way, great pics and great thread.

Ive had trouble with the Borg Solenoid on my high 180+psi line pressure transmissions. Decided to try something new. Time will tell if the 4L60E solenoid is better.
 
This is freaking awesome, I love these threads. Just being a nag but maybe you could circle the parts your taking apart in the beginning. Like circle the bolts your taking out to get a particular part off. You do a great job of explaining, just trying to make it easy on me when I finally tare into one. Thank you
 
Back
Top