| Advertisement |
|
|
|
|
|
|
|
If this is your first visit, be sure to check out the FAQ by clicking the link above.
You may have to register before you can post: click the register link above to proceed.
To start viewing messages, select the forum that you want to visit from the selection below.
|
| Dodge Competition and Performance General Dodge Competition and Performance Discussion |
 12-26-2010, 07:21 PM
|
#101
|
Name: not enoughsmoke
Title: floatin in tha gulf
Status: Not Here
Join Date: Dec 2008
Location: tenn
Member`s Gallery
Posts: 5,730
|
Quote:
Originally Posted by SWALLDOG

|
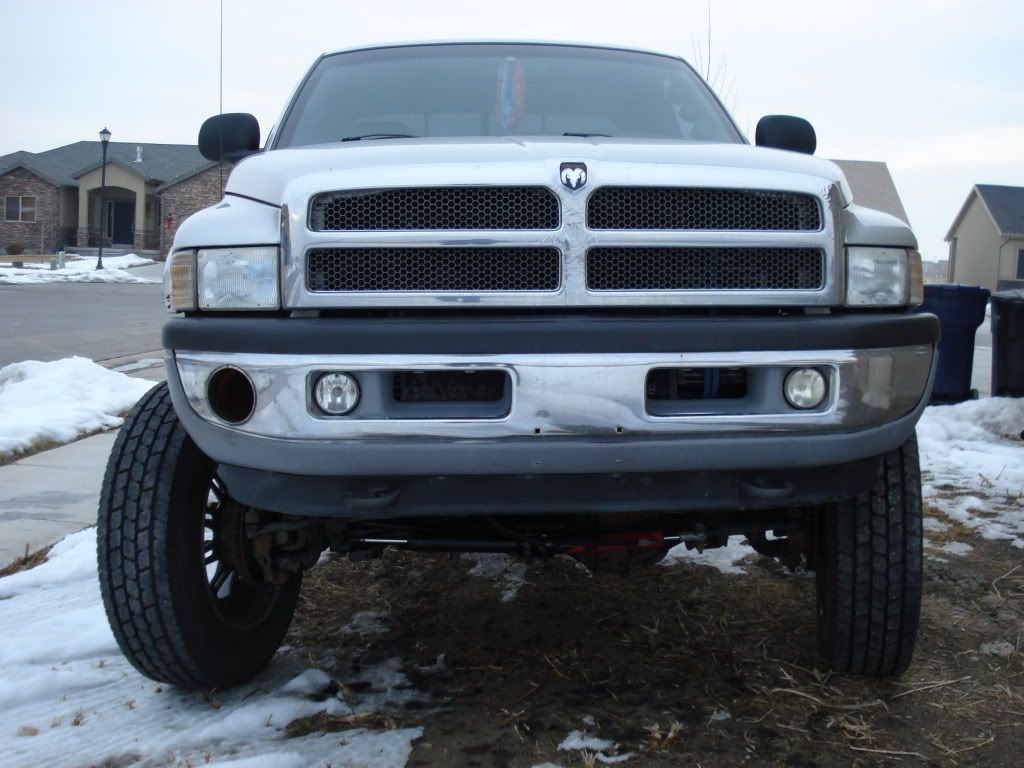
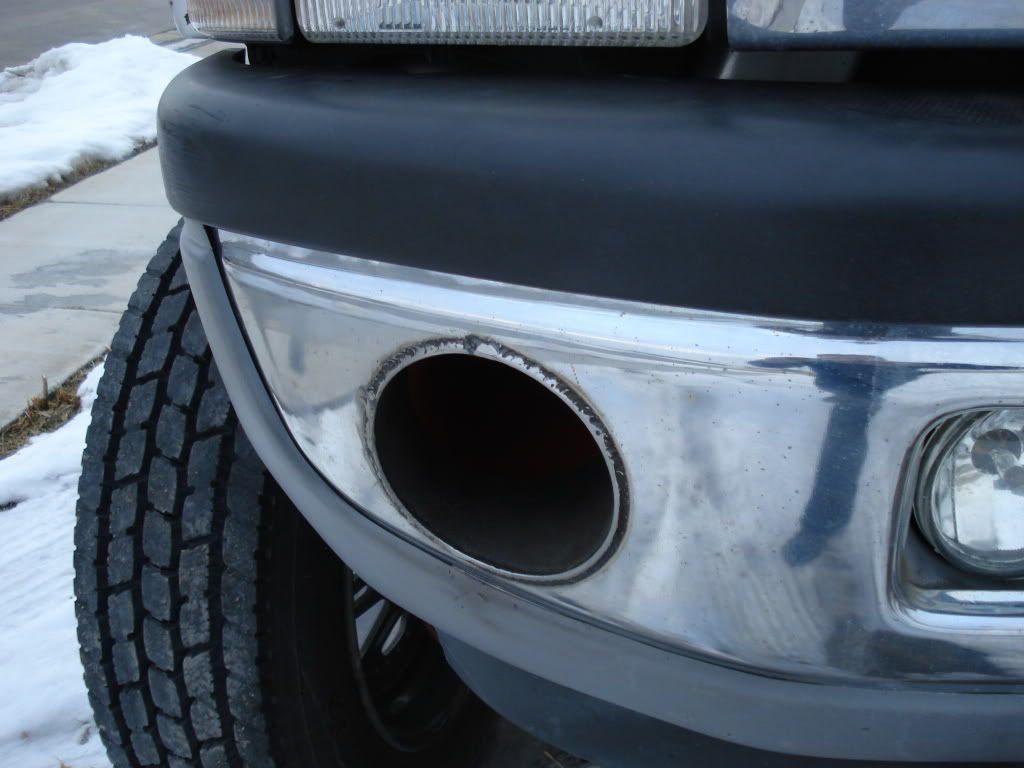
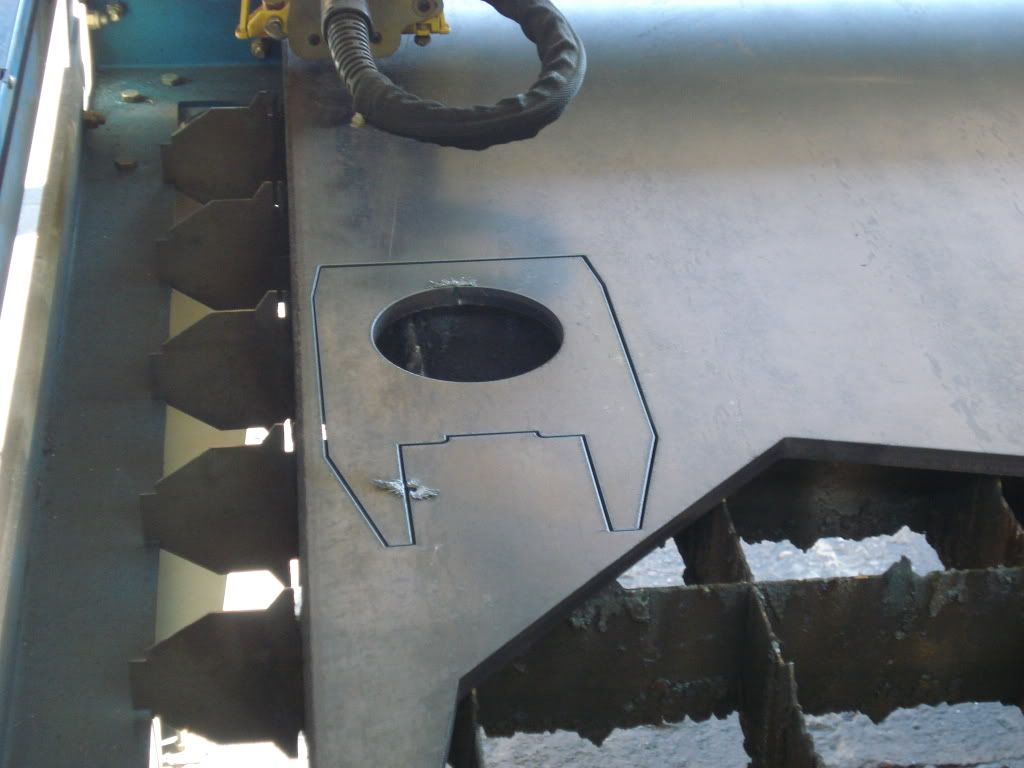
i am planning on doing this too what size hole did u cut 5" or 6" i am thinkin 6"
__________________
1995 F350 Powerstroke
1995 F350 Fummins
1995 F250 lightning clone
1968 Fastback GT
2003 F150
1994 F350 IDIT
1988 F350 IDIT
2003 Dodge 2500
1999 F250 Powerstroke
1993 F250 Fummins
1979 F350

|
|
|
|
|
01-18-2011, 12:55 PM
|
#102
|
Name: dodge bomber
Title: Rookie
Status: Not Here
Join Date: Dec 2010
Location: ny
Member`s Gallery
Posts: 13
|
holy s*&^t this truck is a dream i could probly spend all day looking at your truck. im making headers for my cummins to but when i mentioned it i was laughed at so im doing it now and i seen you did yours. did you knotice a big difference? and whats that plate bilted to the side of the motor under the header? do i need to do that also? i havent looked much into it because my beater is beat and that would be my transportation while im working on my truck
__________________
2001 dodge cummins ex. cab longbed, auto, and stock so far i just got it
|
|
|
|
|
03-05-2011, 12:09 AM
|
#103
|
Name: Peterson
Title: Too Much Time
Status: Not Here
Join Date: Feb 2009
Location: Westboro, WI
Member`s Gallery
Posts: 1,015
|
any update on this?
__________________
Tyler P.
Just a old 12 valve
Super HY351, and a Bigstick!
Allis Chalmers D17 Puller with AC 3500 MKII
|
|
|
|
|
03-05-2011, 03:56 AM
|
#104
|
Name: cumminsproud
Title: S. Carolina Boy
Status: Not Here
Join Date: Jan 2011
Location: Harrisonville, Mo
Member`s Gallery
Posts: 368
|
man great job so far one hell of a tow rig for sure. keep the updates comin.
__________________
Greg B.
96 2500 P-Pump 24v- gone 429hp 1066tq
07 qcsb 5.9 stock- gone
07 cclb lmm- efi
|
|
|
|
|
07-22-2011, 04:04 AM
|
#105
|
Name: SWALLDOG
Title: Too Much Time
Status: Not Here
Join Date: Jun 2008
Location: Woods Cross, Utah
Member`s Gallery
Posts: 454
|
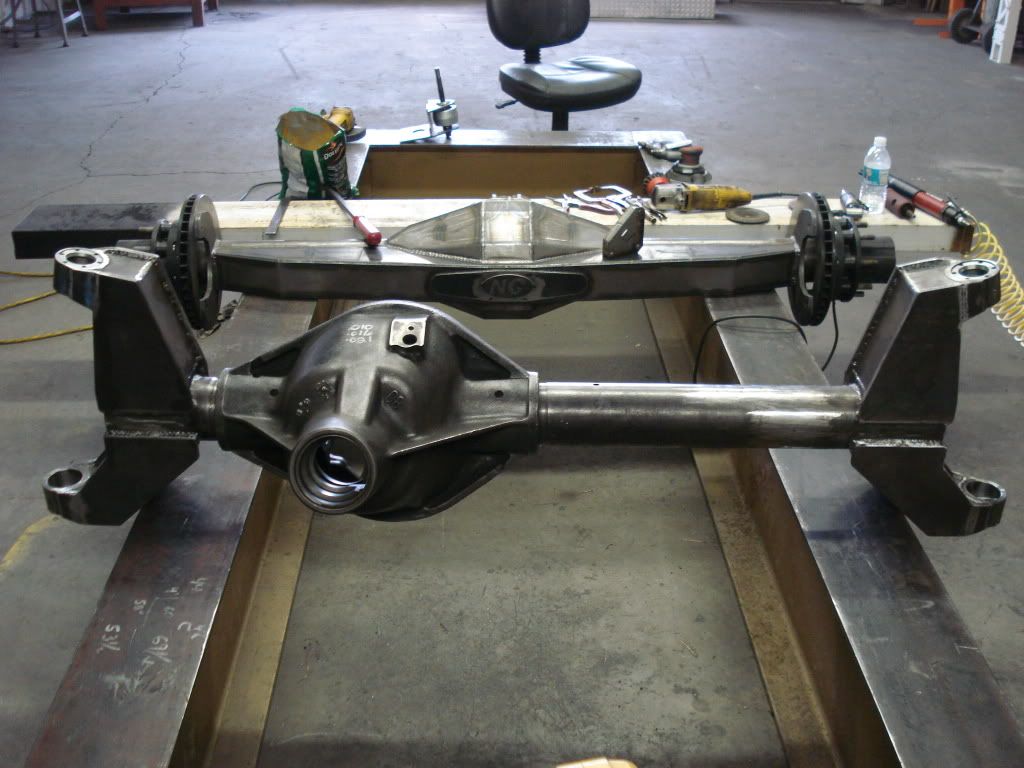
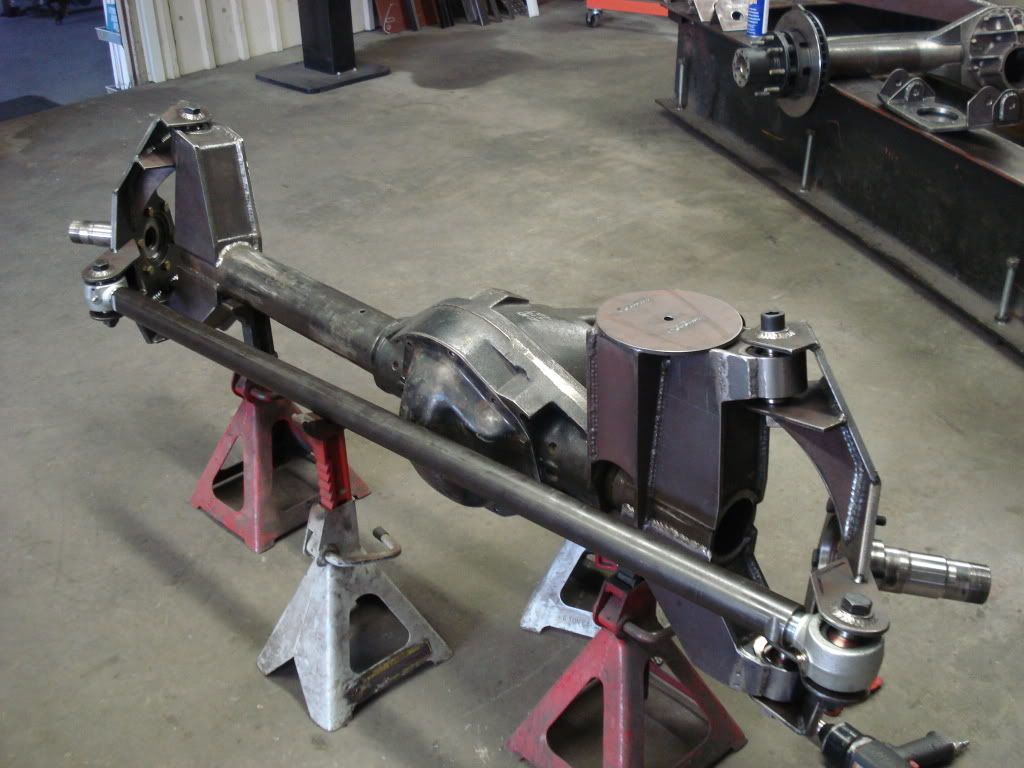
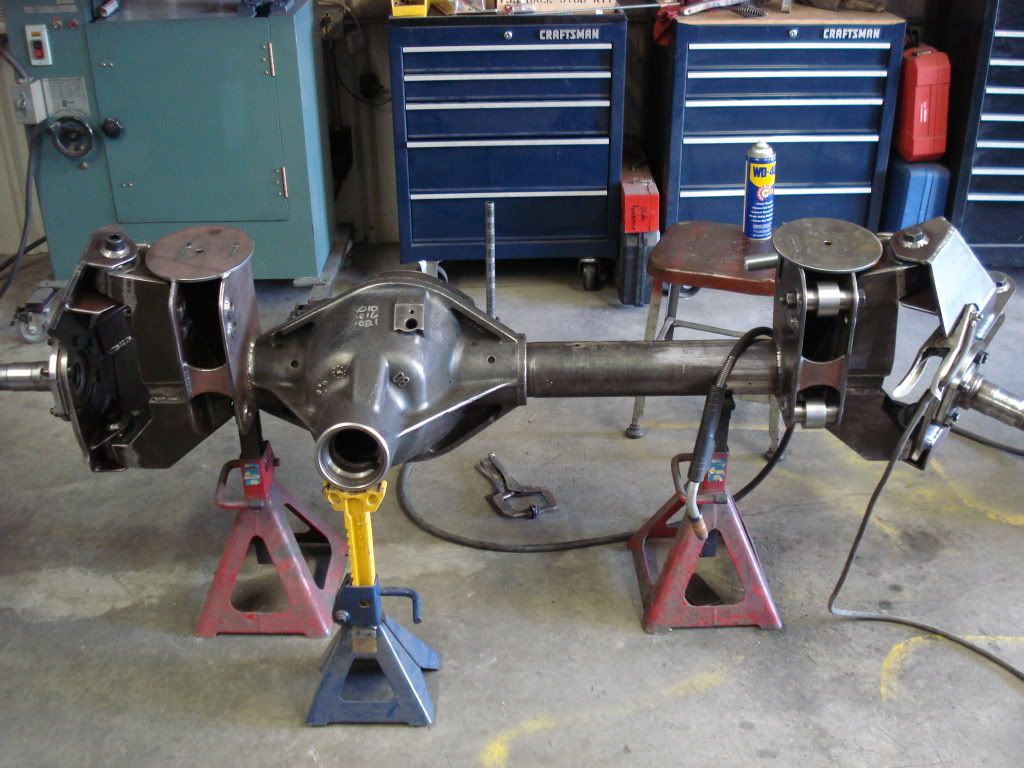
Thanks for all the comments. i have a lot i need to update on this. I've had the Dana 80 in the front now for about 2 months. just working out a few of the bugs when i have time. over all i am really happy with it. i also have the airsprings and longer control arms installed to. i just uploaded a ton of pics so i will get the updates coming.

|
|
|
|
|
07-22-2011, 04:09 AM
|
#106
|
Name: SWALLDOG
Title: Too Much Time
Status: Not Here
Join Date: Jun 2008
Location: Woods Cross, Utah
Member`s Gallery
Posts: 454
|
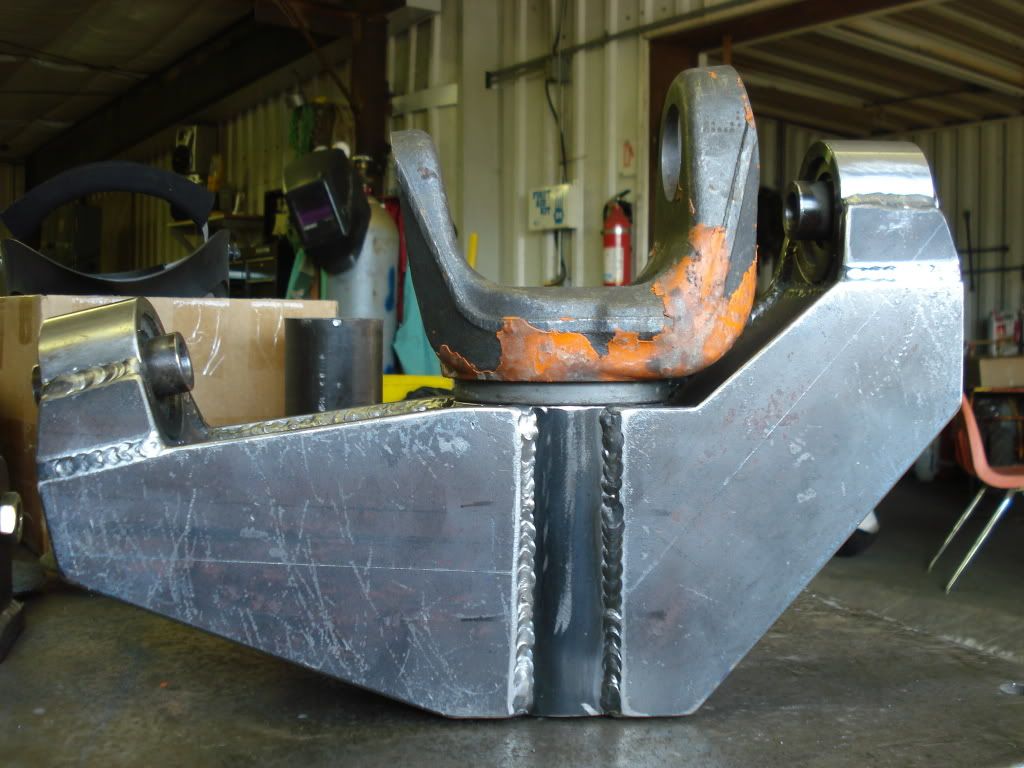
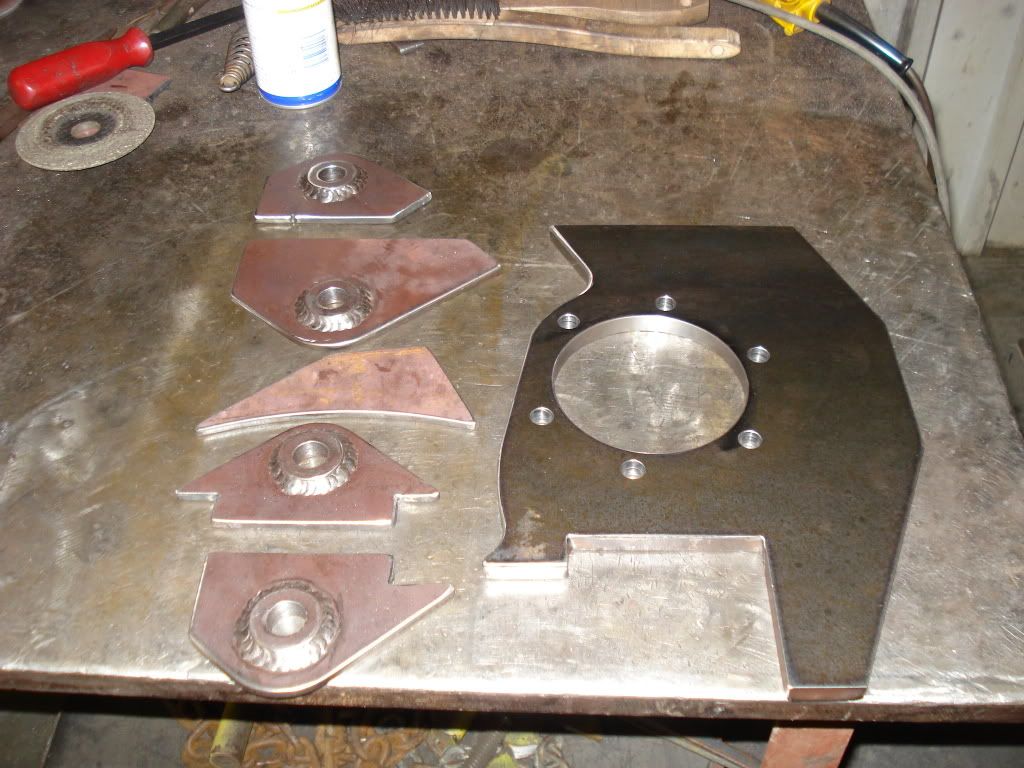
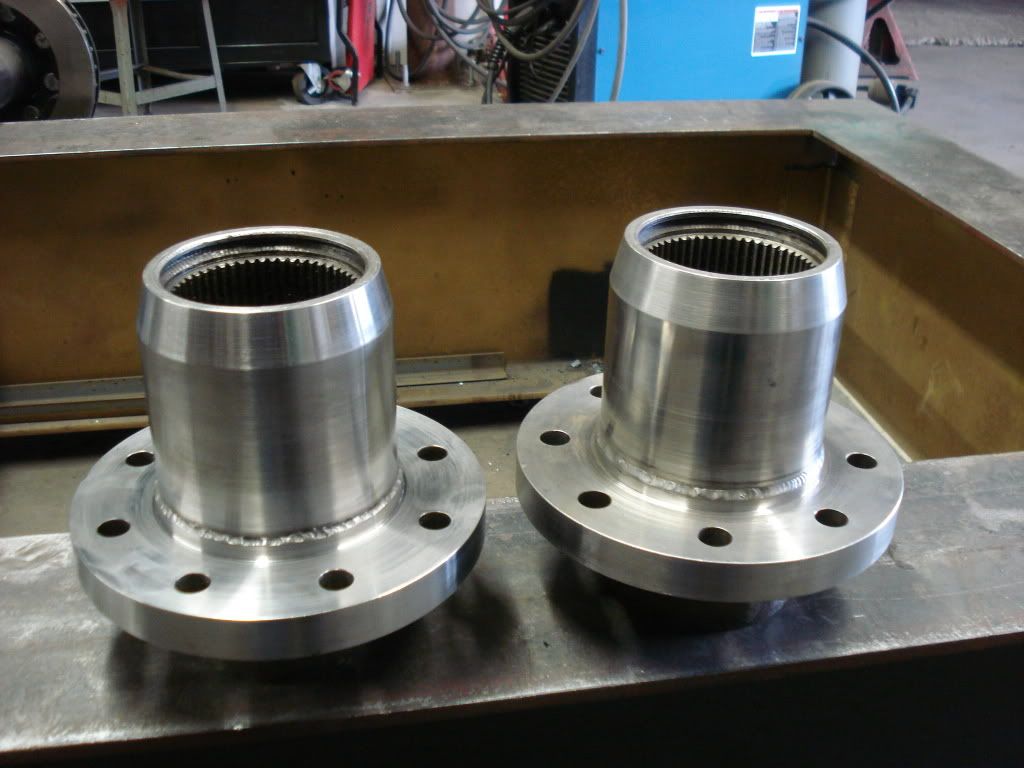
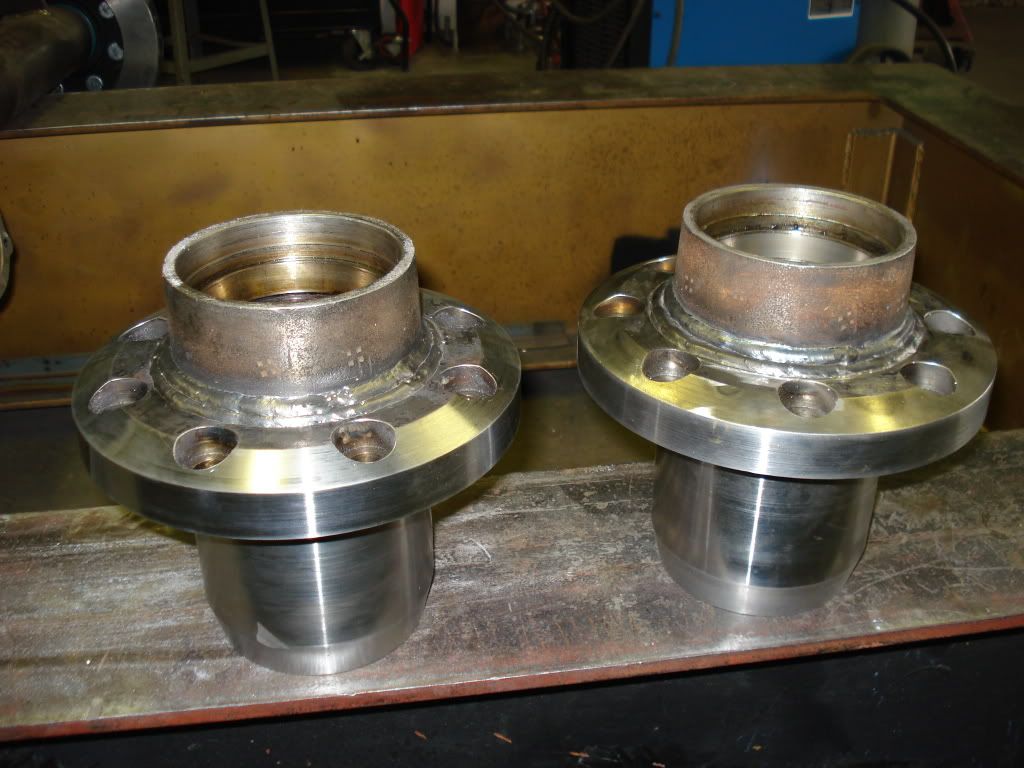
ok so here are the hubs after i got them all machined. the one other thing i did machine after i took this pic is machined a little shoulder on the back, right on the outside where the seal goes, so i could press a tone ring on there for my abs. i just need to machine the tone ring and make a mount for the sensor.
|
|
|
|
|
07-22-2011, 04:10 AM
|
#107
|
Name: SWALLDOG
Title: Too Much Time
Status: Not Here
Join Date: Jun 2008
Location: Woods Cross, Utah
Member`s Gallery
Posts: 454
|
|
|
|
|
|
07-22-2011, 04:11 AM
|
#108
|
Name: SWALLDOG
Title: Too Much Time
Status: Not Here
Join Date: Jun 2008
Location: Woods Cross, Utah
Member`s Gallery
Posts: 454
|
|
|
|
|
|
07-22-2011, 04:12 AM
|
#109
|
Name: SWALLDOG
Title: Too Much Time
Status: Not Here
Join Date: Jun 2008
Location: Woods Cross, Utah
Member`s Gallery
Posts: 454
|
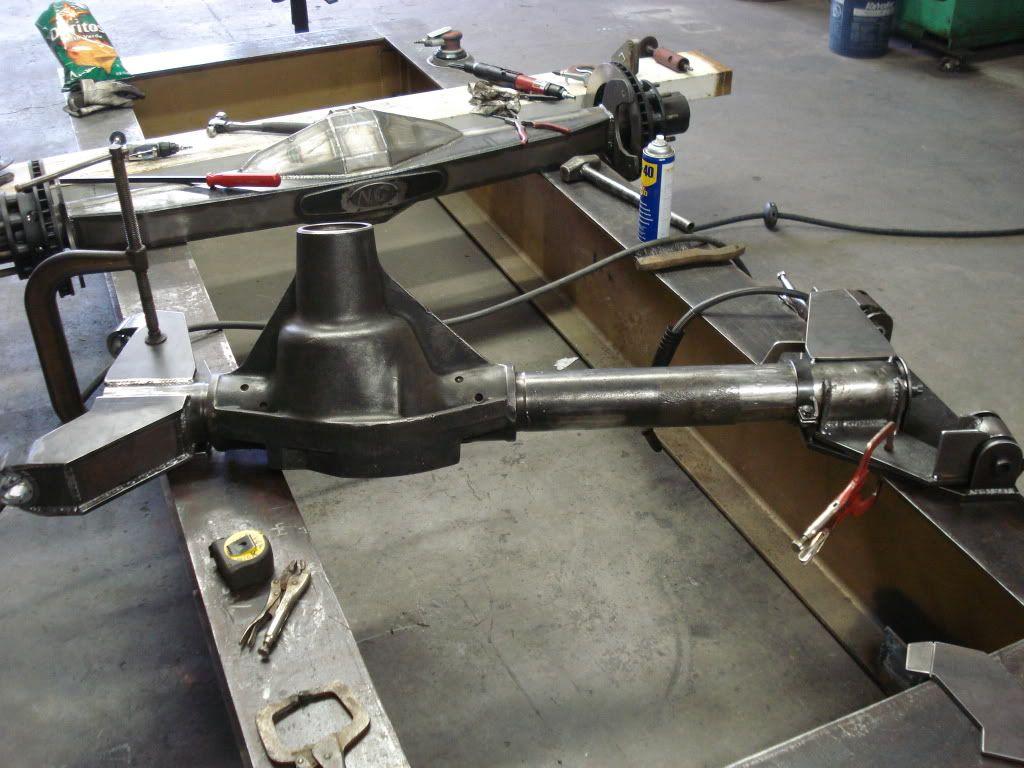
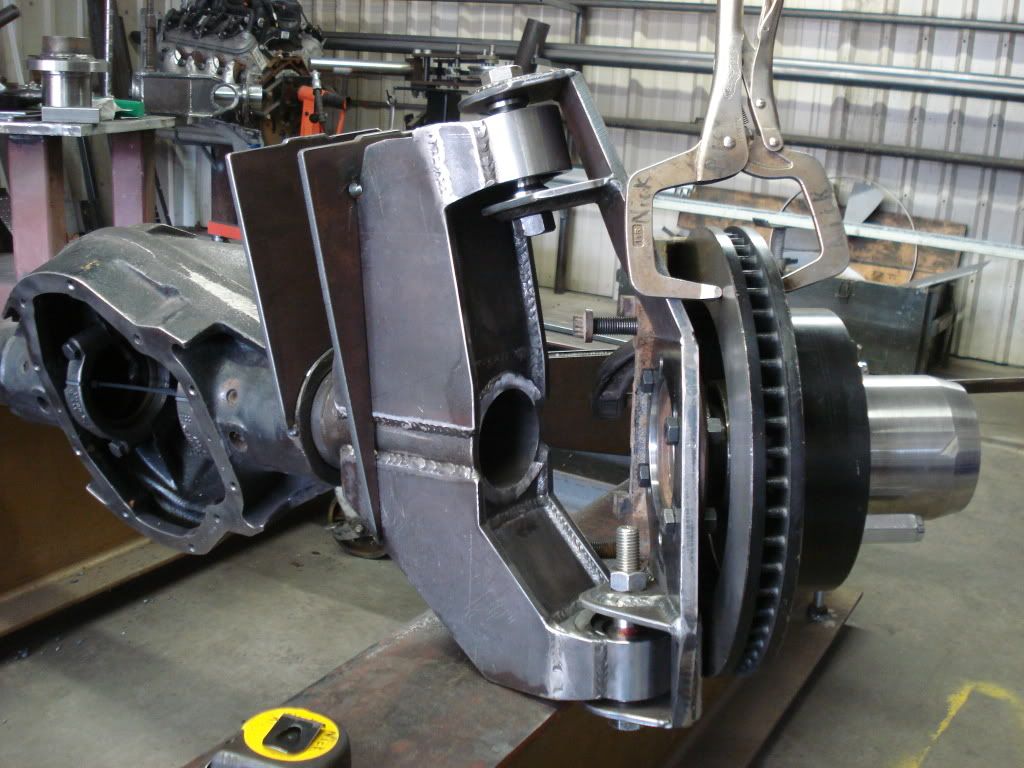
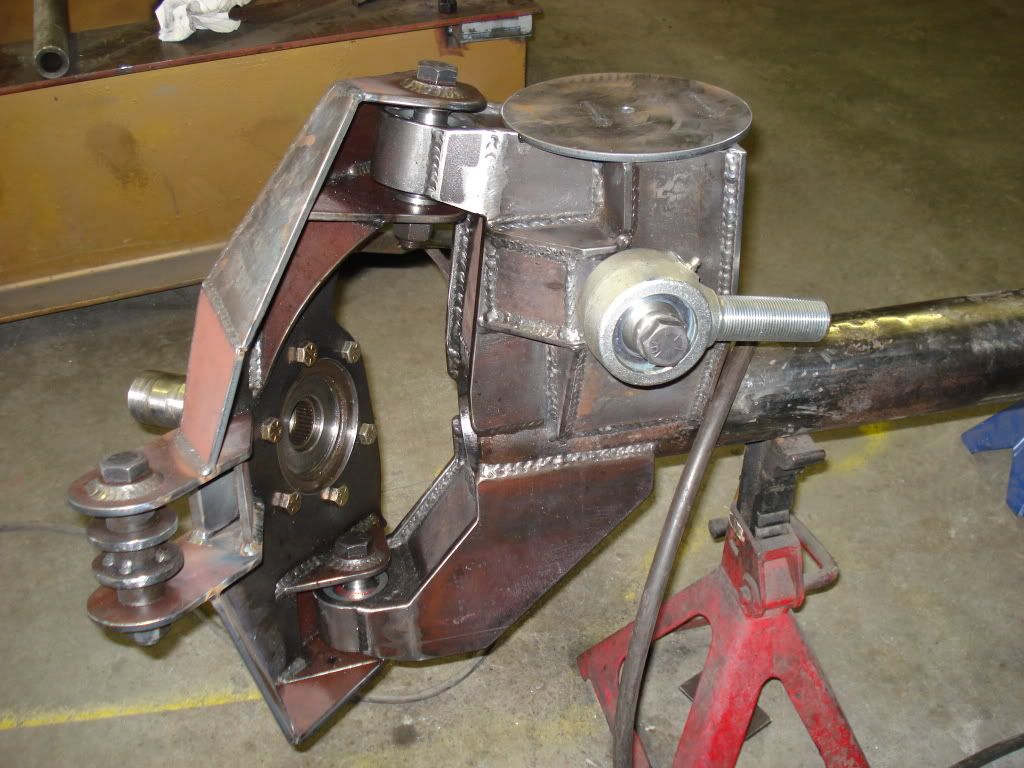
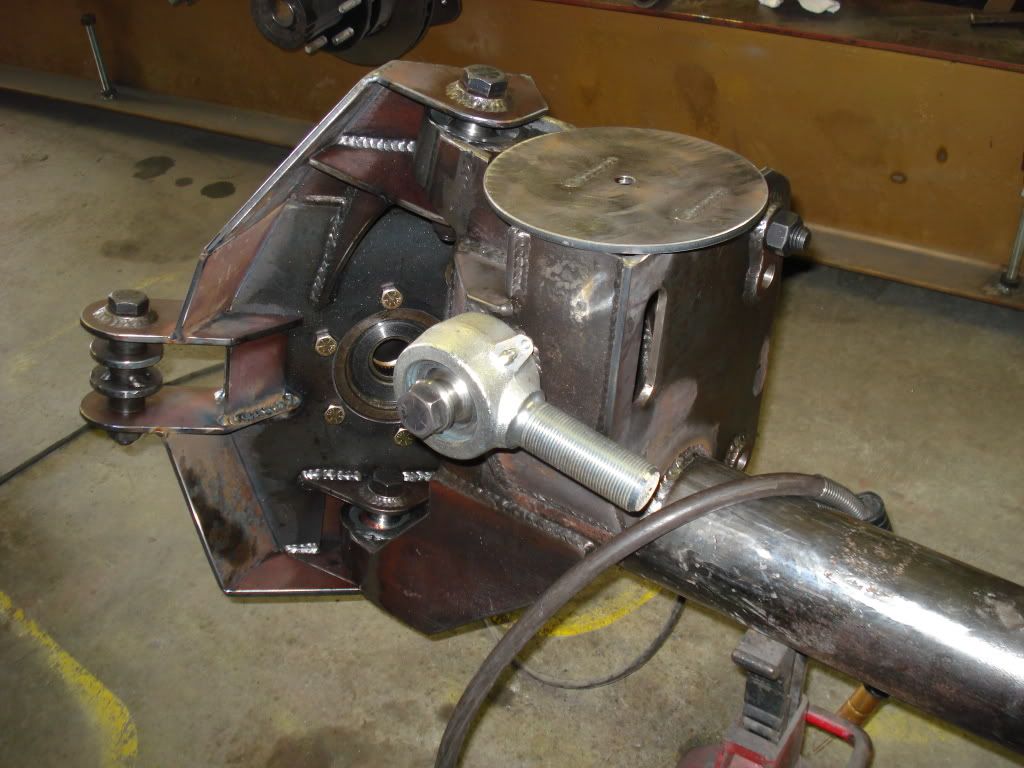
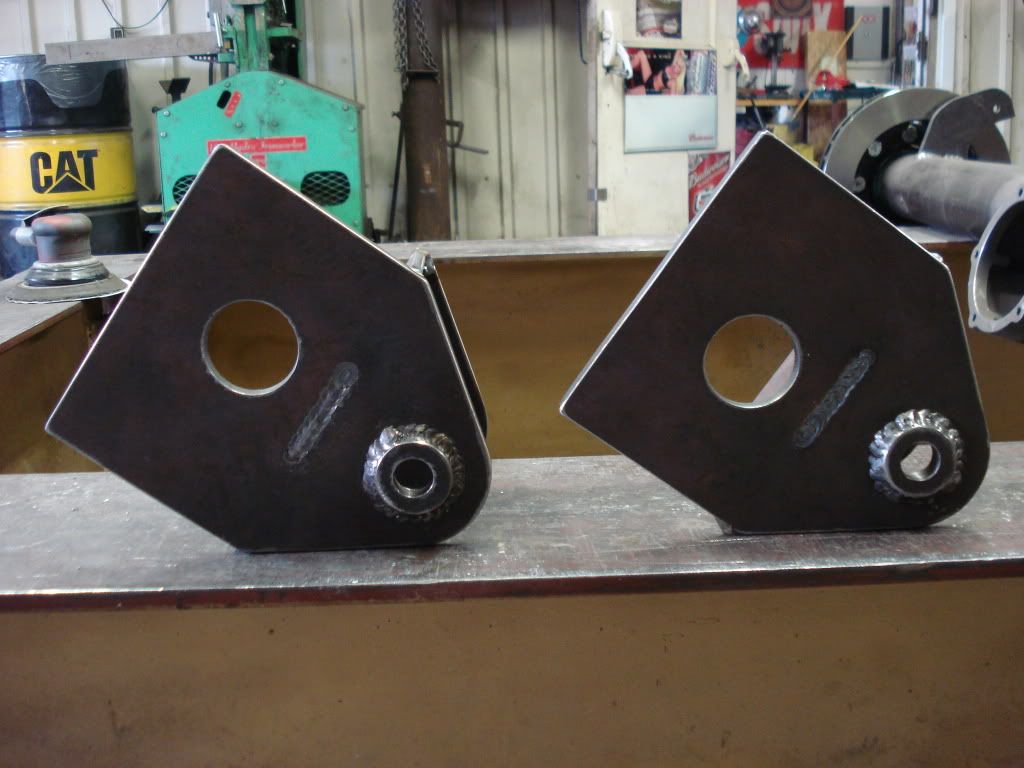
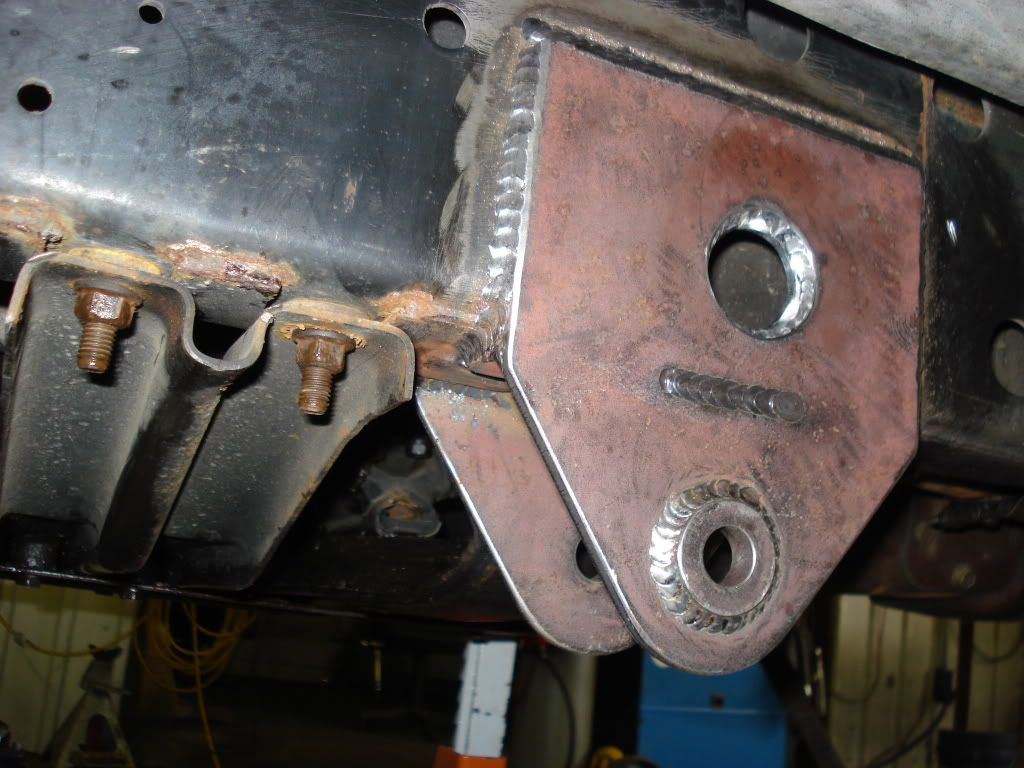
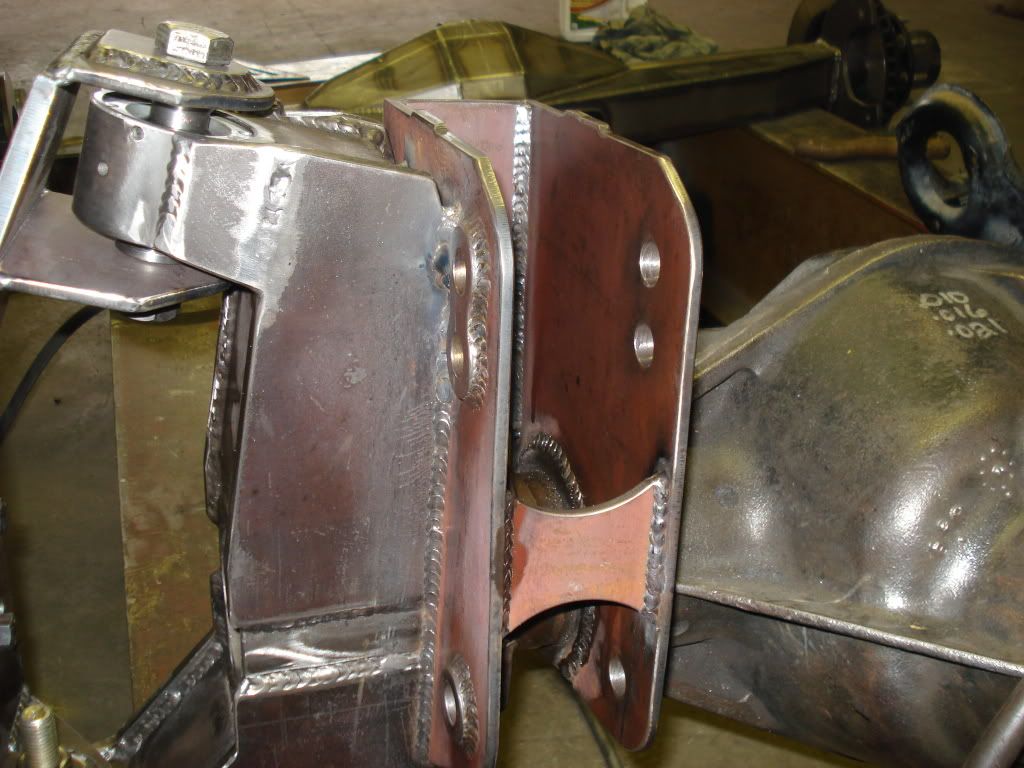
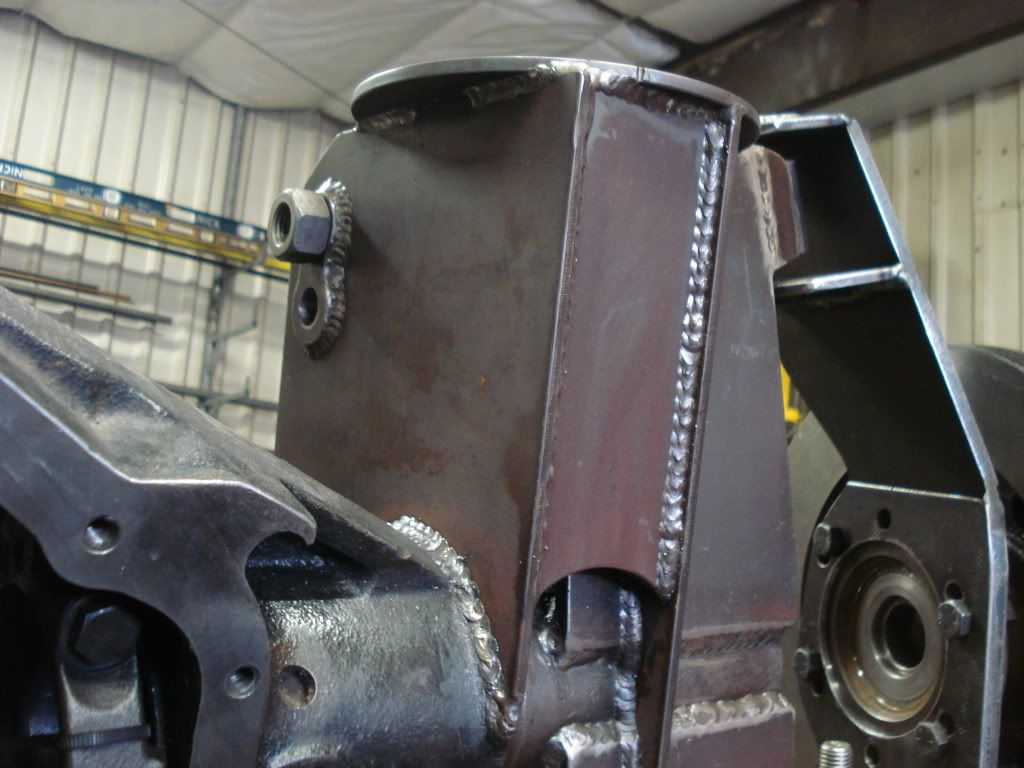
i build the link mounts and the air spring mounts in the same bracket. kinda like the stock one but a lot taller and much stronger.
|
|
|
|
|
07-22-2011, 04:13 AM
|
#110
|
Name: SWALLDOG
Title: Too Much Time
Status: Not Here
Join Date: Jun 2008
Location: Woods Cross, Utah
Member`s Gallery
Posts: 454
|
|
|
|
|
|
07-22-2011, 04:14 AM
|
#111
|
Name: SWALLDOG
Title: Too Much Time
Status: Not Here
Join Date: Jun 2008
Location: Woods Cross, Utah
Member`s Gallery
Posts: 454
|
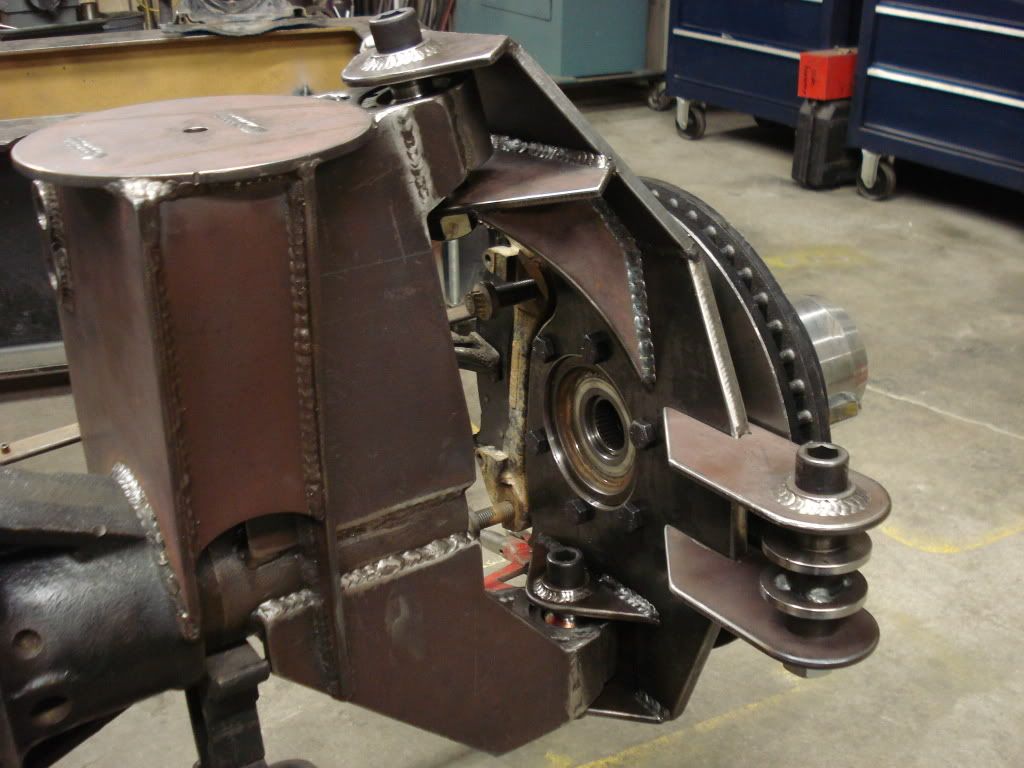
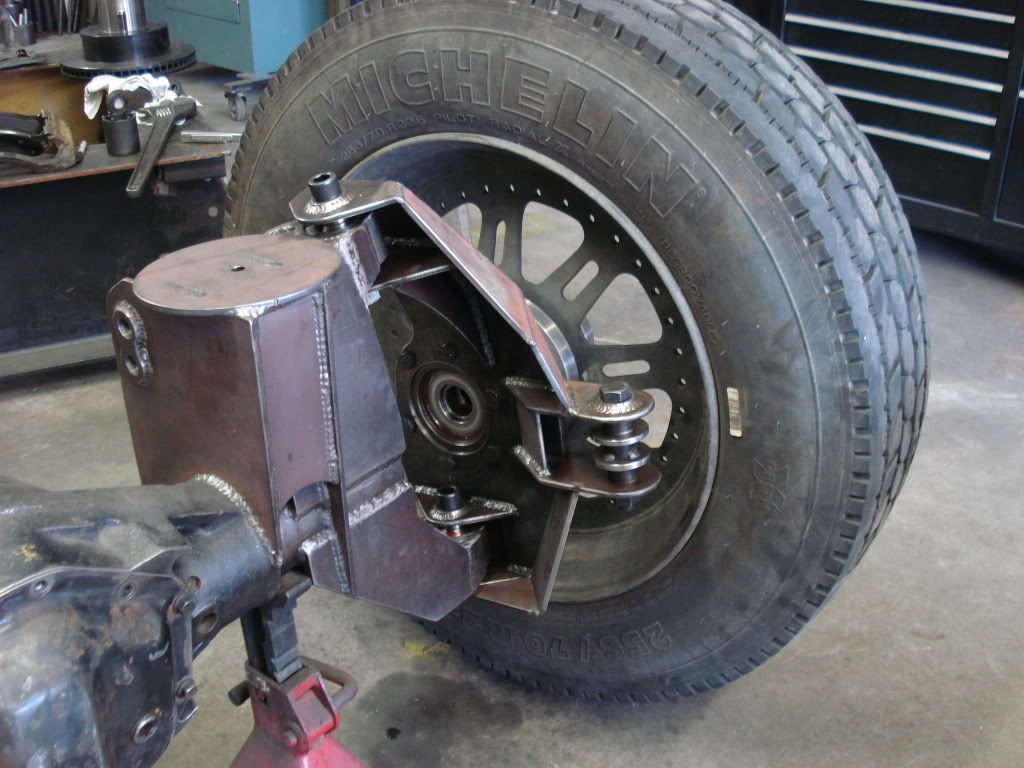
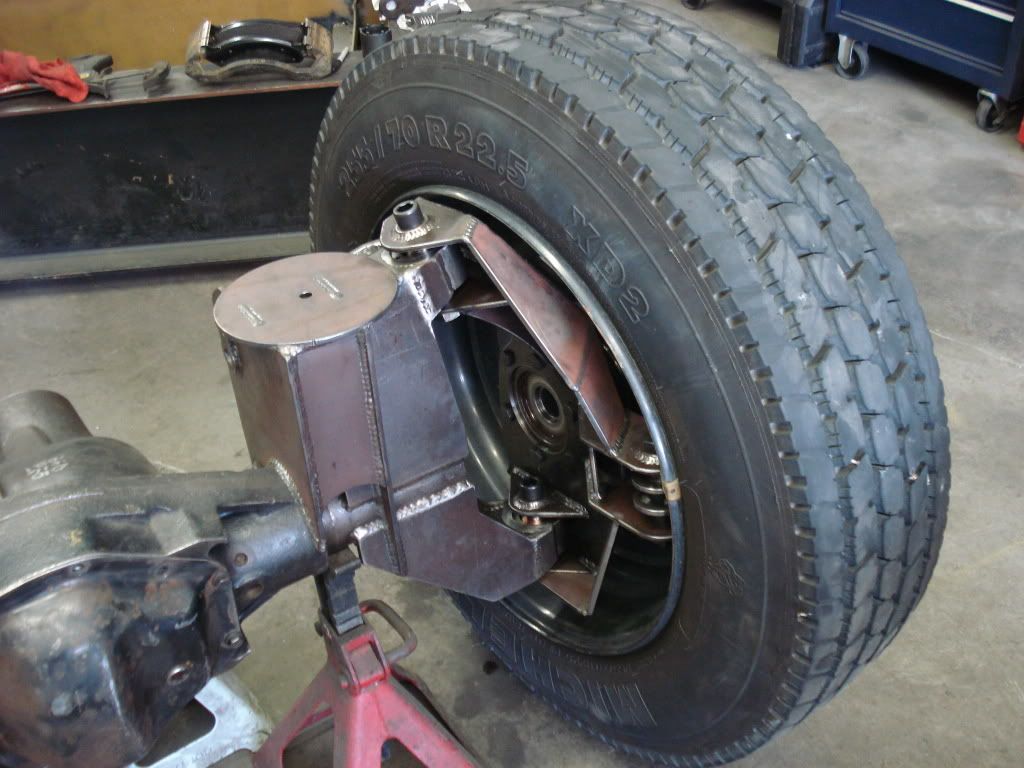
i bolted the wheels up to make sure that everything clears. i had loads of room. i am planing on changing the back spacing of my wheels so they dont stick out so far. i want to take them back about 2.5" - 3" so i turned the wheels around just to see how they would clear if they had about twice as much back spacing was i wanted to move them. the knuckles stuff pretty well in those 22.5" wheels :thumbsup:
|
|
|
|
|
07-22-2011, 04:14 AM
|
#112
|
Name: SWALLDOG
Title: Too Much Time
Status: Not Here
Join Date: Jun 2008
Location: Woods Cross, Utah
Member`s Gallery
Posts: 454
|
|
|
|
|
|
07-22-2011, 04:15 AM
|
#113
|
Name: SWALLDOG
Title: Too Much Time
Status: Not Here
Join Date: Jun 2008
Location: Woods Cross, Utah
Member`s Gallery
Posts: 454
|
|
|
|
|
|
07-22-2011, 04:15 AM
|
#114
|
Name: SWALLDOG
Title: Too Much Time
Status: Not Here
Join Date: Jun 2008
Location: Woods Cross, Utah
Member`s Gallery
Posts: 454
|
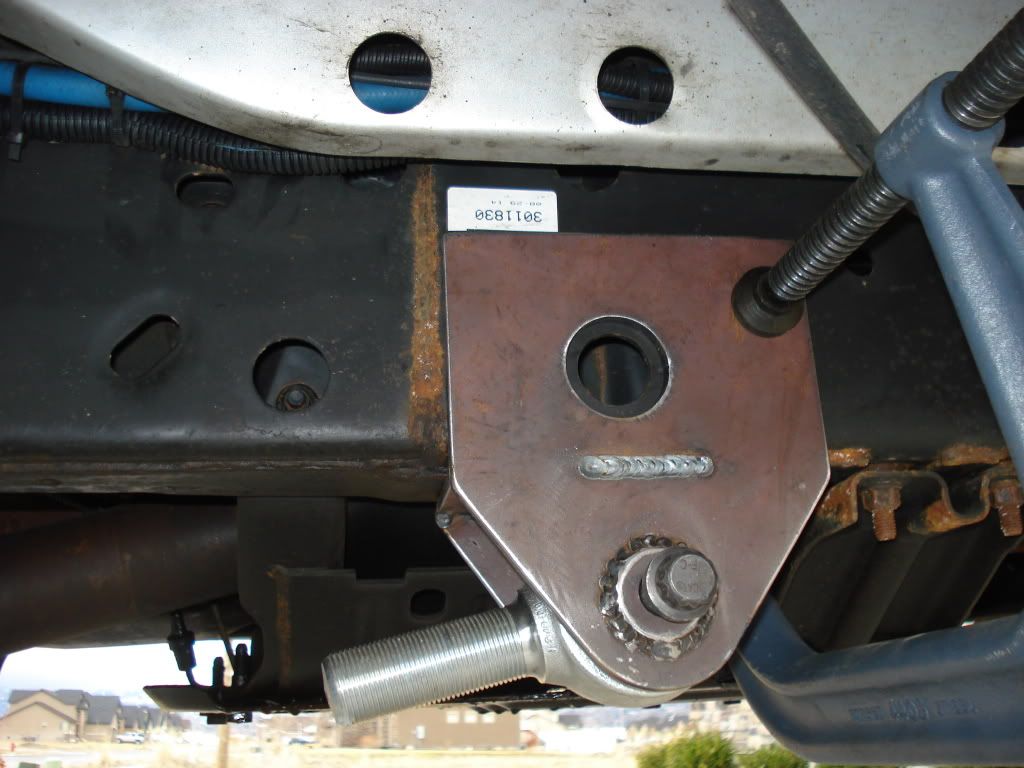
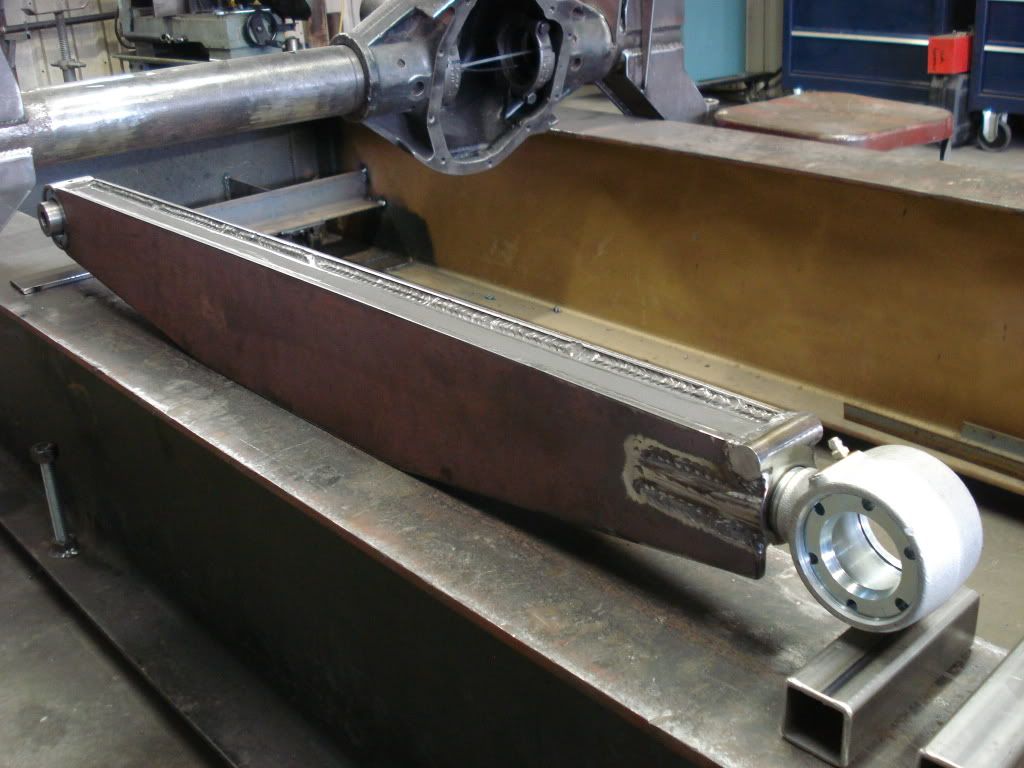
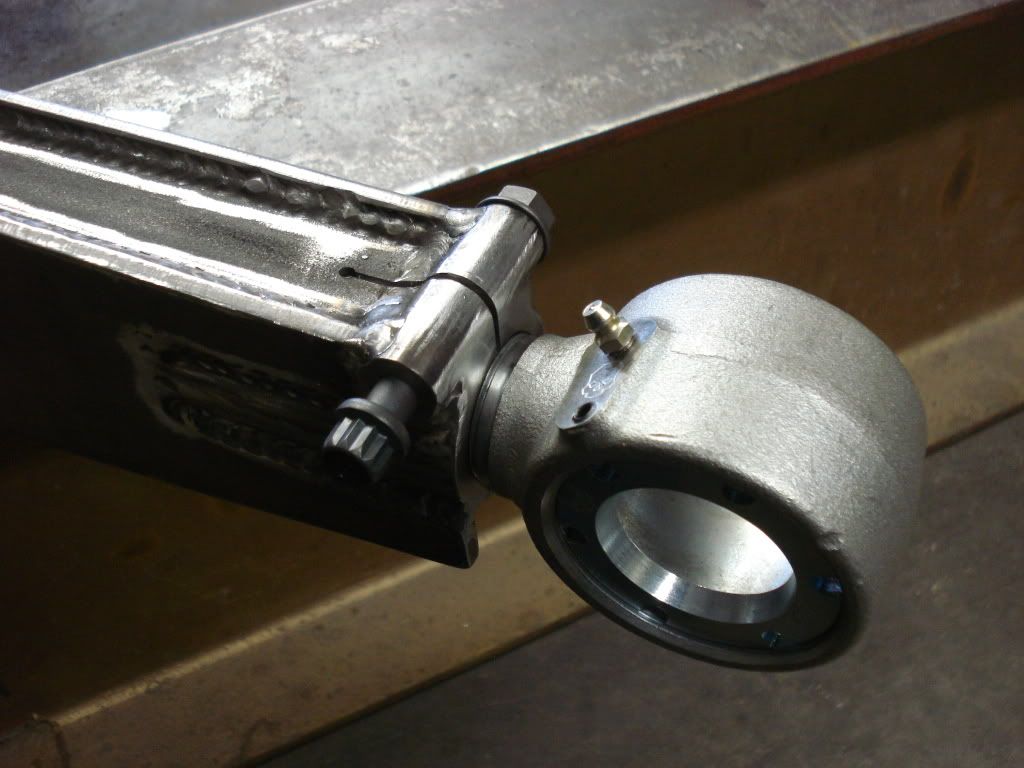
these are the lower control arms that i built. i use a weld on joint on the one end and a 1 1/2" threaded shank joint on the other end. i made my own pinch bolt joints for the threaded end instead of using a jam nut. i have never had really good luck with jam nuts, it seems like on my buggy i am always tightening them before a trip. i like the idea of a pinch bolt so i thought i would try it out, plus you have that many more threads in the link, not taken up by the jam nut.
|
|
|
|
|
07-22-2011, 04:16 AM
|
#115
|
Name: SWALLDOG
Title: Too Much Time
Status: Not Here
Join Date: Jun 2008
Location: Woods Cross, Utah
Member`s Gallery
Posts: 454
|
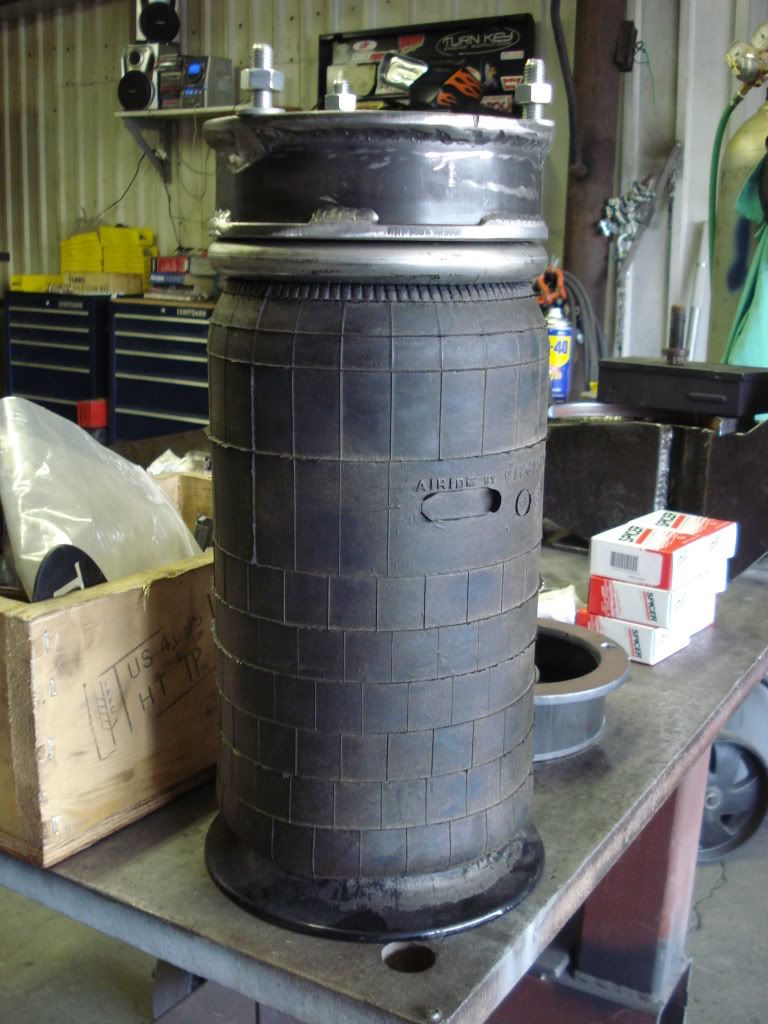
so the air springs i am running are a firestone spring. they are just about the same diameter as my stock coils. i mounted them in the stock coil buckets which seamed to work out pretty well. i just had to make an adapter to bolt them in. kelderman does this same thing on some of there kits but i have never liked there adapters. they use pieces of strap and it kinda looks weak. i made mine out of a full piece of tube. i wanted to make them as short as possible but still have enough room for the air lines and stuff. they ended up working out pretty slick.

|
|
|
|
|
07-22-2011, 04:16 AM
|
#116
|
Name: SWALLDOG
Title: Too Much Time
Status: Not Here
Join Date: Jun 2008
Location: Woods Cross, Utah
Member`s Gallery
Posts: 454
|
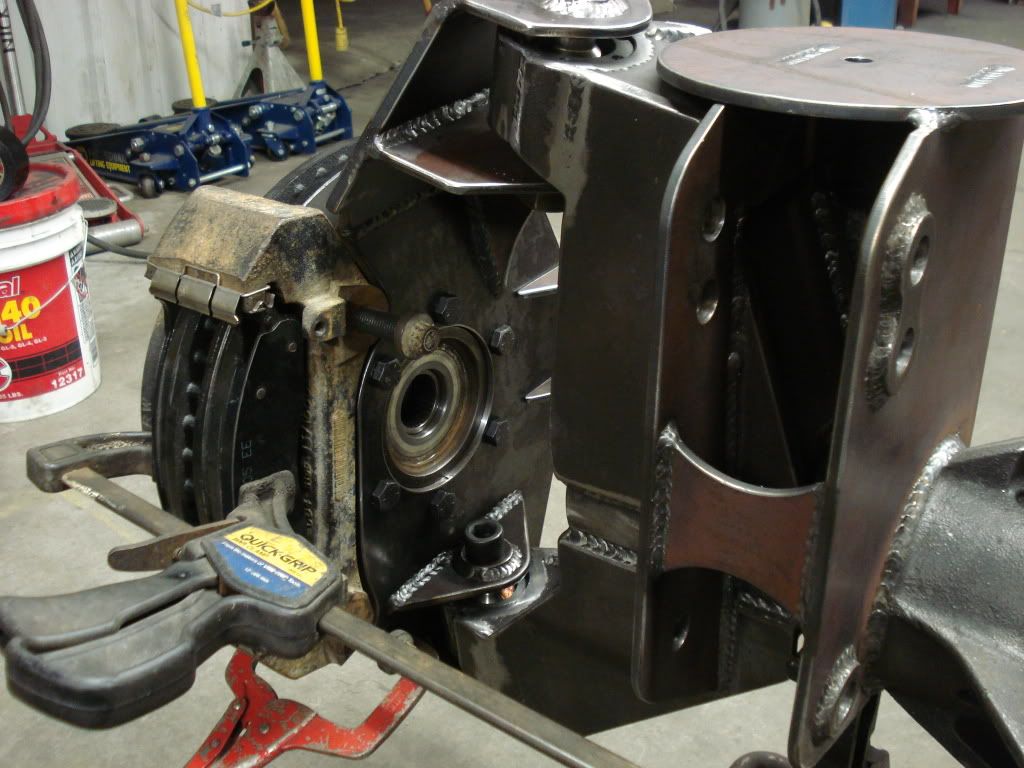
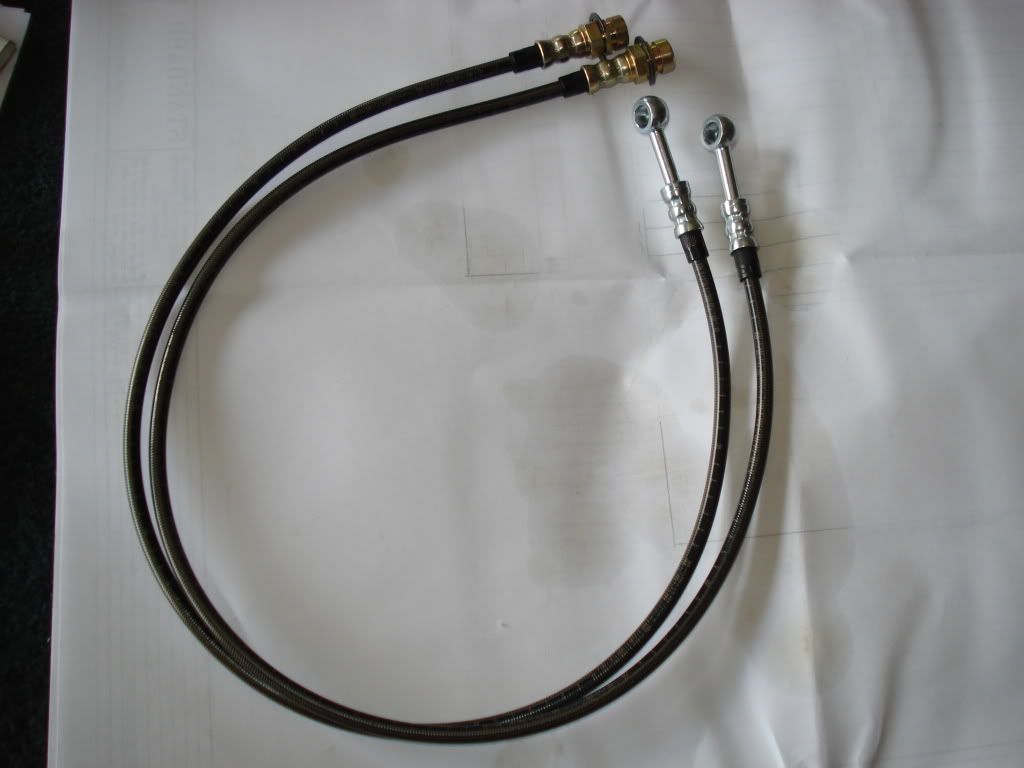
i got some new brake lines made by evco. they are braided SS with plastic shields over them. the stock ones were in pretty bad shape and i am using calipers and rotors off an '05 style dodge truck. the banjo bolt was a different size.
|
|
|
|
|
07-22-2011, 04:52 AM
|
#117
|
Name: Lostnwalmart
Title: Too Much Time
Status: Not Here
Join Date: Jul 2006
Location: Tokyo Japan
Member`s Gallery
Posts: 8,970
|
Amazing fab work! Looks great man
__________________
Ecorico scooter!!
-Cliff
Quote:
Originally Posted by Snedge
Anybody that would not haul a dinosaur for an orphanage is no friend of mine.
To some people it's all about money. Geez
|

|
|
|
|
|
07-22-2011, 06:47 AM
|
#118
|
Name: Hurley
Title: BLAKLUNG
Status: Not Here
Join Date: Apr 2008
Location: Statesville, NC
Member`s Gallery
Posts: 3,698
|
love the fab, lots of overkill... ever consider building a front-end loader for that thing hahaha
__________________
THIS
IS
COMPD.
95 2500 RCSB 2wd back-halfed and 4-linked
5x14/7mm +100cc/4k/11-blade billet 63/68/.91 T4
539/989
03 RCLB 4x4, SSR
|
|
|
|
|
07-22-2011, 09:18 AM
|
#119
|
Name: YOUNG GUNS15
Title: Im AWESOME!!!!
Status: Not Here
Join Date: Sep 2009
Location: Utah
Member`s Gallery
Posts: 7,346
|
I got to see it in person! the front axle wasnt built then but still a cool ride.
When are ya gettin the p pump on there? and are you going to weekend on the edge or industrial dyno?
__________________
Spence
-1994 4x4 12 valve 13mm, single 475 748/1292 Fuel 872/1470 N2O
-2005 4x4 12 valve CCSB 3rd gen '12-rail' 280hp
|
|
|
|
|
07-22-2011, 12:54 PM
|
#120
|
Name: cumminsproud
Title: S. Carolina Boy
Status: Not Here
Join Date: Jan 2011
Location: Harrisonville, Mo
Member`s Gallery
Posts: 368
|
awesome
__________________
Greg B.
96 2500 P-Pump 24v- gone 429hp 1066tq
07 qcsb 5.9 stock- gone
07 cclb lmm- efi
|
|
|
|
 Posting Rules
|
You may not post new threads
You may not post replies
You may not post attachments
You may not edit your posts
HTML code is Off
|
|
|
All times are GMT -5. The time now is 07:31 PM.
|