Big Blue24
Comp Diesel Sponsor
This is a start to finish performance rebuild of a stock 48re transmission for a 2006 Dodge Ram 2500 Megacab Cummins.
It's going to take a couple weeks to complete in spare time in the evenings but the plan is to take pictures of many of the main components and upgrades during the build.
Step One: Tear-down and disassemble the whole transmission. The owner reported that this transmission had approx 120,000 miles of street use and abuse with an otherwise stock truck with the exception of a Bully Dog tuner set to extreme (for the best fuel economy) :hehe:
Fluid looks a little dark, I wonder what we'll find inside:


Removed the overdrive housing 7/16" bolts and lifted the complete overdrive assembly off from the main transmission case.


Removed the pan and take a look inside.... nasty scorched fluid!


Removed the two torx T-25 screws and removed the filter.
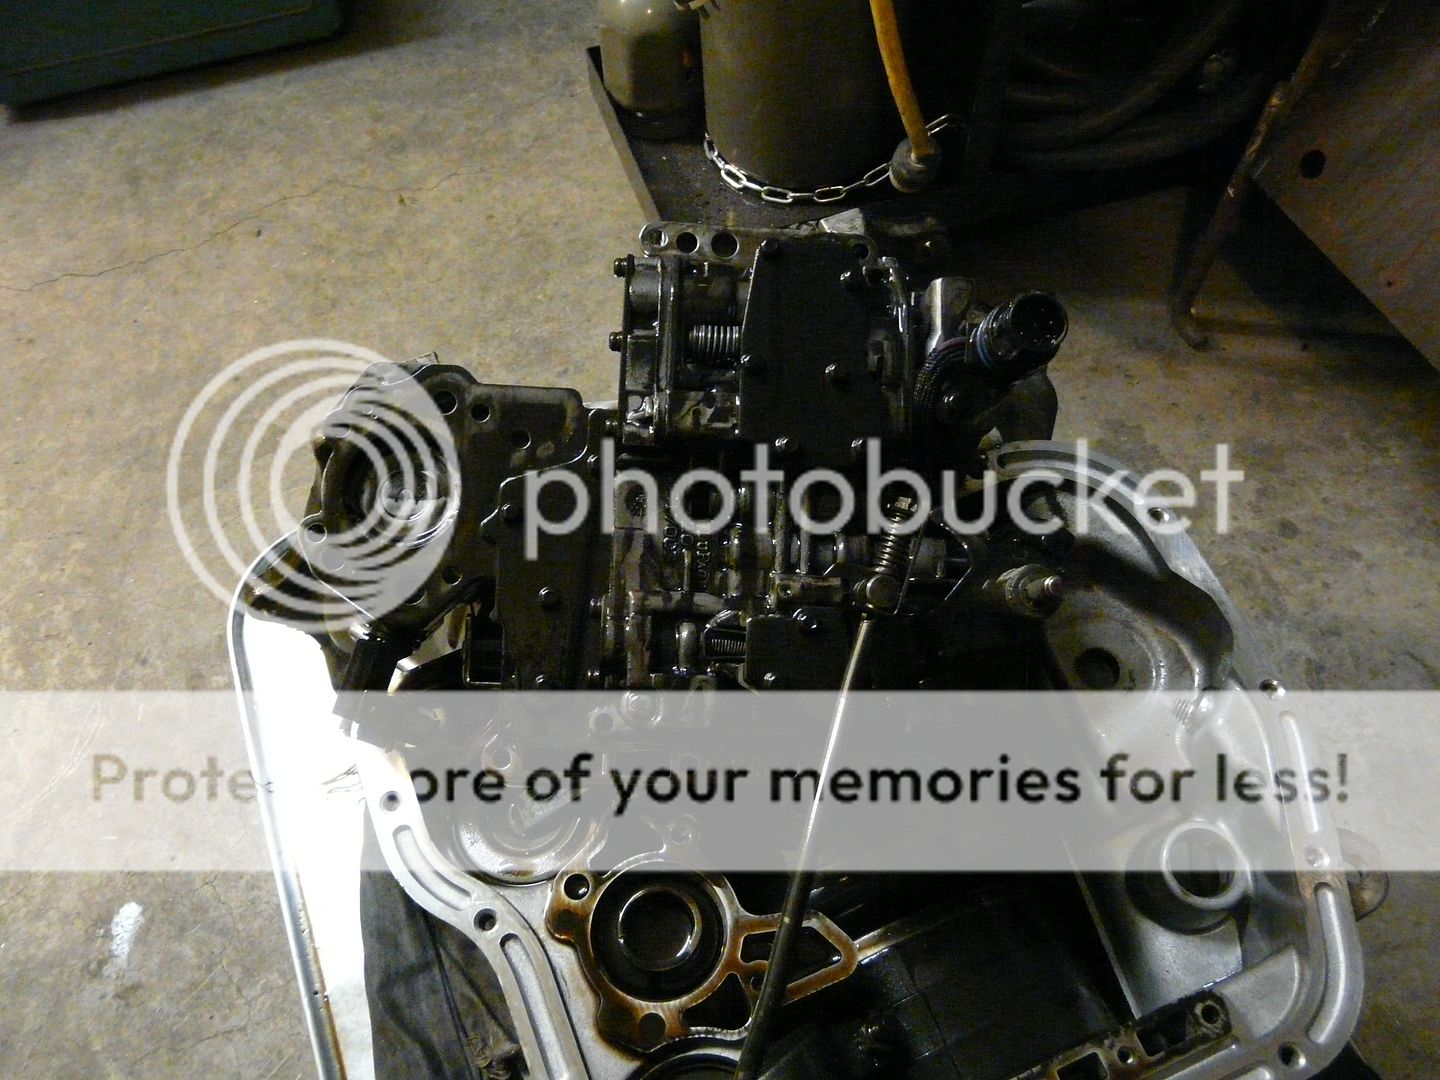
Picture of the line pressure adjustment screw and TV lever stop screw.

Before laying down the tranny, I unbolted the electronic TV controller (2) 1/2" bolts and the neutral safety switch (2) T-25 torx screws, and removed the shift lever (1) 1/2" pinch nut/bolt.
Next, lay the tranny on its back and prop the rear with a block of wood.

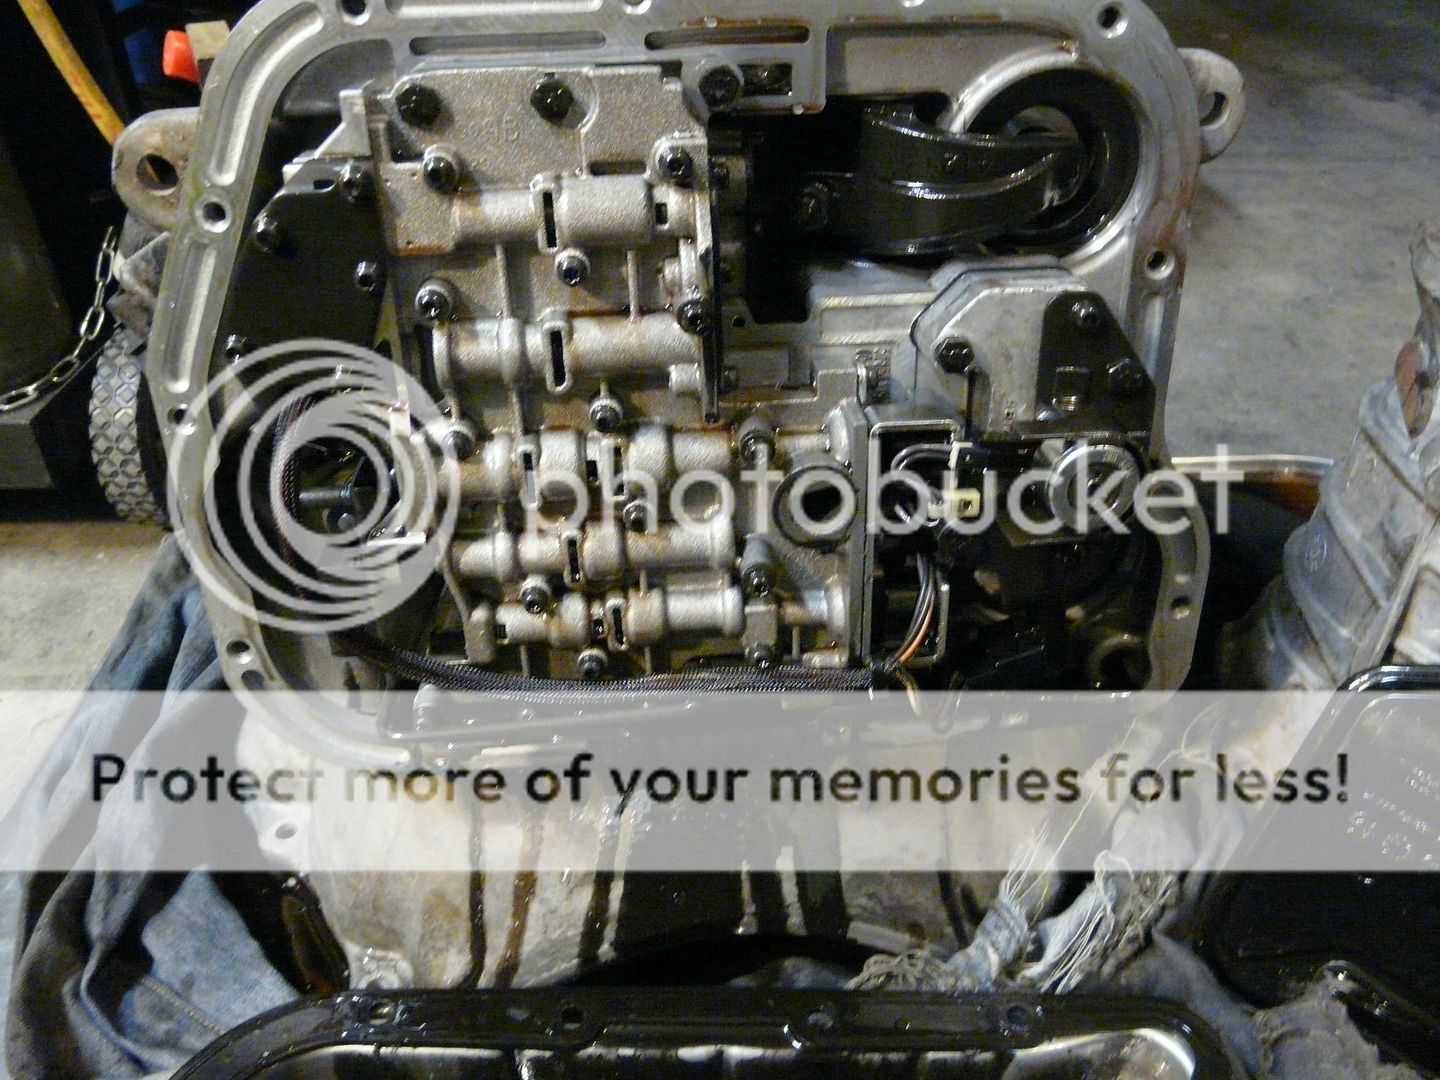
Remove the 7/16" valvebody bolts and lift the valvebody up off the main case using your other hand to help the shifter shaft and electronic connector to pull through the case and come up with the valvebody.

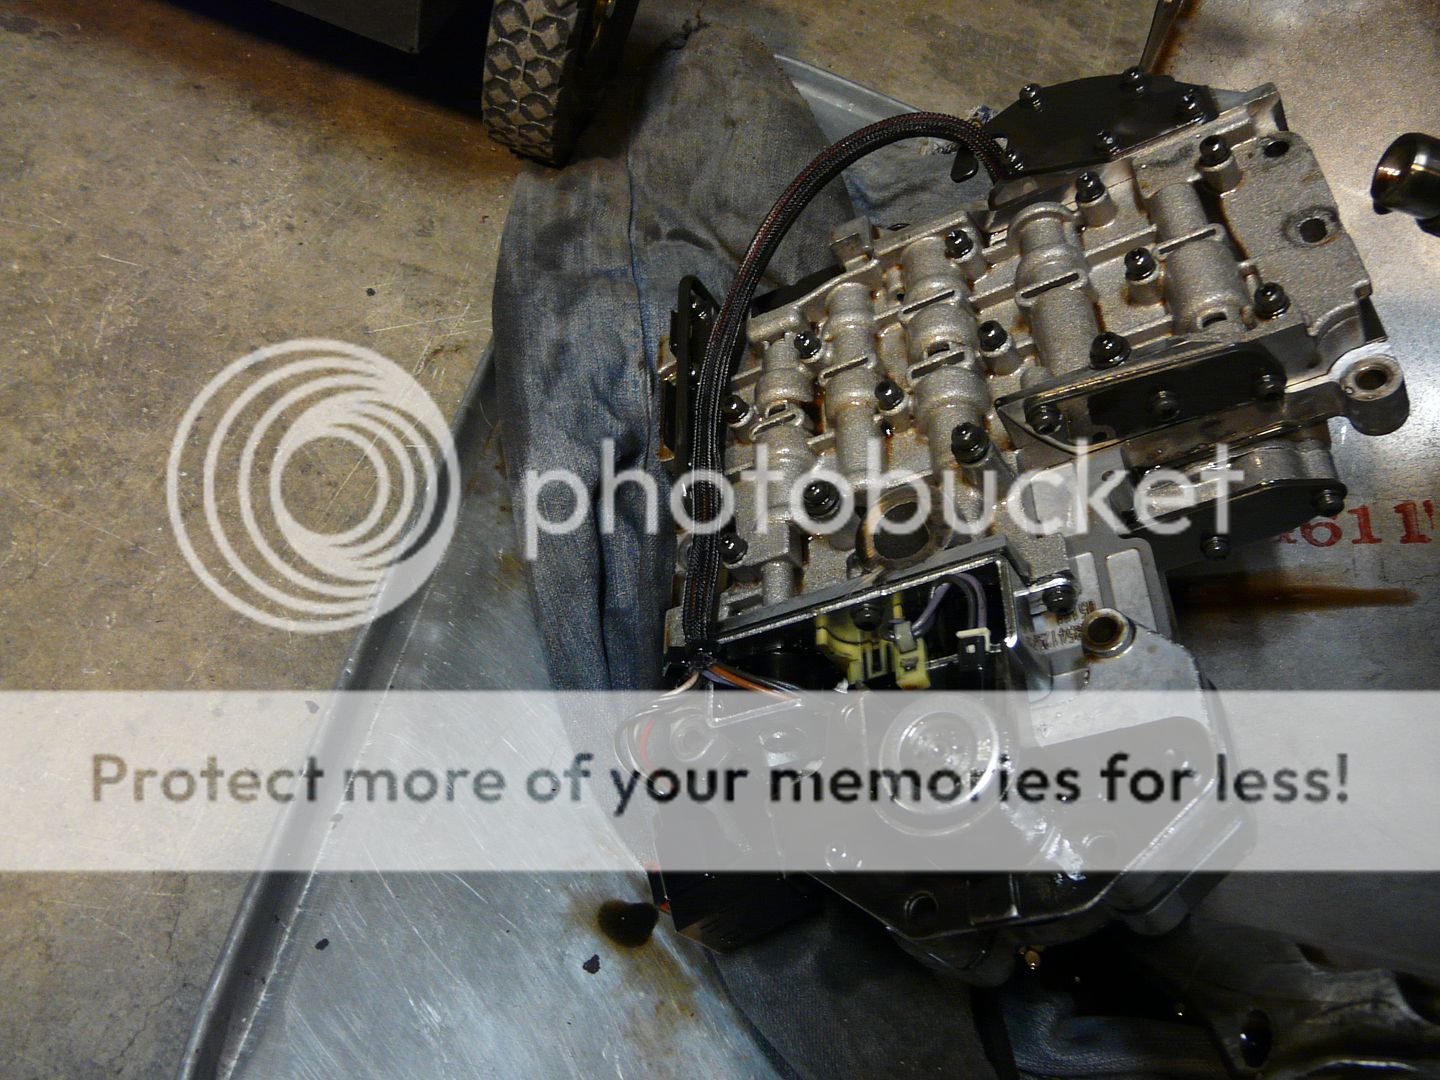
Valvebody
Place a rag or towel inside to front bell to help catch the 1/4 quart of fluid that will come out of the pump assembly during removal.
Remove the 1/2" bolts on the pump, then install a larger bolt on either side in the two holes with the larger tapped/threaded bore. Use a slide hammer or eyebolt and a hammer to work the pump forward out of the main case.

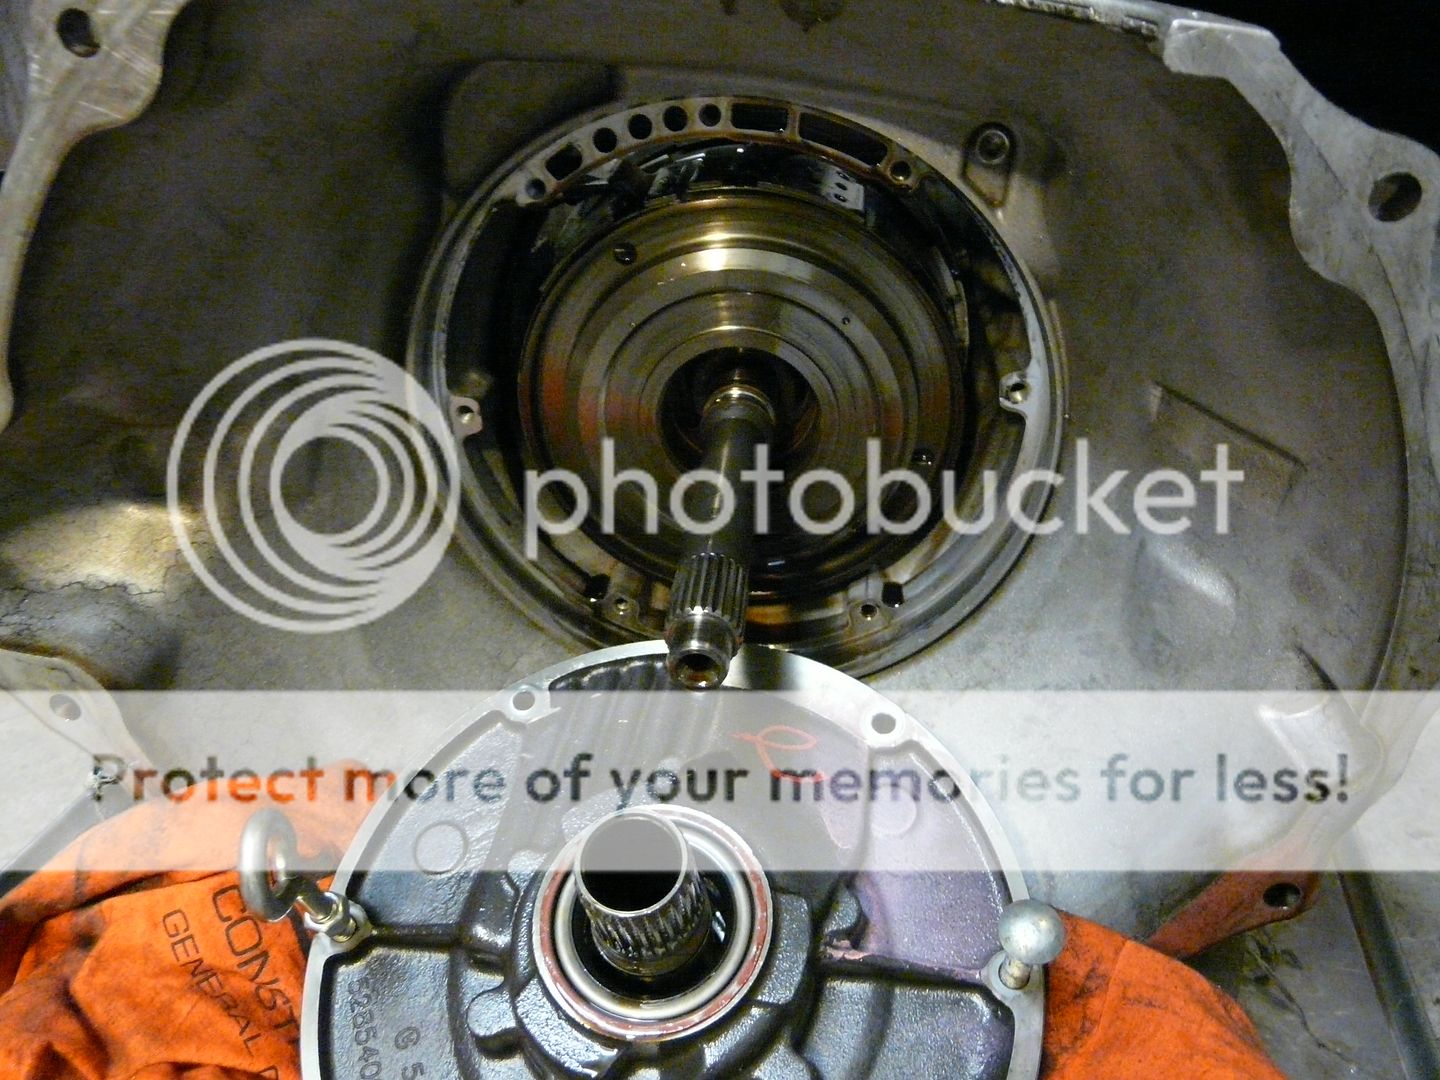
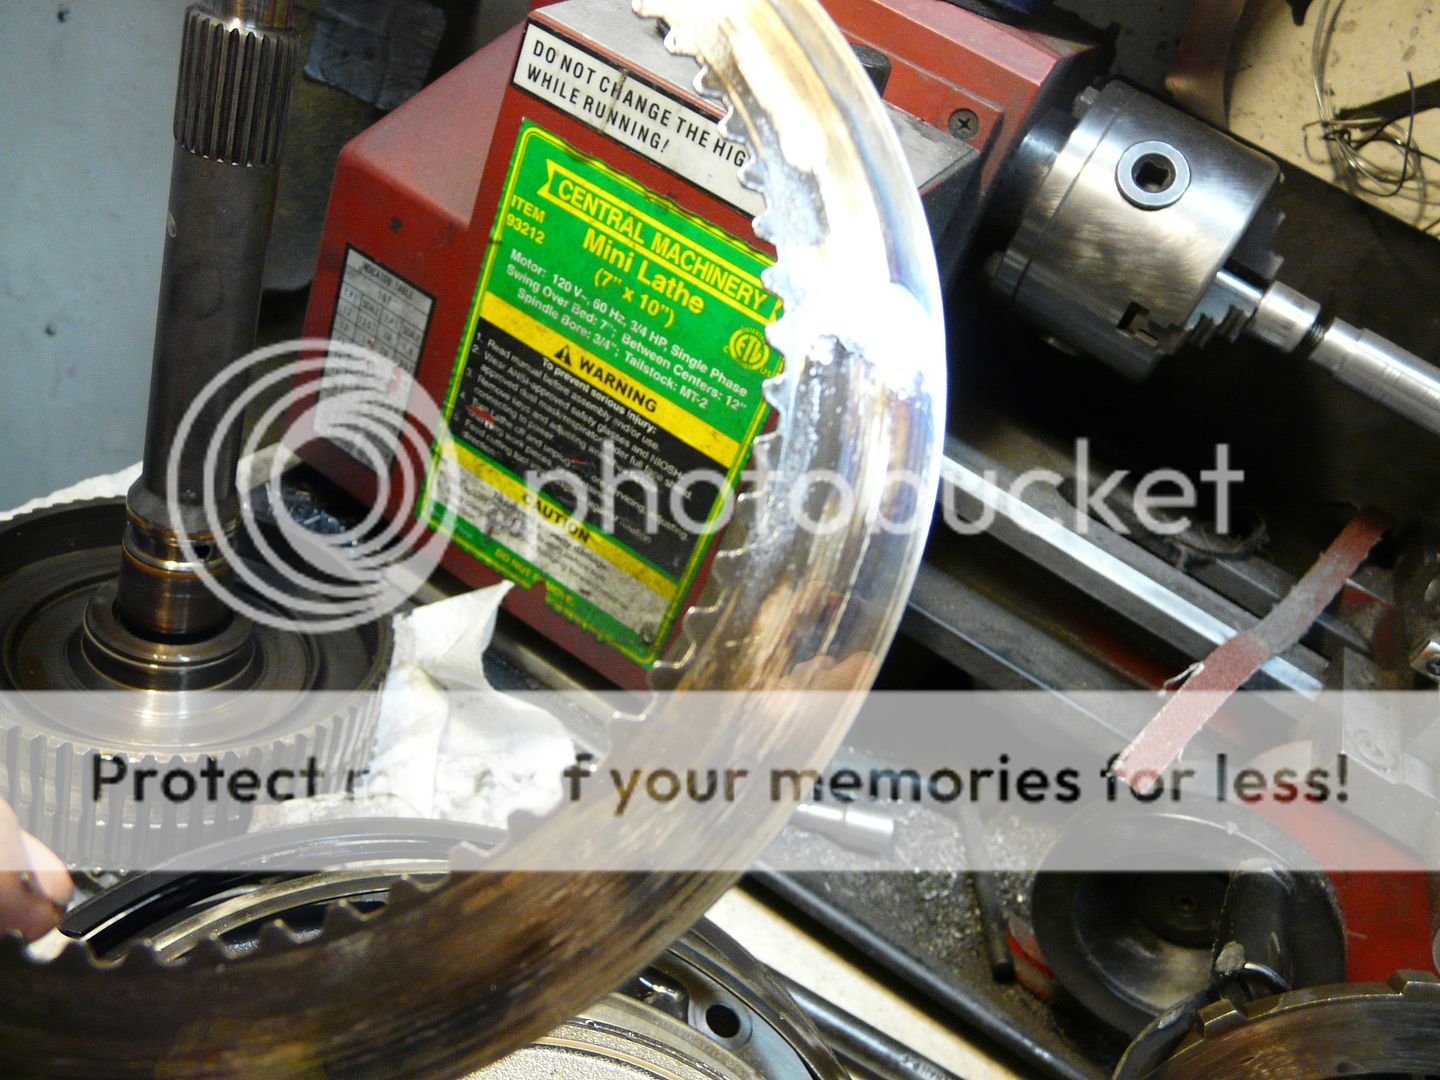
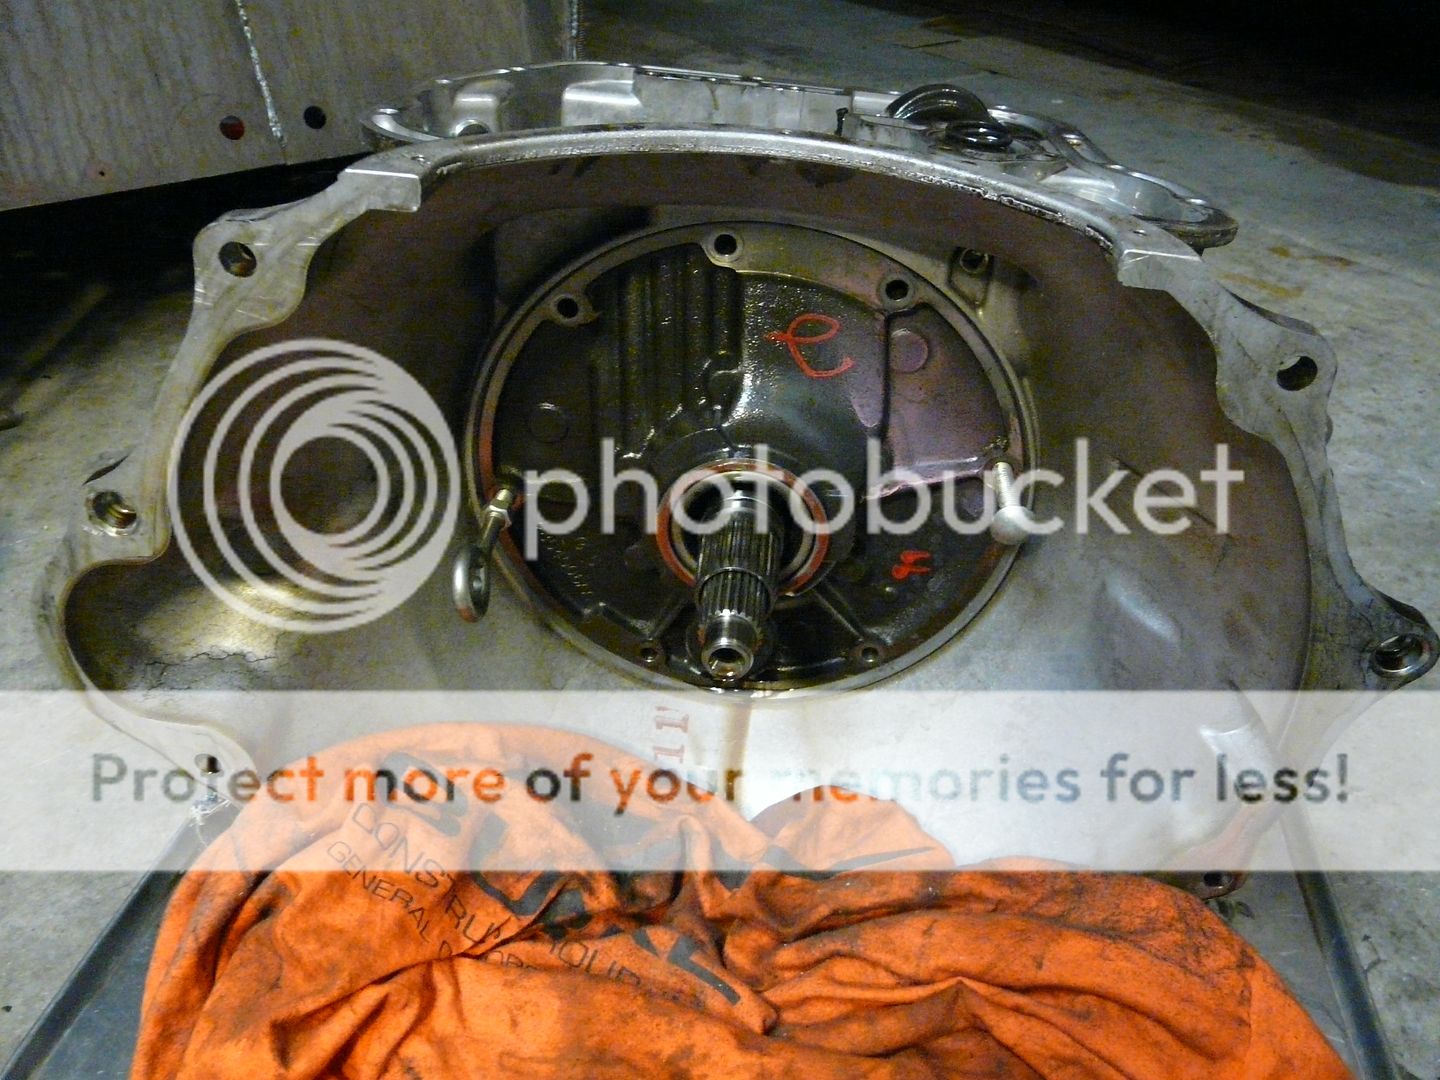
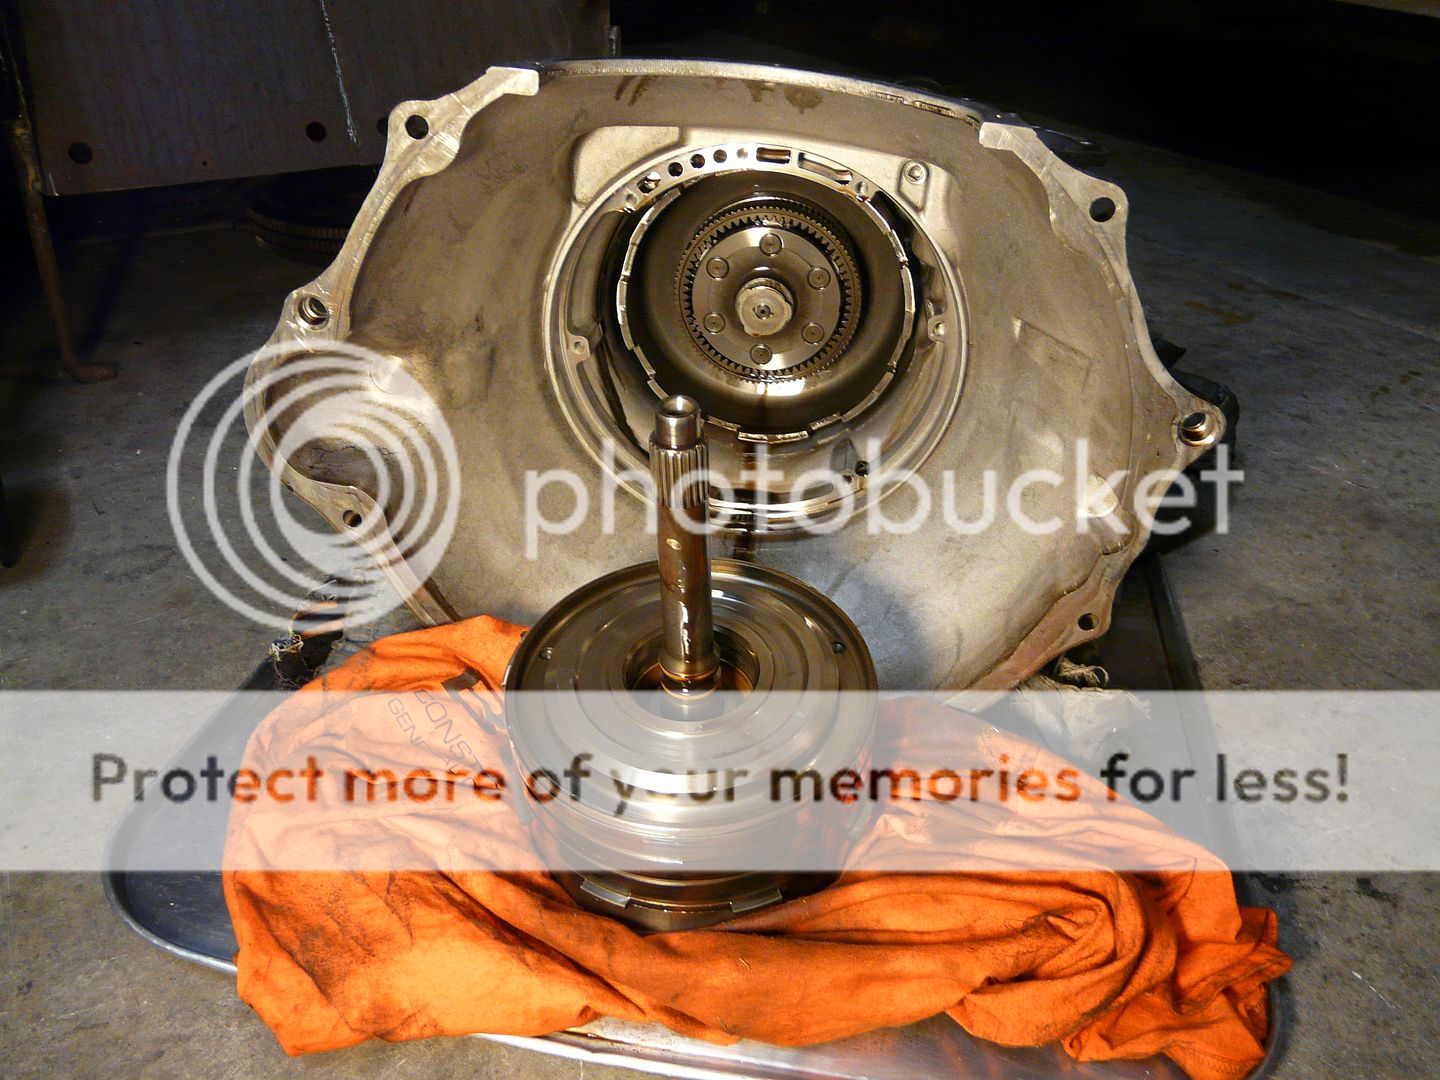
Grab the input shaft and lift/pull the shaft and hub assembly out of the main case.
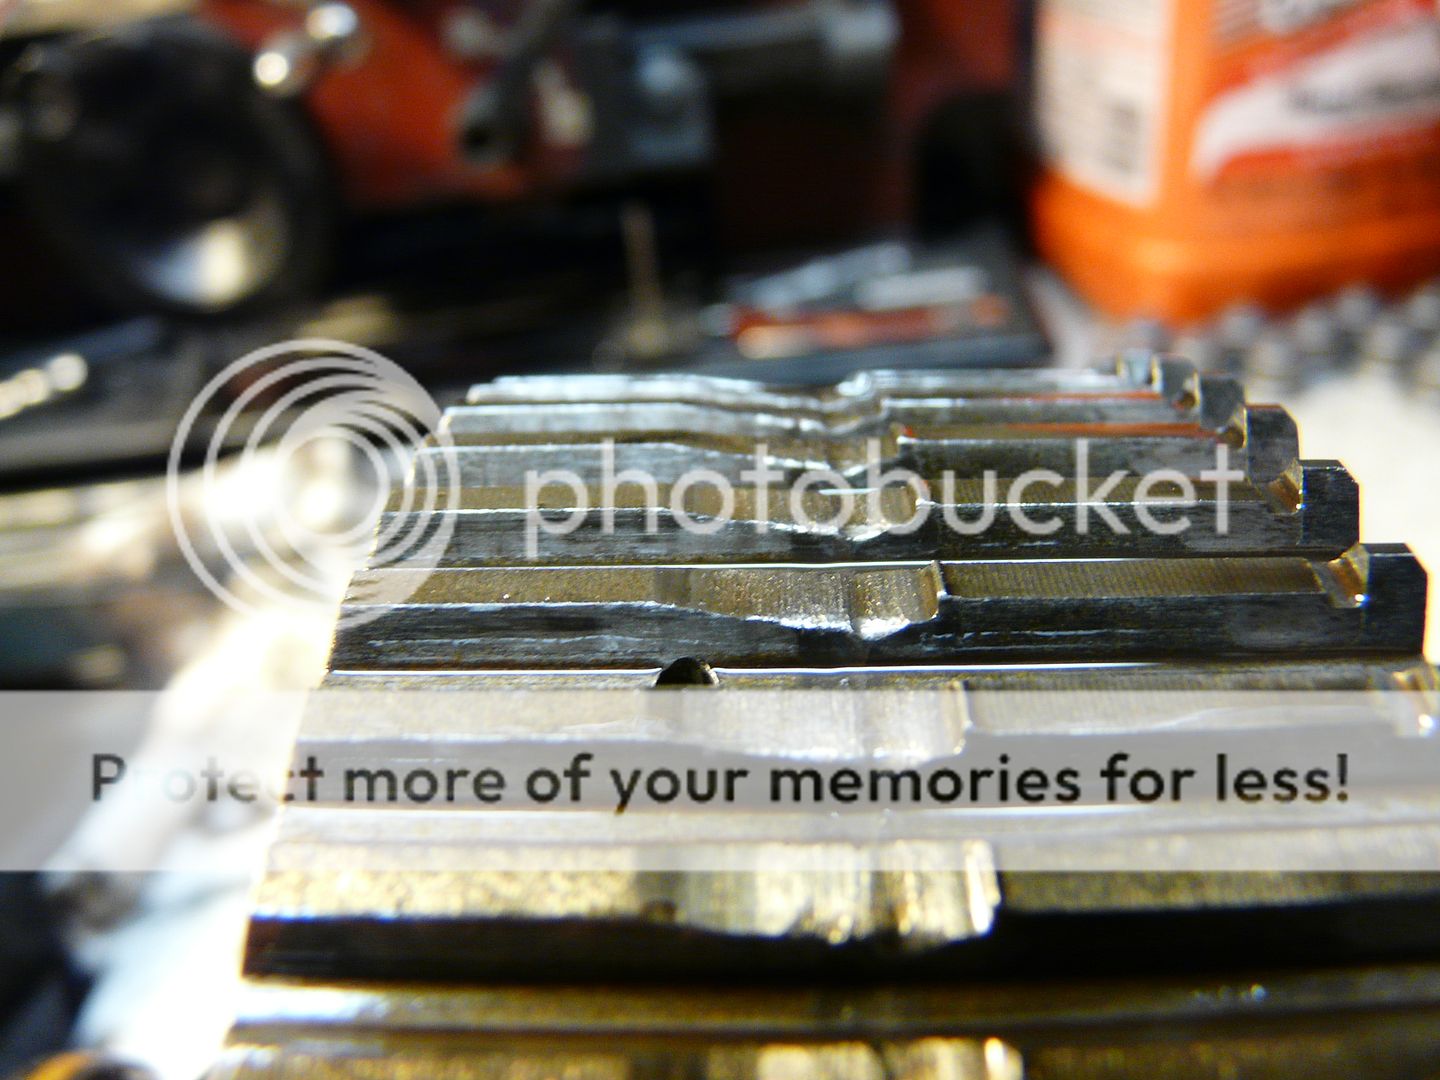
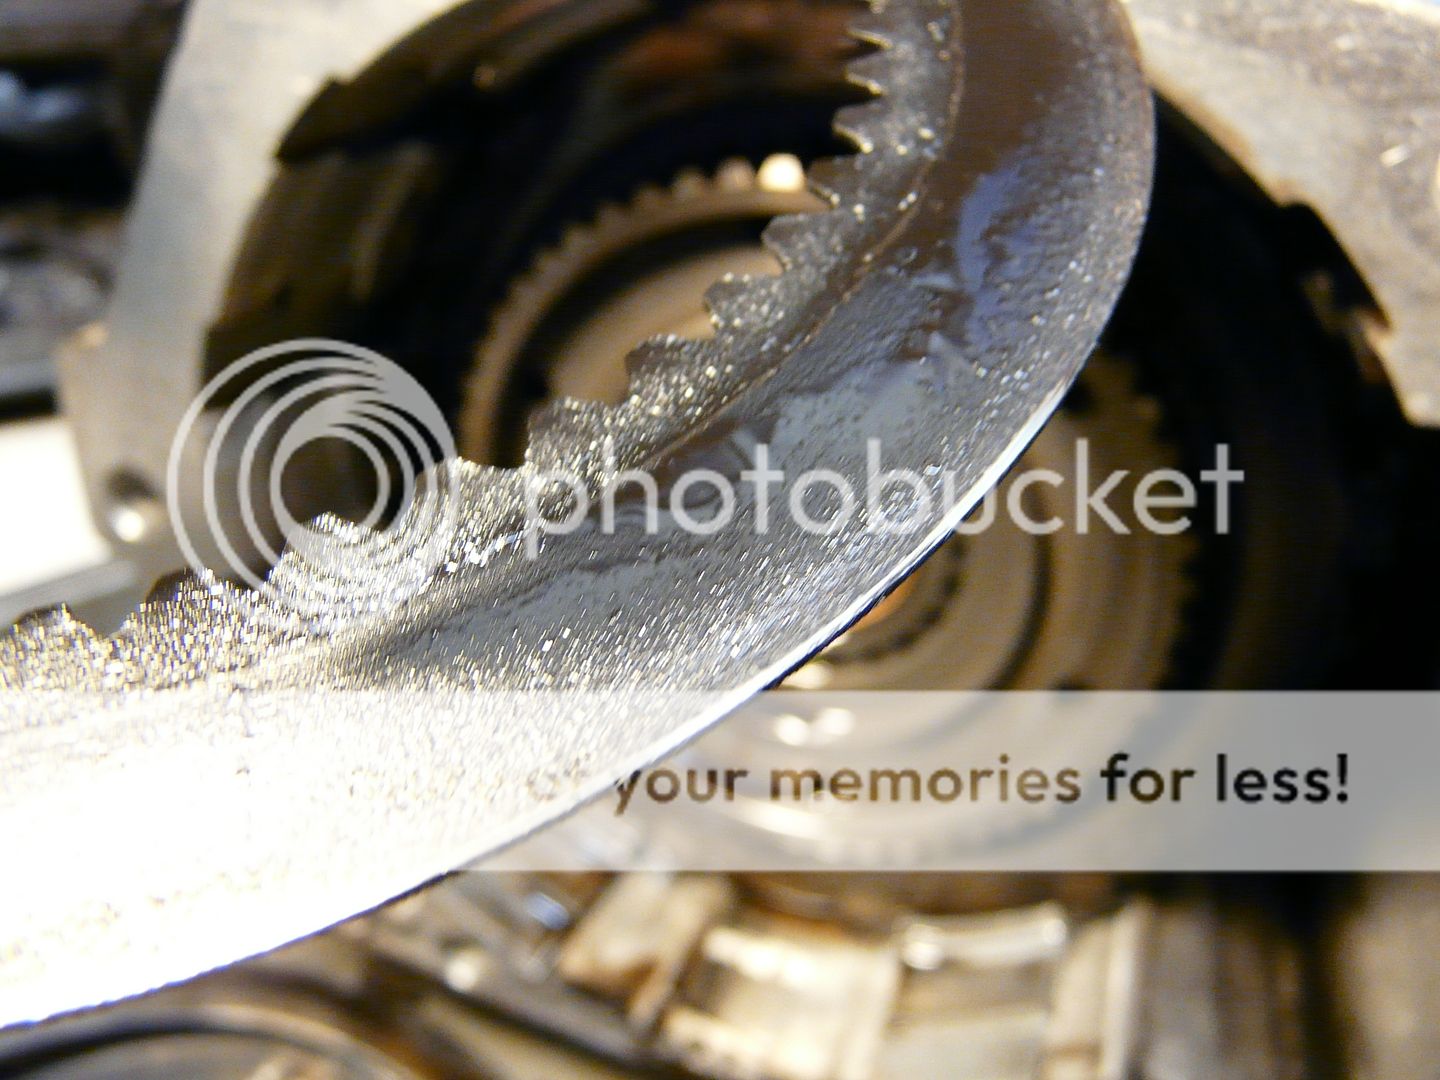
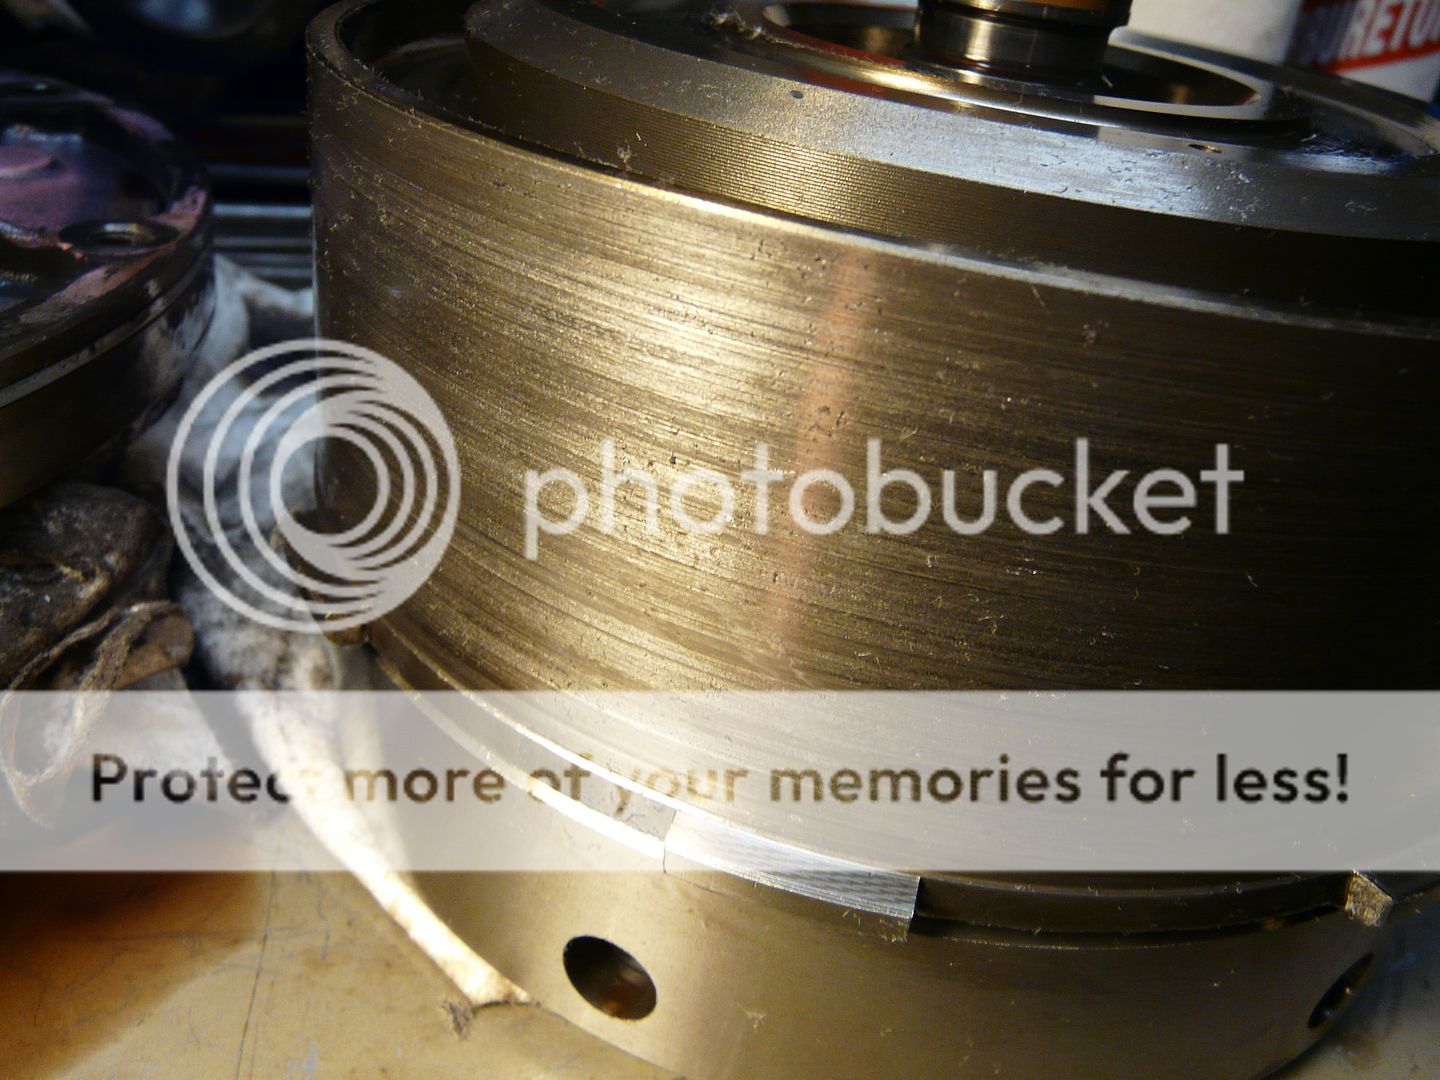
Some scoring and wear on the 3rd gear direct drum from the worn 2nd gear band that rides on the outside of the drum.
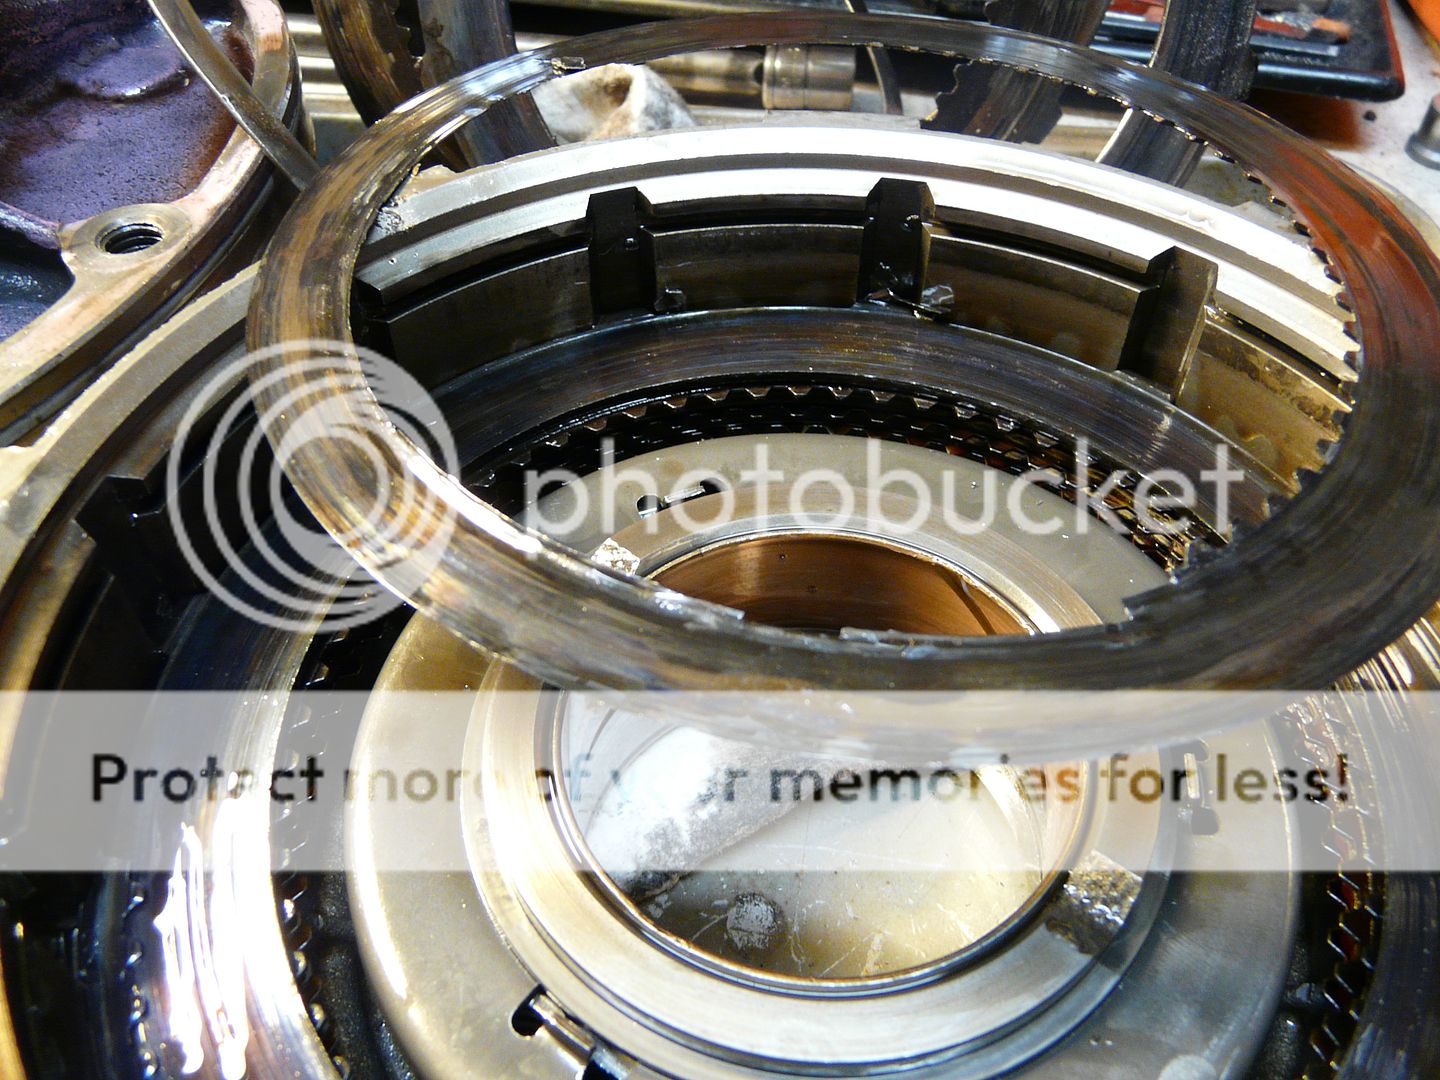
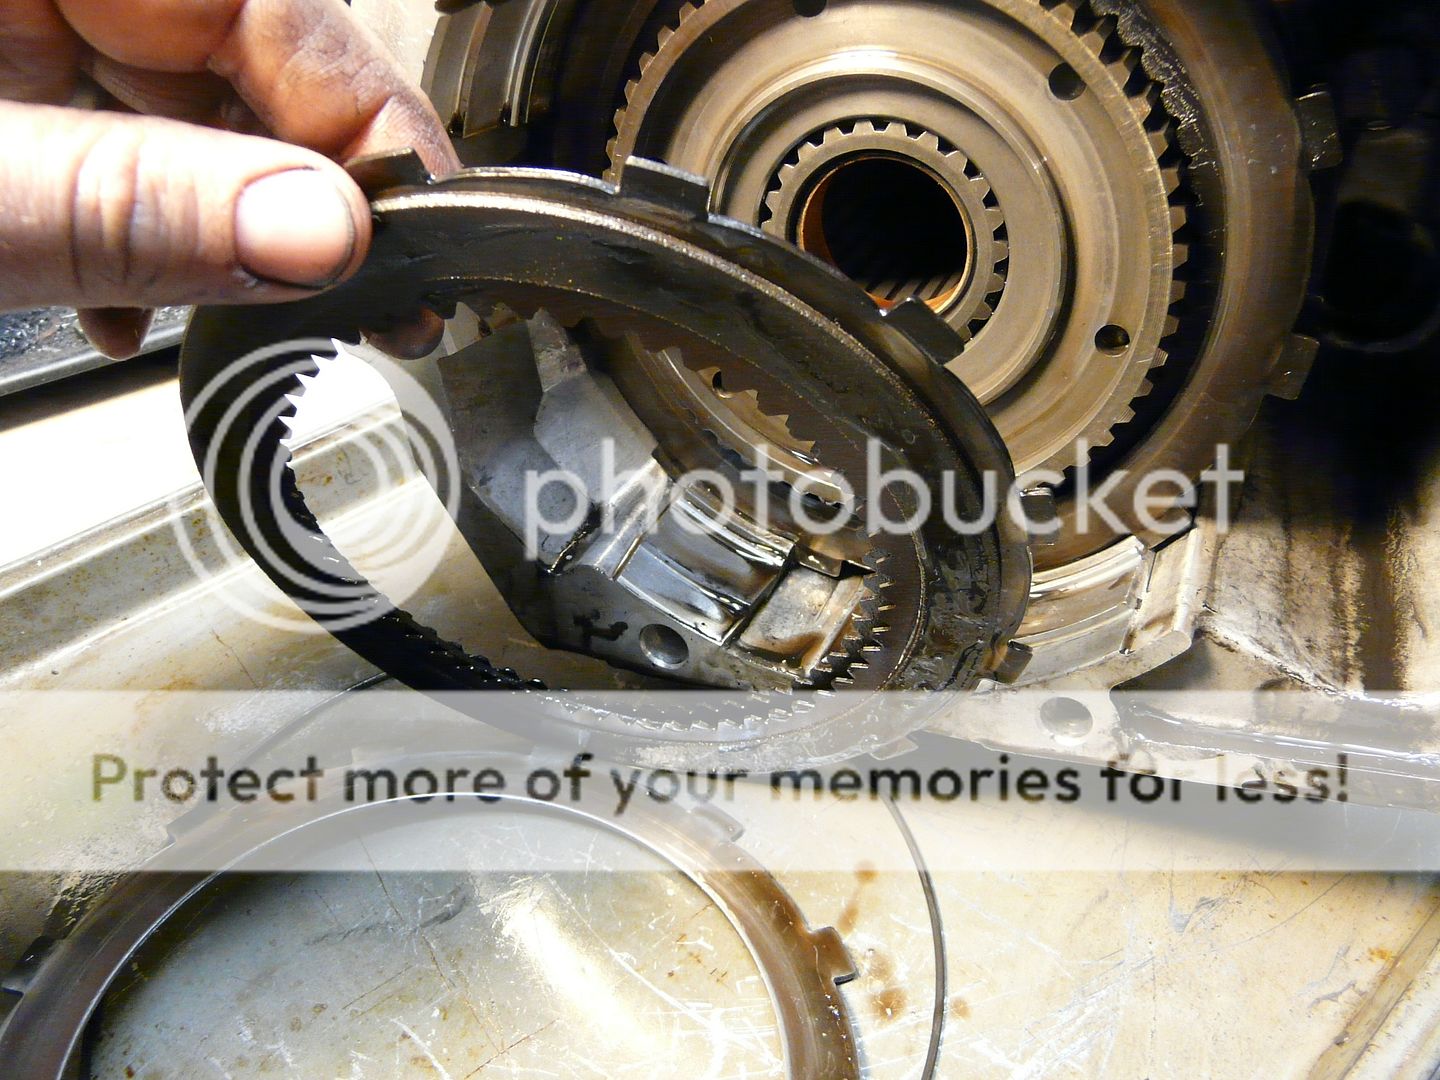
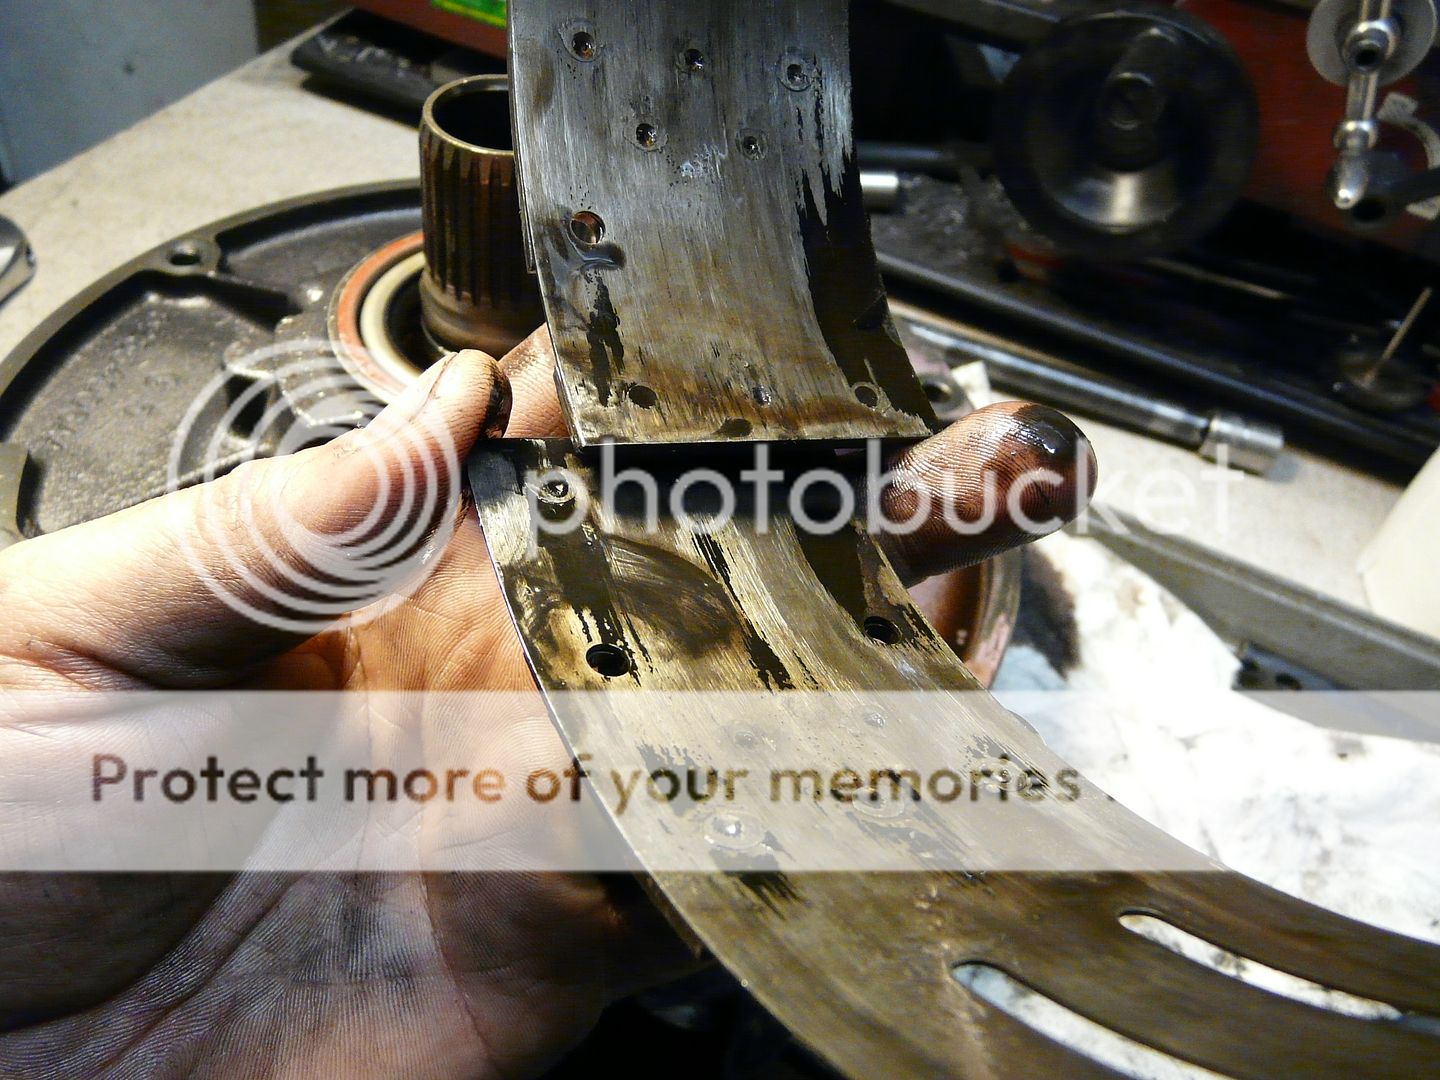
100% smoked 2nd gear band, never seen on this bad! All of the clutch lining is gone, and metal rivets are even worn off!

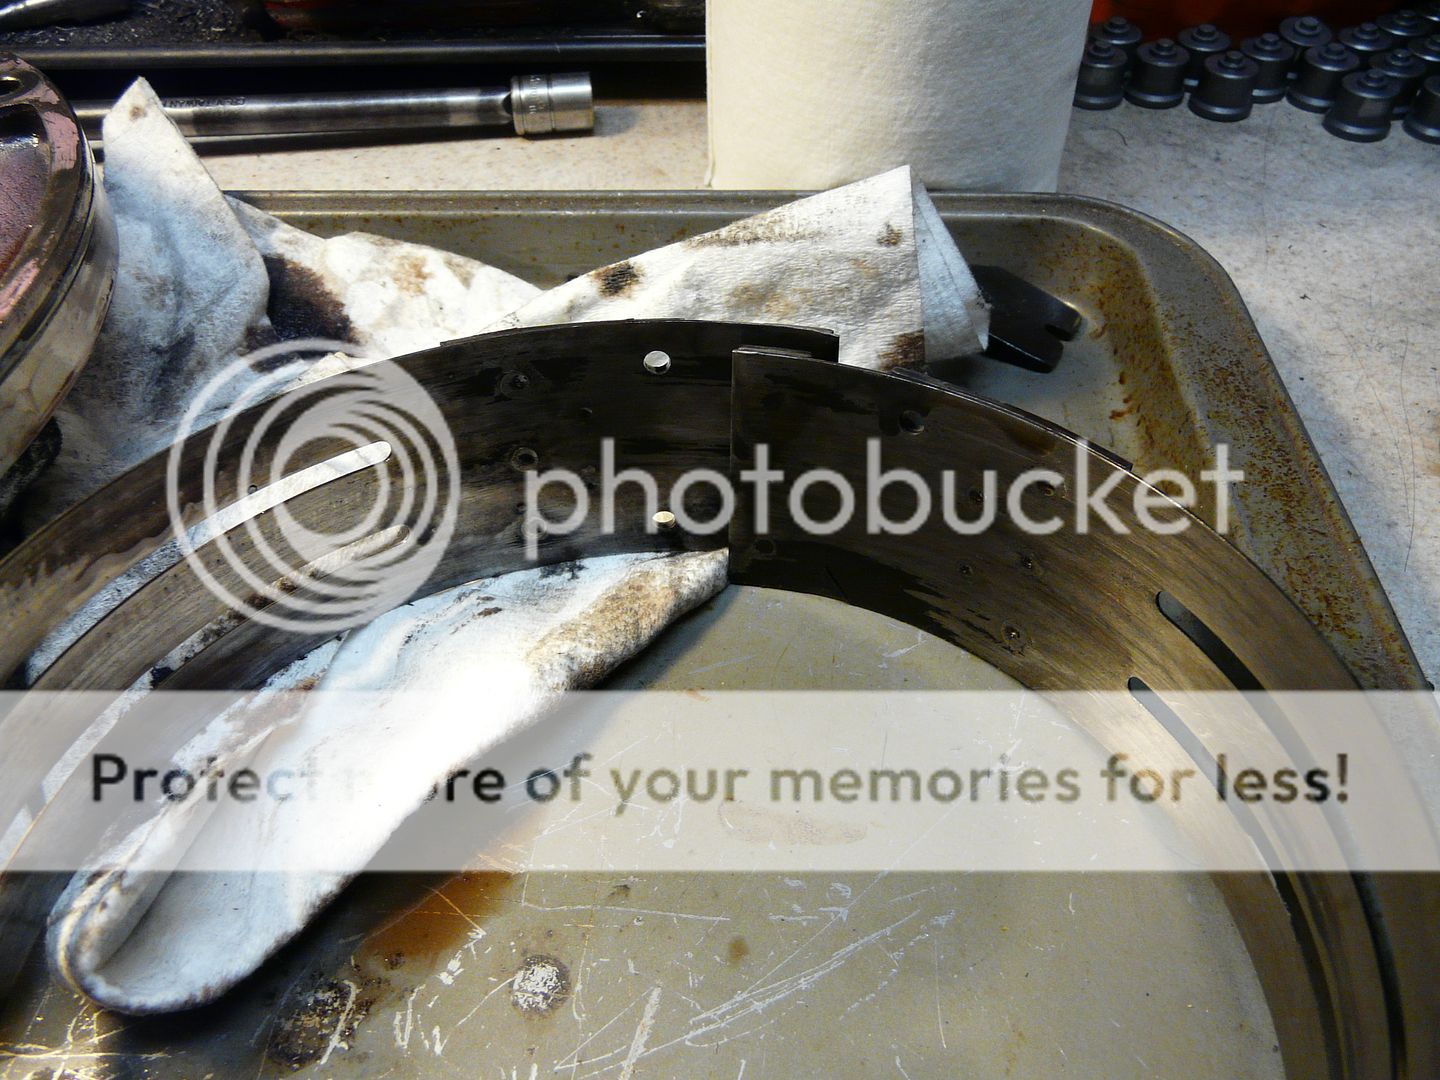
I spoke too soon, this band is 99% gone, there is still a trace amount of clutch lining left. :hehe:
It's going to take a couple weeks to complete in spare time in the evenings but the plan is to take pictures of many of the main components and upgrades during the build.
Step One: Tear-down and disassemble the whole transmission. The owner reported that this transmission had approx 120,000 miles of street use and abuse with an otherwise stock truck with the exception of a Bully Dog tuner set to extreme (for the best fuel economy) :hehe:
Fluid looks a little dark, I wonder what we'll find inside:
Removed the overdrive housing 7/16" bolts and lifted the complete overdrive assembly off from the main transmission case.
Removed the pan and take a look inside.... nasty scorched fluid!
Removed the two torx T-25 screws and removed the filter.
Picture of the line pressure adjustment screw and TV lever stop screw.
Before laying down the tranny, I unbolted the electronic TV controller (2) 1/2" bolts and the neutral safety switch (2) T-25 torx screws, and removed the shift lever (1) 1/2" pinch nut/bolt.
Next, lay the tranny on its back and prop the rear with a block of wood.
Remove the 7/16" valvebody bolts and lift the valvebody up off the main case using your other hand to help the shifter shaft and electronic connector to pull through the case and come up with the valvebody.
Valvebody
Place a rag or towel inside to front bell to help catch the 1/4 quart of fluid that will come out of the pump assembly during removal.
Remove the 1/2" bolts on the pump, then install a larger bolt on either side in the two holes with the larger tapped/threaded bore. Use a slide hammer or eyebolt and a hammer to work the pump forward out of the main case.
Grab the input shaft and lift/pull the shaft and hub assembly out of the main case.
Some scoring and wear on the 3rd gear direct drum from the worn 2nd gear band that rides on the outside of the drum.
100% smoked 2nd gear band, never seen on this bad! All of the clutch lining is gone, and metal rivets are even worn off!
I spoke too soon, this band is 99% gone, there is still a trace amount of clutch lining left. :hehe: