| Advertisement |
|
|
|
|
|
|
|
If this is your first visit, be sure to check out the FAQ by clicking the link above.
You may have to register before you can post: click the register link above to proceed.
To start viewing messages, select the forum that you want to visit from the selection below.
|
| Dodge Competition and Performance General Dodge Competition and Performance Discussion |
 03-06-2014, 08:18 PM
|
#421
|
Name: NakeDiesel
Title: Smoke'n in the Mud
Status: Not Here
Join Date: Jan 2010
Location: Hominy, OK
Member`s Gallery
Posts: 1,116
|
__________________
2005 Dodge Ram 3500 2x4 QC
1999 Dodge Ram 2500 4x4 QC
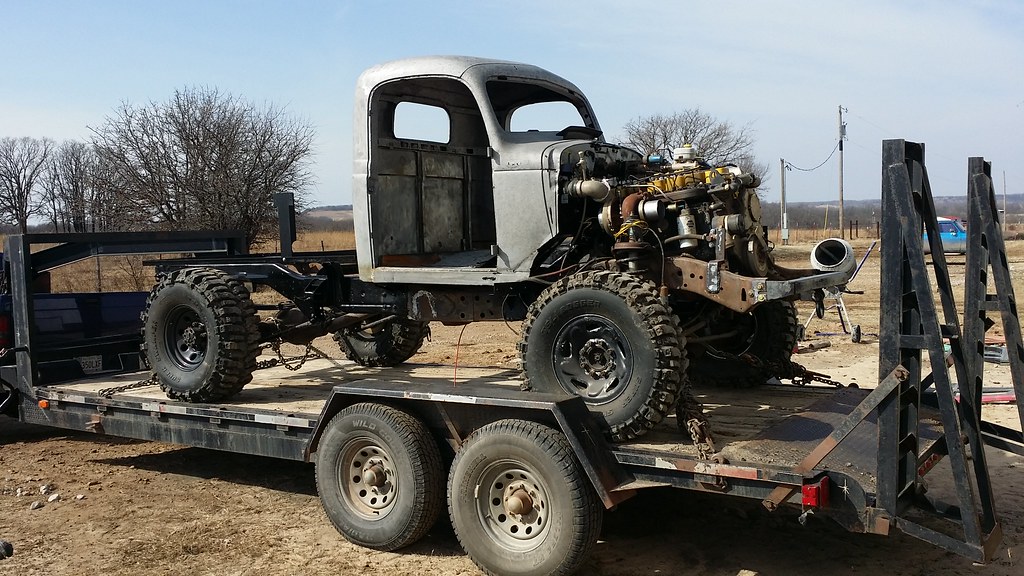
Coaltrain - 1946 Dodge Power Wagon powered by a little modified 12 valve.
Thanks to my sponsors: CP-Carrillo, Air Dog, Muldoons Diesel Performance, Power Driven Diesel, Diesel Performance Converters
|
|
|
|
|
03-07-2014, 08:27 PM
|
#422
|
Name: NakeDiesel
Title: Smoke'n in the Mud
Status: Not Here
Join Date: Jan 2010
Location: Hominy, OK
Member`s Gallery
Posts: 1,116
|
__________________
2005 Dodge Ram 3500 2x4 QC
1999 Dodge Ram 2500 4x4 QC
Coaltrain - 1946 Dodge Power Wagon powered by a little modified 12 valve.
Thanks to my sponsors: CP-Carrillo, Air Dog, Muldoons Diesel Performance, Power Driven Diesel, Diesel Performance Converters
|
|
|
|
|
03-08-2014, 08:13 PM
|
#423
|
Name: NakeDiesel
Title: Smoke'n in the Mud
Status: Not Here
Join Date: Jan 2010
Location: Hominy, OK
Member`s Gallery
Posts: 1,116
|
__________________
2005 Dodge Ram 3500 2x4 QC
1999 Dodge Ram 2500 4x4 QC
Coaltrain - 1946 Dodge Power Wagon powered by a little modified 12 valve.
Thanks to my sponsors: CP-Carrillo, Air Dog, Muldoons Diesel Performance, Power Driven Diesel, Diesel Performance Converters
|
|
|
|
|
03-09-2014, 08:33 PM
|
#424
|
Name: NakeDiesel
Title: Smoke'n in the Mud
Status: Not Here
Join Date: Jan 2010
Location: Hominy, OK
Member`s Gallery
Posts: 1,116
|
__________________
2005 Dodge Ram 3500 2x4 QC
1999 Dodge Ram 2500 4x4 QC
Coaltrain - 1946 Dodge Power Wagon powered by a little modified 12 valve.
Thanks to my sponsors: CP-Carrillo, Air Dog, Muldoons Diesel Performance, Power Driven Diesel, Diesel Performance Converters
|
|
|
|
|
03-10-2014, 02:12 PM
|
#425
|
Name: ENafziger
Title: Too Much Time
Status: Not Here
Join Date: Oct 2008
Location: Knoxville, TN
Member`s Gallery
Posts: 843
|
Looking good!
__________________
2006 Dodge 3500 SRW, 62/476 twins, Flux 2.5s, G56, Carli 2.65s, etc. Jer. 33:3
2003 Ford Excursion, '97 Cummins P-Pump, HX35/475 twins, studded and o-ringed, ZF6/271, forged Rickson 19.5s.
1991.5 W250, NV4500, Rickson 19.5s, HE351, long travel suspension build
|
|
|
|
|
03-10-2014, 11:04 PM
|
#426
|
Name: NakeDiesel
Title: Smoke'n in the Mud
Status: Not Here
Join Date: Jan 2010
Location: Hominy, OK
Member`s Gallery
Posts: 1,116
|
__________________
2005 Dodge Ram 3500 2x4 QC
1999 Dodge Ram 2500 4x4 QC
Coaltrain - 1946 Dodge Power Wagon powered by a little modified 12 valve.
Thanks to my sponsors: CP-Carrillo, Air Dog, Muldoons Diesel Performance, Power Driven Diesel, Diesel Performance Converters
|
|
|
|
|
03-11-2014, 09:55 PM
|
#427
|
Name: NakeDiesel
Title: Smoke'n in the Mud
Status: Not Here
Join Date: Jan 2010
Location: Hominy, OK
Member`s Gallery
Posts: 1,116
|
Decided not to sand blast today as we were having gust from the south up to 50 mph then switched directions about dark and blew that hard coming out of the south.
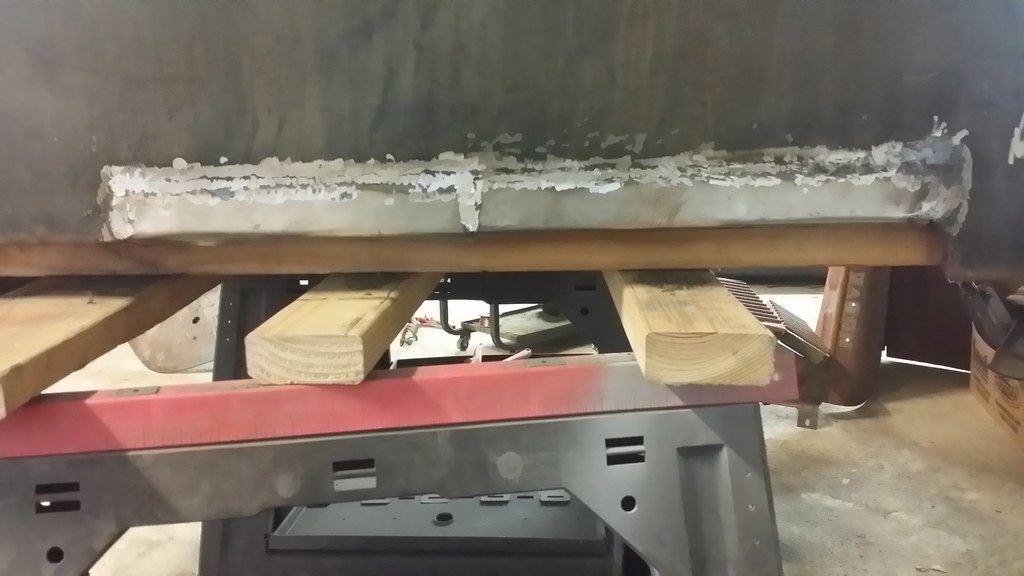
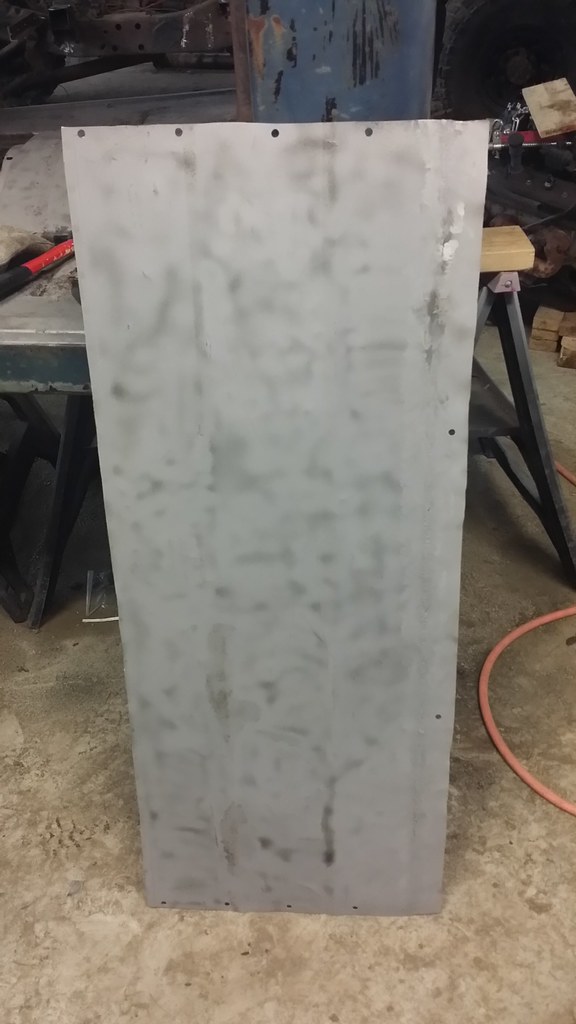
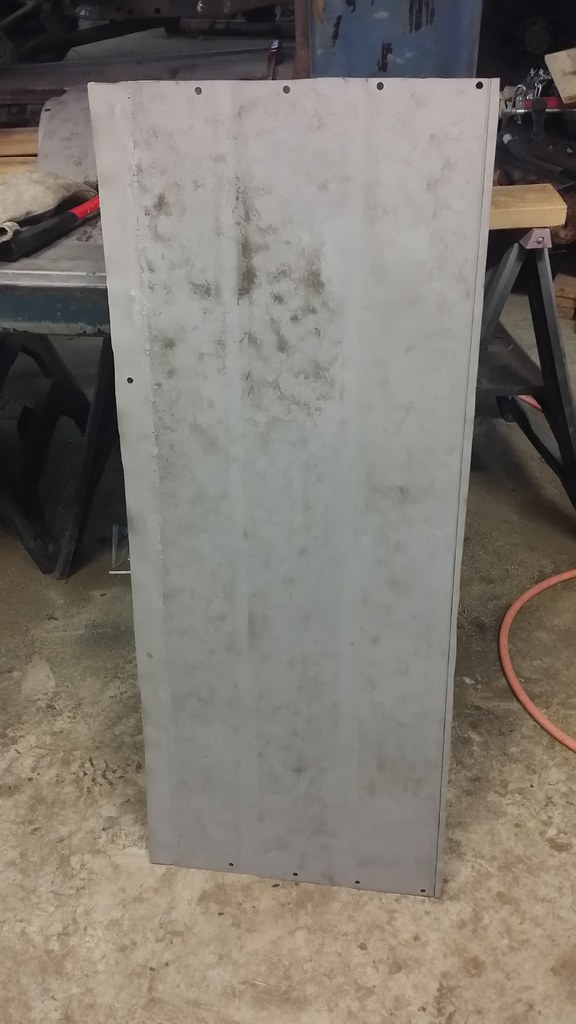
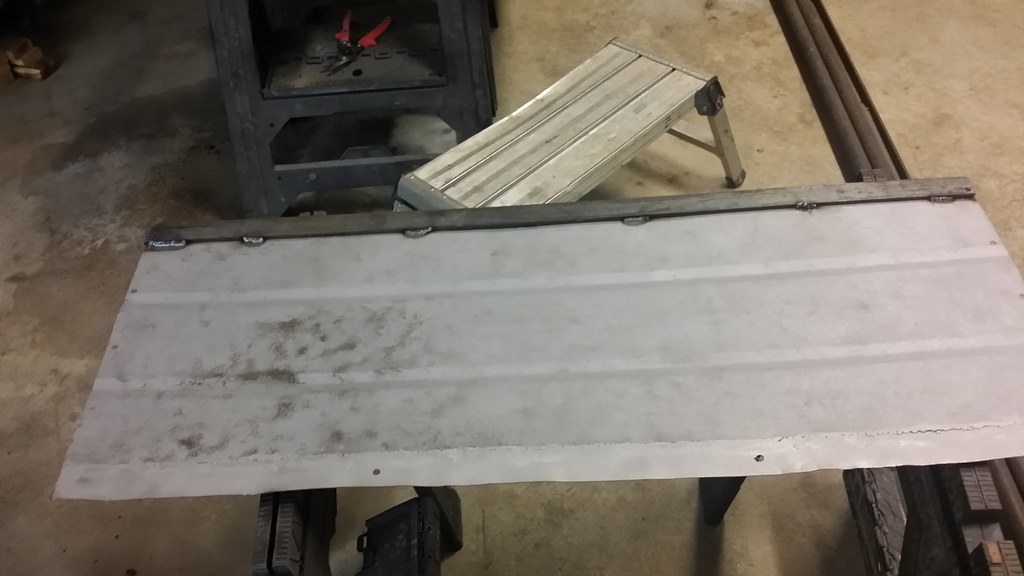
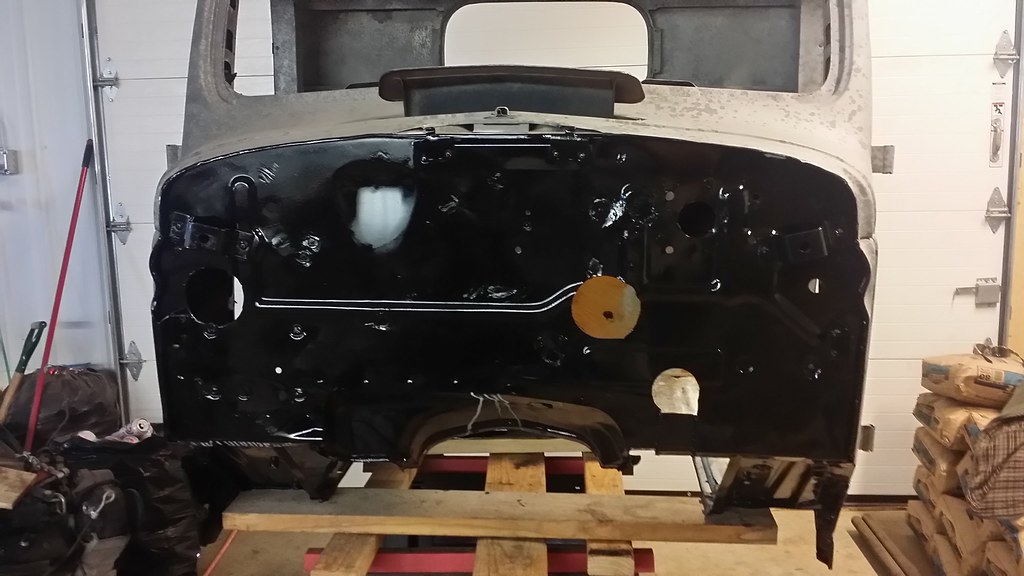
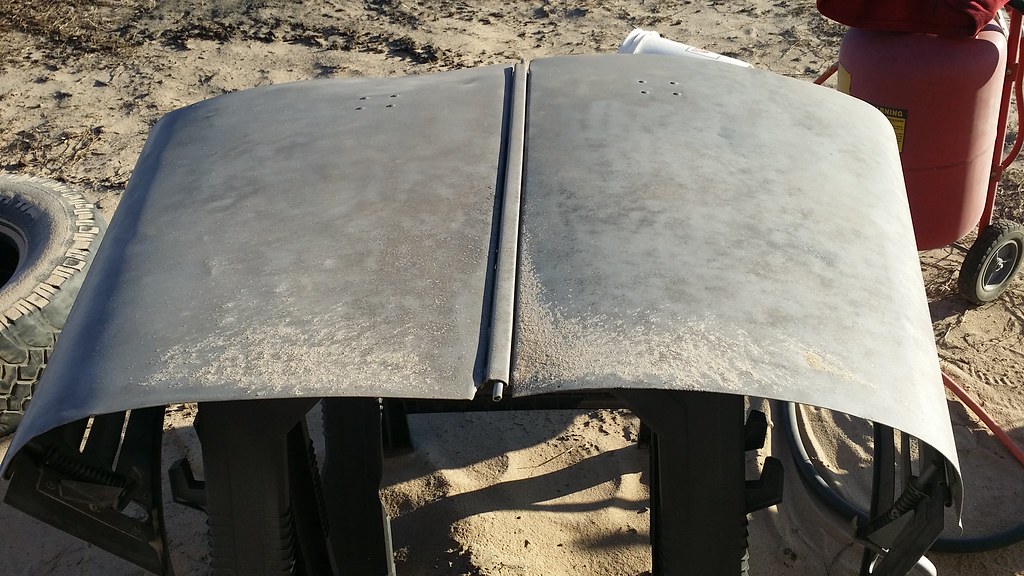
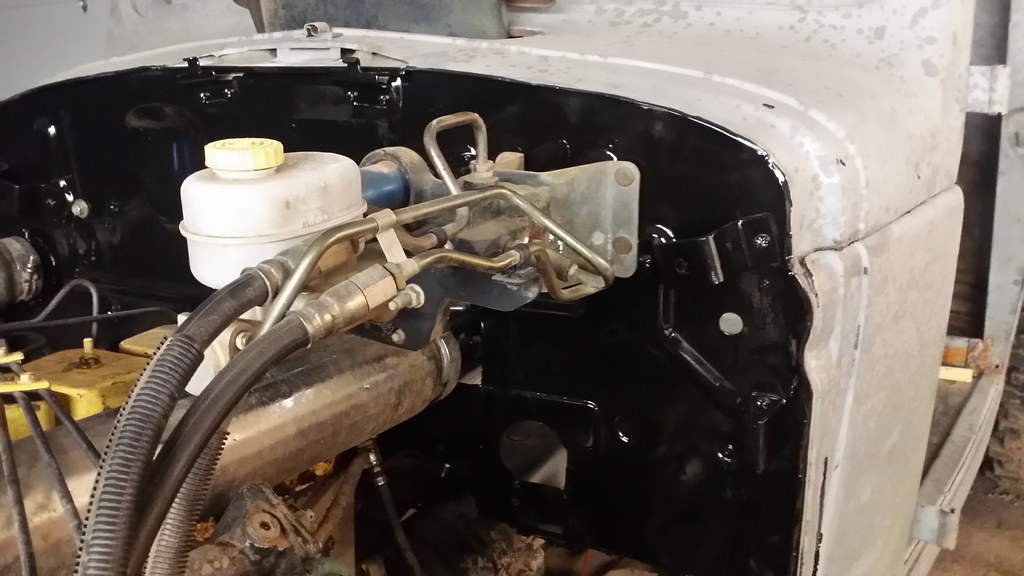
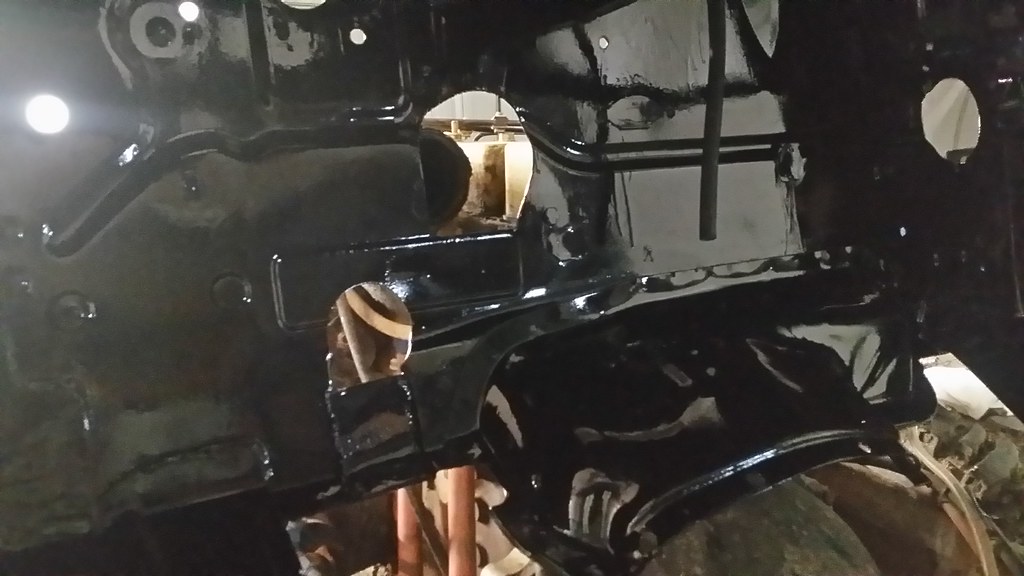
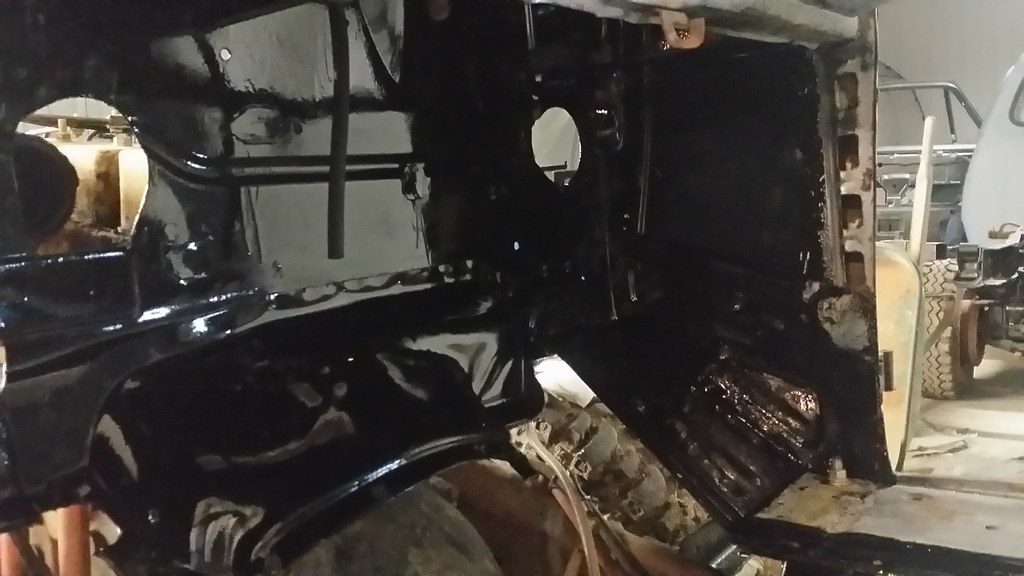
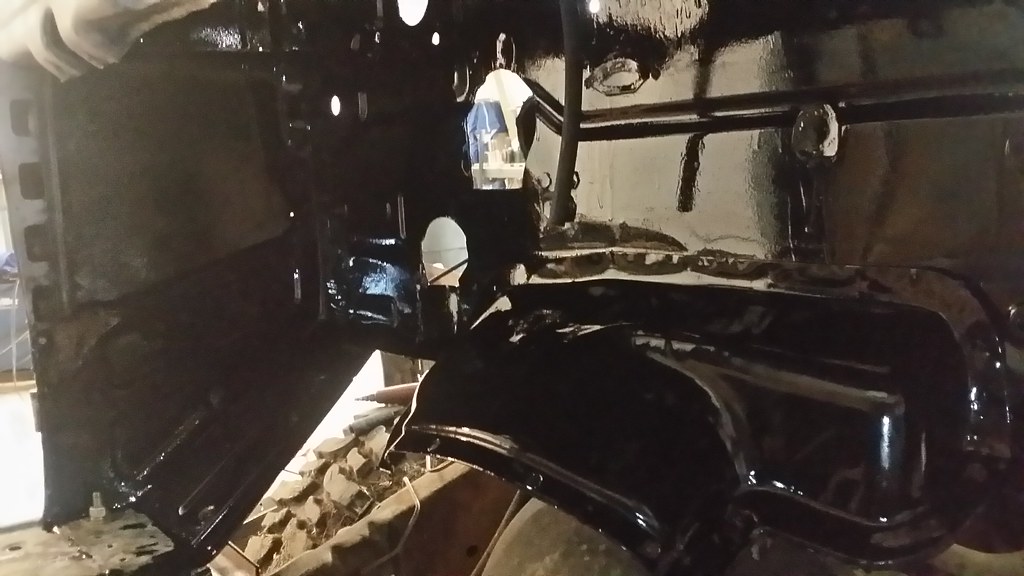
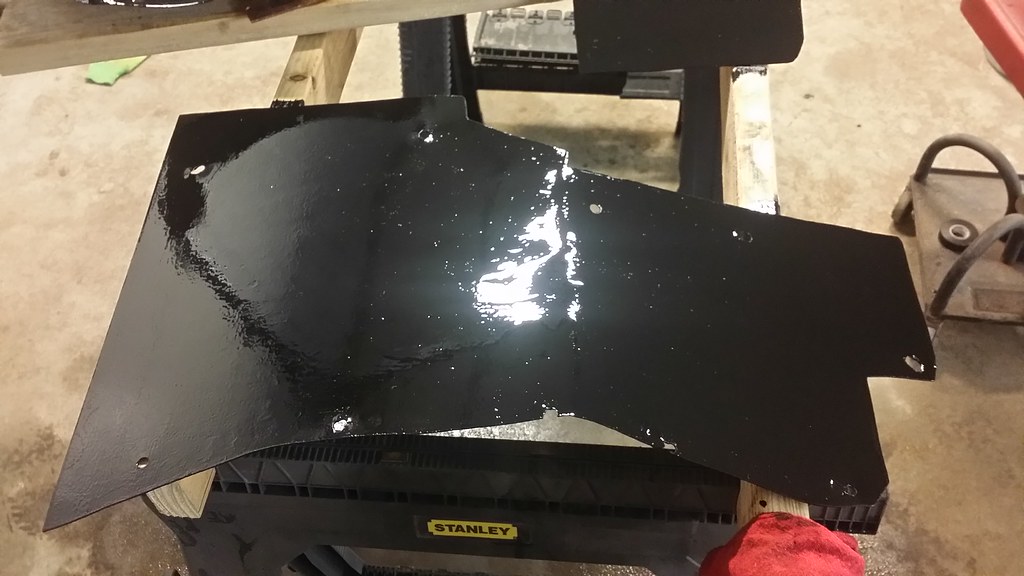
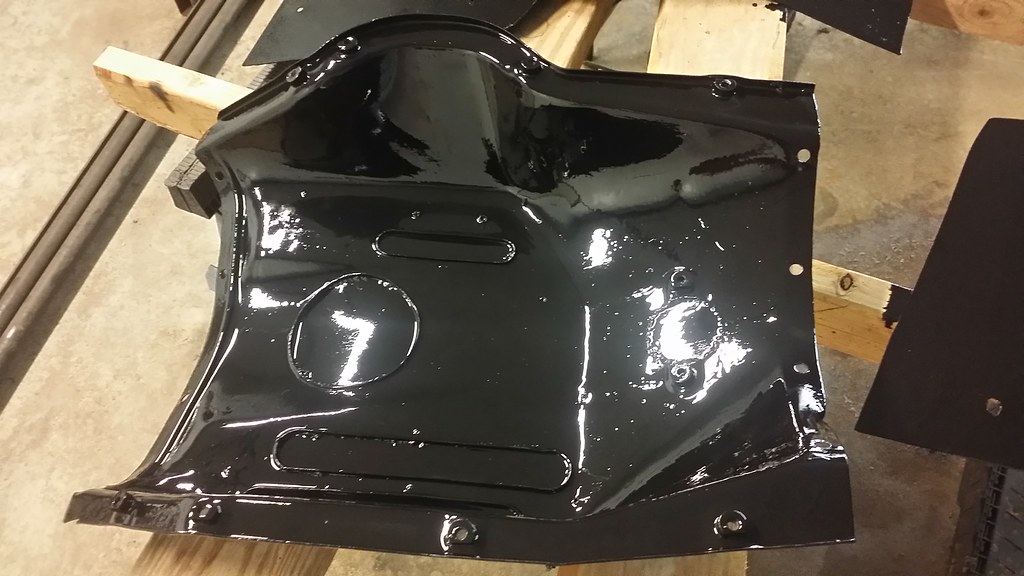
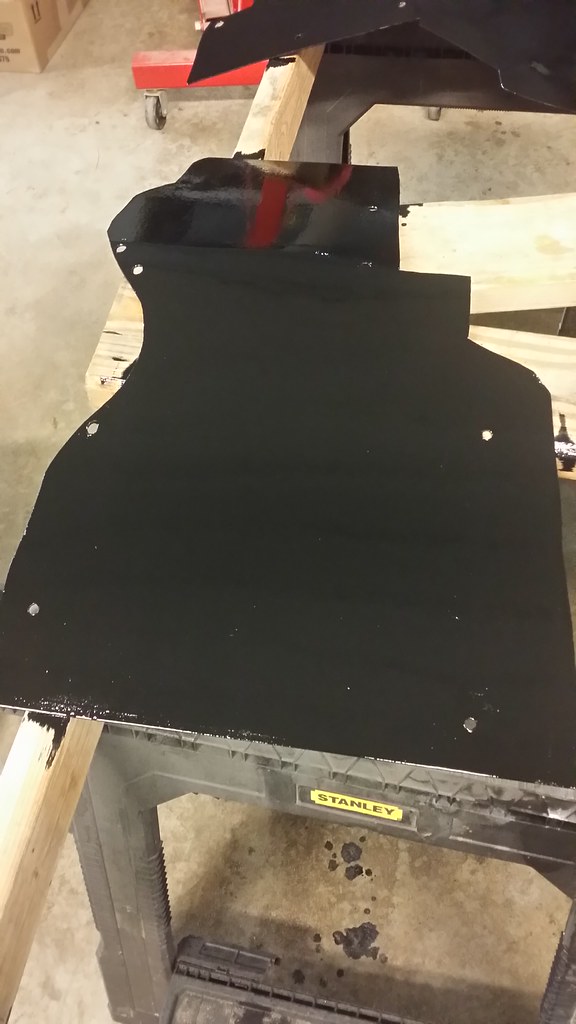
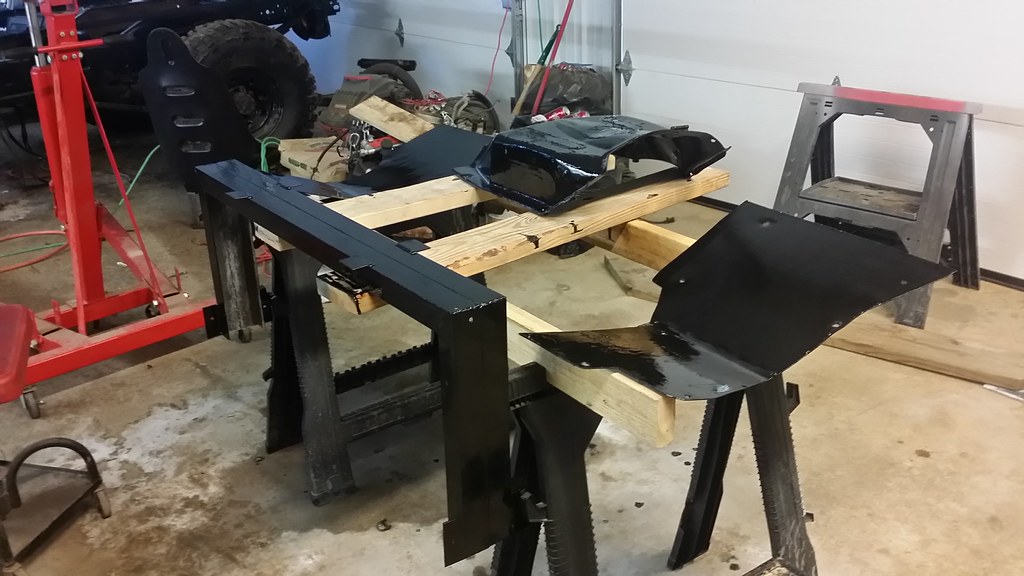
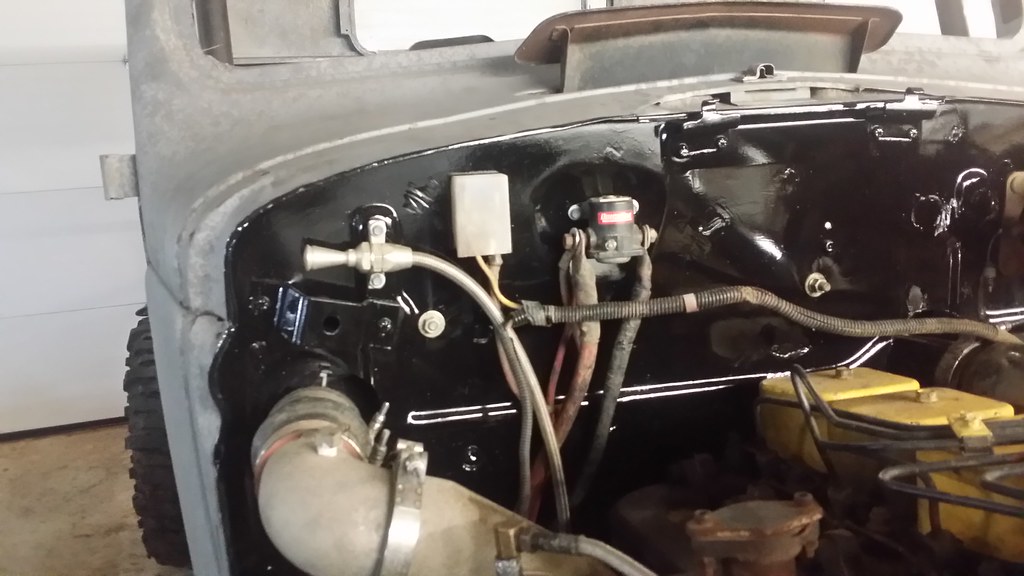
So tonight I prepped and painted the under sides of the two floor boards and the transmission tunnel with POR 15.
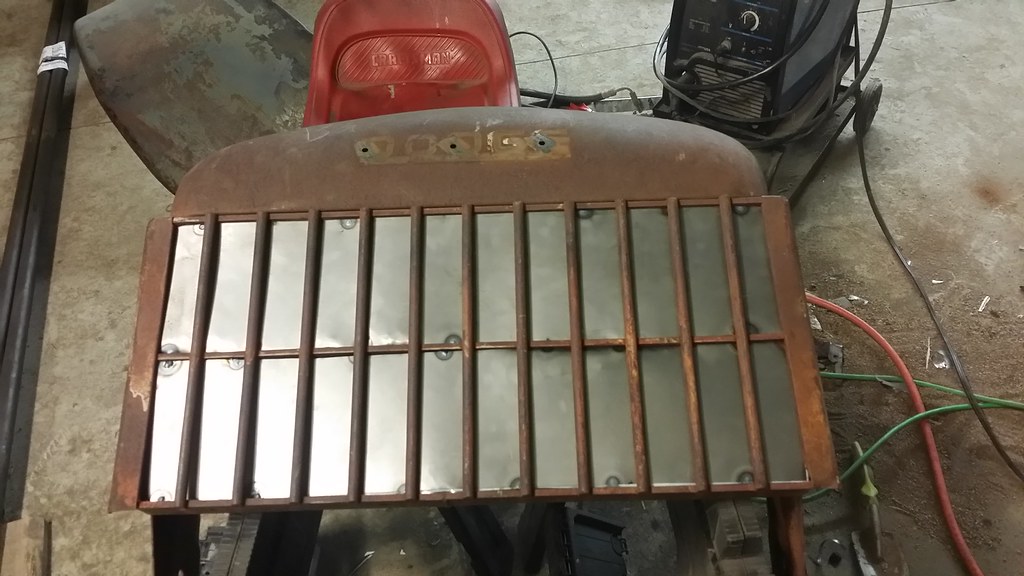
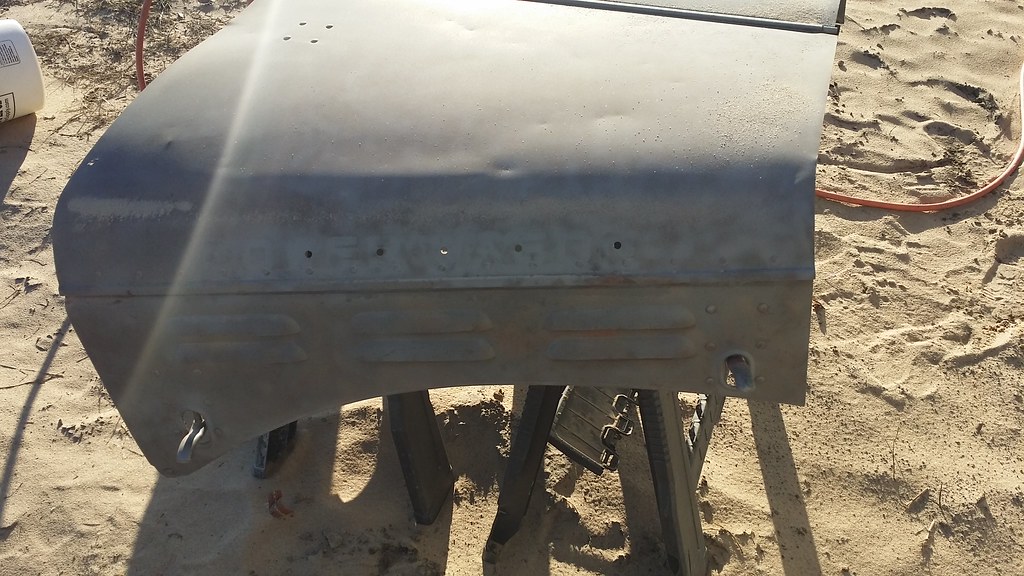
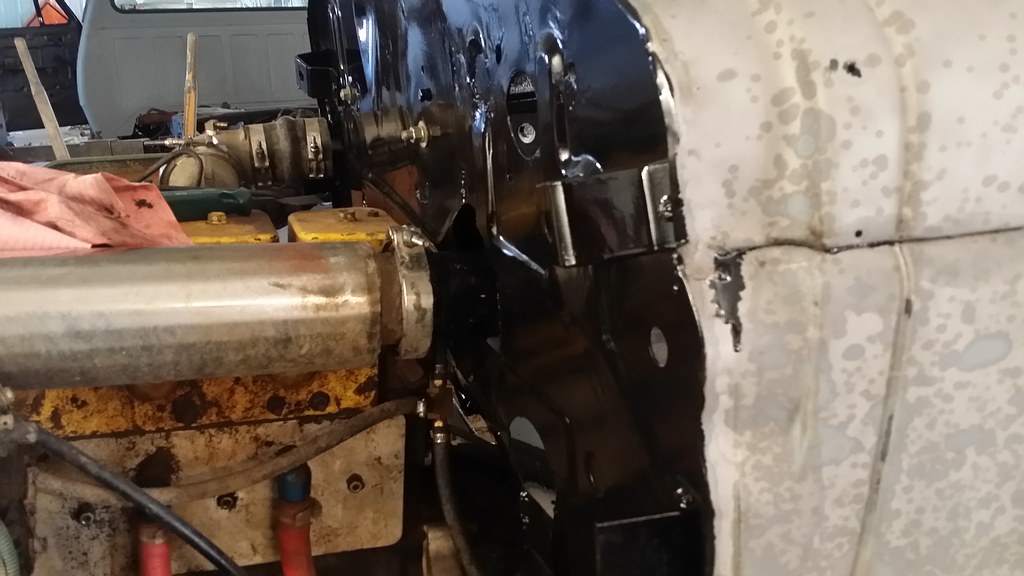
I also prepped and painted the inside part of the firewall.
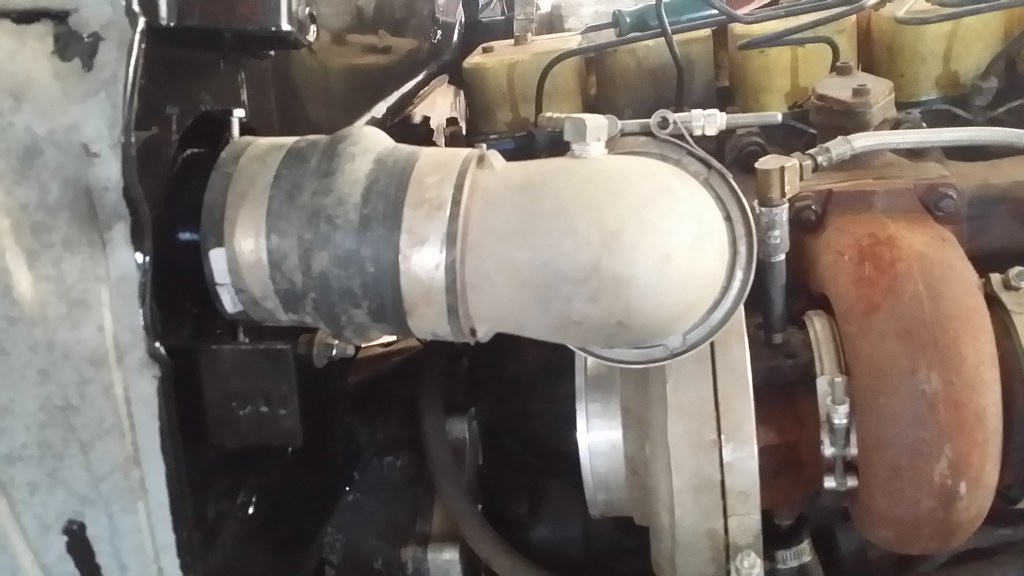
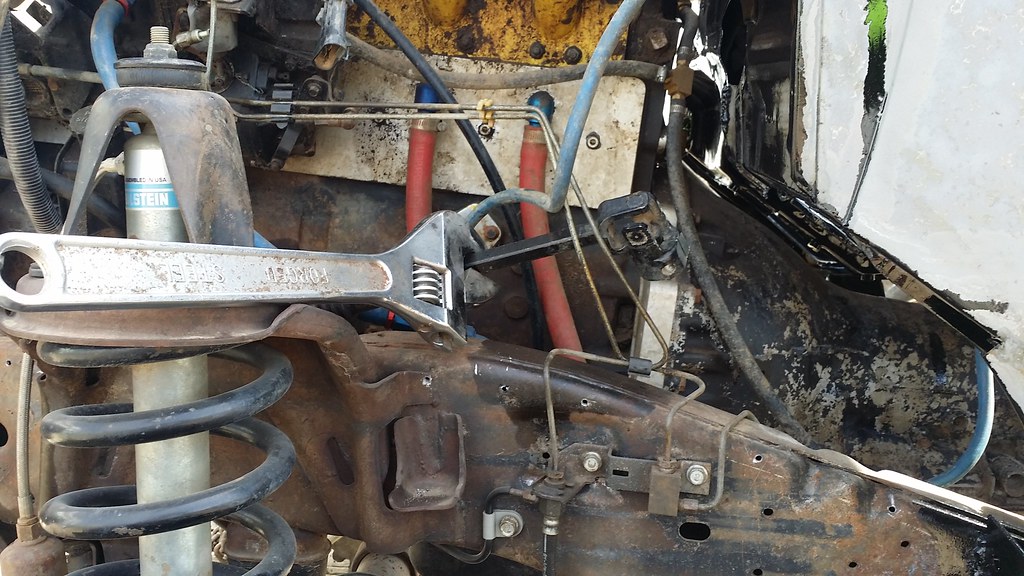
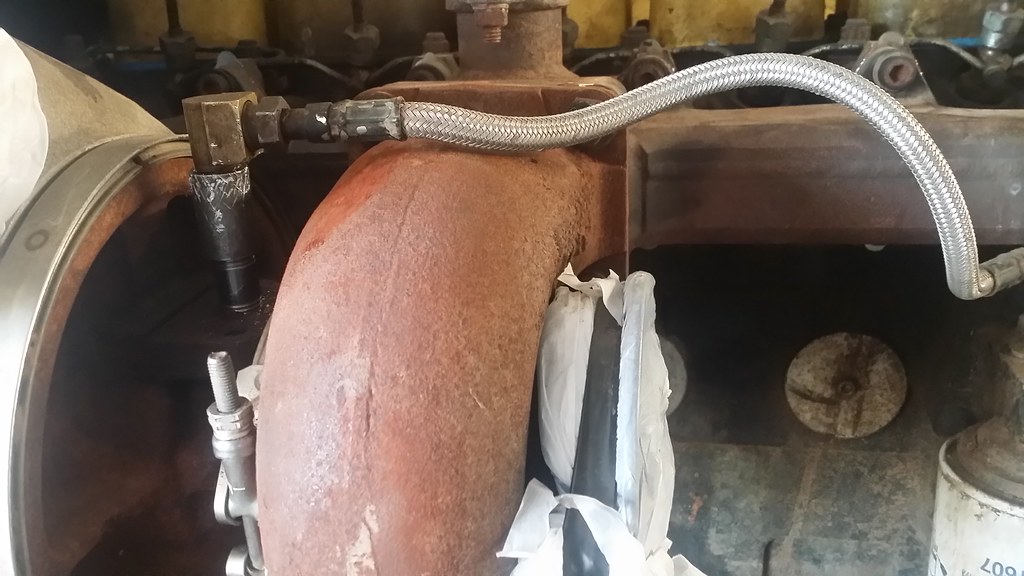
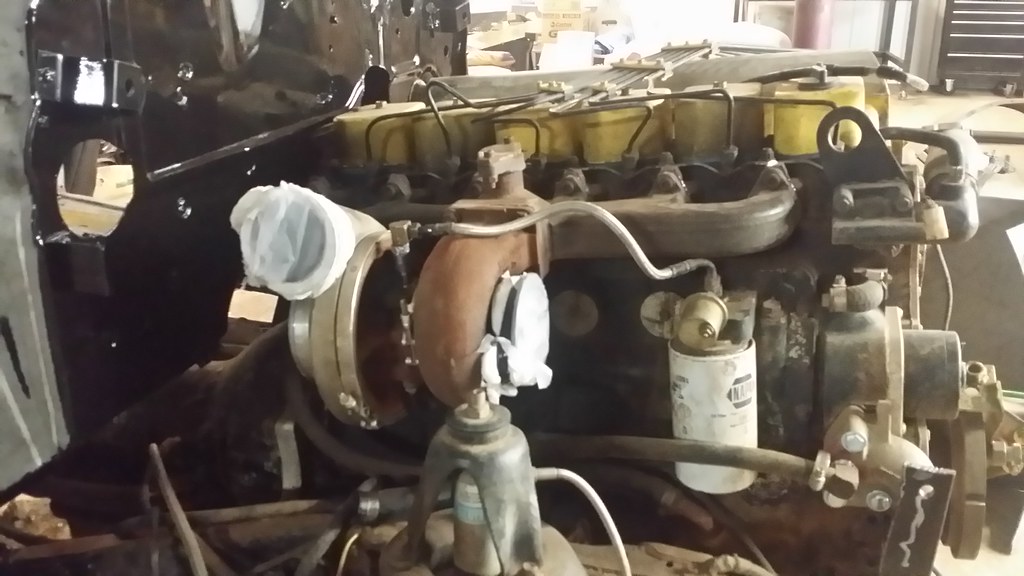
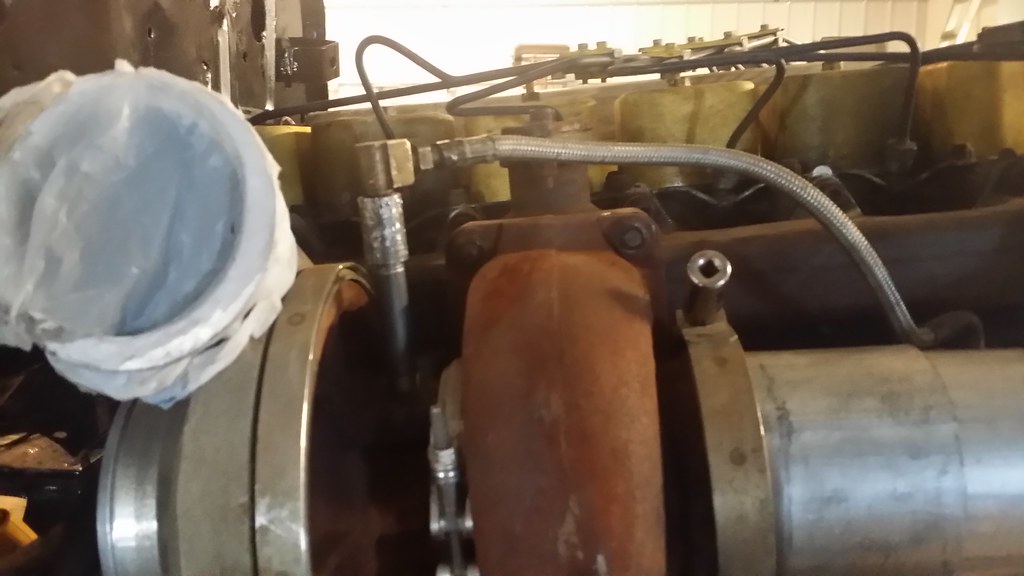
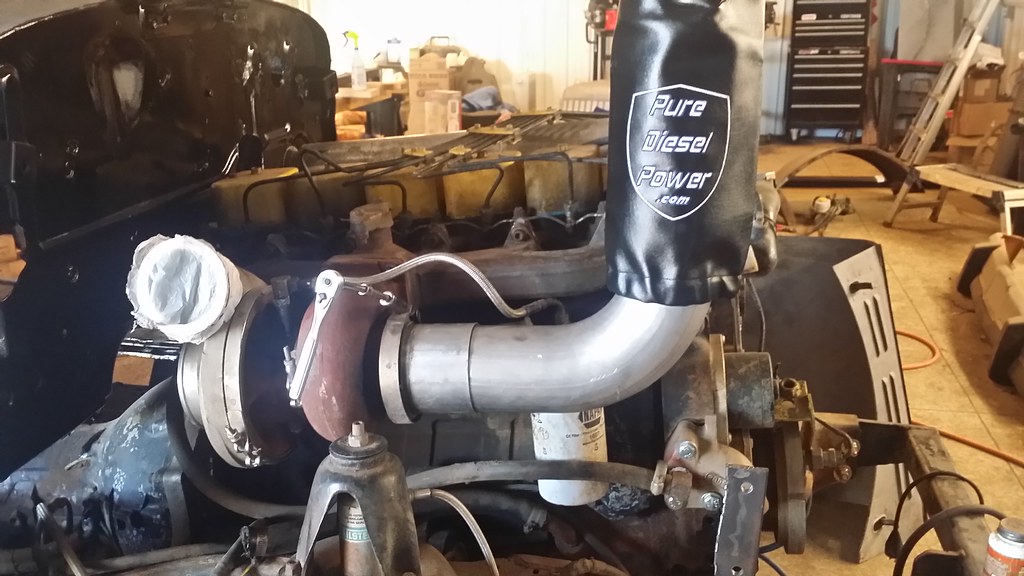
Then I pulled the turbo off and exhaust manifold and redid the gaskets and torqued the allen bolts good. Then remounted and bolted on the turbo.
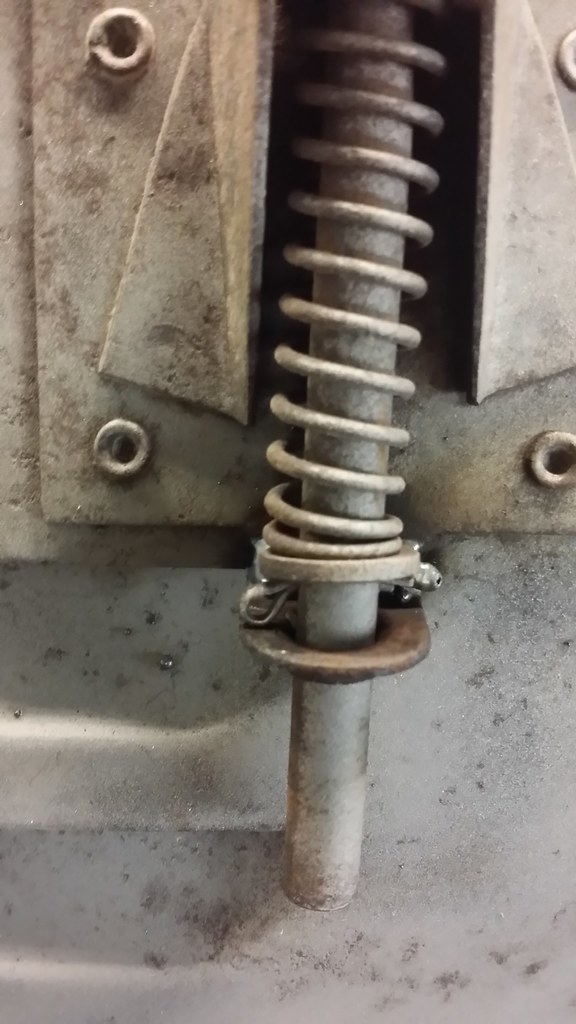
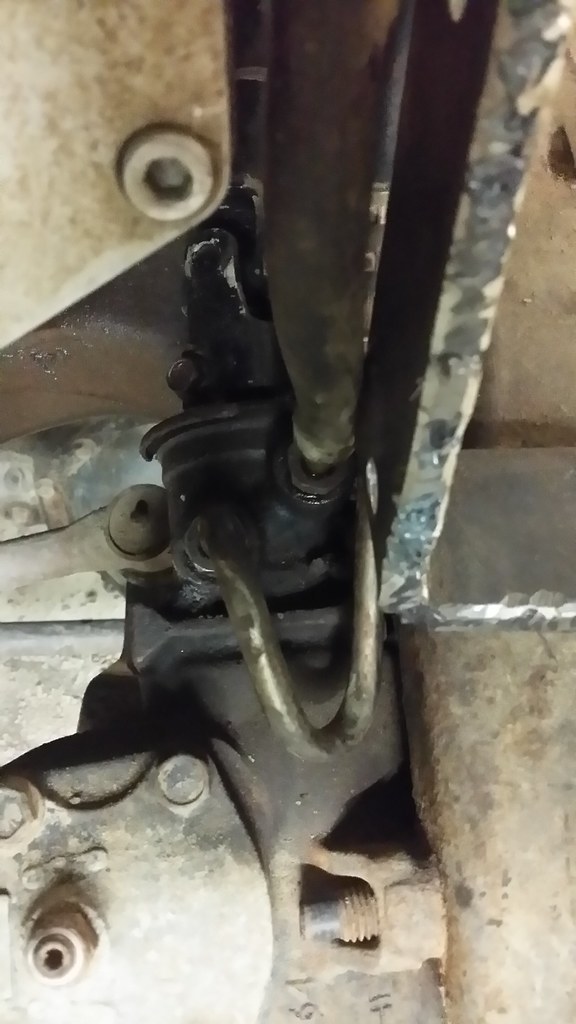
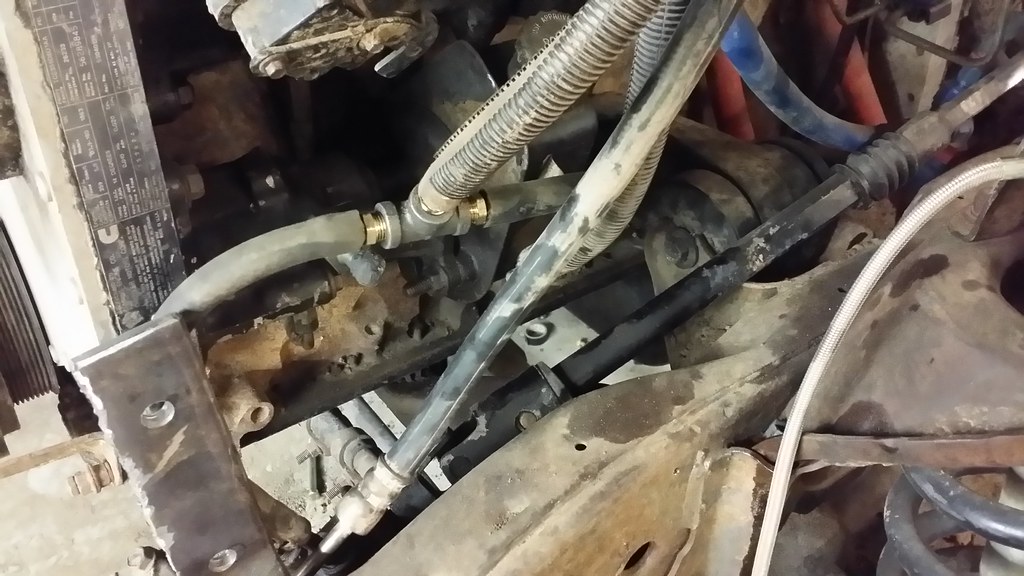
I picked up a nipple and collar and extended the oil supply into the turbo so my braided line would fit since I switched the turbo around. I think I need to get a little longer nipple to raise it up just a little bit more to move the line further off of the exhaust side of the turbo.
Any input?
__________________
2005 Dodge Ram 3500 2x4 QC
1999 Dodge Ram 2500 4x4 QC
Coaltrain - 1946 Dodge Power Wagon powered by a little modified 12 valve.
Thanks to my sponsors: CP-Carrillo, Air Dog, Muldoons Diesel Performance, Power Driven Diesel, Diesel Performance Converters
|
|
|
|
|
03-12-2014, 01:03 PM
|
#428
|
Name: jlbayes
Title: Too Much Time
Status: Not Here
Join Date: Mar 2011
Location: michigan
Member`s Gallery
Posts: 2,399
|
imo yes i would get a taller nipple.
__________________
Jacob, 97 rclb
|
|
|
|
|
03-13-2014, 09:50 PM
|
#429
|
Name: NakeDiesel
Title: Smoke'n in the Mud
Status: Not Here
Join Date: Jan 2010
Location: Hominy, OK
Member`s Gallery
Posts: 1,116
|
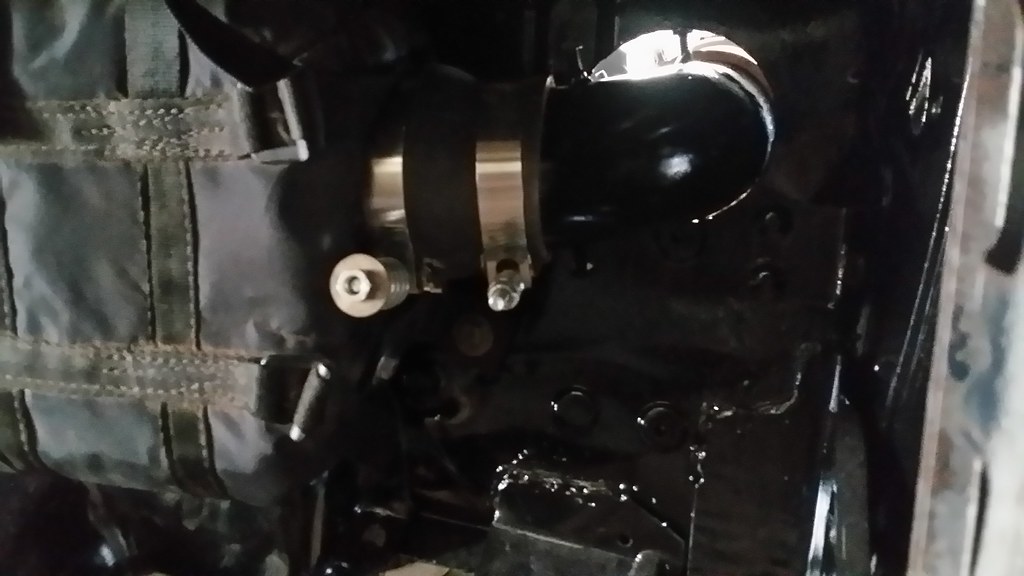
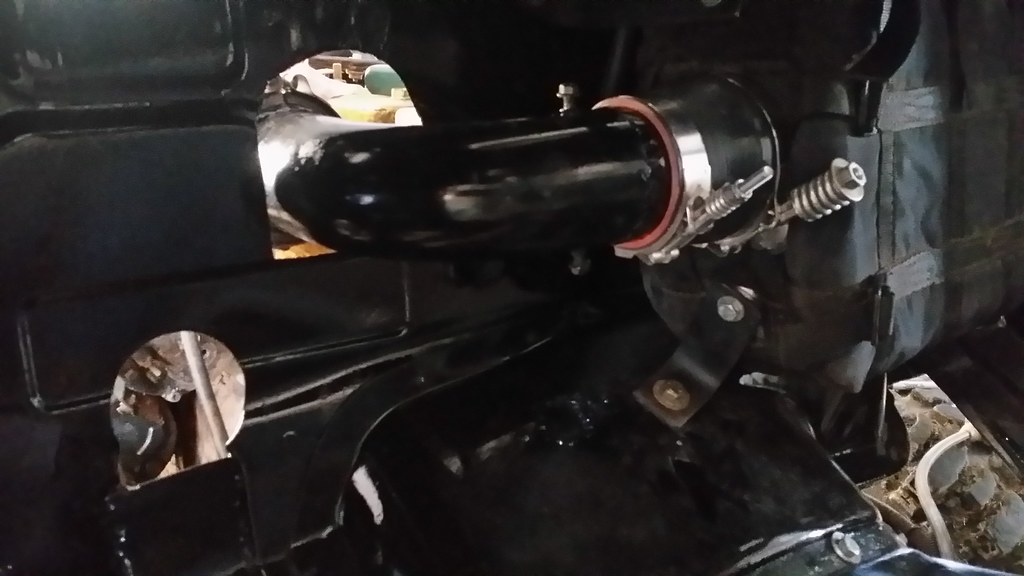
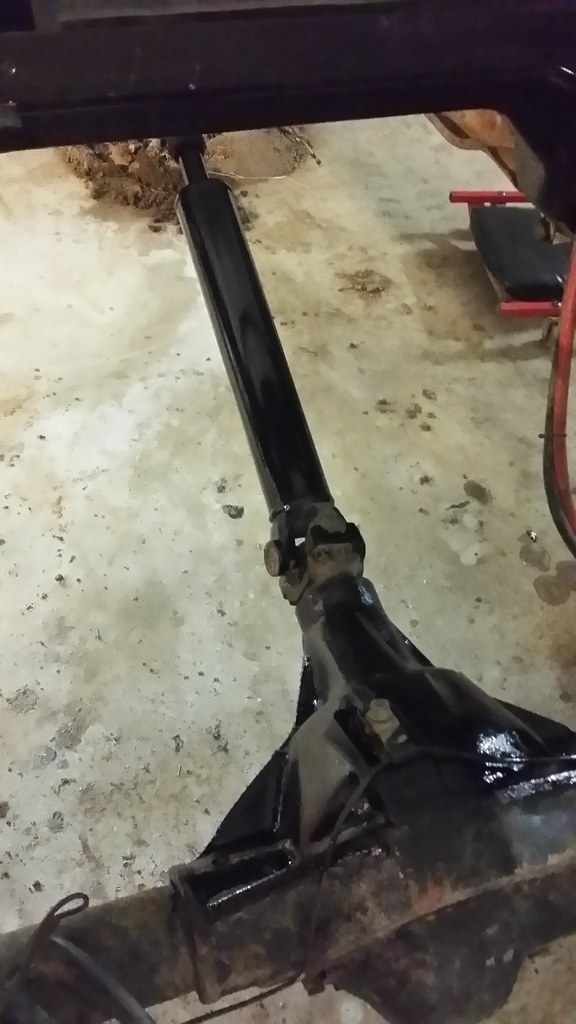
Only managed to get a little done on the truck in the last two nights. I did pick up a longer nipple and that raised the oil line up a nice distance from the hot side of the turbo.
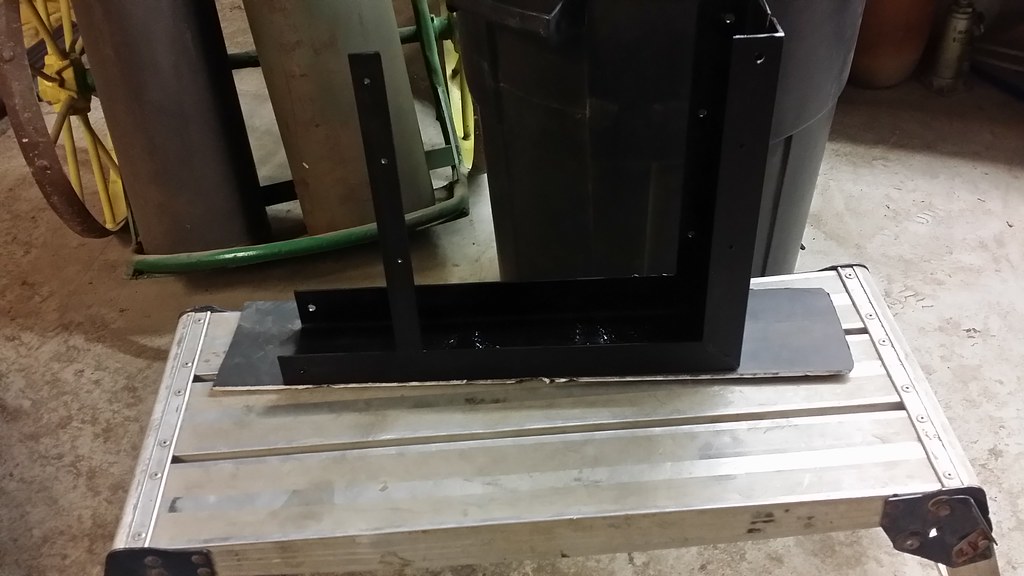
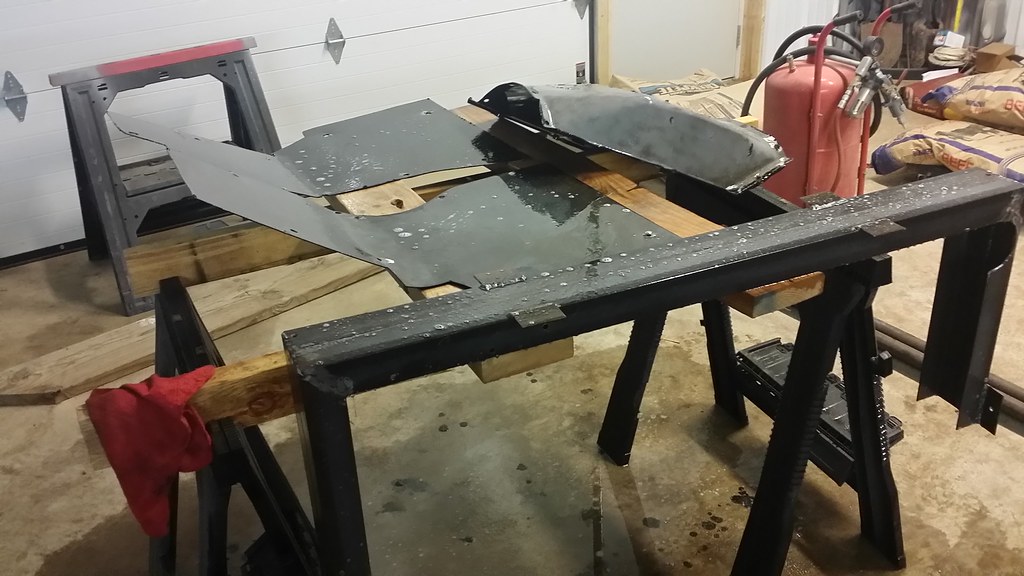
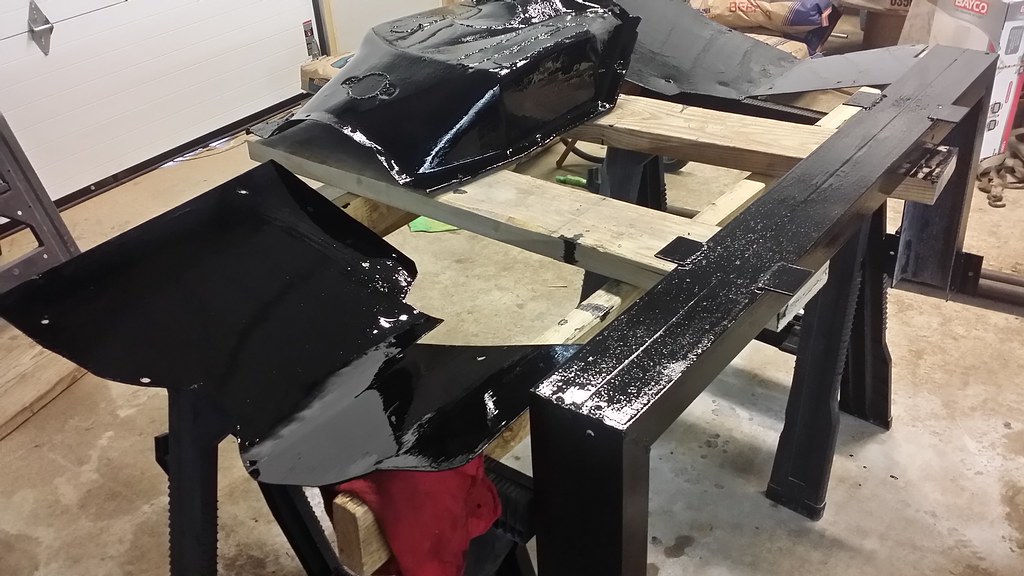
I finished getting the two floor boards coated in POR 15 / Chassis Black by doing the topsides today. I also welded on the floor tabs to my radiator support so that I can just cut the floor sections before the radiator and after the radiator to make putting the floor in easier. I also got the outside perimeter coated in Chassis Black today.
I have the inside cleaned and metal prepped and washed, just waiting for it and the trans cooler support to dry over night so that I can finish them off and bolt them into the truck.
My step daughter lost the driveshaft out of her truck going to school this morning while my son and I were an hour away for him to take his driving test to get his license. Once I found out what actually broke on the truck, told her to throw it in the bed of the truck, put in 4x4 hi and drive on to school. So I replaced the 3 month old U joints tonight in the rear drive shaft that I had replaced when I put in new seals in her transfer case. Guess I didn't get one of the c clips in good or one of them failed. While I was doing that, the step daughter changed her oil in her truck.... she was an oily mess when she was done....
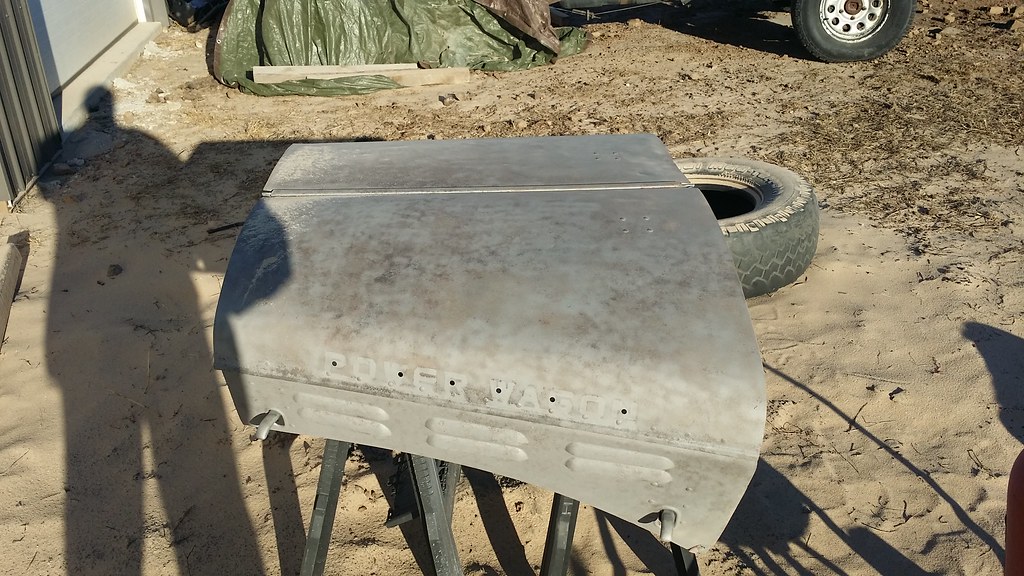
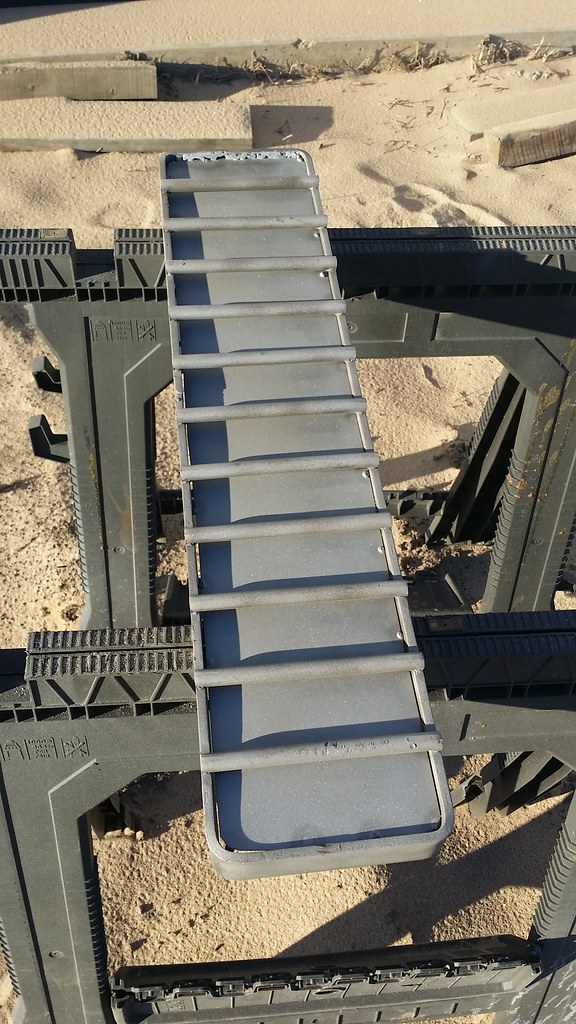
Picked up the exhaust side yesterday for the internal part of the hood stack and had the vband weld on flange made while I was at H and H manufacturing. Sat the stack condom on it to keep dirt out while I figure out some other stuff and ready to cut and weld on the pipe.
__________________
2005 Dodge Ram 3500 2x4 QC
1999 Dodge Ram 2500 4x4 QC
Coaltrain - 1946 Dodge Power Wagon powered by a little modified 12 valve.
Thanks to my sponsors: CP-Carrillo, Air Dog, Muldoons Diesel Performance, Power Driven Diesel, Diesel Performance Converters
|
|
|
|
|
03-14-2014, 09:00 PM
|
#430
|
Name: NakeDiesel
Title: Smoke'n in the Mud
Status: Not Here
Join Date: Jan 2010
Location: Hominy, OK
Member`s Gallery
Posts: 1,116
|
__________________
2005 Dodge Ram 3500 2x4 QC
1999 Dodge Ram 2500 4x4 QC
Coaltrain - 1946 Dodge Power Wagon powered by a little modified 12 valve.
Thanks to my sponsors: CP-Carrillo, Air Dog, Muldoons Diesel Performance, Power Driven Diesel, Diesel Performance Converters
|
|
|
|
|
03-15-2014, 07:42 AM
|
#431
|
Name: getblown5.9
Title: Ceritified Kleenex Dealer
Status: Not Here
Join Date: Aug 2006
Location: Baltimore, MD
Member`s Gallery
Posts: 7,259
|
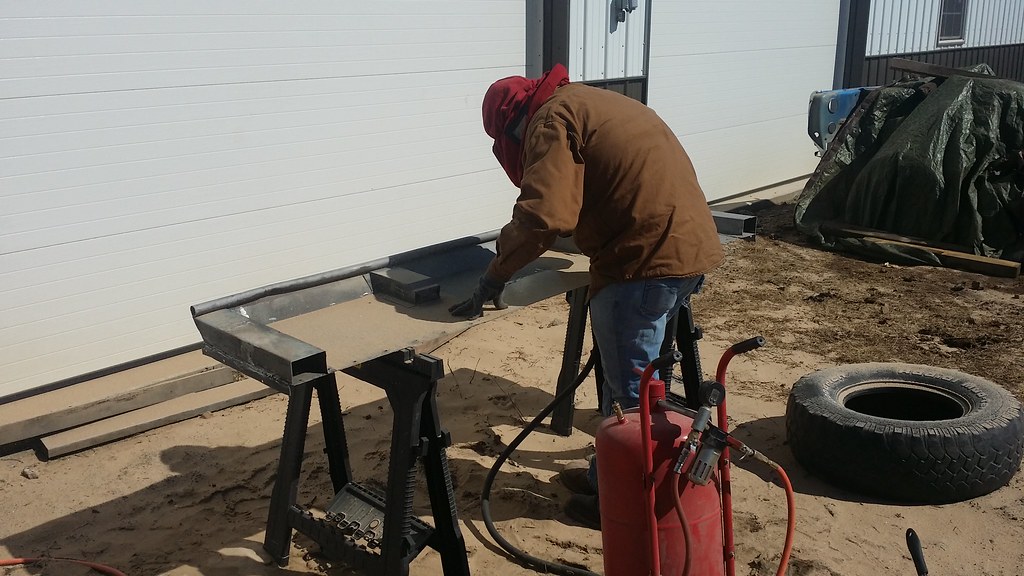
what type of sand are you using in that blaster? same blaster I have and the blast media we have used before is high dollar, and if you get the cheaper larger grain stuff, it wont push through the hose and clogs up every 10 seconds. thinking sand might be cheaper.
__________________
ONE PIECE AT A TIME -02 Dodge Ram 2500-Because...Pull Truck
07 Dodge 3500 SRW Megacab Laramie- 5.9/Auto, 250,000 miles, built for longevity
|
|
|
|
|
03-15-2014, 08:20 AM
|
#432
|
Name: NakeDiesel
Title: Smoke'n in the Mud
Status: Not Here
Join Date: Jan 2010
Location: Hominy, OK
Member`s Gallery
Posts: 1,116
|
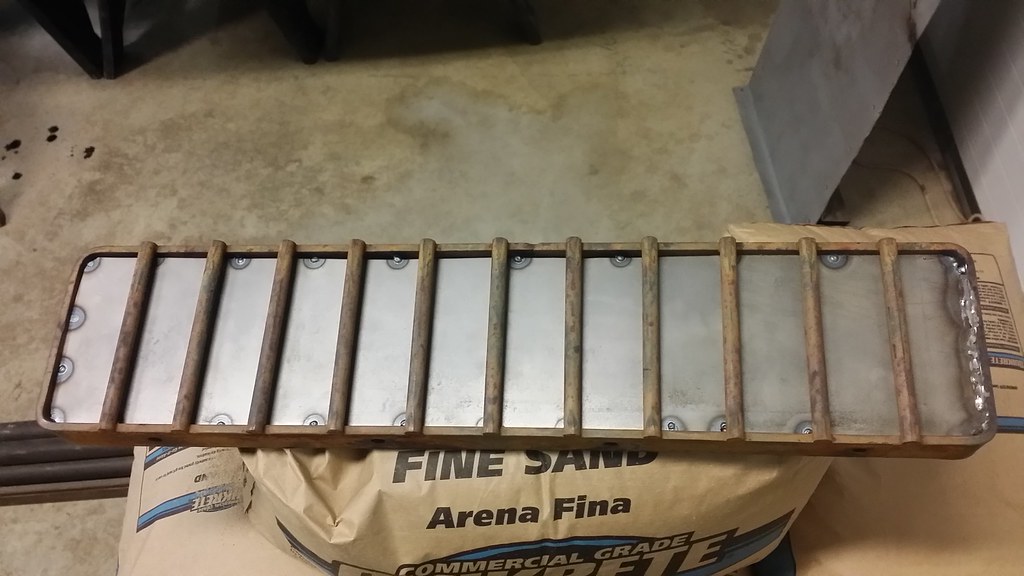
I have good luck running the black diamond fine that I get from tractor supply, it's 8.00 for 50 lbs. But what I have been using the most is a fine sand from quickcrete that is kiln dried. I pay 6.00 each for an 80lb bag of it and is what I've been using the most of for this project. I get it at Steve's wholesale tools. I rarely have an issue with clogging with the two different abrasives that I use. If you use sand be aware of silicosis and wear a good mask/air supply.
__________________
2005 Dodge Ram 3500 2x4 QC
1999 Dodge Ram 2500 4x4 QC
Coaltrain - 1946 Dodge Power Wagon powered by a little modified 12 valve.
Thanks to my sponsors: CP-Carrillo, Air Dog, Muldoons Diesel Performance, Power Driven Diesel, Diesel Performance Converters
|
|
|
|
|
03-15-2014, 11:17 PM
|
#433
|
Name: NakeDiesel
Title: Smoke'n in the Mud
Status: Not Here
Join Date: Jan 2010
Location: Hominy, OK
Member`s Gallery
Posts: 1,116
|
__________________
2005 Dodge Ram 3500 2x4 QC
1999 Dodge Ram 2500 4x4 QC
Coaltrain - 1946 Dodge Power Wagon powered by a little modified 12 valve.
Thanks to my sponsors: CP-Carrillo, Air Dog, Muldoons Diesel Performance, Power Driven Diesel, Diesel Performance Converters
|
|
|
|
|
03-15-2014, 11:31 PM
|
#434
|
Name: CorneliusRox
Title: Seasoned Rookie
Status: Not Here
Join Date: Dec 2012
Location: Detroit, MI
Member`s Gallery
Posts: 4,154
|
What are you aiming for on weight with this? I can't tell if it'll weight more of less! Looking good though for sure!
__________________
Corey - BSME '21 Tesla Model 3 Perf
'22 DMax AT4 2500
|
|
|
|
|
03-15-2014, 11:48 PM
|
#435
|
Name: NakeDiesel
Title: Smoke'n in the Mud
Status: Not Here
Join Date: Jan 2010
Location: Hominy, OK
Member`s Gallery
Posts: 1,116
|
The truck at the beginning of last season weighed 5700 lbs. with a weight bias of 53% front / 47% rear. I'm hoping for at least 500 lbs of weight reduction. I would like more, but won't know for sure till it's all together and I haul it to the truck scales.
__________________
2005 Dodge Ram 3500 2x4 QC
1999 Dodge Ram 2500 4x4 QC
Coaltrain - 1946 Dodge Power Wagon powered by a little modified 12 valve.
Thanks to my sponsors: CP-Carrillo, Air Dog, Muldoons Diesel Performance, Power Driven Diesel, Diesel Performance Converters
|
|
|
|
|
03-16-2014, 01:09 AM
|
#436
|
Name: CorneliusRox
Title: Seasoned Rookie
Status: Not Here
Join Date: Dec 2012
Location: Detroit, MI
Member`s Gallery
Posts: 4,154
|
Wow 5700... That's impressive. I see why you had a carbon fiber stack now ;-)
What did you do to get down to that? I'm extremely close to 8000lbs with a full tank and me in it.
__________________
Corey - BSME '21 Tesla Model 3 Perf
'22 DMax AT4 2500
|
|
|
|
|
03-16-2014, 11:08 AM
|
#437
|
Name: dvst8r
Title: Unobtainium
Status: Not Here
Join Date: Feb 2008
Location: Airdrie, AB
Member`s Gallery
Posts: 2,053
|
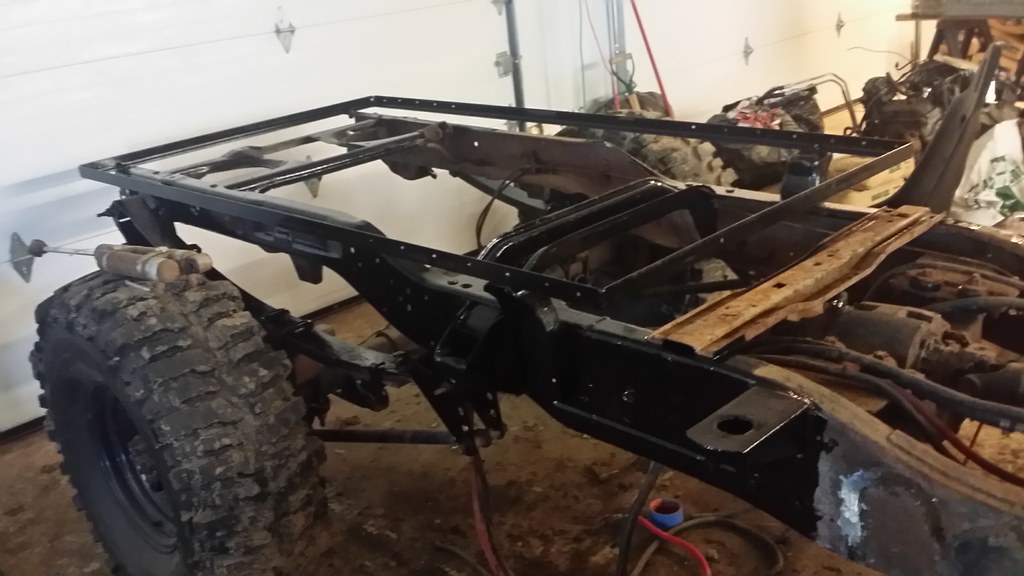
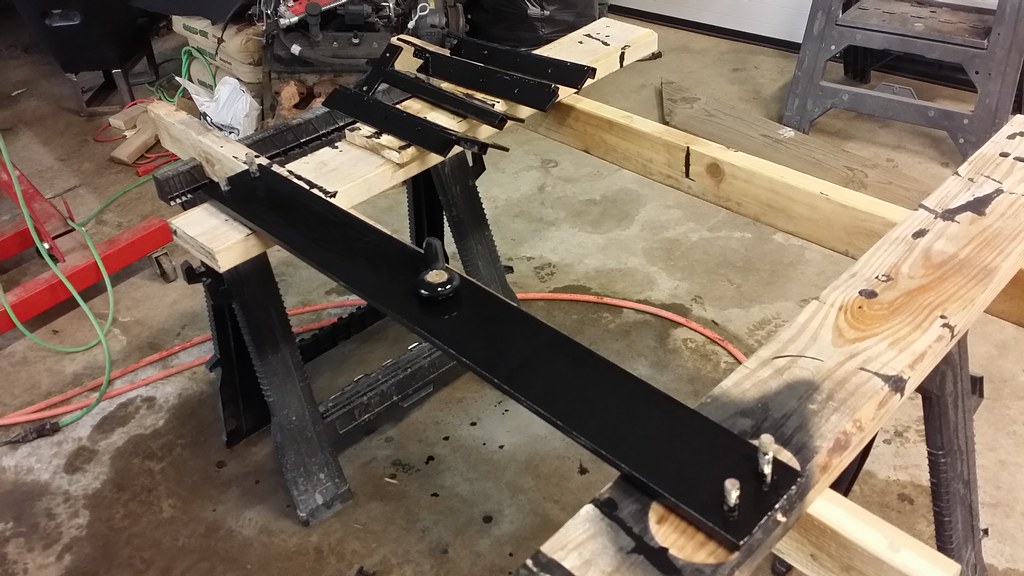
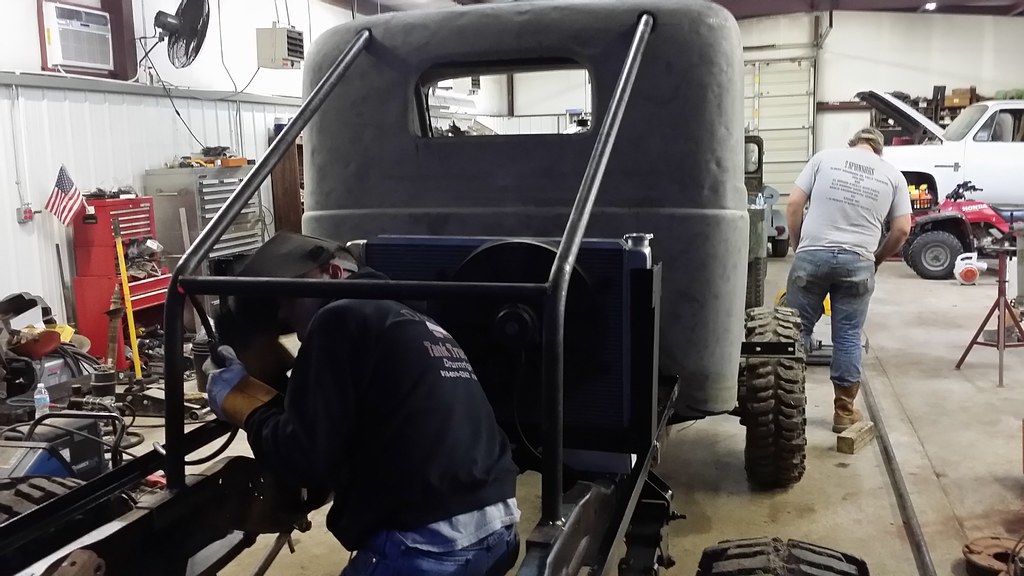
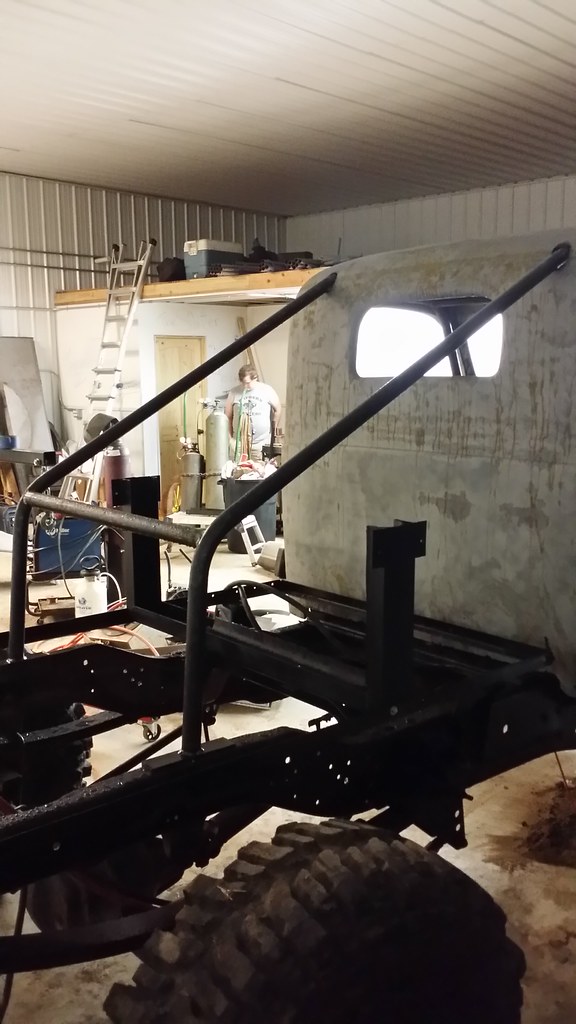
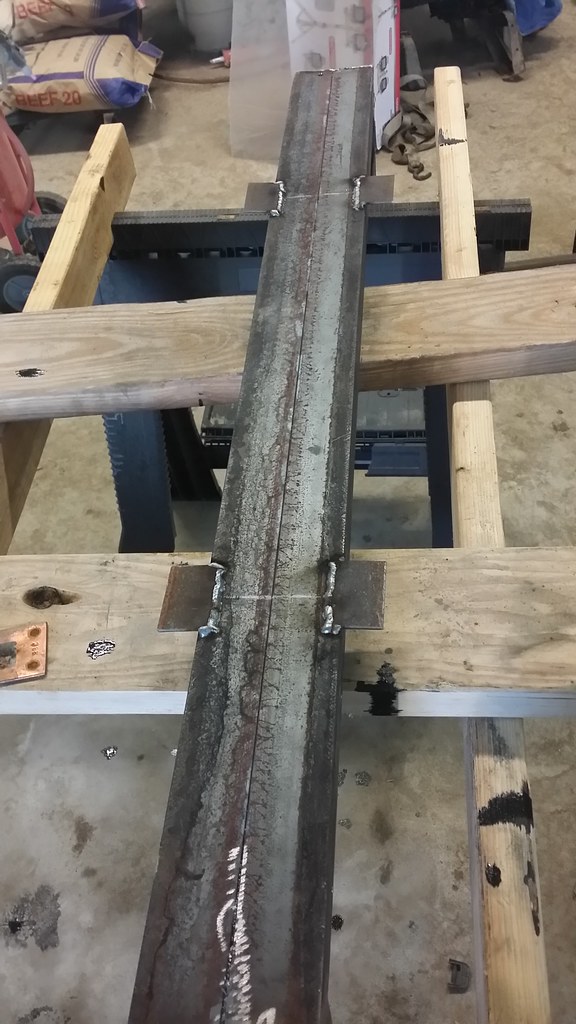
Not sure if that is a finished cage or not, but I would consider adding \ / below your spreader bar on your main hoop tying into that 2X2X 3/16" square tube.
Also are there going to be any occupant restraint bars? Typically a diagonal bar running from just below shoulder height down to where the front part of the cage ties into the floor.
__________________
Brett
Assistant to the Manager, Ragged Edge Racing.
Quote:
Originally Posted by RonA

If i had some ham, I could have ham and eggs, if i had some eggs.
|
|
|
|
|
|
03-16-2014, 11:52 AM
|
#438
|
Name: NakeDiesel
Title: Smoke'n in the Mud
Status: Not Here
Join Date: Jan 2010
Location: Hominy, OK
Member`s Gallery
Posts: 1,116
|
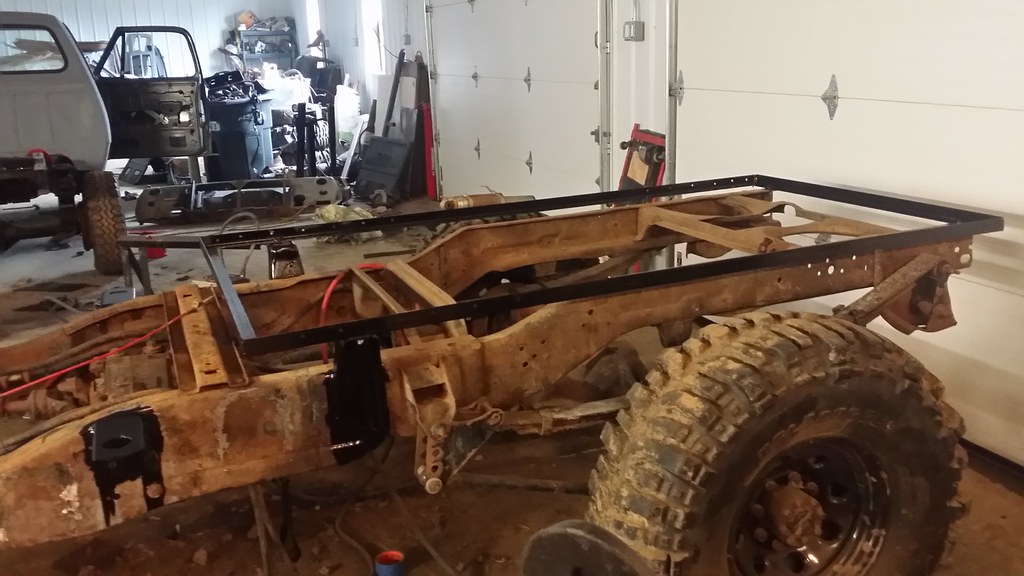
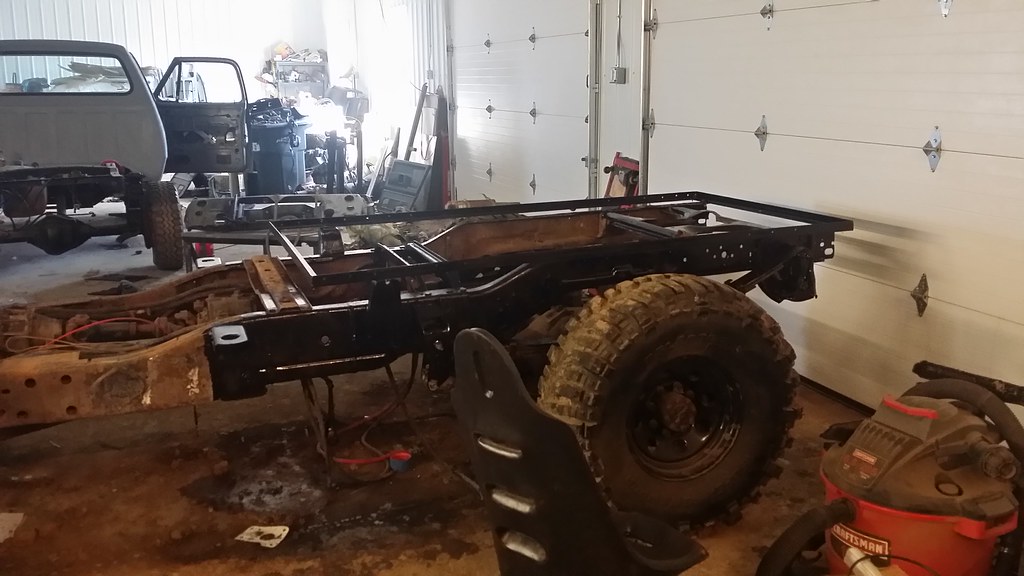
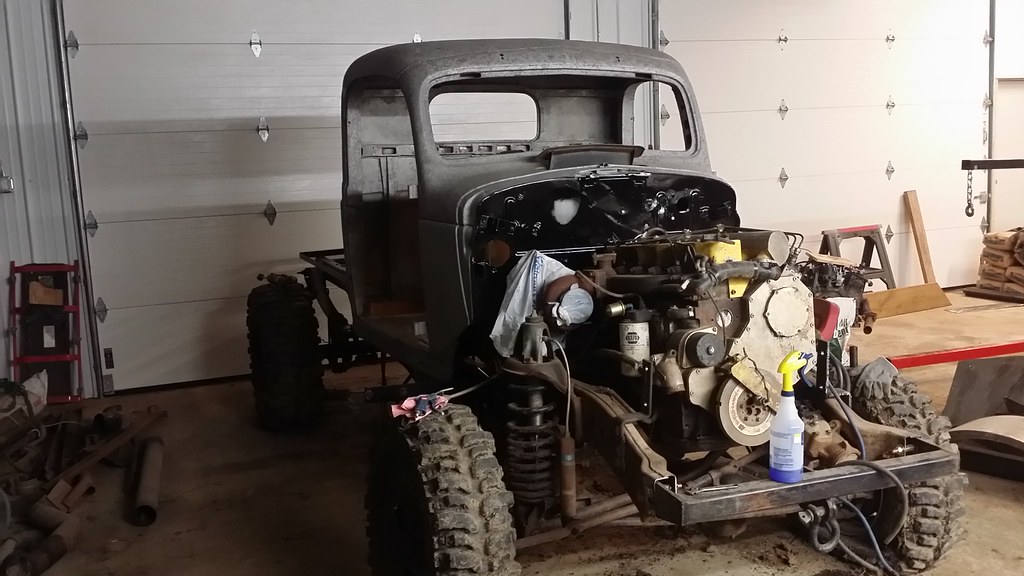
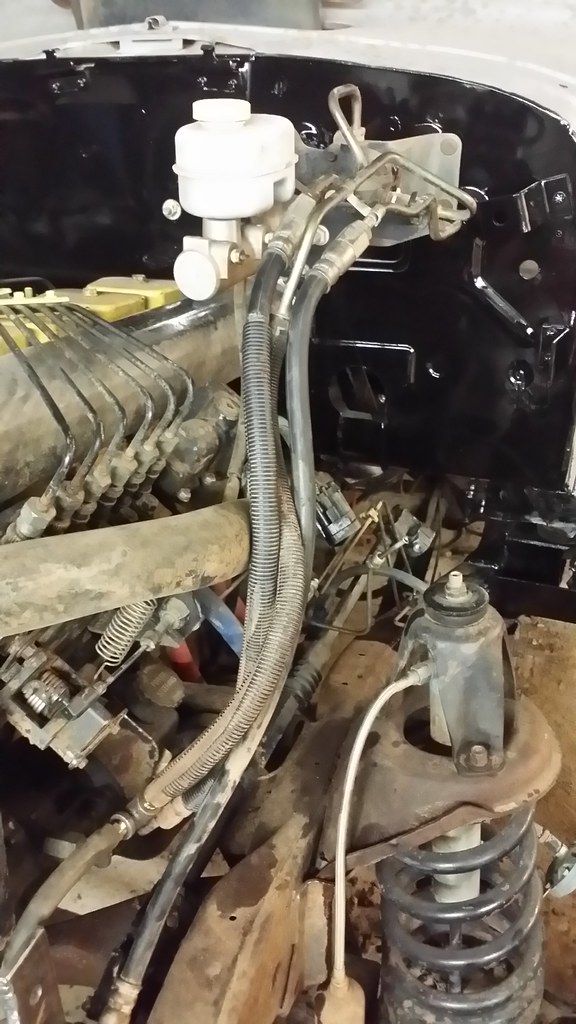
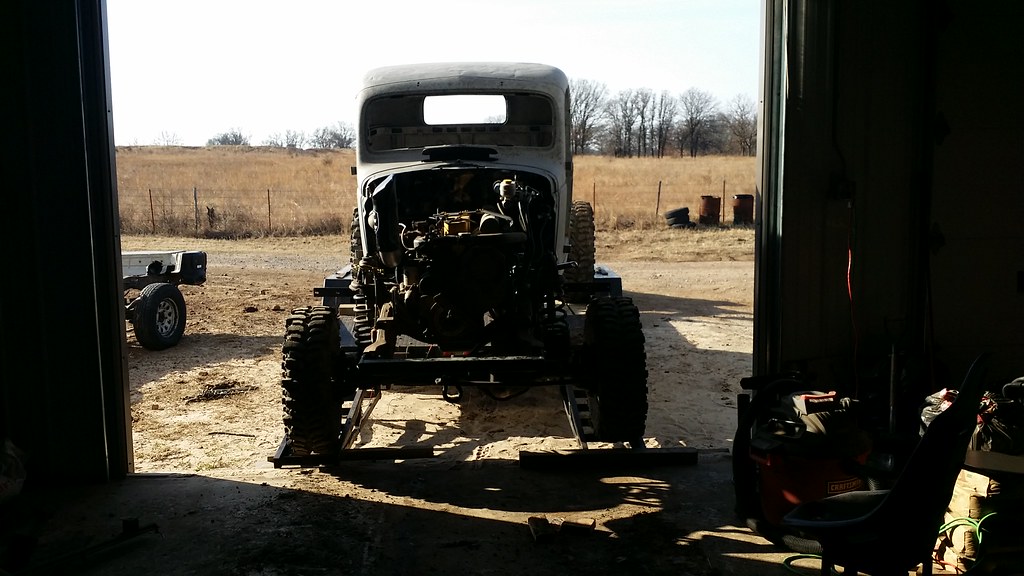
The first step we took in reducing weight was converting the truck from a long bed extended cab to a short bed reg cab truck. We cut 3 feet out of the frame for that step. I removed all the lights and wiring. Cut the inner fenders out, cut the lip off of the fire wall, removed heat/ac components, gutted the interior, removed all the accessories off of the engine, removed leaf springs. converted to water to air intercooler and put it under the dash to move weight back, moved the batteries to the back, electric water pump, moved radiator to the back of the truck. 3 gallon fuel cell, etc...
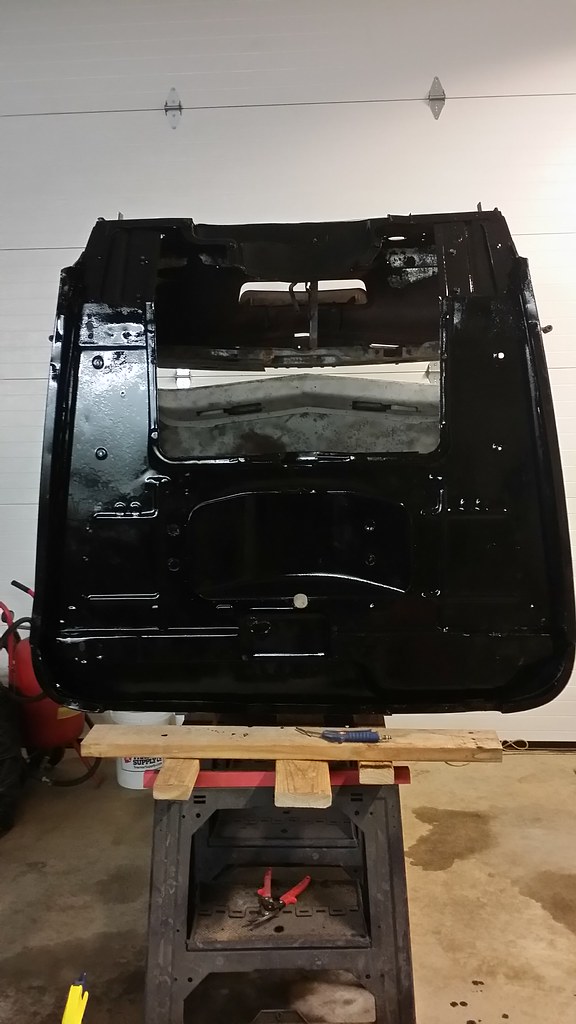
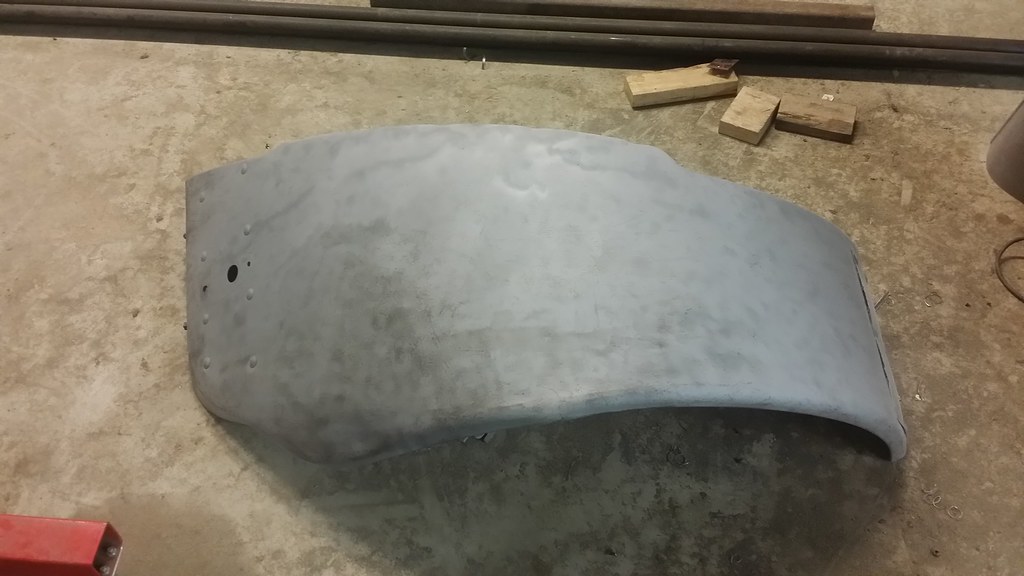
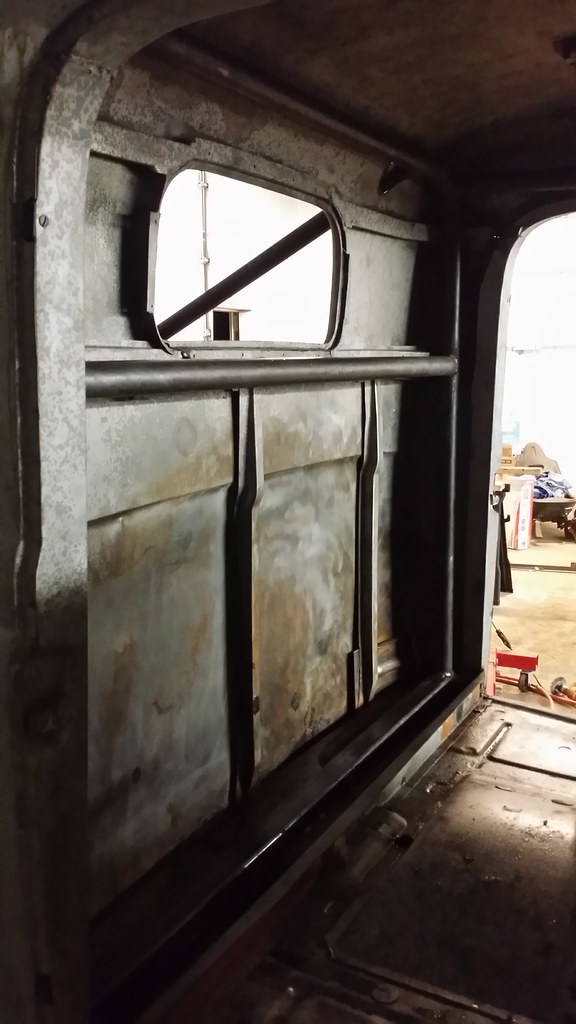
The only weight I've added this year is the cage and still need to build drive shaft loops. I've dropped the heavy 96 cab, bed and hood and replaced it with the much lighter 46 body.
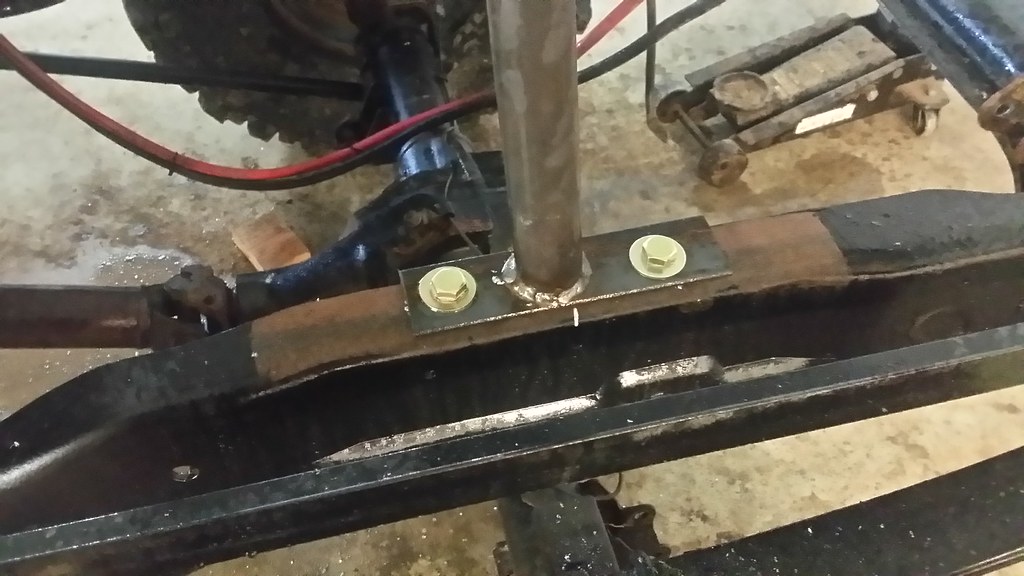
We stopped on the cage last night because we figured out my seat and my height weren't going to work, so I ordered a new seat last night and have it being overnighted. Once I get it in, we will address door bars and any additional bracing on the cage. I've got to drill the holes today down into the frame to tie the cage into the frame. That's one bad thing about being 6'4" tall, my long legs are a pita getting into small places.
__________________
2005 Dodge Ram 3500 2x4 QC
1999 Dodge Ram 2500 4x4 QC
Coaltrain - 1946 Dodge Power Wagon powered by a little modified 12 valve.
Thanks to my sponsors: CP-Carrillo, Air Dog, Muldoons Diesel Performance, Power Driven Diesel, Diesel Performance Converters
|
|
|
|
|
03-16-2014, 07:25 PM
|
#439
|
Name: NakeDiesel
Title: Smoke'n in the Mud
Status: Not Here
Join Date: Jan 2010
Location: Hominy, OK
Member`s Gallery
Posts: 1,116
|
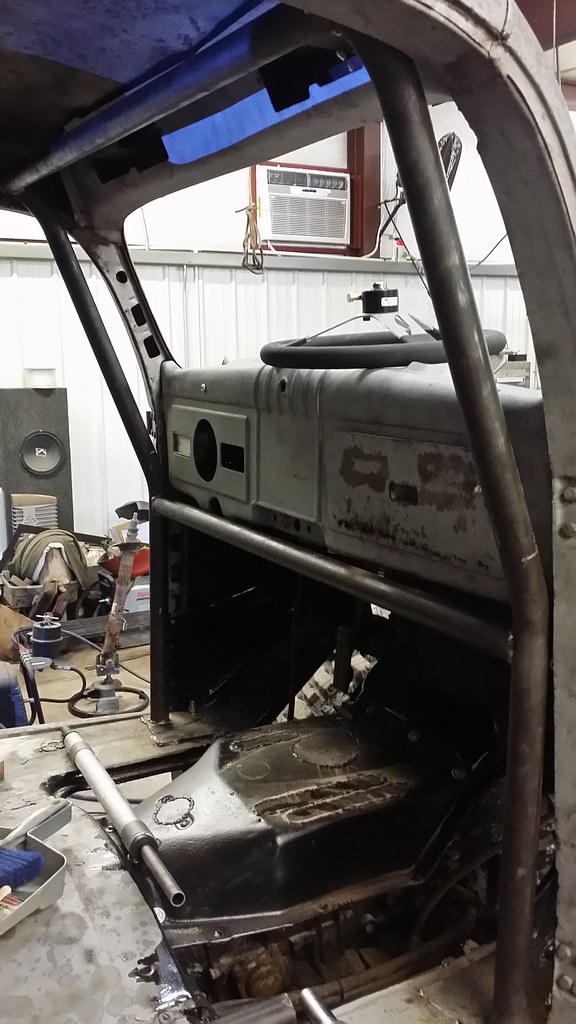
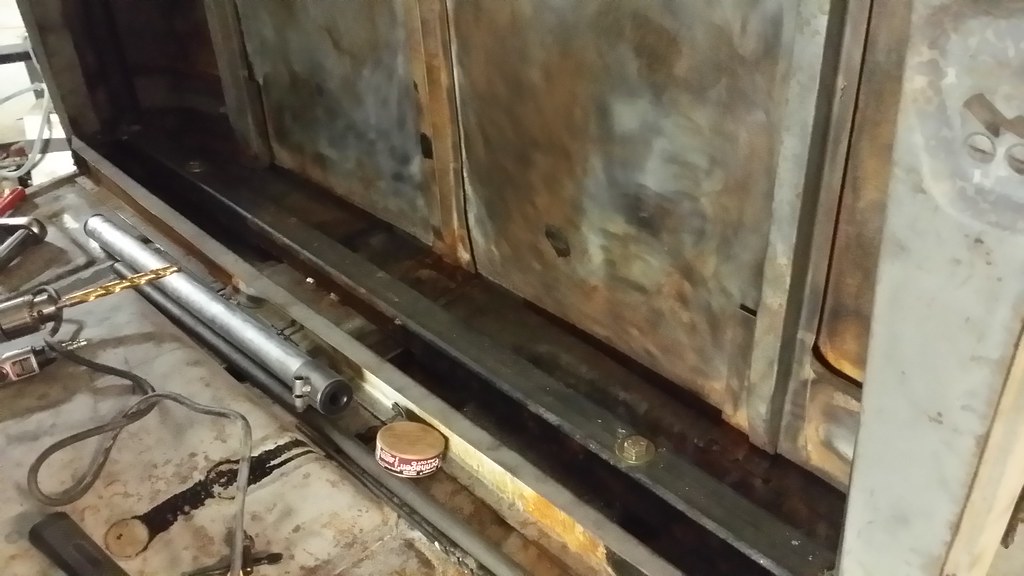
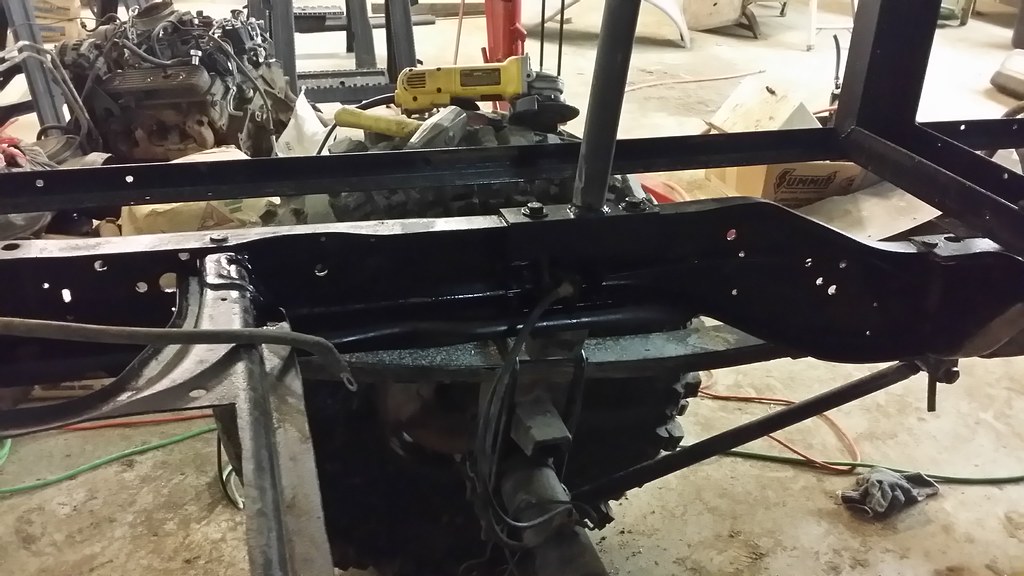
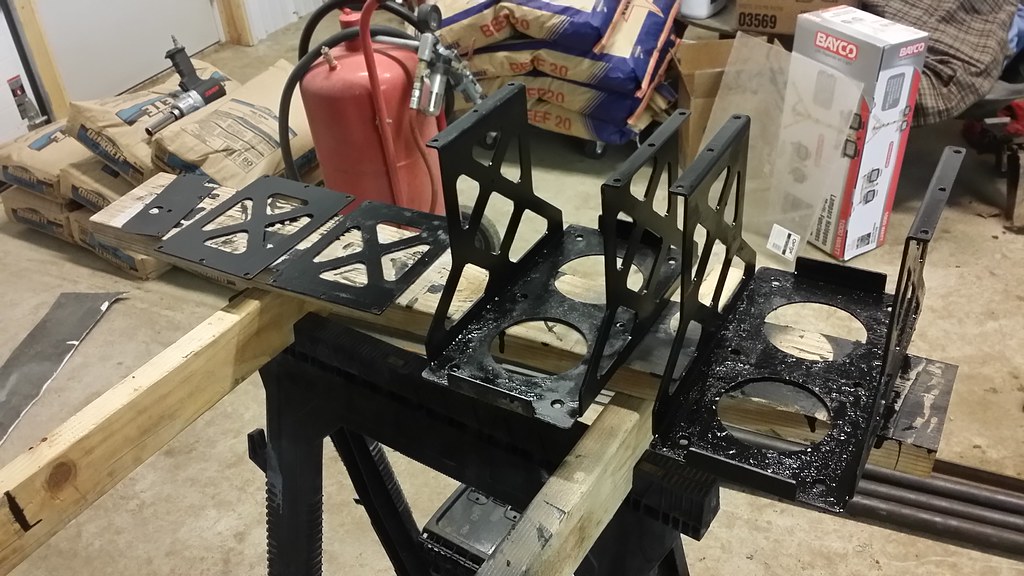
Not much accomplished today, was tired and sore from yesterday. But I cut the areas out on both floor boards where the roll cage kept them from fitting flat. Just need to put some por 15 on the edges where I cut them to seal them up.
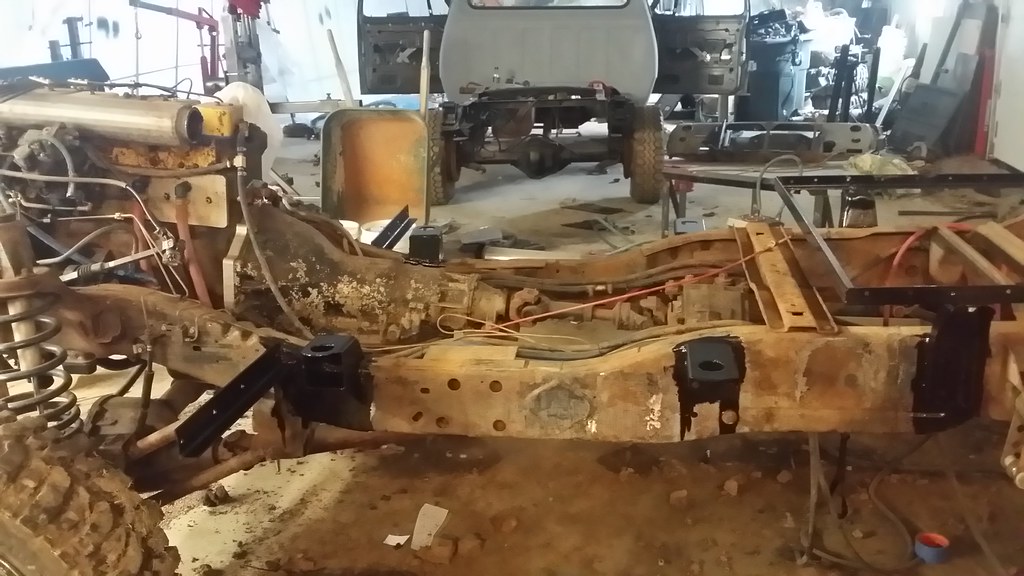
Mounted the transmission dipstick, starter solenoid, and the 70 amp fuse I use for the up circuit of the fuel shut off solenoid. Prepped my battery boxes, shut off switch tab and the inner c of my rear frame, rear drive shaft and center section of the rear end to be coated in Chassis black tomorrow night when I get home.
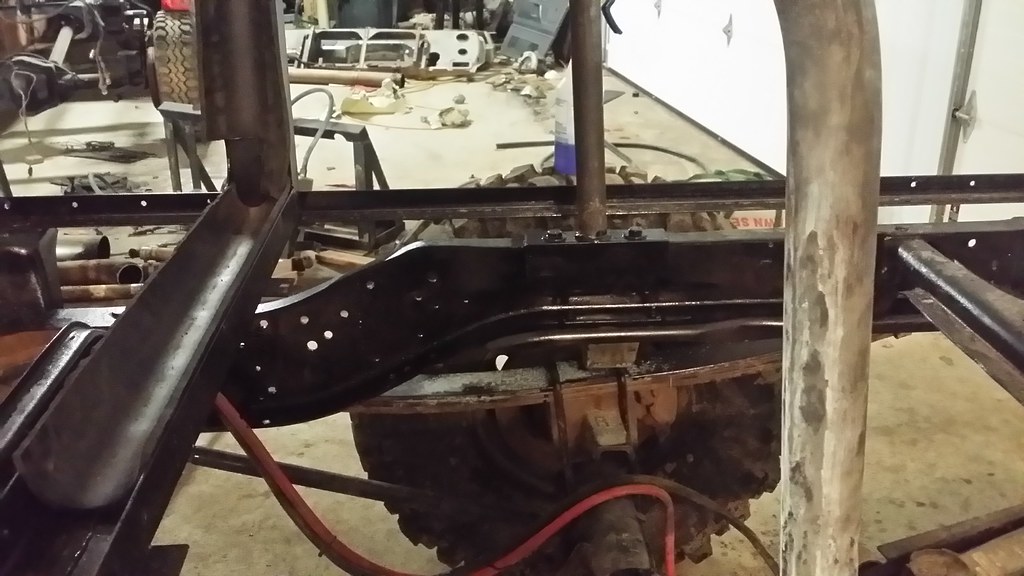
I also closed up the front of the frame where my tow bar enters it so there isn't a huge gaping hole there. The front boxed frame is now ready to be filled with foam to keep it from getting filled up with mud again. Then I will get the front frame painted next.
I also drilled and bolted the rear portion of the cage to the frame, and have all but the frame portion of the holes drilled in the cab to go to the frame on the back of the cab, but I have to get a longer 1/2" drill bit, mine wasn't long enough and I need to pickup 2 longer grade 8 bolts.
__________________
2005 Dodge Ram 3500 2x4 QC
1999 Dodge Ram 2500 4x4 QC
Coaltrain - 1946 Dodge Power Wagon powered by a little modified 12 valve.
Thanks to my sponsors: CP-Carrillo, Air Dog, Muldoons Diesel Performance, Power Driven Diesel, Diesel Performance Converters
|
|
|
|
|
03-17-2014, 08:59 PM
|
#440
|
Name: NakeDiesel
Title: Smoke'n in the Mud
Status: Not Here
Join Date: Jan 2010
Location: Hominy, OK
Member`s Gallery
Posts: 1,116
|
__________________
2005 Dodge Ram 3500 2x4 QC
1999 Dodge Ram 2500 4x4 QC
Coaltrain - 1946 Dodge Power Wagon powered by a little modified 12 valve.
Thanks to my sponsors: CP-Carrillo, Air Dog, Muldoons Diesel Performance, Power Driven Diesel, Diesel Performance Converters
|
|
|
|
 Posting Rules
|
You may not post new threads
You may not post replies
You may not post attachments
You may not edit your posts
HTML code is Off
|
|
|
All times are GMT -5. The time now is 02:42 AM.
|