Advertisement
If this is your first visit, be sure to check out the FAQ by clicking the link above. You may have to register before you can post: click the register link above to proceed. To start viewing messages, select the forum that you want to visit from the selection below.

Home Who's Online Today's Posts HP Calculator CompD Gift Shop Mark Forums Read
Go Back   Competition Diesel.Com - Bringing The BEST Together > Tech Area- Dodge > Dodge Competition and Performance > P-Pump 24Valve
Register Members List Timeslips EFI Live Library Invite Your Friends FAQ Calendar Mark Forums Read

Closed Thread
 
Thread Tools
Old 07-15-2012, 05:52 PM   #1
blu_by_u
 
blu_by_u's Avatar

Name: blu_by_u
Title: Diesel Head
Status: Not Here
Join Date: Nov 2007
Location: NE Iowa
Member`s Gallery
Posts: 316
blu_by_u's P-pump swap

I actually started this project on June 22nd but have been taking pictures and my sweet time appearantly.

I decided that it would be best for me to pull the engine out of the truck since I wanted to also replace several gaskets and seals during this opportunity. Plus it would also allow me to paint the engine much easier.

Here is where the truck will be sitting for a while now. I'm already draining the coolant in this pic.
Click the image to open in full size.

The engine as it looks with the VP44.
Click the image to open in full size.

It's hiding in there, hoping that I can't find it and exterminate it but I know exactly where to find that pesky little VP44
Click the image to open in full size.

Off comes the bumper.
Click the image to open in full size.

Next the radiator, charge air cooler, and move the freon condenser off to the side.
Click the image to open in full size.

Close up of the exposed engine.
Click the image to open in full size.

The next day arrives with help to actually pull the engine out.
Click the image to open in full size.

After being "sure" countless times that I disconnected all of the harnesses, wires, cables and hoses, the engine is FINALLY free of the truck!
Click the image to open in full size.

Here the engine is sitting on the floor. I'm not crazy about it just being a stack of lumber that the engine is sitting, though.
Click the image to open in full size.

Empty engine bay.
Click the image to open in full size.

A good friend of mine taught me that these engines sit nicely on the flywheel housing. This is EXTREMELY helpful for a couple of reasons.
Click the image to open in full size.

The first and obvious reason that this is helpful is to be able to pull the oil pan off easily to inspect the main bearings.
Click the image to open in full size.

I pulled the #4 mian cap.
Click the image to open in full size.

I couldn't be more happy with what I see at almost 200,000 miles. So I put the cap back on and didn't even touch the rest of the mains and rod caps. I feel like I would be running into a greater risk of causing damage by changing bearings when I didn't need to.
Click the image to open in full size.
__________________
2001.5 CTD 2500 4x4 ETH
160hp P-pump
- 100 plate
- 4k gsk
- barrels turned
- Mack rack plug
Weston's 7 x 0.010
Colt Cams 181/210
Air Dog 150
Kenny's Dual Disk Clutch
Tunnel Ram
poor little hx35
 
Old 07-15-2012, 05:53 PM   #2
blu_by_u
 
blu_by_u's Avatar

Name: blu_by_u
Title: Diesel Head
Status: Not Here
Join Date: Nov 2007
Location: NE Iowa
Member`s Gallery
Posts: 316
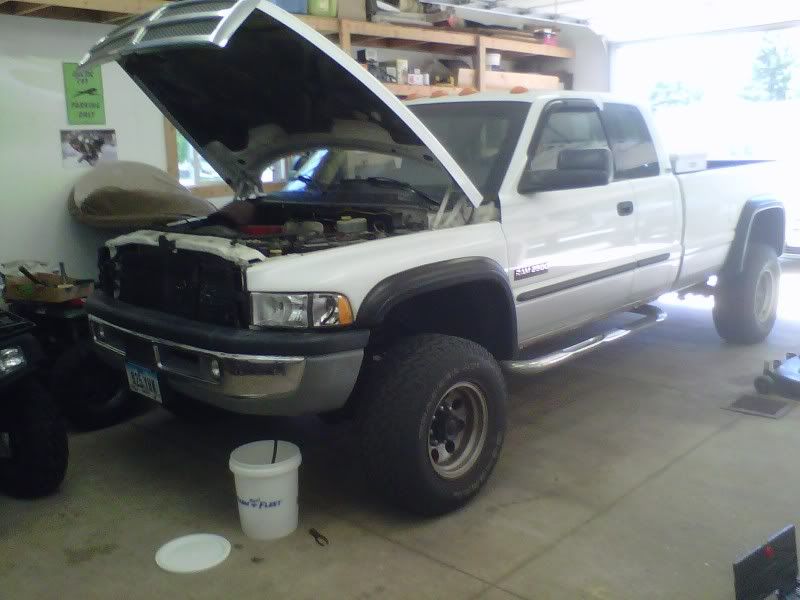
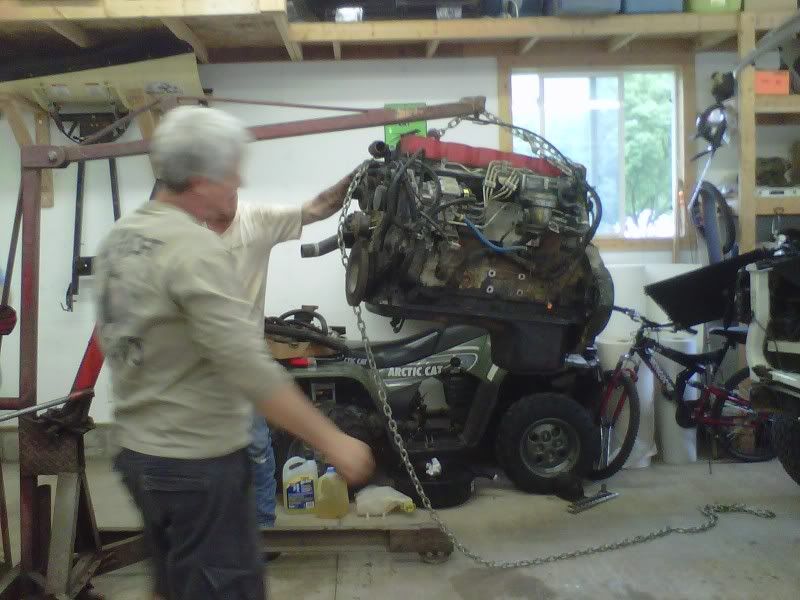
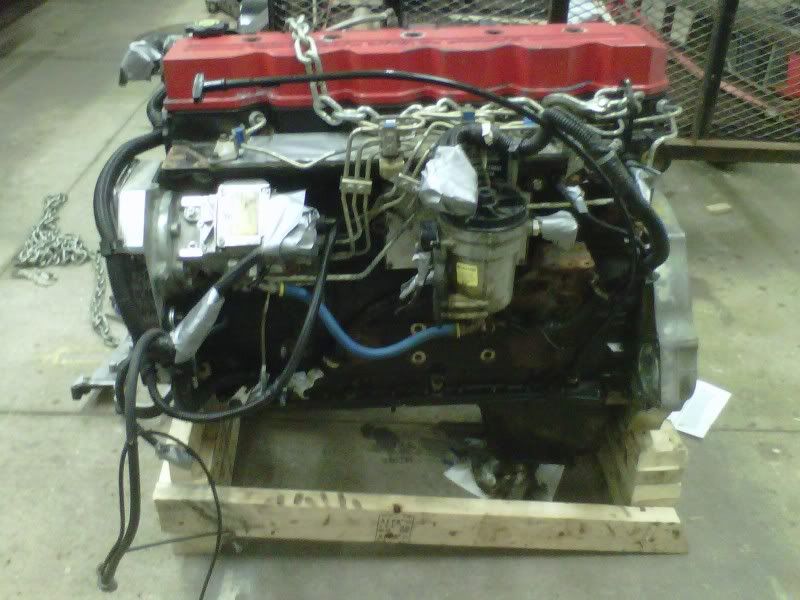
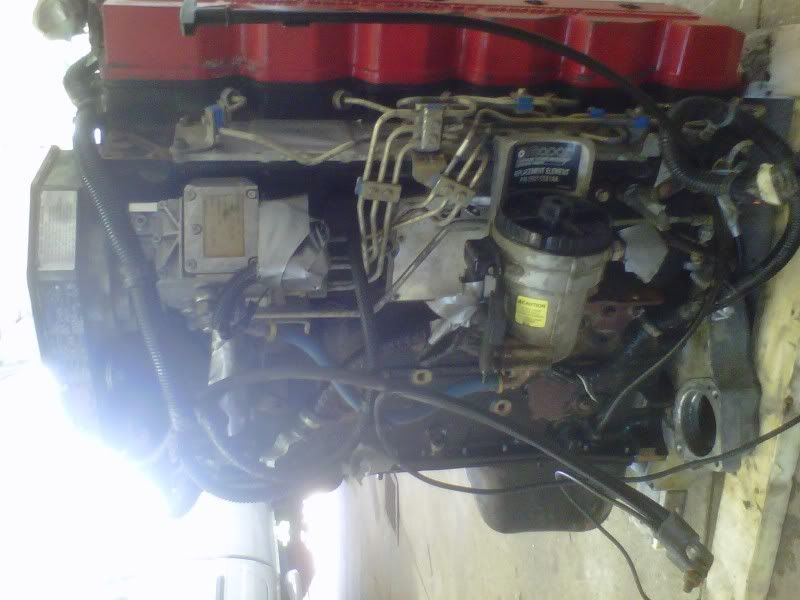
Since I want to paint the engine before I'm all done, I need to get as much of the grease and chipped paint off as possible first. So off to the car wash we go!
Click the image to open in full size.

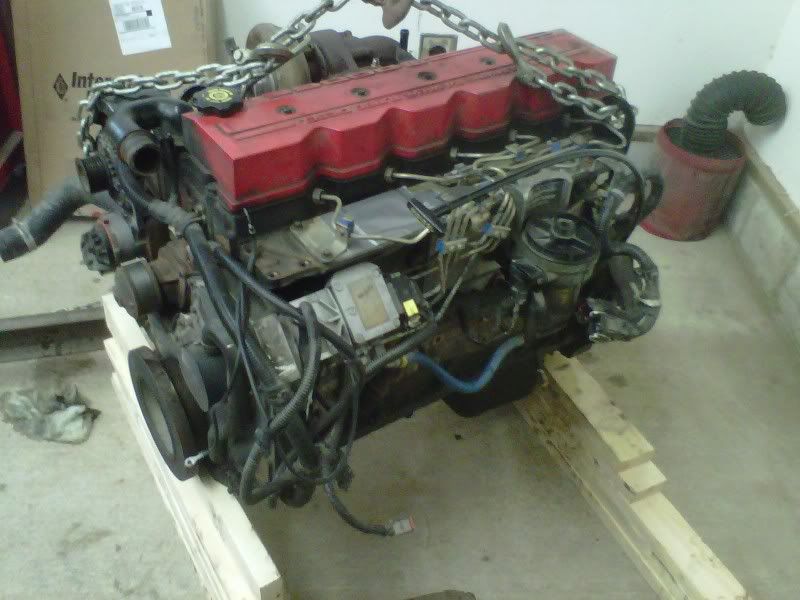
Back from the car wash I actually took the time to assemble some sort of crate to sit the engine on.
Click the image to open in full size.

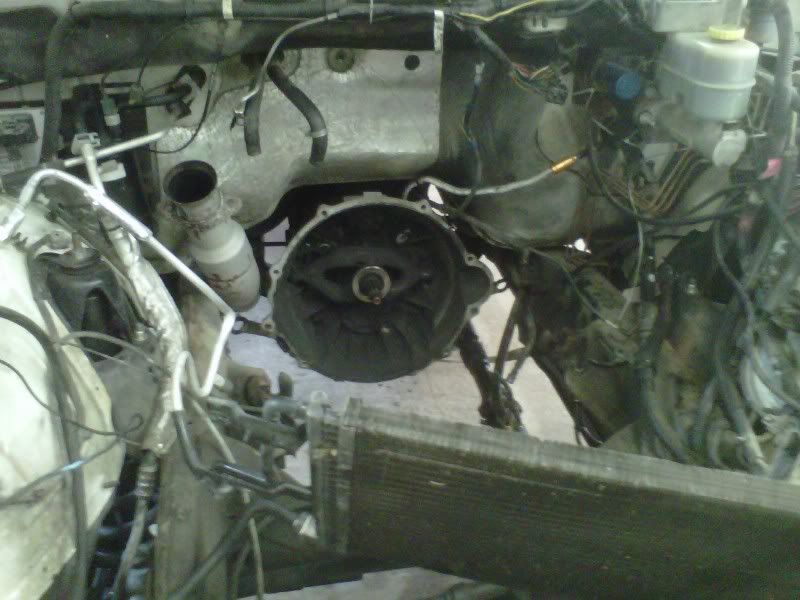
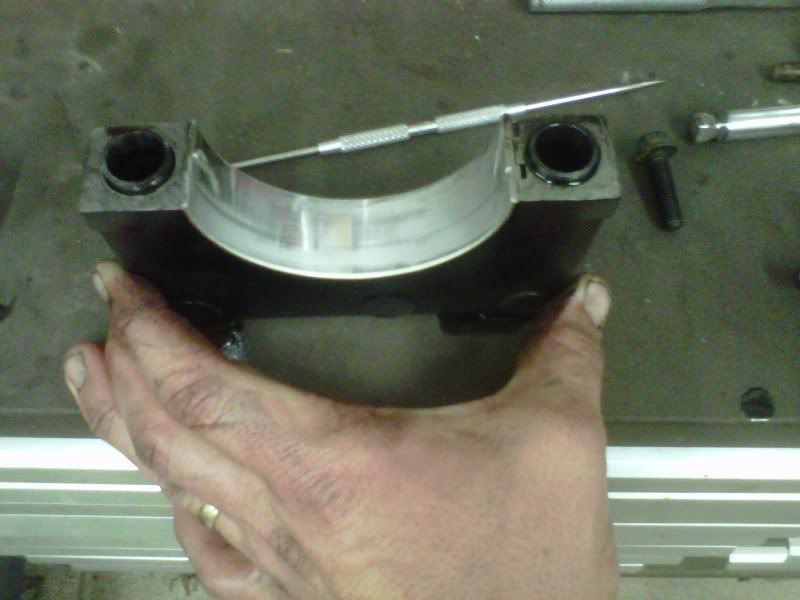
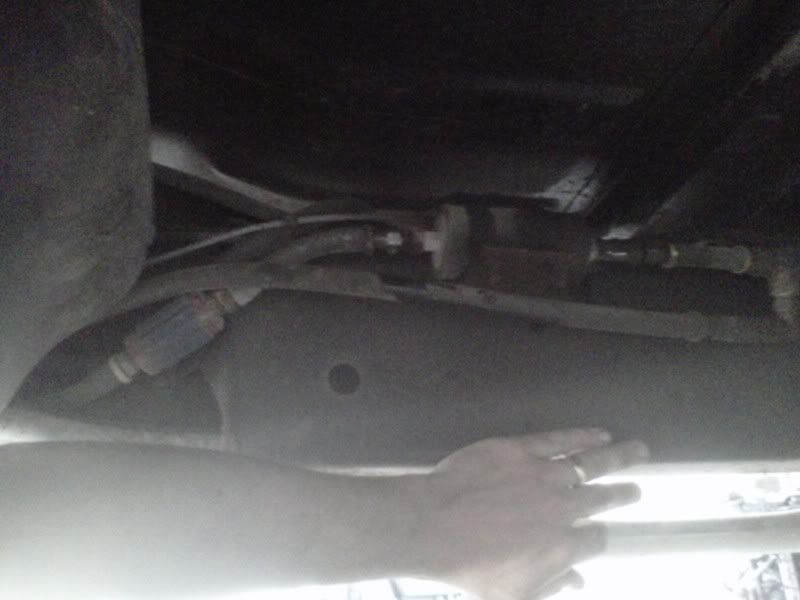
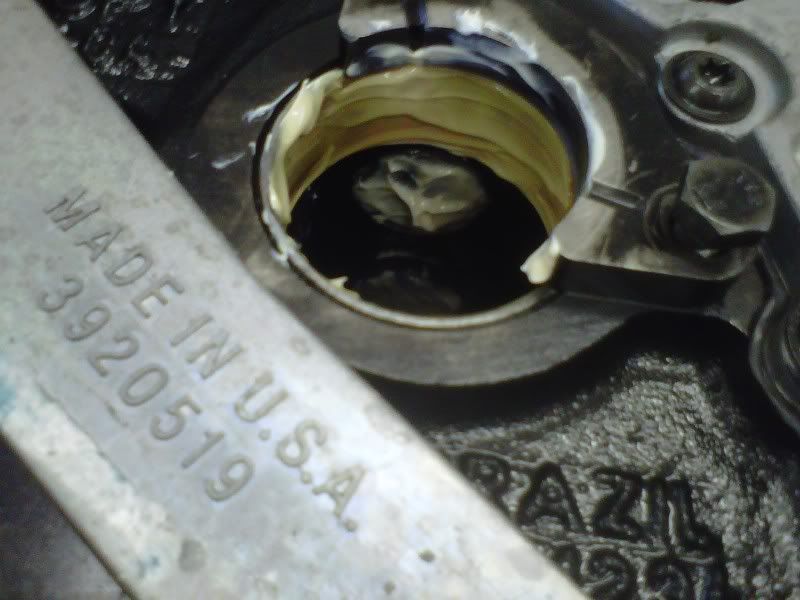
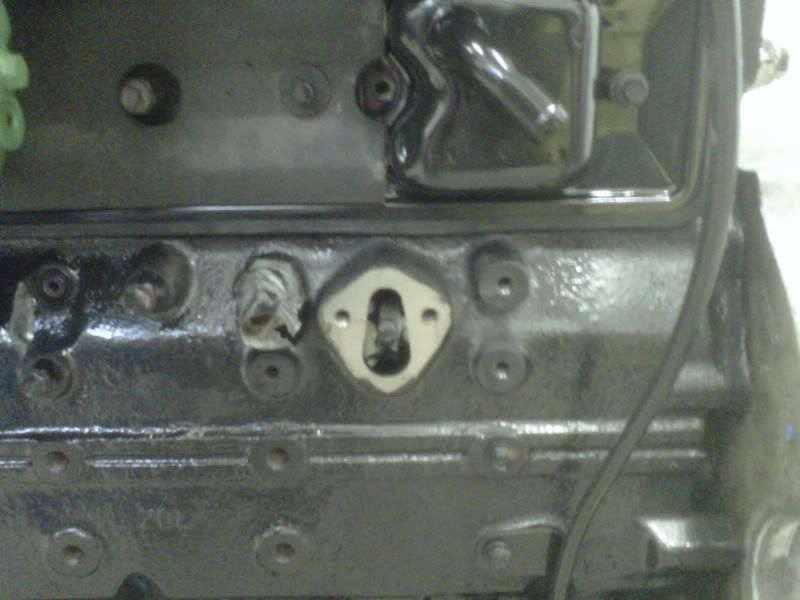
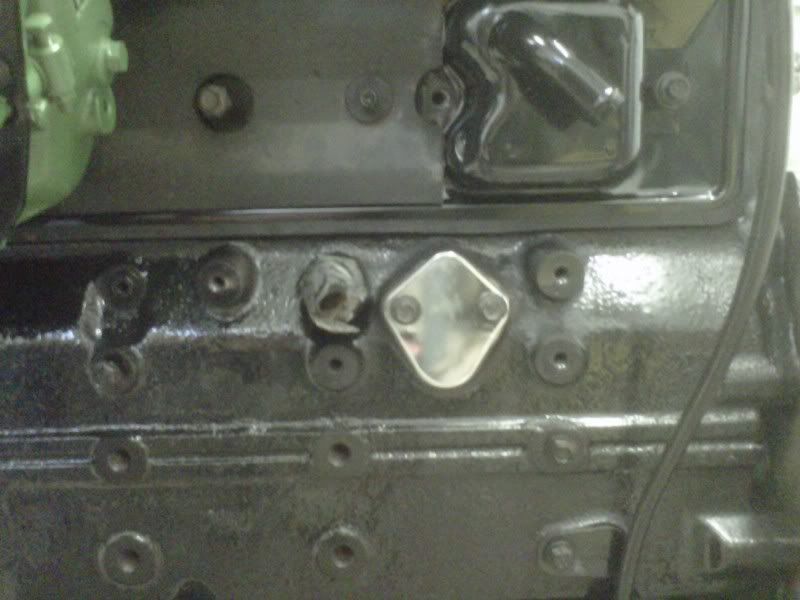
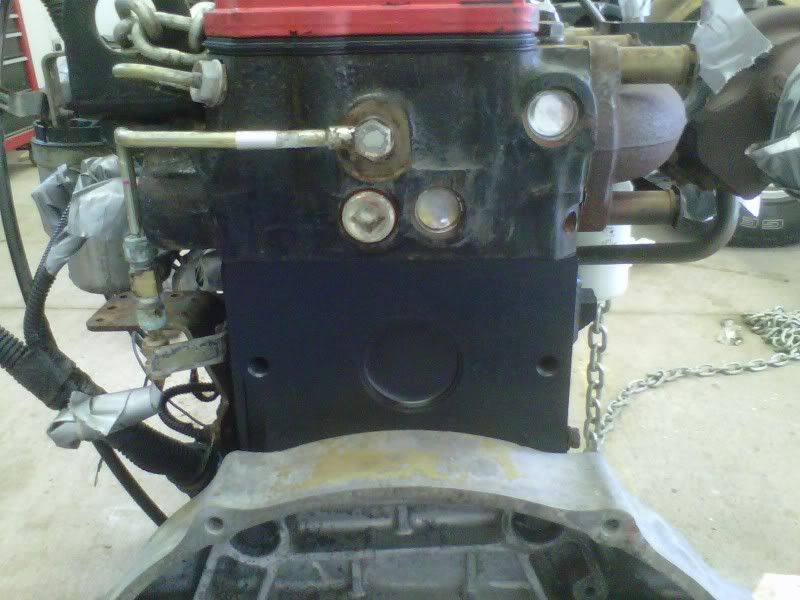
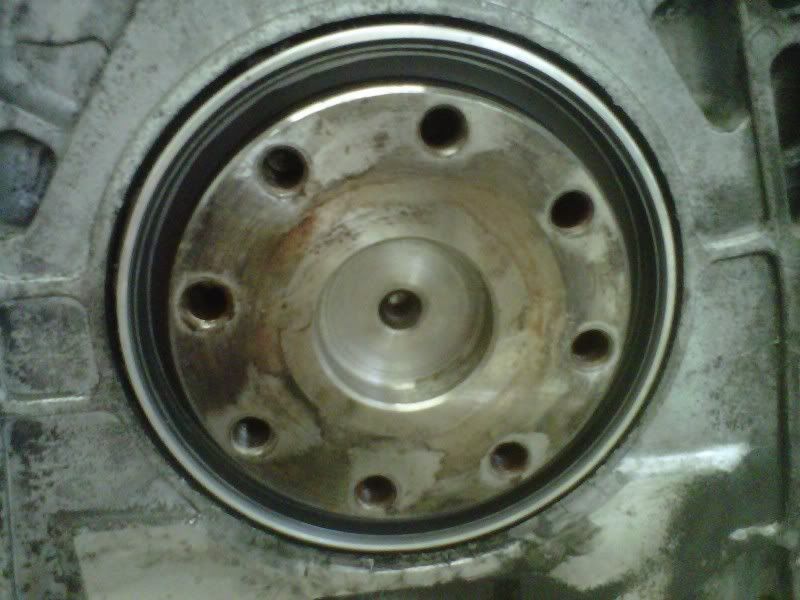
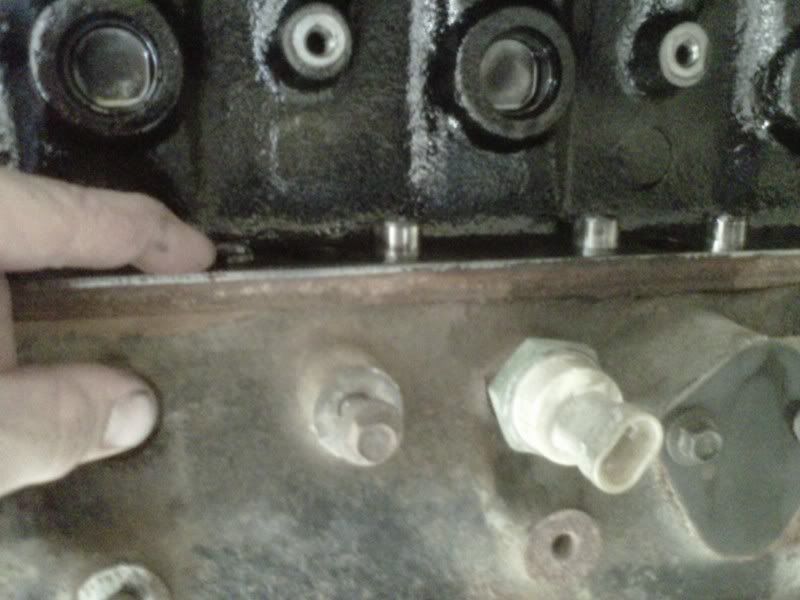
The first thing I did to the engine was to tackle the rear freeze plug. I don't really intend to run a lot of rpm with this truck, the fear of this freeze plug leaking on me while in the truck worries me. So I bought a billet rear freeze plug from eatsoot.com that shouldn't leak at all. Plus this lets me install a coolant bypass later if I decide that is needed.
Click the image to open in full size.

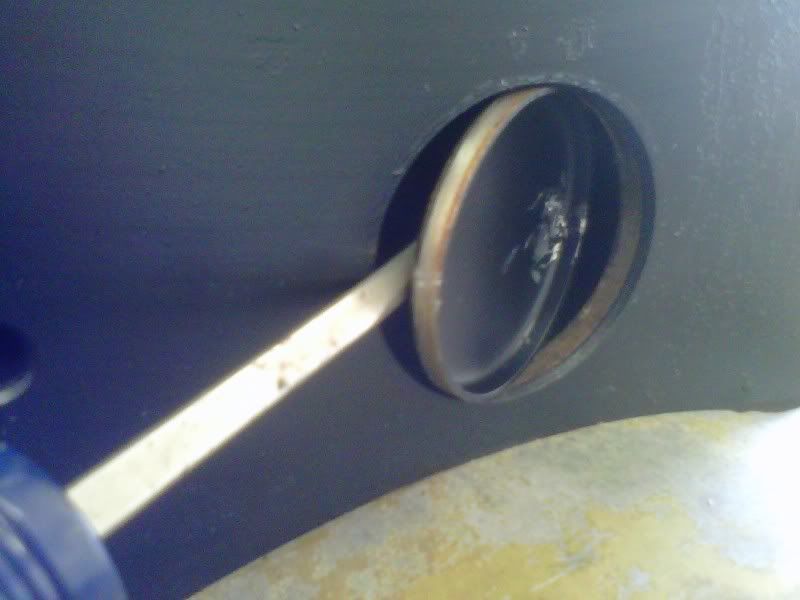
Simply tap out the original freeze plug....
Click the image to open in full size.

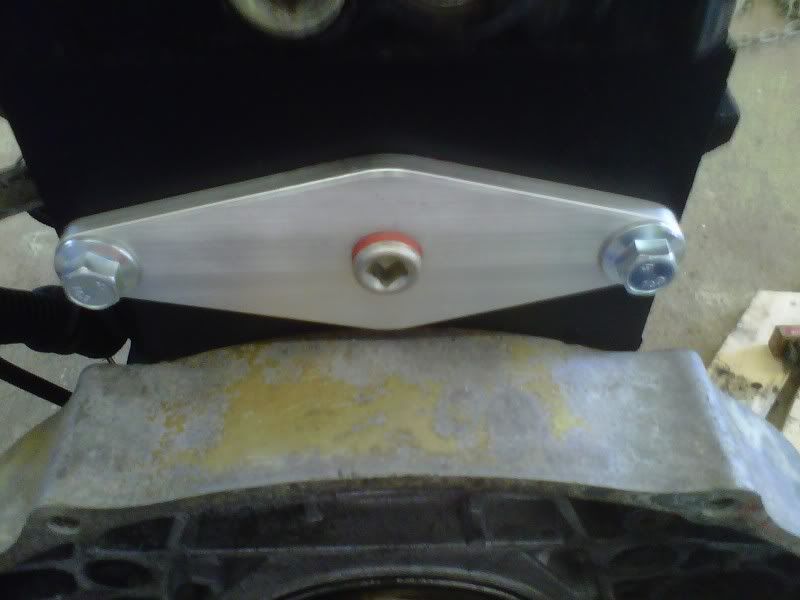
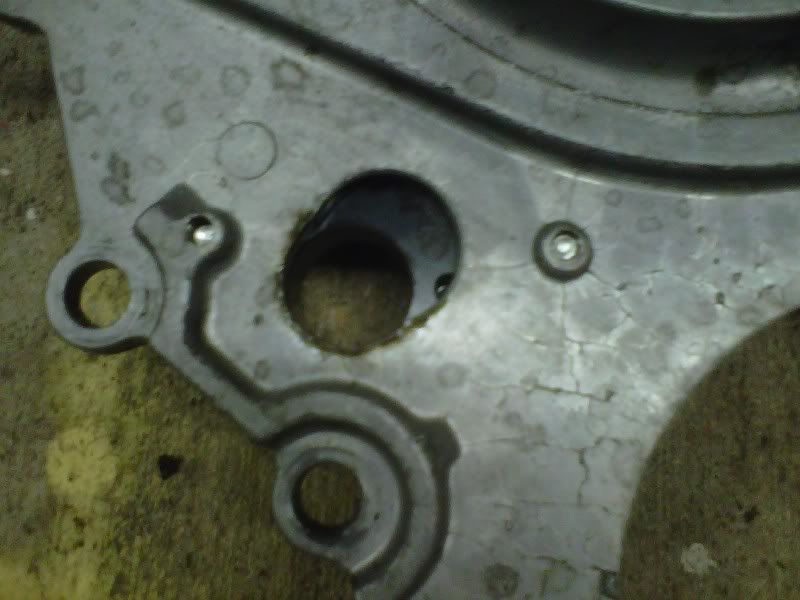
Then a light film of grease on the O-ring and bolt in the billet freeze plug. I'm really impressed with the quality and price of this piece.
Click the image to open in full size.

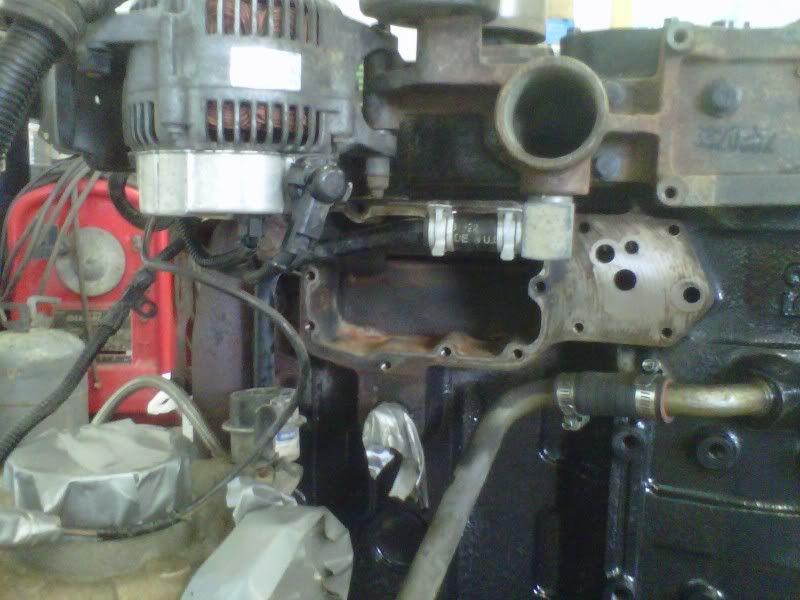
Then I replaced the rear main seal.
Click the image to open in full size.

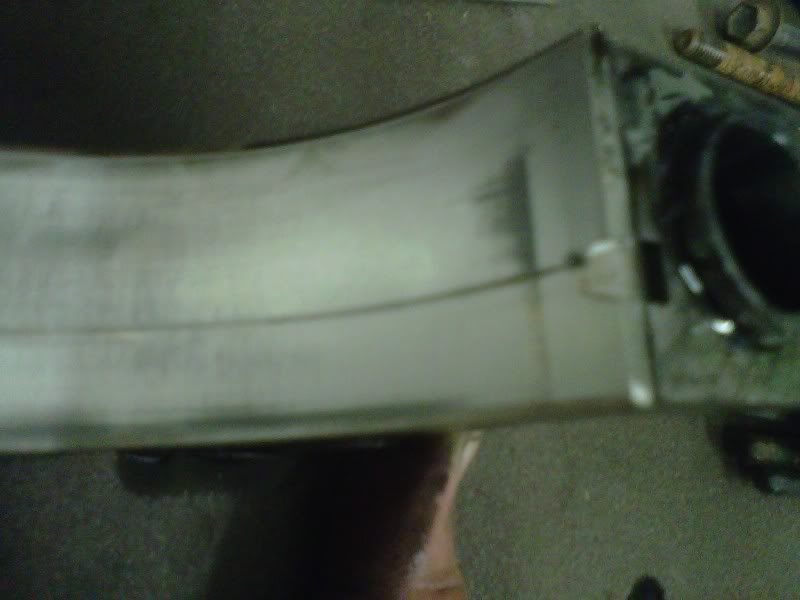
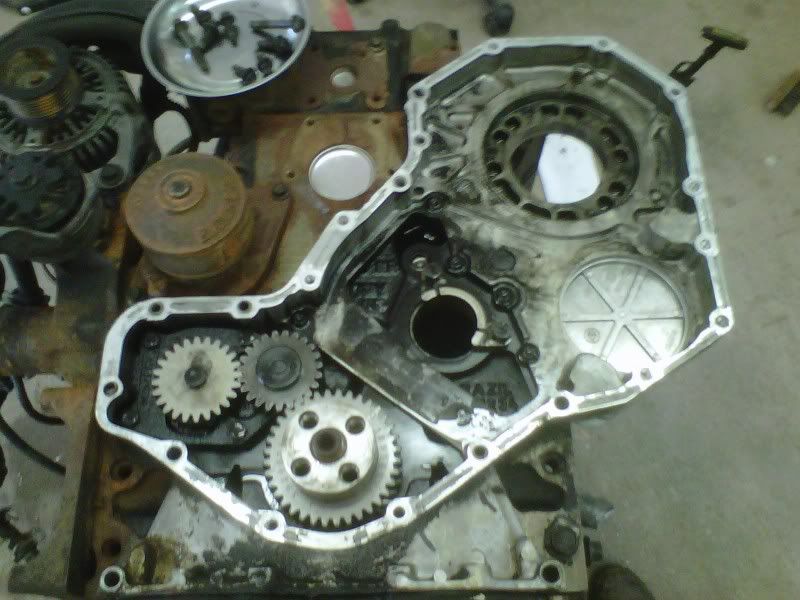
Next I decided to get the 12valve gear housing ready by removing the TDC pin from the housing.
Click the image to open in full size.

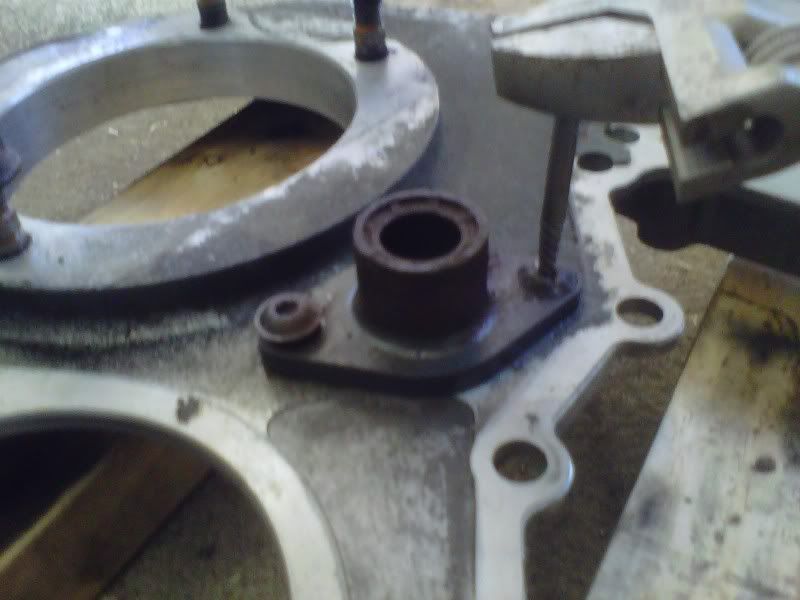
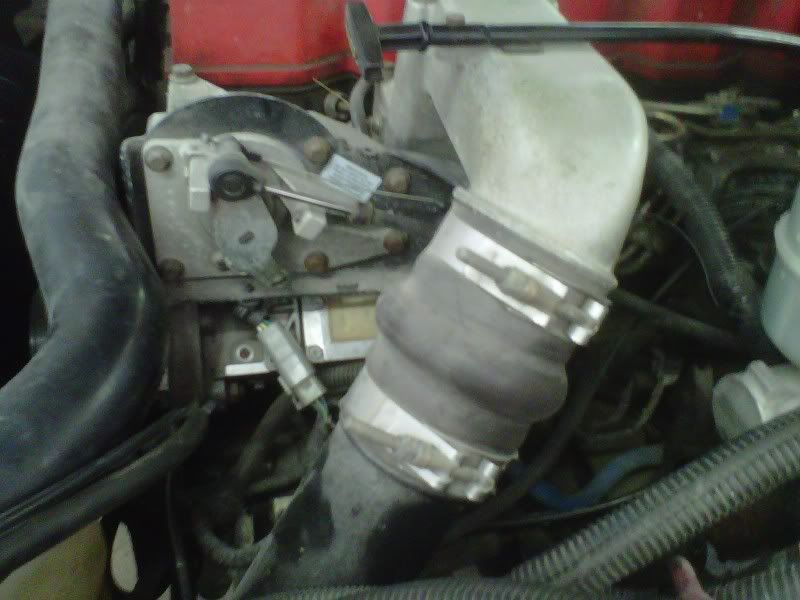
Then I bolted the cam sensor relocation block in place of the TDC pin.
Click the image to open in full size.

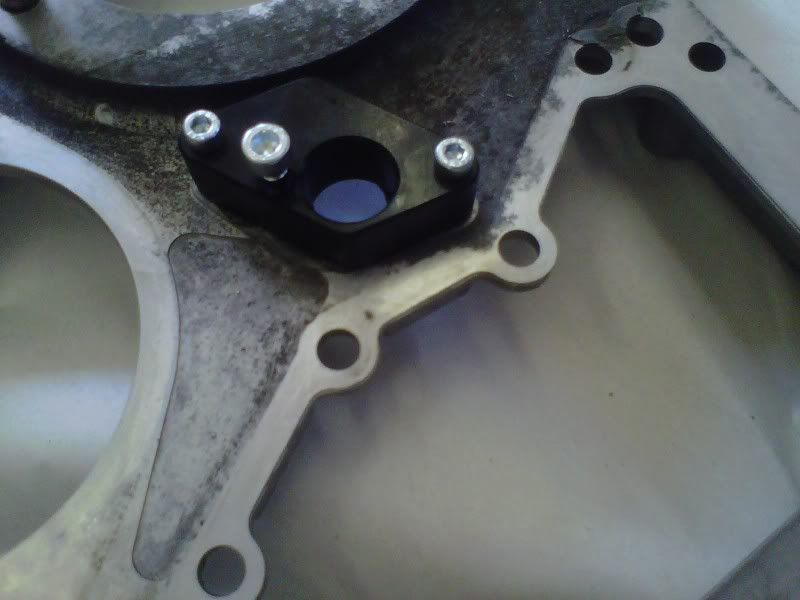
You can see how much material that you have to remove in order to place the cam sensor properly. I simply followed the instructions which tell you to mark the area that needs to be removed and grind it away. Again, this piece is from eatsoot.com and am impressed with both the quality and price of this piece.
Click the image to open in full size.

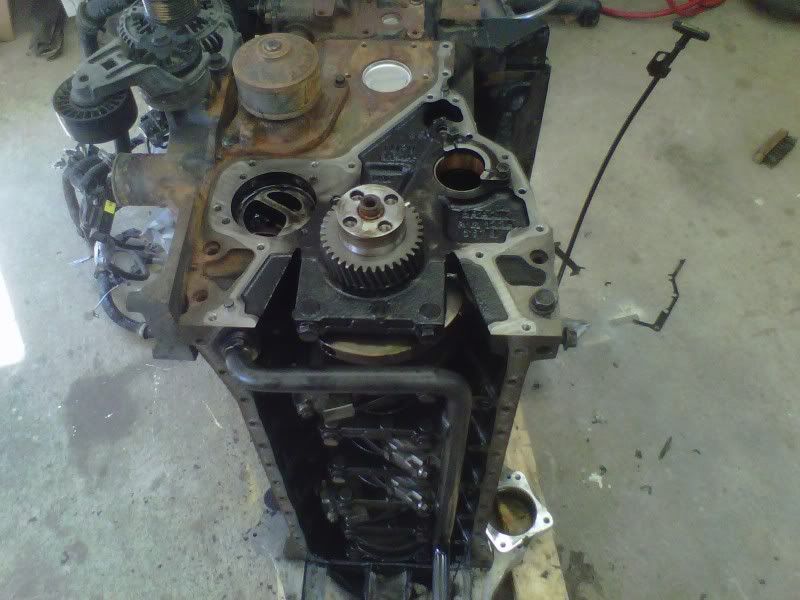
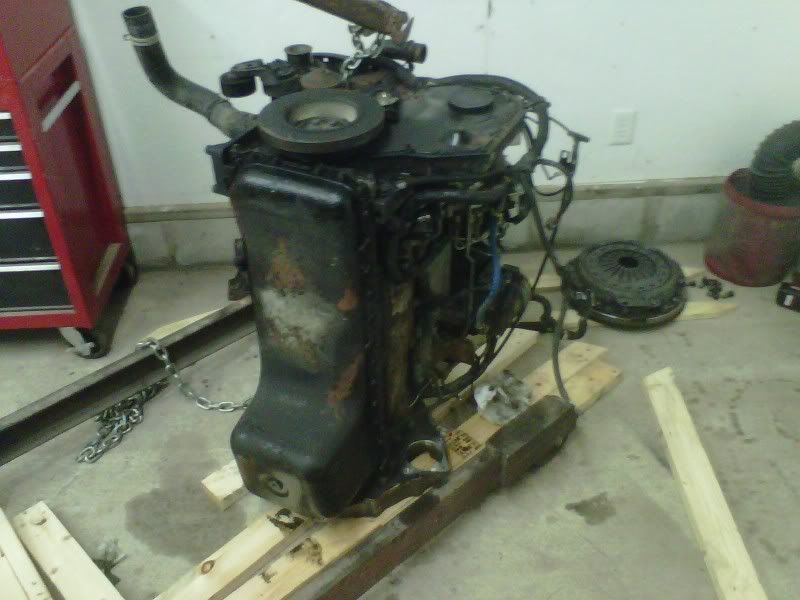
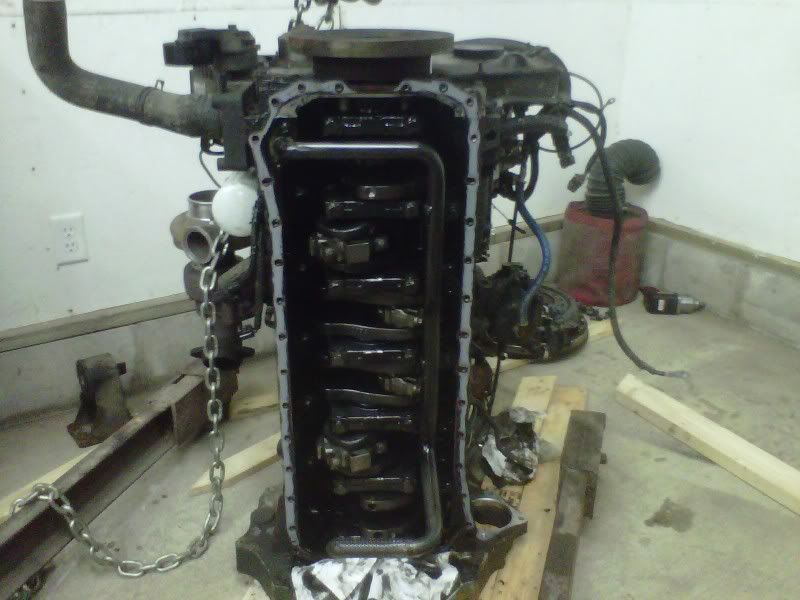
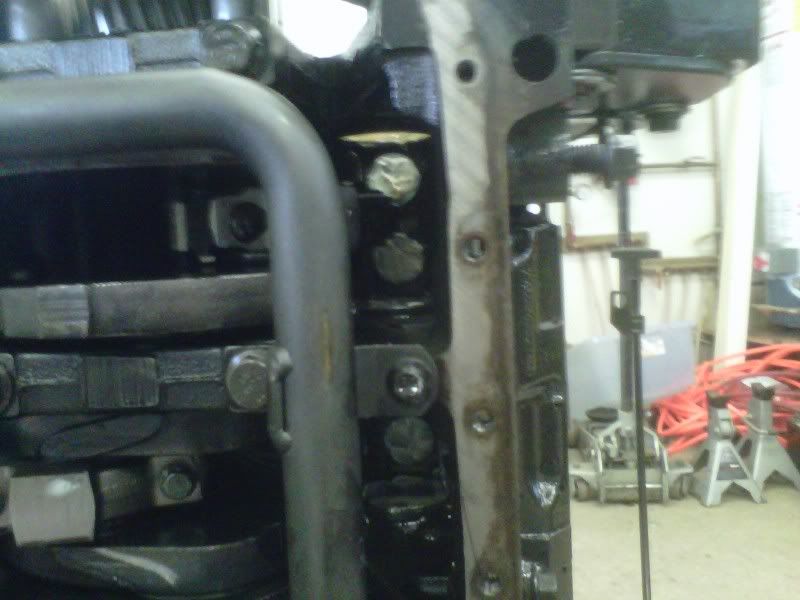
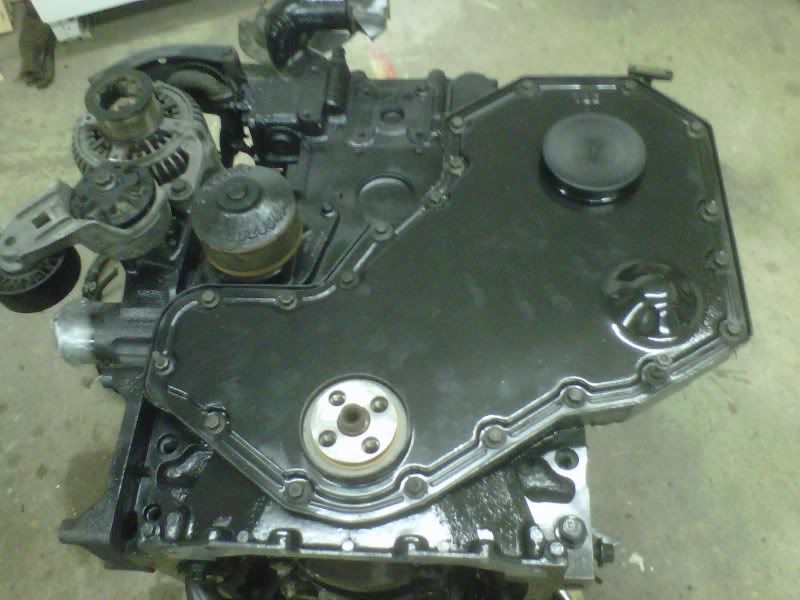
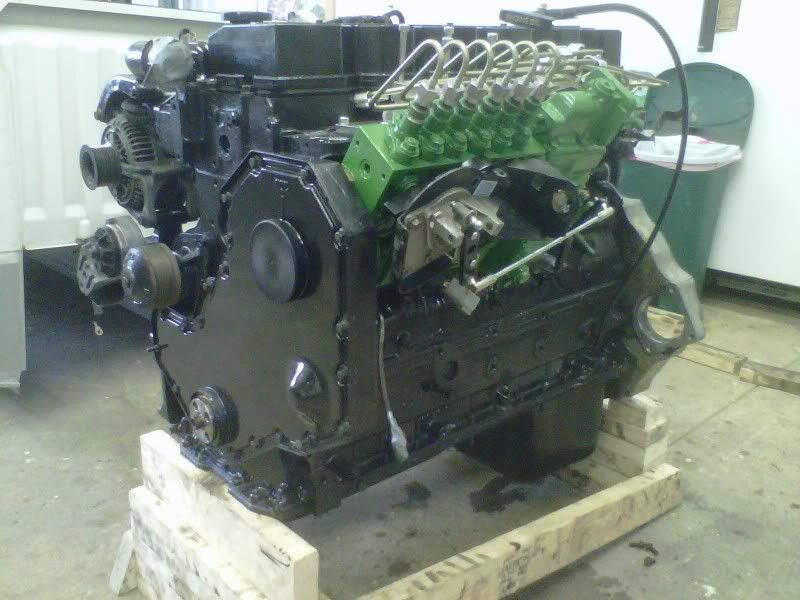
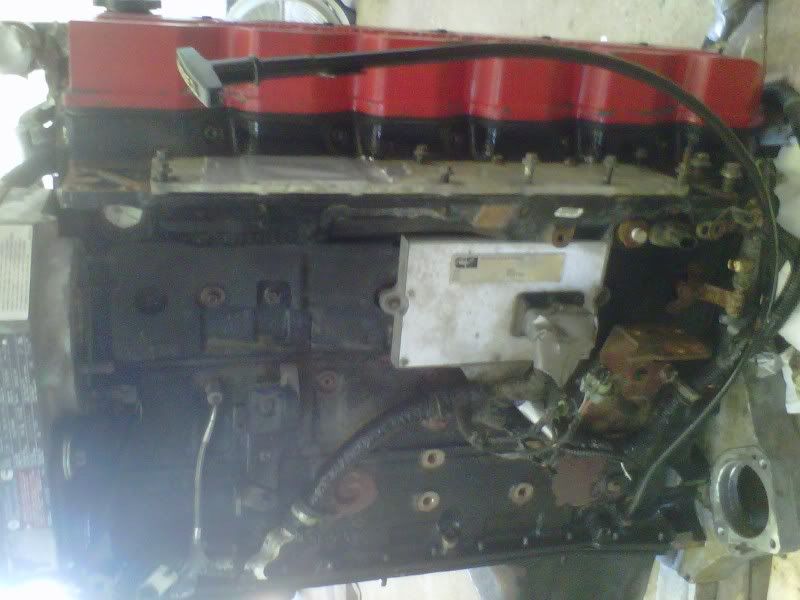
Now I'm ready to start tearing the engine down! So back up on the flywheel housing it goes. I rotated the camera to make the engine look like it was sitting normally and wasn't hard to look at.
Click the image to open in full size.

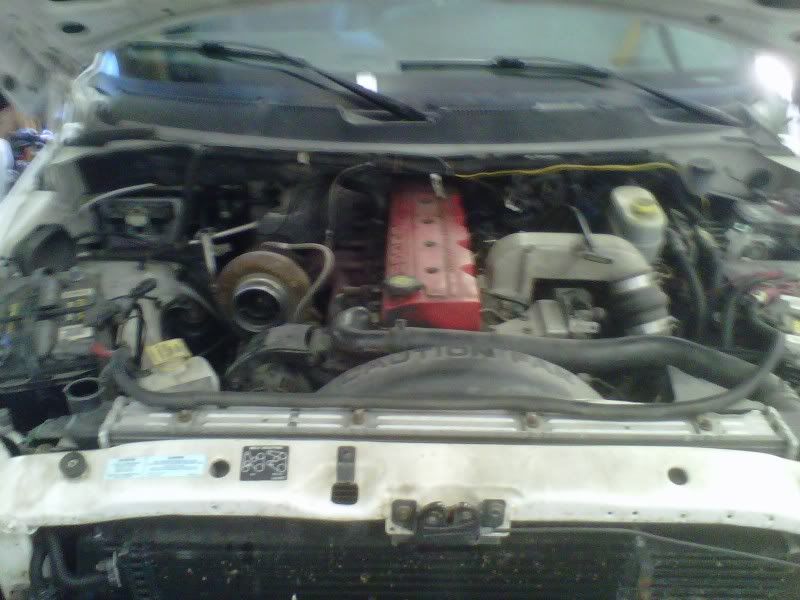
Oh no, now my warranty is voided! I couldn't resist taking this picture.
Click the image to open in full size.

First off come the injection lines.
Click the image to open in full size.

Then the fuel filter.
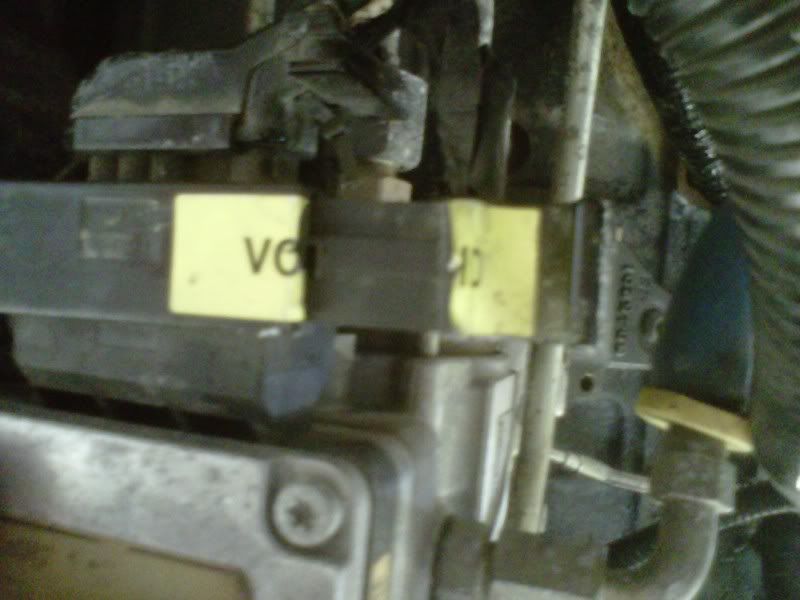
Click the image to open in full size.

Then the VP44 injection pump.
Click the image to open in full size.

Then the ECM and the wire harness.
Click the image to open in full size.

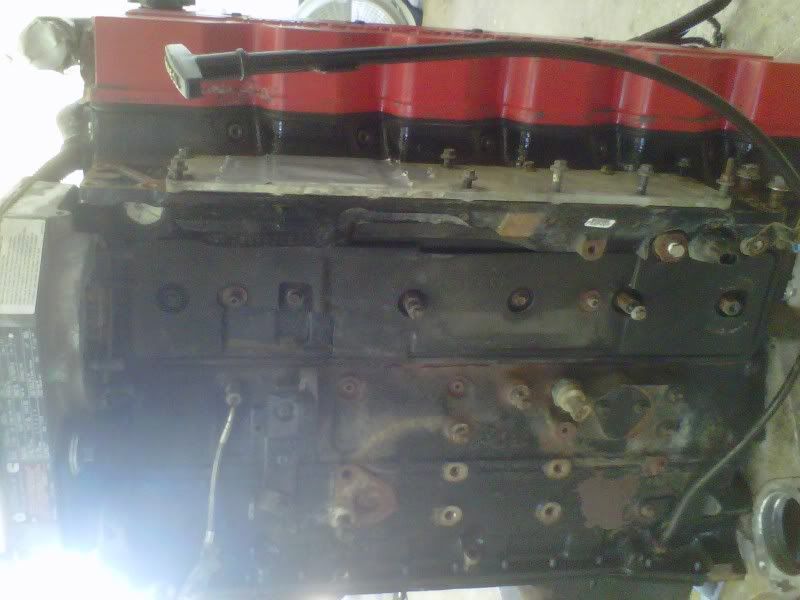
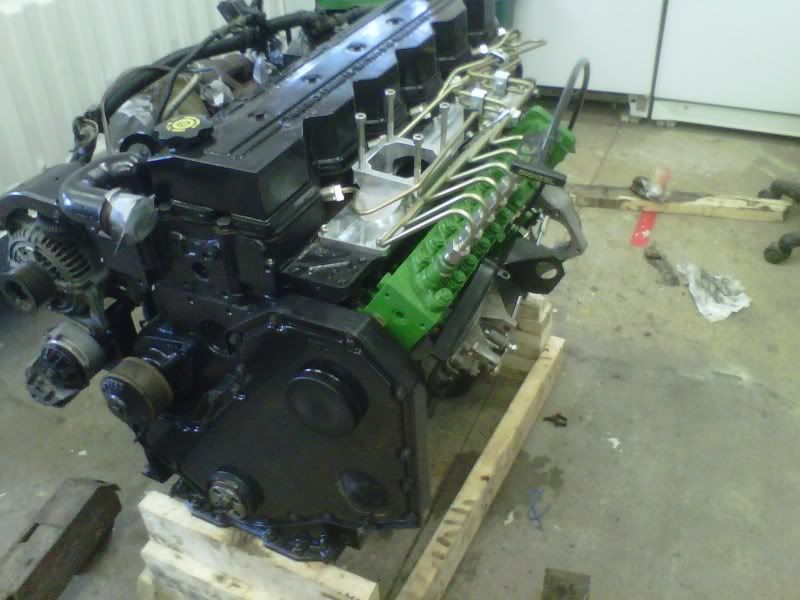
Next the tappet cover comes off.
Click the image to open in full size.

Then the valve cover, along with the push tubes and rockers.
Click the image to open in full size.

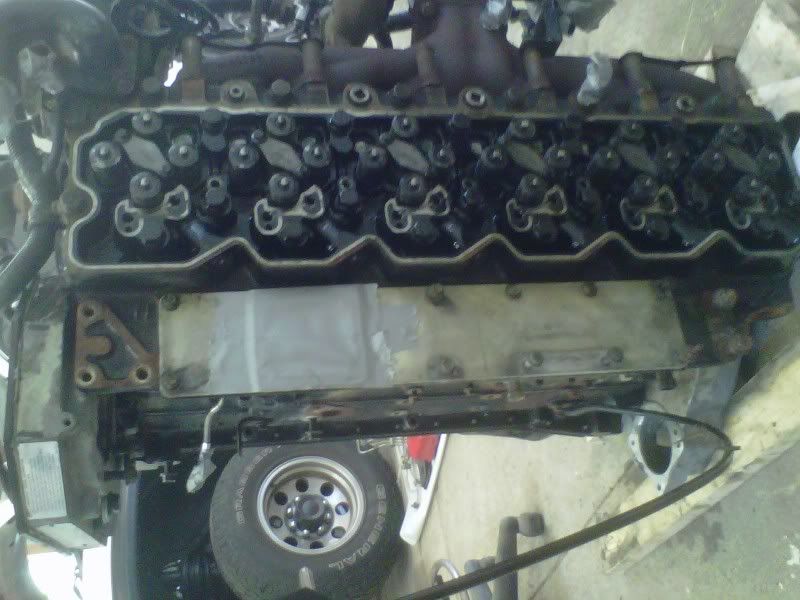
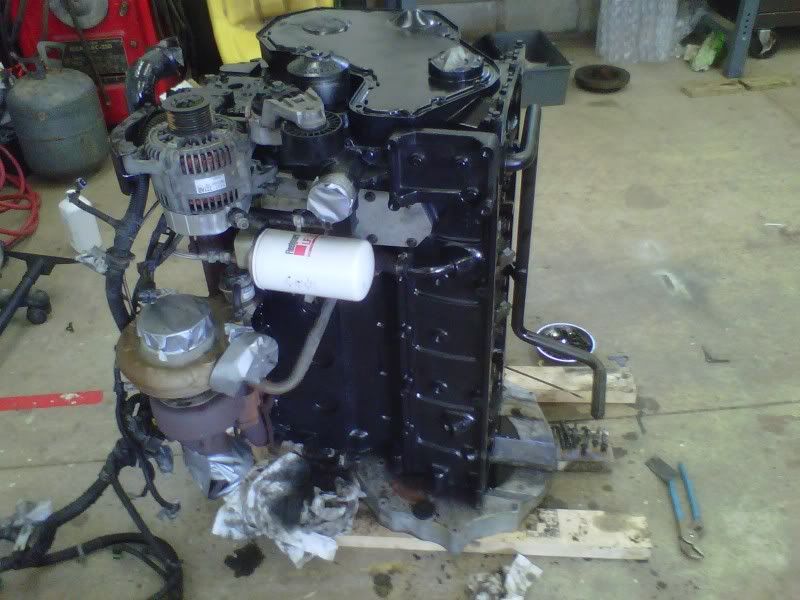
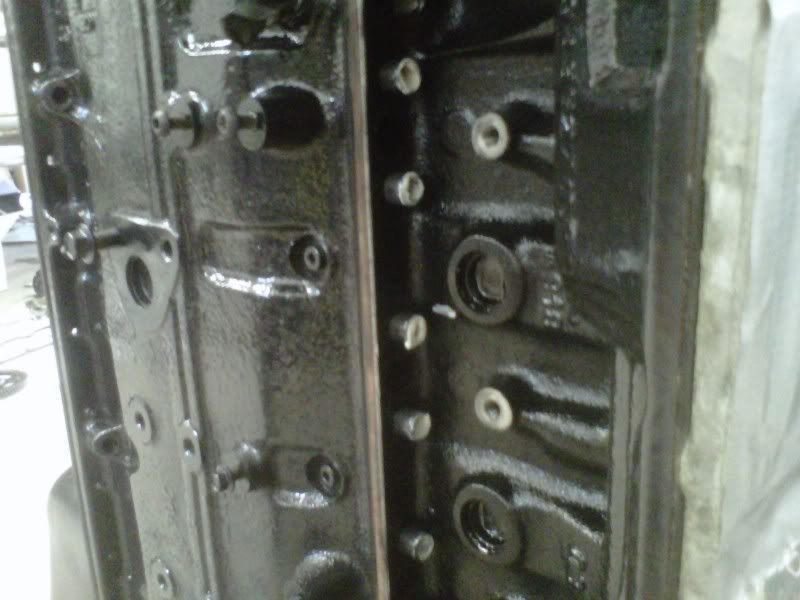
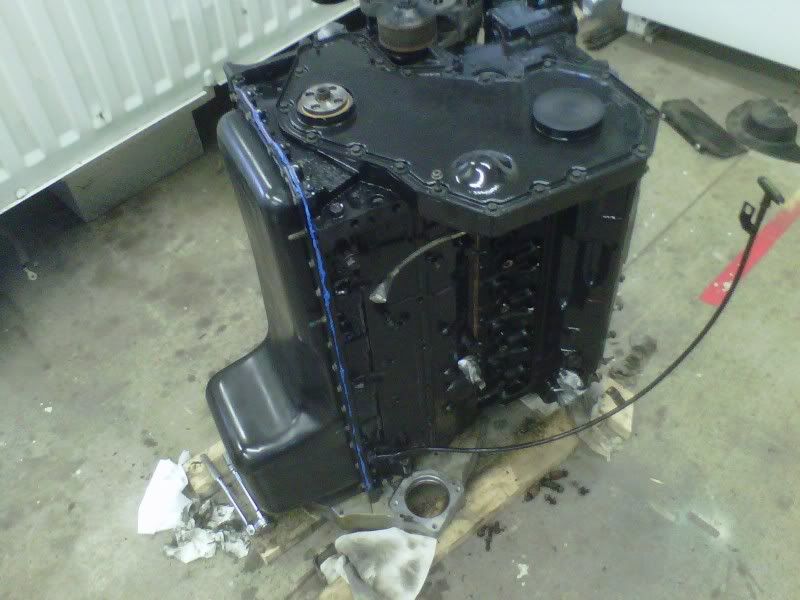
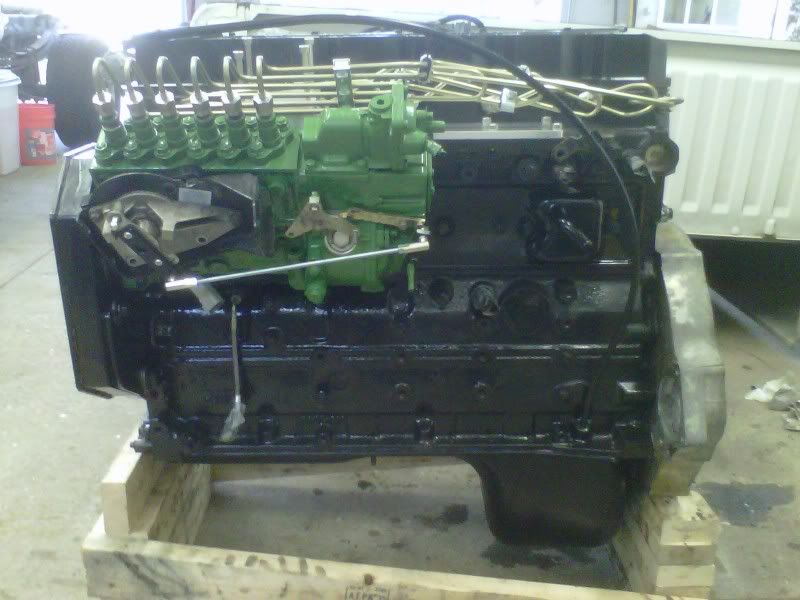
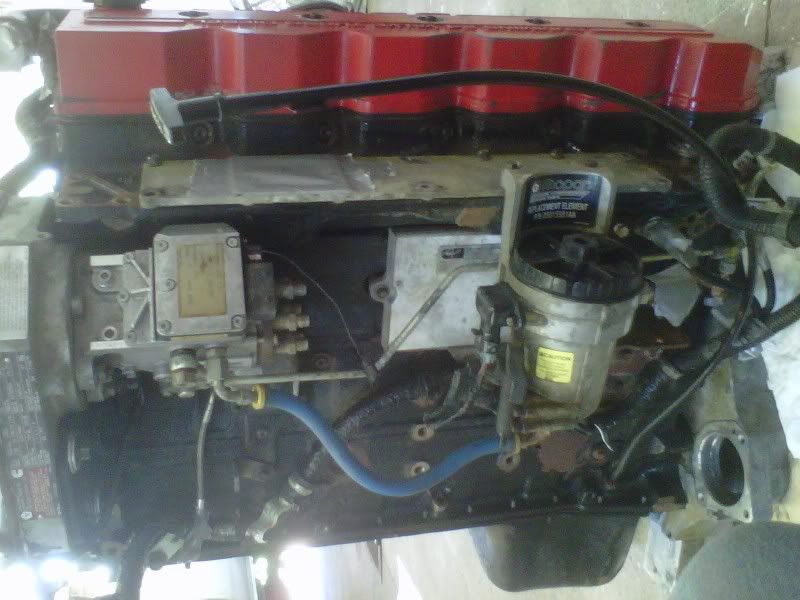
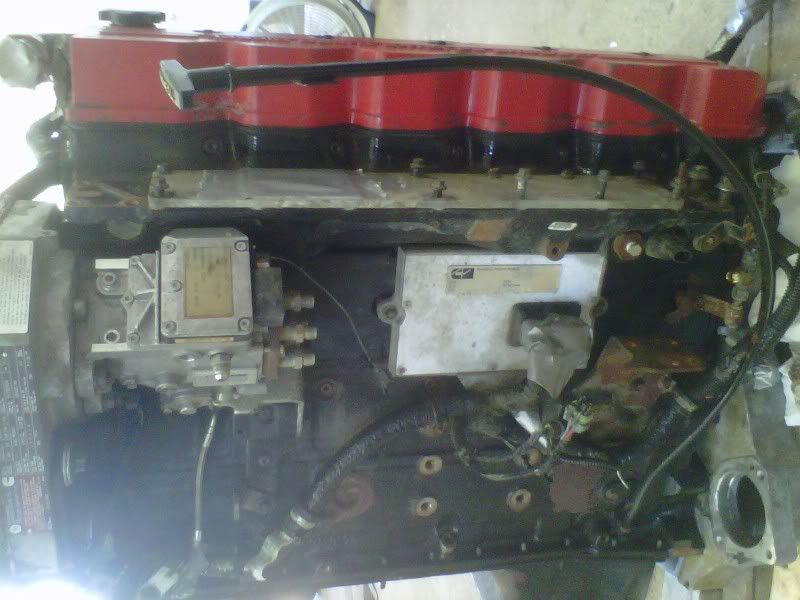
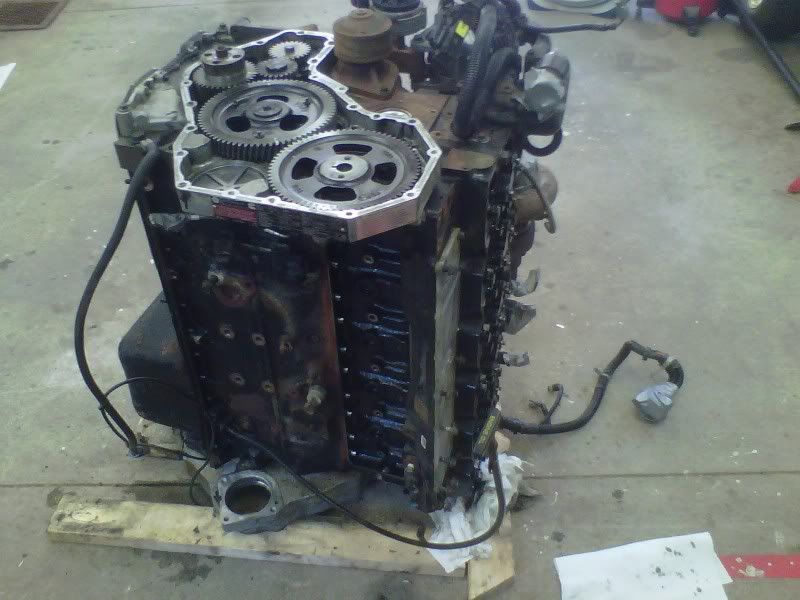
Here's a picture of the entire engine at this point.
Click the image to open in full size.

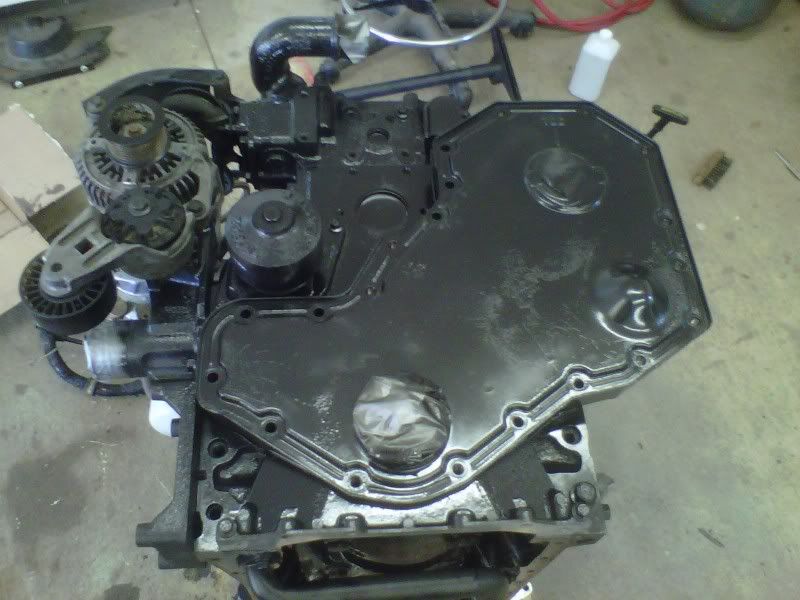
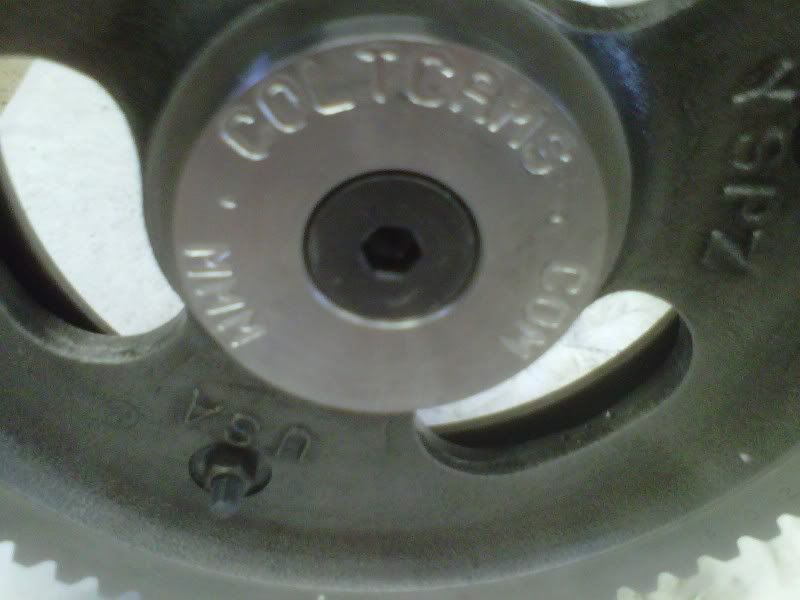
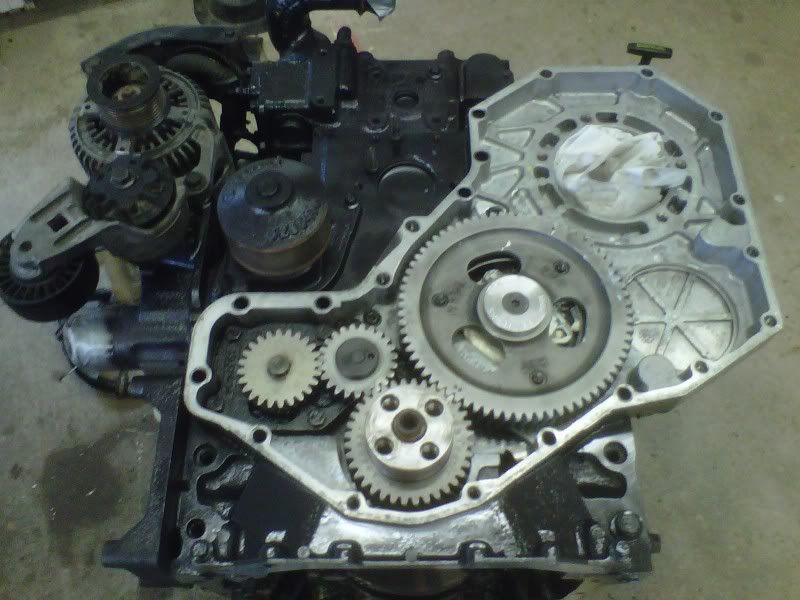
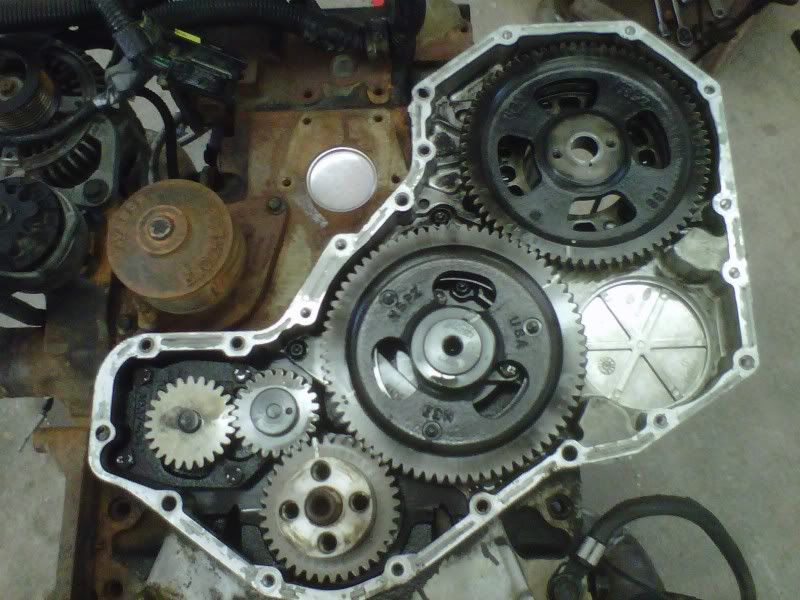
Focusing on the gear train.
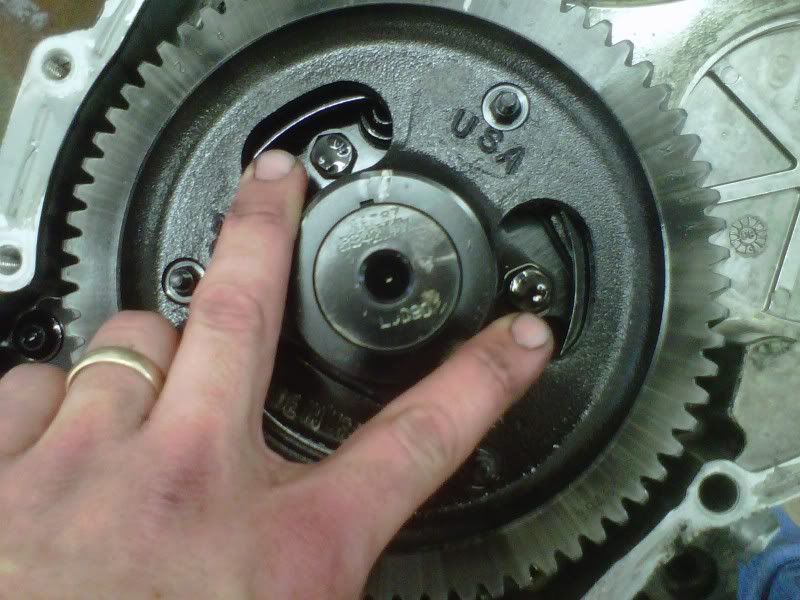
Click the image to open in full size.

No need for the VP44 pump drive gear anymore. Now I'm ready to pull the cam out. I've never done any of this (but have wanted to ever since I can remember) so I'm really anxious at this point.
Click the image to open in full size.

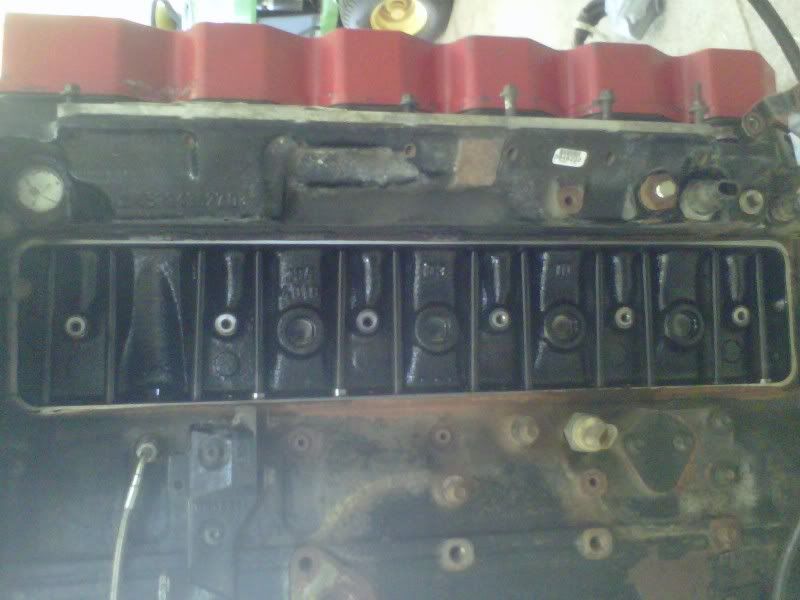
First I have to unbolt the cam retainer.
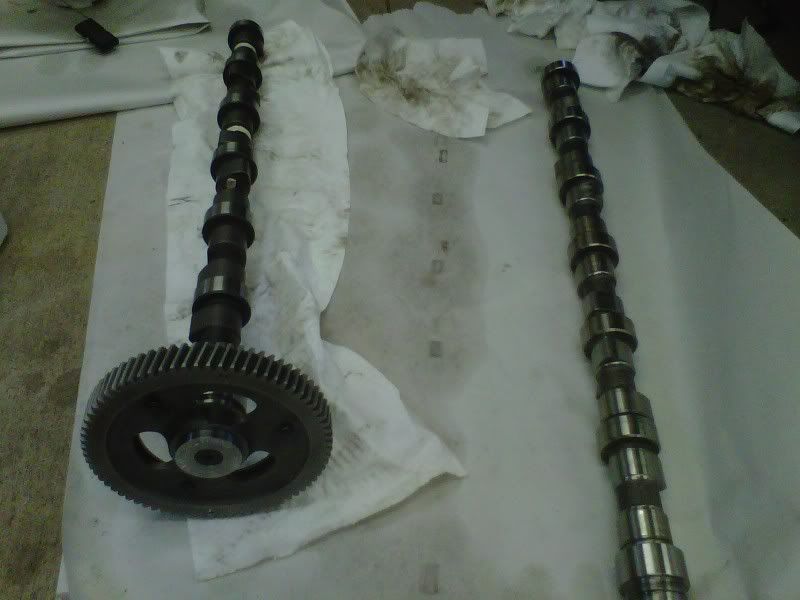
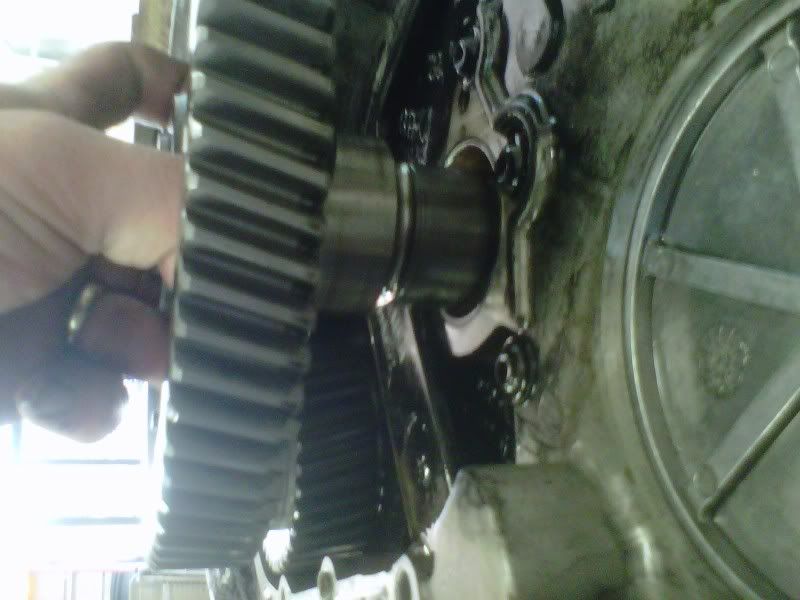
Click the image to open in full size.

Cam coming out.
Click the image to open in full size.

Cam is out!
Click the image to open in full size.

"Look ma, no dowel rods!" Here's probably the biggest advantage to sitting the engine on the flywheel housing to do this job. I don't have to worry about the tappets falling because gravity isn't pulling them down.
Click the image to open in full size.

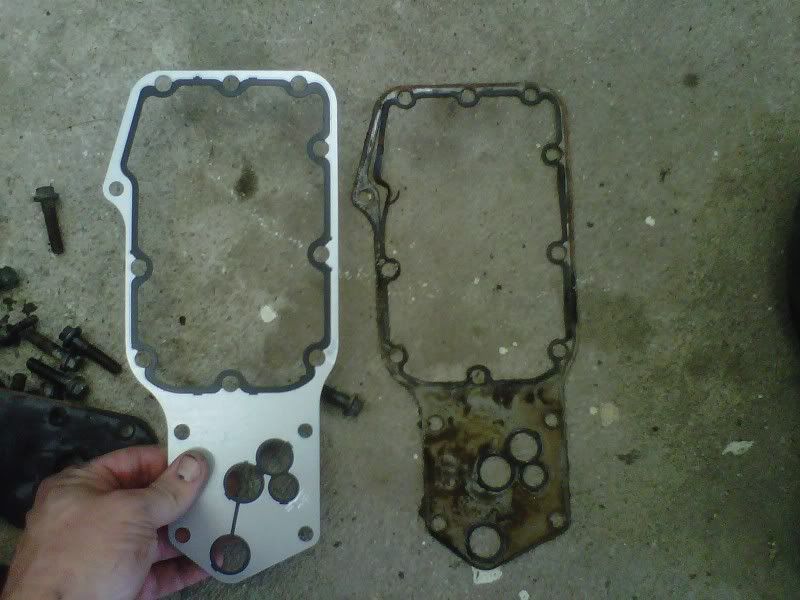
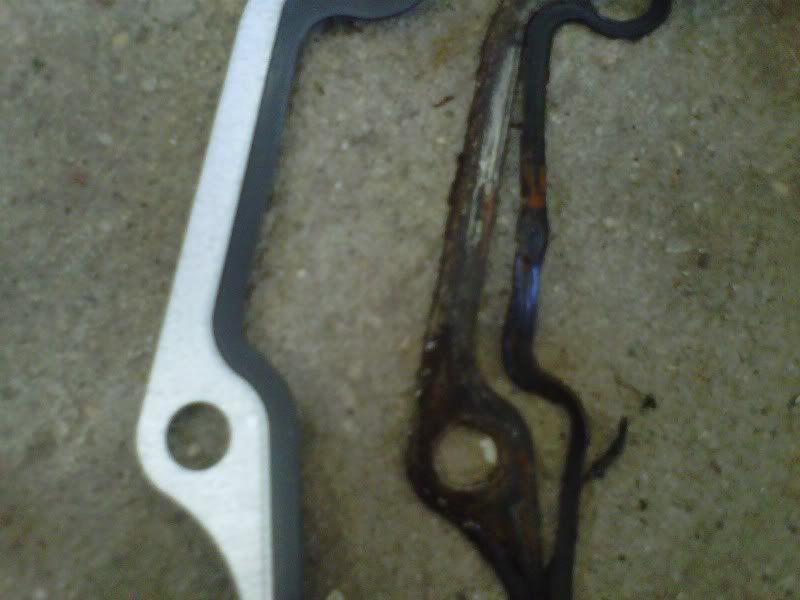
Next I take off the 24valve gear housing. I ended up taking the oil pump off too so that I could scrape the old gasket off better.
Click the image to open in full size.
__________________
2001.5 CTD 2500 4x4 ETH
160hp P-pump
- 100 plate
- 4k gsk
- barrels turned
- Mack rack plug
Weston's 7 x 0.010
Colt Cams 181/210
Air Dog 150
Kenny's Dual Disk Clutch
Tunnel Ram
poor little hx35
 
Old 07-15-2012, 05:54 PM   #3
blu_by_u
 
blu_by_u's Avatar

Name: blu_by_u
Title: Diesel Head
Status: Not Here
Join Date: Nov 2007
Location: NE Iowa
Member`s Gallery
Posts: 316
At this point I'm waiting for more parts to show up, so I decided to tackle a few other things. I noticed the oil cooler was leaking.
Click the image to open in full size.

Looking at the old gasket I can see easily that the gasket had failed.
Click the image to open in full size.

Close up of failed gasket.
Click the image to open in full size.

Then I masked off and painted this side of the engine, along with the front.
Click the image to open in full size.

After doing about all that I could think of to the engine before parts started showing up again, I decided to begin removing my Walbro pump to make room for my new AirDog 150. Sorry for the glare/poor picture.
Click the image to open in full size.
__________________
2001.5 CTD 2500 4x4 ETH
160hp P-pump
- 100 plate
- 4k gsk
- barrels turned
- Mack rack plug
Weston's 7 x 0.010
Colt Cams 181/210
Air Dog 150
Kenny's Dual Disk Clutch
Tunnel Ram
poor little hx35
 
Old 07-15-2012, 05:56 PM   #4
blu_by_u
 
blu_by_u's Avatar

Name: blu_by_u
Title: Diesel Head
Status: Not Here
Join Date: Nov 2007
Location: NE Iowa
Member`s Gallery
Posts: 316
I need to empty the 3/4 tank of fuel some how. This container was about the best thing I could find in my garage. We probably won't use it for dog food anymore - haha. The bad thing is that the container is now full and I have plenty more fuel in the truck's tank.
Click the image to open in full size.

After coming back from a friend's house/shop with a nice press, I'm back to work on the engine. On the left is my new Big Stick cam from Colt Cams. The cam on the right is my stocker. I bought it through Source Automotive and will tell you that their customer service is excellent.
Click the image to open in full size.

Here is one of the biggest reasons I decided to buy a cam, the cam gear retainer. Maybe it's not too tough to drill and tap a hole for the retainer, but I thought this might be a good excuse to buy one.
Click the image to open in full size.

Since I've never put an engine together, I wasn't sure what would be the best engine assembly lube to use. I went to the local auto parts stores and the products they had just didn't impress me for some reason. I really wouldn't know what makes a good lube and what doesn't, but something didn't seem right with their products. So I went to the local John Deere dealer (I like to support them when ever possible since I work for the company now). They suggested to use Lubriplate 105 so I bought a tube. Then when I got home I read through the Cummins manual and it recommended the same thing! I was pretty happy with my purchase! Not wanting to leave anything to chance, I probably used twices as much as needed.
Click the image to open in full size.

Here I lubed the lifters where they slide in the block and where the push tubes ride in the cup. This is also another view of how the lifters stay in place when the block is sitting on the flywheel.
Click the image to open in full size.

And of course I lubed up the face of the lifters pretty liberally.
Click the image to open in full size.

Here's a pic of the new cam after lubing every journal and lobe. I even lubed the lift pump lobe, which I won't even be using - haha. I also made sure to put a generous amount of Lubriplate where the cam retainer holds the cam in the block.
Click the image to open in full size.

And there it is, the cam is in!
Click the image to open in full size.

With all of that done, I cleaned put in my P-pump drive gear. Then I installed the front gear cover with a new crank seal. I sure hope the new seal doesn't leak!
Click the image to open in full size.
__________________
2001.5 CTD 2500 4x4 ETH
160hp P-pump
- 100 plate
- 4k gsk
- barrels turned
- Mack rack plug
Weston's 7 x 0.010
Colt Cams 181/210
Air Dog 150
Kenny's Dual Disk Clutch
Tunnel Ram
poor little hx35
 
Old 07-15-2012, 05:57 PM   #5
blu_by_u
 
blu_by_u's Avatar

Name: blu_by_u
Title: Diesel Head
Status: Not Here
Join Date: Nov 2007
Location: NE Iowa
Member`s Gallery
Posts: 316
This is how I started the next day... I found a place to put the fuel from the truck! I wonder what the neighbors thought - hahaha
Click the image to open in full size.

I installed the oil pan next. I completely ruined the oil pan gasket three ways: over-torquing, using the wrong torque sequence, and by using too much RTV. I found a nearby store that had two oil pan gaskets in stock and bought both because they were only open for another 2 hours and wasn't going to risk halting progress if I messed up a second gasket.
Click the image to open in full size.

I installed the 12 valve tappet cover that I bought new. Looks like there is a hole in the block that I need to cover up since I won't be using a mechanical lift pump and need to remove the original lift pump bracket.
Click the image to open in full size.

And just like everyone says, a cheap Chevy big block fuel pump block off plate works like a charm! Also adds a little bling. I just hope it doesn't limit my power output any (sorry Chevy fans, I couldn't help myself)
Click the image to open in full size.

With all of that done, and getting near the end of the day, we couldn't resist placing the P-pump on the engine, along with the Tunnel Ram that I bought, and the conversion lines.
Click the image to open in full size.
__________________
2001.5 CTD 2500 4x4 ETH
160hp P-pump
- 100 plate
- 4k gsk
- barrels turned
- Mack rack plug
Weston's 7 x 0.010
Colt Cams 181/210
Air Dog 150
Kenny's Dual Disk Clutch
Tunnel Ram
poor little hx35
 
Old 07-15-2012, 06:06 PM   #6
CSnyder
 
CSnyder's Avatar

Name: CSnyder
Title: Snyder-Motorsports
Status: Not Here
Join Date: Mar 2008
Member`s Gallery
Posts: 6,278
Looks great Craig! Like you said though you probably went a little overboard on lubing the cam up for install.
__________________
Alot of my life is easier thanks to Mumau Diesel! and Goerend Transmission

There is a HUGE difference between cocky and confident when it comes to engine building.
 
Old 07-15-2012, 06:19 PM   #7
blu_by_u
 
blu_by_u's Avatar

Name: blu_by_u
Title: Diesel Head
Status: Not Here
Join Date: Nov 2007
Location: NE Iowa
Member`s Gallery
Posts: 316
Quote:
Originally Posted by CSnyder View Post
Looks great Craig! Like you said though you probably went a little overboard on lubing the cam up for install.
Thanks! Yeah I was pretty sure I did, but I figure that stuff is cheap compared to an engine with galled cam journals.

I've seriously been thinking about cutting a hole in the wall to put an AC unit in the garage. This heat is nuts!
__________________
2001.5 CTD 2500 4x4 ETH
160hp P-pump
- 100 plate
- 4k gsk
- barrels turned
- Mack rack plug
Weston's 7 x 0.010
Colt Cams 181/210
Air Dog 150
Kenny's Dual Disk Clutch
Tunnel Ram
poor little hx35
 
Old 07-15-2012, 06:22 PM   #8
CSnyder
 
CSnyder's Avatar

Name: CSnyder
Title: Snyder-Motorsports
Status: Not Here
Join Date: Mar 2008
Member`s Gallery
Posts: 6,278
Quote:
Originally Posted by blu_by_u View Post
Thanks! Yeah I was pretty sure I did, but I figure that stuff is cheap compared to an engine with galled cam journals.

I've seriously been thinking about cutting a hole in the wall to put an AC unit in the garage. This heat is nuts!
it doesnt take a pro carpenter to frame in a hole and once you cut the humidity out of the air its comfy in any temp to work.
__________________
Alot of my life is easier thanks to Mumau Diesel! and Goerend Transmission

There is a HUGE difference between cocky and confident when it comes to engine building.
 
Old 07-15-2012, 06:50 PM   #9
AJenson
 
AJenson's Avatar

Name: AJenson
Title: Diesel Mechanic
Status: Not Here
Join Date: Oct 2008
Location: Onalaska, Wa
Member`s Gallery
Posts: 290
Build looks good so far!

Sent from my DROID3 using Tapatalk 2
__________________
2003 2500 6Spd QCLB 4X4 Totaled 10/19/2010
2002 2500 6Spd ext cab sport 4X4 lifted on 37's, Airdog, P-Pumped and twins
2012 Ram 3500 CCSB 4X4 Auto
 
Old 07-15-2012, 08:08 PM   #10
little6cylinder
 
little6cylinder's Avatar

Name: little6cylinder
Title: Everything is "fixable"
Status: Not Here
Join Date: Mar 2011
Location: Colorado
Member`s Gallery
Posts: 1,218
Looks good! I prefer BG pre lube but a lot of old school guys swear by lubriplate. Also I silicone the oil pan. Just easier. Kinda sucks to scrape it all off if you ever have it apart again. Doesn't leak though. Good work!
__________________
97 Dodge ECLB, Super Street
Built at Granby Truck Shop
 
Old 07-15-2012, 09:51 PM   #11
Cummin_un_glued
 
Cummin_un_glued's Avatar

Name: Cummin_un_glued
Title: Too Much Time
Status: Not Here
Join Date: Sep 2007
Location: Ash Flat Arkansas
Member`s Gallery
Posts: 785
i used the same tps kit on mine. one tip for ya. put a nyloc nut on the back side of the throttle linkage on the firewall end after you get the idle set. mine would back completly out and fall off until i done that
__________________
Quote:
Originally Posted by Joesixpack View Post
It don't need any of that chit, CompD is the name of the game not "can I tow with this.com"
 
Old 07-16-2012, 09:02 AM   #12
Diehard Ram
 
Diehard Ram's Avatar

Name: Diehard Ram
Title: Sled puller no more
Status: Not Here
Join Date: Dec 2009
Location: Xenia,Ohio
Member`s Gallery
Posts: 688
Where did that tps kit come from?
__________________
Thanks, Gavin


oo Daily Driver
06 Mega Cab
06 Jeep Liberty Diesel
 
Old 07-16-2012, 11:08 AM   #13
Cummin_un_glued
 
Cummin_un_glued's Avatar

Name: Cummin_un_glued
Title: Too Much Time
Status: Not Here
Join Date: Sep 2007
Location: Ash Flat Arkansas
Member`s Gallery
Posts: 785
Crazy carl

Sent with a Droid RAZR in one hand and 14,000 volts in the other.
__________________
Quote:
Originally Posted by Joesixpack View Post
It don't need any of that chit, CompD is the name of the game not "can I tow with this.com"
 
Old 07-16-2012, 11:44 AM   #14
AJenson
 
AJenson's Avatar

Name: AJenson
Title: Diesel Mechanic
Status: Not Here
Join Date: Oct 2008
Location: Onalaska, Wa
Member`s Gallery
Posts: 290
Or you can build your own TPS kit like I did.
__________________
2003 2500 6Spd QCLB 4X4 Totaled 10/19/2010
2002 2500 6Spd ext cab sport 4X4 lifted on 37's, Airdog, P-Pumped and twins
2012 Ram 3500 CCSB 4X4 Auto
 
Old 07-16-2012, 11:56 AM   #15
rockytopcummins

Name: rockytopcummins
Title: Too Much Time
Status: Not Here
Join Date: Jul 2008
Member`s Gallery
Posts: 900
Did you have trouble drilling the TPS for the adapter? I had cobalt bits that would hardly even scratch that piece. Long story short I had to take it to a machine shop and the guy there said he broke the tip off his carbide bit three times trying to drill those two holes.
__________________
2001 Dodge 2500 ECLB 6spd
P-pumped
SBDD 3850
4" turbo back/5" Aussies
Air Dog 150/150


Tow mirrors flipped up to piss you off
 
Old 07-16-2012, 12:09 PM   #16
kleann
 
kleann's Avatar

Name: kleann
Title: VP44 pwr
Status: Not Here
Join Date: Aug 2008
Location: Down yonder
Member`s Gallery
Posts: 4,388
Quote:
Originally Posted by little6cylinder View Post
Looks good! I prefer BG pre lube but a lot of old school guys swear by lubriplate. Also I silicone the oil pan. Just easier. Kinda sucks to scrape it all off if you ever have it apart again. Doesn't leak though. Good work!
Fel pro oil pan gaskets are cheap and gotta be easier than using sealant.
 
Old 07-16-2012, 12:23 PM   #17
AJenson
 
AJenson's Avatar

Name: AJenson
Title: Diesel Mechanic
Status: Not Here
Join Date: Oct 2008
Location: Onalaska, Wa
Member`s Gallery
Posts: 290
Quote:
Originally Posted by rockytopcummins View Post
Did you have trouble drilling the TPS for the adapter? I had cobalt bits that would hardly even scratch that piece. Long story short I had to take it to a machine shop and the guy there said he broke the tip off his carbide bit three times trying to drill those two holes.
Yes I did. I ended up using a uni-bit and that thing squealed like a mofo but it cut through it.
__________________
2003 2500 6Spd QCLB 4X4 Totaled 10/19/2010
2002 2500 6Spd ext cab sport 4X4 lifted on 37's, Airdog, P-Pumped and twins
2012 Ram 3500 CCSB 4X4 Auto
 
Old 07-16-2012, 01:43 PM   #18
ahale2772
 
ahale2772's Avatar

Name: ahale2772
Title: Too Much Time
Status: Not Here
Join Date: Oct 2011
Member`s Gallery
Posts: 2,442
nice writeup!
__________________
94 SCLB dually 11.3@122
 
Old 07-16-2012, 10:55 PM   #19
blu_by_u
 
blu_by_u's Avatar

Name: blu_by_u
Title: Diesel Head
Status: Not Here
Join Date: Nov 2007
Location: NE Iowa
Member`s Gallery
Posts: 316
Thanks for all of the comments.

I completely ruined a new 3/16th" bit on the first hole that I drilled in the TPS. I think the 2nd bit that I used on the 2nd hole is probably trash too.

I read in the manual that it calls for using RTV on both sides of the oil pan gasket. If I had known that I could have just used straight up RTV w/o a gasket, that sure is the way I would've gone! Oh well, maybe next time.

Last night I put the flywheel on and took off the P-pump, lines and Tunnel Ram because I still need to adjust the valves and time the pump. So no point in having all of that on. Sure does look like I took a few steps backwards, but I know different.

Tonight I set the valves. Broke a 5mm hex driver in the process. I was going to install the clutch but I think I want to see about pressing in a new pilot bearing first. It doesn't feel smooth when I turn it.
__________________
2001.5 CTD 2500 4x4 ETH
160hp P-pump
- 100 plate
- 4k gsk
- barrels turned
- Mack rack plug
Weston's 7 x 0.010
Colt Cams 181/210
Air Dog 150
Kenny's Dual Disk Clutch
Tunnel Ram
poor little hx35

Last edited by blu_by_u; 07-16-2012 at 10:57 PM.
 
Old 07-16-2012, 11:17 PM   #20
AJenson
 
AJenson's Avatar

Name: AJenson
Title: Diesel Mechanic
Status: Not Here
Join Date: Oct 2008
Location: Onalaska, Wa
Member`s Gallery
Posts: 290
Might as well do it while your there!

Sent from my DROID3 using Tapatalk 2
__________________
2003 2500 6Spd QCLB 4X4 Totaled 10/19/2010
2002 2500 6Spd ext cab sport 4X4 lifted on 37's, Airdog, P-Pumped and twins
2012 Ram 3500 CCSB 4X4 Auto
 
Closed Thread

Thread Tools

Posting Rules
You may not post new threads
You may not post replies
You may not post attachments
You may not edit your posts

BB code is On
Smilies are On
[IMG] code is On
HTML code is Off

Forum Jump


All times are GMT -5. The time now is 07:06 PM.


Powered by vBulletin
Copyright ©2000 - 2024, Jelsoft Enterprises Ltd.
Copyright ©2006 - 2024, CompetitionDiesel.com
all information found on this site is property of www.competitiondiesel.com