| Advertisement |
|
|
|
|
|
|
|
If this is your first visit, be sure to check out the FAQ by clicking the link above.
You may have to register before you can post: click the register link above to proceed.
To start viewing messages, select the forum that you want to visit from the selection below.
|
| Dodge Competition and Performance General Dodge Competition and Performance Discussion |
 03-28-2017, 04:50 AM
|
#1201
|
Name: Bodacious
Title: Comp Diesel Sponsor
Status: Not Here
Join Date: Jul 2013
Location: Weston, WV
Member`s Gallery
Posts: 2,177
|
Can't wait to see her first hand at UCC!!!! Wish we had Bodacious going. We'd just square off somewhere out in the pits. 
__________________
"Careful who you argue with on the internet. Others might not know they are idiots."
|
|
|
|
|
03-28-2017, 07:00 AM
|
#1202
|
Name: EnduringAtlas
Title: Green Behind the Ears
Status: Not Here
Join Date: Oct 2015
Member`s Gallery
Posts: 86
|
I don't have any first hand experience with fiberglass of carbon fiber but I have heard of people laying out vinyl over their forms. Wondered if you've tried this method?
Keep up the hard work, following this build is awesome and I can't wait to see how you do this racing season!
|
|
|
|
|
03-28-2017, 07:27 AM
|
#1203
|
Name: NakeDiesel
Title: Smoke'n in the Mud
Status: Not Here
Join Date: Jan 2010
Location: Hominy, OK
Member`s Gallery
Posts: 1,116
|
Well hopefully it won't disappoint. That might be fun, but you'd probably whip my butt with my heavy pig....
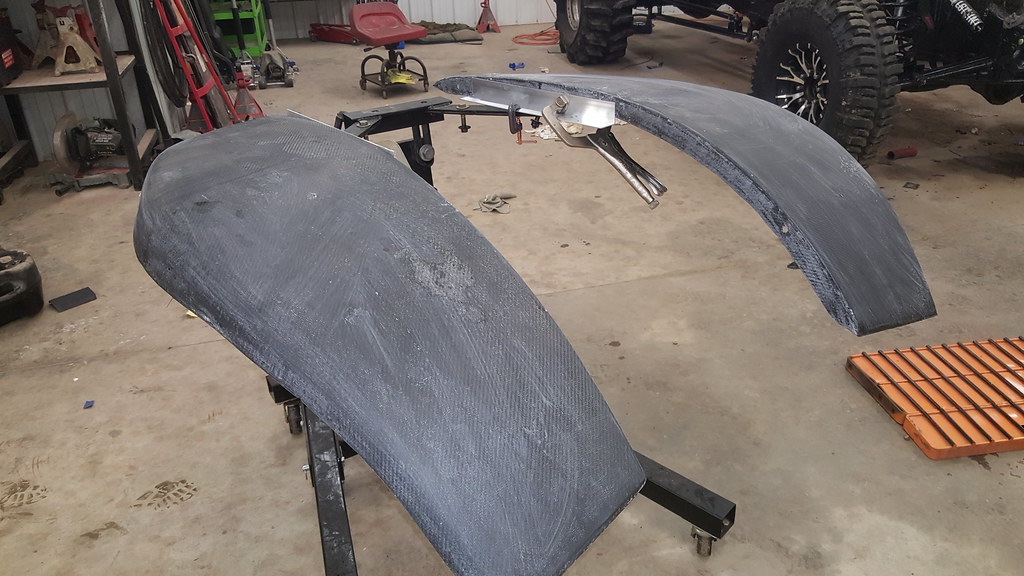
Haven't heard of laying out vinyl on the forms, will look into it. Hoping a couple of days of wet sanding and light filler work and I will have these 3 forms ready to try and make a CF part this Friday. Then I can get busy on the grill mold in finishing it off.
__________________
2005 Dodge Ram 3500 2x4 QC
1999 Dodge Ram 2500 4x4 QC
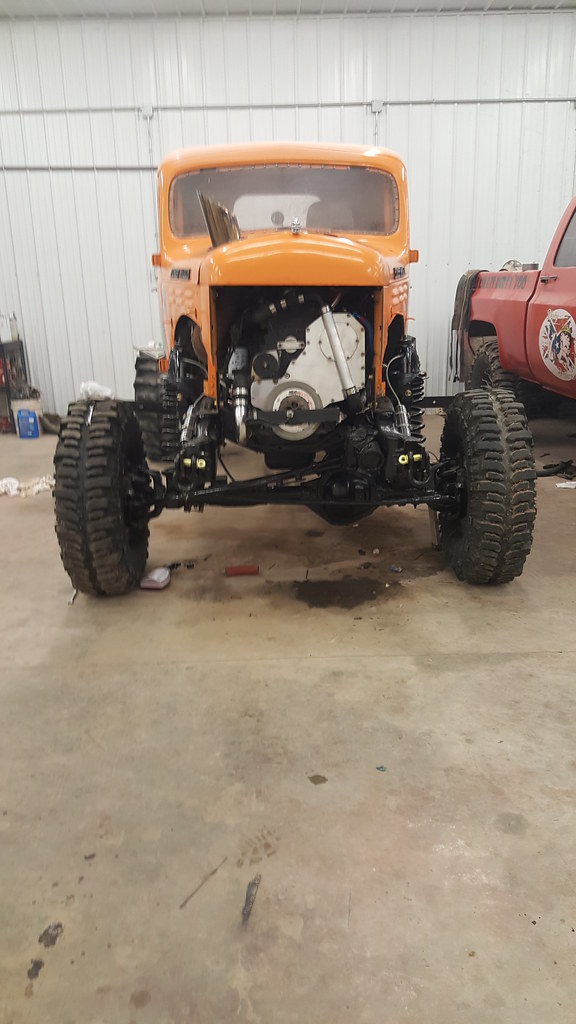
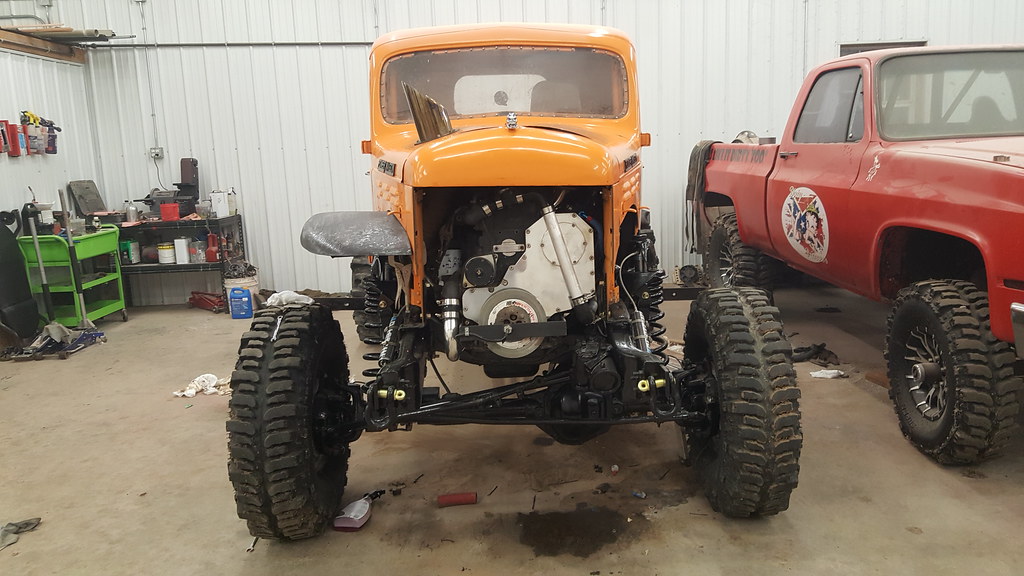
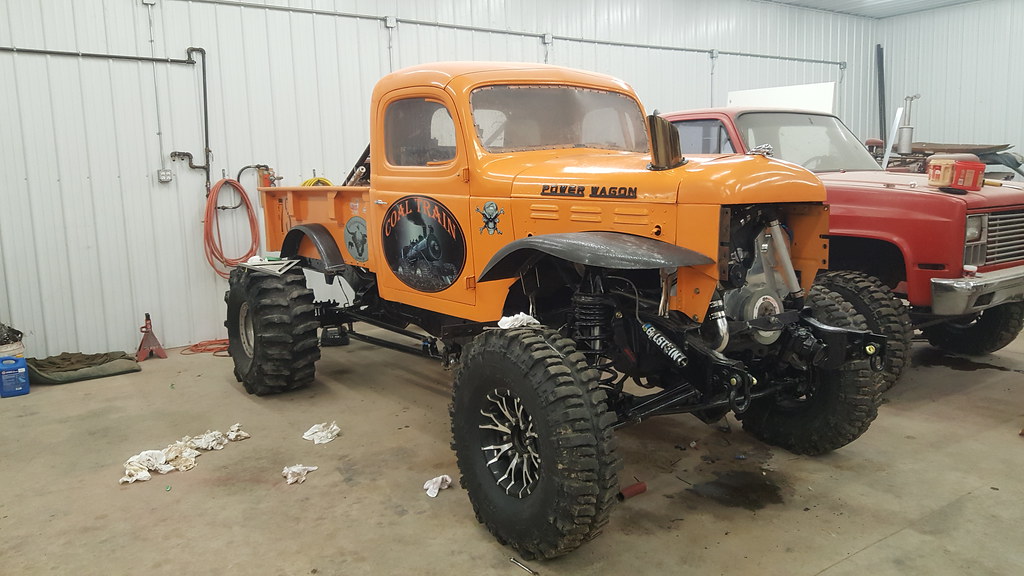
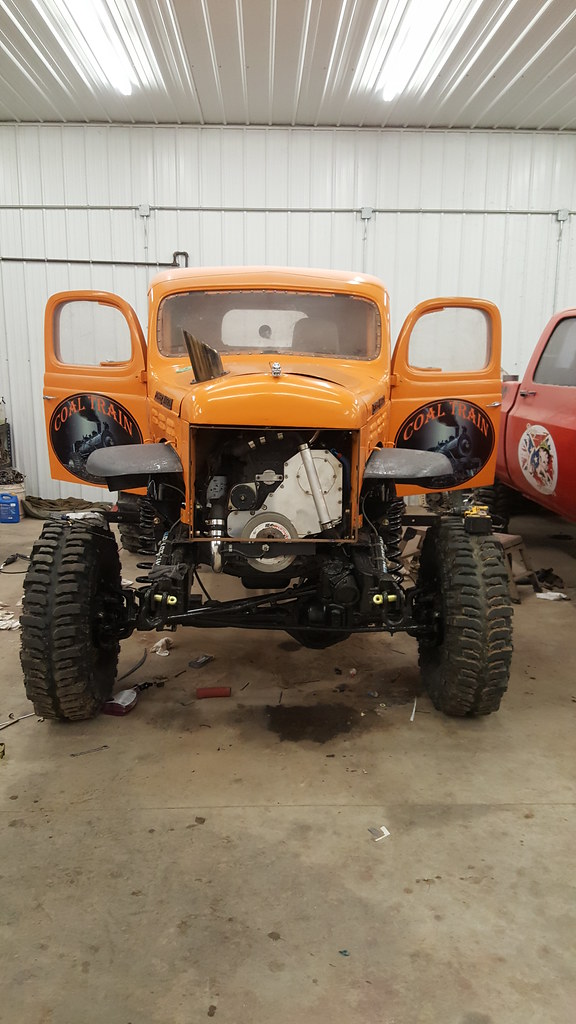
Coaltrain - 1946 Dodge Power Wagon powered by a little modified 12 valve.
Thanks to my sponsors: CP-Carrillo, Air Dog, Muldoons Diesel Performance, Power Driven Diesel, Diesel Performance Converters
|
|
|
|
|
03-28-2017, 07:32 AM
|
#1204
|
Name: NakeDiesel
Title: Smoke'n in the Mud
Status: Not Here
Join Date: Jan 2010
Location: Hominy, OK
Member`s Gallery
Posts: 1,116
|
Remaining todo list...
Coaltrain to do list:
install front limit straps
clean inside cab of truck
make carbonfiber rear fenders
make carbonfiber front fenders
make carbonfiber grill
make hood
make mount points for one piece front end
cut off old mounts
paint or wrap hood and grill
attach front fenders to hood/grill
make new exhaust pipe / hood stack
pickup exhaust housing for turbo
install exhaust housing on turbo
weigh truck
adjust traction bars
reweigh truck
adjust traction bars
etc..
Also need to use some spray foam and fill in a few areas that just seem to stay full of mud during the season and get it painted over as well as touch up a few places I missed when painting components.
__________________
2005 Dodge Ram 3500 2x4 QC
1999 Dodge Ram 2500 4x4 QC
Coaltrain - 1946 Dodge Power Wagon powered by a little modified 12 valve.
Thanks to my sponsors: CP-Carrillo, Air Dog, Muldoons Diesel Performance, Power Driven Diesel, Diesel Performance Converters
|
|
|
|
|
03-28-2017, 10:35 PM
|
#1205
|
Name: NakeDiesel
Title: Smoke'n in the Mud
Status: Not Here
Join Date: Jan 2010
Location: Hominy, OK
Member`s Gallery
Posts: 1,116
|
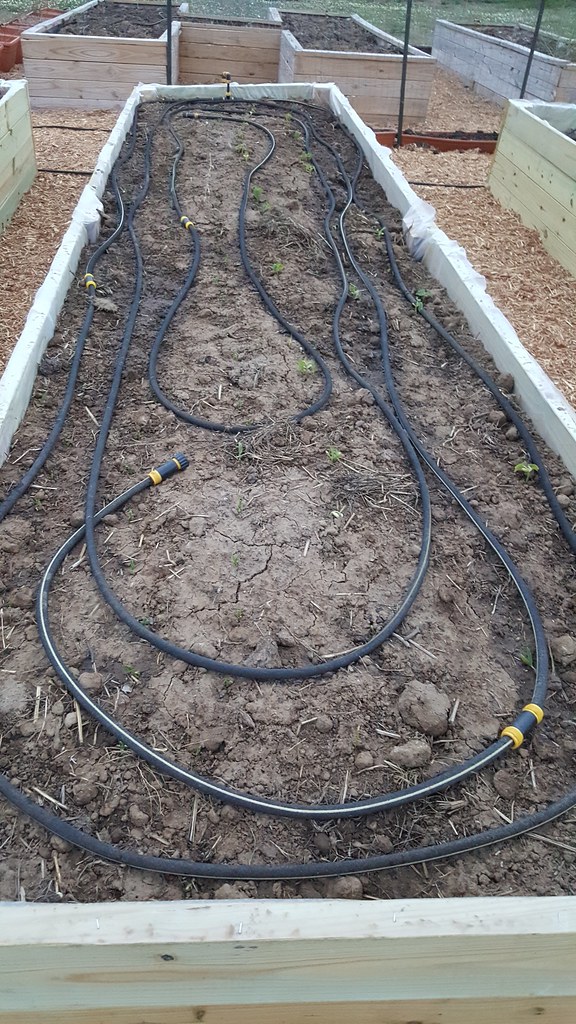
Was late getting home tonight, since I had to stop and get finish putty, run by the bank, meet up with my wife to see her for a few minutes as we crossed paths and a run to wally world to get coffee filters.... While there bought 2 cherry trees and 2 plum trees. Got home and ate supper then dug 4 holes after I figured out where I wanted them planted in the back yard. I now have the creek line at the back of my main yard totally filled in with spaced out fruit trees, 2 of each, apple, peach, pear, plum and cherry. Also have 9 pecan trees to one side as well.
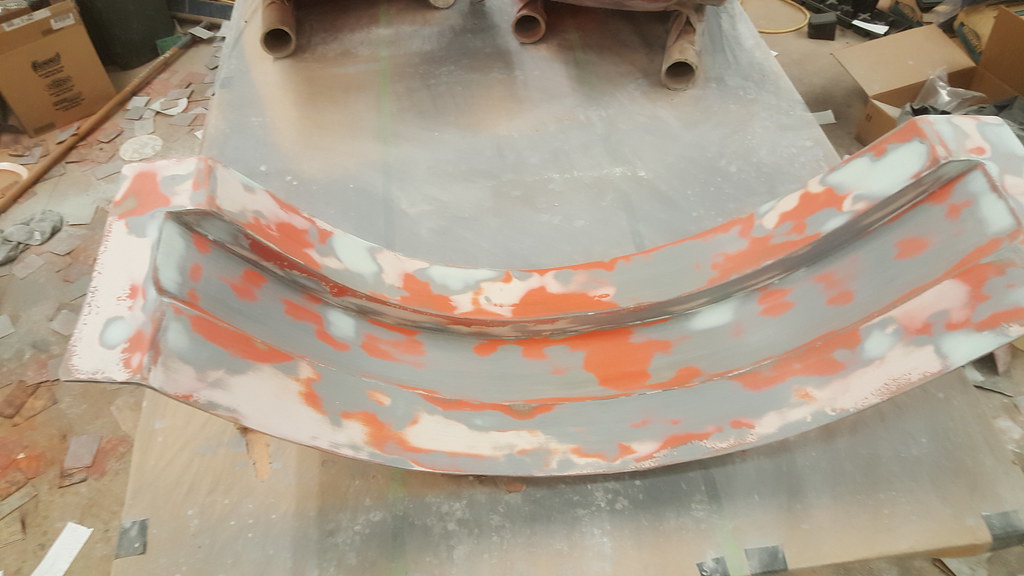
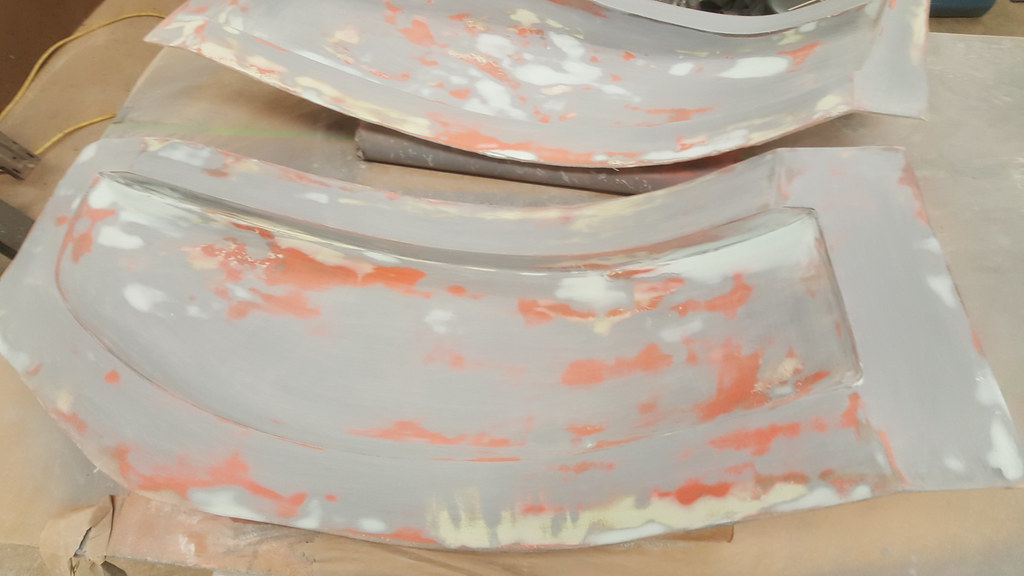
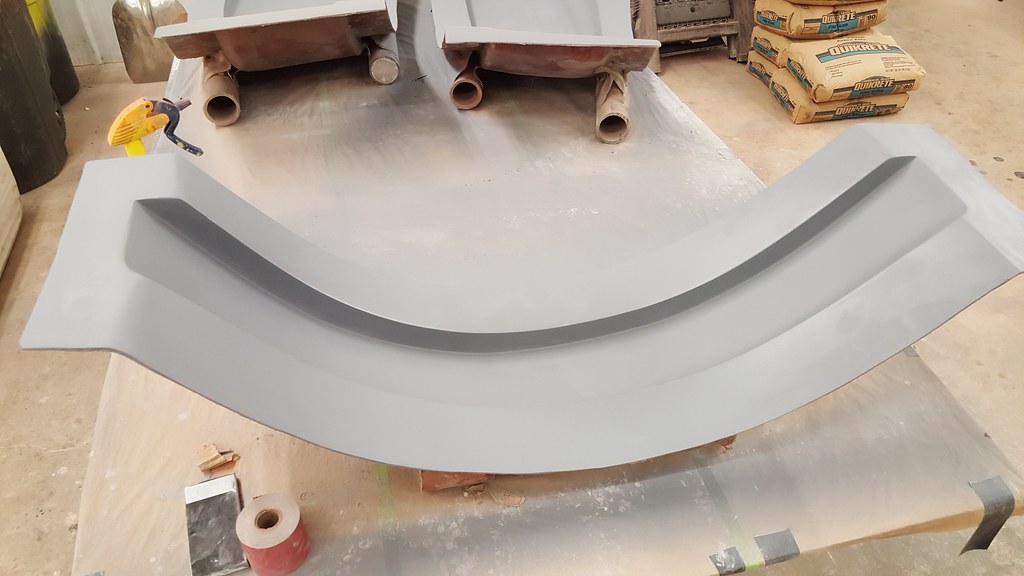
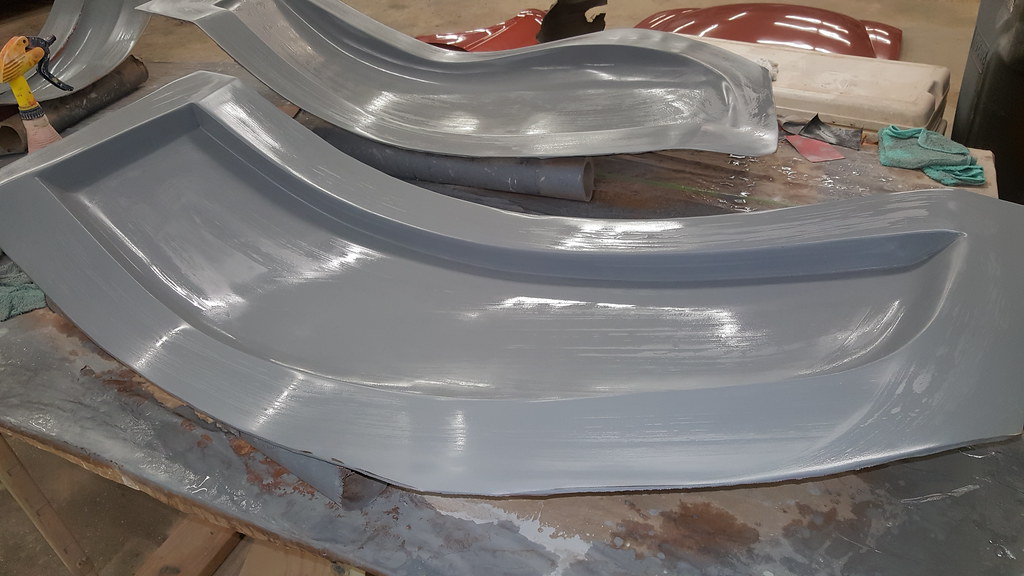
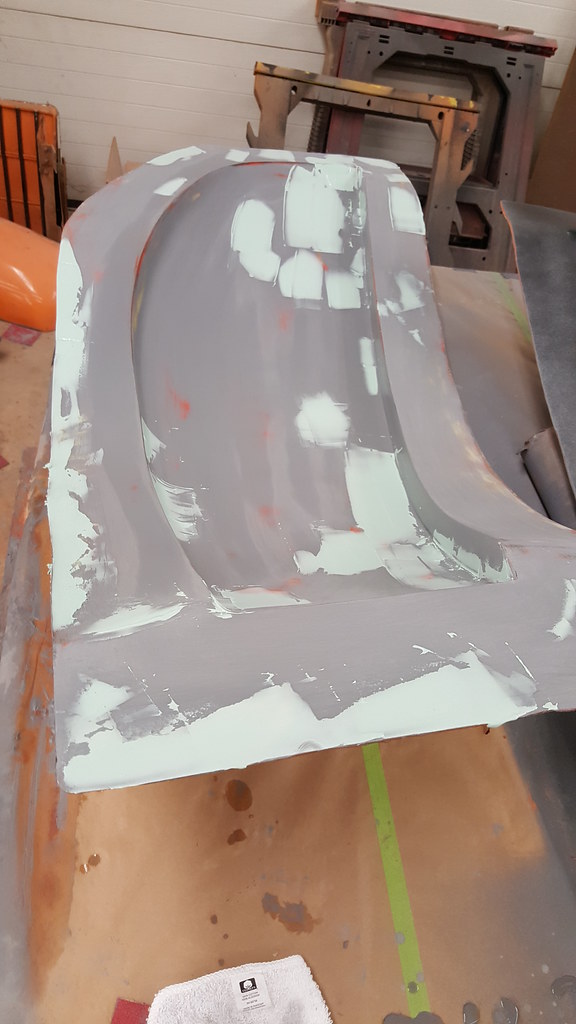
Finally got out in the shop and tried wet sanding with 400 and it wasn't cutting it enough, so went down to 120 grit and got 1 front fender mold fully wet sanded out with guide coat on it to find all the lows and pin holes. Mixed up a couple of small batches of finish putty and got it on the fender before calling it a night at 10.

Corn is really starting to come up. Went through and planted pole beans in with the corn stalks as they are coming up so the beans will grow up the corn stalks
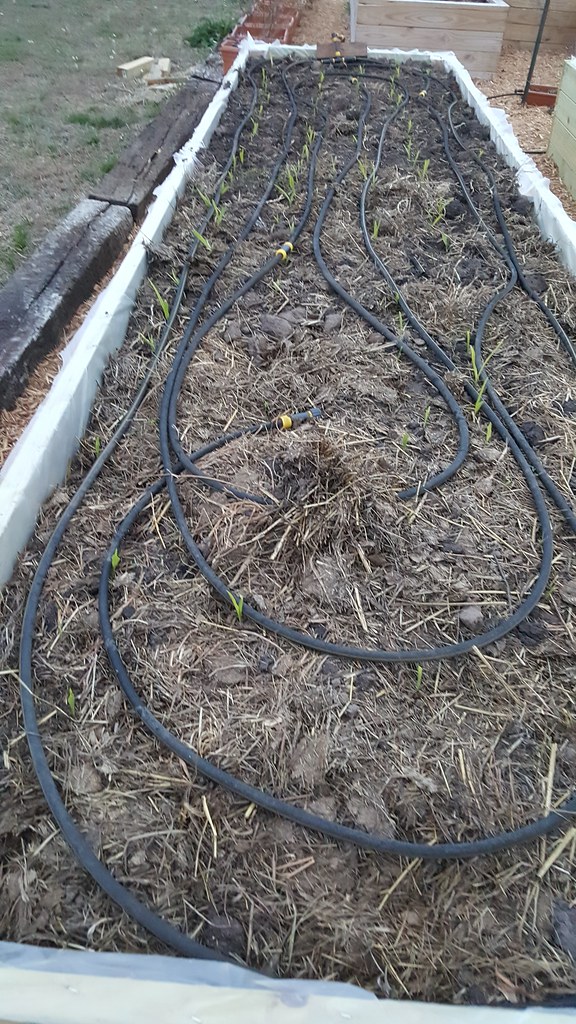
A few beans and peas are starting to show themselves as well
__________________
2005 Dodge Ram 3500 2x4 QC
1999 Dodge Ram 2500 4x4 QC
Coaltrain - 1946 Dodge Power Wagon powered by a little modified 12 valve.
Thanks to my sponsors: CP-Carrillo, Air Dog, Muldoons Diesel Performance, Power Driven Diesel, Diesel Performance Converters
|
|
|
|
|
03-31-2017, 08:59 PM
|
#1206
|
Name: NakeDiesel
Title: Smoke'n in the Mud
Status: Not Here
Join Date: Jan 2010
Location: Hominy, OK
Member`s Gallery
Posts: 1,116
|
__________________
2005 Dodge Ram 3500 2x4 QC
1999 Dodge Ram 2500 4x4 QC
Coaltrain - 1946 Dodge Power Wagon powered by a little modified 12 valve.
Thanks to my sponsors: CP-Carrillo, Air Dog, Muldoons Diesel Performance, Power Driven Diesel, Diesel Performance Converters
|
|
|
|
|
04-01-2017, 04:52 AM
|
#1207
|
Name: Bodacious
Title: Comp Diesel Sponsor
Status: Not Here
Join Date: Jul 2013
Location: Weston, WV
Member`s Gallery
Posts: 2,177
|
Quote:
|
a few places I'd missed and a first coat on the foam.
|
We did the foam thing once. Found out it holds more water than you think having all the air between the molecules. If a fella could figure out a way to completely seal the surface after filling the voids, it may reduce the amount of water the foam will hold.
No good answer exist for the crevices that seem to always get mud packed in them. We have tried to build to eliminate these issues. You will notice the faster you get, the less mud you actually collect. Once we started getting on top, we hardly ever seen any more of the thick stuff.
I'm gonna load up the welding equipment and bring it to UCC. You may have to man the tig torch if someone needs some welding as my son will not be attending this year.
__________________
"Careful who you argue with on the internet. Others might not know they are idiots."
|
|
|
|
|
04-02-2017, 05:34 PM
|
#1208
|
Name: NakeDiesel
Title: Smoke'n in the Mud
Status: Not Here
Join Date: Jan 2010
Location: Hominy, OK
Member`s Gallery
Posts: 1,116
|
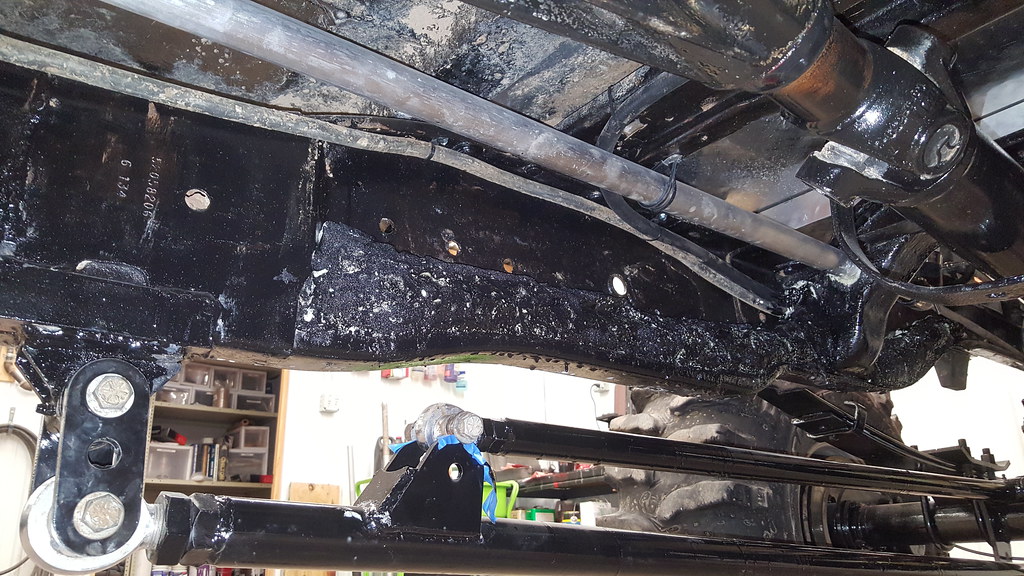
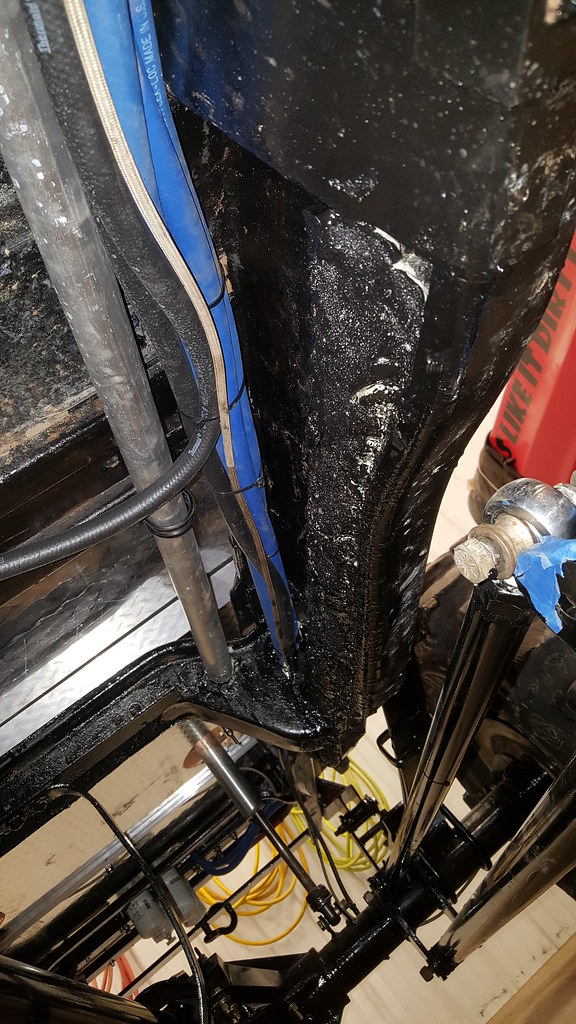
Yeah, I know it will hold water, but I've done my best to seal it between silicone and painting it with por 15, not much else I can do. I have the whole boxed frame filled with foam and went over all the openings with silicone and then painted over that.
One of these days I'll be fast enough to get on top, slowly working towards it.
I've never tigged before, watched it done but never have myself. One of these days I'll get the accessories I need for my MP unit to start playing with it.
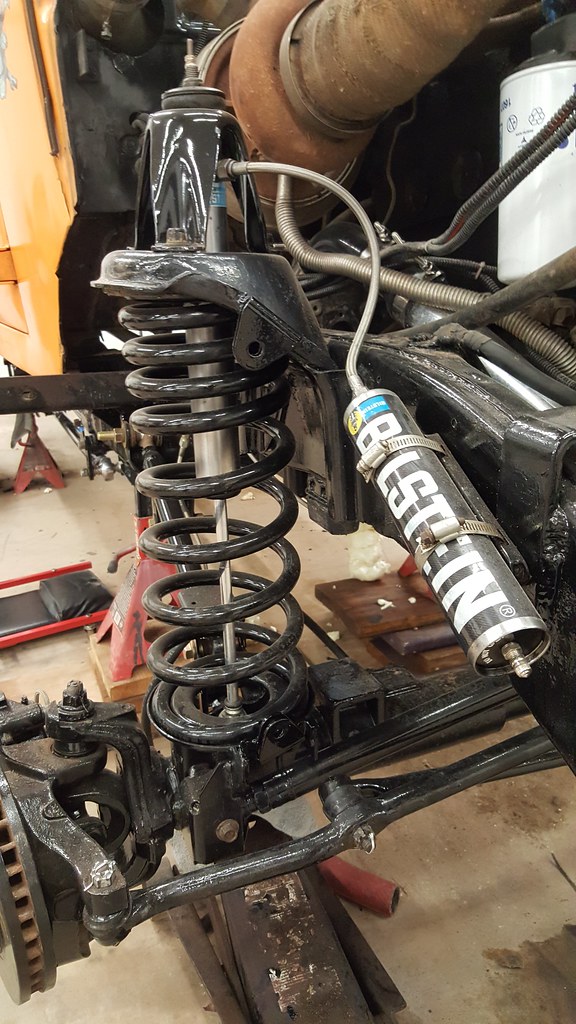
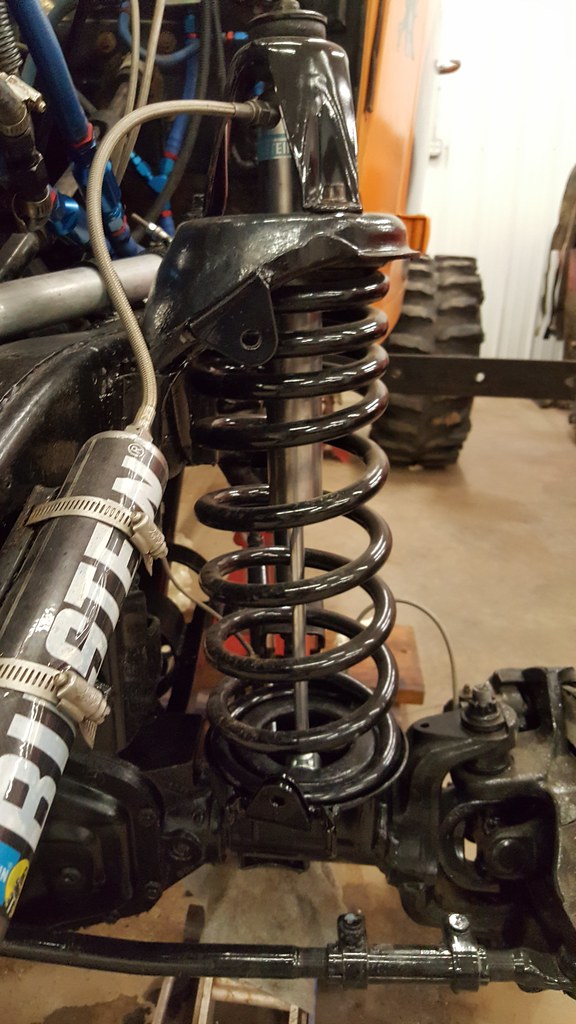
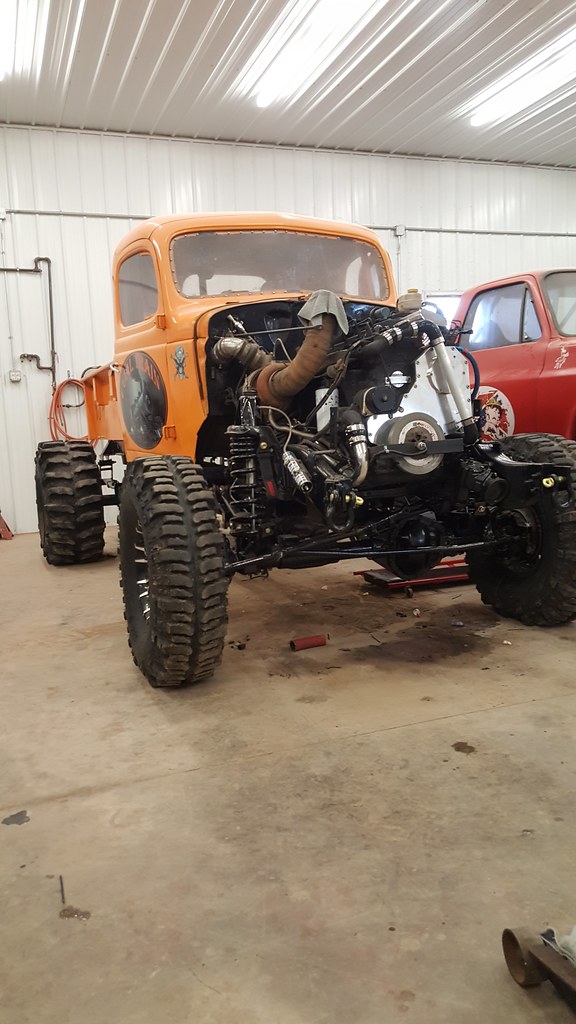
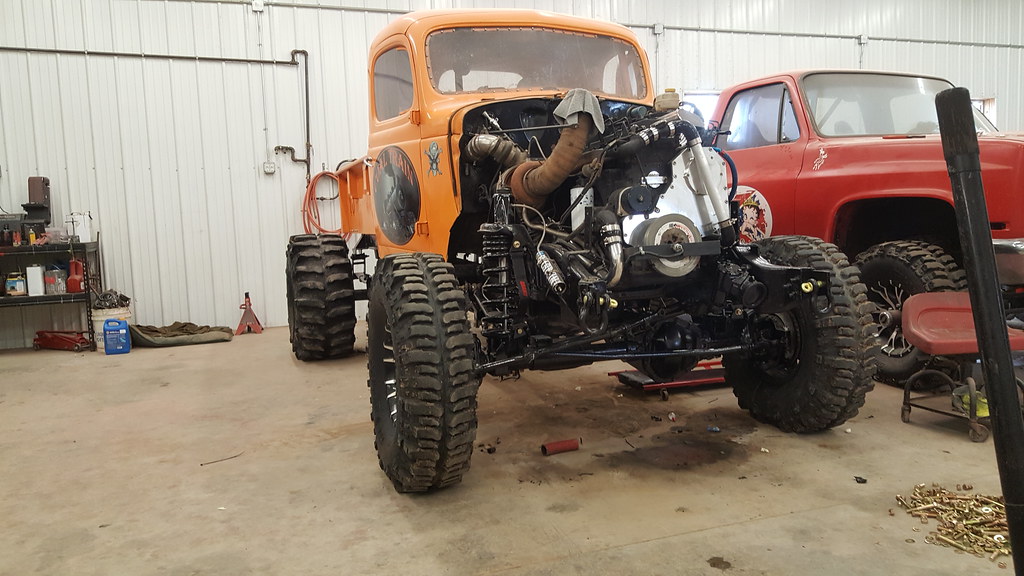
Had to get up at 5am yesterday to go cook breakfast for our american legion breakfast fund raiser we put on once a month and then we had Turbo's first birthday party here at the house. I did manage to sneak out to the shop and tie up the front brake lines and bolt on the limit straps. Today, wet sanded the 3 molds, they are looking much better but had to shoot another coat of primer on them today so they are sitting till tomorrow and I will wet sand them again with 400 and see where they are at. Got the front tires back on the truck after I cleaned them up a little bit and then aired all 4 tires up and got it off of the jack stands. First time it's been on all 4 tires in 3 or 4 months I think. Last thing I did today was hook up the throttle bracket and linkages and put on the shutoff cable.
Fri night got a call and my daughter and her BF hit a deer in her little beer can, going to have to replace the hood, headlight and atleast front fender and maybe door.


__________________
2005 Dodge Ram 3500 2x4 QC
1999 Dodge Ram 2500 4x4 QC
Coaltrain - 1946 Dodge Power Wagon powered by a little modified 12 valve.
Thanks to my sponsors: CP-Carrillo, Air Dog, Muldoons Diesel Performance, Power Driven Diesel, Diesel Performance Converters
|
|
|
|
|
04-03-2017, 06:00 AM
|
#1209
|
Name: kubotaorange76
Title: Too Much Time
Status: Not Here
Join Date: Aug 2006
Member`s Gallery
Posts: 309
|
that is one bad truck
__________________
17' 6.7/6R140 CCLB
5.0, 6.6 & 4.9
|
|
|
|
|
04-04-2017, 09:57 PM
|
#1211
|
Name: NakeDiesel
Title: Smoke'n in the Mud
Status: Not Here
Join Date: Jan 2010
Location: Hominy, OK
Member`s Gallery
Posts: 1,116
|
__________________
2005 Dodge Ram 3500 2x4 QC
1999 Dodge Ram 2500 4x4 QC
Coaltrain - 1946 Dodge Power Wagon powered by a little modified 12 valve.
Thanks to my sponsors: CP-Carrillo, Air Dog, Muldoons Diesel Performance, Power Driven Diesel, Diesel Performance Converters
|
|
|
|
|
04-05-2017, 09:24 PM
|
#1212
|
Name: NakeDiesel
Title: Smoke'n in the Mud
Status: Not Here
Join Date: Jan 2010
Location: Hominy, OK
Member`s Gallery
Posts: 1,116
|
__________________
2005 Dodge Ram 3500 2x4 QC
1999 Dodge Ram 2500 4x4 QC
Coaltrain - 1946 Dodge Power Wagon powered by a little modified 12 valve.
Thanks to my sponsors: CP-Carrillo, Air Dog, Muldoons Diesel Performance, Power Driven Diesel, Diesel Performance Converters
|
|
|
|
|
04-06-2017, 04:54 AM
|
#1213
|
Name: Bodacious
Title: Comp Diesel Sponsor
Status: Not Here
Join Date: Jul 2013
Location: Weston, WV
Member`s Gallery
Posts: 2,177
|
You are one seriously gifted and energetic man. That's all I can say. 
__________________
"Careful who you argue with on the internet. Others might not know they are idiots."
|
|
|
|
|
04-06-2017, 04:25 PM
|
#1214
|
Name: DieselWrencher
Title: 6cyl Vette
Status: Not Here
Join Date: Dec 2006
Location: Mitchellville, Ia
Member`s Gallery
Posts: 2,886
|
Those molds are looking great. I hope that por painted foam works for you. That stuff attracts moisture so bad, I'd rip it out of there and tack some sheet metal over the frame in the middle there or anything other than filling it with that home foam. I've seen that stuff rust out frames really quick. Granted the liquid rust here doesn't help it at all. Haha
__________________
1968 Corvette 12v Cummins Compounds 47RH
1976 K30 CC SWB 12v 47RH
2000 Excursion VE 24v 47RH 4x4
1972 K30 Longhorn P-Pumped 24v 47RH Compounds
|
|
|
|
|
04-06-2017, 10:16 PM
|
#1215
|
Name: NakeDiesel
Title: Smoke'n in the Mud
Status: Not Here
Join Date: Jan 2010
Location: Hominy, OK
Member`s Gallery
Posts: 1,116
|
__________________
2005 Dodge Ram 3500 2x4 QC
1999 Dodge Ram 2500 4x4 QC
Coaltrain - 1946 Dodge Power Wagon powered by a little modified 12 valve.
Thanks to my sponsors: CP-Carrillo, Air Dog, Muldoons Diesel Performance, Power Driven Diesel, Diesel Performance Converters
|
|
|
|
|
04-09-2017, 08:27 PM
|
#1216
|
Name: NakeDiesel
Title: Smoke'n in the Mud
Status: Not Here
Join Date: Jan 2010
Location: Hominy, OK
Member`s Gallery
Posts: 1,116
|
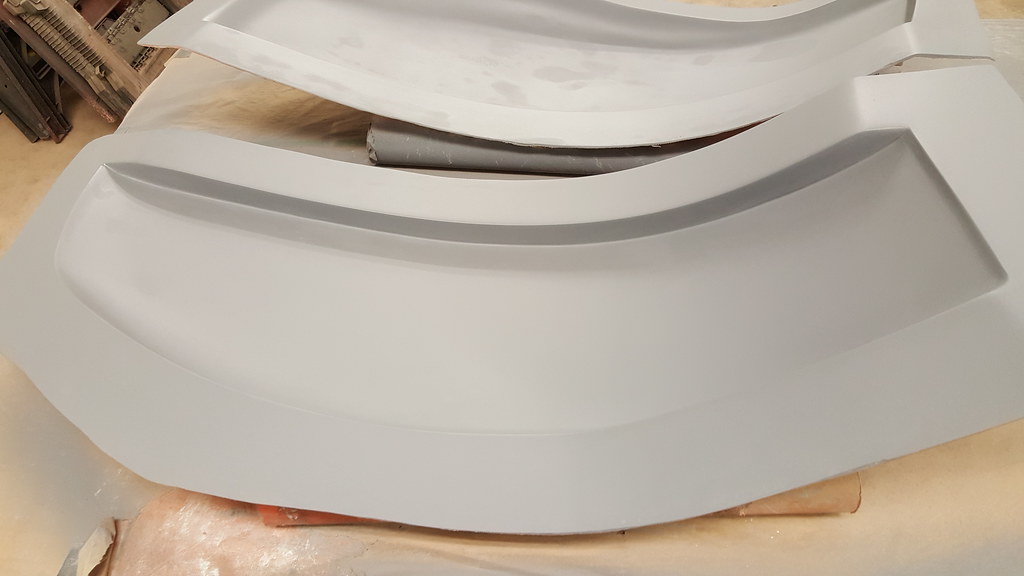
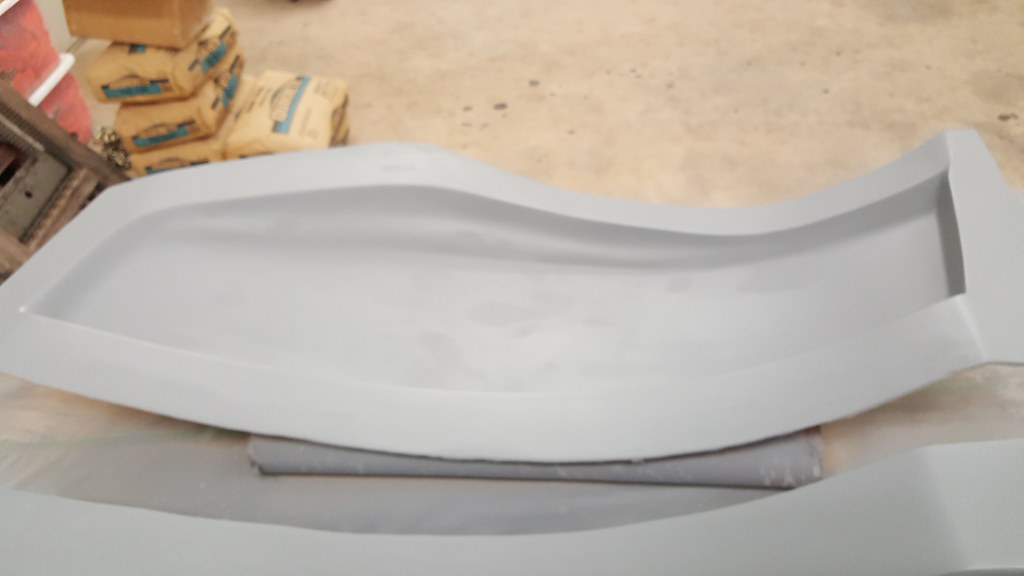
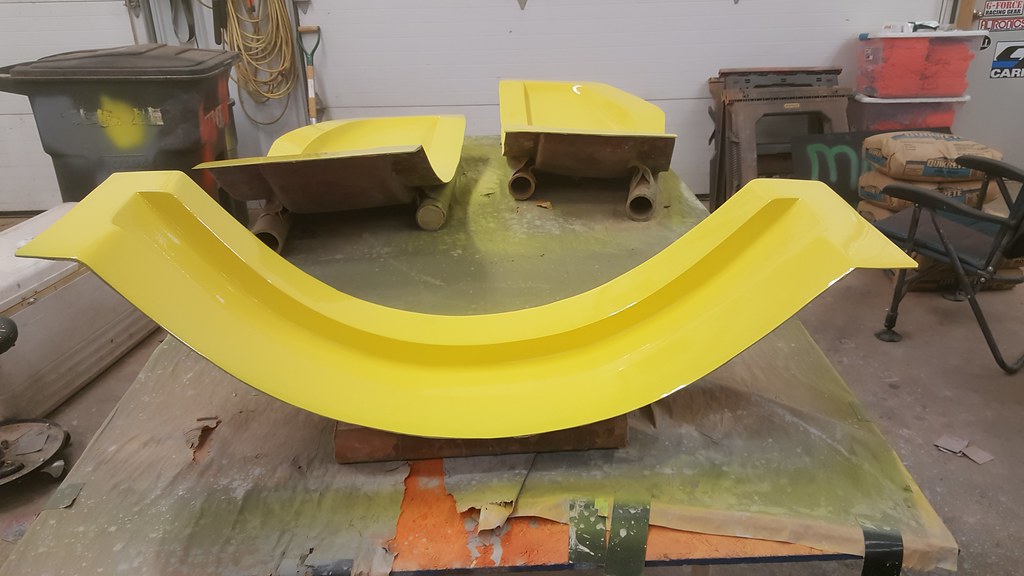
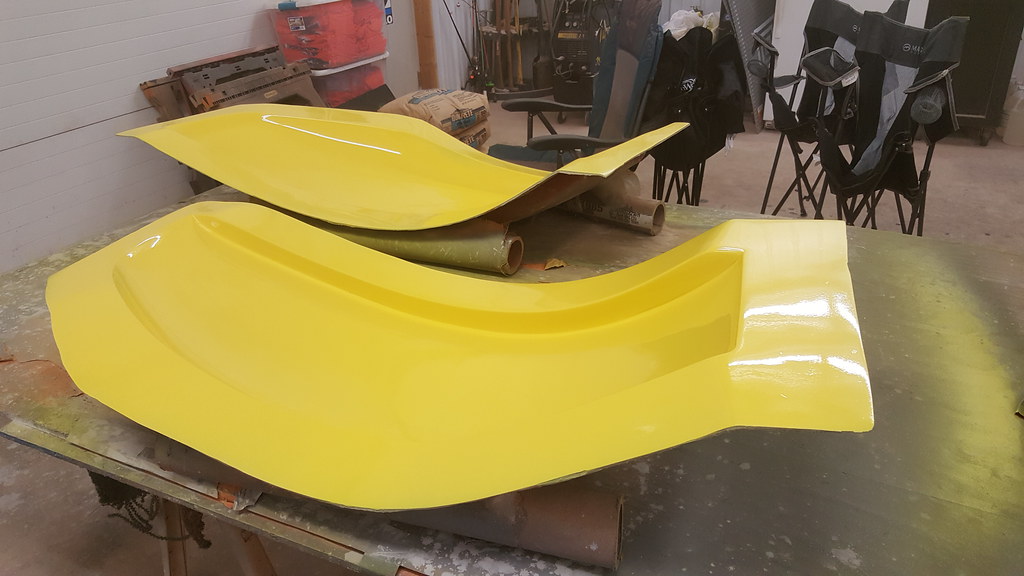
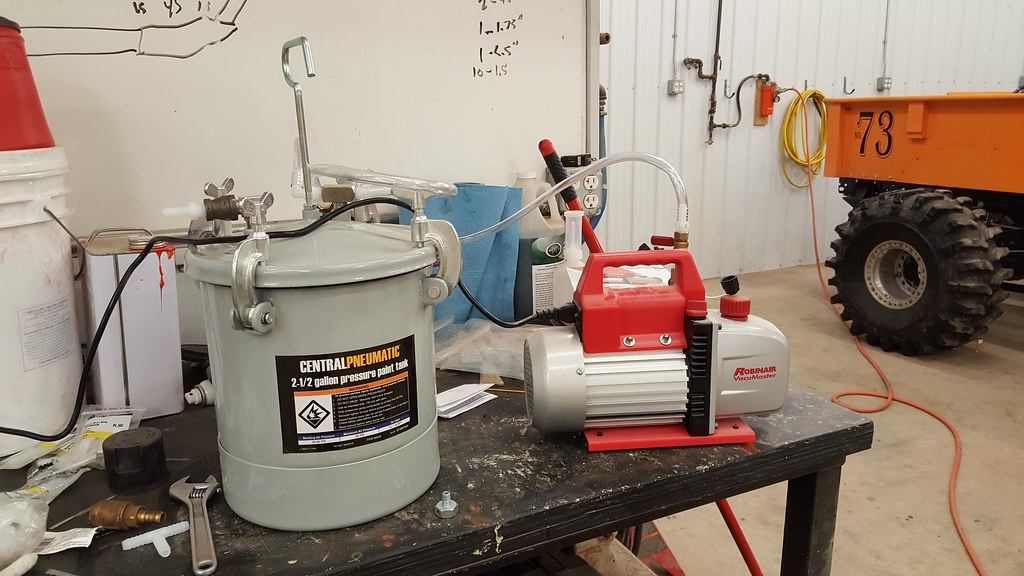
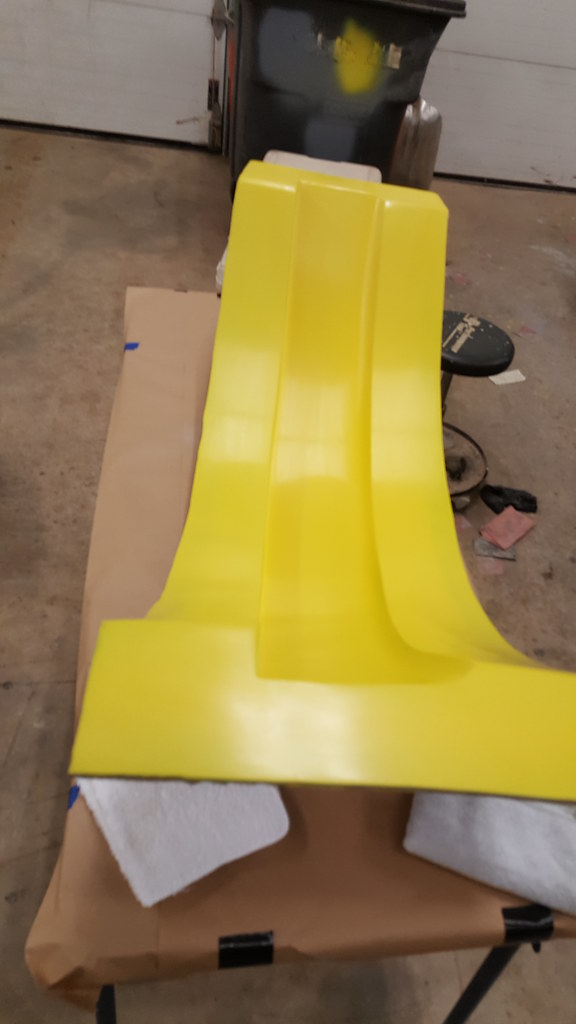
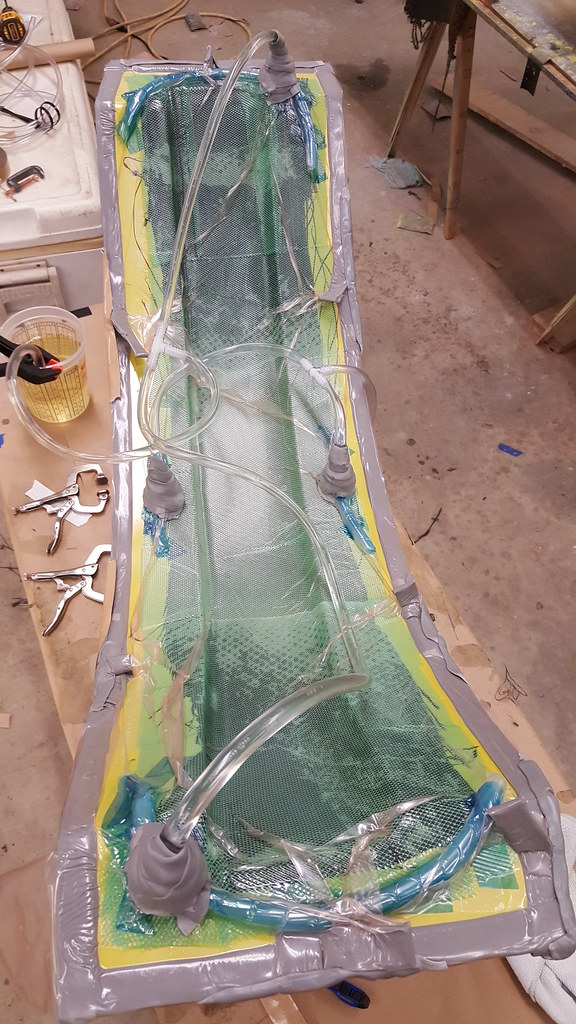
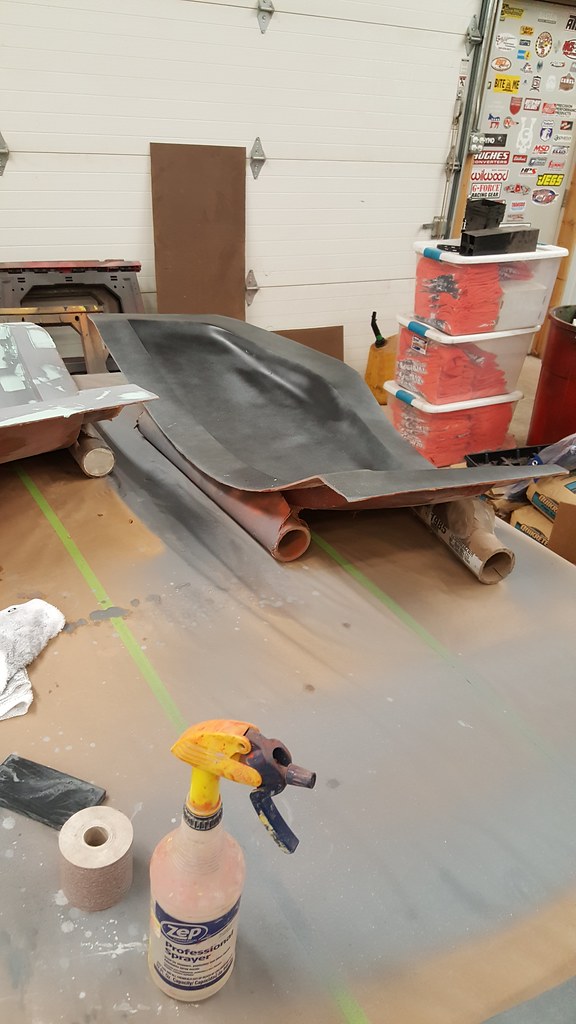
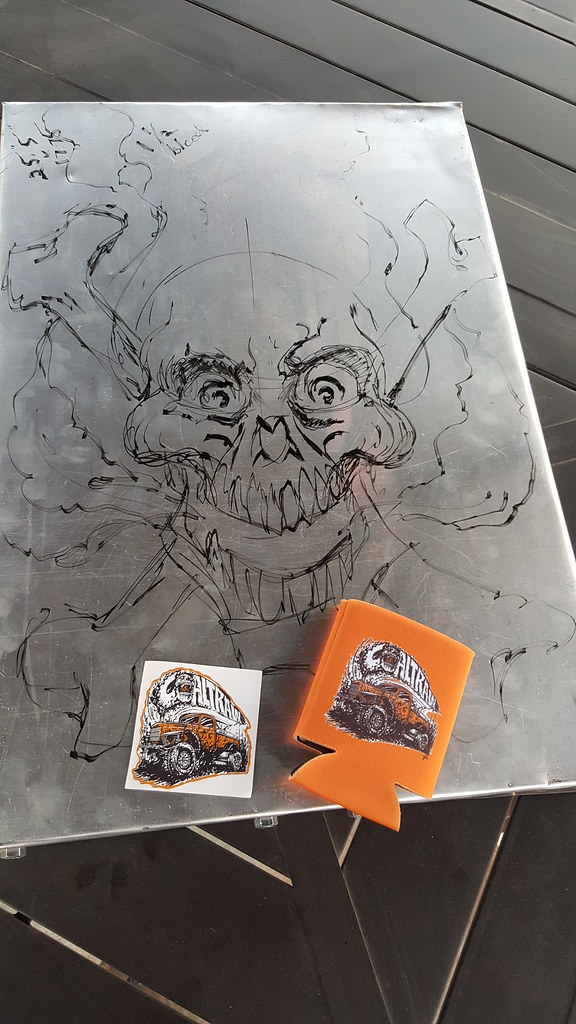
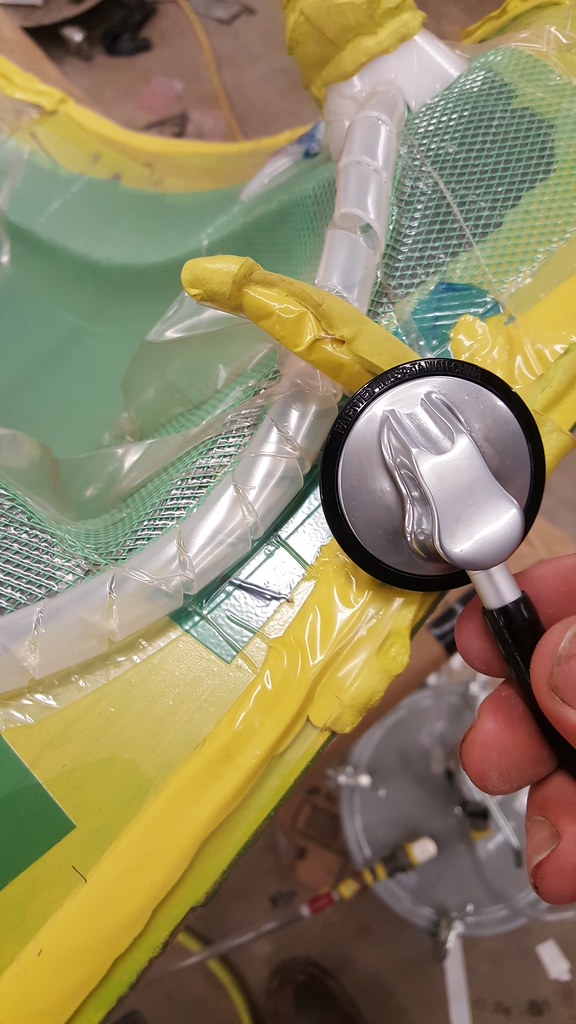
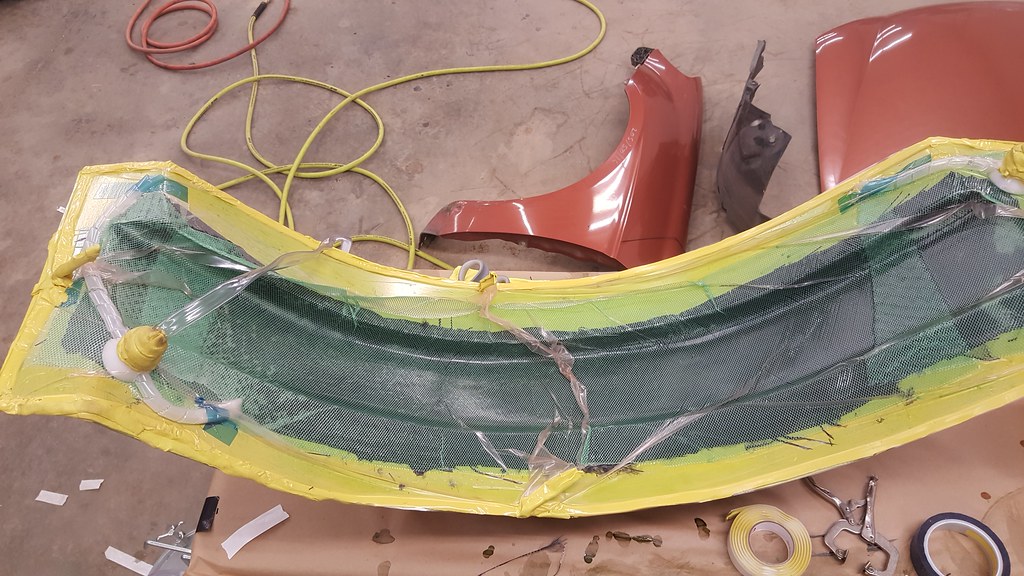
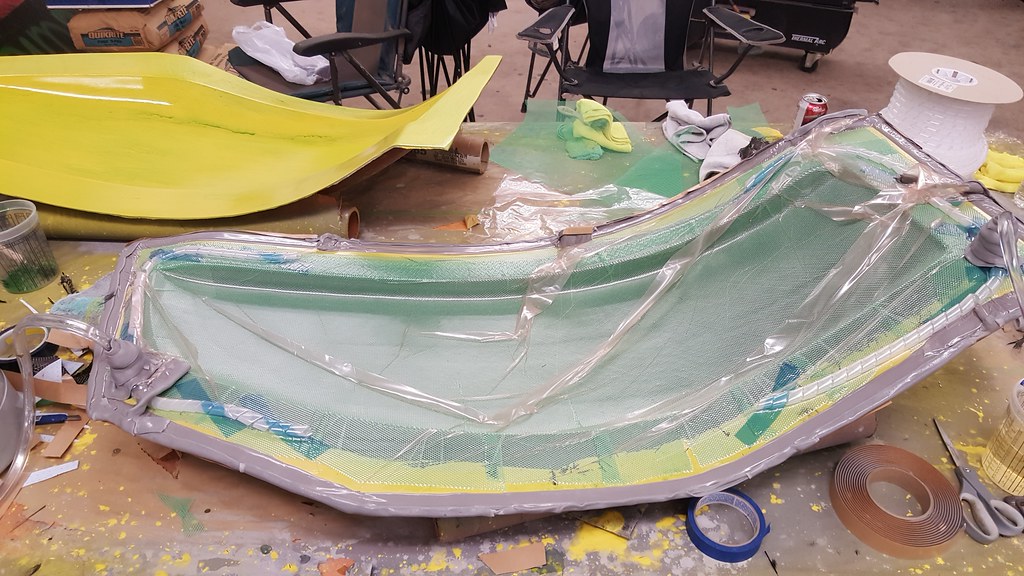
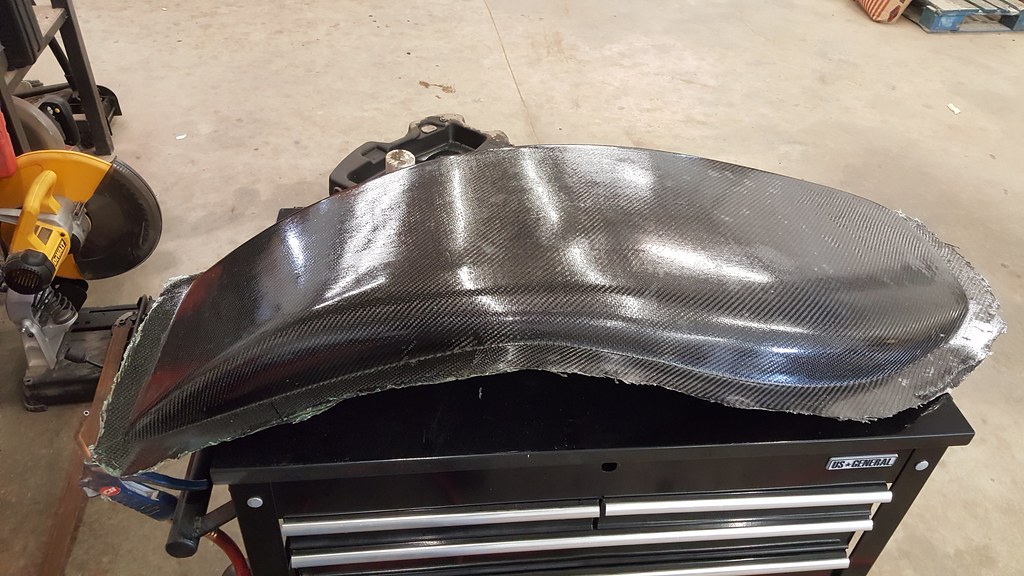
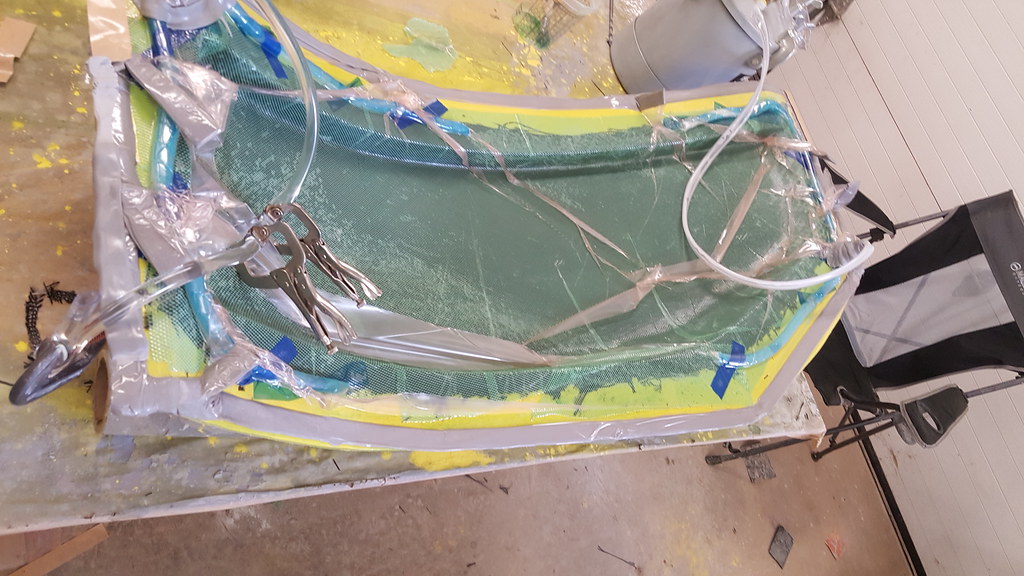
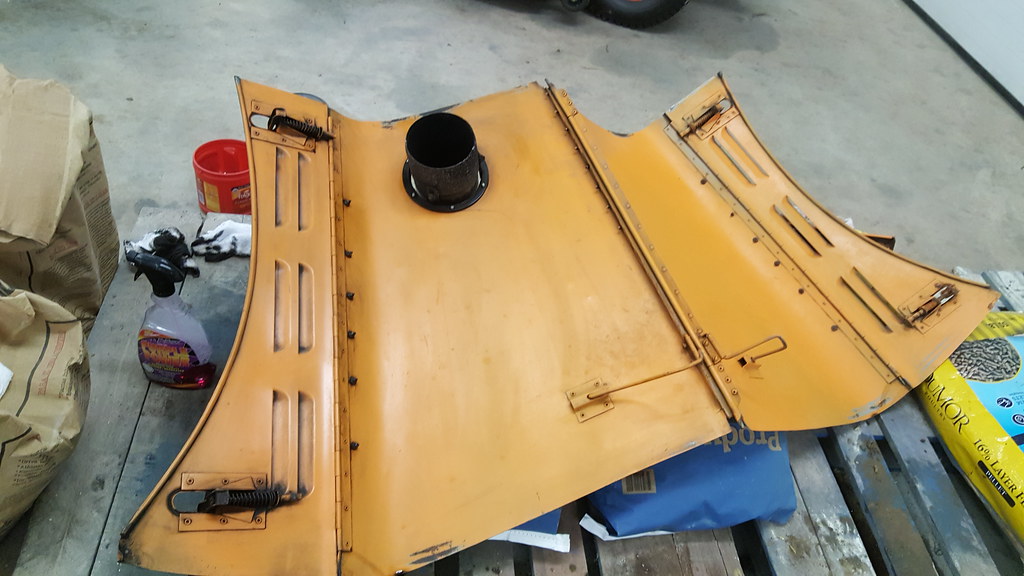
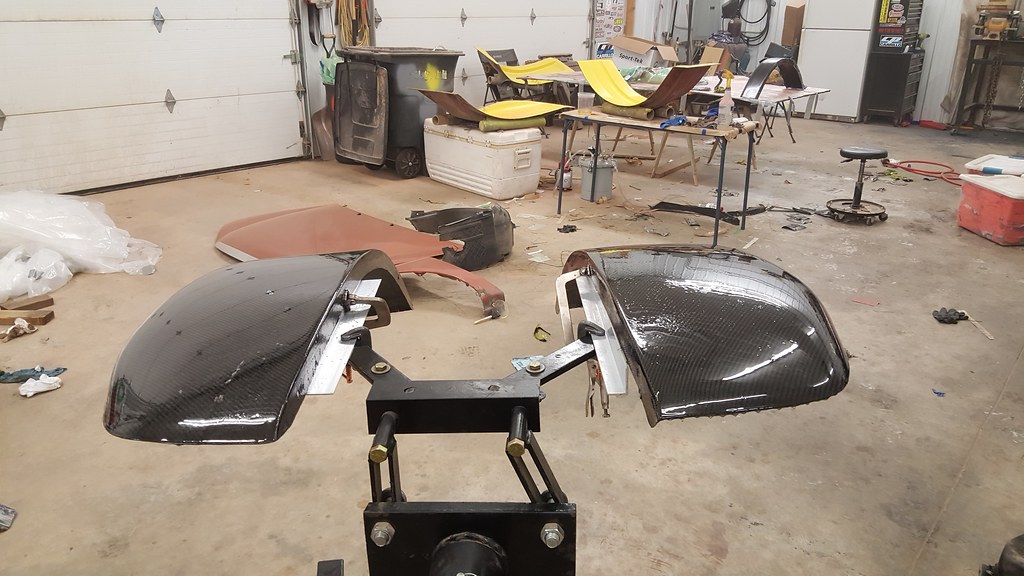
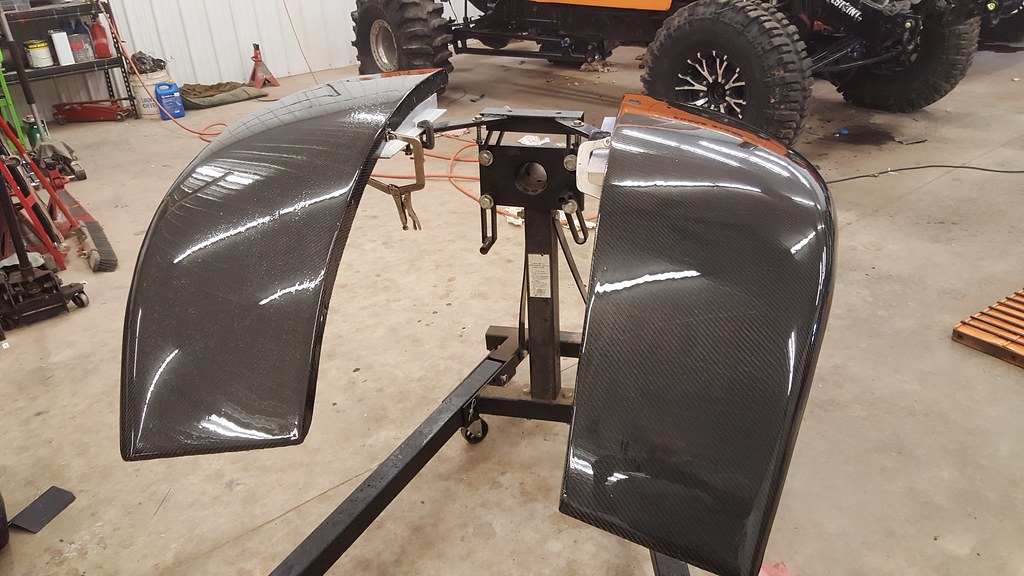
Busy freaking weekend. Friday picked up our Tshirts, Coozies and Stickers and talked to Scott about making me a wrap for the center of the grill. Think it will turn out great. Also started making CF parts friday. I got the first rear fender made that night. Saturday, I did the color run with my wife that morning, 3.1 miles I think, I let her set the pace and we walked with a bit of running. Then it was home and out to the shop where I got one of the front fenders setup and the second front fender cut out. I got the epoxy into the first front fender Sat night and today I got the epoxy into the 2nd front fender and started prepping the rear fender mold to make the 2nd rear fender. I've been learning a lot as I go on these and each one seems to turn out a little better or work better. Still fighting vacuum leaks, even resorted to using a stethoscope to try and find them...
Today, my wife helped me out and cleaned up on the inside of the cab, it's looking much better. She's 5'5" tall and couldn't believe I could get in and out of the cab at 6' 4" tall. Cleaned up the edges of the one rear fender and marked and drilled holes in it to put it on the truck and mark where to trim the ends up at and then I can get the edges sanded.
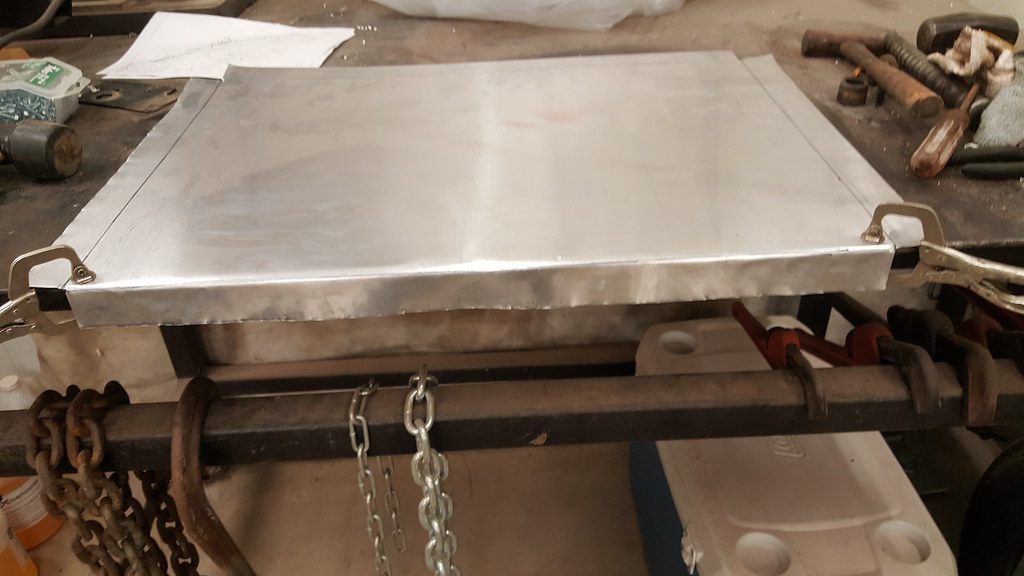
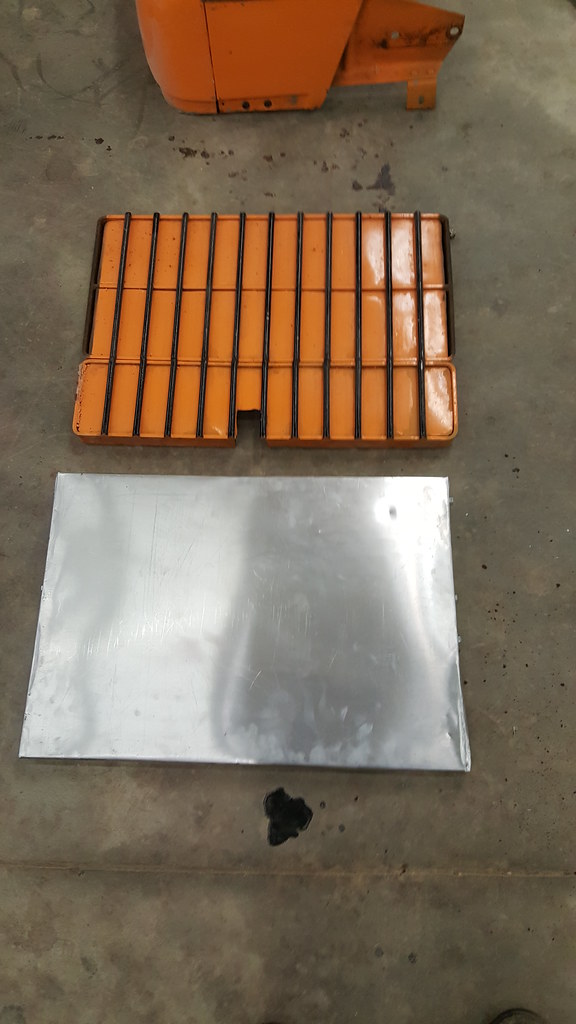
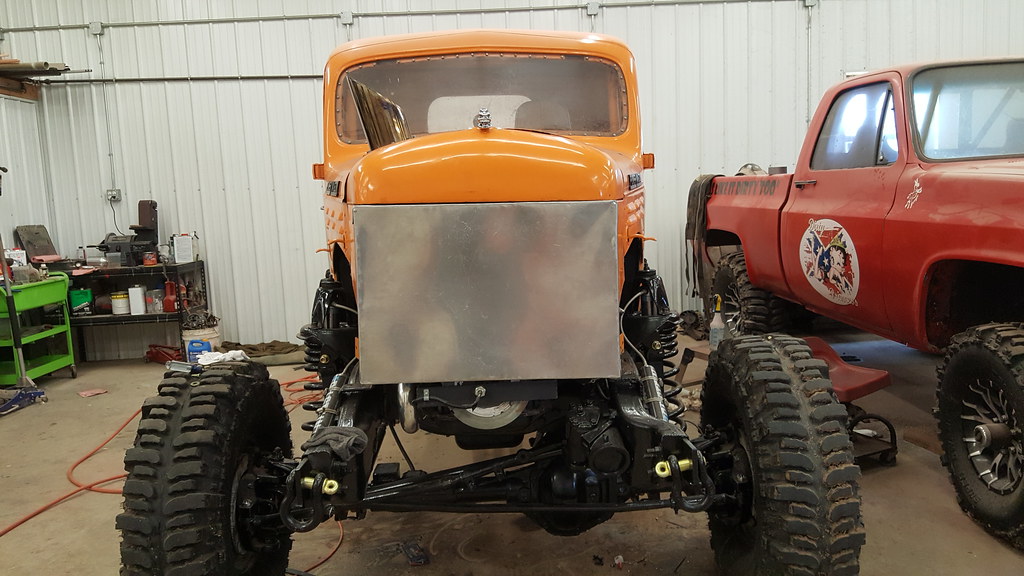
Also cleaned up the grill outer shell on the inside and outside and started putting it on the truck. Cleaned up the inside of the hood, one side was covered in mud and the other side a nice black mud/soot coating. Broke out my little sheet metal brake and bent 2 ends of the new cover for the enter section, need to get it on lighter frame and clamp those two ends on still and then bend the two shorter sides.
Coozies and stickers
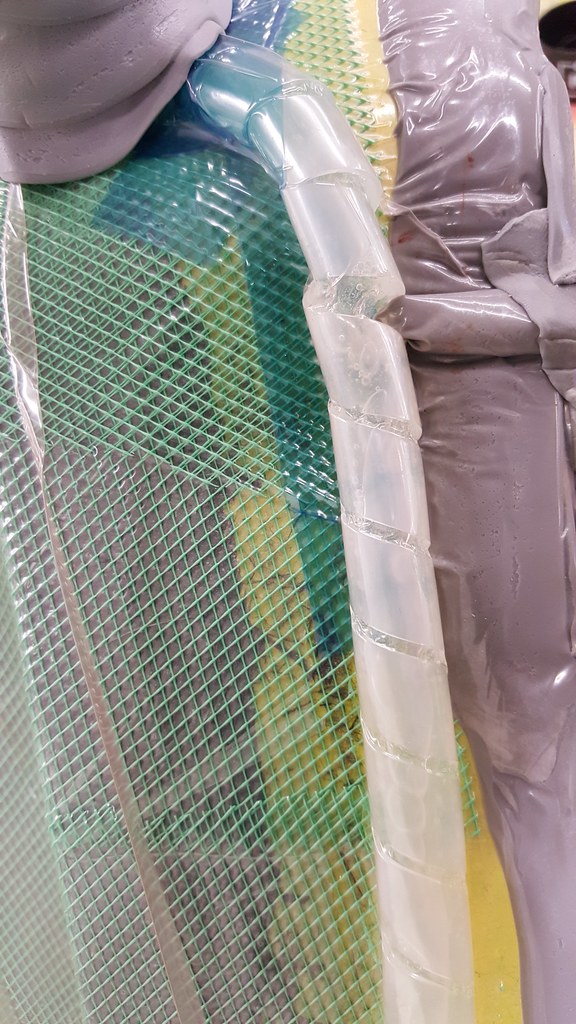
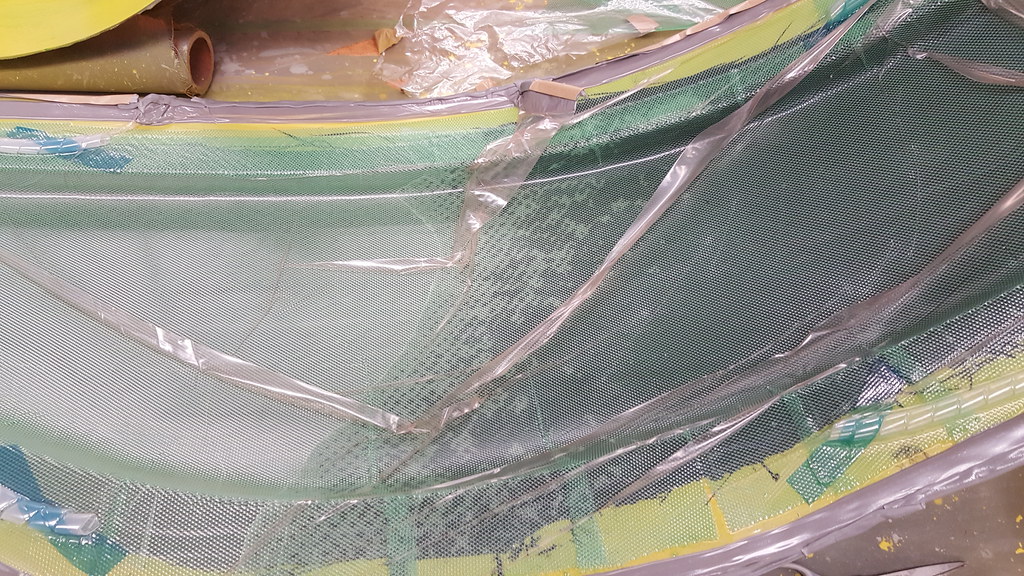
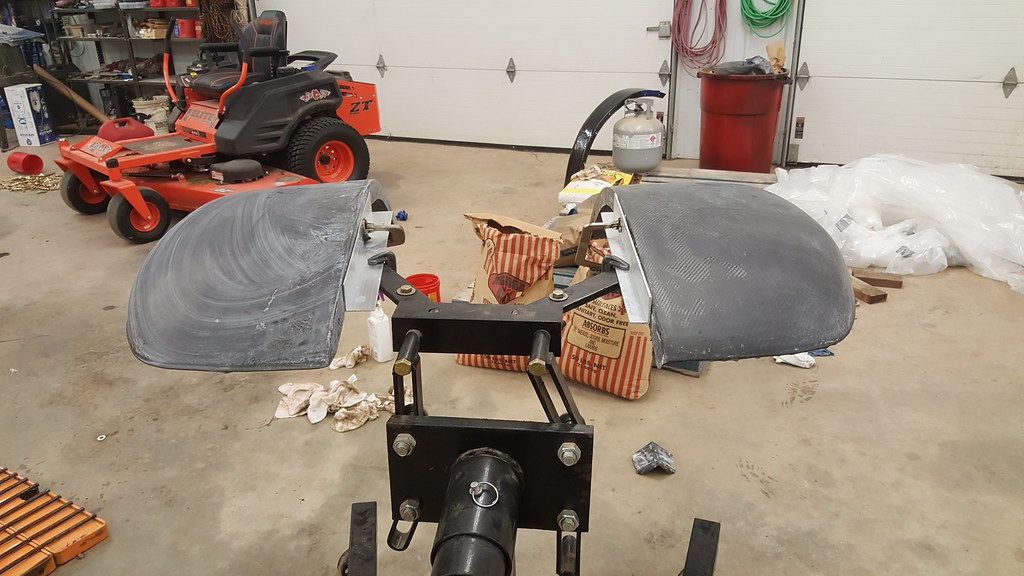
checking for air leaks
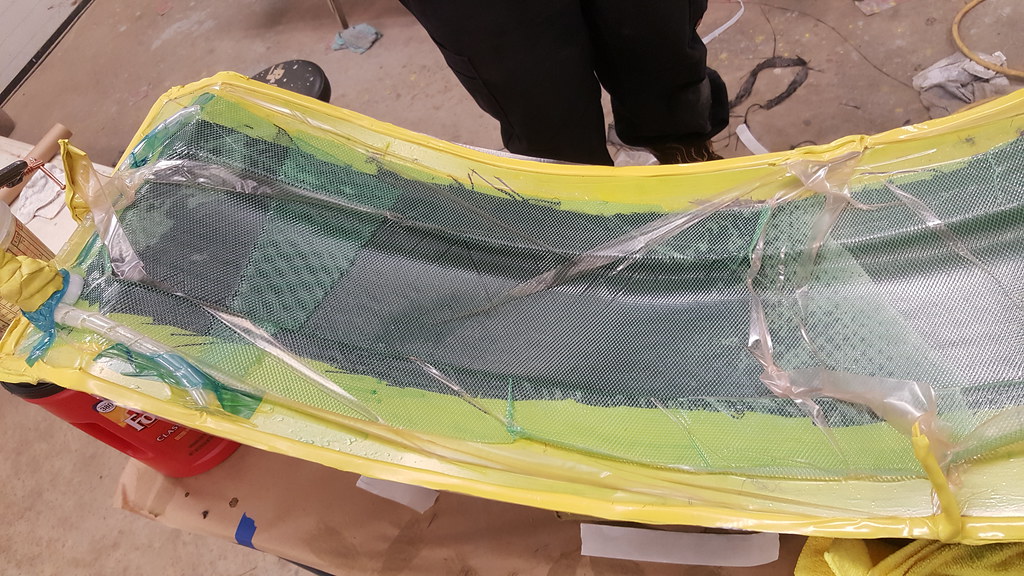
Figured out I need a different type of tubing, this stuff collapses too easy
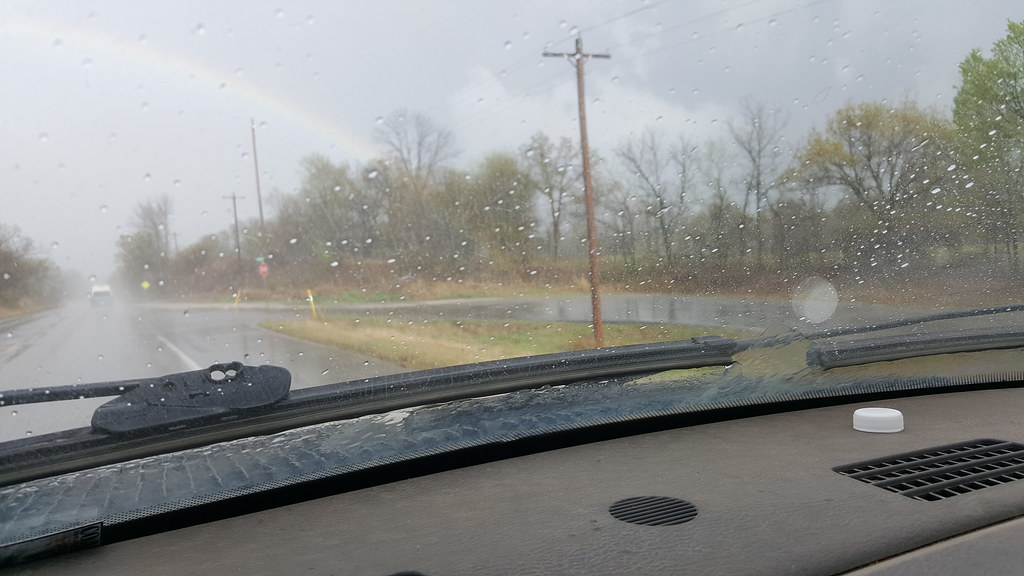
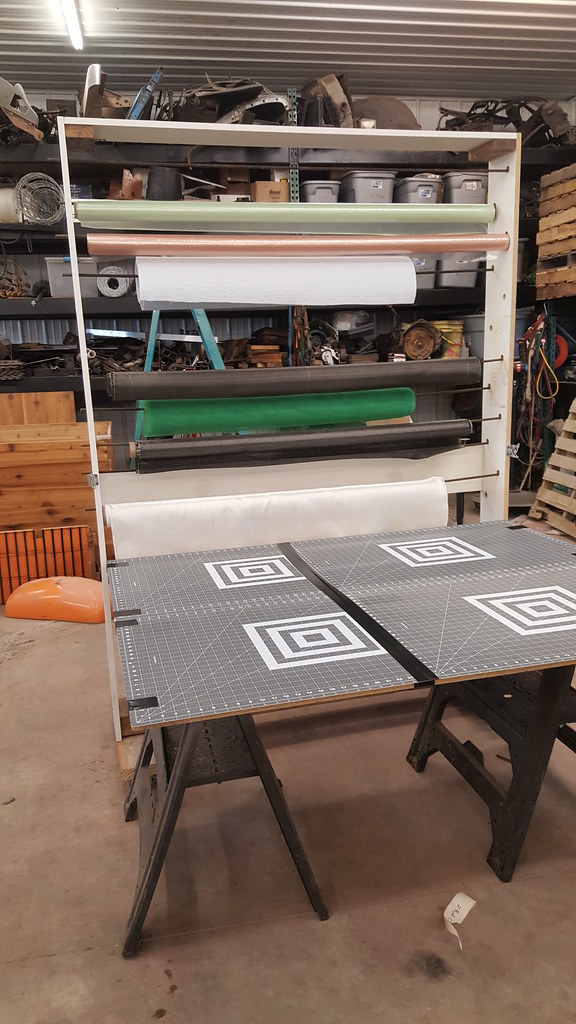
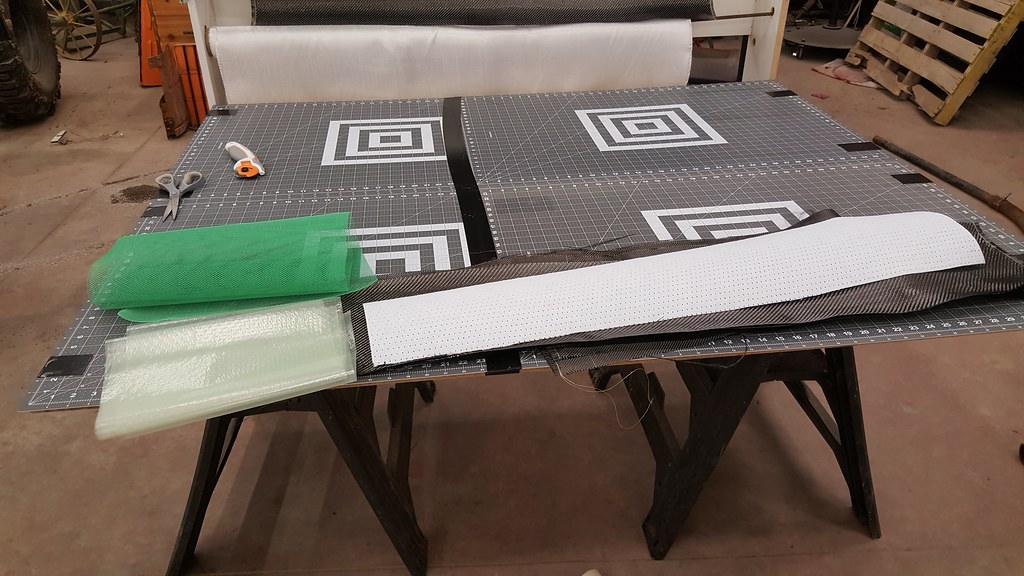
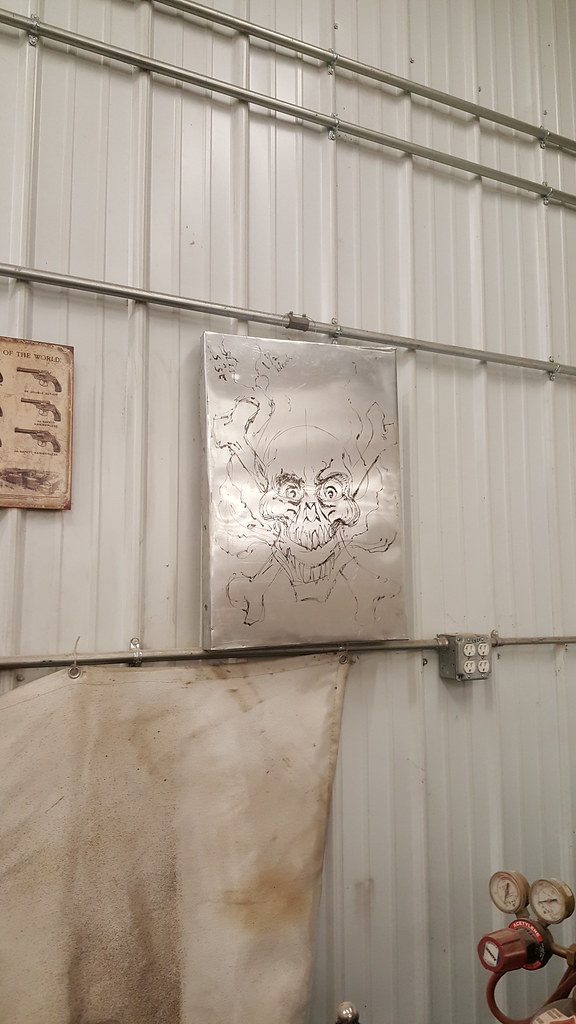
Some new wall art
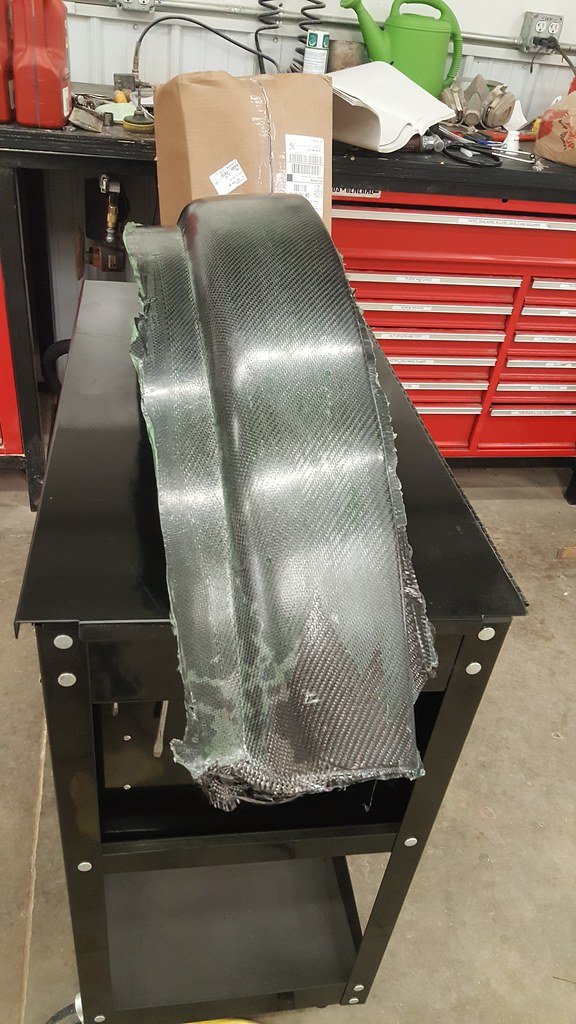
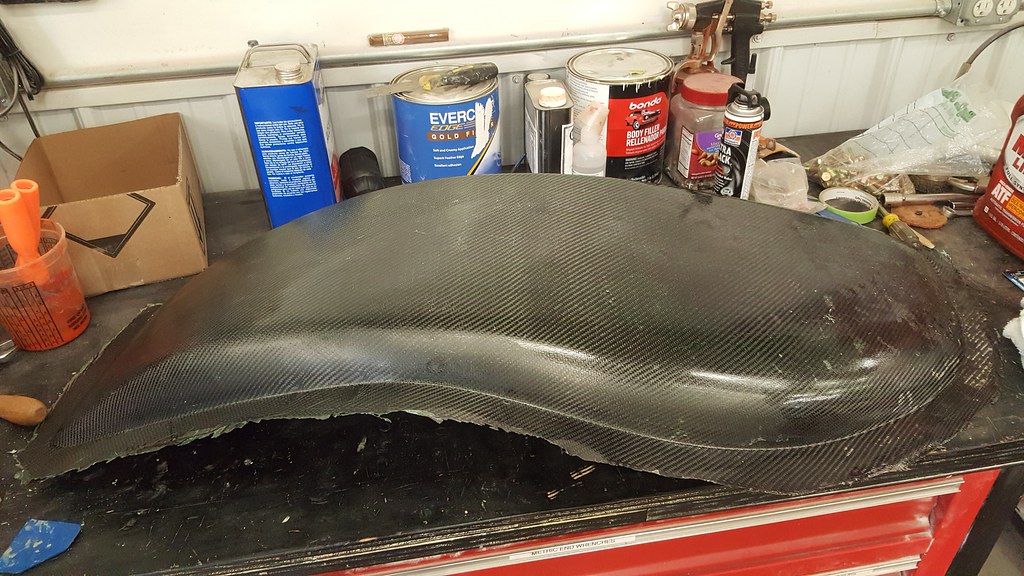
Rear fender, not perfect by any means, had a dry spot in it that I think I've fixed, think it will work though

Laying out front fender
[img]https://c1.staticflickr.com/3/2893/33785615992_aee8acdd48_b.jpg[/img


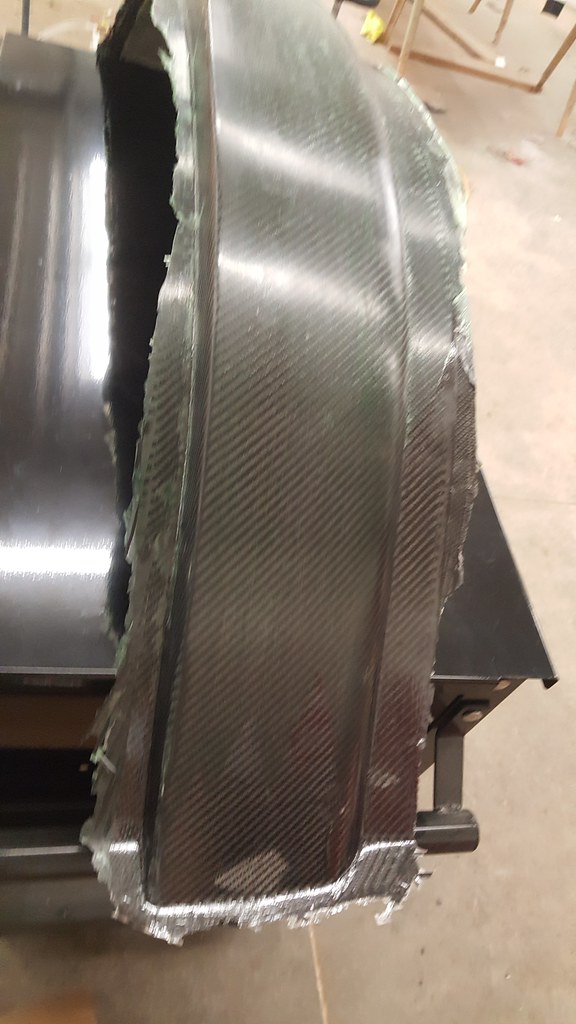
2nd front fender
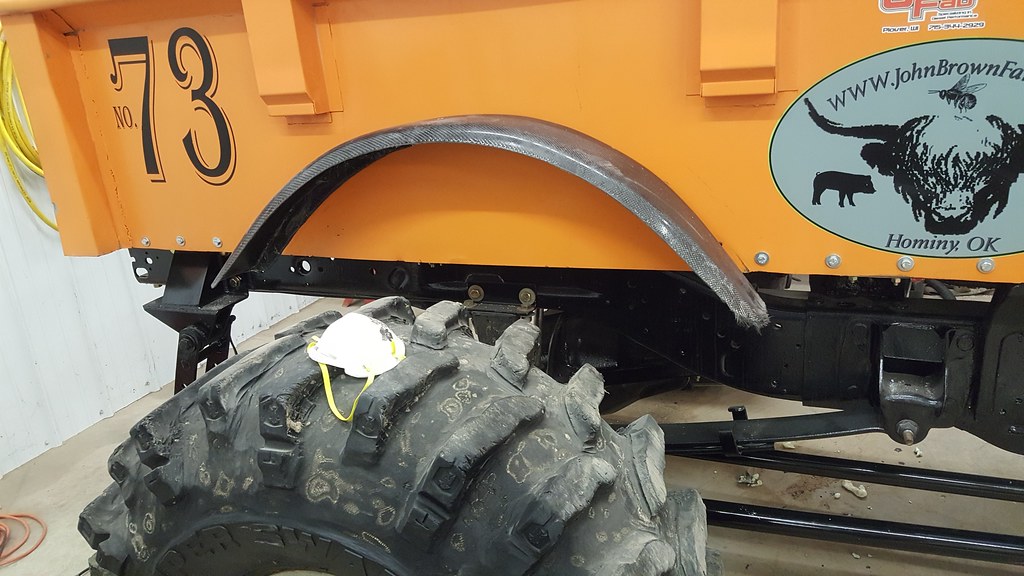
Trying rear fender on
grill on the truck

cleaned up hood
__________________
2005 Dodge Ram 3500 2x4 QC
1999 Dodge Ram 2500 4x4 QC
Coaltrain - 1946 Dodge Power Wagon powered by a little modified 12 valve.
Thanks to my sponsors: CP-Carrillo, Air Dog, Muldoons Diesel Performance, Power Driven Diesel, Diesel Performance Converters
|
|
|
|
|
04-10-2017, 10:52 PM
|
#1217
|
Name: NakeDiesel
Title: Smoke'n in the Mud
Status: Not Here
Join Date: Jan 2010
Location: Hominy, OK
Member`s Gallery
Posts: 1,116
|
__________________
2005 Dodge Ram 3500 2x4 QC
1999 Dodge Ram 2500 4x4 QC
Coaltrain - 1946 Dodge Power Wagon powered by a little modified 12 valve.
Thanks to my sponsors: CP-Carrillo, Air Dog, Muldoons Diesel Performance, Power Driven Diesel, Diesel Performance Converters
|
|
|
|
|
04-11-2017, 10:37 PM
|
#1218
|
Name: NakeDiesel
Title: Smoke'n in the Mud
Status: Not Here
Join Date: Jan 2010
Location: Hominy, OK
Member`s Gallery
Posts: 1,116
|
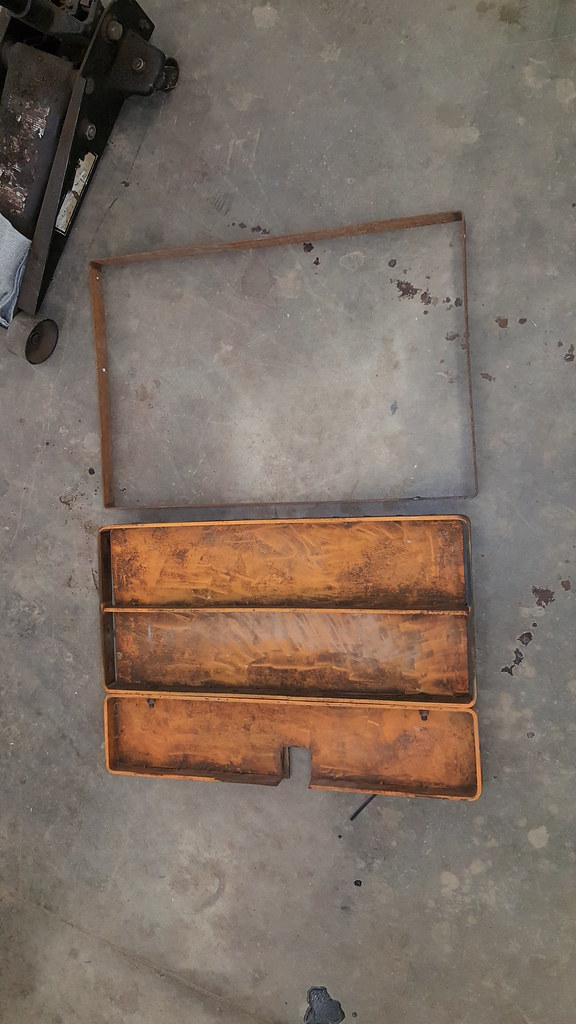
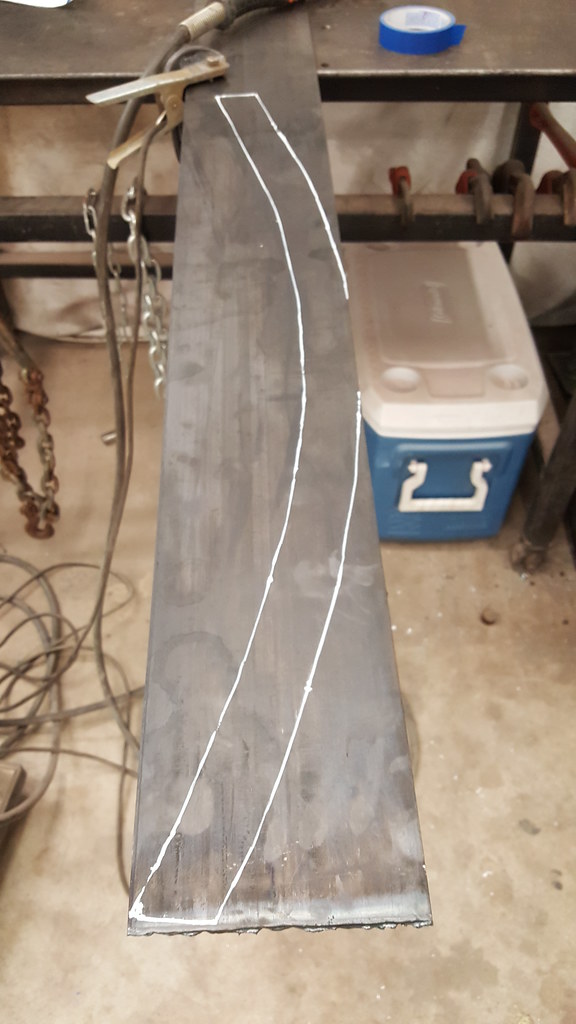
Didn't get a lot done tonight, ran in town and picked up a piece of 6" x 1/8" x 6' strap to make the two archs I needed to mount the fender to it so I can bolt it onto the truck. Not sure where I'm going to put the back bolt as the area with the meat in it, I don't think I can get into it inside the cab.
After taking the pigs to the processor late this afternoon, grabbed dinner with my wife and stopped by home depot to get a new collar for my drimmel that was missing somehow. I makred out the archs from the template I made and cut them out with the plasma cutter and mock fit it and had to trim it a little more with the cut off wheel and then cleaned it up some with the grinder. It's not a photo perfect set of arcs, but hope they will work. May clean them up some more tomorrow night after I figure out how I'm going to bolt them in.

__________________
2005 Dodge Ram 3500 2x4 QC
1999 Dodge Ram 2500 4x4 QC
Coaltrain - 1946 Dodge Power Wagon powered by a little modified 12 valve.
Thanks to my sponsors: CP-Carrillo, Air Dog, Muldoons Diesel Performance, Power Driven Diesel, Diesel Performance Converters
|
|
|
|
|
04-14-2017, 07:10 PM
|
#1219
|
Name: NakeDiesel
Title: Smoke'n in the Mud
Status: Not Here
Join Date: Jan 2010
Location: Hominy, OK
Member`s Gallery
Posts: 1,116
|
Been running hard working on the truck the last few days, I ended up up off yesterday and today, so Weds night I was out there till almost midnight and till almost 11 last night. Called it an early night tonight, waiting on stuff to dry.
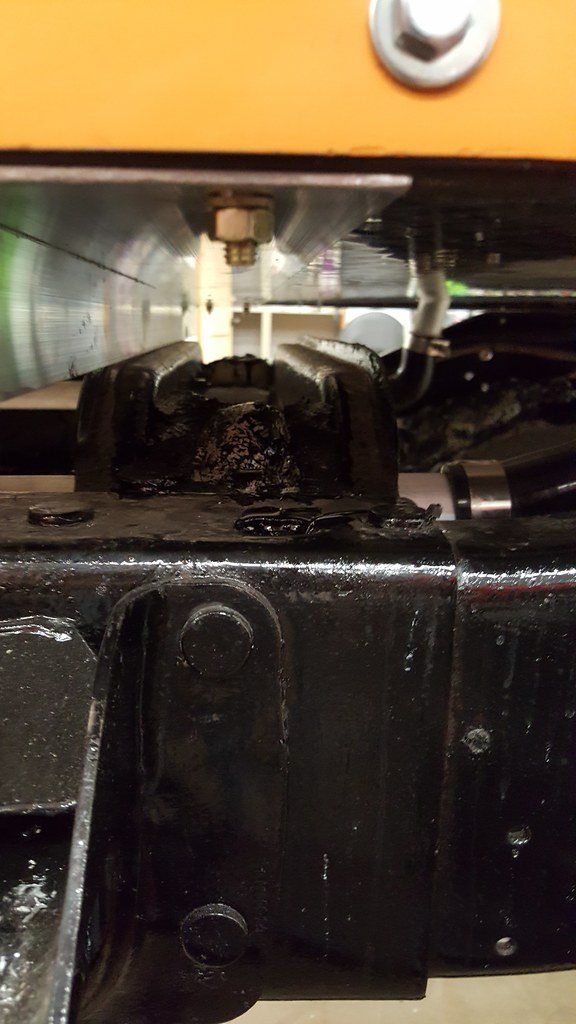
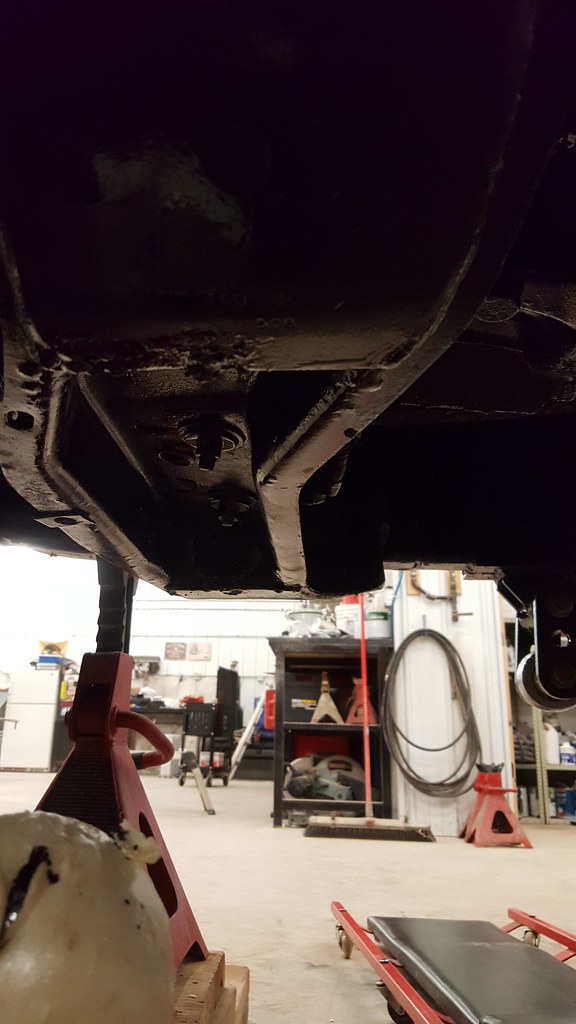
Ended up having to cut another set of fender mount bars once I got the holes drilled in the fenders and found the bars curve was off, recut them out yesterday, drilled holes and got them painted today. Cut off the old fender rear angle mounts last night, so no going back now.
Spent a lot of time wet sanding the epoxy on the molds. I ended up going too deep on one front fender and cut through the fiber into the foam core. If I had time, I'd remake it, but think a well placed sticker will work just fine. I messed around last night and weighed one of the new CF front fenders and it weighed 1lb 12 oz. The fender support bar weighed just under 2 lbs. The angle I cut off each side weighed 3lbs, so that makes the old setup 48lbs and the new setup just under 3lbs on each side for a weight reduction of 90lbs.
I shot clear on the front fenders this morning and got fish eyes, so it's back to sanding on them and reshooting them tomorrow sometime. Also painted the fender bars and where I cut off the angle bars on frame.
I have the 2nd rear fender out of the mold and trimmed all edges of all the fenders before clearing them.
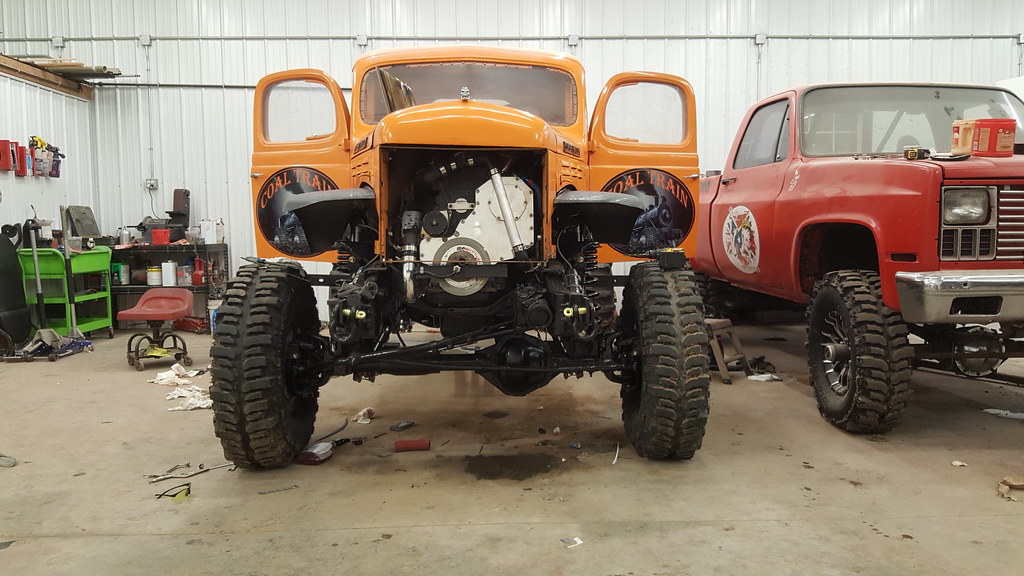
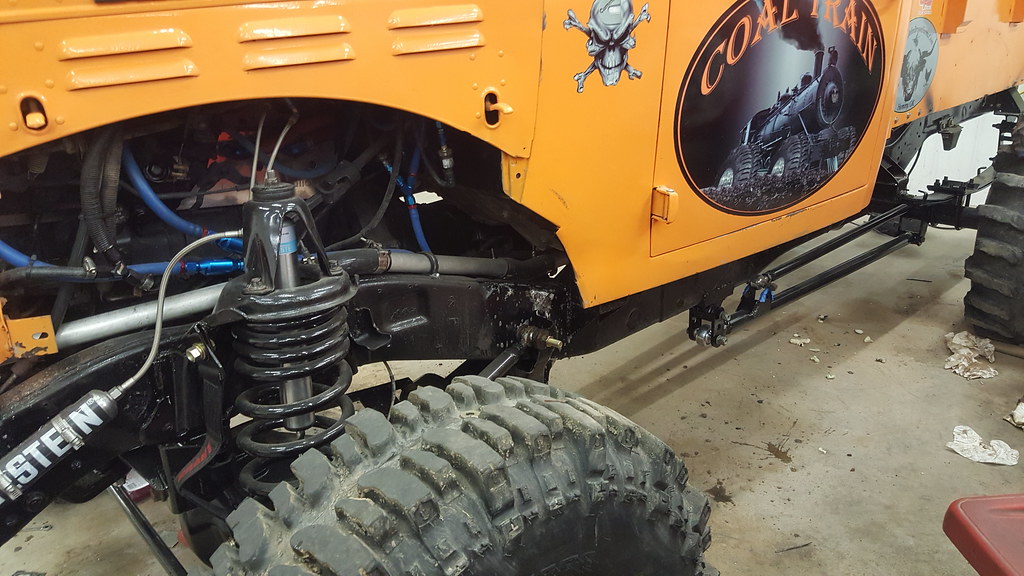
Also got the new CP Carrillo stickers placed on the truck today and finished making the new cover for the grill. Having a large sticker designed and printed to cover that area. I shaved off about 22lbs by making the new grill front. So I'm thinking I've shaved off almost 150lbs from the front end of the truck.
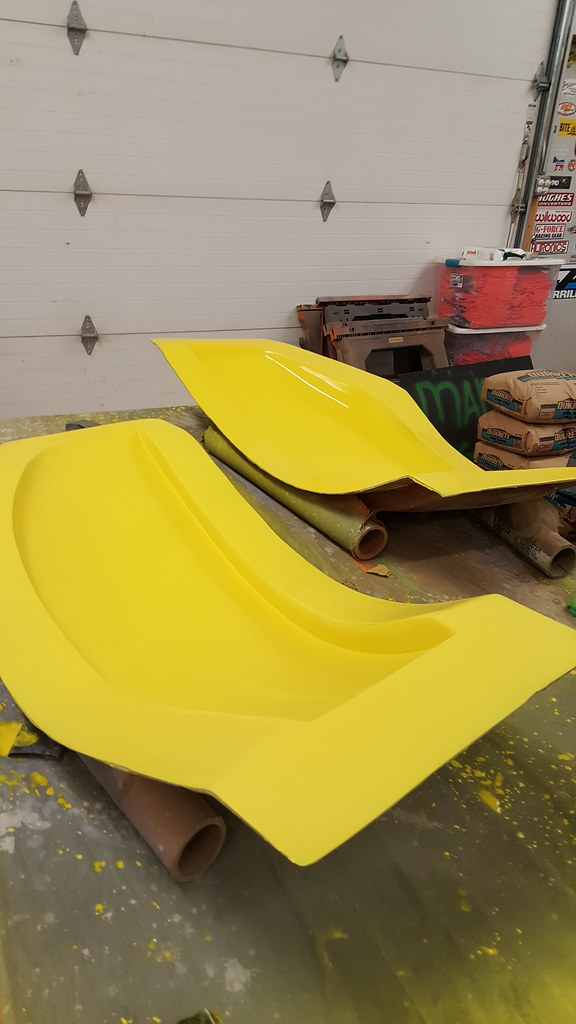
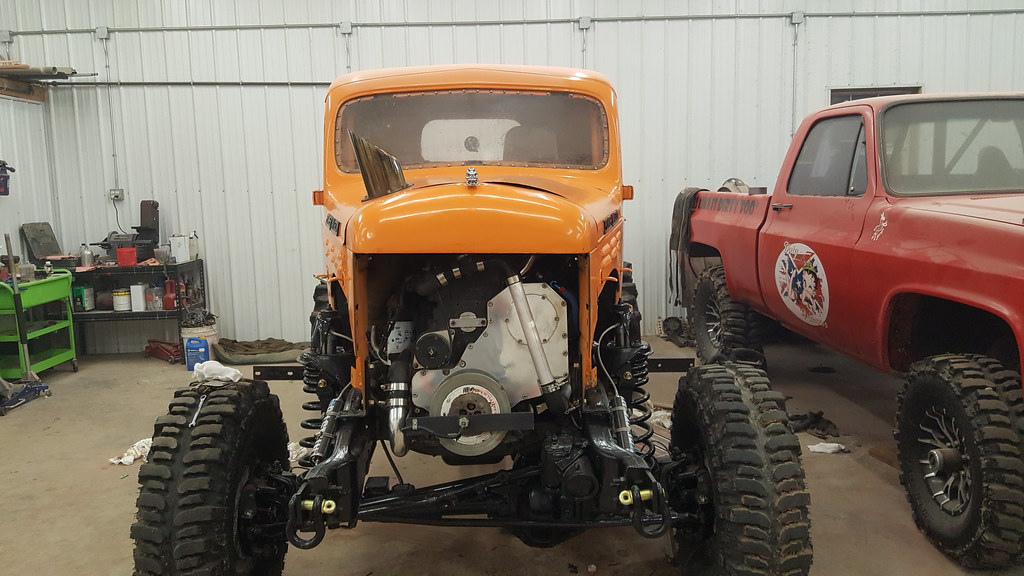
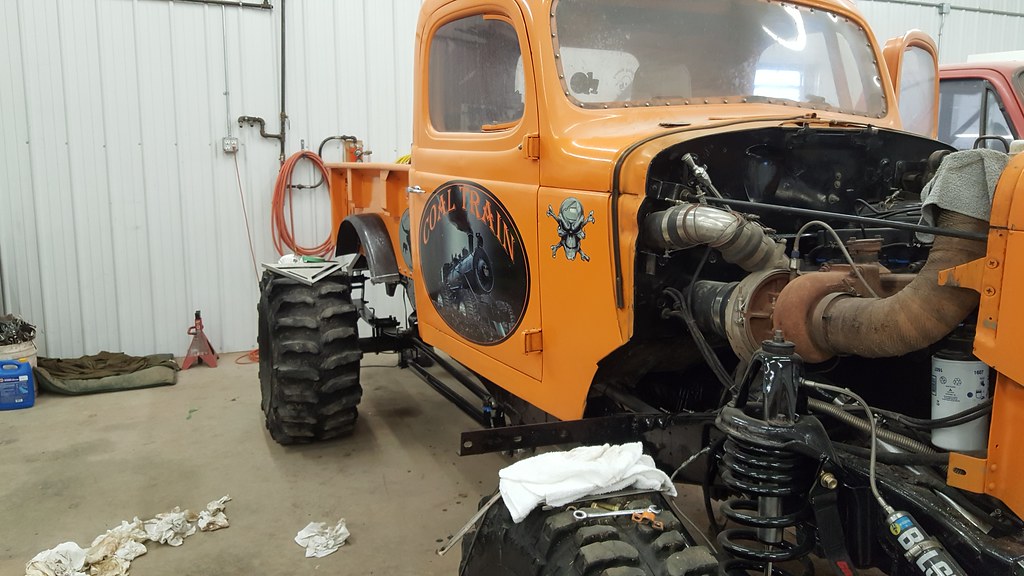
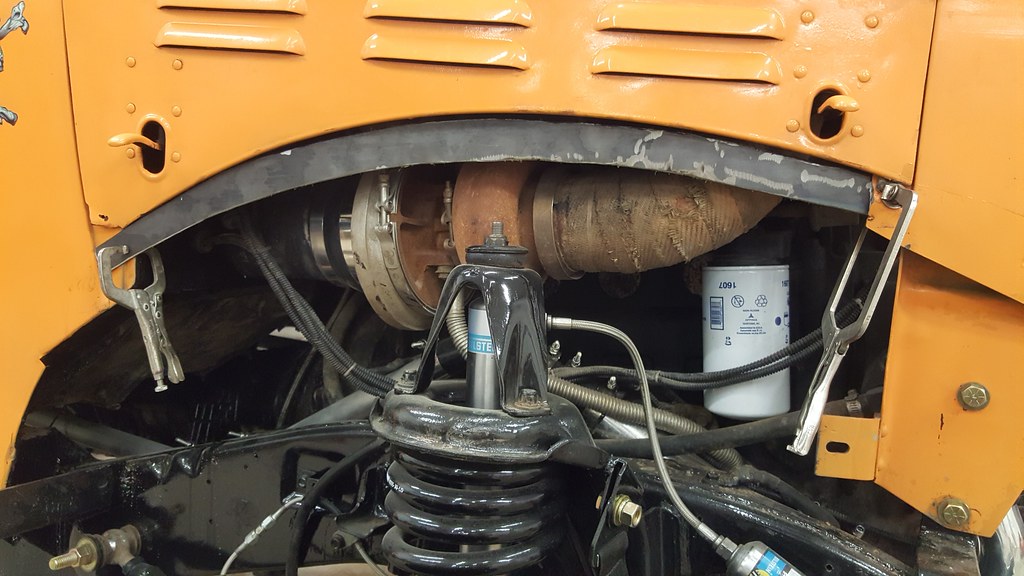
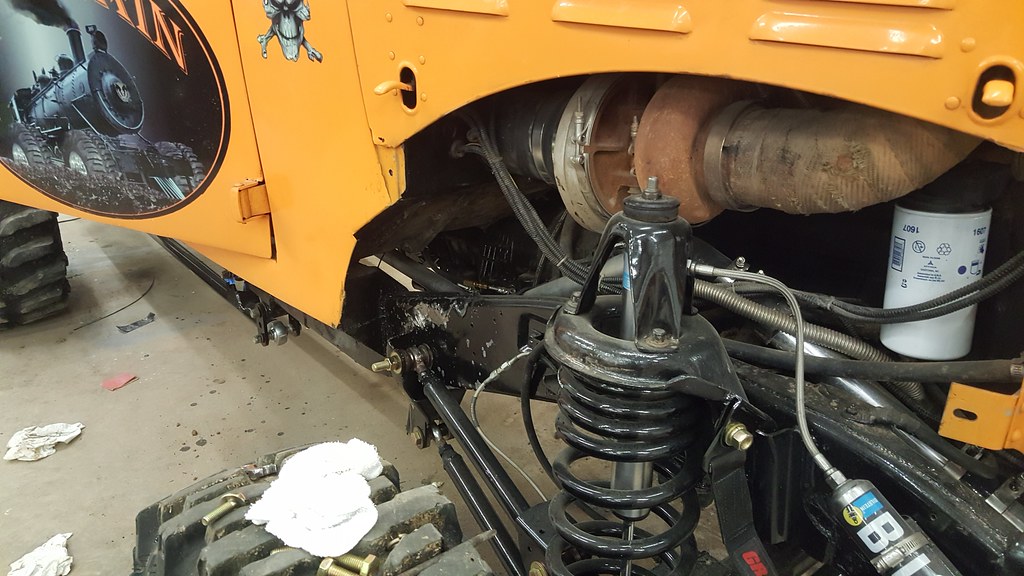
Both front fenders bolted on
Front fenders wet sanded to 2000 grit and ready for clear coat
After clearing
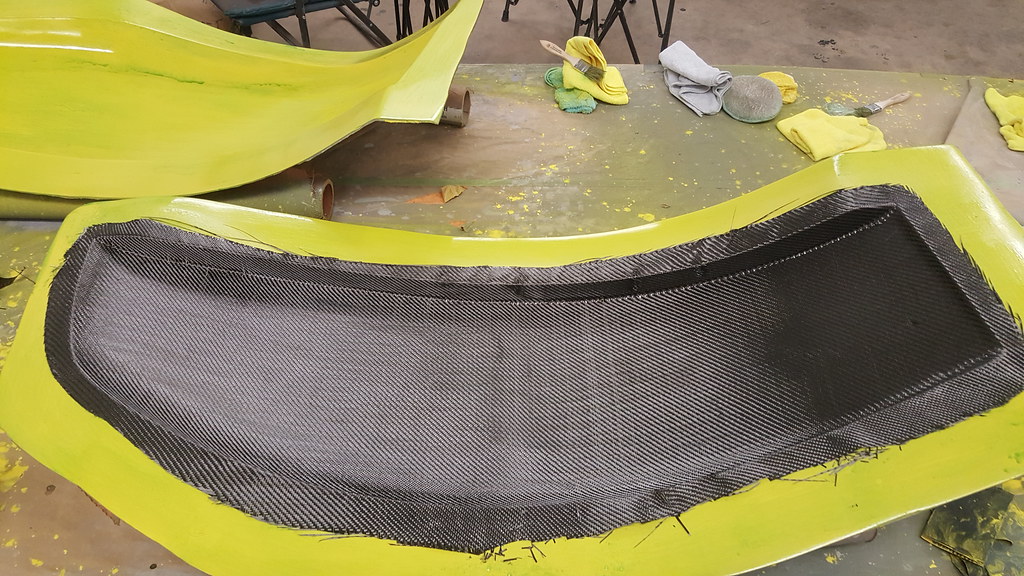
New grill front
Old fender bars removed
__________________
2005 Dodge Ram 3500 2x4 QC
1999 Dodge Ram 2500 4x4 QC
Coaltrain - 1946 Dodge Power Wagon powered by a little modified 12 valve.
Thanks to my sponsors: CP-Carrillo, Air Dog, Muldoons Diesel Performance, Power Driven Diesel, Diesel Performance Converters
|
|
|
|
|
04-16-2017, 08:30 PM
|
#1220
|
Name: thatguy69
Title: Too Much Time
Status: Not Here
Join Date: Jul 2011
Location: Mansfield Ohio
Member`s Gallery
Posts: 2,023
|
gonna have her done in time for ucc?excited to see this thing in person
Sent from my SM-T550 using Tapatalk
__________________
1999 Compound 24v Rust Rocket
2008 F350 P24v/Allison
|
|
|
|
 Posting Rules
|
You may not post new threads
You may not post replies
You may not post attachments
You may not edit your posts
HTML code is Off
|
|
|
All times are GMT -5. The time now is 11:10 PM.
|