
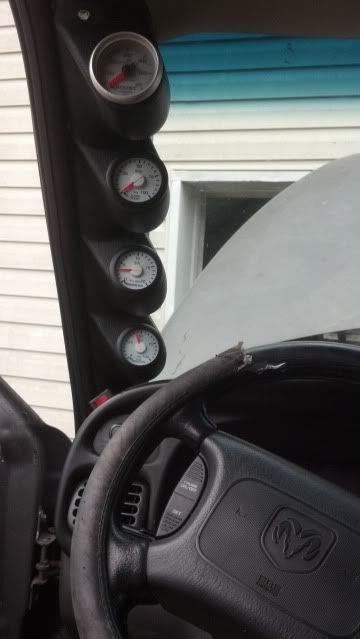
So, I didn't want to spend any more money than I needed too, but I did need to run a boost gauge between the primary and secondary, to see what my primary is lighting at. I already had a boost gauge, pyro, and fuel pressure. I still had my autometer mechanical 0-60 boost gauge, so I didn't have to spend any more money on that, and I still had the old A pillar 2 gauge mount.
After some quick cutting and fitting, here's what it turned out to be-notice anything different?
My own Dodge 4 gauge pillar pod!
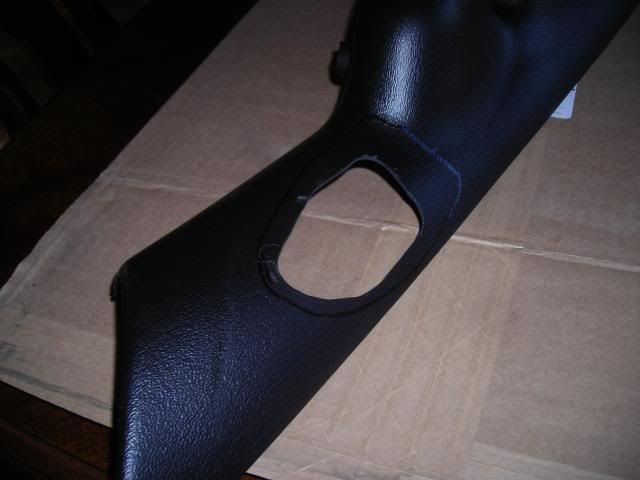
I just pulled it out of the truck tonight, to modify it some more, as I've decided to mount my 5th gauge on the pod. I marked the pod in the truck, so I know it fits, and then pulled it all out to mold them together.
As I marked it, and before I cut the hole out for the wires to go through...

Hole cut out with a dremel, and then smoothed out with the sander wheel on the dremel.
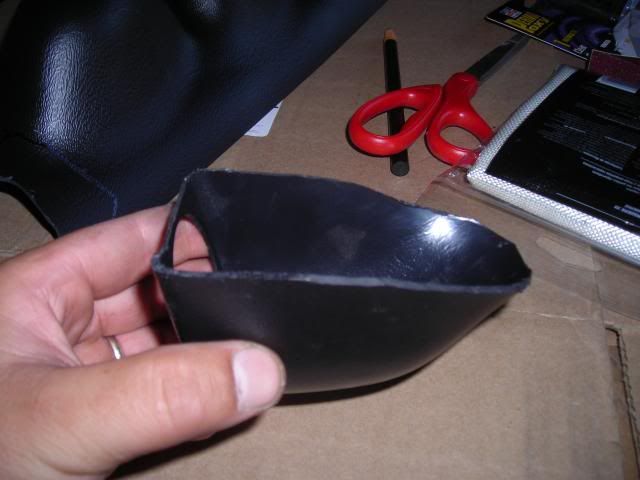
This is the second pod of the 2 gauge pod, after I've cut it to fit the area...it doesn't like up exactly right, but with how I'm planning on mounting it, I'm not too worried...
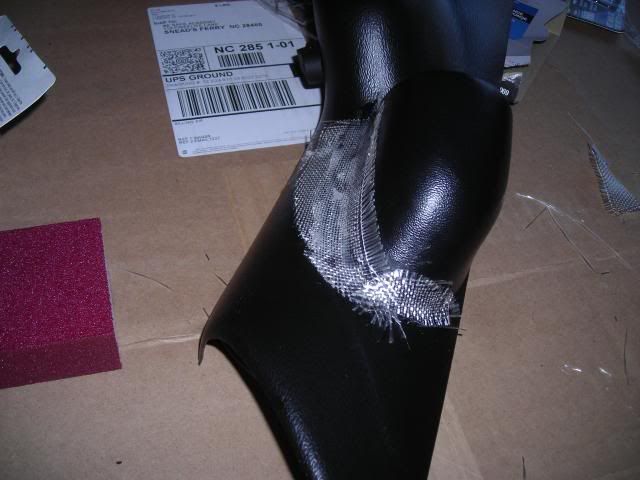
1st step, I used some 2 part 1 minute epoxy, and some fiberglass. I cut out strips of fiberglass, laid the epoxy on the plastic, and then placed the fiberglass down on the pod. If I had to do it again, I think I'd get some slower setting epoxy, as it dried up pretty quick, and if I didn't get all of it on the pod immediately, I wasted a lot of it. It's solid though, there's absolutely no give on the pod...
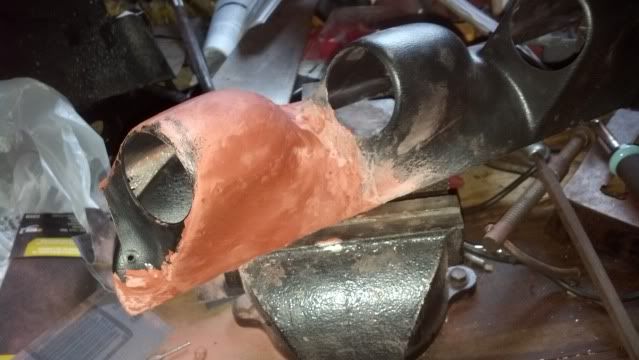
2nd step, I got a small tube of glazing spot putty, for metal, fiberglass, etc, and then coated the pod over the fiberglass. Once it dries out, I'll sand it down, and touch up if needed. Once that's done, I'll paint it over, and reinstall.

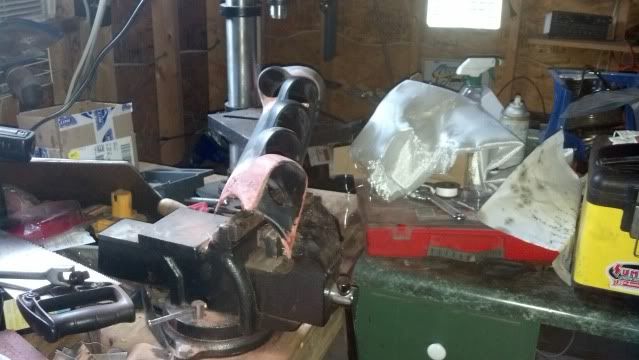
A few more pics as it stands right now....note to self...either use actual fiberglassing epoxy or switch to a 5 minute epoxy...the 5 minute epoxy allowed me more time to lay the fiberglass and to smooth it out before hardening...
Top pod redone
Overall pod....
Bottom one mostly sanded....
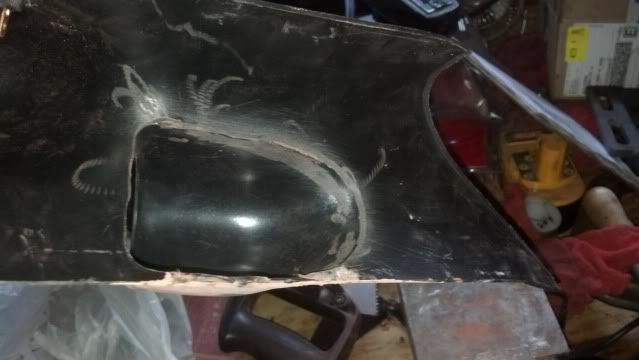
Inside of pod. I ground it out so the hole matched up with the outline of the pod itself...
Just another update, all I need is the paint to dry, and I can put it back in!
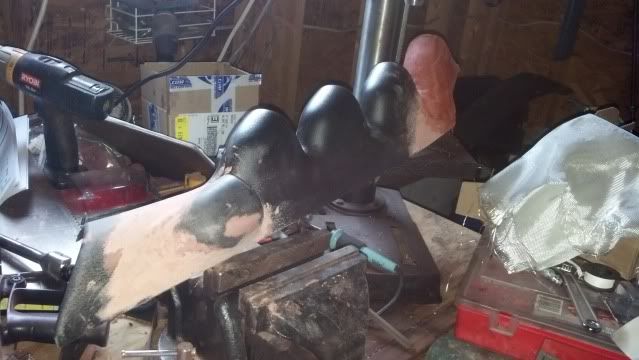
Sprayed it down with a rattle can herculiner, so it would flex better, and hold a little bit more texture-that's the idea, anyway! I'm not spraying the inside, I could care less how that looks, since no one's ever going to see it but me!
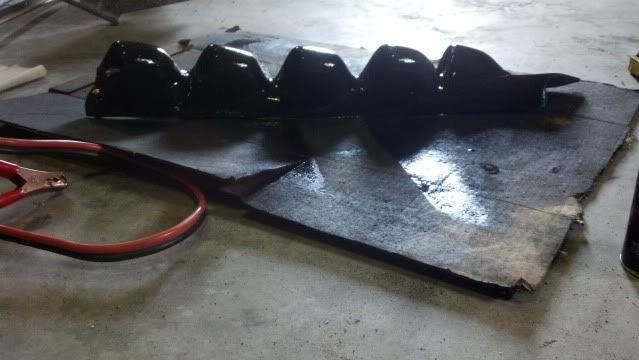
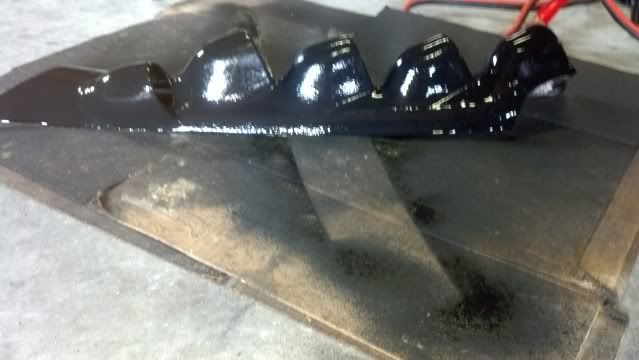
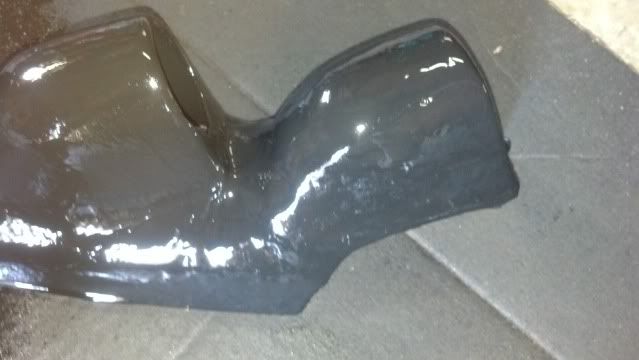
The bottom pod sprayed...not the best picture, but it melded together fairly well, considering I've never fiberglassed a thing before in my life!
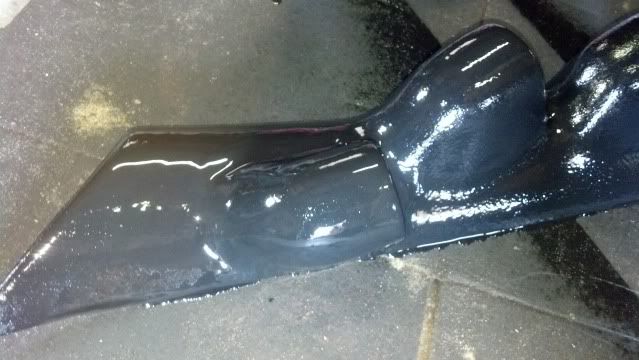
Top one...Yes, it looks really funny from this angle, but that's the same angle I had it at before I actually fiberglassed it to the pod. From inside the truck, the angle's really not that bad...same angle as the first pic I took of it, just a little less material now.
Hoping the paint will dry by this evening enough to put it all back together...the wife really needs the Jeep back; been driving it for the past two days now with my gauges and wires hanging all over the truck right now! Once it's in, I'll definitely get more pics of it.
After some quick cutting and fitting, here's what it turned out to be-notice anything different?
My own Dodge 4 gauge pillar pod!
I just pulled it out of the truck tonight, to modify it some more, as I've decided to mount my 5th gauge on the pod. I marked the pod in the truck, so I know it fits, and then pulled it all out to mold them together.
As I marked it, and before I cut the hole out for the wires to go through...
Hole cut out with a dremel, and then smoothed out with the sander wheel on the dremel.
This is the second pod of the 2 gauge pod, after I've cut it to fit the area...it doesn't like up exactly right, but with how I'm planning on mounting it, I'm not too worried...
1st step, I used some 2 part 1 minute epoxy, and some fiberglass. I cut out strips of fiberglass, laid the epoxy on the plastic, and then placed the fiberglass down on the pod. If I had to do it again, I think I'd get some slower setting epoxy, as it dried up pretty quick, and if I didn't get all of it on the pod immediately, I wasted a lot of it. It's solid though, there's absolutely no give on the pod...
2nd step, I got a small tube of glazing spot putty, for metal, fiberglass, etc, and then coated the pod over the fiberglass. Once it dries out, I'll sand it down, and touch up if needed. Once that's done, I'll paint it over, and reinstall.
A few more pics as it stands right now....note to self...either use actual fiberglassing epoxy or switch to a 5 minute epoxy...the 5 minute epoxy allowed me more time to lay the fiberglass and to smooth it out before hardening...
Top pod redone
Overall pod....
Bottom one mostly sanded....
Inside of pod. I ground it out so the hole matched up with the outline of the pod itself...
Just another update, all I need is the paint to dry, and I can put it back in!
Sprayed it down with a rattle can herculiner, so it would flex better, and hold a little bit more texture-that's the idea, anyway! I'm not spraying the inside, I could care less how that looks, since no one's ever going to see it but me!
The bottom pod sprayed...not the best picture, but it melded together fairly well, considering I've never fiberglassed a thing before in my life!
Top one...Yes, it looks really funny from this angle, but that's the same angle I had it at before I actually fiberglassed it to the pod. From inside the truck, the angle's really not that bad...same angle as the first pic I took of it, just a little less material now.
Hoping the paint will dry by this evening enough to put it all back together...the wife really needs the Jeep back; been driving it for the past two days now with my gauges and wires hanging all over the truck right now! Once it's in, I'll definitely get more pics of it.
