MD-LUCKY
Difficult To Pronounce...
"If it sounds too good to be true, it probably is."
I've got to admit, I'm one of those people that believe that truer words have never been spoken. So when I started to read the reviews for some of these cheap HID kits on ebay, I was beyond skeptical. But, the reviews kept flowing in.. and everyone had nothing but good things to say. The last set of Silverstar headlights I bought ran me over $50, so I figured for an extra $25 I would give them a shot.
If you are interested in a set, you can find them by searching this in ebay:
HID KIT Bi-Xenon BIXENON 9003 H4 9004 9007 H13 VVME
The seller is named "Flashplus"
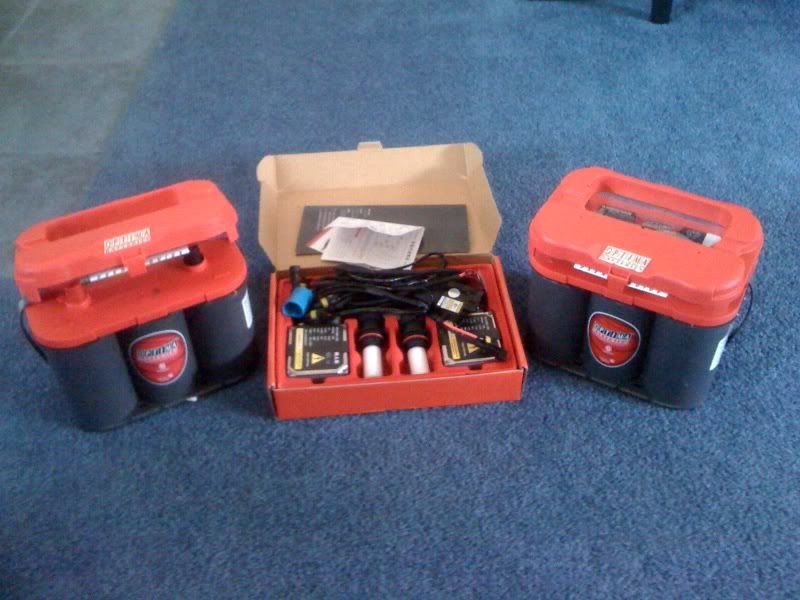
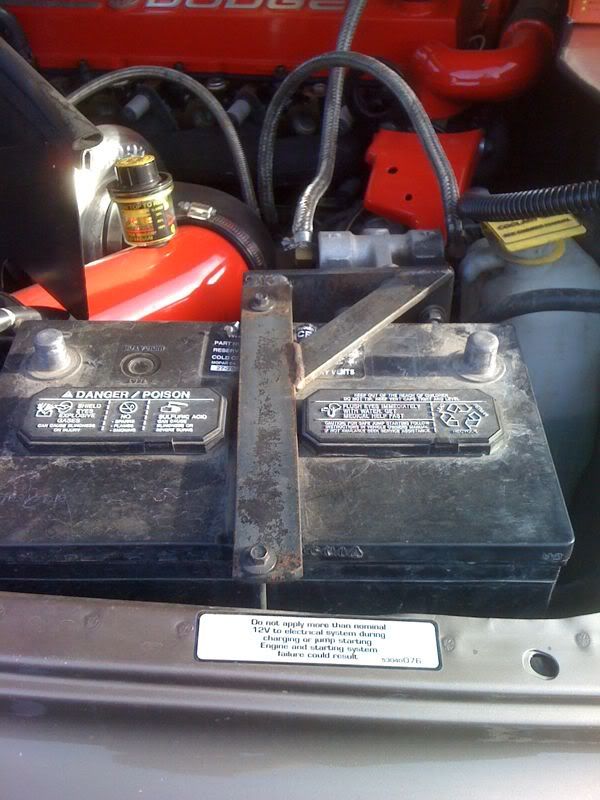
I decided to install these at the same time I put a new set of batteries. You get everything you see in the box between the two batteries:
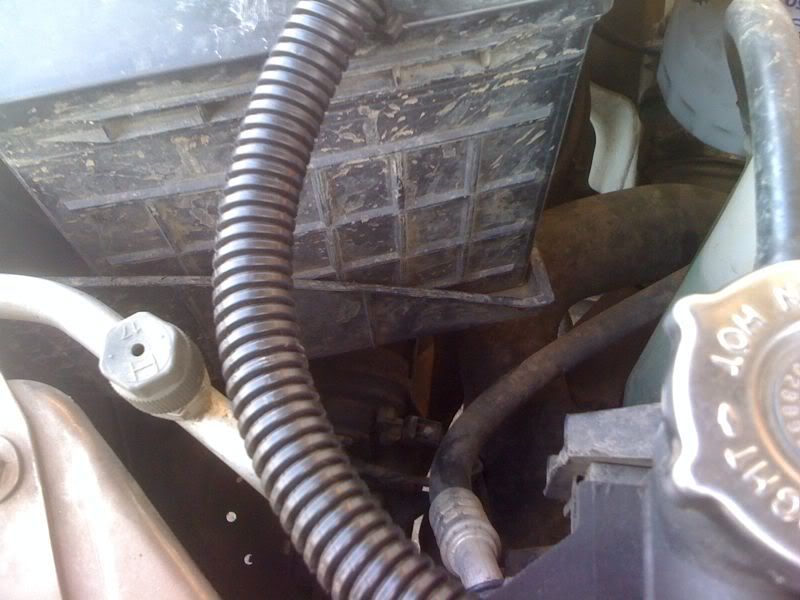
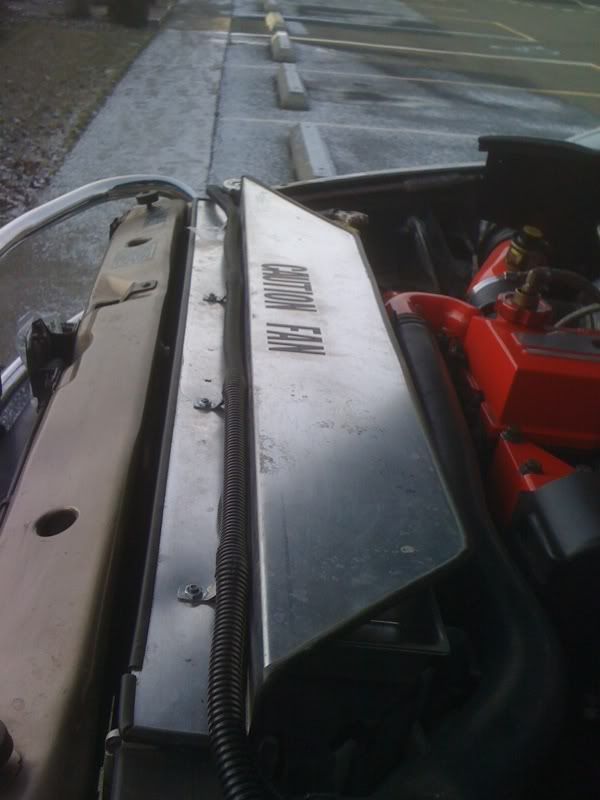
The first thing I started to look for was a place to install the ballasts and the extra wiring required for HID lights. I wanted to keep them close to the light assembly, but up and away from any moister or heat. This was the best place I could find:
Start by disconnecting the batteries and getting them out of the way. Even if you don't plan on replacing the batteries, things will go a heck of a lot smoother if they are gone.
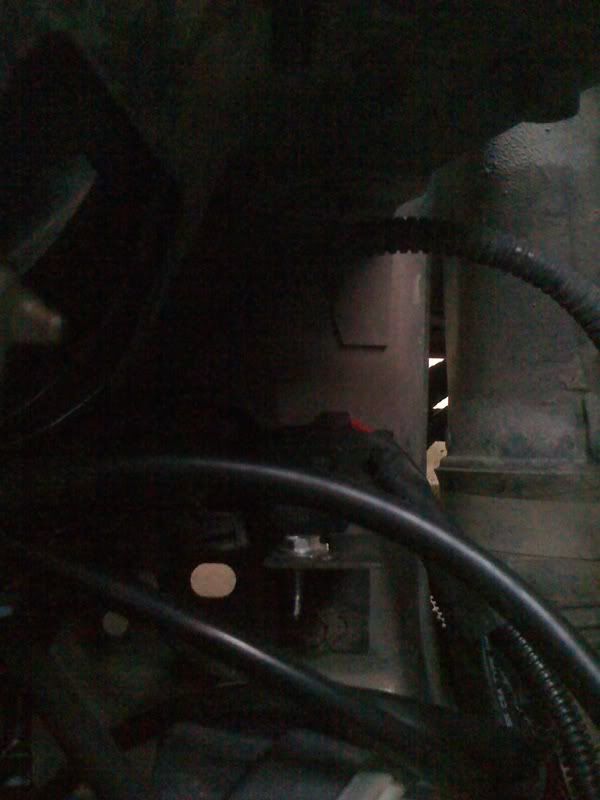
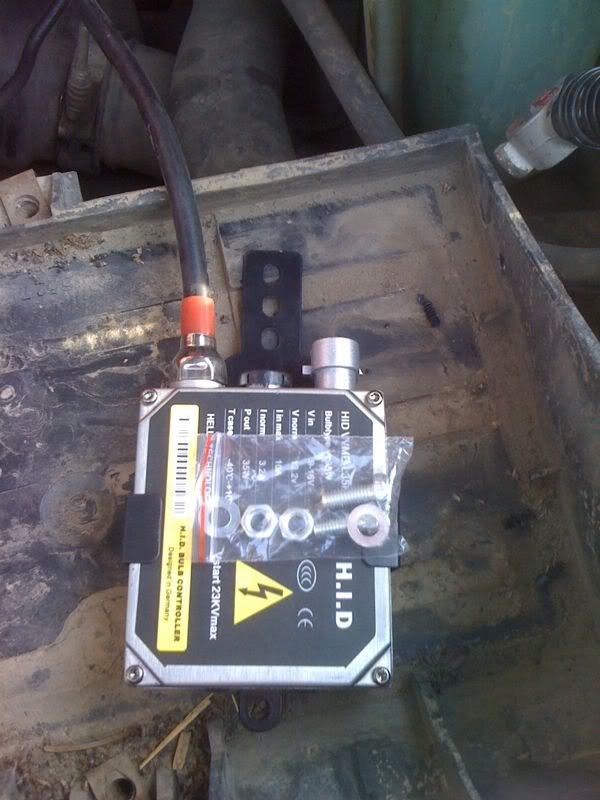
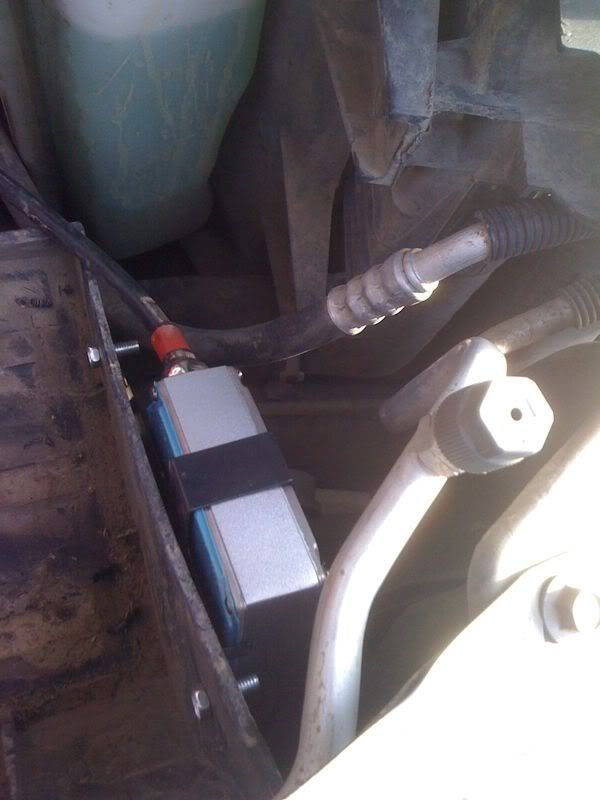
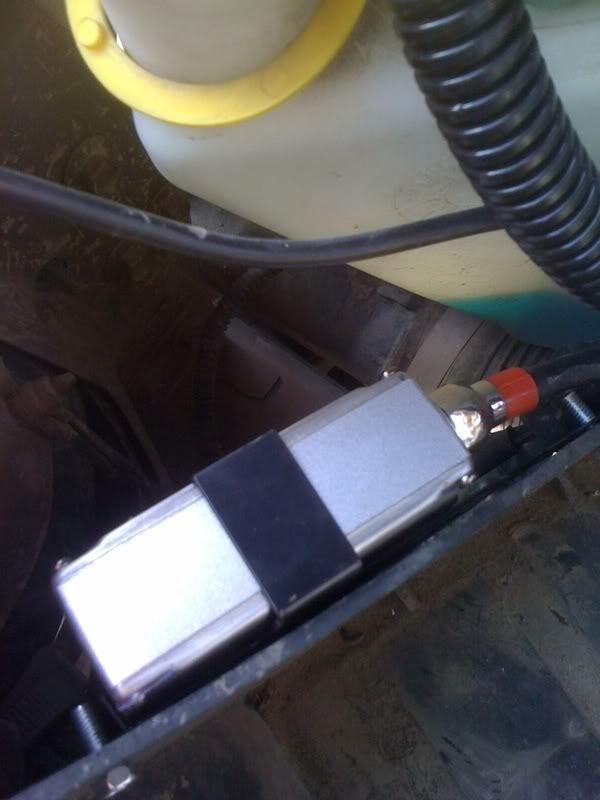
This is where I decided to install the ballast. Wanted to make sure that it would fit and give me plenty of room:

This is the ballast that is going to be installed. The kit even comes with all the nuts, bolts, and wire ties you might need. I didn't use all the supplied parts, but I'll get to that later.
To get everything lined up, I held the ballast inside the battery tray and marked the drill points with a sharpie. I figured it would be a heck of a lot easier to drill through with the box in place rather than try to pull the tray just to drill it.
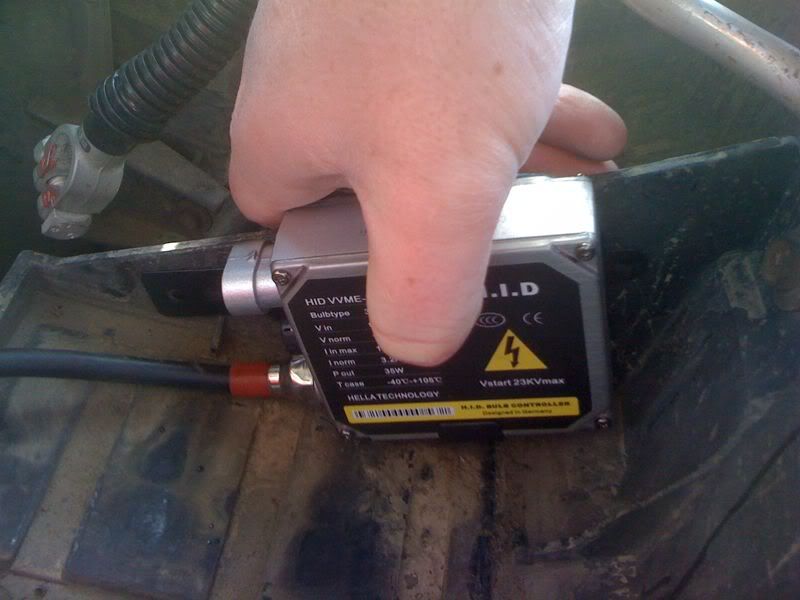
Checked to make sure that everything lined up. But, don't tighten everything into place! It's hard enough to get your hands down in there without having even more stuff in the way!
If you've ever replaced the headlights in these trucks, you know how tricky it can be at times to get your hands in the right spot. The nice thing about this kit is that it is literally a plug and play setup. Get the old bulbs out.
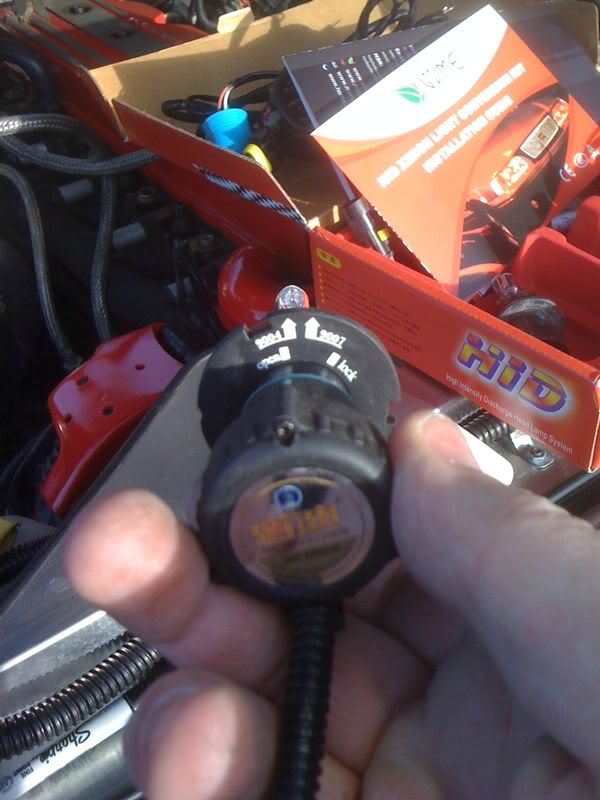
Once you pull the factory bulb out, you can get the lock collar off. On the regular replacement bulbs, you can slide the lock collar over the back of the bulb. However, on this system, the collar will not fit over the back of the HID bulbs. The solution is to separate the bulb from the wiring harness. On the back of the bulb, you can see the "open, lock" for the bulb. NEVER touch the glass portion of the bulb!!
Click it over to open and pull the bulb out, and then slide the locking collar in place. Then, lock the bulb back in place:
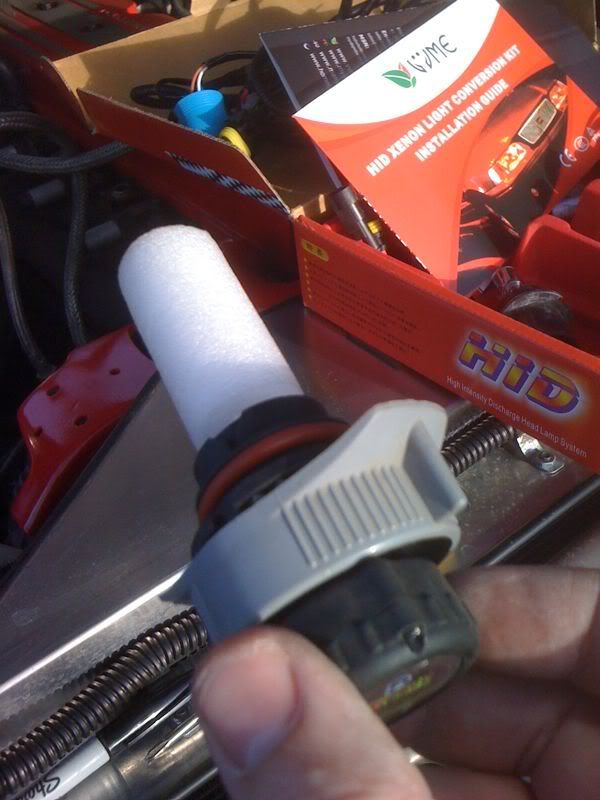
Put the bulb in place just like you are replacing a regular factory headlamp. Keep the wires and everything in a good place that you can reach in the future:
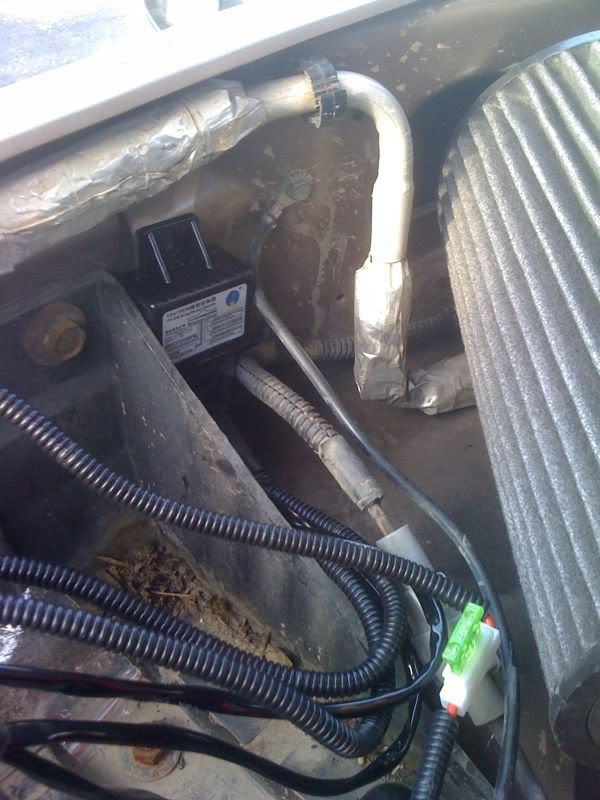
The next project is to figure out where to put the relay and the wiring harness. I thought I found a perfect spot... But, I couldn't get the supplied wiring harness to reach all the way across the truck to the other side:
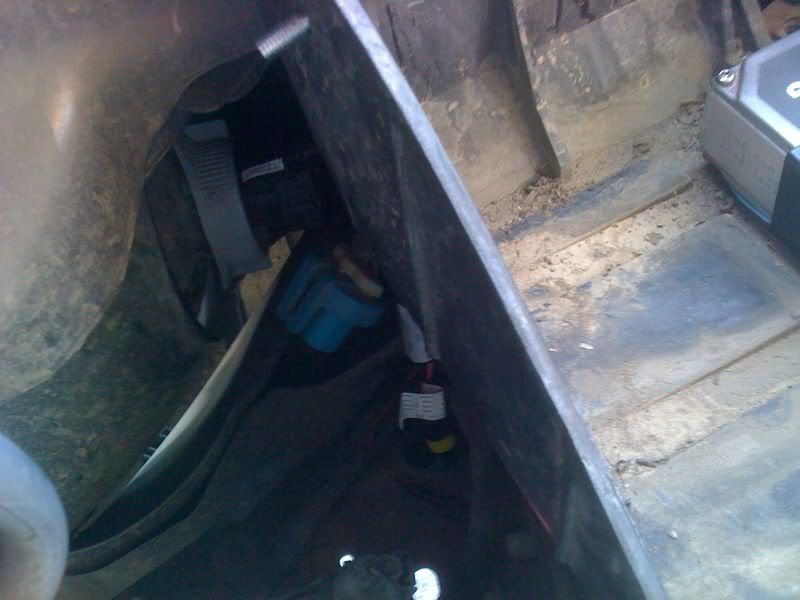
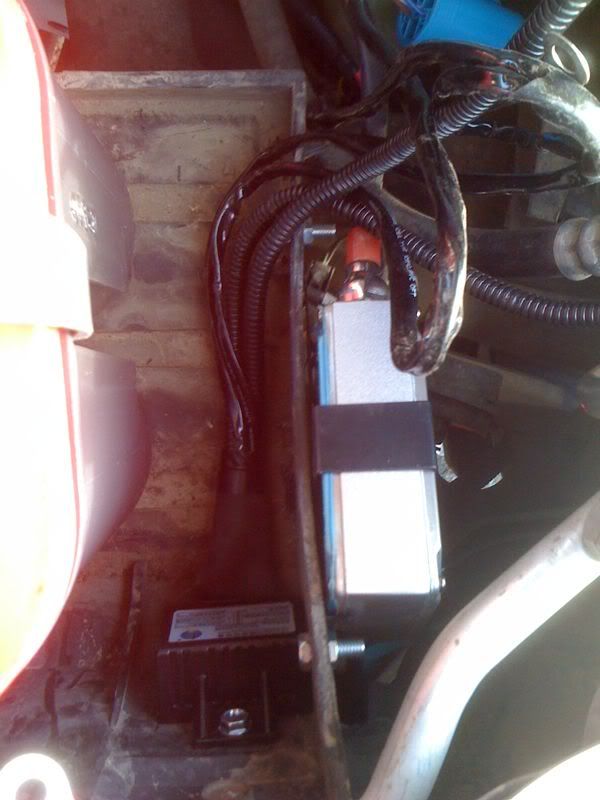
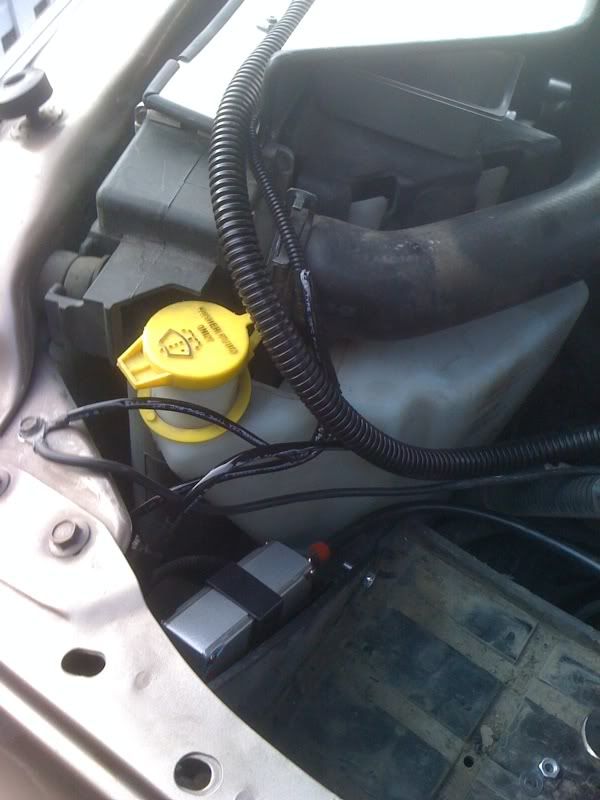
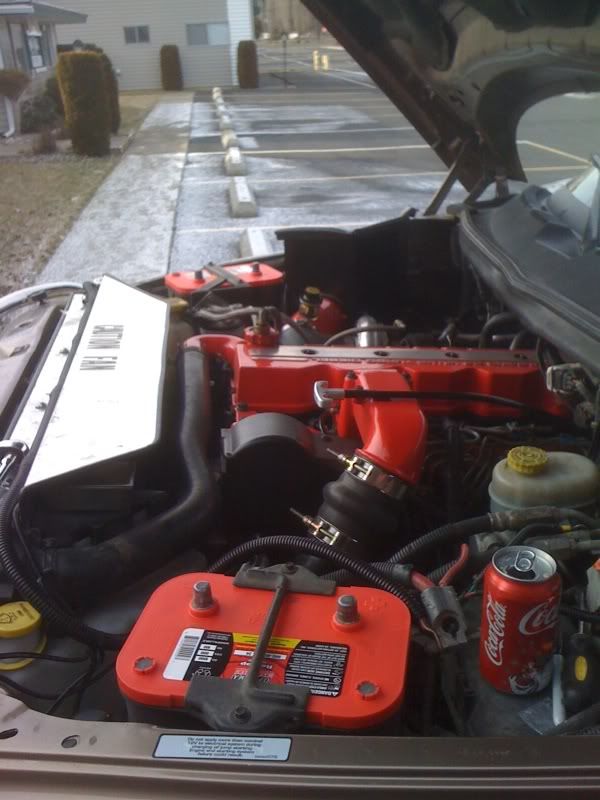
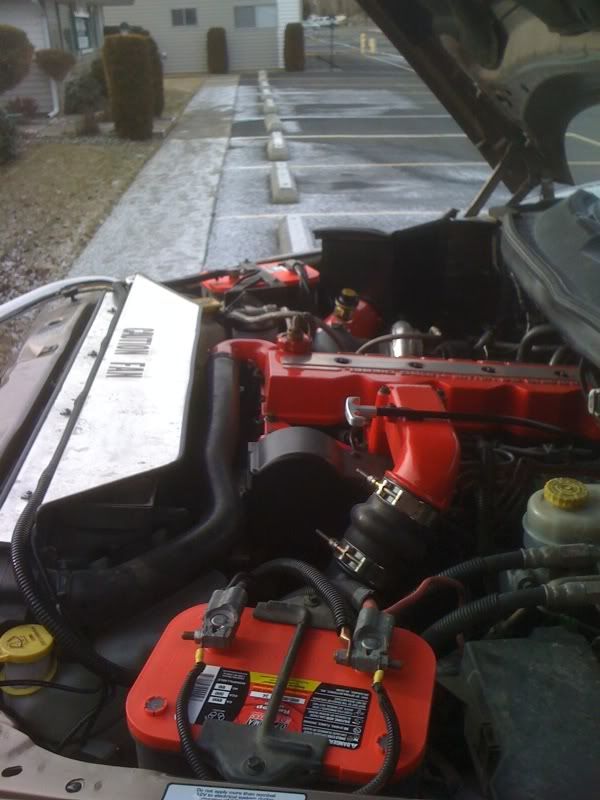
This is the spot I ended up using. With the new batteries, I had plenty of space still inside the tray to mount the relay. If you use stock batteries, I doubt you will have enough space.. So keep that in mind. I used a self drilling/tapping screw to mount the relay instead of the supplied bolts.
Now, just take the time to plug in all the connectors. It really is plug and play. I also added a ground using another self tapping screw on the radiator support bracket. If you look on the driver side, you will see where the factory installs a ground on that side. I just matched it to the passenger side.
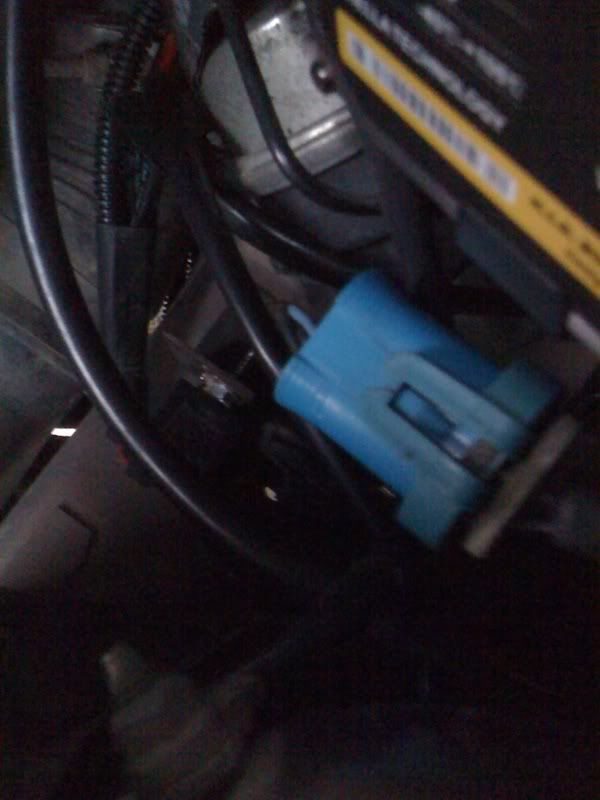
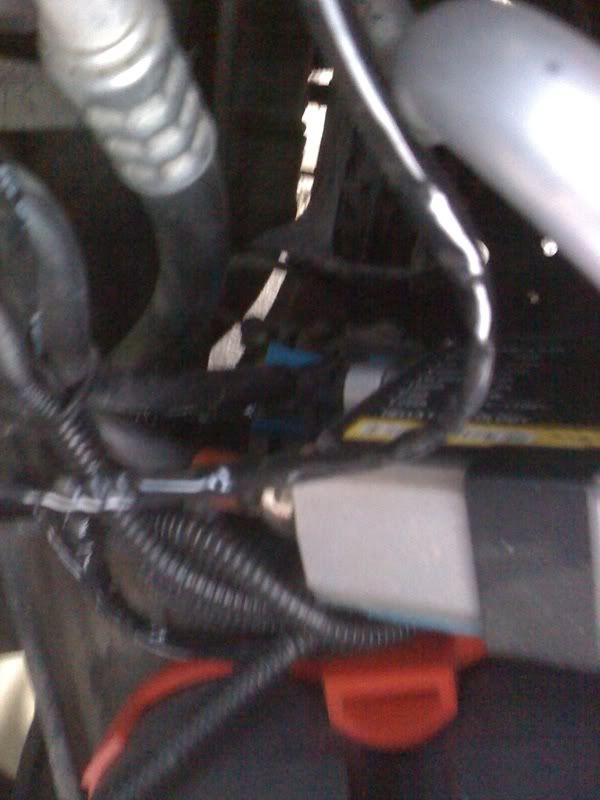
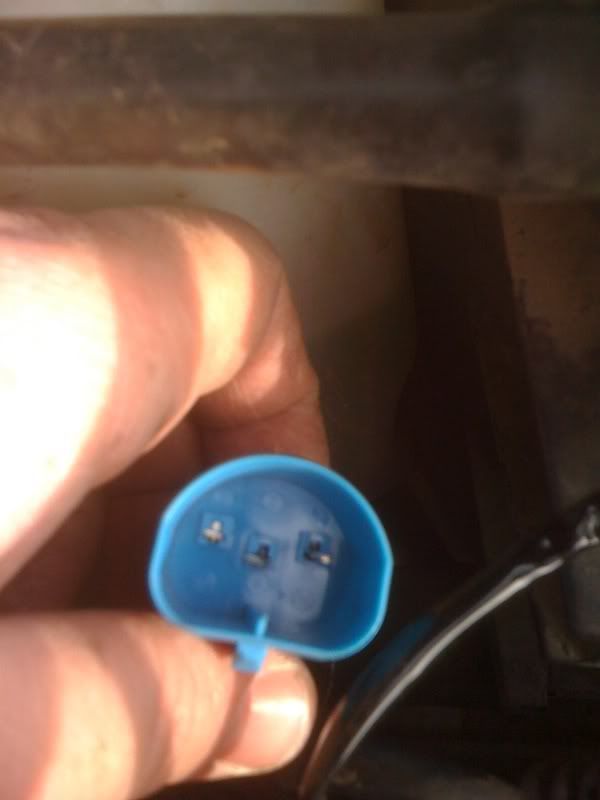
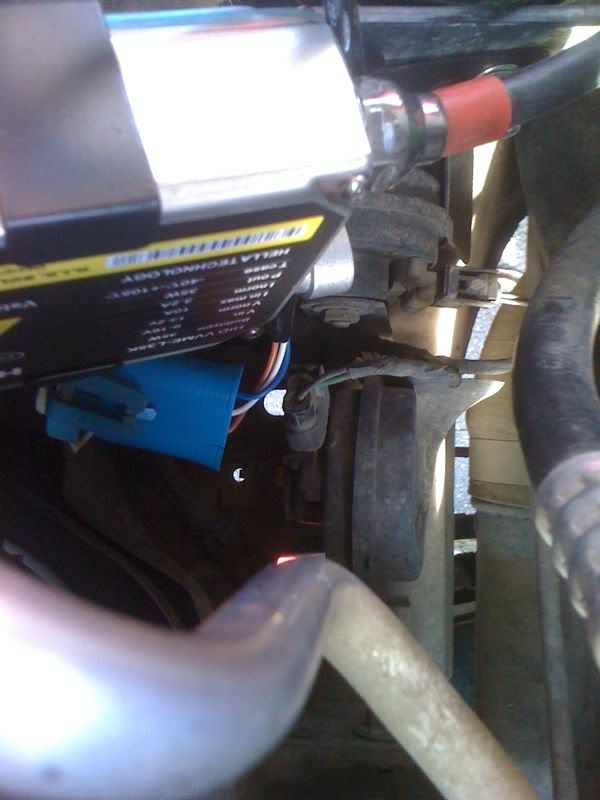
This is extremely important: this is one case where you "get what you pay for." The first time I plugged this connector into the factory harness, it bent the plugs inside the HID connector to the side and didn't make contact. I didn't even realize that they had bent until I tried to turn the lights on and only got driver side high beam. In checking the connections, I found these tabs bent to the side. I was able to bend them back with needle nose pliers (this is the picture I took after I bent them back), but they are WAY too soft and bendable for the application. If you finish and have problems, check here. Be VERY careful making this connection!! You ONLY have to connect 1 of the factory harnesses to the kit, and you can do it on either passenger or driver side depending on where you decide to mount the relay.
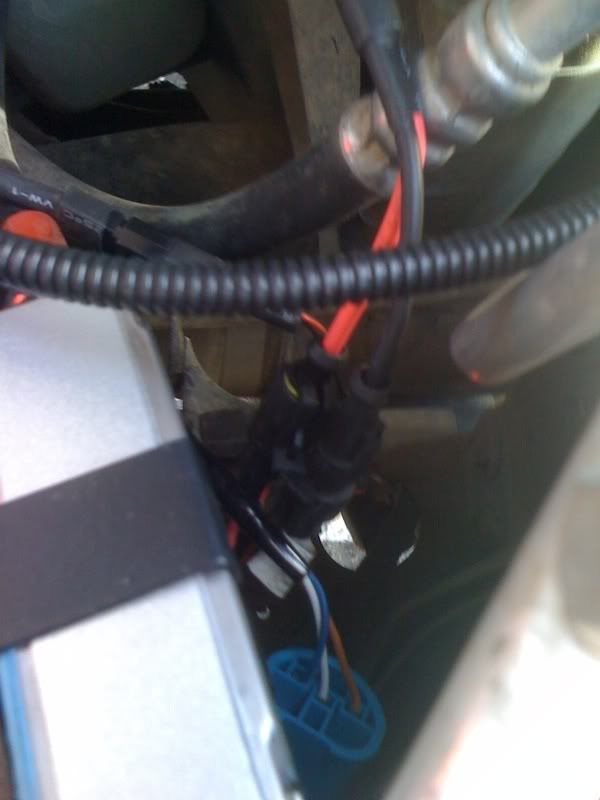
Then make all the other connections:
To get the wiring harness over to the other side, I ran it under the battery cable. I'm hoping I don't have any issues with electrical interference, but if I do, I'll have to figure something else out. As of right now, I can't see any issues:
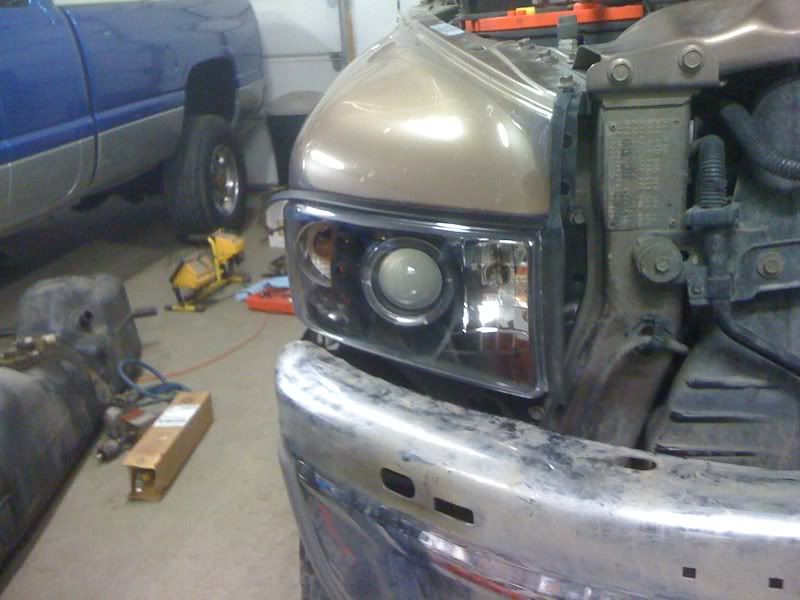
Install on the driver side went exactly the same way:
Used the factory ground on the driver side:
Plug and play on the factory side just like the passenger side, and everything goes back together. Once again, there is only 1 connector to the factory headlight harness, so you don't have to make that connection on this side. After everything is plugged in, you are ready to re-install the batteries.
Reconnect the batteries:
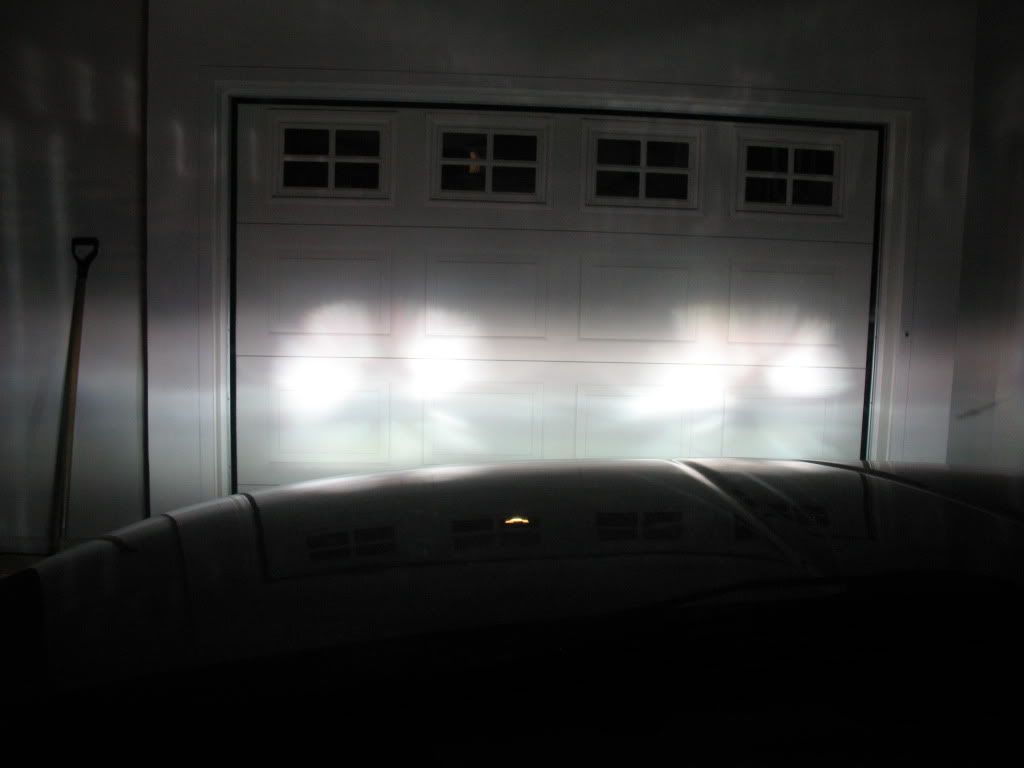
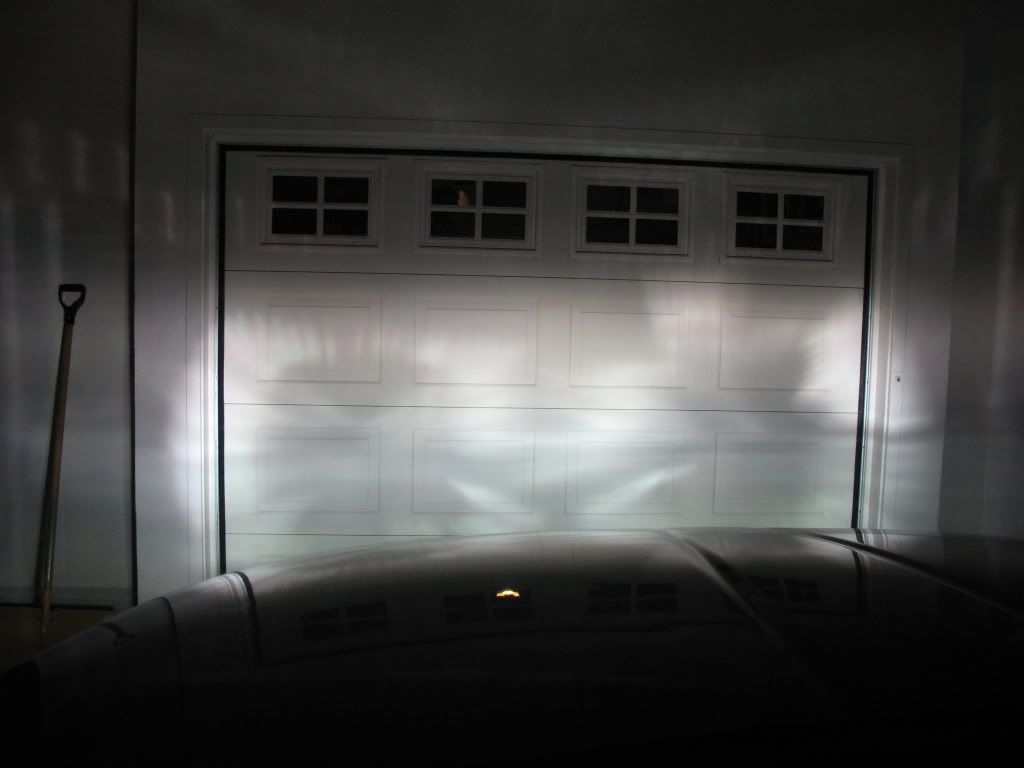
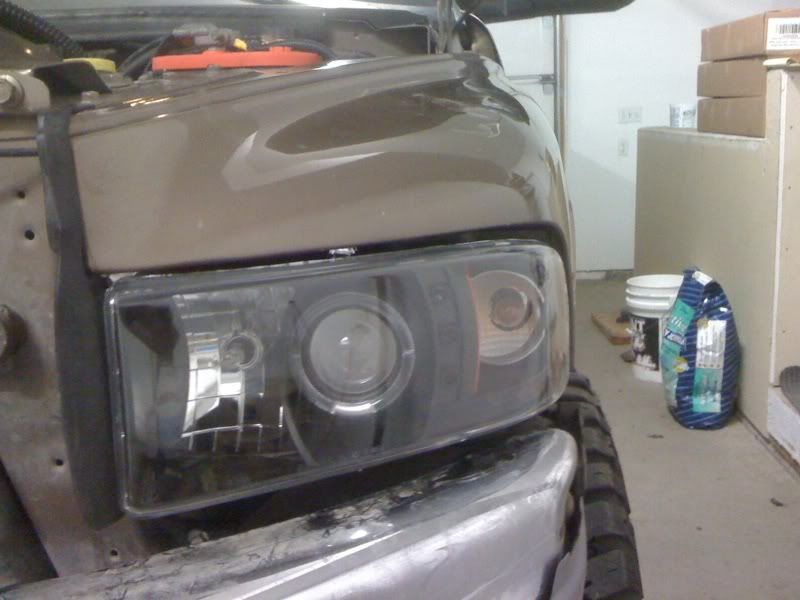
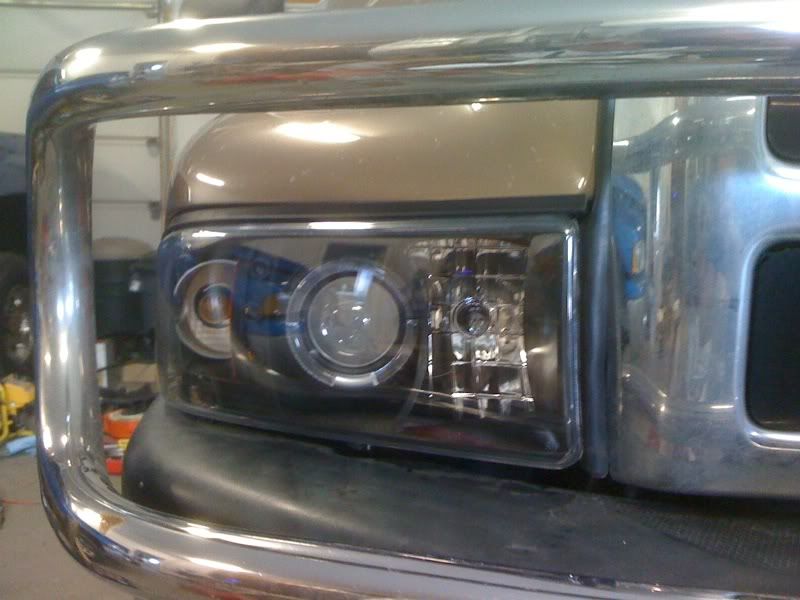
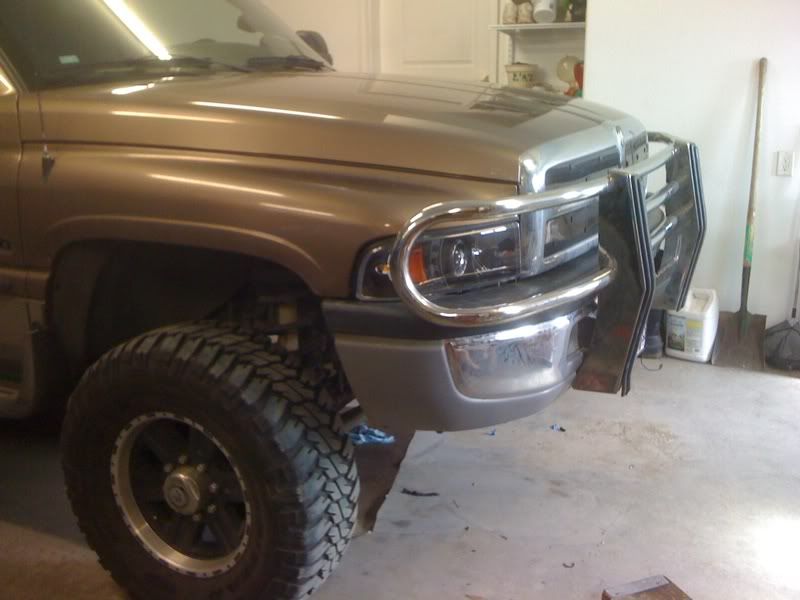
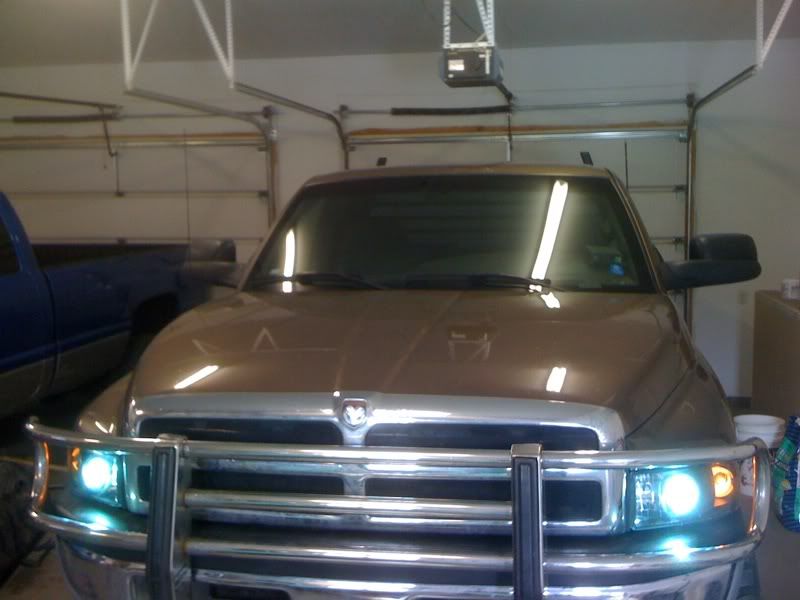
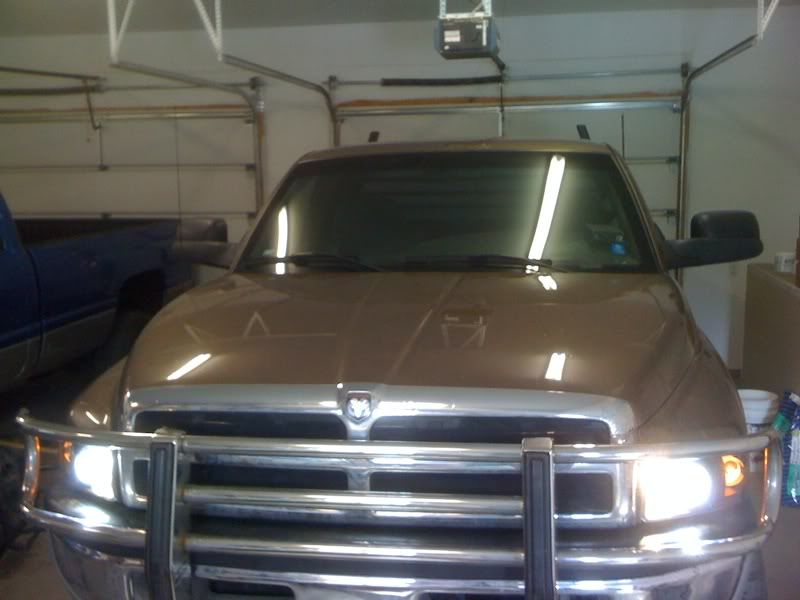
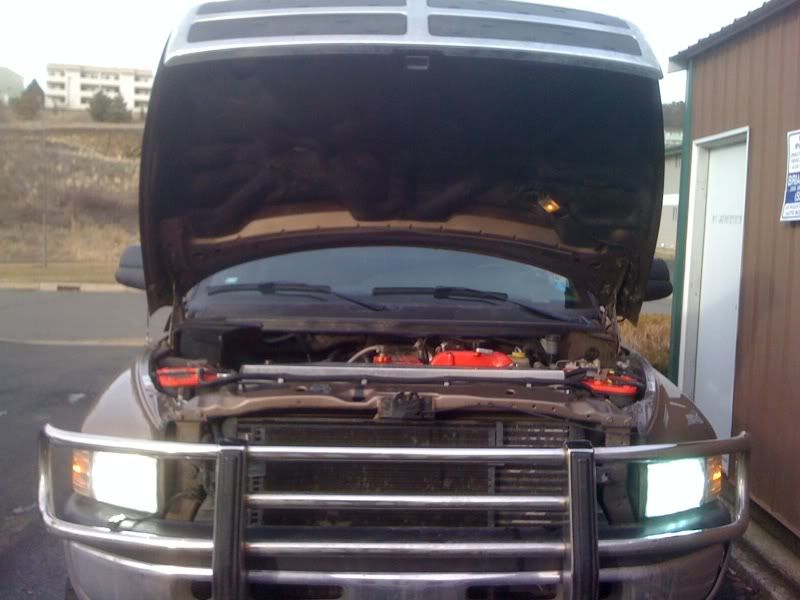
And fire the truck up! Even in daylight, you can see the difference in these things..
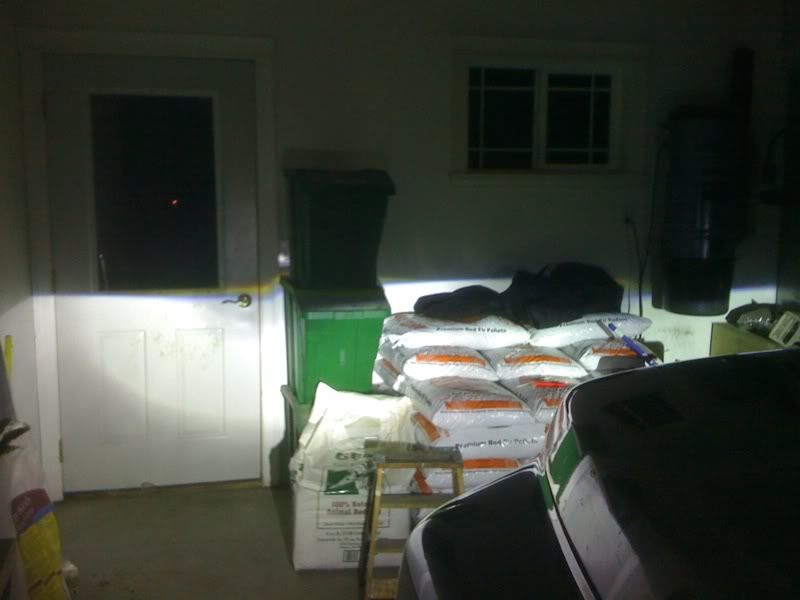
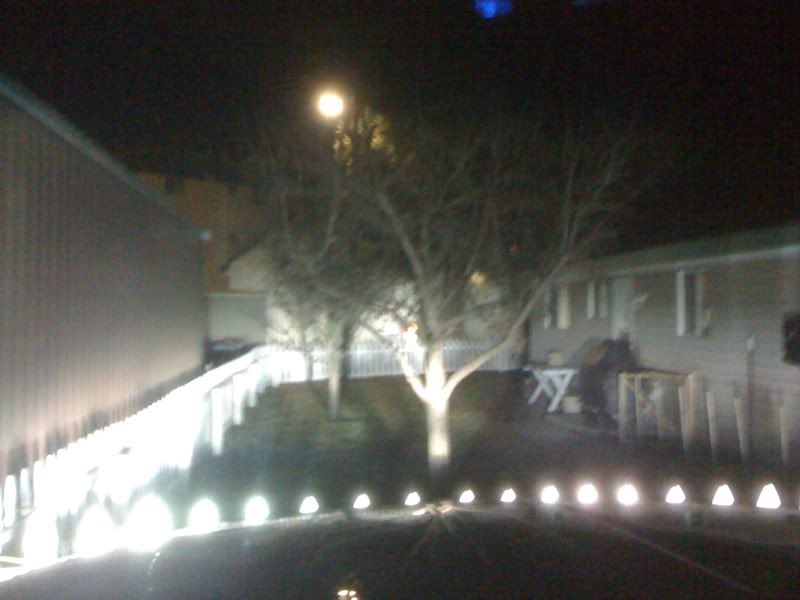
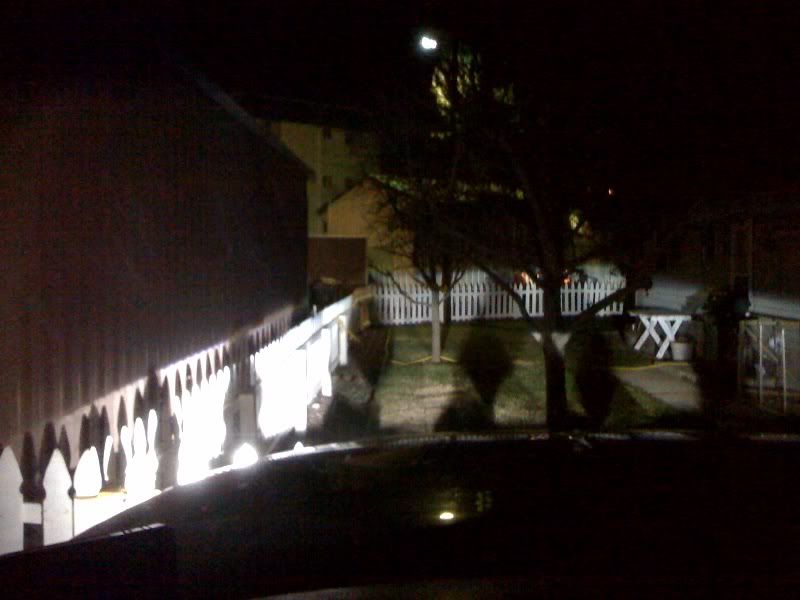
So, are they too good to be true? Well, that has yet to be seen (pun intended.") )... I'll try to get a few pictures at night up, and I'll do some comparison before and after pictures. This kit is extremely easy to install, as you can see from the pictures. Almost everything is plug and play. If you have any questions, please let me know!
)... I'll try to get a few pictures at night up, and I'll do some comparison before and after pictures. This kit is extremely easy to install, as you can see from the pictures. Almost everything is plug and play. If you have any questions, please let me know!
I've got to admit, I'm one of those people that believe that truer words have never been spoken. So when I started to read the reviews for some of these cheap HID kits on ebay, I was beyond skeptical. But, the reviews kept flowing in.. and everyone had nothing but good things to say. The last set of Silverstar headlights I bought ran me over $50, so I figured for an extra $25 I would give them a shot.
If you are interested in a set, you can find them by searching this in ebay:
HID KIT Bi-Xenon BIXENON 9003 H4 9004 9007 H13 VVME
The seller is named "Flashplus"
I decided to install these at the same time I put a new set of batteries. You get everything you see in the box between the two batteries:
The first thing I started to look for was a place to install the ballasts and the extra wiring required for HID lights. I wanted to keep them close to the light assembly, but up and away from any moister or heat. This was the best place I could find:
Start by disconnecting the batteries and getting them out of the way. Even if you don't plan on replacing the batteries, things will go a heck of a lot smoother if they are gone.
This is where I decided to install the ballast. Wanted to make sure that it would fit and give me plenty of room:
This is the ballast that is going to be installed. The kit even comes with all the nuts, bolts, and wire ties you might need. I didn't use all the supplied parts, but I'll get to that later.
To get everything lined up, I held the ballast inside the battery tray and marked the drill points with a sharpie. I figured it would be a heck of a lot easier to drill through with the box in place rather than try to pull the tray just to drill it.
Checked to make sure that everything lined up. But, don't tighten everything into place! It's hard enough to get your hands down in there without having even more stuff in the way!
If you've ever replaced the headlights in these trucks, you know how tricky it can be at times to get your hands in the right spot. The nice thing about this kit is that it is literally a plug and play setup. Get the old bulbs out.
Once you pull the factory bulb out, you can get the lock collar off. On the regular replacement bulbs, you can slide the lock collar over the back of the bulb. However, on this system, the collar will not fit over the back of the HID bulbs. The solution is to separate the bulb from the wiring harness. On the back of the bulb, you can see the "open, lock" for the bulb. NEVER touch the glass portion of the bulb!!
Click it over to open and pull the bulb out, and then slide the locking collar in place. Then, lock the bulb back in place:
Put the bulb in place just like you are replacing a regular factory headlamp. Keep the wires and everything in a good place that you can reach in the future:
The next project is to figure out where to put the relay and the wiring harness. I thought I found a perfect spot... But, I couldn't get the supplied wiring harness to reach all the way across the truck to the other side:
This is the spot I ended up using. With the new batteries, I had plenty of space still inside the tray to mount the relay. If you use stock batteries, I doubt you will have enough space.. So keep that in mind. I used a self drilling/tapping screw to mount the relay instead of the supplied bolts.
Now, just take the time to plug in all the connectors. It really is plug and play. I also added a ground using another self tapping screw on the radiator support bracket. If you look on the driver side, you will see where the factory installs a ground on that side. I just matched it to the passenger side.
This is extremely important: this is one case where you "get what you pay for." The first time I plugged this connector into the factory harness, it bent the plugs inside the HID connector to the side and didn't make contact. I didn't even realize that they had bent until I tried to turn the lights on and only got driver side high beam. In checking the connections, I found these tabs bent to the side. I was able to bend them back with needle nose pliers (this is the picture I took after I bent them back), but they are WAY too soft and bendable for the application. If you finish and have problems, check here. Be VERY careful making this connection!! You ONLY have to connect 1 of the factory harnesses to the kit, and you can do it on either passenger or driver side depending on where you decide to mount the relay.
Then make all the other connections:
To get the wiring harness over to the other side, I ran it under the battery cable. I'm hoping I don't have any issues with electrical interference, but if I do, I'll have to figure something else out. As of right now, I can't see any issues:
Install on the driver side went exactly the same way:
Used the factory ground on the driver side:
Plug and play on the factory side just like the passenger side, and everything goes back together. Once again, there is only 1 connector to the factory headlight harness, so you don't have to make that connection on this side. After everything is plugged in, you are ready to re-install the batteries.
Reconnect the batteries:
And fire the truck up! Even in daylight, you can see the difference in these things..
So, are they too good to be true? Well, that has yet to be seen (pun intended.
)... I'll try to get a few pictures at night up, and I'll do some comparison before and after pictures. This kit is extremely easy to install, as you can see from the pictures. Almost everything is plug and play. If you have any questions, please let me know!