
TooMuchBoost
Comp Diesel Sponsor
- Joined
- Apr 22, 2006
- Messages
- 2,072
This is a how to repair of nasty, greasy (TPO, TEO, etc) thermoset (cheap to produce so widely used) using 2 pack aka 2 component adhesives commonly found in the autobody industry and sold at your local automotive body supply store. Since I only cared about structurally repairing this battery box this how doesn't show how to finish this repair out cosmetically as if one were to paint it. Though I will touch on the cosmetic process through text. Note: These guns are expensive to buy however many auto paint supply stores have a loaners availble if not as a buddy who works in a body shop if you can borrow his.
What you will need:
A 2 component adhesive such as this Fusor 142 (or Duramix 4040 or SEM Problem Plastic) an adhesive dispensing gun and a handful of mixing tips:
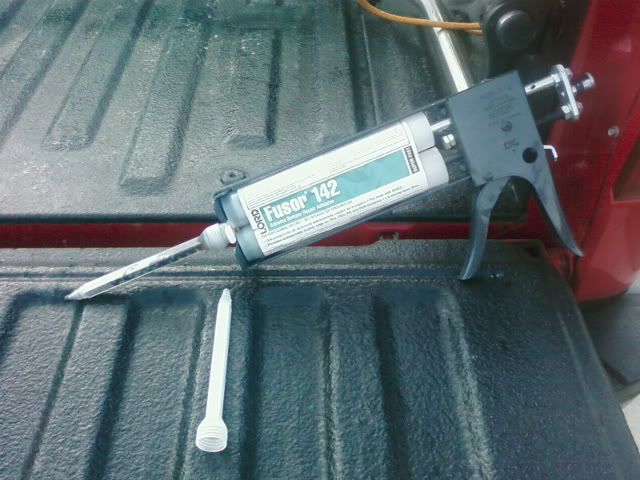
Not shown 3" 50-80 grit disc on an air pistol grinder
Fusor 602 EZ Plastic Repair Adhesion Promoter (or Duramix 4524 or ....) This is absolutely mandatory when repairing today's thermoset plastics!


Liberally sand the areas to be bonded with 50-80 grit and as you do these garbage thermoset plastics melt. Simply peel off with your finger any residual melted garbage plastic that overflows if you will onto to the area you sand. Note bevel the edges of the area of two different pieces to be bonded to each other meet to shallow angle of 25 degrees or so. (This is mandatory if you are to going to cosmetically finish the repair out which would require feathering the repair adhesive, applying more adhesion promoter, apply a plastic repair specific filler then finish sanding).
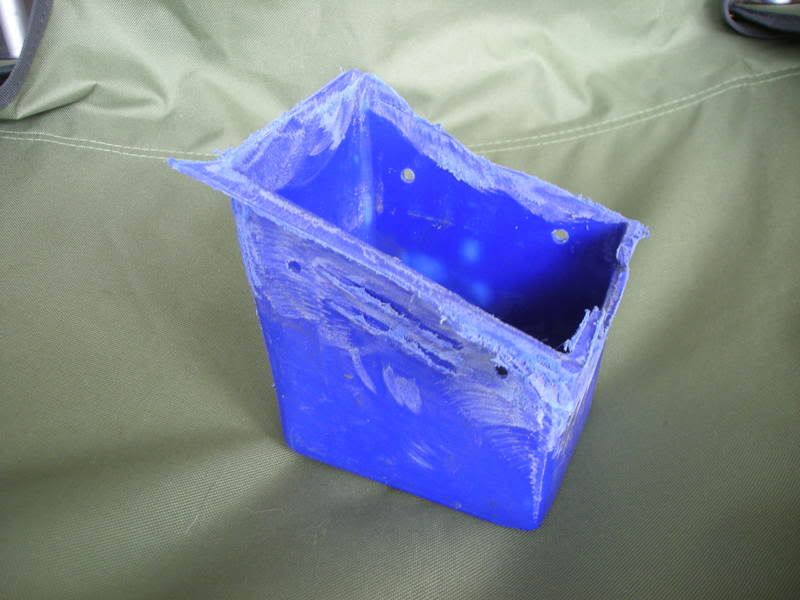
Position/mate/clamp/tape the 2 pieces to be bonded before applying adhesive (notice what happened after the box broke loose and landed on the exhaust):

If possible apply adhesive to backside of the repair first (if you care about the appearance/plane to finish it out cosmetically dispense product then plan to quickly wipe it smooth with a bondo spreader). With the mixing tip removed from the cartridge gently squeeze the trigger so a little bit of product dispenses out of the 2 orifices on the cartridge. This process is complete when product equally dispenses out of the orfices at the same time. This is called equalizing the cartridge. Make sure you do this or the product dispensing through the mixing tip will not cross-link properly and the product will be off ratio and not dry properly. These fast repair type adhesives have a 1-2 minute dwell time which means they have 1-2 minutes to go through the mixing tip before they will begin curing in the tip. Once this occurs do not force the trigger as these products as designed to blow out the seals on the plunger side of the cartridge to prevent product from blowing in your eyes. Once used mixing tips can't be cleaned either. Put a new one on.

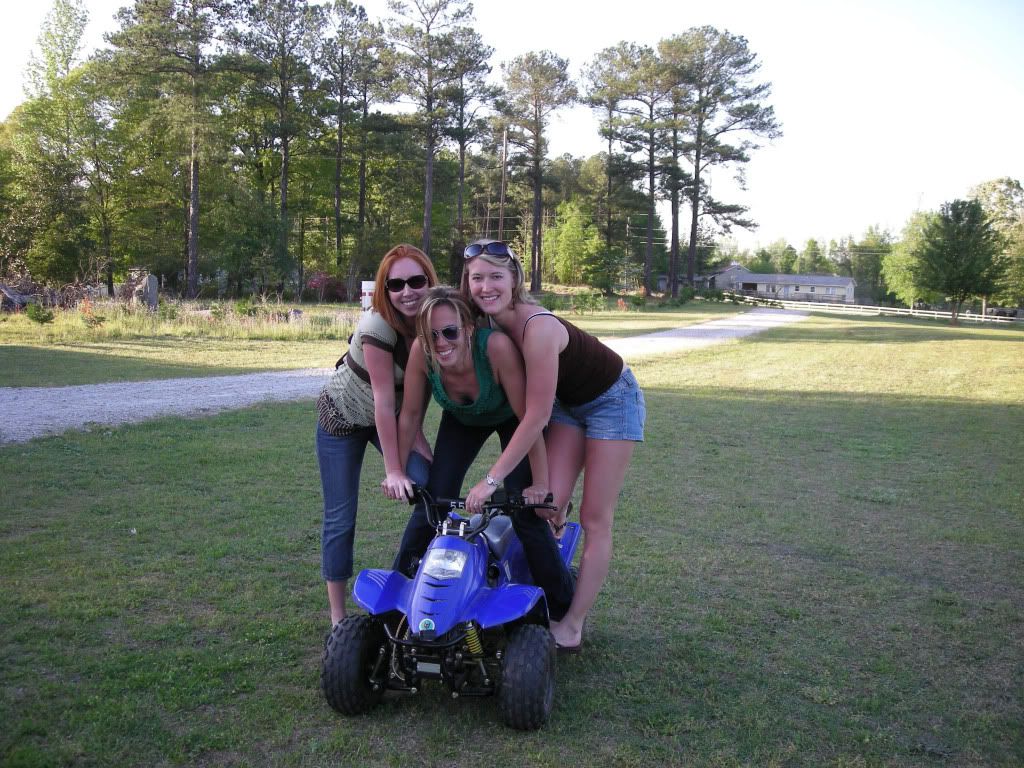
After applying adhesive to the front side of the repair and allowing it to cure 15 min @ 85 degrees I knocked down the high spots with 80 grit. While these products cure via a chemical reaction once they mix/cross-link in the mixing tip this process also is exothermic meaning it gives off heat. The more heat it gives off the faster it cures which is why I chose to use about 50% more adhesive than this repair really needed. Since this was a structural only repair I put the ATV back together. It happen to break during a cookout/party we were having and since everyone has a blast on this Chinese Tonka Toy it was time to get it back into service.

What you will need:
A 2 component adhesive such as this Fusor 142 (or Duramix 4040 or SEM Problem Plastic) an adhesive dispensing gun and a handful of mixing tips:
Not shown 3" 50-80 grit disc on an air pistol grinder
Fusor 602 EZ Plastic Repair Adhesion Promoter (or Duramix 4524 or ....) This is absolutely mandatory when repairing today's thermoset plastics!
Liberally sand the areas to be bonded with 50-80 grit and as you do these garbage thermoset plastics melt. Simply peel off with your finger any residual melted garbage plastic that overflows if you will onto to the area you sand. Note bevel the edges of the area of two different pieces to be bonded to each other meet to shallow angle of 25 degrees or so. (This is mandatory if you are to going to cosmetically finish the repair out which would require feathering the repair adhesive, applying more adhesion promoter, apply a plastic repair specific filler then finish sanding).
Position/mate/clamp/tape the 2 pieces to be bonded before applying adhesive (notice what happened after the box broke loose and landed on the exhaust):
If possible apply adhesive to backside of the repair first (if you care about the appearance/plane to finish it out cosmetically dispense product then plan to quickly wipe it smooth with a bondo spreader). With the mixing tip removed from the cartridge gently squeeze the trigger so a little bit of product dispenses out of the 2 orifices on the cartridge. This process is complete when product equally dispenses out of the orfices at the same time. This is called equalizing the cartridge. Make sure you do this or the product dispensing through the mixing tip will not cross-link properly and the product will be off ratio and not dry properly. These fast repair type adhesives have a 1-2 minute dwell time which means they have 1-2 minutes to go through the mixing tip before they will begin curing in the tip. Once this occurs do not force the trigger as these products as designed to blow out the seals on the plunger side of the cartridge to prevent product from blowing in your eyes. Once used mixing tips can't be cleaned either. Put a new one on.
After applying adhesive to the front side of the repair and allowing it to cure 15 min @ 85 degrees I knocked down the high spots with 80 grit. While these products cure via a chemical reaction once they mix/cross-link in the mixing tip this process also is exothermic meaning it gives off heat. The more heat it gives off the faster it cures which is why I chose to use about 50% more adhesive than this repair really needed. Since this was a structural only repair I put the ATV back together. It happen to break during a cookout/party we were having and since everyone has a blast on this Chinese Tonka Toy it was time to get it back into service.