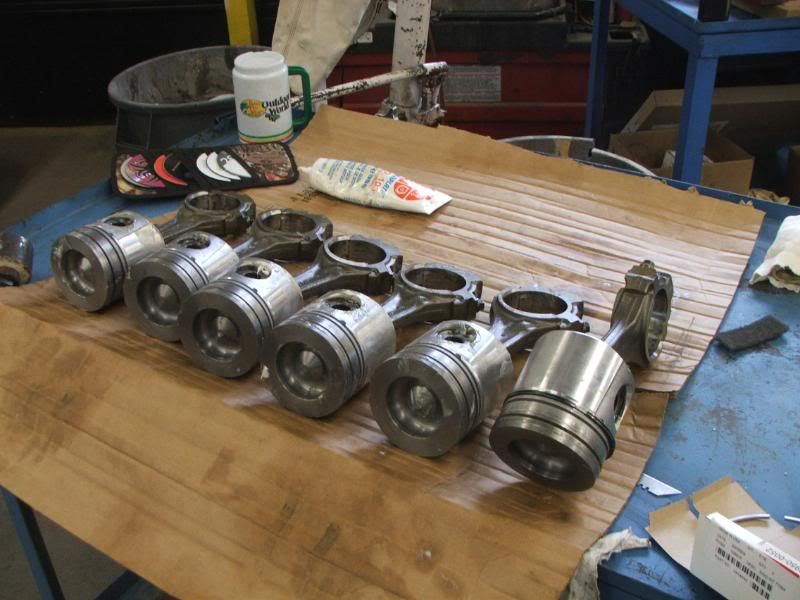
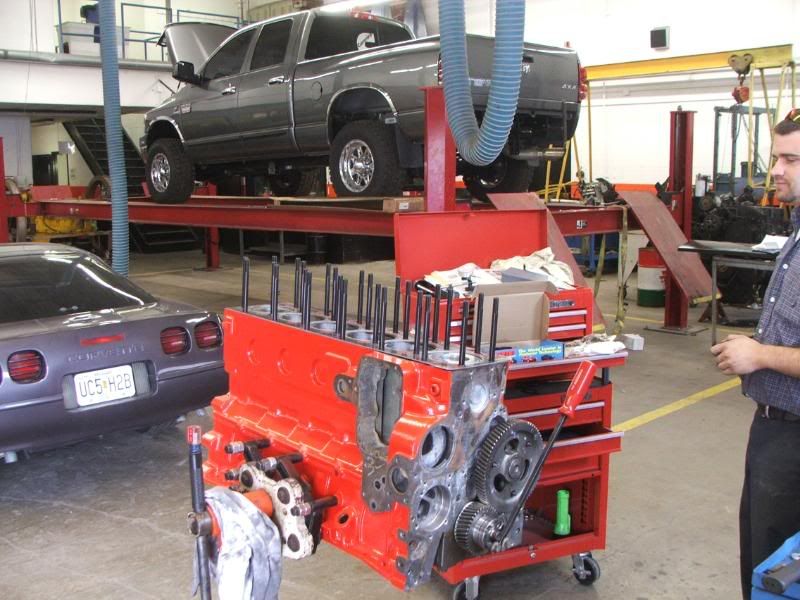
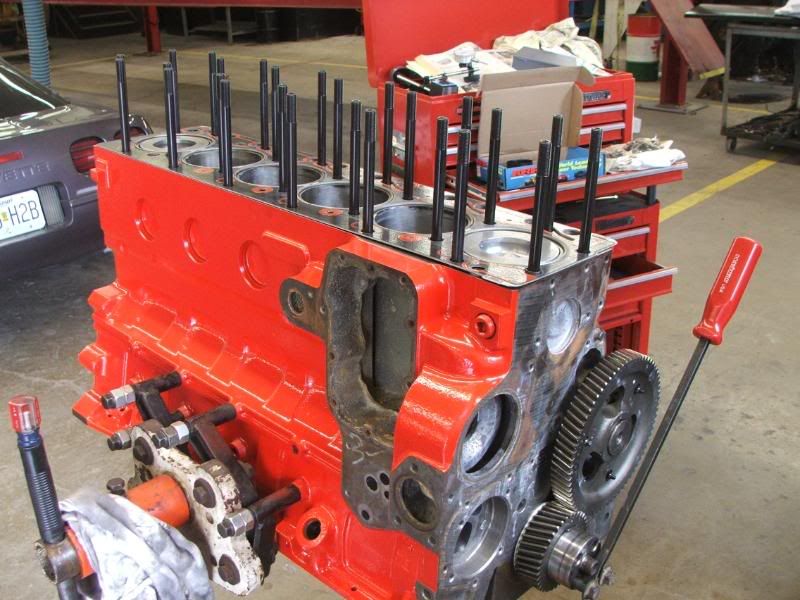
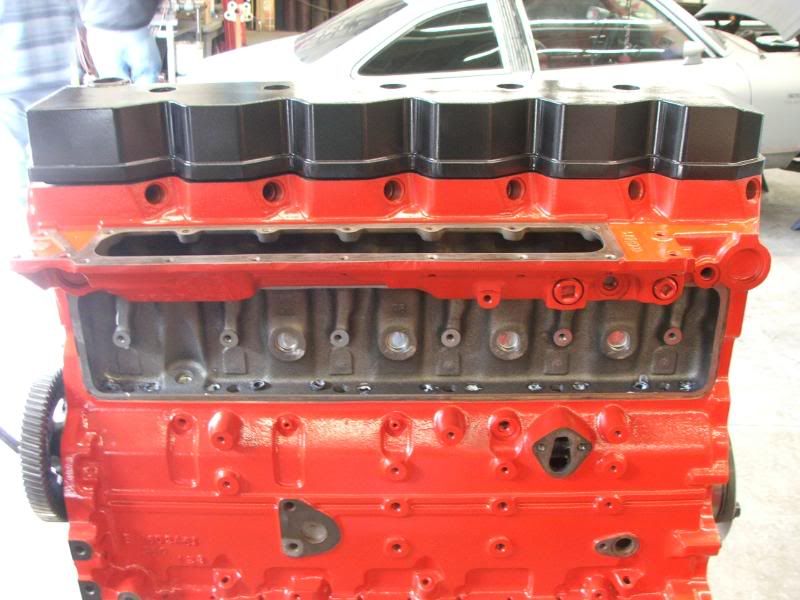
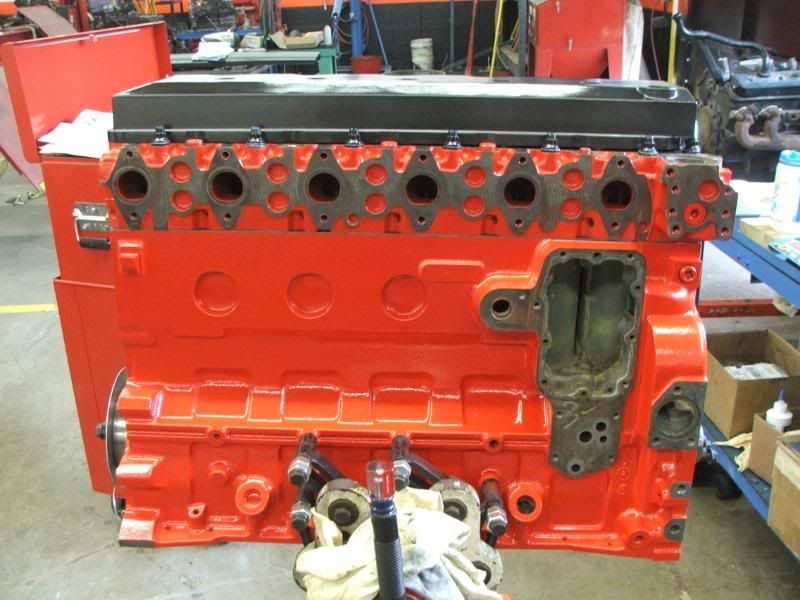
MY p-pump swap/ motor rebuild pics...

I stayed with the 12mm studs, after all the money I've put into this I couldn't swing $1000 for some nuts and bolts :bang

its so much more than that...there was hundreds of years of R&D in developing a product like that, not to mention the thousands and thousands of man hours involved in the R&D and then manufacturing process...those studs were designed from the ground up by one man and one man only. he single-handedly saved the diesel performance industry with his bigger head stud design...


ok who does that sound like?
GH.
Brandon
 
I stayed with the 12mm studs, after all the money I've put into this I couldn't swing $1000 for some nuts and bolts :bang

I know of an engine with 9/16" studs in them. If your drilling and tapping the block just go with the 9/16" They are considerably cheaper than 14mm.
 
I know of an engine with 9/16" studs in them. If your drilling and tapping the block just go with the 9/16" They are considerably cheaper than 14mm.

Thats what I figured, if I have to drill and tap them anyway, might as well make it for some cheaper studs with the same strength, lol.
 
its so much more than that...there was hundreds of years of R&D in developing a product like that, not to mention the thousands and thousands of man hours involved in the R&D and then manufacturing process...those studs were designed from the ground up by one man and one man only. he single-handedly saved the diesel performance industry with his bigger head stud design...


ok who does that sound like?
You forgot to mention Raymac at least once and the Team X-whatever truck twice...:hehe:

Regardless, Greg has hooked me up more than once on parts, so I can't badmouth the guy like that $.02
 
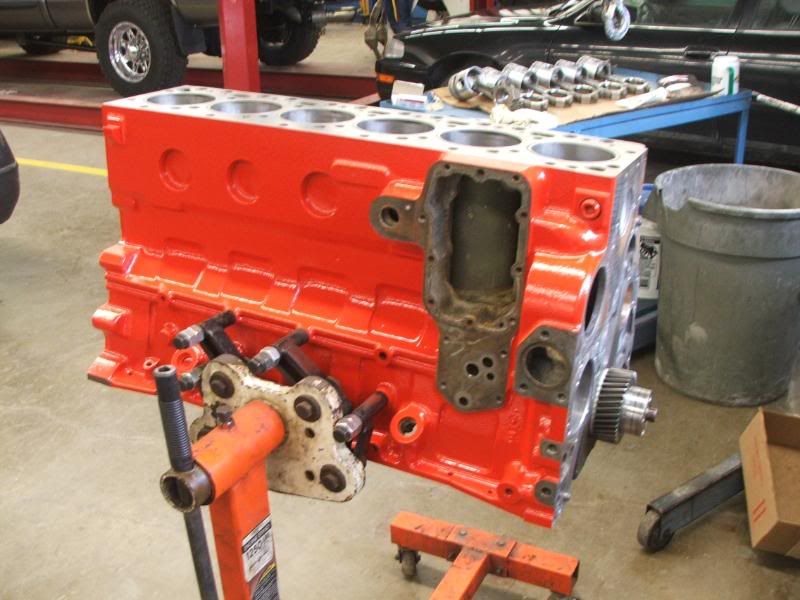
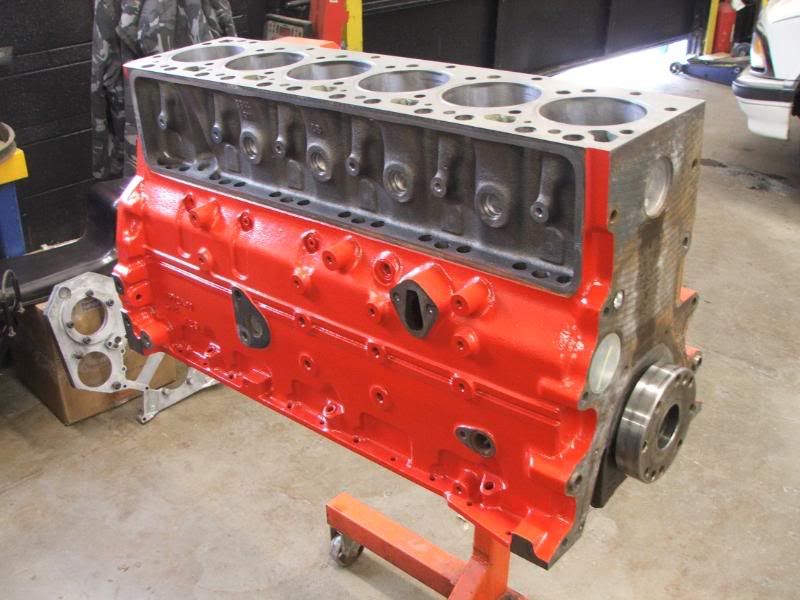
A little progress to show...
DSCF3319.jpg

DSCF3320.jpg

DSCF3321.jpg

Its taking more time than I planned, but hopefully that will make sure its done right the first time.
 
imo i think you should build yourself a custom intake manifold plate with a split in the pipes instead of the stock stuff
 
imo i think you should build yourself a custom intake manifold plate with a split in the pipes instead of the stock stuff

I am thinking about it, but will probably wait till my fuel lines get here and see what I can work up around them...
 
I am thinking about it, but will probably wait till my fuel lines get here and see what I can work up around them...

If you bought the haisley lines you cant do anything without re-bending them yourself.

best pic i have right now, ill get better pics later

P2080296-1.jpg
 
My schieds lines look identicle to yours, no way a rear intake pipe will fit in there with the way they are currently bent. Maybe get some straight ones, build the intake, then go to town bending around it.
 
Thanks for the pic TJ... I did get the Haisley's and I figured they would run right where they do. Oh well, I'll just build an elbow like yours maybe. I have a spare head I am going to cut the intake off anyway and port/polish it for next year anyway, so a "twin ram" style would only work for this year.
 
FYI,

I ordered "haisley's" line kit thru puredieselpower.com

when the box came, it was shipped from scheid, and had a scheid tag on it...scheid makes them for haisley is what i was told.
 
FYI,

I ordered "haisley's" line kit thru puredieselpower.com

when the box came, it was shipped from scheid, and had a scheid tag on it...scheid makes them for haisley is what i was told.

Well, either way... I can get them from Haisley's at cost, at Schied, not so much.
 
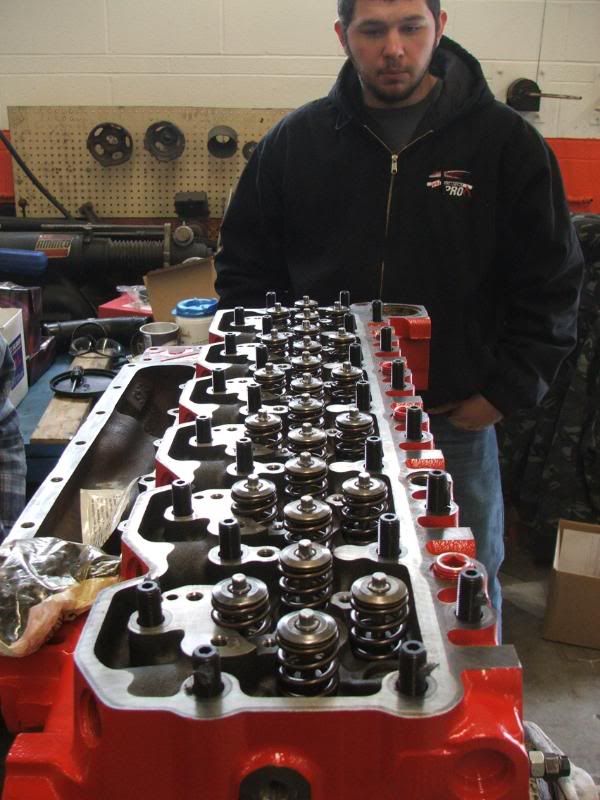
Got a few more things done today... Cam in, studs in, head assembled and set on the block. Also laid the valve cover up there to see how the colors go together... :bow: Ran out of time to torque it down, hopefully I can make it to the shop tomorrow after my doctors appt. and get it secured properly
DSCF3323.jpg

DSCF3324.jpg

DSCF3328.jpg

DSCF3330.jpg

DSCF3331.jpg

Has anyone noticed on the valvecover, the front two studs hit it where its notched around them? I didn't have the gasket in there yet, so maybe it gives it enough clearance to miss the studs... :doh:
 
It wont hit. The cover moves around quite a bit and with out the gasket and cover bolts in. Its close, but wont hit.

BTW Looking good!!!!
 
it actually the back two that are UNDER the valve cover that usually hit...unless you bottom tap the threads in the block so the stud can seat down further.
 
it actually the back two that are UNDER the valve cover that usually hit...unless you bottom tap the threads in the block so the stud can seat down further.

I knew on some sets of studs that happened, but so far, on mine they don't... and thats without the gasket. If you look real close in the last picture you can see how the valvecover is resting on the studs all the way to the front. I know the gasket will add 1/4"+/- though, so it should be good. I can't wait to get the rest of the stuff on there:rockwoot::rockwoot::rockwoot:
 
Back
Top