Rebirth of Monster Mudder

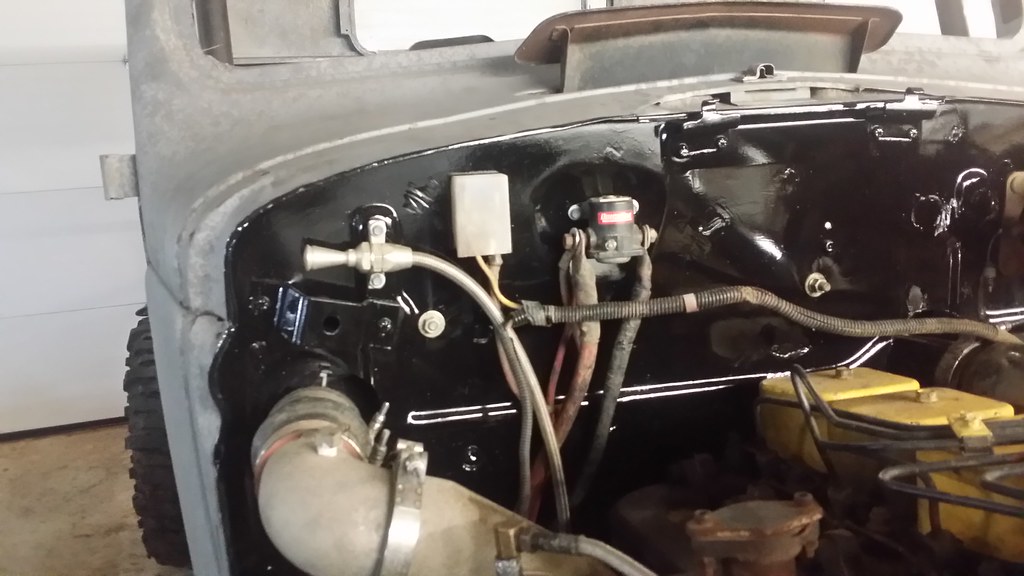
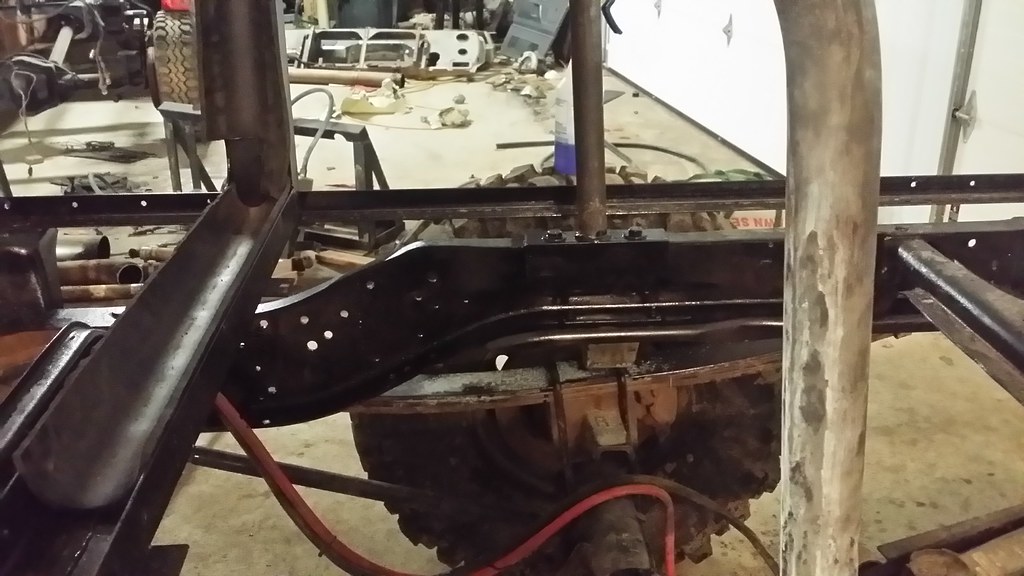
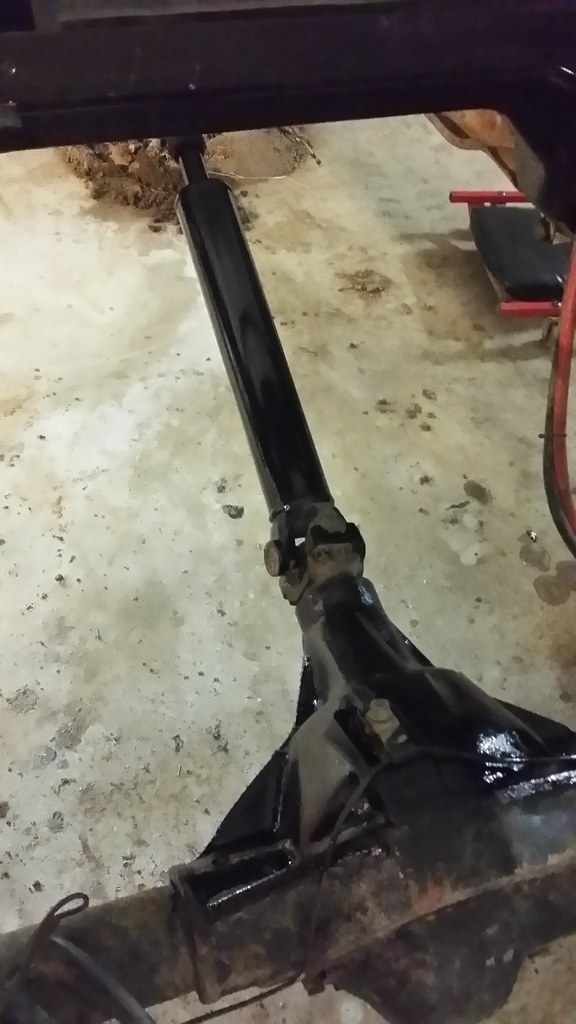
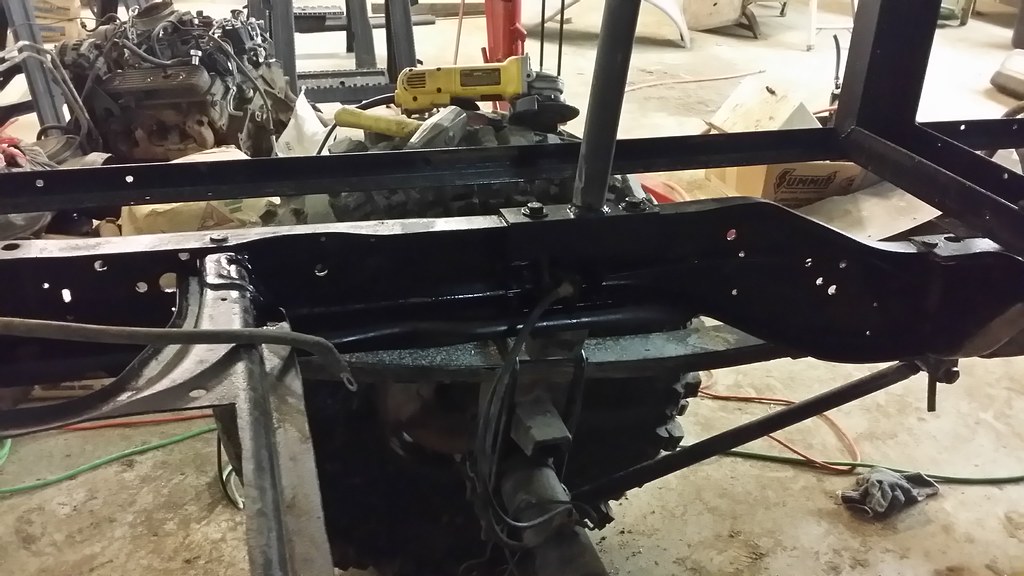
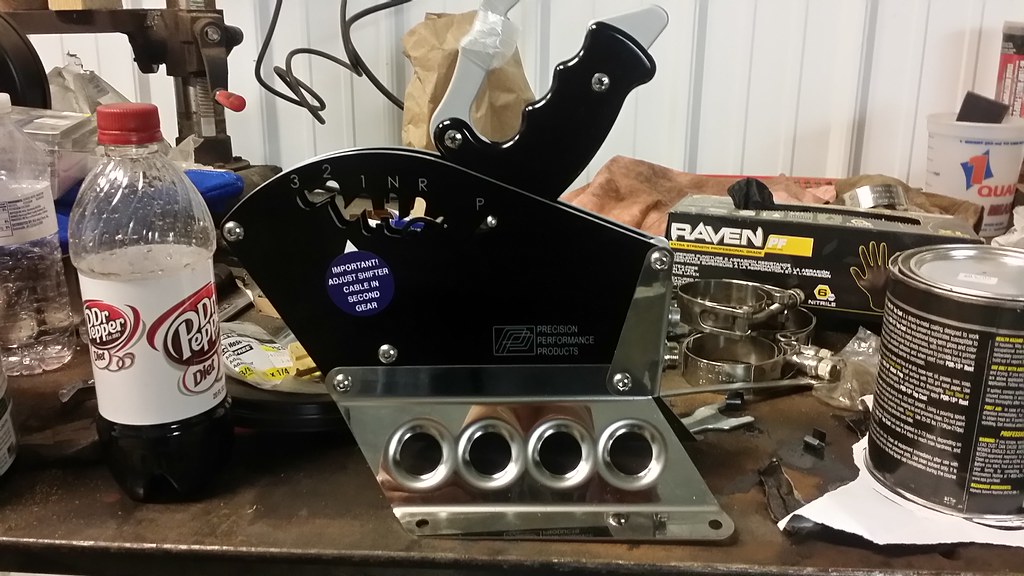
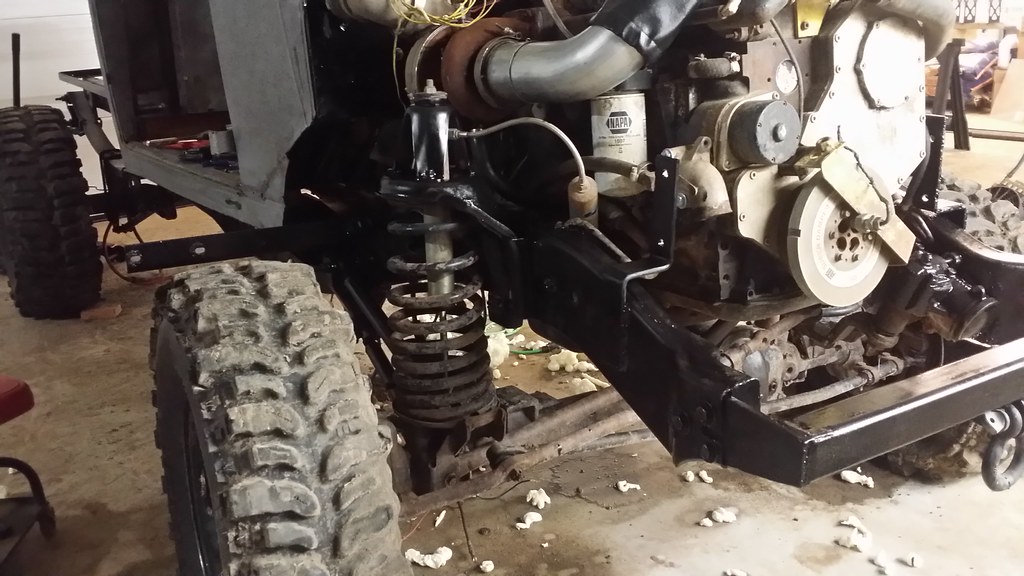
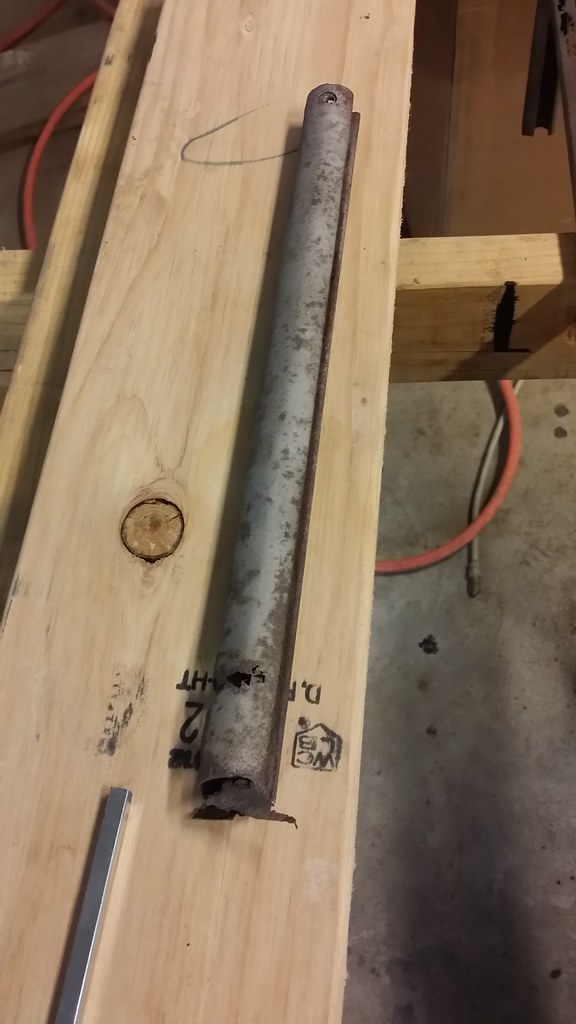
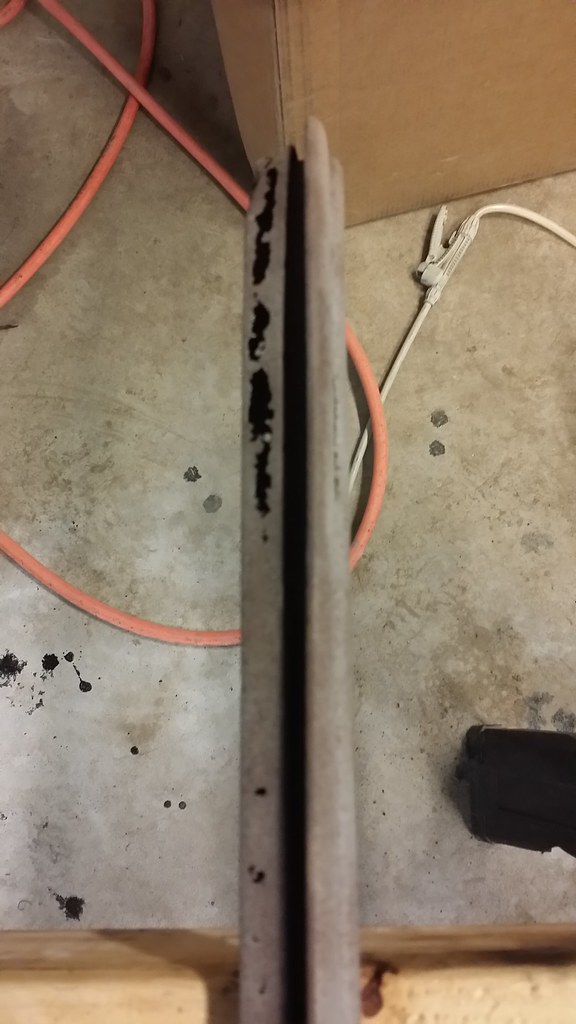
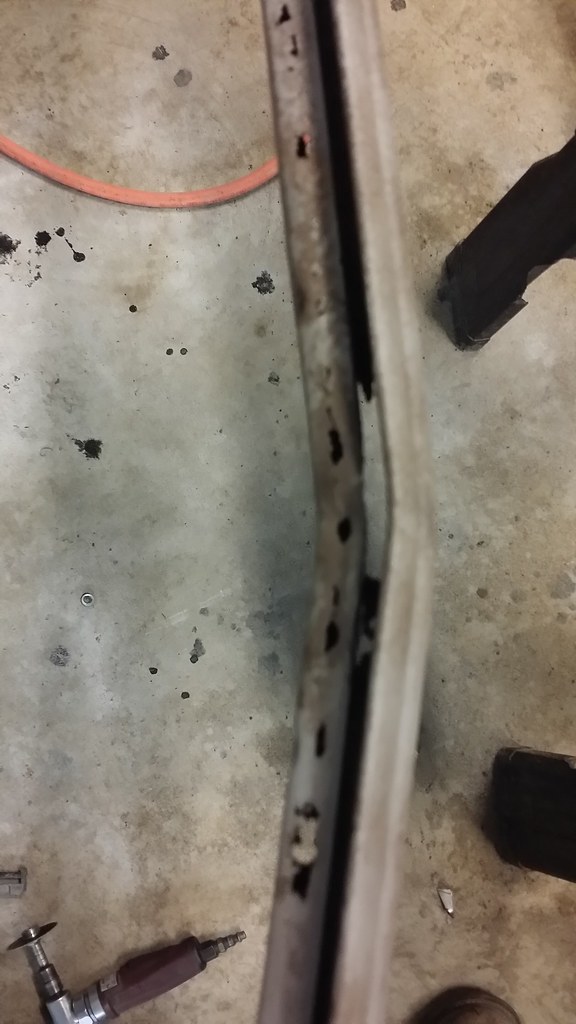
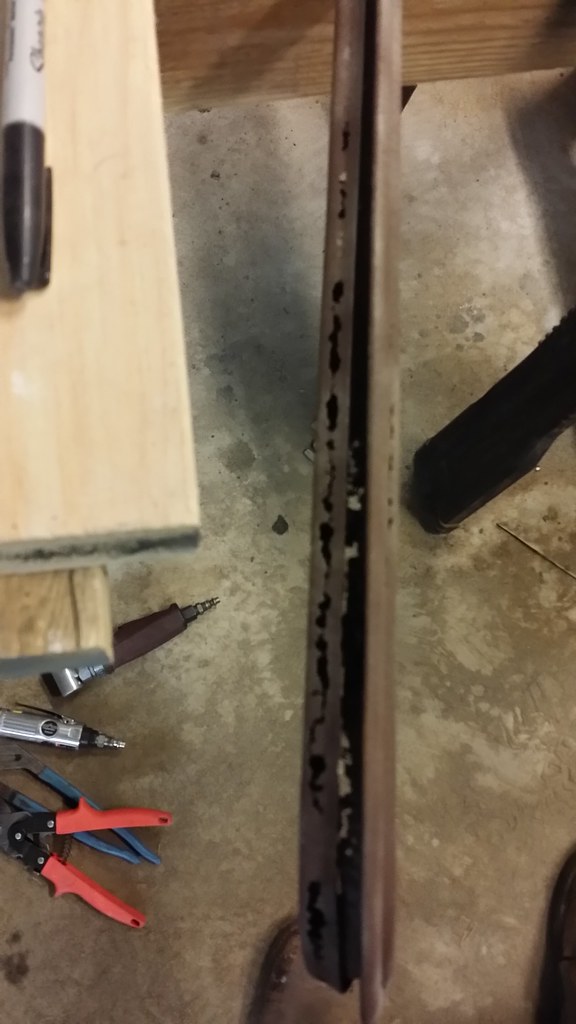
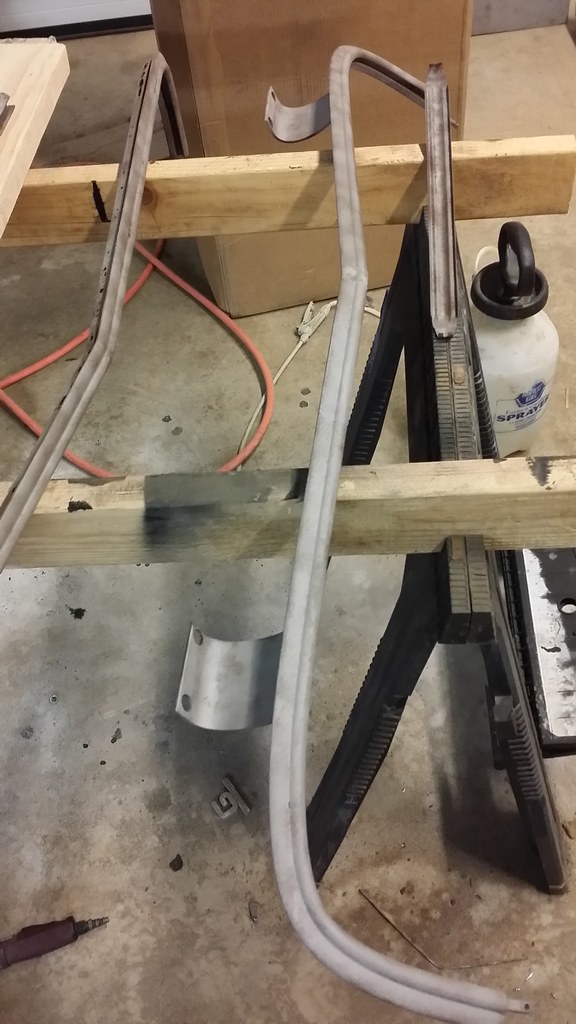
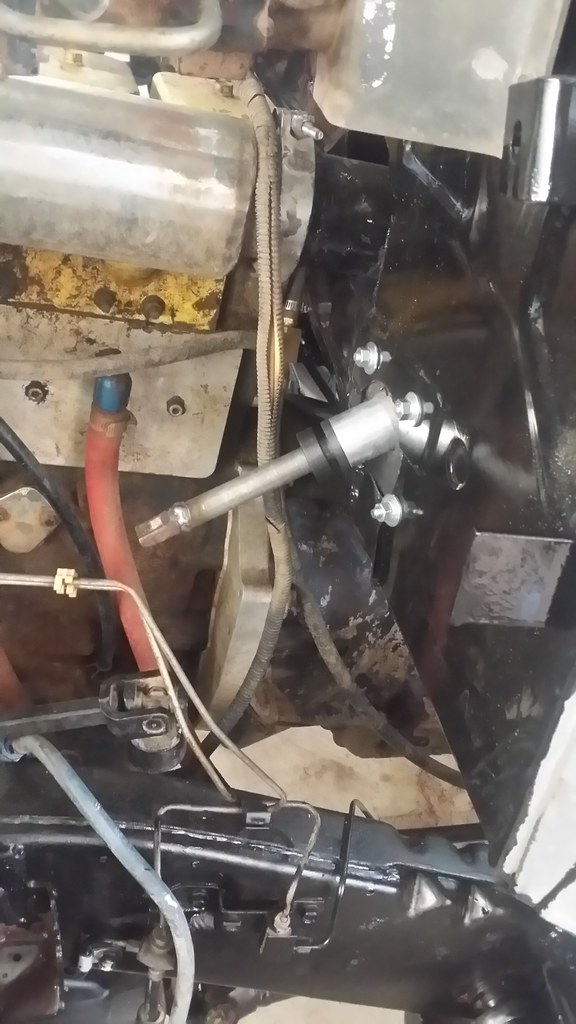
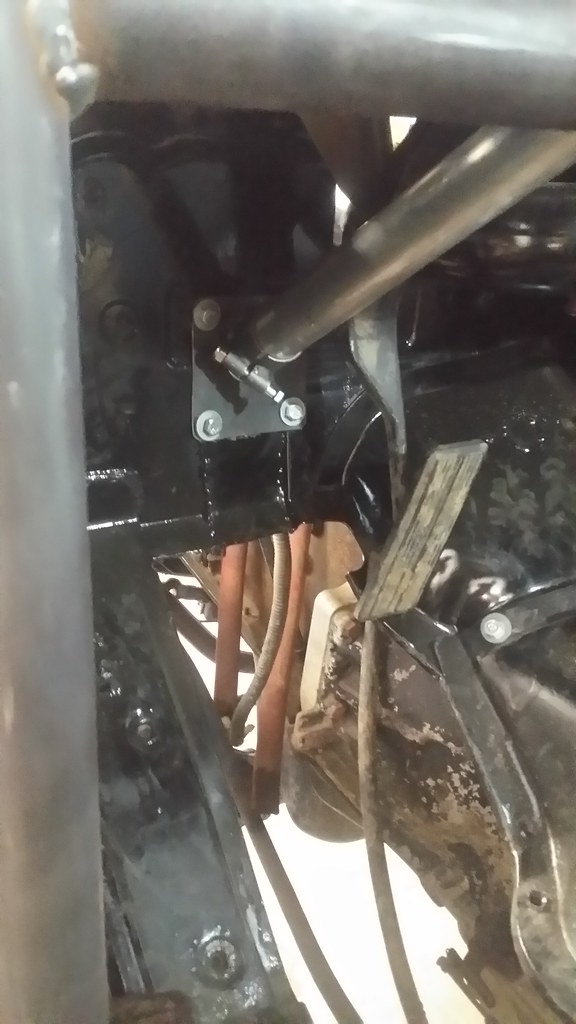
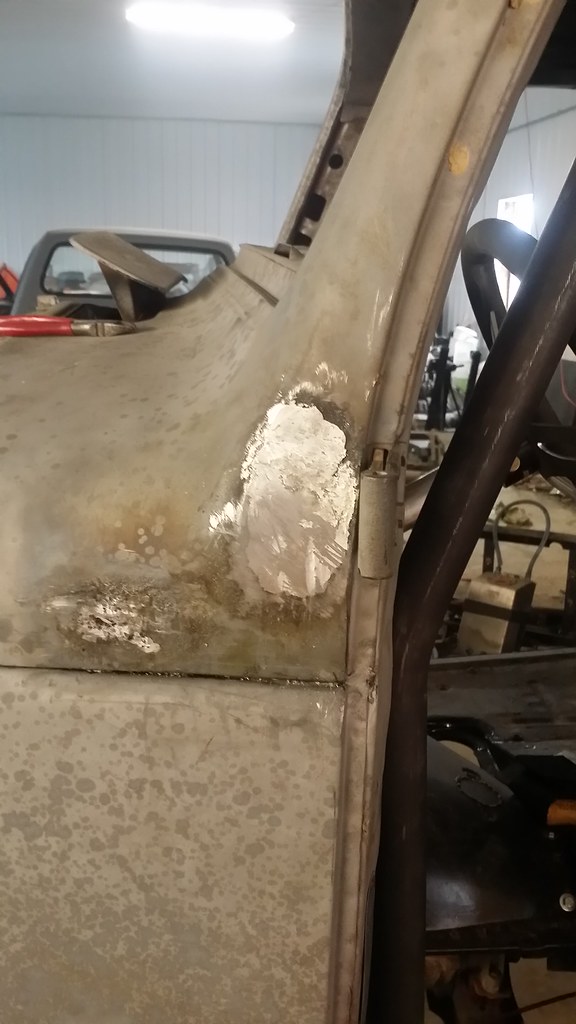
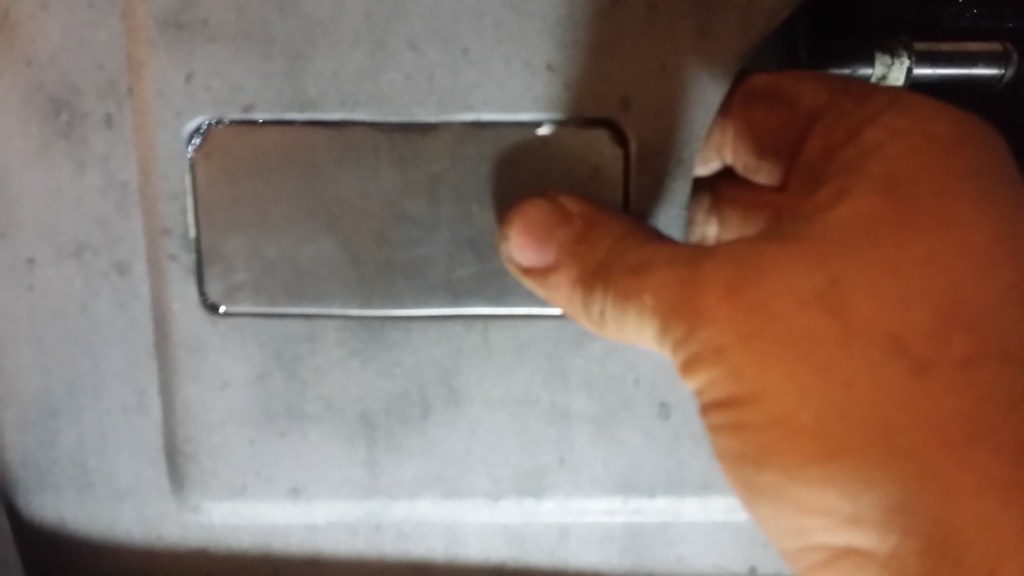
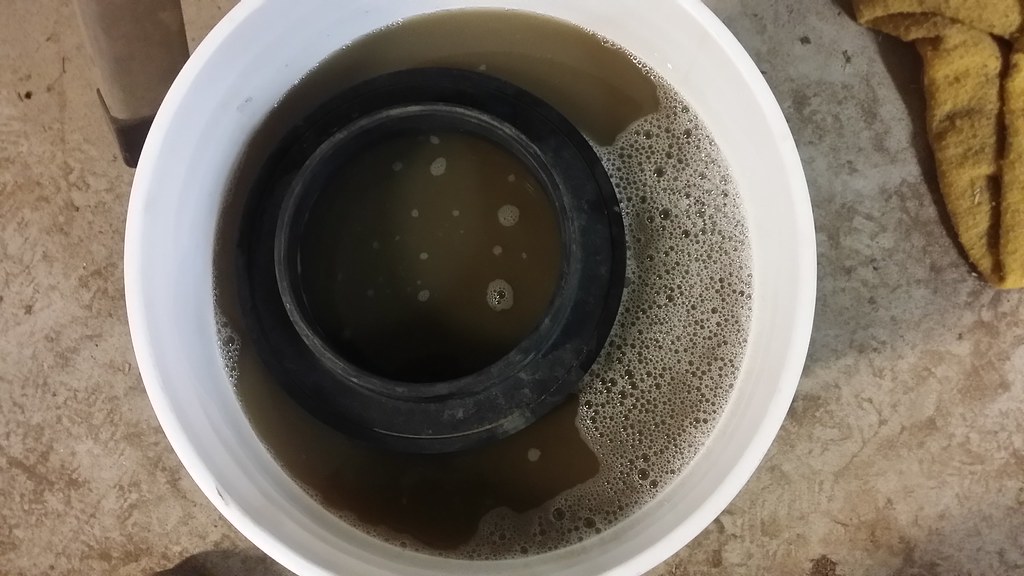
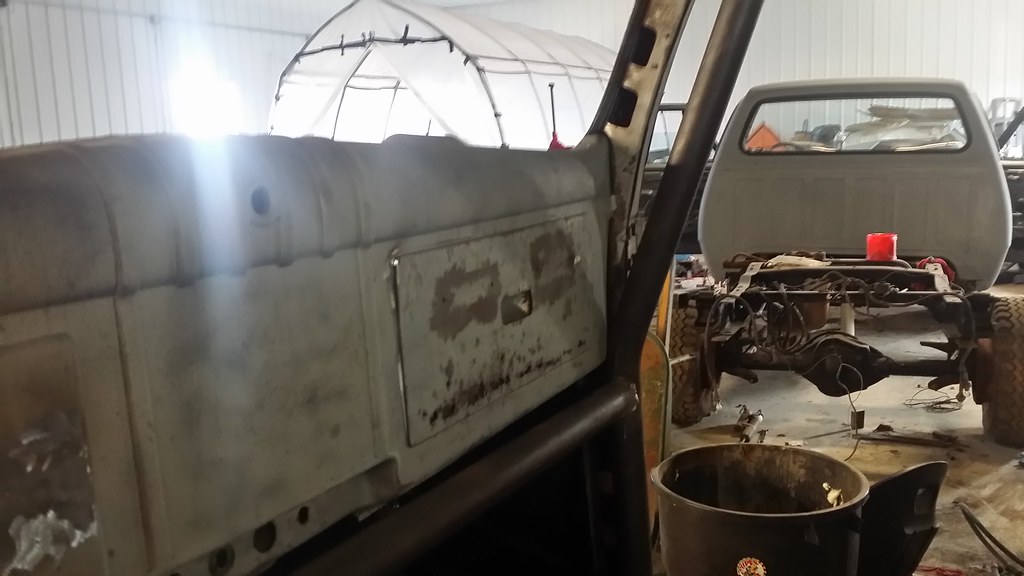
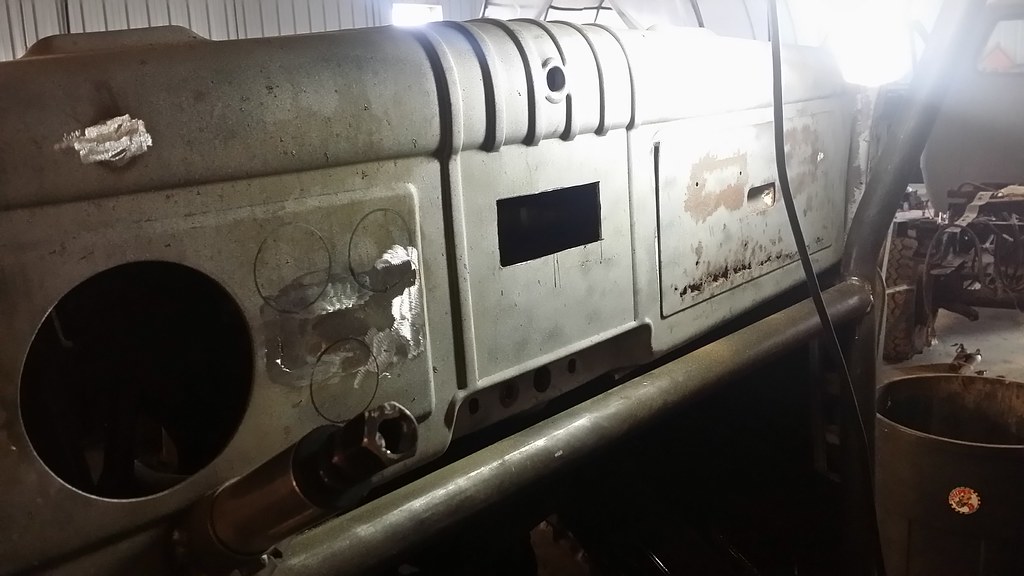
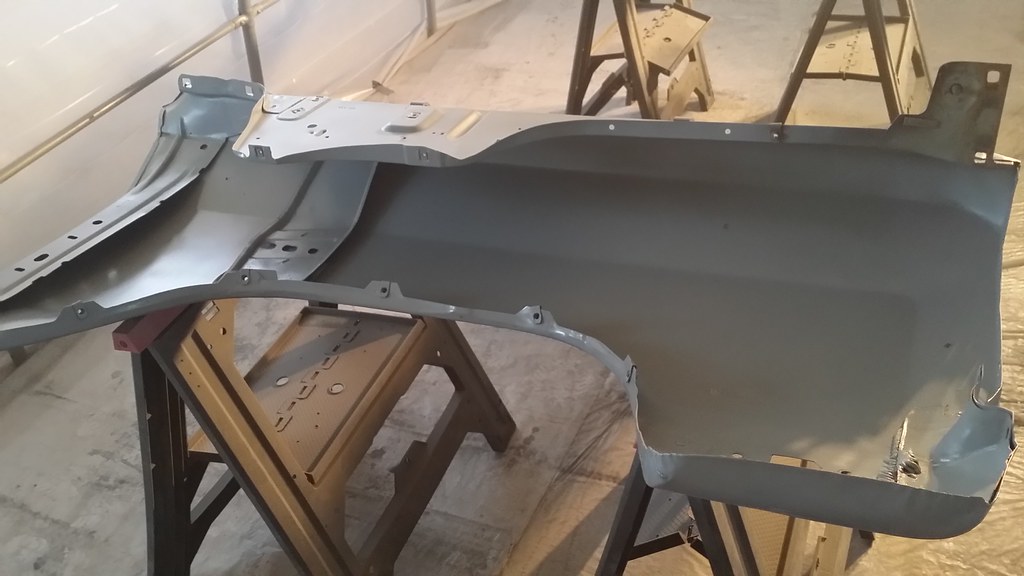
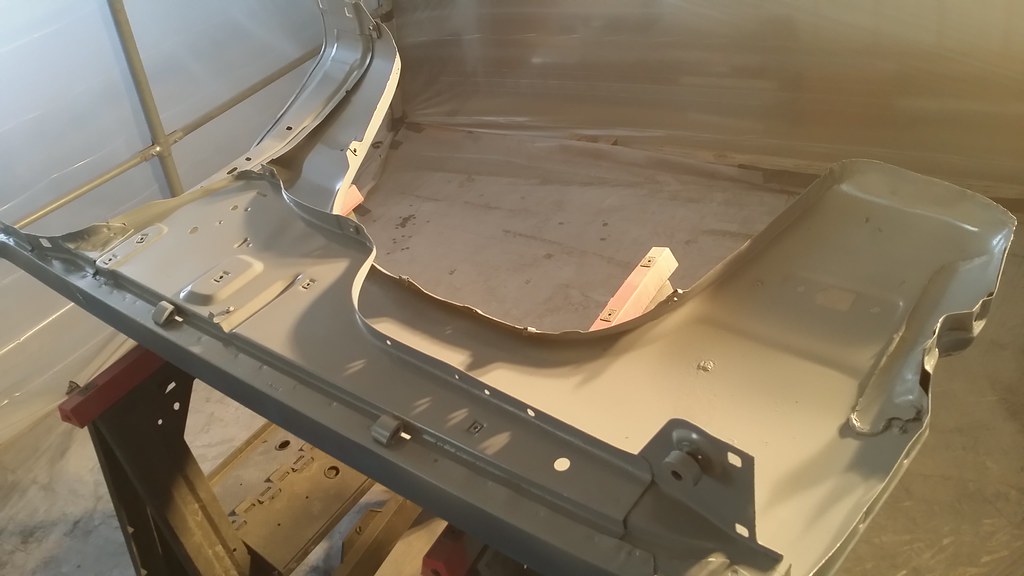
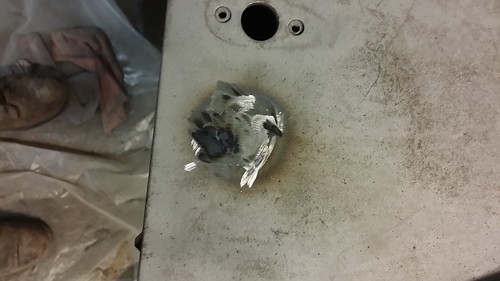
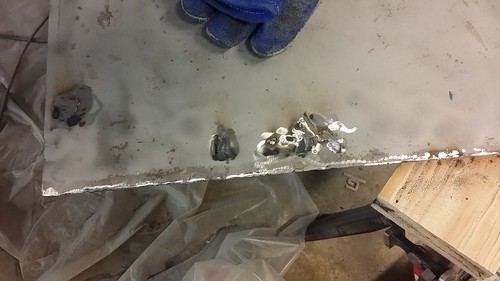
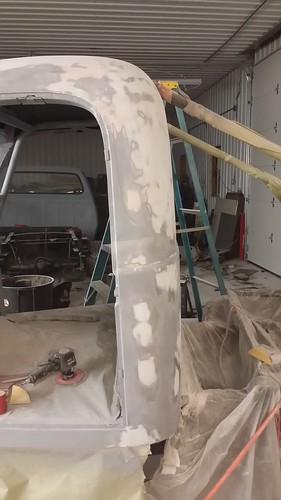
The first step we took in reducing weight was converting the truck from a long bed extended cab to a short bed reg cab truck. We cut 3 feet out of the frame for that step. I removed all the lights and wiring. Cut the inner fenders out, cut the lip off of the fire wall, removed heat/ac components, gutted the interior, removed all the accessories off of the engine, removed leaf springs. converted to water to air intercooler and put it under the dash to move weight back, moved the batteries to the back, electric water pump, moved radiator to the back of the truck. 3 gallon fuel cell, etc...

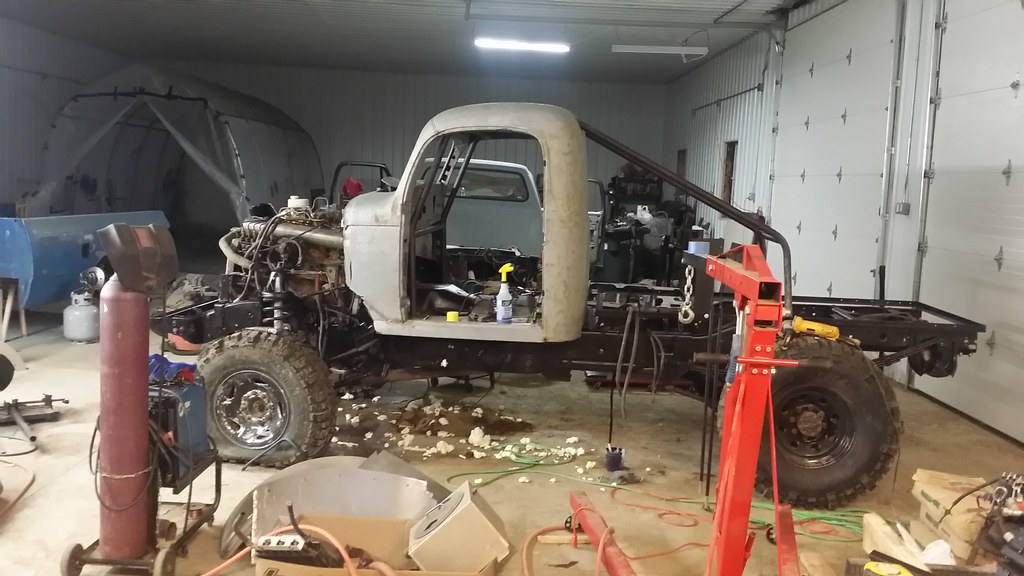
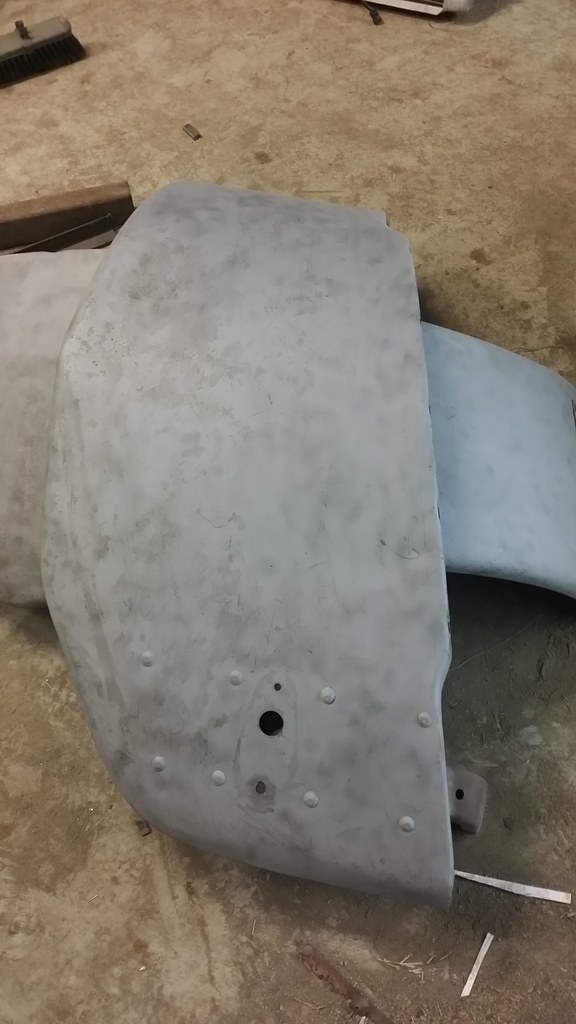
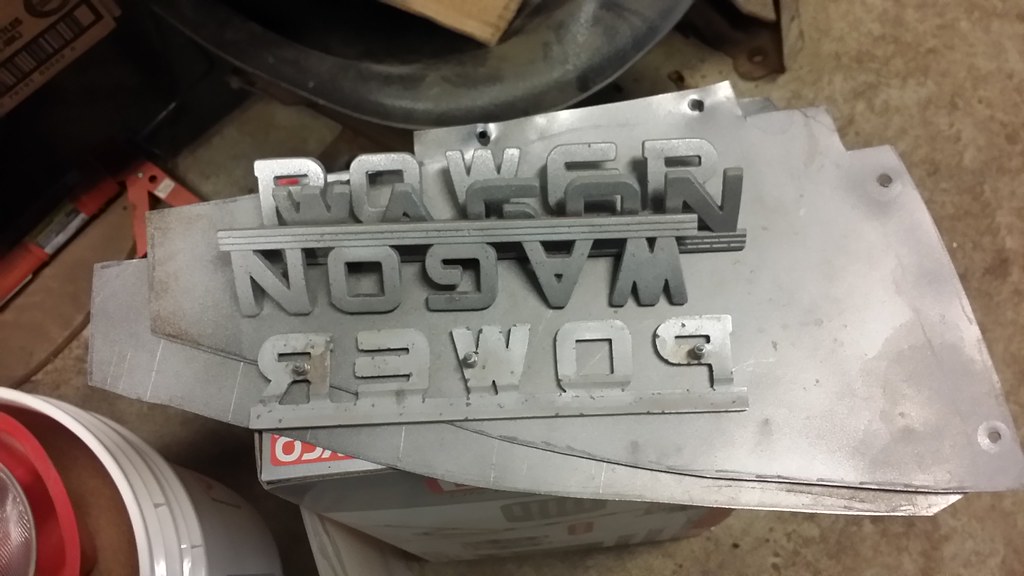
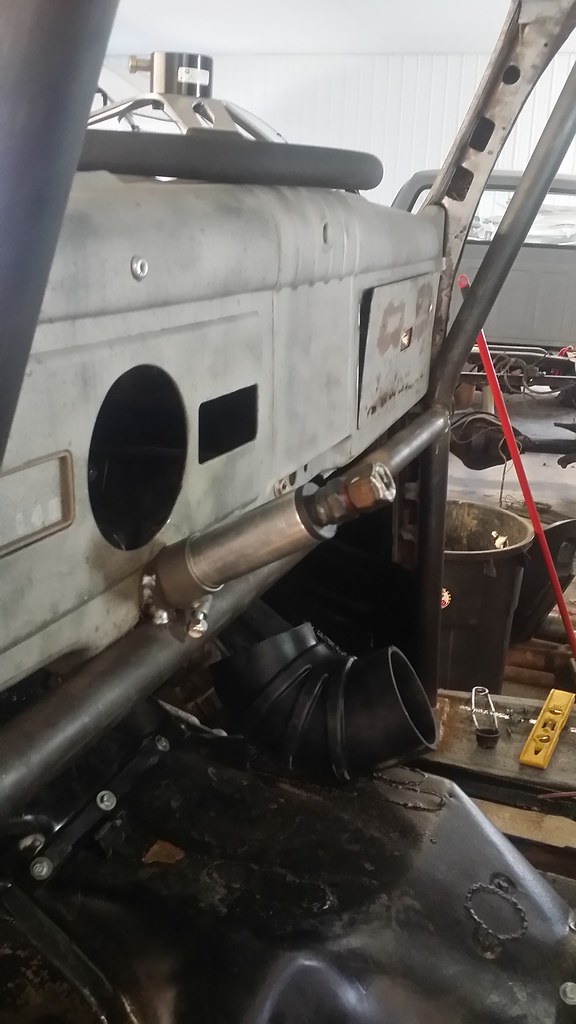
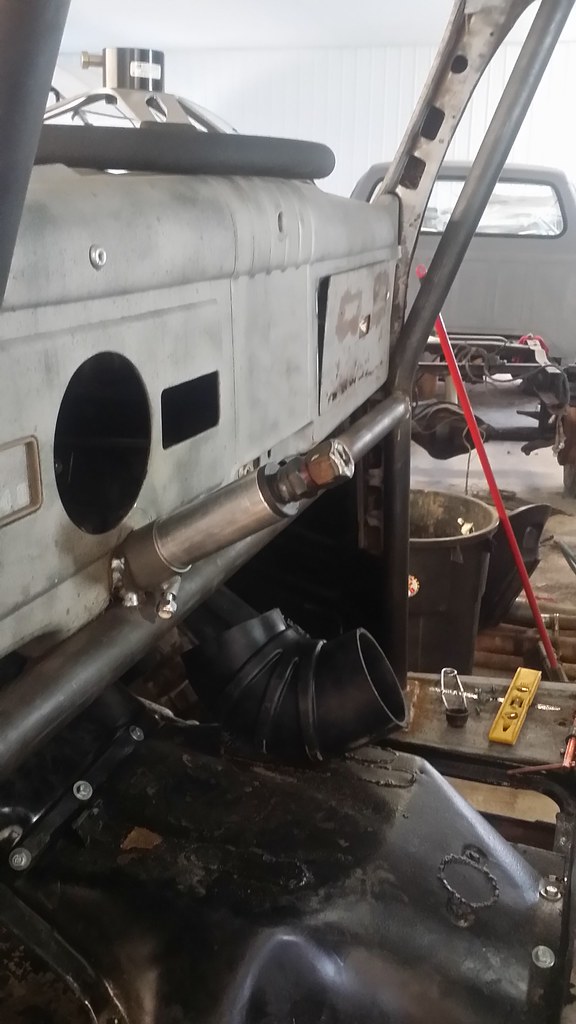
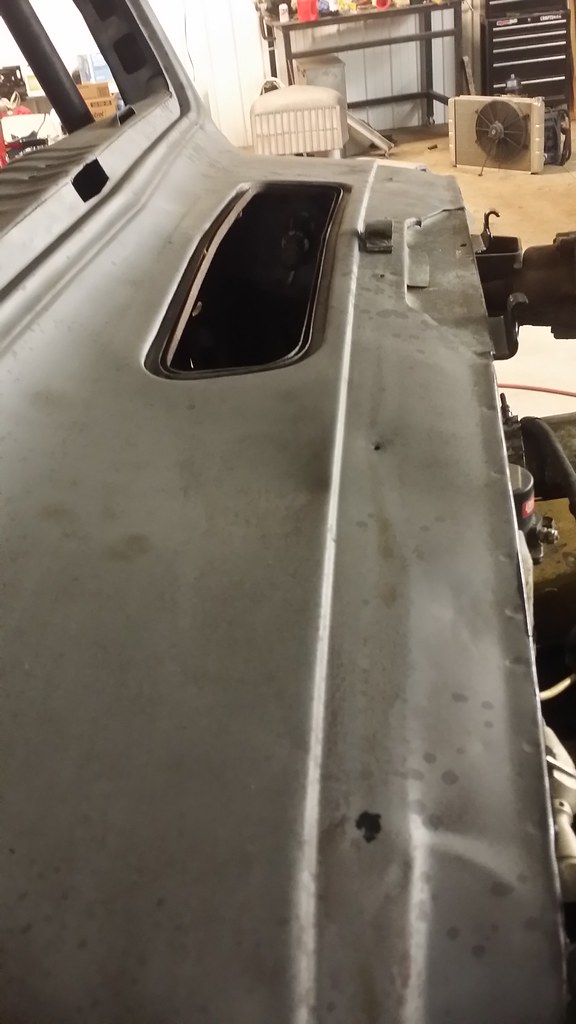
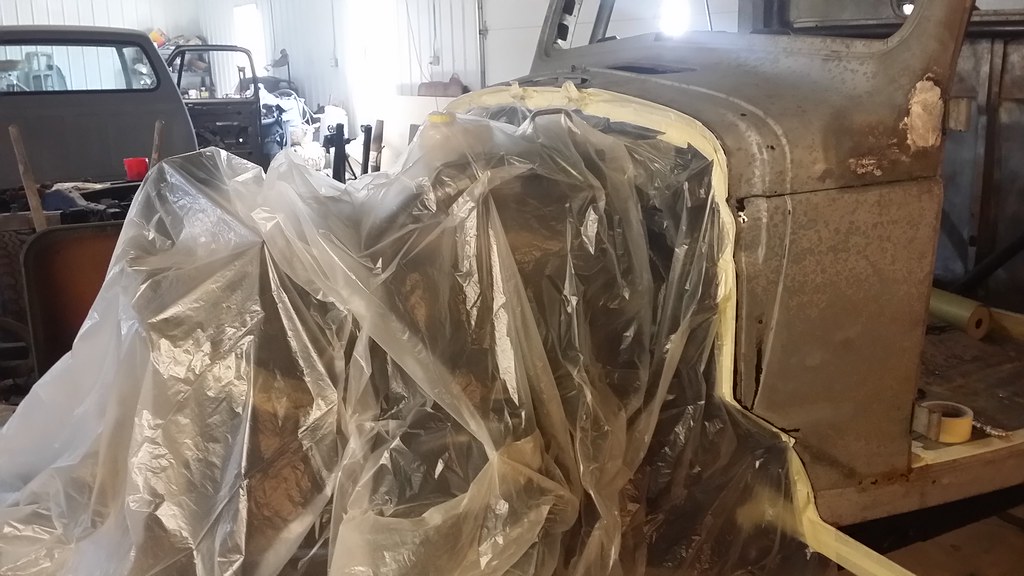
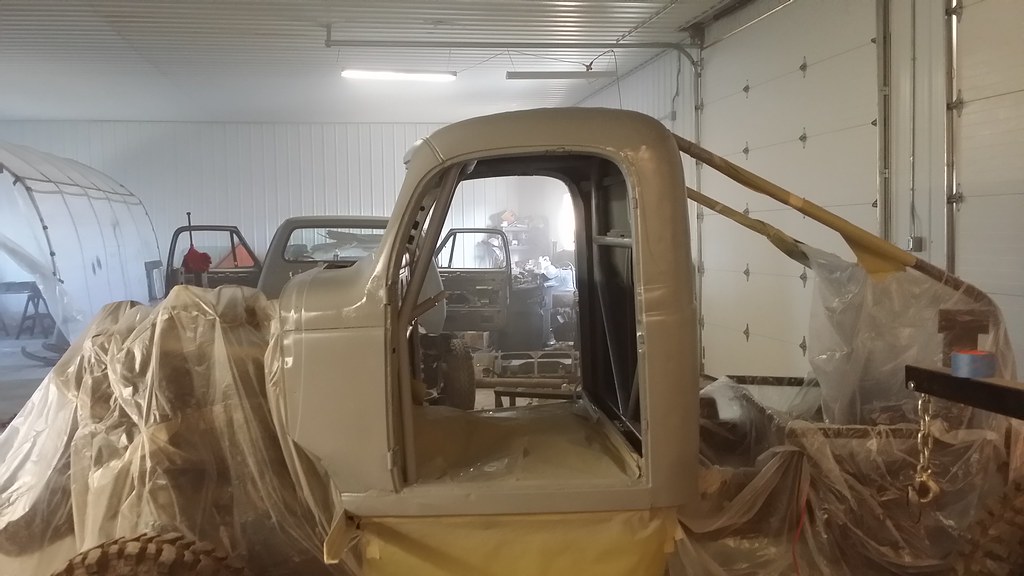
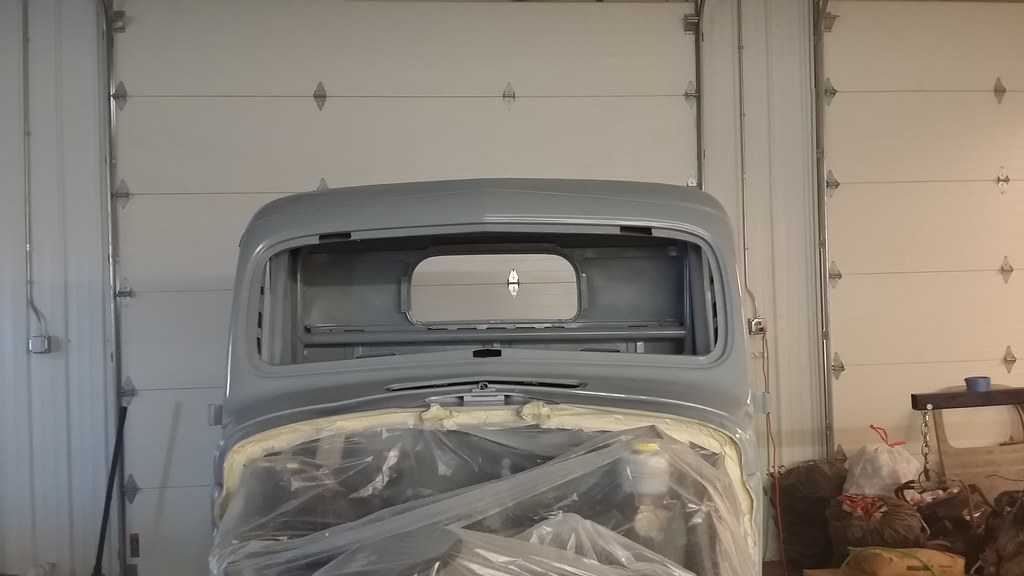
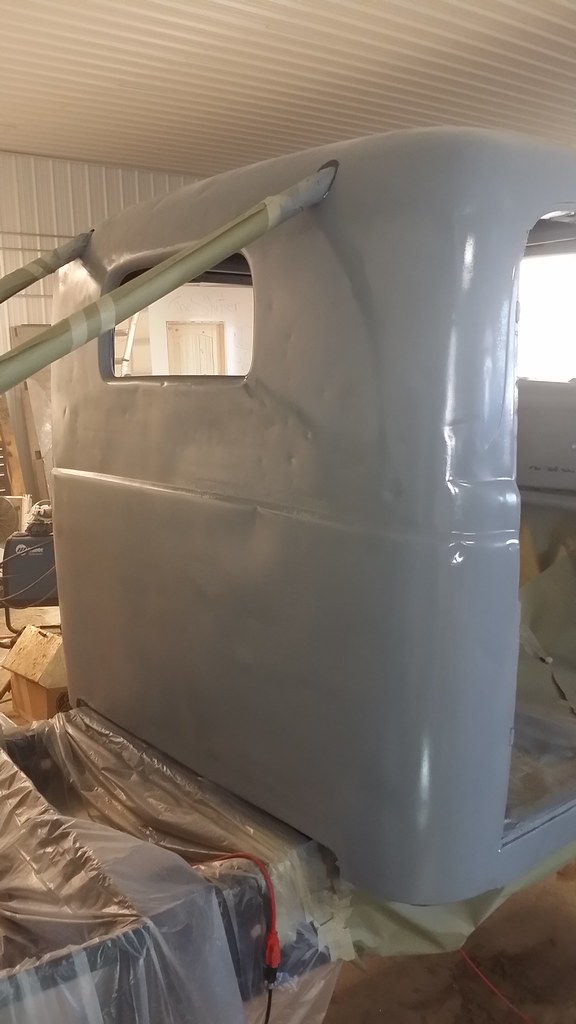
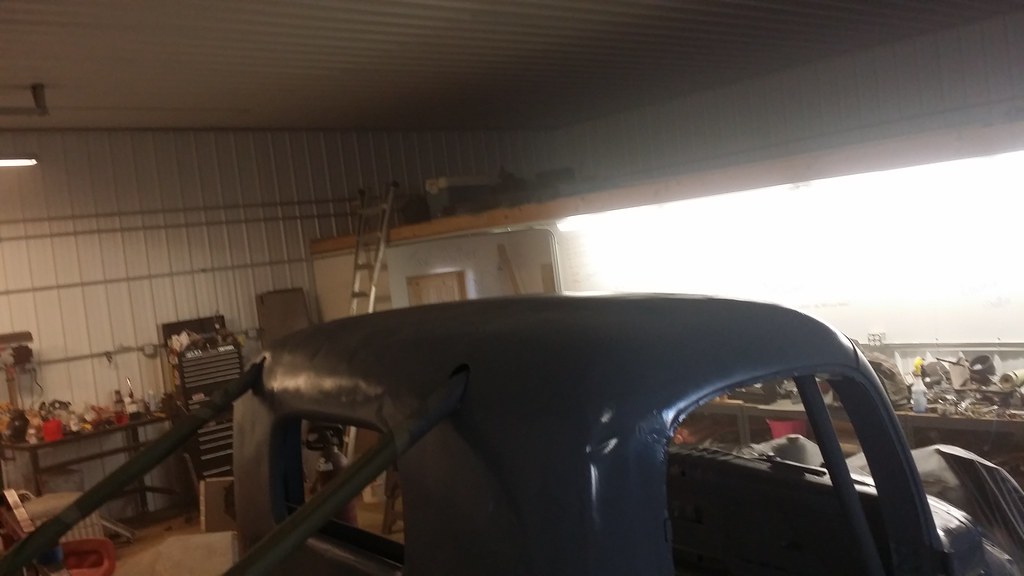
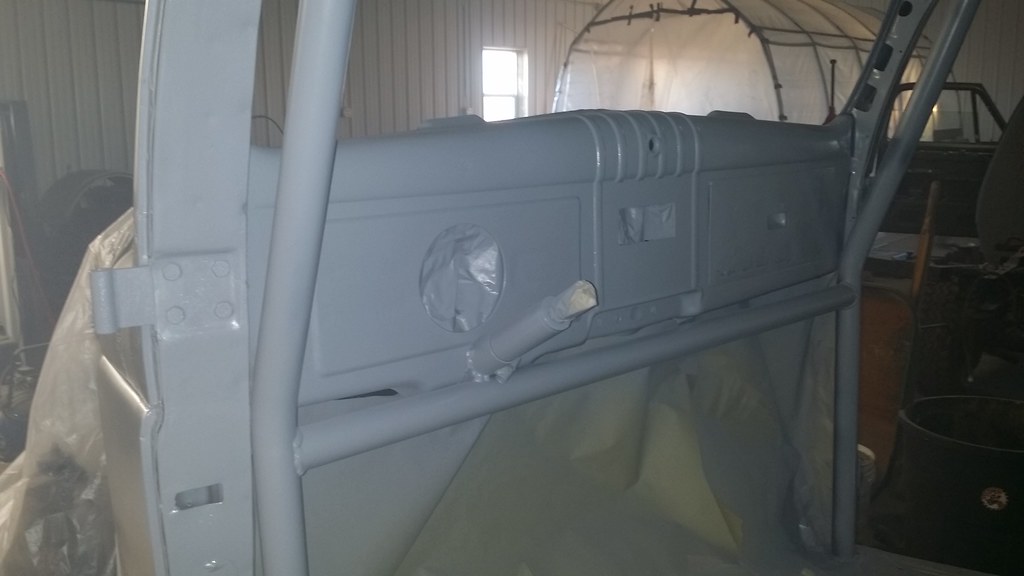
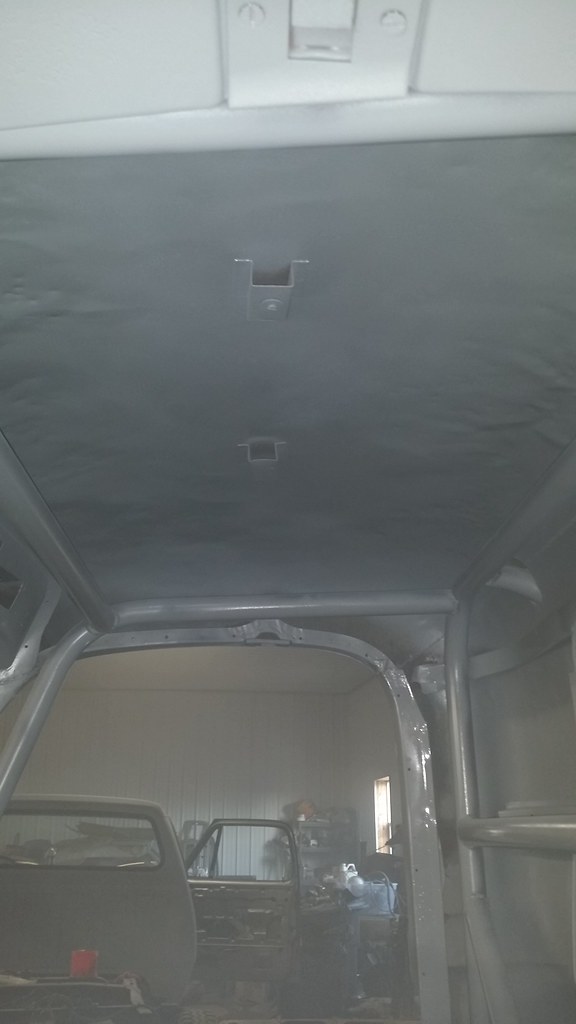
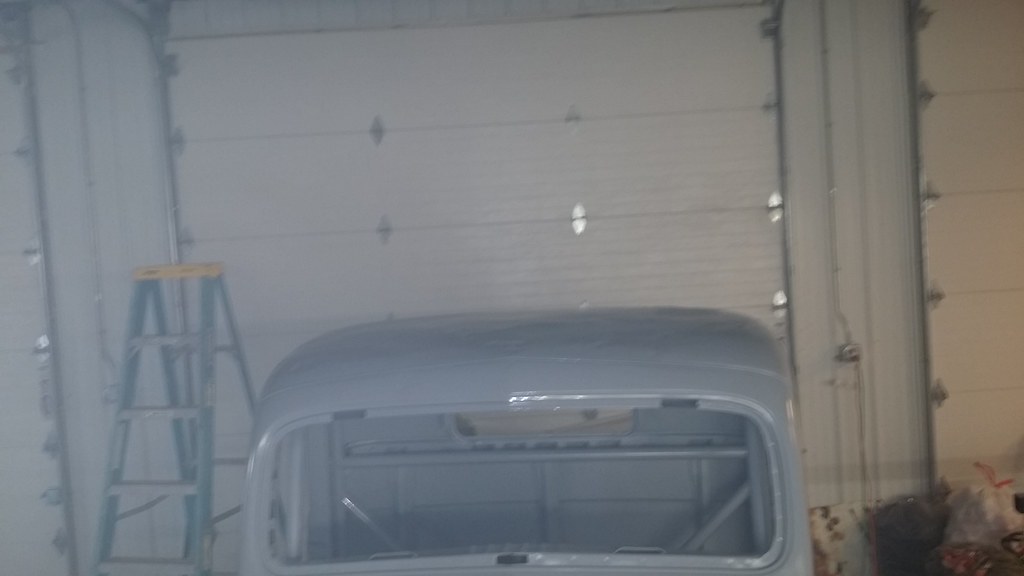
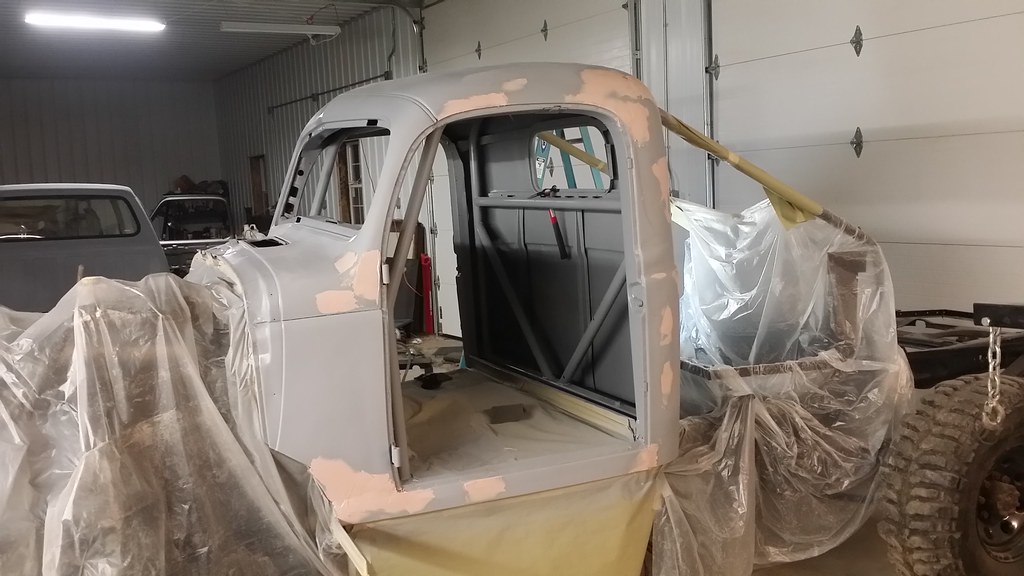
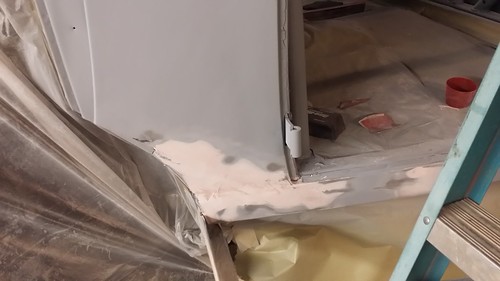
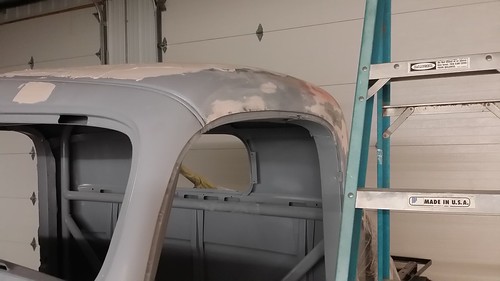
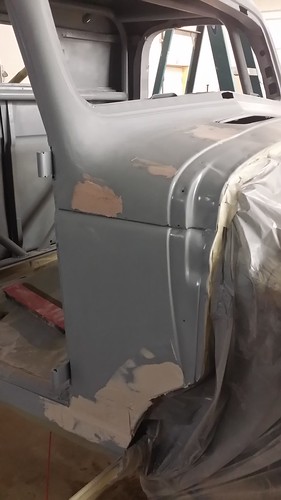
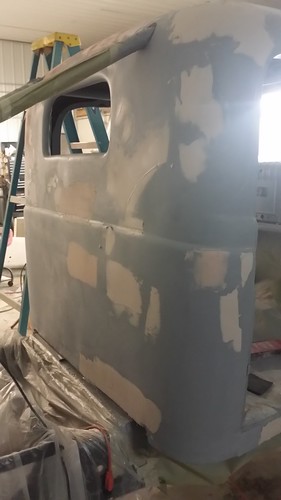
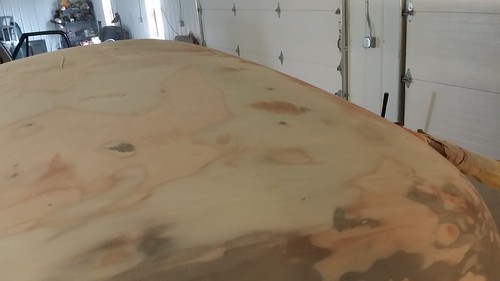
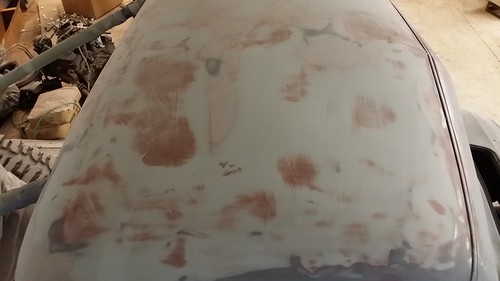
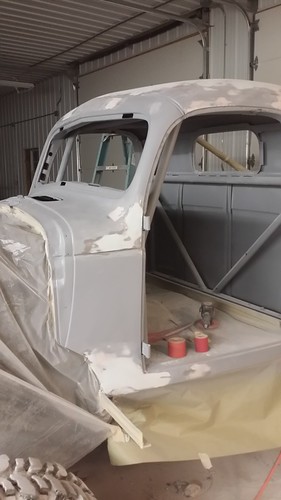
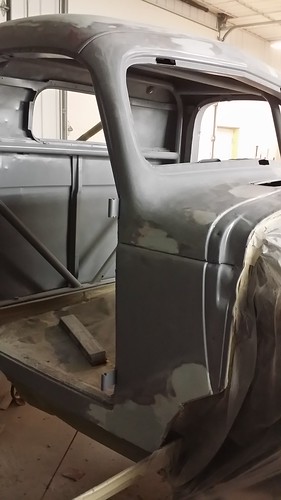
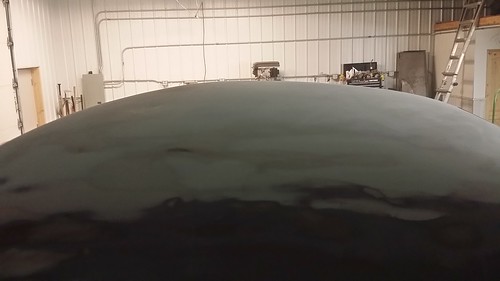
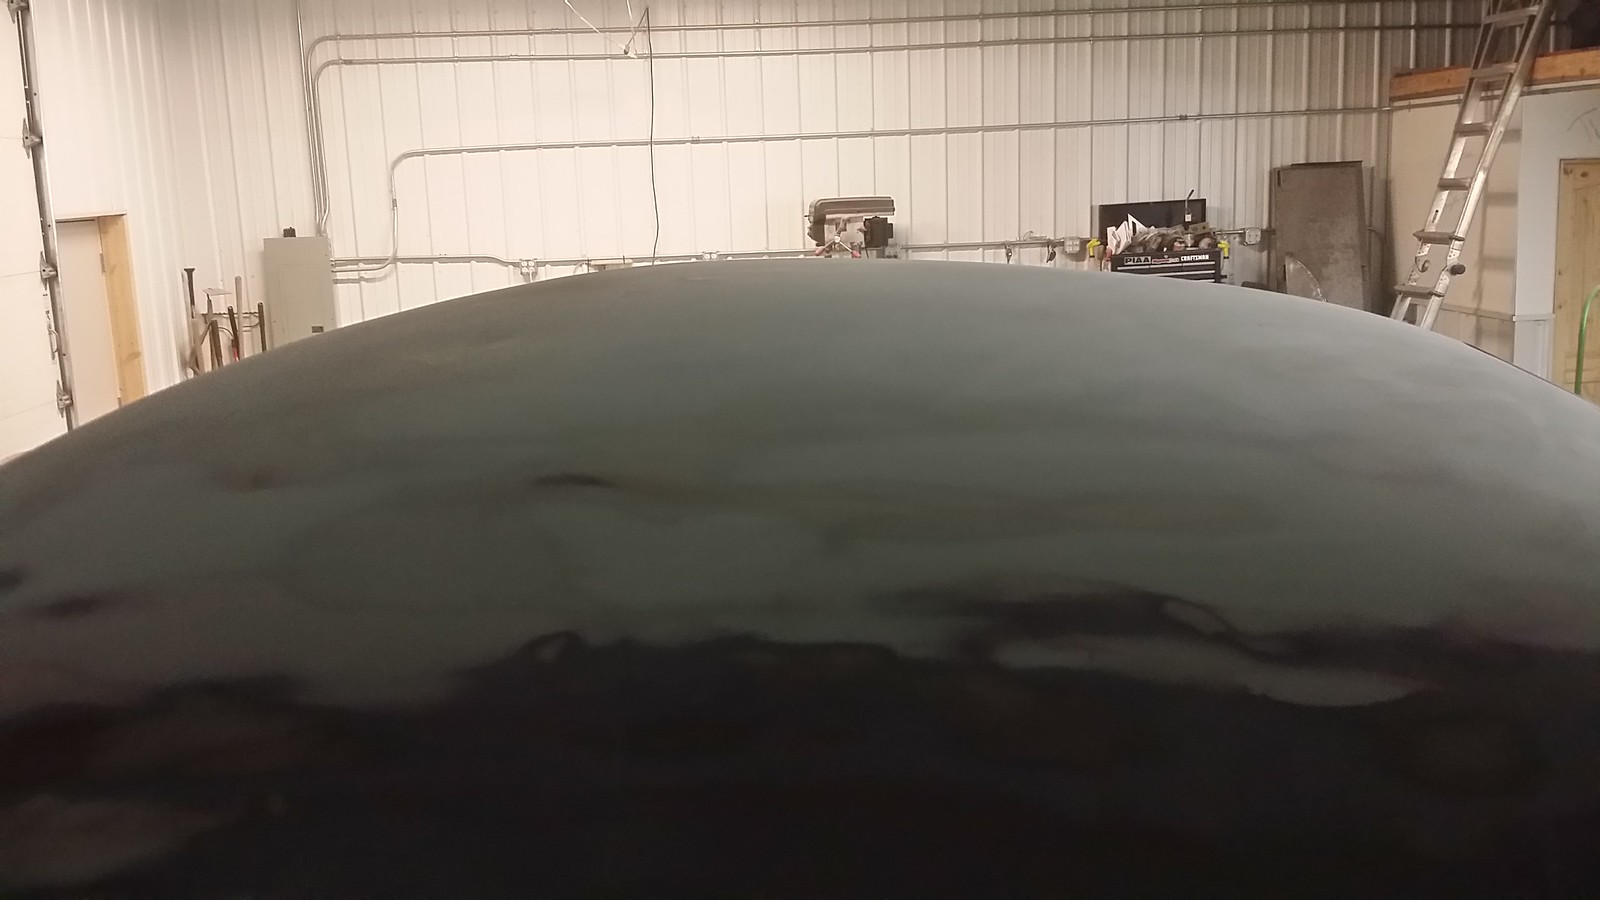
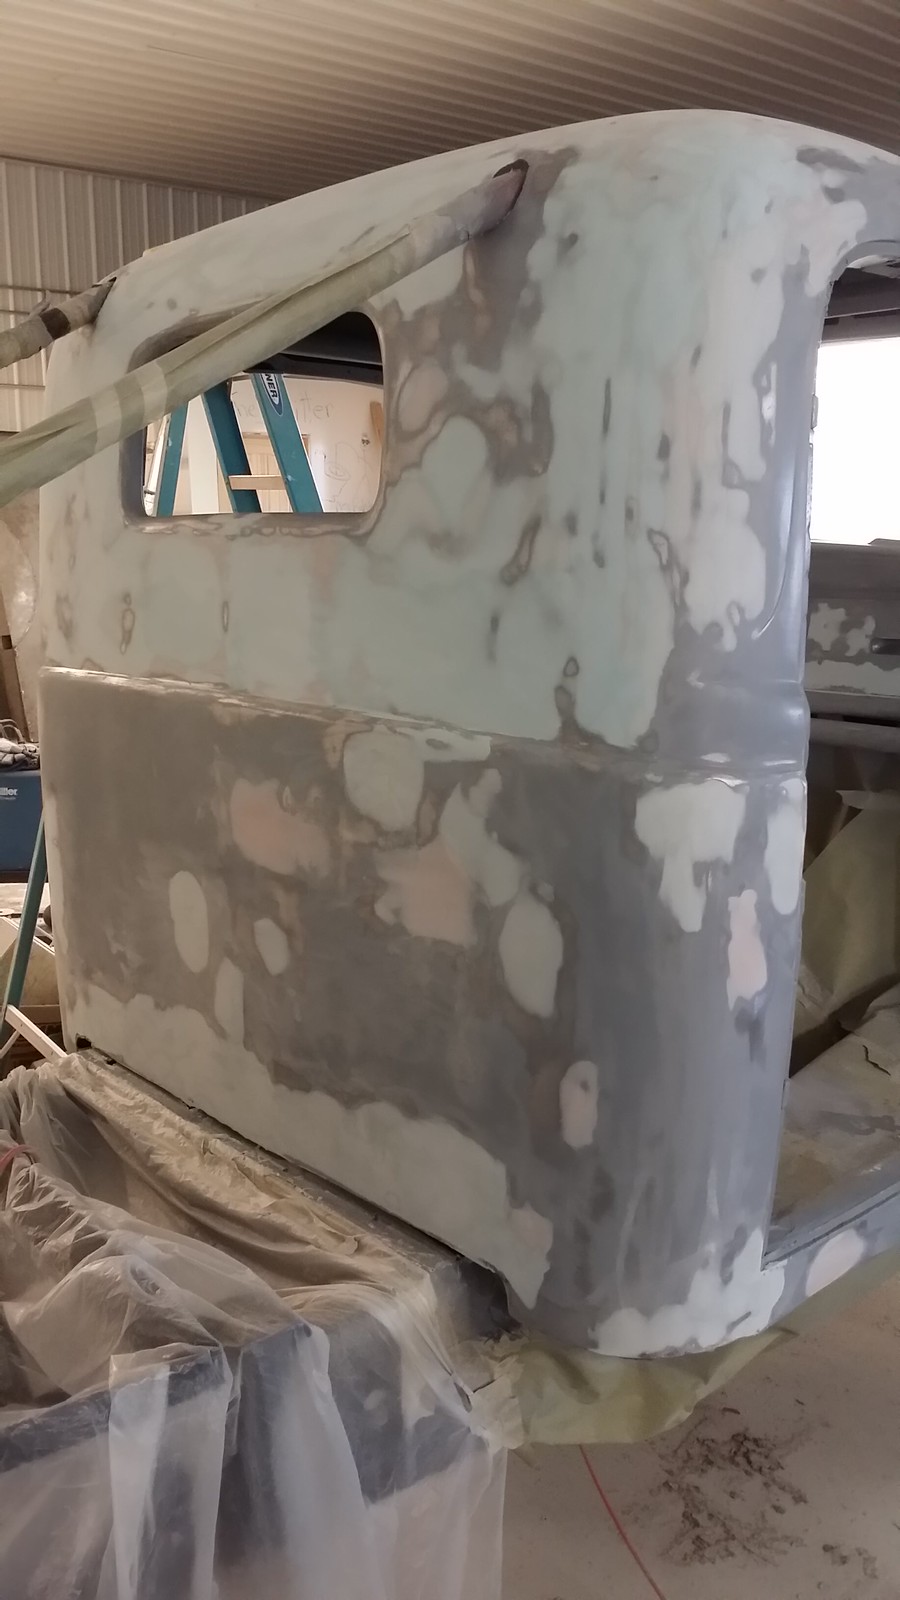
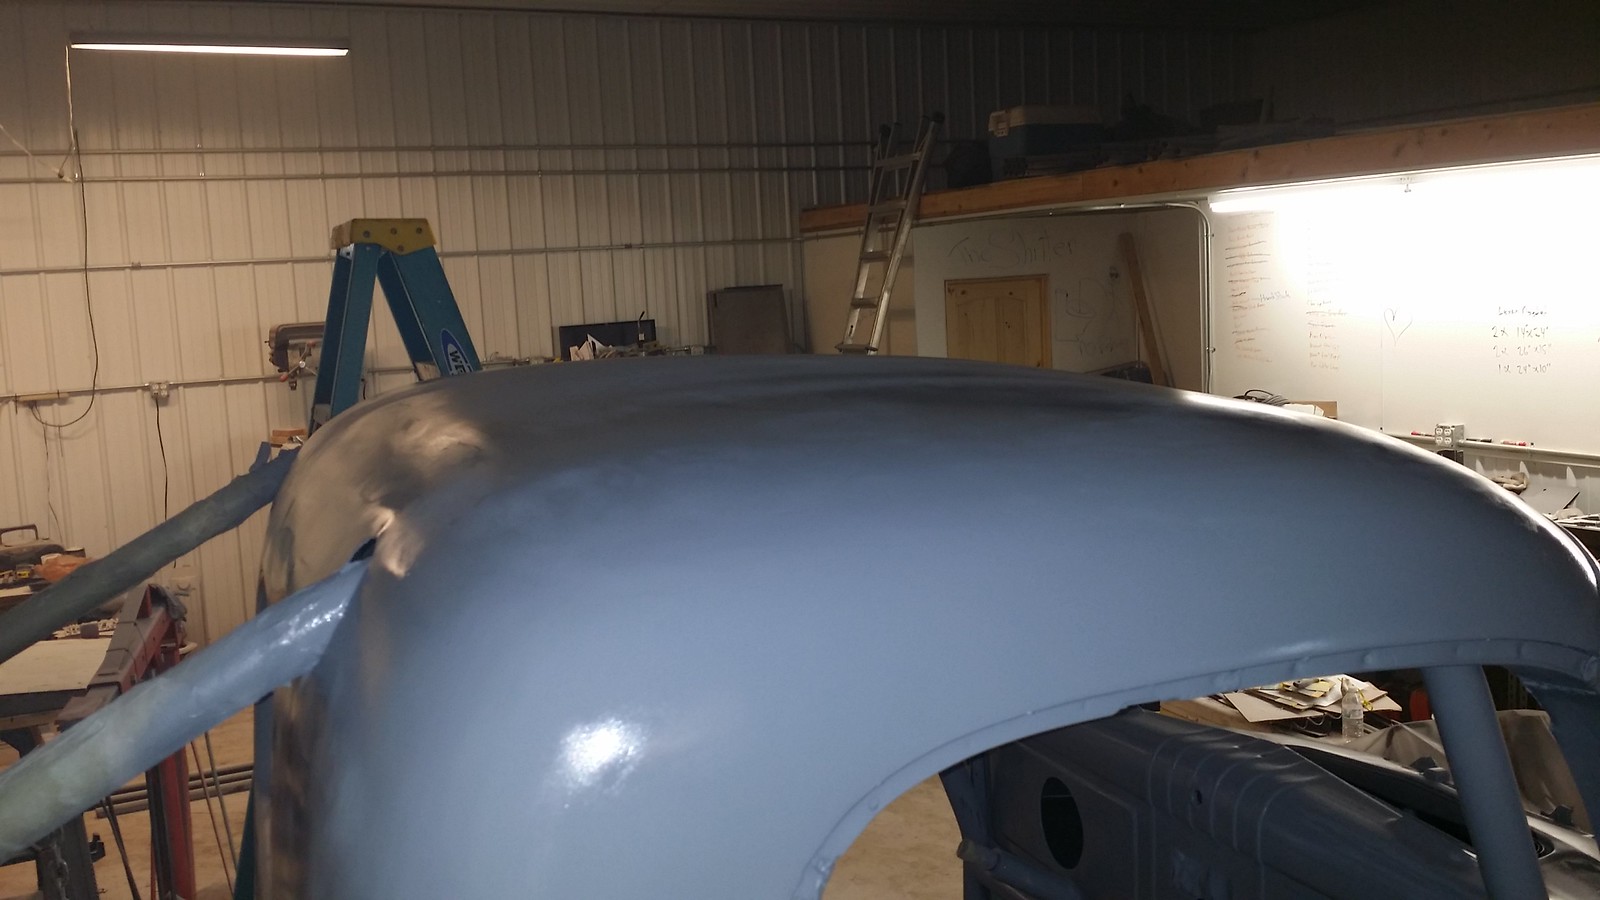
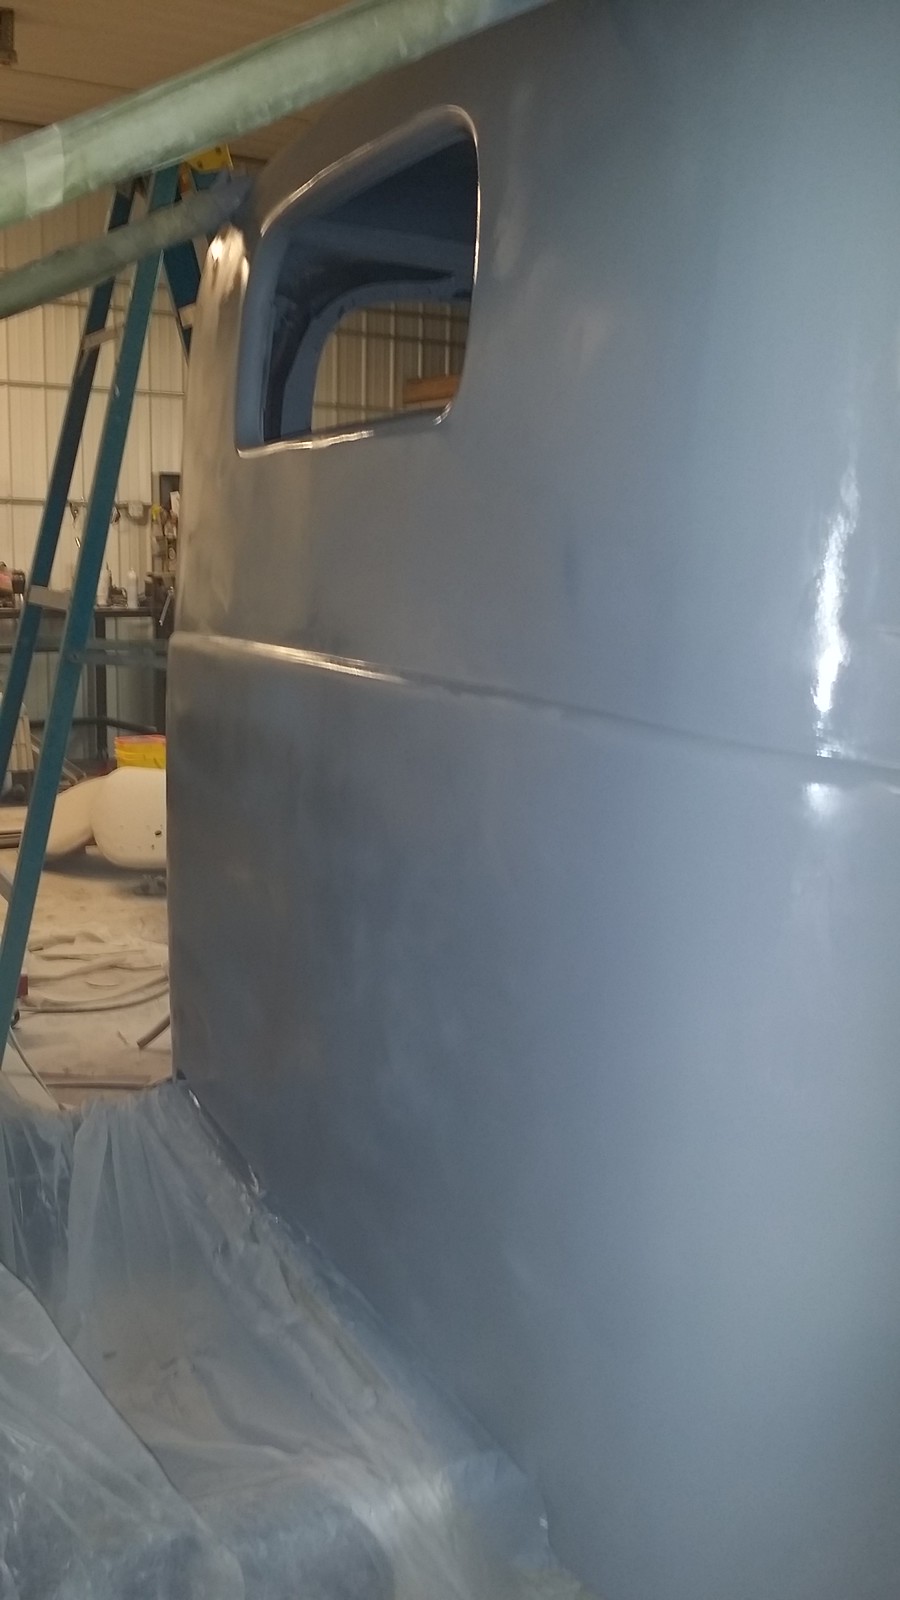
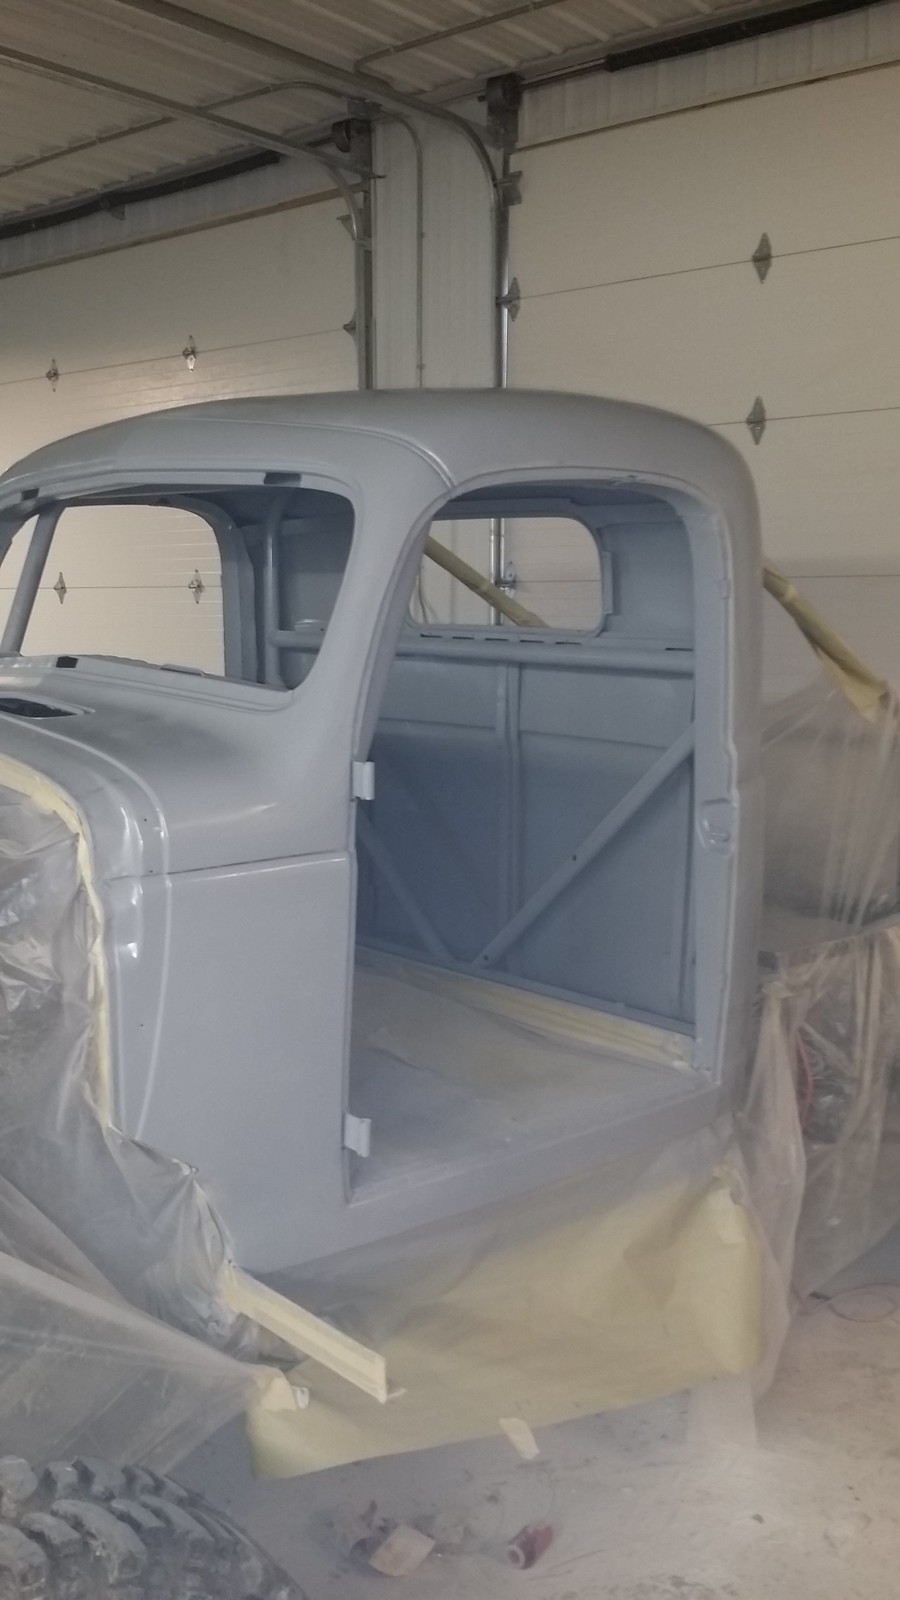
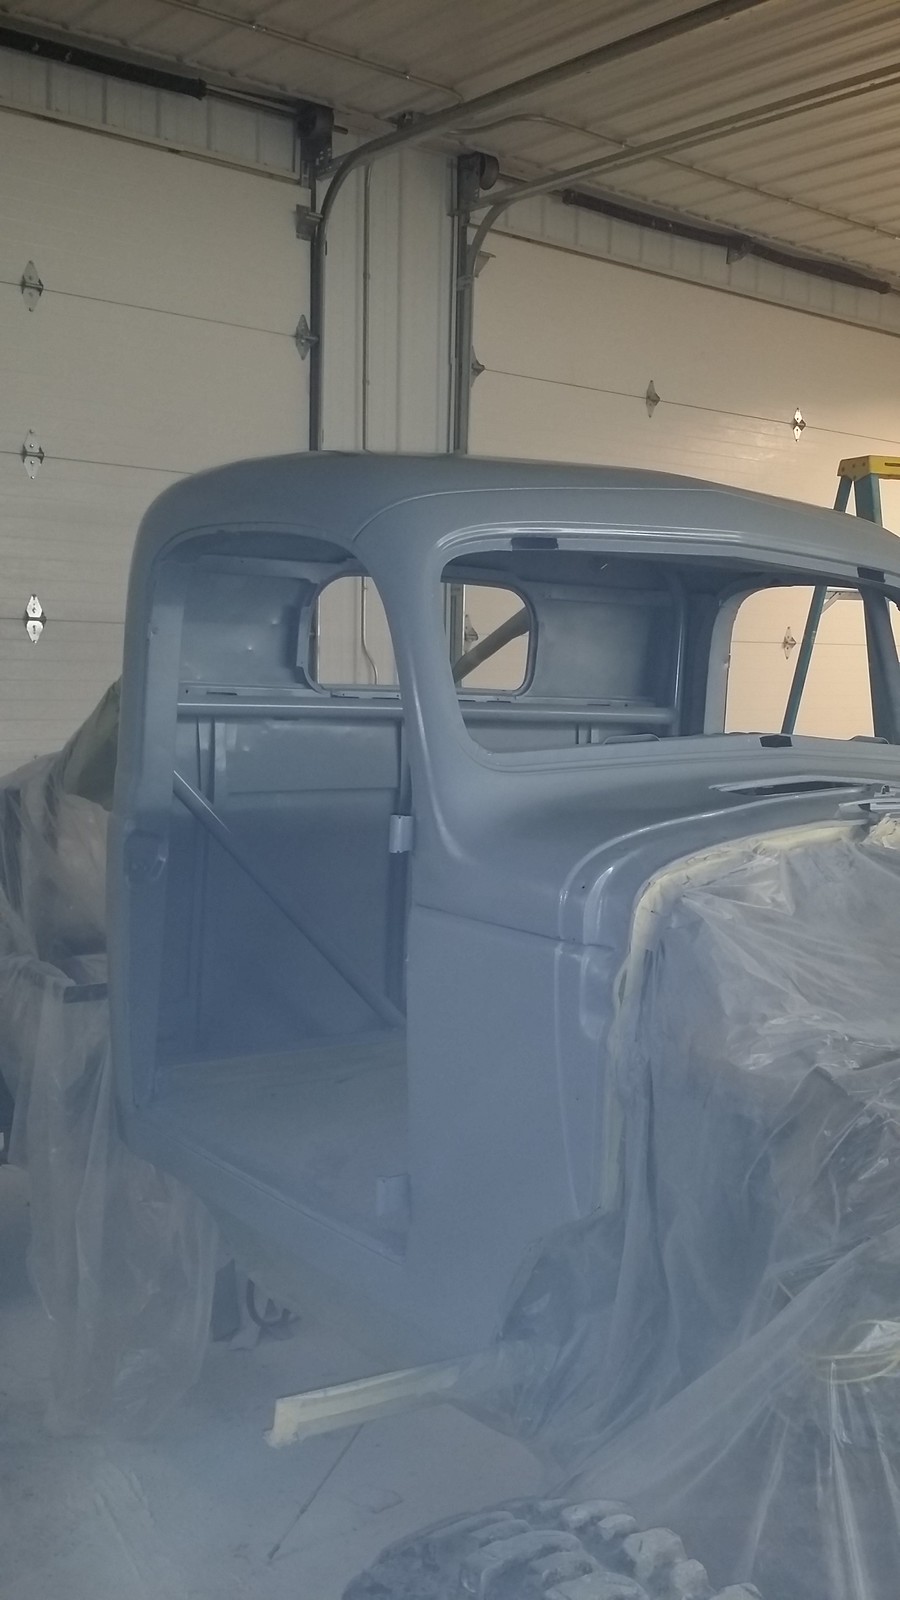
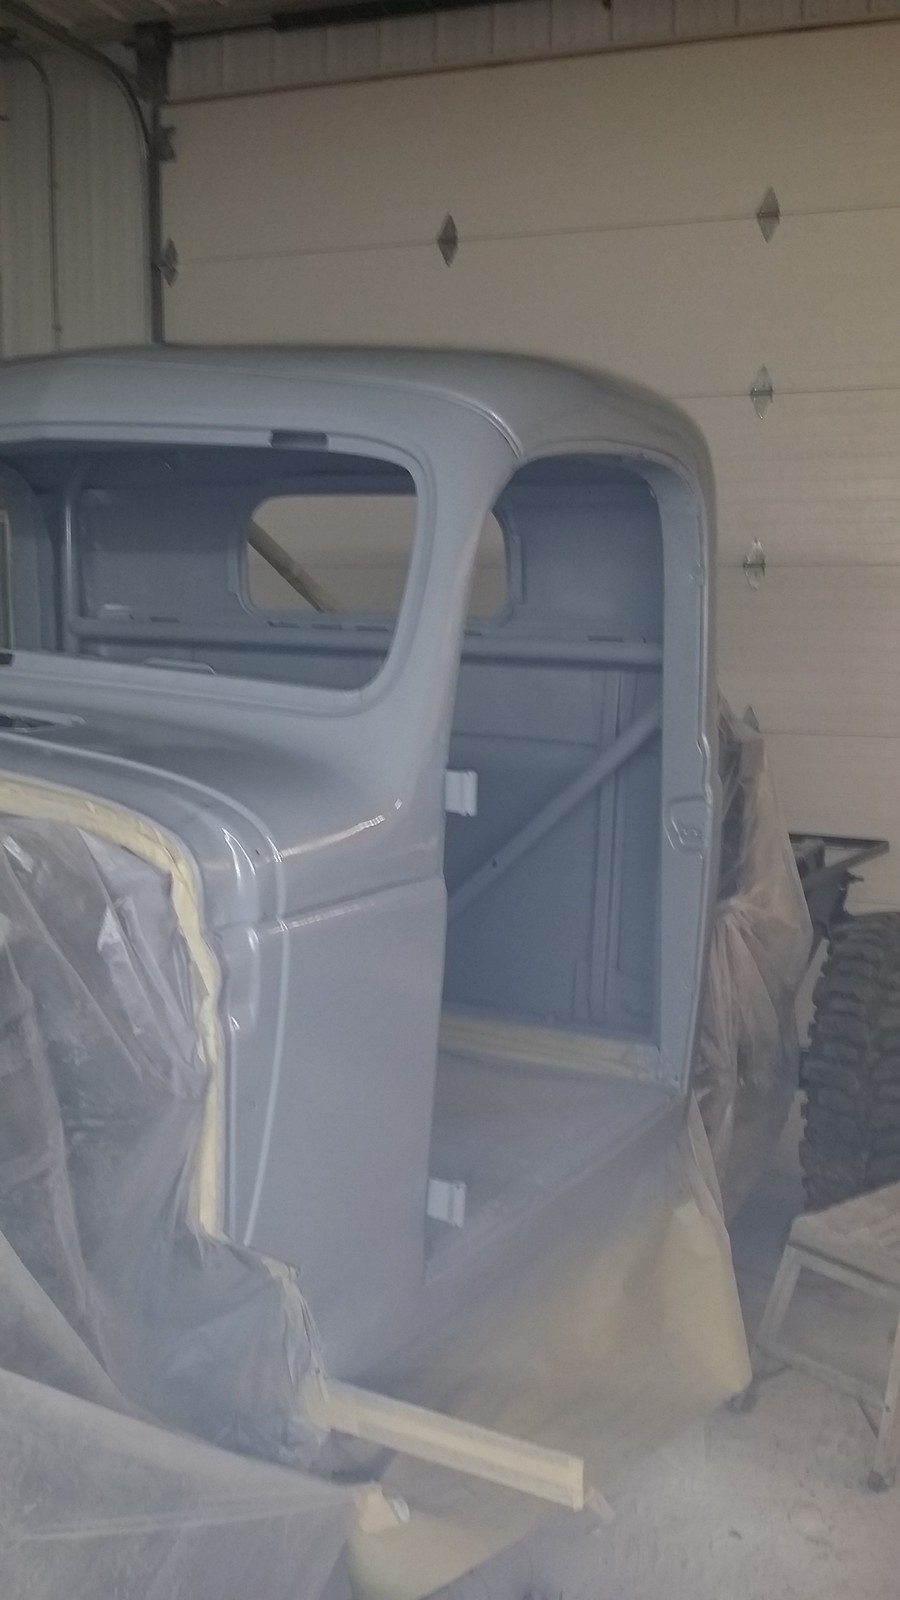
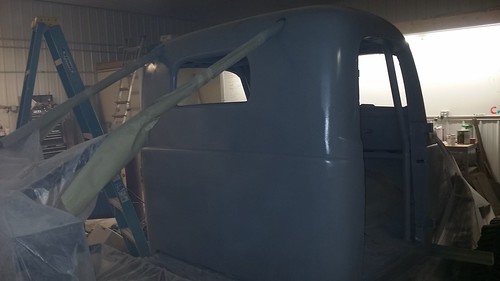
The only weight I've added this year is the cage and still need to build drive shaft loops. I've dropped the heavy 96 cab, bed and hood and replaced it with the much lighter 46 body.

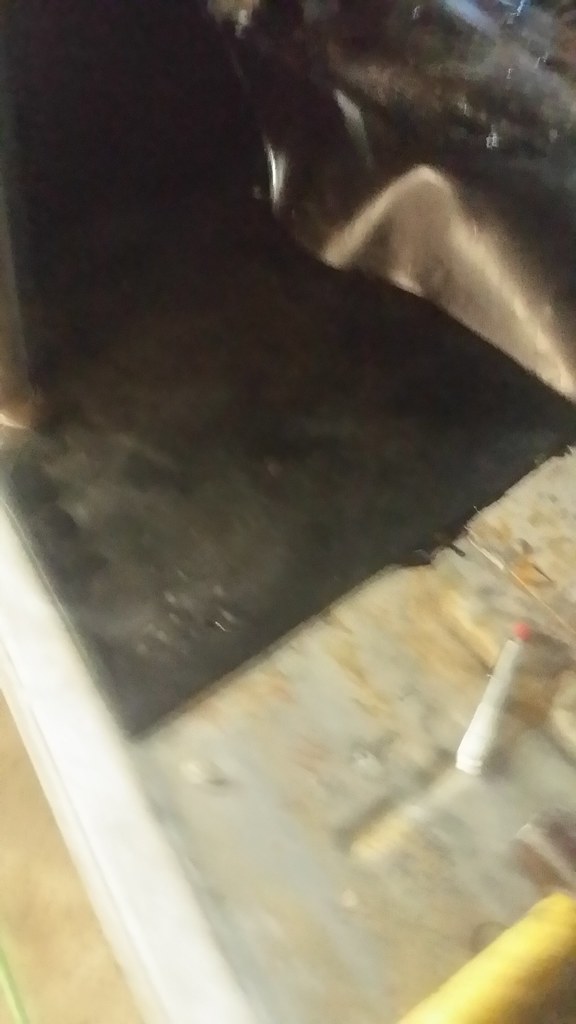
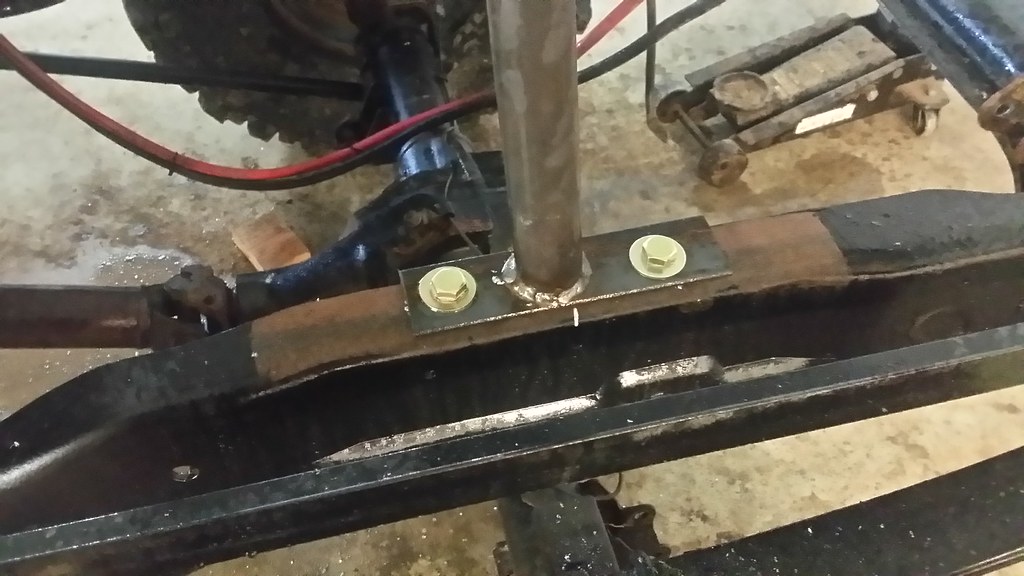
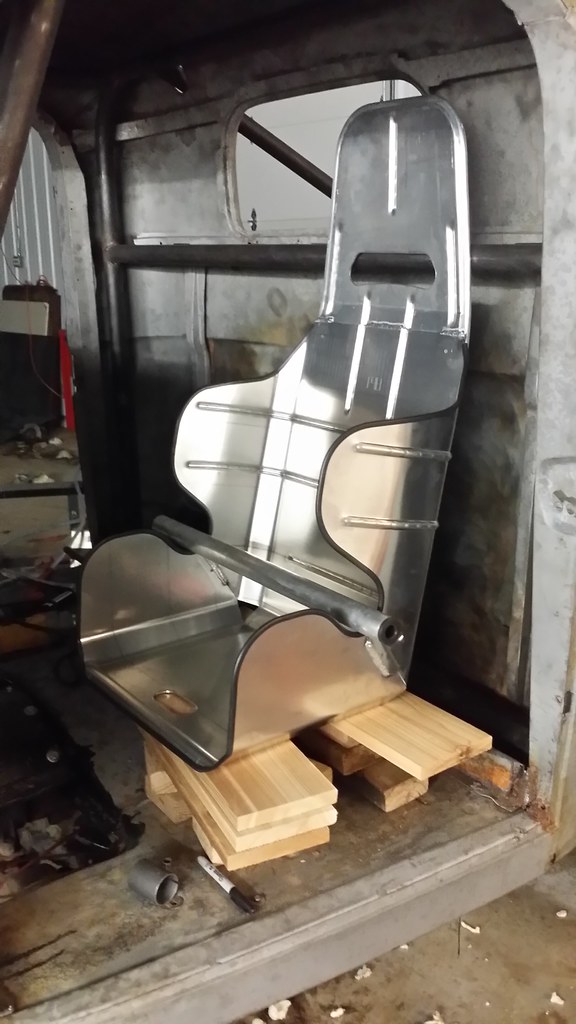
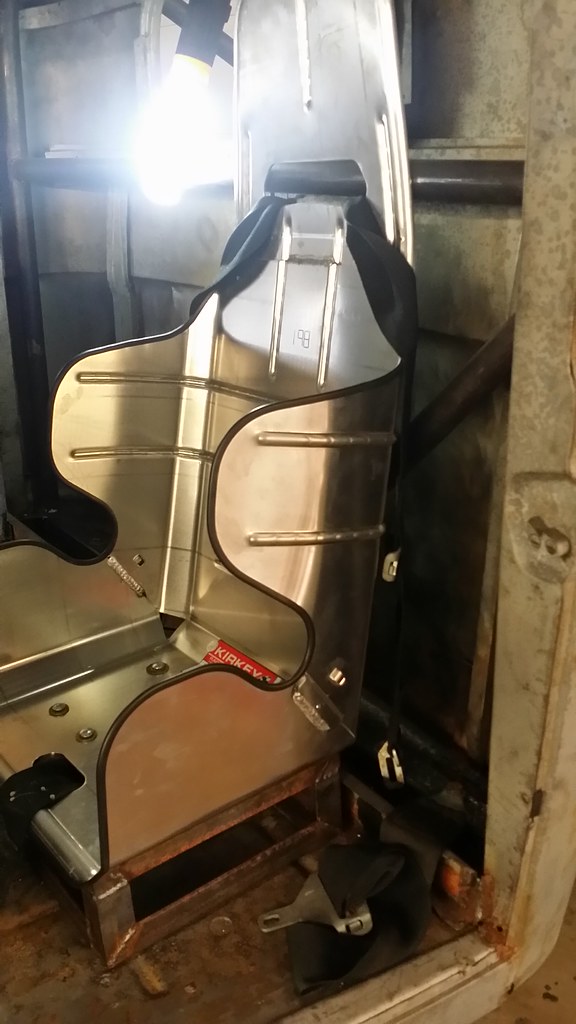
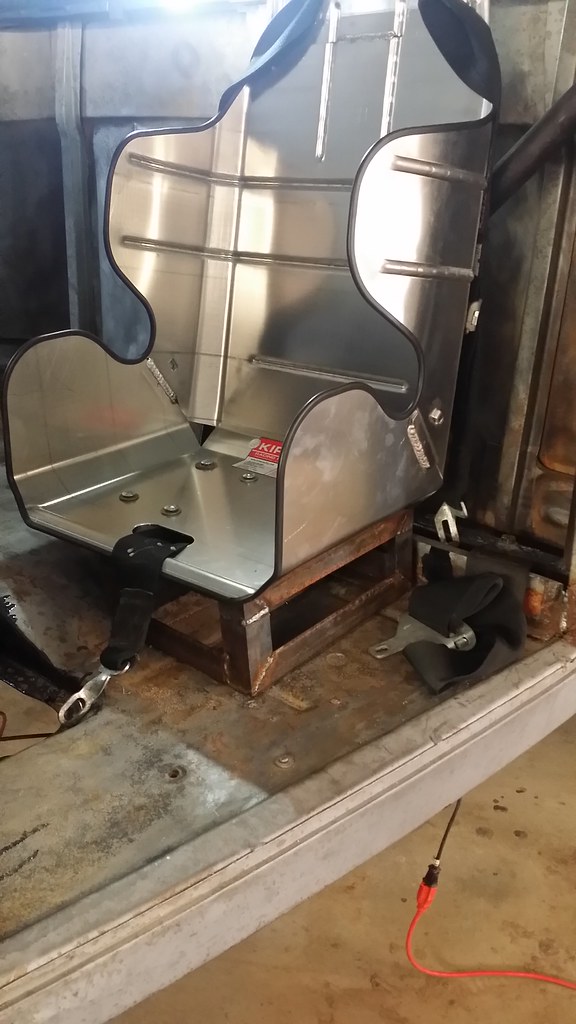
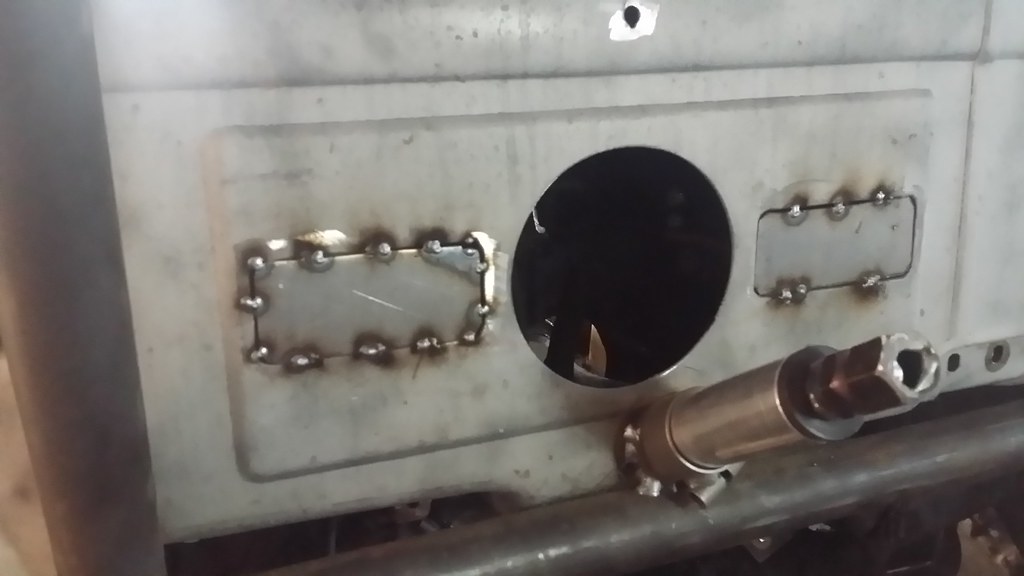
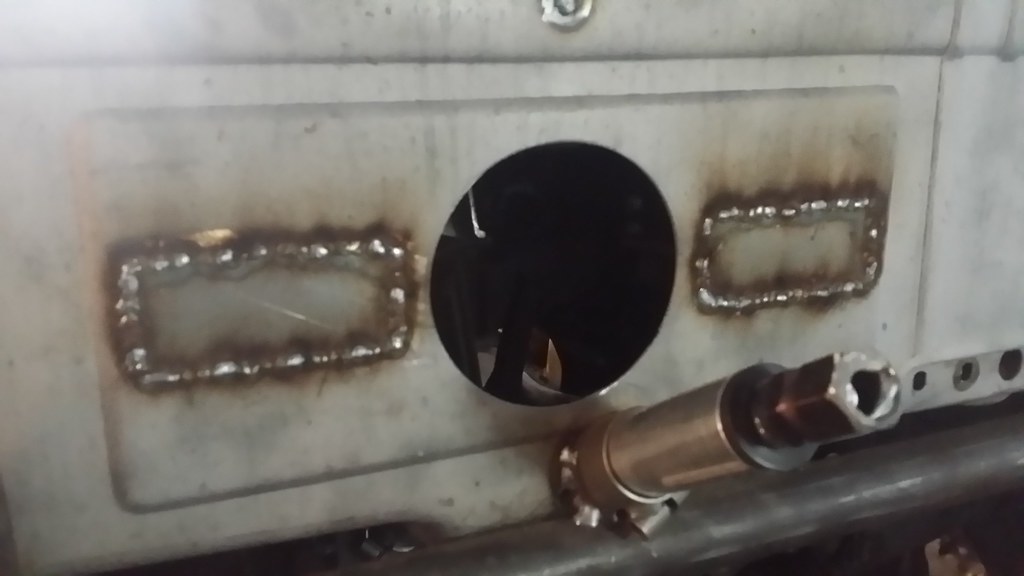
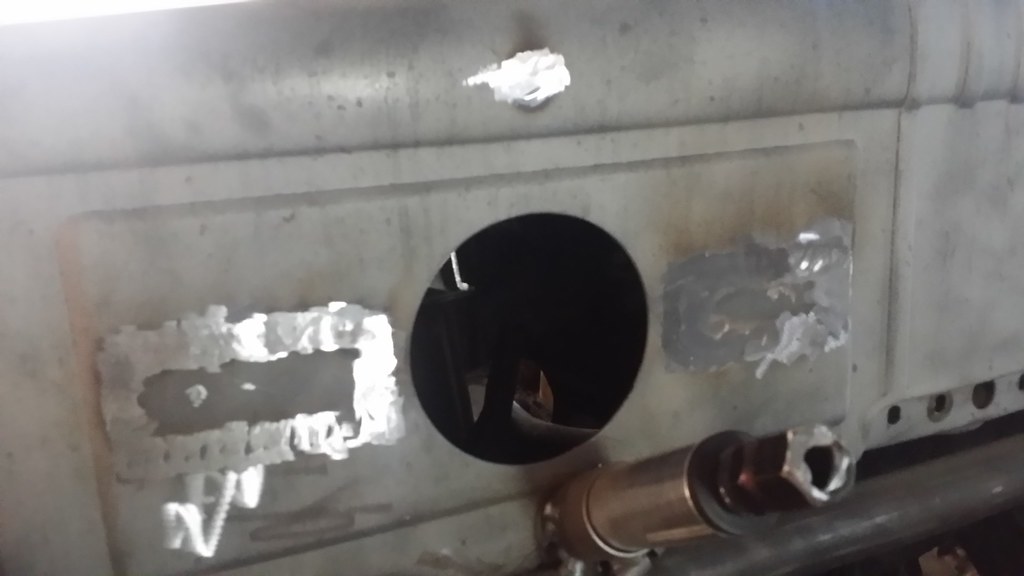
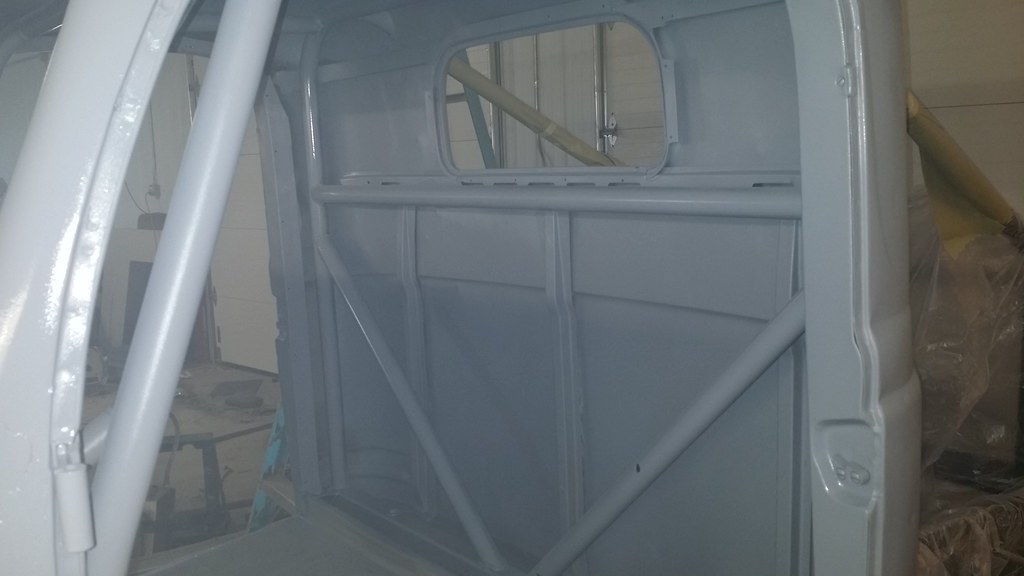
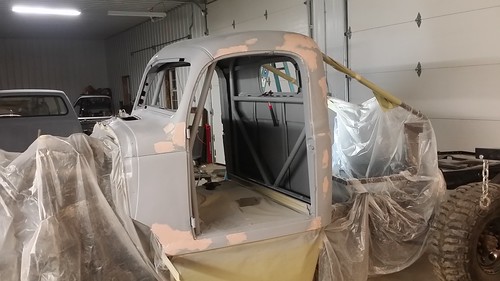
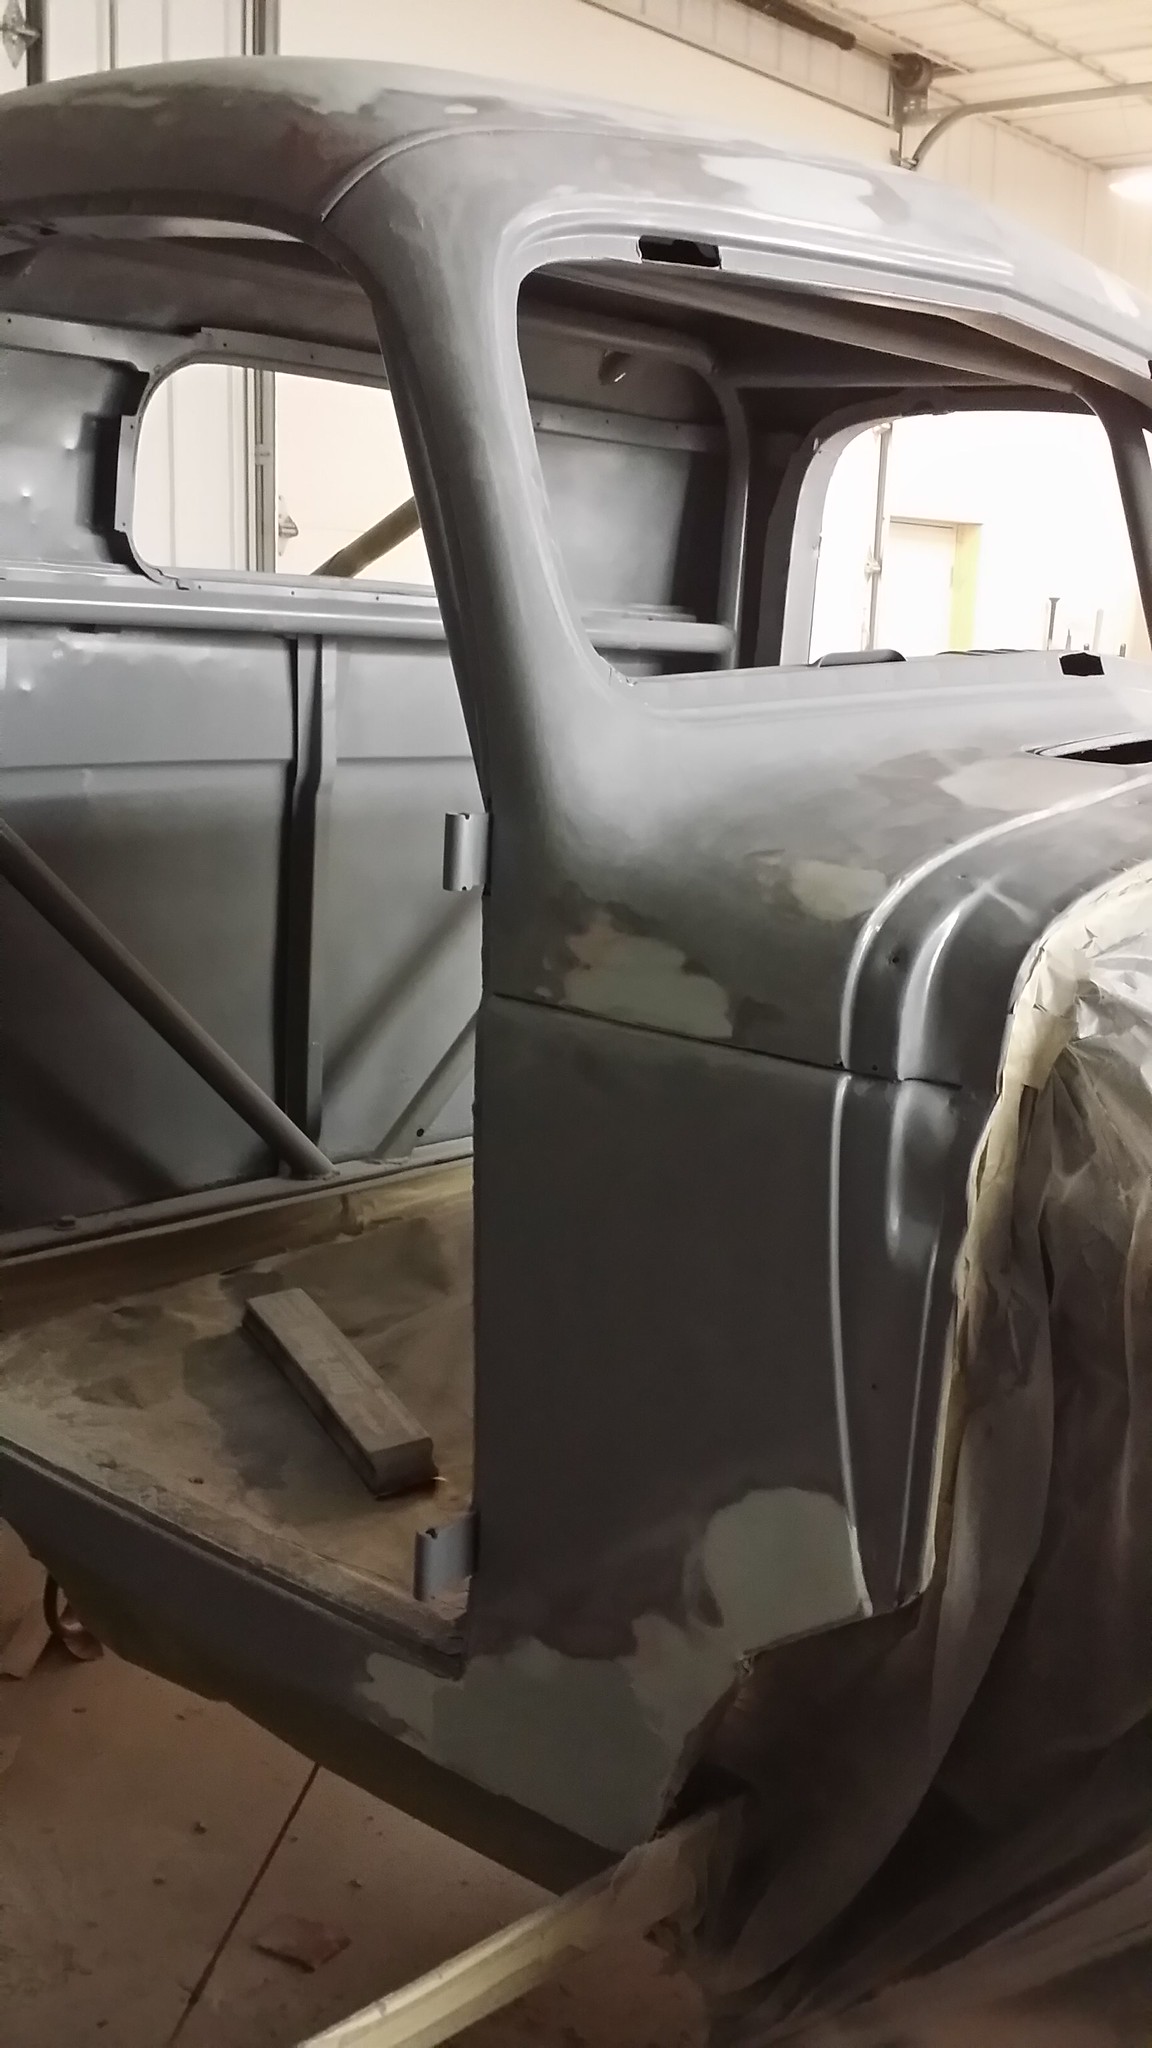
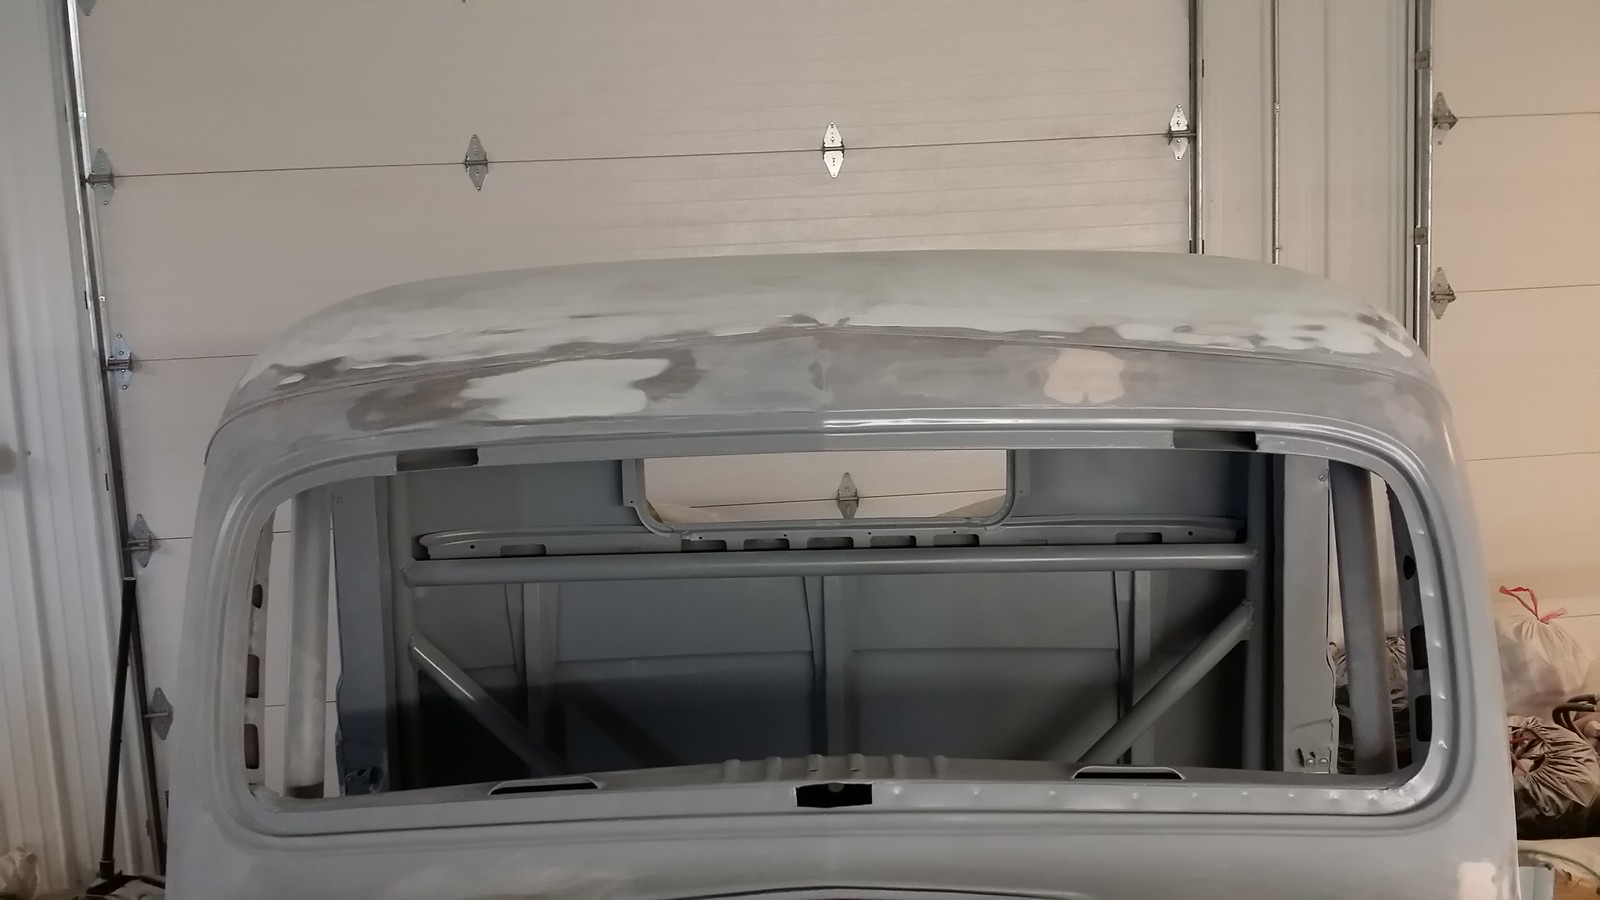
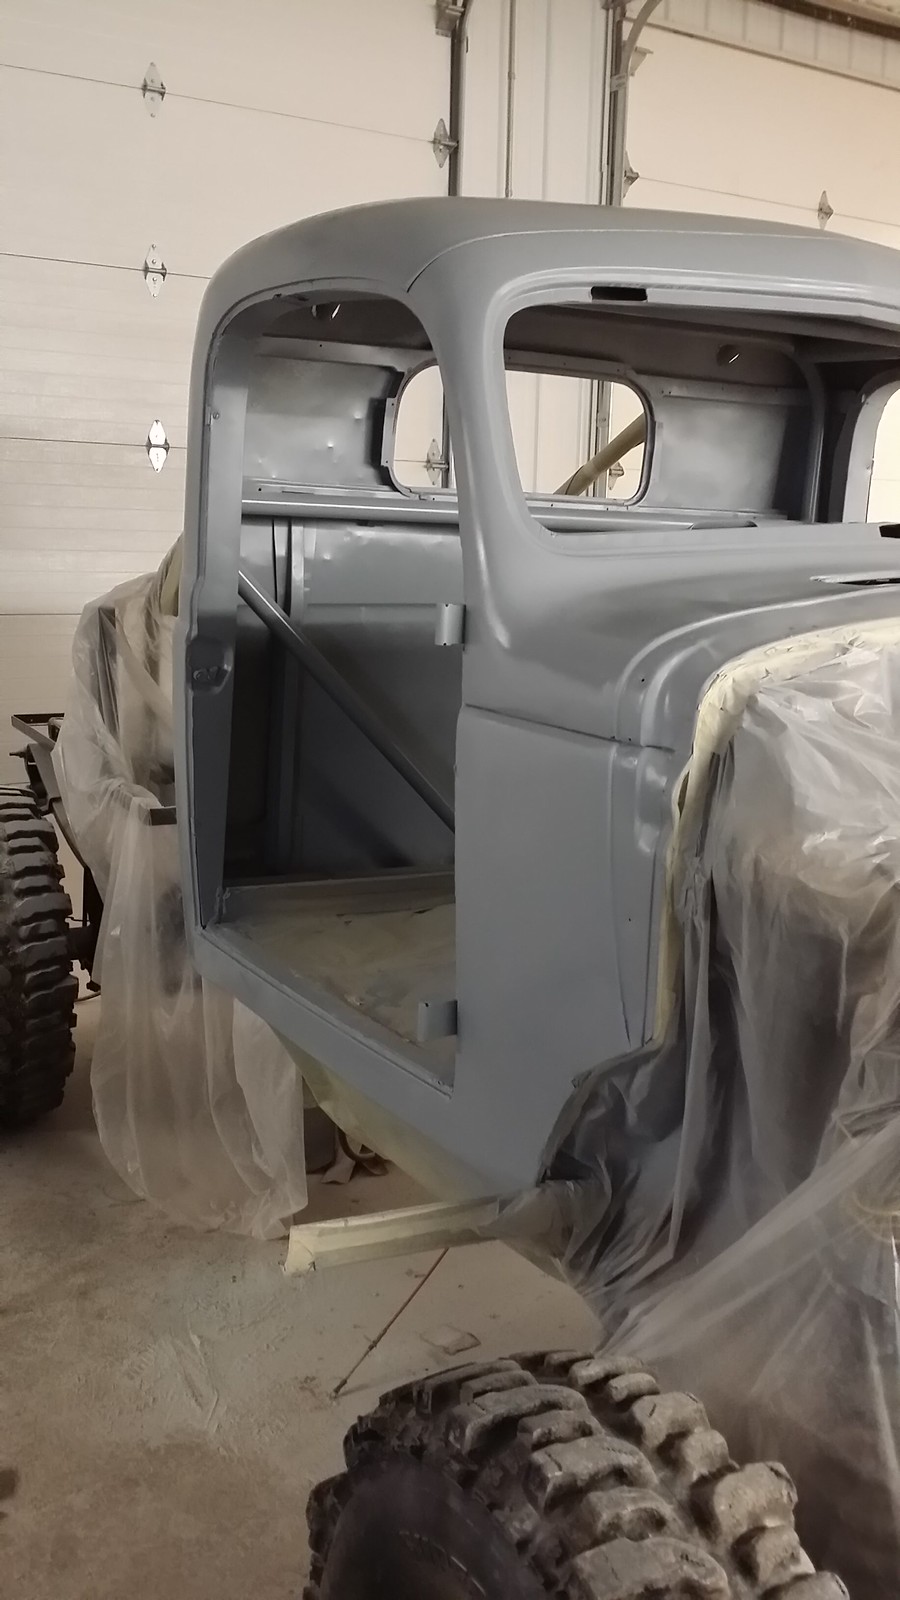
We stopped on the cage last night because we figured out my seat and my height weren't going to work, so I ordered a new seat last night and have it being overnighted. Once I get it in, we will address door bars and any additional bracing on the cage. I've got to drill the holes today down into the frame to tie the cage into the frame. That's one bad thing about being 6'4" tall, my long legs are a pita getting into small places.
 
Not much accomplished today, was tired and sore from yesterday. But I cut the areas out on both floor boards where the roll cage kept them from fitting flat. Just need to put some por 15 on the edges where I cut them to seal them up.

Mounted the transmission dipstick, starter solenoid, and the 70 amp fuse I use for the up circuit of the fuel shut off solenoid. Prepped my battery boxes, shut off switch tab and the inner c of my rear frame, rear drive shaft and center section of the rear end to be coated in Chassis black tomorrow night when I get home.

I also closed up the front of the frame where my tow bar enters it so there isn't a huge gaping hole there. The front boxed frame is now ready to be filled with foam to keep it from getting filled up with mud again. Then I will get the front frame painted next.

I also drilled and bolted the rear portion of the cage to the frame, and have all but the frame portion of the holes drilled in the cab to go to the frame on the back of the cab, but I have to get a longer 1/2" drill bit, mine wasn't long enough and I need to pickup 2 longer grade 8 bolts.

13205813513_20e27870a7_b.jpg


13205807323_fc3c9e2473_b.jpg


13205974324_baed8a159a_b.jpg
 
Spent the night putting on more Chassis Black, got the battery boxes covered, my main disconnect plate, rear drive shaft, the front of the rear differential and most of the inner c channel on the rear part of the frame.

I also finished drilling the two back cab bolts, cut a spacer and tightened the bolts down when my son got home from work, so the cage is all bolted down to the frame.

13232935073_36905ba18d_b.jpg


13232787145_9aa52fba50_b.jpg


13232777195_1a49b1f6f0_b.jpg


13233102554_7c3e6d80c3_b.jpg


13232767235_45a744bc7e_b.jpg
 
Spent mucho time tonight brushing on the por 15 chassis black on the front frame after I filled all the holes in with spray foam today on the boxed in portion of the frame. I managed to get all of the outside, underside and topside of the boxed frame painted tonight as well as the front drive shaft and the front differential. I was working on finishing up the rear differential and my caltracs when my last foam brush decided to fall apart.

I will pick up a couple more tomorrow so I can finish up the differential and the last couple of little pieces I need to coat in the chassis black. I'm hoping to have enough to finish that. Then I need to figure out if I want to spend another 50 bucks to get one more quart to do the inside of the boxed frame rails.

My new ppp shifter came in today, man is that thing light and smooth operating. I think I'm going to like it. Hell of a lot easier to operate than that piece of junk B&M truck shifter I've been using.

I had decided to put regearing the truck on hold due to time/money and my wife is pressuring me to do the regearing, she want to make sure I win. God I love that woman.

13257900154_c82be6e43d_b.jpg


13257890664_495ae655c9_b.jpg


13257881534_66cfb8fa7a_b.jpg
 
Picked up the new drive shaft for my daughters truck tonight and got it installed, hopefully this fixes her problem with her truck. I then decided since the wind was blowing less than 20mph, that I'd sand blast till dark. I managed to get the second front fender completely sand blasted just before I lost all light outside.

Ordered my 16" travel fox 2.0 remote reservoir shocks today, almost waited too long to get them ordered. Said it would take 3 to 4 weeks before they can get them and then they will revalve them and ship them out to me. Hopefully they will get them quicker.

Should have my seat in tomorrow as well as the fittings needed for my air filter to get it complete.
 
Today I finally finished sand blasting all the metal parts that needed it. Received my new aluminum seat, the rubber 90 and the aluminum 90 for the air filter. Man it's tight trying to get that rubber 5" 90 in there. I trimmed an inch and a half off of one side of the 90, and having to cut the support ribs off because they are in the way with the bolt supporting my water to air intercooler. Hoping it will fit better once I get the ribs trimmed. Then I can measure and cut the aluminum 90 so it fits better.

Worked on making the hold in the dash bigger to fit the steering column so that the couple can be welded to the front roll cage bar. Then I will build a mounting plate for the firewall side.

Still trying to figure out how I'm going to fix the lower window channel. It's pretty rotted out. Got some thin sheet metal I think I'm going to use to help rebuild it.

Also ordered enough 3/16" lexan for all my windows today, so it should be here in about a week. Need to call around Tulsa tomorrow to find a sheet of 1/16" aluminum diamond plate for my bed.

13299815664_37d726cf58_b.jpg


13299805814_c539be0e3d_b.jpg


13299578773_0ae9777746_b.jpg


13299782974_5945aaf5dd_b.jpg


13299769744_fd8a712a61_b.jpg


13299753944_ec18d83f91_b.jpg


13299519093_02c9d50ceb_b.jpg


13299508103_b6247c2d90_b.jpg


13299714304_4e7cf233c3_b.jpg
 
Didn't get as much as I wanted to accomplished today, but I did get the drivers seat mounted, the 45 support added behind the seat, seat belt mounting locations drilled and setup as well as starting on the steering. I have the upper clamp welded in place. Now I just need to figure out the bottom clamp and how I'm going to attach it to the firewall.

I also figured out the rubber 5" 90 I bought to go from the turbo to an aluminum 90 for my air filter isn't going to work. I've found another one that is a tighter 90 that I'm going to get ordered and hopefully it will work.

13318323954_e379434257_b.jpg


13317950855_b7dcefb638_b.jpg


13317943895_b14ebc1de2_b.jpg


13318304634_cecb5ff451_b.jpg
 
Today I finished up the steering column and can now steer the truck. I had already welded the top clamp onto the cage and dash, so today I built a mounting plate for the firewall out of 11 gauge sheet, and cut out the oval for the clamp to fit into it. Mounted the plate to the fire wall and then welded the clamp onto it.

I then put on the stop collar at the bottom of the column and cut the tube off where it needed to be. I then cut off the tip off my old steering column so I can use the rest of the steering components. Welded the nipple on and the steering was complete.

I cut and an welded in the second diagonal brace on the rear of the cage today as well.

Removed the cowl vent and found a massive wasp's nest under the dash while I was removing it. I also figured out how I was going to place my gauges and tachometer and shift light. I cut out two rectangles to fill in where the old rectangle gauges were in the dash. I will weld them in place tomorrow and then cut out the circular holes for my gauges and switch panel. The tach is going to be placed where the original speedometer was located and I will mount the shift light on the top of the dash at eye level.

I removed the seat, belts and unbolted/moved the rear bed frame back so that I can start taping off the frame tomorrow and begin the preparations for shooting some primer on the inside and outside of the cab.

Tonight I broke out the leading supplies and worked on that huge dent on the windshield pillar on the driver side. I couldn't get into where it was located and knocked out, so I used the lead and filled it in to where it won't need near as much work getting it smoothed out.

Started cleaning my air filter from last season in water and simple green. Also ordered a tighter rubber 90 to see if I can get my fresh air figured out.

13341527973_a2447a033a_b.jpg


13341372465_99cd1409b5_b.jpg


13341754234_34c59b1e5b_b.jpg


13341747234_8d9a27eff7_b.jpg


13341346875_3dbe172efa_b.jpg


13341730194_58cfee5998_b.jpg


13341334425_d8689ec4f7_b.jpg


13341325915_180c9157d7_b.jpg


13341711014_85b3d8fc41_b.jpg


13341704314_c3eee27930_b.jpg
 
Today was a busy day out in the shop. Started out welding the metal plates over where the gauges were originally in the truck. After grinding the welds down flush, I was going to cut out the holes for my small gauges, but evidently I don't have a hole saw the right size, so on top of the 1/4" tap, I need to see if I can find a 1 7/8 hole saw or slightly smaller. I did cut out the location where my switch panel will be located in the center of the dash.

After that, I swept the cab out with the shop vac and then proceeded to tape off everything over about 3 hours. Once it was all taped off, I then started cleaning the truck with some waterbourne wax and grease remover. While waiting on it to finish drying off, I setup my gun and everything on my makeshift bench.

Once dried, I dusted it off with some wax cloth. And started painting.

I shot two heavy coats of epoxy primer on the inside and out of the cab. The interior I'll just wet sand before putting the color on it. But the outside has a ton of dents in it that I'm going to need to take care of. While painting the cab, I also shot a couple of coats on the inside of my son's front fenders.

13366398044_b29910aeb7_b.jpg


13366015475_13290a6307_b.jpg


13366384654_11bdc5e675_b.jpg


13366376394_247a60334b_b.jpg


13366128713_b94f5ca743_b.jpg


13366353184_e5d3de0270_b.jpg


13366105393_519319710e_b.jpg


13366332624_c30ba933ac_b.jpg


13365949105_e5ea224b1e_b.jpg


13366317164_23eb159858_b.jpg


13366308274_98487ee611_b.jpg


13368138163_6a877e22a3_b.jpg


13368364514_8e31c1c1d1_b.jpg


13367980095_2fa7083d17_b.jpg


13368115923_2b71b02ab0_b.jpg


13368341954_e70d748120_b.jpg


13367958115_5fd47f5a00_b.jpg


13367951385_fd2f703132_b.jpg
 
tonight I starting on the long process of doing body work on the cab. I put a skim coat all across the top of the truck and started in on some of the other areas. I will let it harden overnight and get out there tomorrow and get that sanded down and start the process over again tomorrow.

While that was drying, I cleaned up the piles of tools laying around and cleaned off a section of the work bench so I could move all the painting stuff to it and free up my saw horses I'm using to do work on and began working on the passenger door. Didn't take any pictures of it tonight, but that door is in rough shape. Hoping I can get it smooth looking.

13395350503_06cb475c6b_b.jpg
 
today I sanded down some of the filler on the truck. I just can't believe how bad that roof really is. It's going to end up about 90% of it covered with filler to get it smoothed out. After a couple of hours sanding down the first batch of filler with the DA sander, I guide coated it just for fun and long boarded it. Not even close to flat. So I have a new later of filler on it now waiting on it to dry. I'll sand it down tomorrow night and repeat where needed.

Some of the other areas are coming out pretty good with minimum work. but it has a ton of just small little dings in it.

So after I mixed up and spread 3 batches of filler, I went back to work on the passenger side door. I finished welding up the latch area and where the door lock was. I need to see if I can get inside it and try and knock out more of the dent in the door. I also need to figure out what I'm going to do with all the rusted out bottom of the door. I may try that por15 epoxy putty on it to see how it does before messing with in on the windshield frame.

I did get some good news today, my shocks will be here thursday, takes a relief off since I wasn't expecting them for a couple of more weeks.

Hopefully the pictures show up. Flickr changed how they give the links

13416714643_cc9845be30.jpg


13416708943_5870b2b0e6.jpg


13416702693_1e5dc09966.jpg


13416696733_238015e504.jpg


13416936134_340d049b6c.jpg


13416564695_ef02deed38.jpg


13416672563_bb1a40943c.jpg


13416667063_2e3448ffd1.jpg


13416545965_037de03545.jpg


13395350503_06cb475c6b.jpg
 
One of my favorite builds here. I look forward to checking this one every day. Keep up the momentum!

When's the first mud run of the season?
 
Thanks, I knew this year was going to be a ***** getting it ready in time for the first race, which is why I started in on it right after last season was over, but I'm to the point of just wanting it done now so I can do some other things on the farm and the house.

May 3rd is the first race and is at Tulsa Raceway Park for our season opener.

I'm sure my wife is tired of the hours out in the shop every night and all weekend long for the last few weeks. But she is real supportive even though she hates the new body and is pushing me to get it done so we can go race and she can watch me kick peoples arses with my fat pig. She doesn't like change, and was upset that I changed the body of the truck, she isn't a big fan of the old cars. I really upset her when I told her I was thinking of changing the name of the truck to Coaltrain: Pork Chop Express.... I got told that under no condition was the name to be changed to any animal or animal parts... She doesn't want it on her shirt she wears to the races. She wouldnt' even go for the flying pig hood ornament I was going to put on the front grill. So I found this one that I think she is willing to live with:

AA115-2.gif
 
The last two nights have been sand, sand, sand then filler up again on the roof. My arms are worn out from using that long board on the roof for several hours today. I completely sanded the roof the last 2 nights, and tonight I applied a spot coat to the passenger side again and sanded it down after dinner. The roof is starting to look like it's actually smooth. I'll apply a couple more spot coats on tomorrow, and hopefully get it ready for the glaze coat tomorrow night. The rest of the dents and dings are making some progress but I've been pretty focused on the roof as that is the majority of what needed to be done. Hoping to get it to the point where I can shoot another coat of primer on the cab before the weekend is done and get it ready for the color.

Here is the roof of the cab before I started

13000616475_9dd34ff0d6.jpg


This how the driver side looks now
13458799685_323f4f7971.jpg


13458915893_39874b629f.jpg


Passenger side before second spot coat tonight

13458908423_cd3200bb9c.jpg


13458783775_b1660f2c62.jpg


The wind blew the delivery driver in today with my new shocks.

I took a picture with the new shocks next to my old bilstein 5160's that I have been using. I'm not going to be able to get my full use of the shocks until I get some new springs built for the truck, but I don't like rebuying stuff and try to plan ahead.

13459140464_09eecf92c9.jpg


Just 5 weeks left till the first race.
 
On that bondo. Dont let it set overnight it gets too hard. Give it 1-3 hours. It is much softer. If it is loading up the 36 grit, let it set a little longer. It works much faster and less labor intensive.
 
Can't wait to see videos of this thing flying through the mud. Best looking truck ever made in my opinion, keep up the good work.
 
Thanks for the tip on the bondo, if I can, I hit it as soon as I can, but during the week, it's hard to when I can only get out there for a couple of hours at most.

Last night and today, I sanded, sanded some more and then sanded again. The cab is almost done with all the major filling. I have two more spots with regular filler on them left to sand in the morning. I started with the finish putty tonight on the roof. I have half of it done and sanded smooth with 140 grit. After I finish the rest of the roof with finish to 140, then i'll hit it and all the other areas with some 400. The half of the roof I have done to 140 looks damned good considering what I started with.

I'm hoping to get all the finish coat on it tomorrow, and sanded down. Will see if I can get the primer shot to seal it or not.

I did get the tighter 90 from UPS Friday. So I need to figure out if that will work or not. If it doesn't, then I guess i'm going to attempt to route the turbo inlet into the cab of the truck. Will be tricky because my W2A is in that area as well.

13502419054_ef3f7c5027.jpg


13502415534_d362854e51.jpg


13502066945_c0390414a6.jpg


13502160473_c7f5f539af.jpg


13502402514_ce3143773c.jpg
 
Last edited:
After all the sanding, 2 gallons of filler and a quart of finish putty, I was able to get two coats of primer onto the truck tonight. It looks way better than it did when I started on it. I'm going to go over it tomorrow night when I get home from work and start wet sanding on it to get it ready for color. I'm hoping to have the wet sanding done tomorrow night and if nothing really bad shows up during that, then I plan on doing the color Tuesday after I get off work if it's warm enough.

While I was shooting primer on the cab, I went ahead and finished up my son's front fenders in primer as well. They are ready to have color shot on the inside and then they can be bolted on the truck.

13525530694_52ff9a9a43_k.jpg


13525302763_deffc43c57_h.jpg


13525194805_49c362333b_h.jpg


13525509484_7983cea014_h.jpg


First coat of primer

13525281833_09c05ba922_h.jpg


13525494364_f48c1065ff_h.jpg


13525164285_3772d010c4_h.jpg


13525158755_6cdac4f98c_h.jpg


91's front fenders

13526565994_dc14c79d80_h.jpg


13526554624_ec1882997f_h.jpg


Second coat of primer

13526543624_0d4637b8f7_h.jpg


13526530714_e0fcb2db89_h.jpg


13526203055_00745b9443.jpg
 
Tonight I wet sanded the truck down with 400 grit wet/dry and it's looking really good. I did go through the primer in a few places working out the imperfections, so I'm going to take a break during the day tomorrow and shoot a new coat of primer on the truck around lunch time so I can get it wet sanded with some 600 grit around 4 tomorrow and then lay on 3 coats of color. I'm getting itchy to see what it's going to look like.
 
Back
Top