1967 RS Duramax Camaro

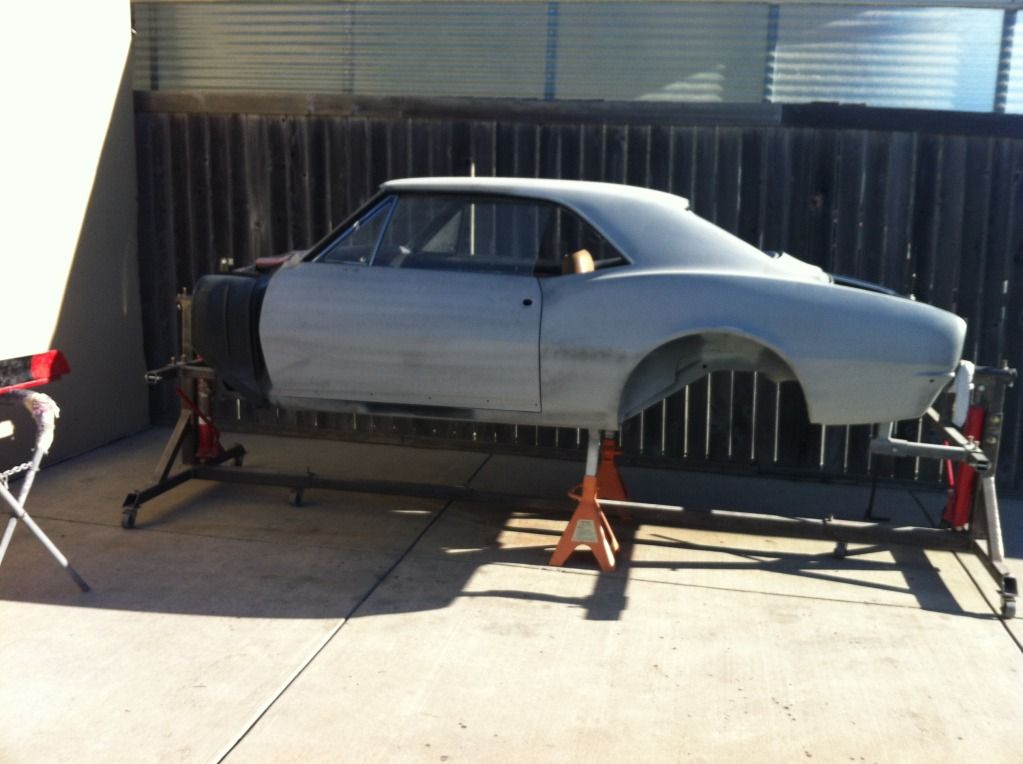
very nice! looks amazing! is it complete yet?

LOL I wish.

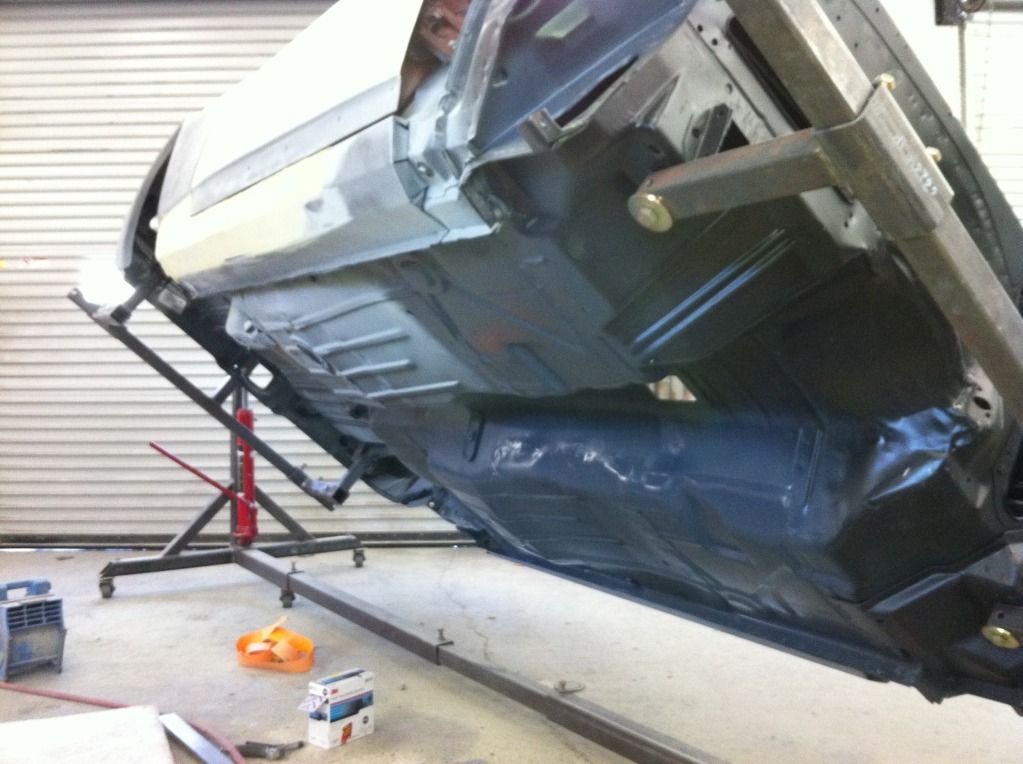
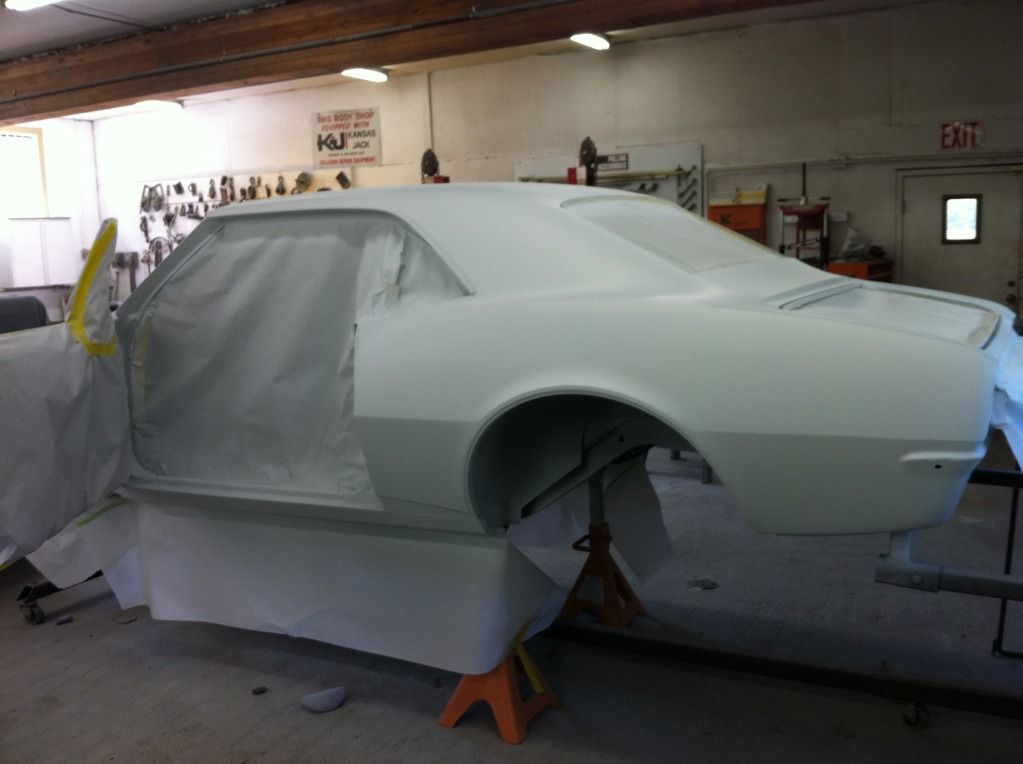
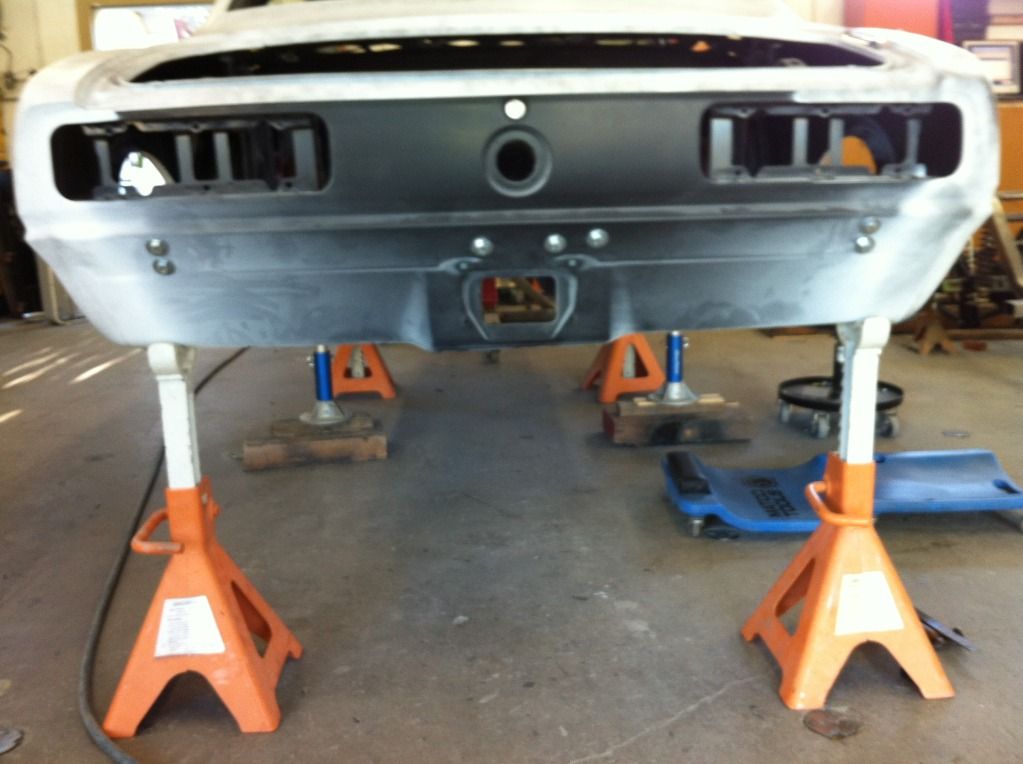
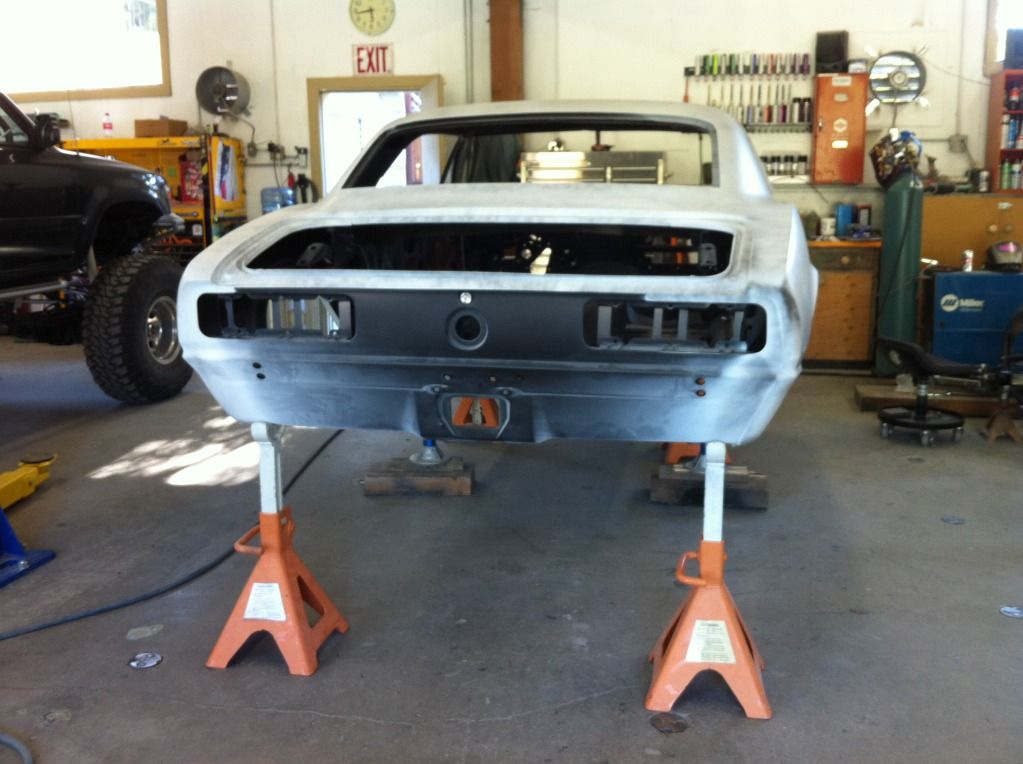
Awesome car and great work! Too bad your inner and outer wheel houses are so nice, cause they're going to be MIA soon. LOL

They look ok in the pictures, but they had the typical rot all the way around the outer lip where they meet the quarters. Good riddance to them if you ask me.

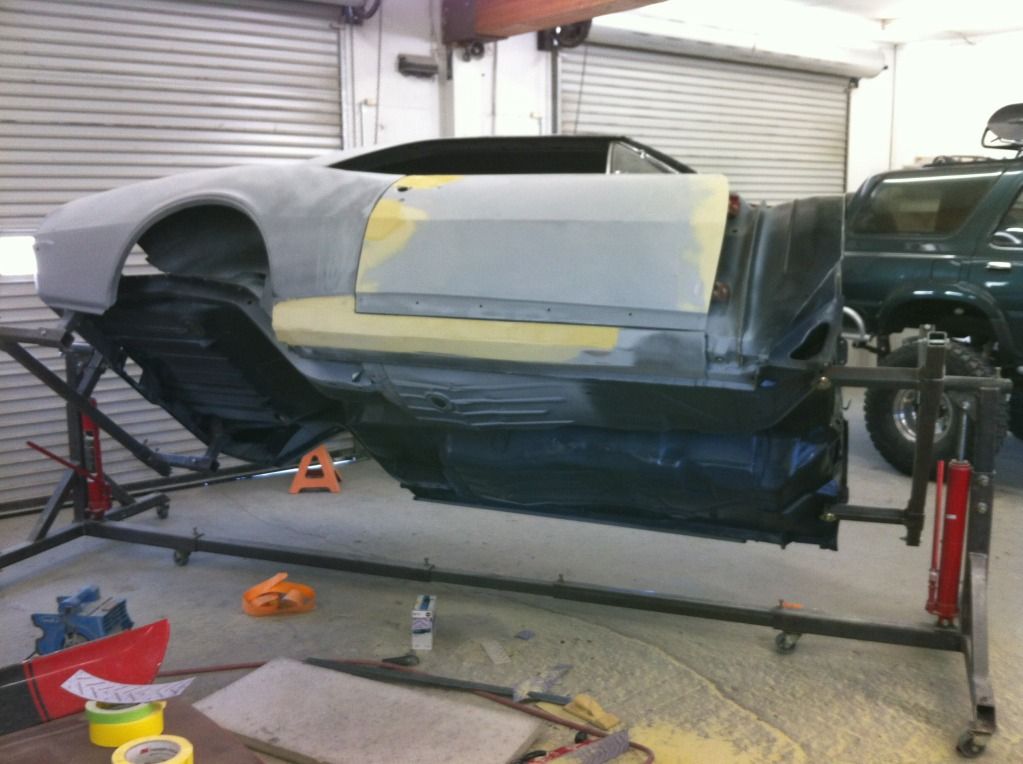
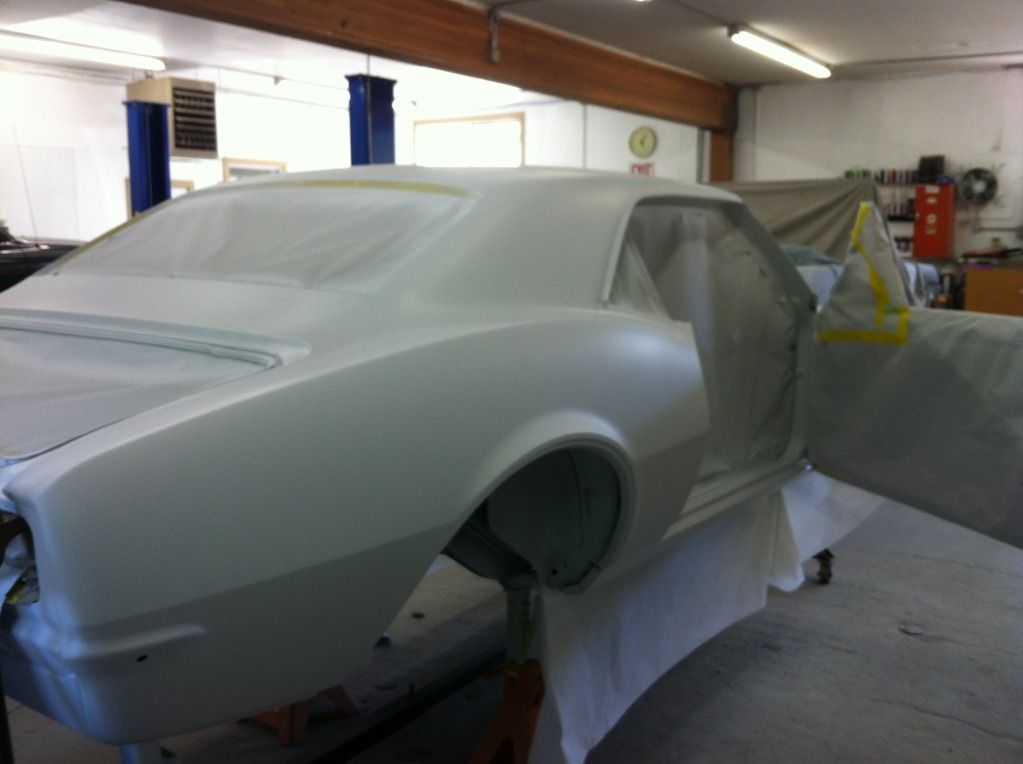
I like how you did the passenger side quarter, are those goodmark panels

Thanks, yes they are goodmark panels. I was honestly a little disappointed with them. They appeared to be excellent when they showed up, but once I had them mounted for test fitting, I had to make cuts, make small filler panels and weld them in to make the proper gaps on the pass. quarter and on the tail panel for the weather strip gutter. Don't get me started on the friggin rocker...
 
Time for more pictures.

Here's some random pictures of some mud work and how it looked before the final prime.

IMG_0465.jpg

IMG_0464.jpg

IMG_0463.jpg

IMG_0397.jpg


I got the whole car in it's second prime, basically ready to be final blocked for paint. I wanted to get this done before we started back-halving it.

IMG_0499.jpg

IMG_0498.jpg

IMG_0497.jpg

IMG_0496.jpg

IMG_0495.jpg

IMG_0494.jpg
 
Here's right after I finished cutting out the rear floor. Looks like a pretty big hole to fill.

IMG_0630.jpg

IMG_0629.jpg

IMG_0622.jpg

IMG_0621.jpg

IMG_0620.jpg

IMG_0619.jpg
 
Here's the rear tubular crossmember tacked in place.

IMG_0637.jpg


We made fish plates to weld to the inner rockers so there was a stronger foundation for the front crossmember to attach to. Bernie finished the spot welds after I took the pics.

IMG_0635.jpg

IMG_0634.jpg

IMG_0636.jpg

IMG_0640.jpg

IMG_0639.jpg

IMG_0638.jpg
 
I went to Reliable Hardware and Steel in Santa Rosa And bought a 6' long, 6" wide by 1/8th" thick piece of steel for the fish plates and this new inner rear body that Bernie fabricated. We held it in place with the bumper bolt holes, and drilled holes in the tail panel to weld them together.

IMG_0628.jpg

IMG_0632.jpg

IMG_0631.jpg


Bernie notched and bent the center of the plate to clear the license plate hole, and it was the perfect amount to weld the trunk latch support to. Funny how things work out unintentionally sometimes.
 
We wanted to get a little more motivation early on so we put the wheels and tires on. I looks a little weird like this...

IMG_0575.jpg

IMG_0574.jpg


Here's the rear subframe with everything mocked up. Almost ready to disassemble it and get it in the car.

IMG_0625.jpg

IMG_0624.jpg

IMG_0623.jpg
 
Some quick pics of when we were trying to establish the rear axle center line. The stock camaro wheel tubs left much to be desired as far as wide tires are concerned.

IMG_0550.jpg

IMG_0549.jpg

IMG_0548.jpg

IMG_0547.jpg

IMG_0546.jpg


The drivers side didn't stick out as much because I had a DSE mini tub on that side. When I did the mini tub, I realized that the car was wrecked bad enough on the other side that we couldn't go forward with the mini tubs, which led to back halving the car 6 years later...
 
It took a lot of maneuvering and cutting, then notching the package tray and driveshaft tunnel to get the subfame in. But when we finally got it in, it fit like a glove.

IMG_0659.jpg

IMG_0658.jpg

IMG_0650.jpg

IMG_0649.jpg

IMG_0648.jpg

IMG_0647.jpg

IMG_0646.jpg

IMG_0660.jpg

IMG_0657.jpg

IMG_0656.jpg

IMG_0655.jpg

IMG_0654.jpg

IMG_0653.jpg

IMG_0651.jpg

IMG_0652.jpg
 
Back
Top