Andy's just keepin' me honest. Thanks man. I ran out of pie. :doh:
It turns out it's alot easier to post about work being done when you're standing around, drinking beer, and disrupting those who are, as opposed to actually doing the work yourself. LOL
The truck has seen daylight for a time... then went into hiding yet again. I really hope I find that bastard soon. LOL
Lets pick up where we left off.
After my vacation, I returned to the ED shop to find Glenn polishing odds and ends and waiting on brown trucks for things that various vendors had in route. This happened to be during a time where ED, I and everyone east of the Mississippi had ordered all the last minute trinkets to ready trucks for TS. As many of you know, there was a great deal of lost sleep and wrenches turned that week with varying measure of success.
"If you build it, they will come," doesn't work for truck parts.
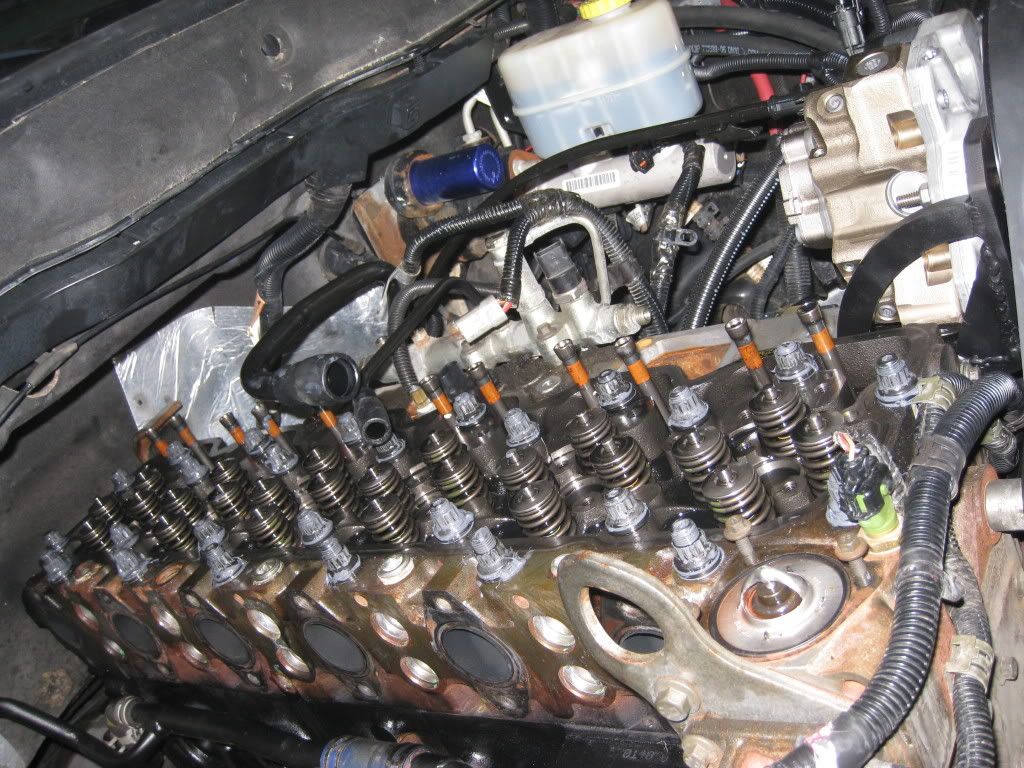
A few shots of the CP3 install including torqued studs still slathered with fresh moly. Note the empty holes where the injectors will soon reside. That damn DVD process took some time, but it was worth it.
Looking at the pic below, some may ask, "Amish, why would you post such a stupid picture?"
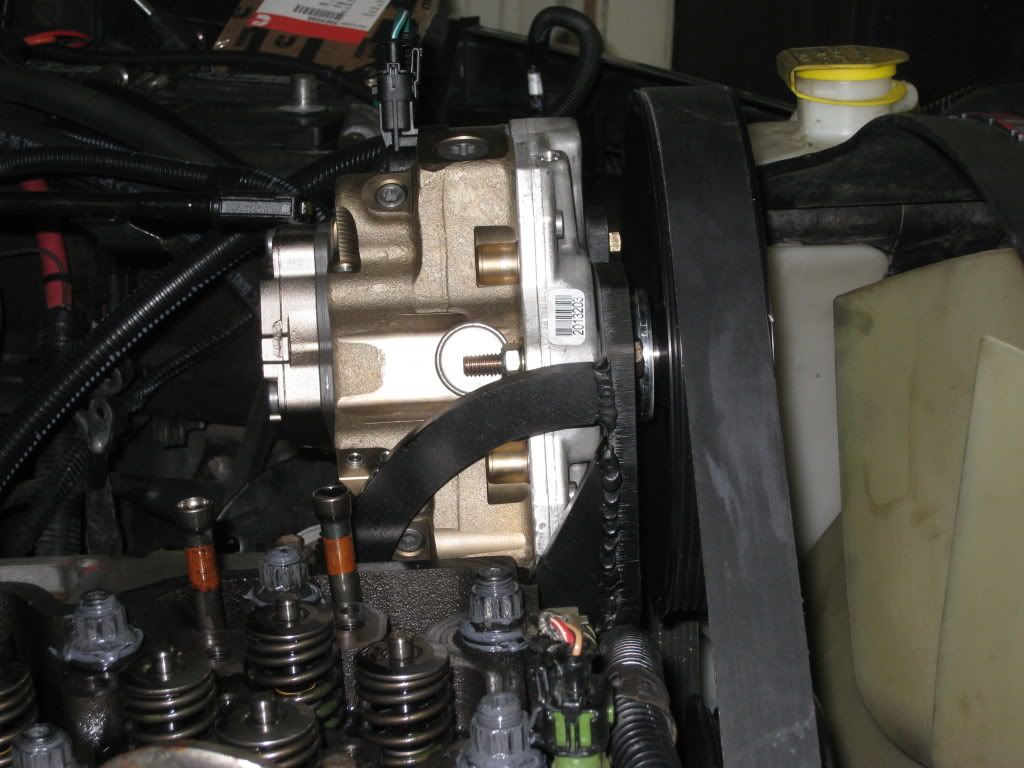
I'll tell you. Besides me being giddy seeing the second CP3 perched atop the head, there was another monumental event that took place in that photo...
I got that damn belt on!
Not so much that I'm proud of installing a serpentine belt, but that I managed to do so after unnecessary complications of my own making. Further, in the face of which I did not lose my temper and shoot, burn, or beat something. Hold your applause.
Glenn was at a bench in the back of the shop tooling around with phone wedged between shoulder and ear. I have no idea who he was talking to, could have been womanizing or checking the movie times, but most likely he was on the phone to one of you fools letting you know when your parts would arrive. Regardless, he was making every effort to remain productive on the buggy when I held up the belt and mouthed, "You want me to put this on?"
Glenn nodded.
I flashed a thumbs up, set the beer down, and dove under the truck to begin fishing. As Glenn was kind enough to remove the factory belt in my absence, this generous gesture required several trips off my fat ass to the top of the truck to peer at the "If you have this engine, this is how your serpentine belt goes." stickers to strategize.
Every moment of this made me wish I switched to electric fans for no other reason than clearance.
Fortunately, I've never shucked a belt and been forced into the pleasure of roadside replacement (knocks on wood) so I don't have the routing committed to memory.
I finally got Medusa's hair all straightened out the breaker bar on the tensioner, hand on the slack belt beside the pulley, and cranked it over.
No go.
Tug tug, still no go.
Progressively harder tugs ending just before involuntary deification.
No freekin go.
Ok, lets try fishing it over the smooth tensioner pulley.
No go.
10 different attempts yielded the same result.
Just about then Talkie McTalkerson strolls over, phone in ear, looks at my mess and instantly brings to light the following suggestion: "Try pulling the idler pulley off, slip the belt on, and let the tensioner stretch it."
Well LA-dee-dah, aren't you just the king wrench turner.
(It worked.)
If you can't laugh at your own ignorant mistakes, you're taking life to seriously.
The fruits of my nearly failed labors. Gentlemen, I give you Serpentine belt.
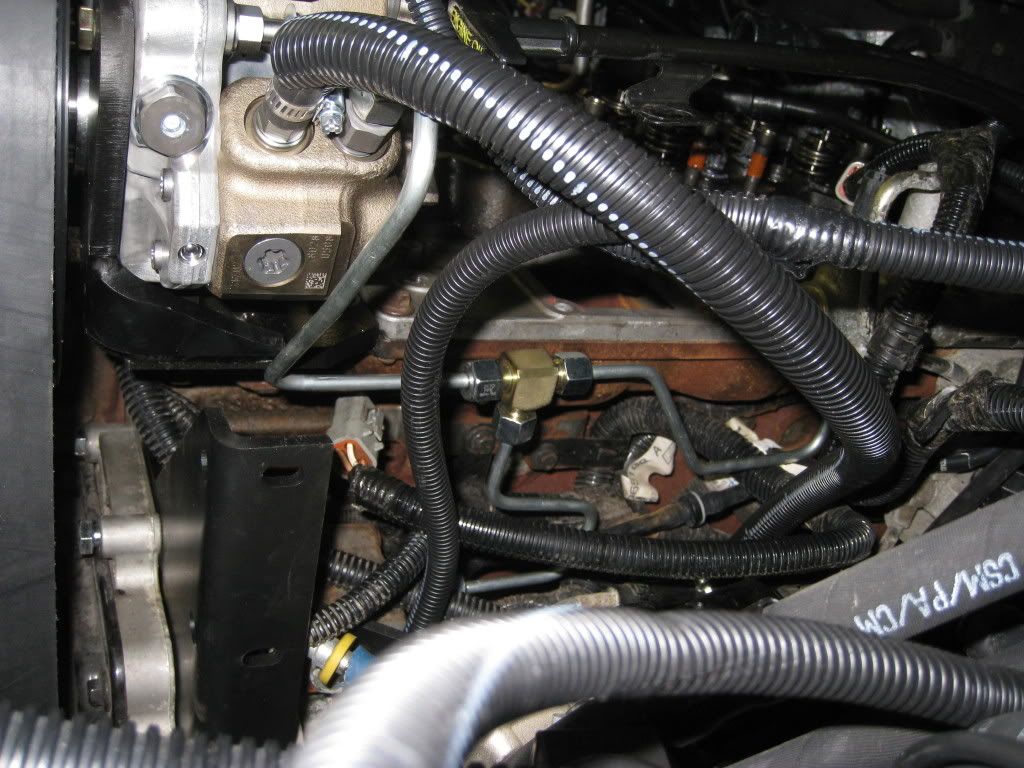
When you get to this point in the PPE CP3 install, burn the fuking directions. They will bring you nothing but frustration. Their methods described and depictions presented are in no way representative of the pieces they send. Pictured is how we managed to configure things with minimal bending and tweaking.
My apologies for the rusty block, stray loom, and cheesy worm clamps (included). AN was used in a couple prominent places, but green wasn't there to do everything we touched.
Though chronologically out of whack as things happened, while we're on fuel I might as well show off this:
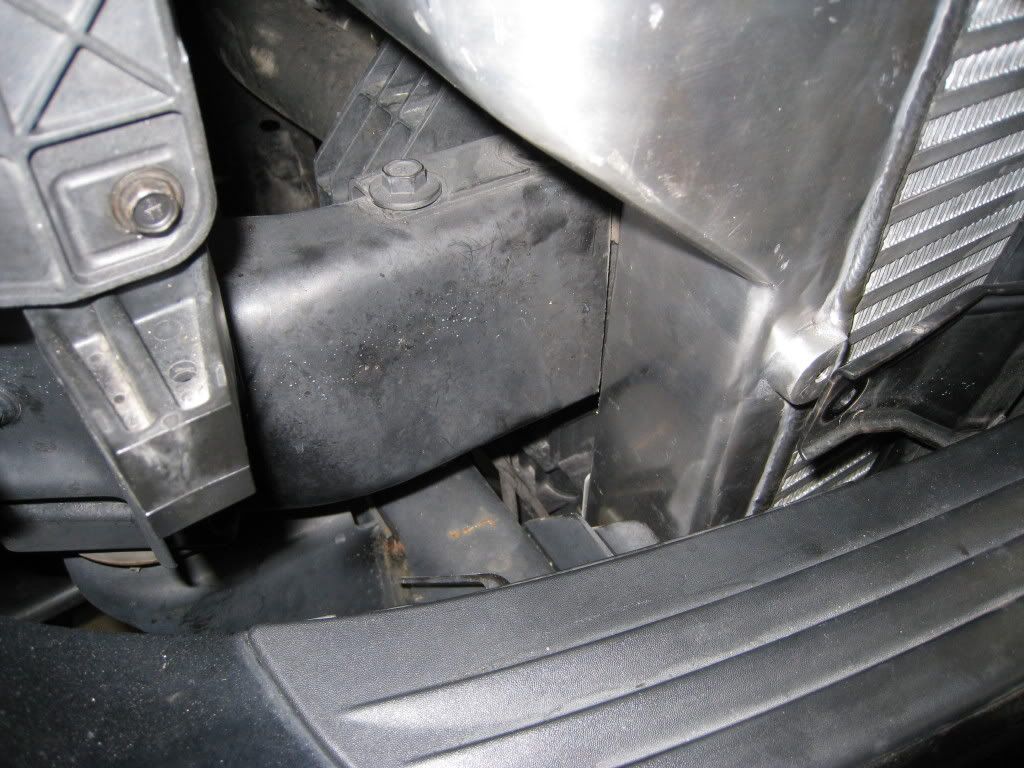
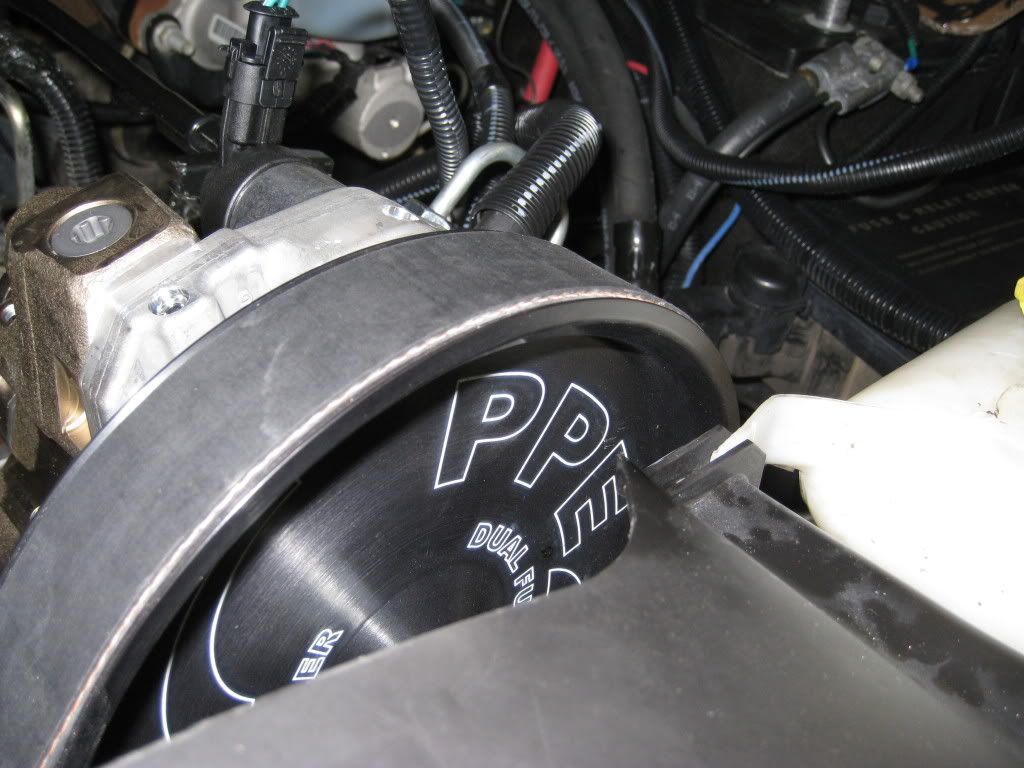
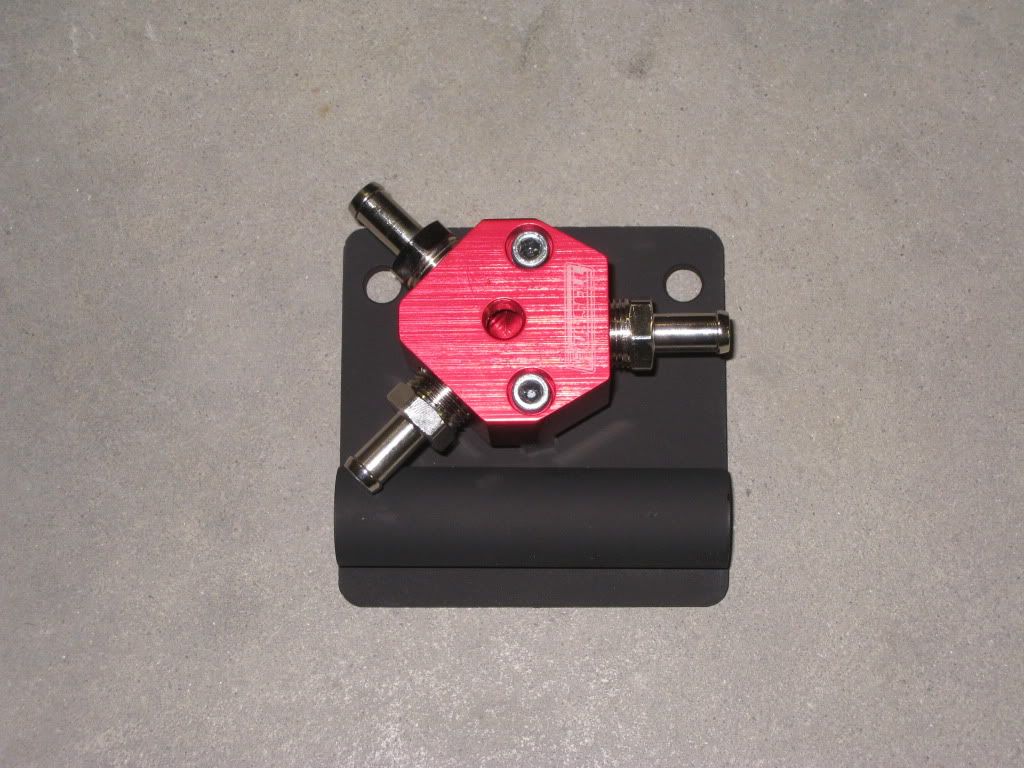
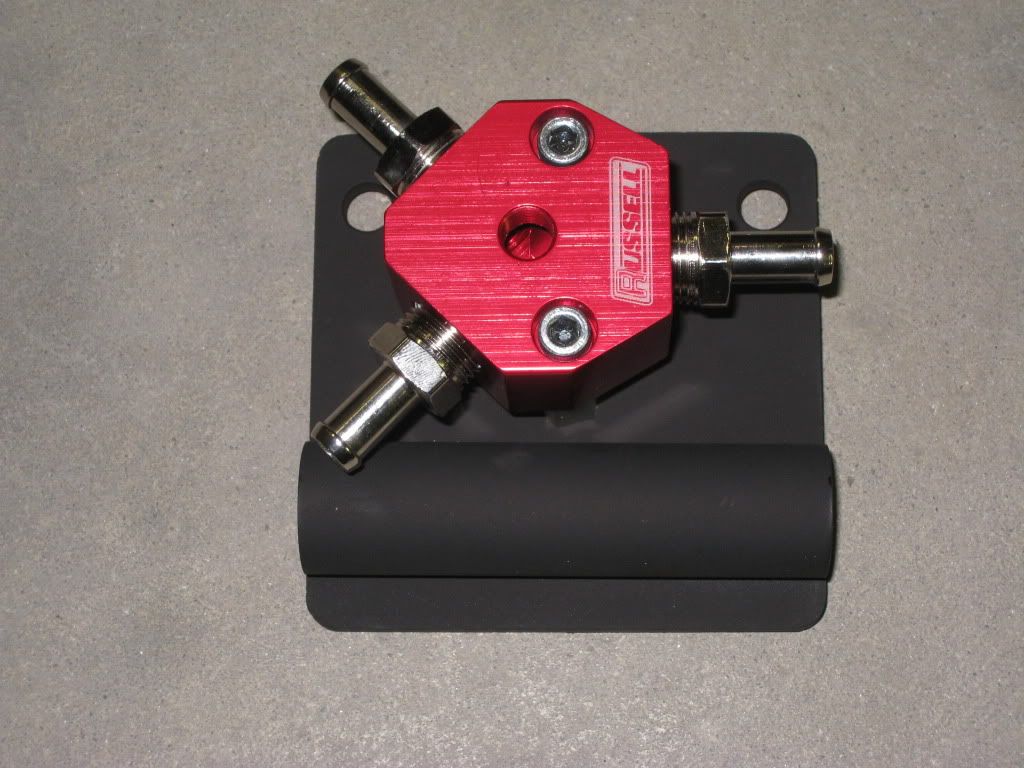
The black piece in the background is the ED fuel filter delete. I asked Chris to dream that up. His design was complimented by my epiphany for fuel delivery via the Russel fuel block which allowed me to tie in the fuel pressure gauge from PDP.
Turns out that as the plate stock was in the machine, I photographed the Russell block and picture messaged it to Chris with centerline dimensions and the queston, "Can we mount this on the delete you're making?"
Sure nuff.
While Glenn is the master of all things wrenched at ED, Chris is the master of the CNC where their combined expertise and creativity come to life from the shavings whittled from blocks, chunks, castings, and bar stock. (Insert near shameless advertisement here. LOL)
This device really cleaned things up on the left side of the engine allowing me be rid of the unused factory lift pump and fuel filter. Much cleaner than the napkin I gave him with my squiggled concepts. Why I tried, I do not know.
I wreelly like it lots, Cwris. (It only works if you read it as Forrest Gump.)
Yes... single barbs. I know. Glenn wasn't too happy about it either. I'll replace em with pushlok or ultimately AN if I crank more than the 18psi lift pressure I have now.
Thanks for the kick in the ass, Andy. I'll try and get this show caught up to current.
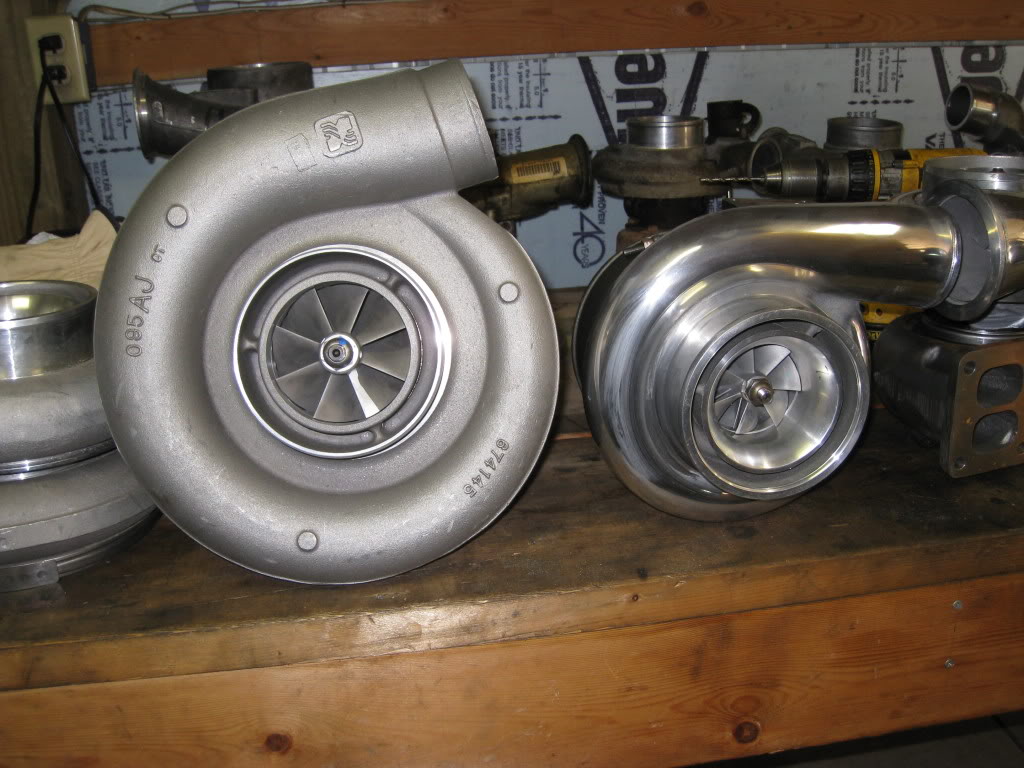
Up next... Turbos.
:evil