started porting my CR head

redram04

New member
Joined
Nov 29, 2010
Messages
534
ok well thought i would share a few pics of my CR head porting. sorry the pics arent the best, camera phone. I am still waiting on my extended burrs and spiral wrapped bits but this is the progress i have made with s few dremel bits and a very short and small tree burr in my make-shift die grinder ( actually a sweet little handle help router).

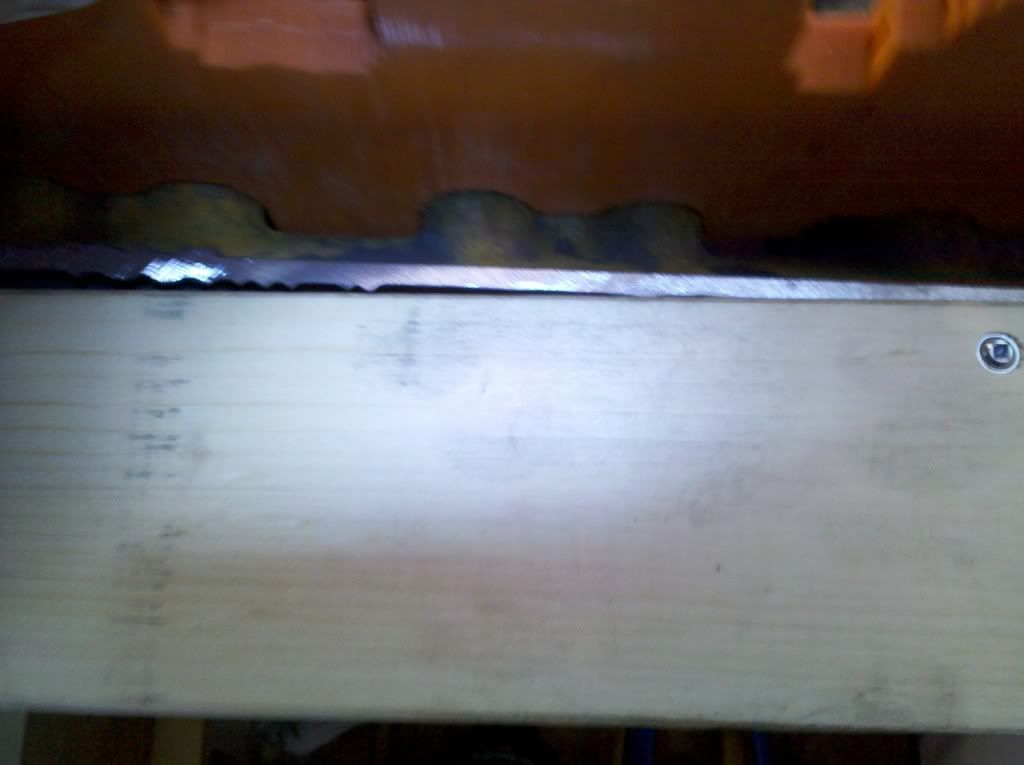
ok first pic is the stock ex. port.
IMG_20110518_172945.jpg

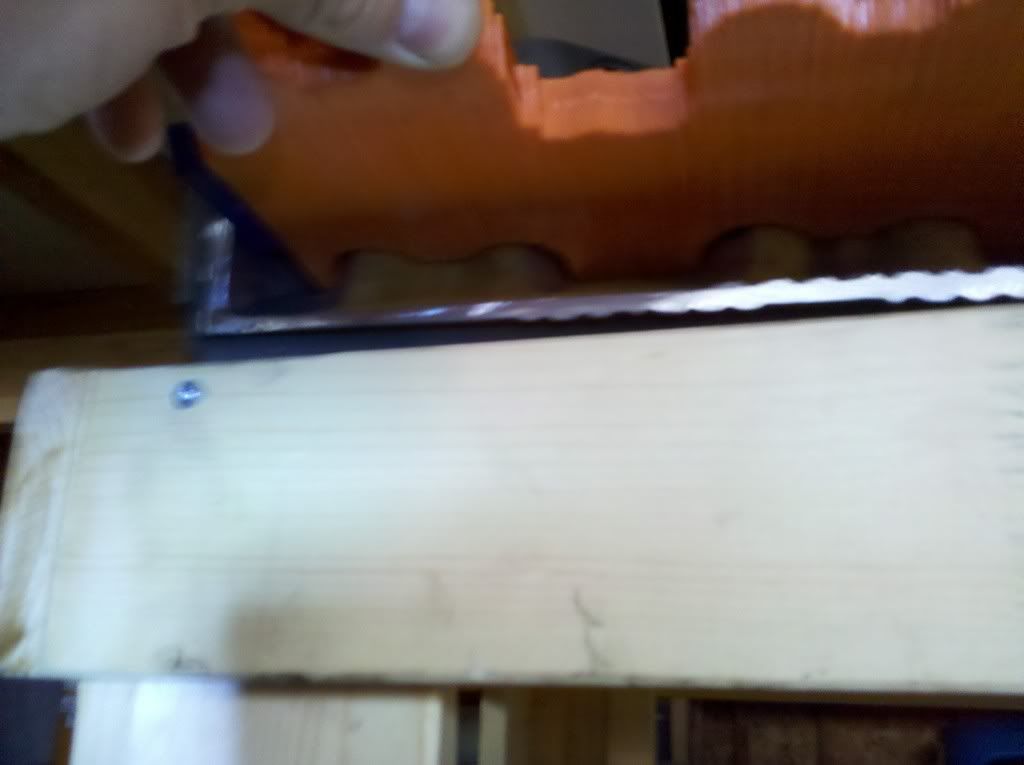
next is the roughed in ex. port, cant get into where i need too because of my short bit.this view is looking out towards the bowl that is close to finished.
IMG_20110518_173026.jpg

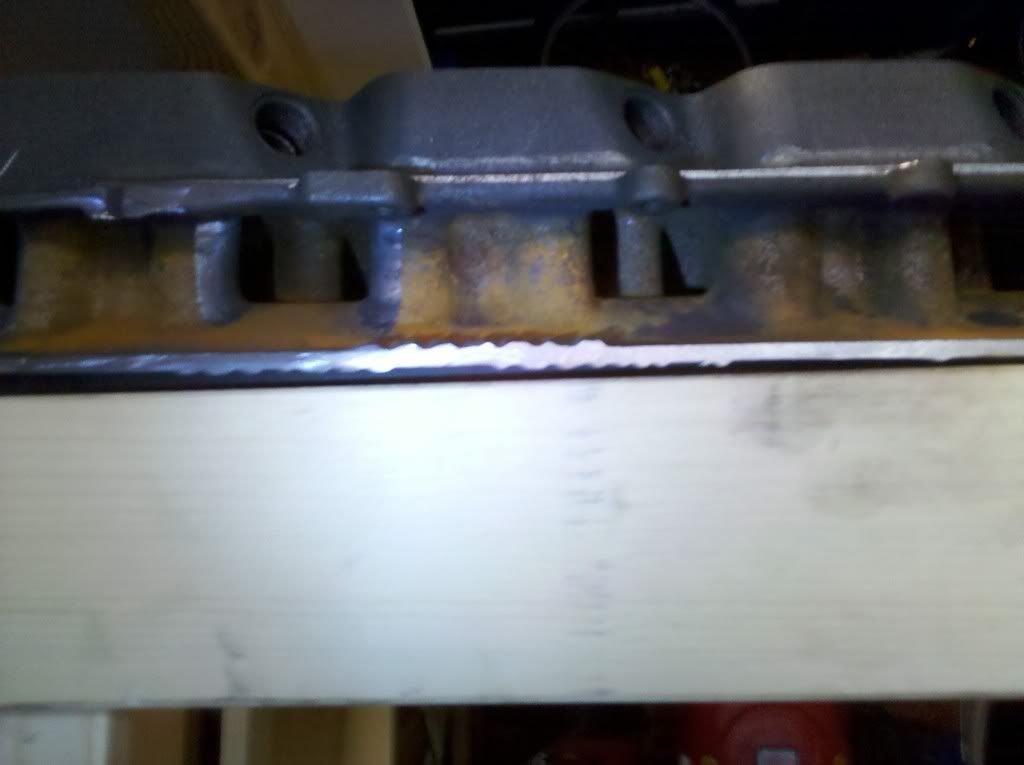
and the final pic for today is of the ex. bowl that is almost finished, the same bowl from the prior pic.
IMG_20110518_172255.jpg


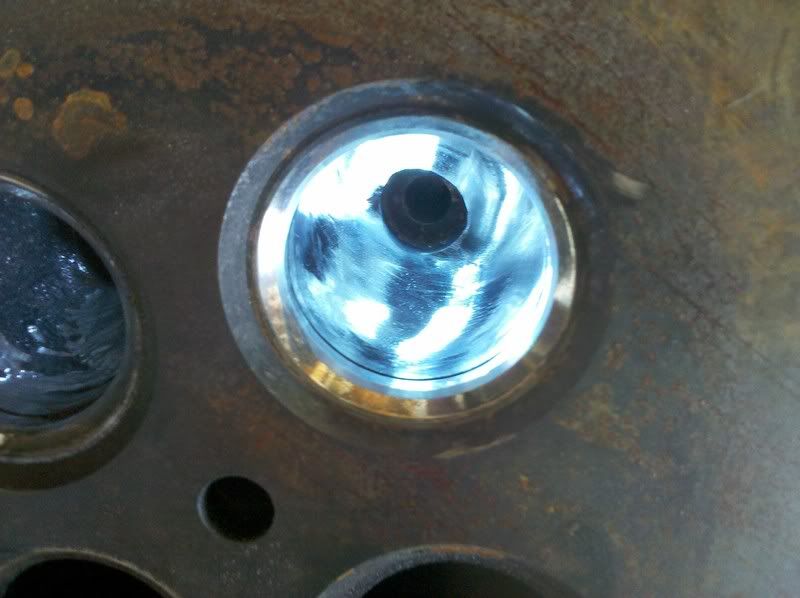
in the last pic i polished the bowl to how all the int. and ex. ports will be polished when i am all done. pic doesnt show it perfectly but it is a mirror finish.

will post some more pics next week when my longer burrs arrive and my other finishing goodies. i am not trying to go extreme on the port job but am not afraid to take out material where i need to to get the ports opened up. I have a lot of pics or a cut up head with measurements to help aid in the process.

laters,

Tim
 
looking good.

A small tip on the exhaust side is to get a exhaust manifold gasket, and bolt it to the head. You can see how much you can take out.

good luck
 
yeah i had a ex. gasket laying around but lost it , i only opened up the opening to get rid of the bump right before the opening on the port roof, gonna wait to get another gasket to finish opening it up.

BTW this is my first real head port job, not my first port job, i helped in that one when i was like 10, but my first one from start to finish. hope it turns out well.

my plan is to make a DIY flow bench so i can flow the stock ports and compare it to the ones i am working on. this way i can see if there is any improvement at .250" valve lift. This benchmark will also give me a way to get all ports equal. i'll post pics of that setup once it finished. should be pretty easy to make too.

Thanks WU
 
I did the same with my 06 head, side draft intake and all....one thing I would suggest is being careful taking too much out of the exhaust port flat floor, they are known to be thin there and if you go through, you're done. I understand the biggest gains are in the intake runners, then the bowls, respectively. Good luck!
 
Thanks, I hadn't planned on touching the floor as it wont see too much exhaust gas velocity as most of the flow will be on the roof.
 
When the EVO hand grenade hits that port, high-velocity flow will be all over it like Seal Team 6 on Obama.
 
When the EVO hand grenade hits that port, high-velocity flow will be all over it like Seal Team 6 on Obama.

Haha. So what are you saying in relation to the port work. I have smootheds out the lip on the ex floor but am not going much past that. The biggest areas that I have made improvements on, besides the bowl, is the short side radius. Will have more progress this week when my long bits come in.

Thanks.
 
You mind sharing your ideas on the DIY flow bench? Looks like your doin good so far. I as well am going to try out my porting hands on a cummins head. Have done a few gassers but no diesels.
 
Thanks very much Got Smoke. I cut the intake of today and started hoggin' it out. i have this sweet little contour gauge that i am using. It allows me to take the contour of the stock port, then i can start diggin' and check where i am at vs. the gauge to see how much i have taken off. Going off the cut-away pics of a cr head i can tell how far i need to go and still leave good wall thickness. Will post pics in a little bit of it. I plan on sanding everything to 220 or 400 grit then polishing it all to a mirror. I am sure the ex side will get caked in crud from the smoke but at least it will be smooth to start off with.

For the flow bench i am thinking that i will get a 4" electric fan and a flow meter from Dweyer, attach the flow meter to the inlet of the fan and then attach the an to the head it mounts to the block. I figure i can get a baseline flow before i attach it to the head and then a reading of it on the head with valves installed at .250 lift. from there i can match the flow (LPM) from cylinder to cylinder. it wont give me a measurement of what the head is lowing but will give me a % difference from ported to un-ported on bother the intake and exhaust. I used to do a lot of acrylic work so making flanges for the an and what not will be easy, i figure a o-ring gasket on the flange where it meets the head, on the valve side, and i few pounds of force will proved a good seal. Some .250" shims on the valve stems will give me my valve lift.

Will throw up some more pics in about an hour.
 
looks like a shopvac will be used instead of a fan. the lpm flow #'s may not super accurate but should have me a comparison from port to port. I am thinking that two flow meters in parallel will give the most accurate numbers. Example, can dial the larger meter to so 500lpm, then can add the the shorter range meter in and get say 0-50 ontop of the 500 or something like that.
 
k here is the contour gauge on the stock runners
IMG_20110522_200808.jpg

and on the roughed in runners. i took about 1/8"-3/16" off the radius
IMG_20110522_200759.jpg

and a rougher in runner vs. stock runner
IMG_20110522_200711.jpg
 
i bought it from mcmaster carr a long time ago and never had a use for it until tonight. I tried making a cutout of the contour and was getting angry and remembered this little thing. actually roks really really cool because the pieces dont slide very easy so you can pick it up and move it around and not loose shape.
 
is this jason? how have you seen this head, i just picked it up last weekend,lol
 
Last edited:
No, Colin. I was with Brad when we brought it from Redding.
 
gotcha, good eye as i thought a head looks like a head when it is stripped down and port-in-progress. i figure in about 90 more hours it will be a nice looking head, then off to the s&h for some lovin'.
 
Back
Top