1947 Dodge WD-21 Cummins Swap PICS INSIDE

hemijosh426

honey badger dont care
Joined
Dec 24, 2009
Messages
57
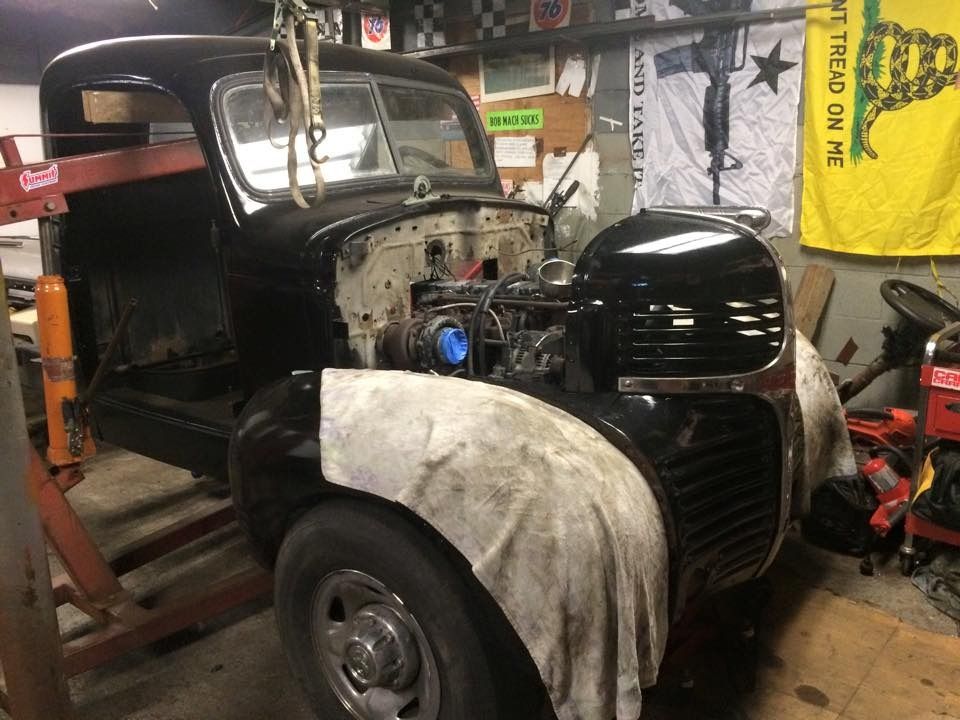
Finally getting some time to work on a swap I have been planning for awhile. The 1947 Dodge was originally a WD-21 1 ton from NY state roads. Surprisingly all of the sheet metal was in great shape, and needed minimal work to get into paint. I bought the truck completely stripped to bare metal, and due to life getting in the way it took awhile to make it into the paint stage. The paint is a cheap single stage jet black, I just wanted to get a couple coats of primer and a layer of paint on the truck to protect it from the elements. I plan to re-spray it with base/clear one day after I am finished the swap. I figured that I would be scratching it up while working on the project, and it wasnt worth making a perfect paint job right off the bat.

I am doing a full frame swap from a 1993 Dodge D250 2wd Cummins with a 47RH lockup automatic. This way I will have newer steering, suspension, and brakes. I also plan on possibly utilizing the factory 93 gauges in the dash of the 47. I put the 47RH in the 93 a few years back.

For pedals and steering wheel I hope to use the 93 Dodge pieces, cut them directly out of the firewall of the 93 and makes some brackets to run them in the 47. This may change, but thats the initial plan lol.

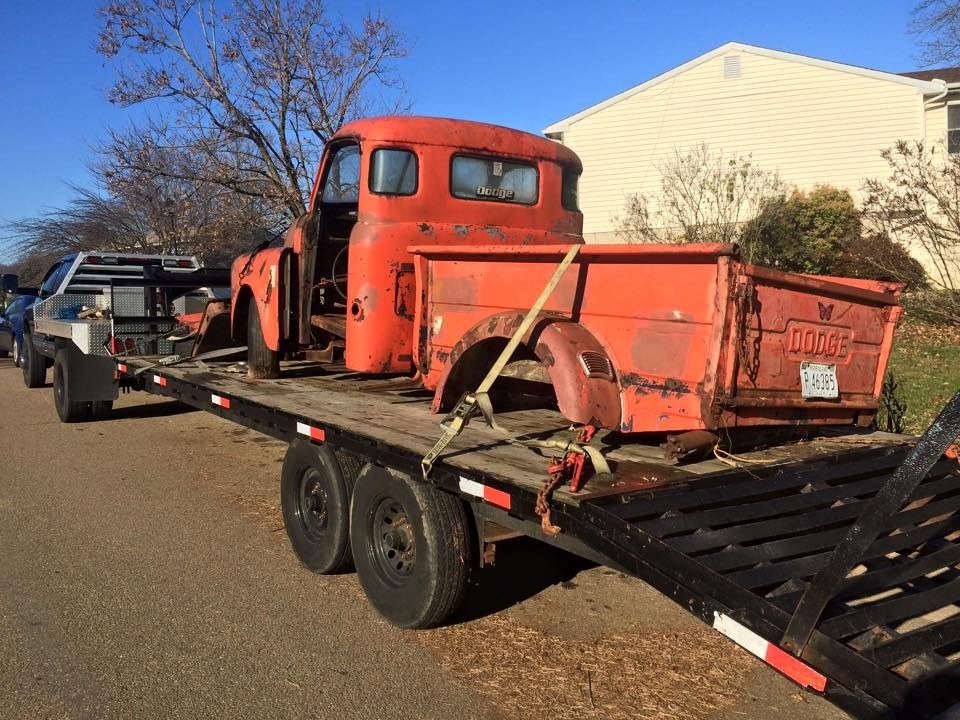
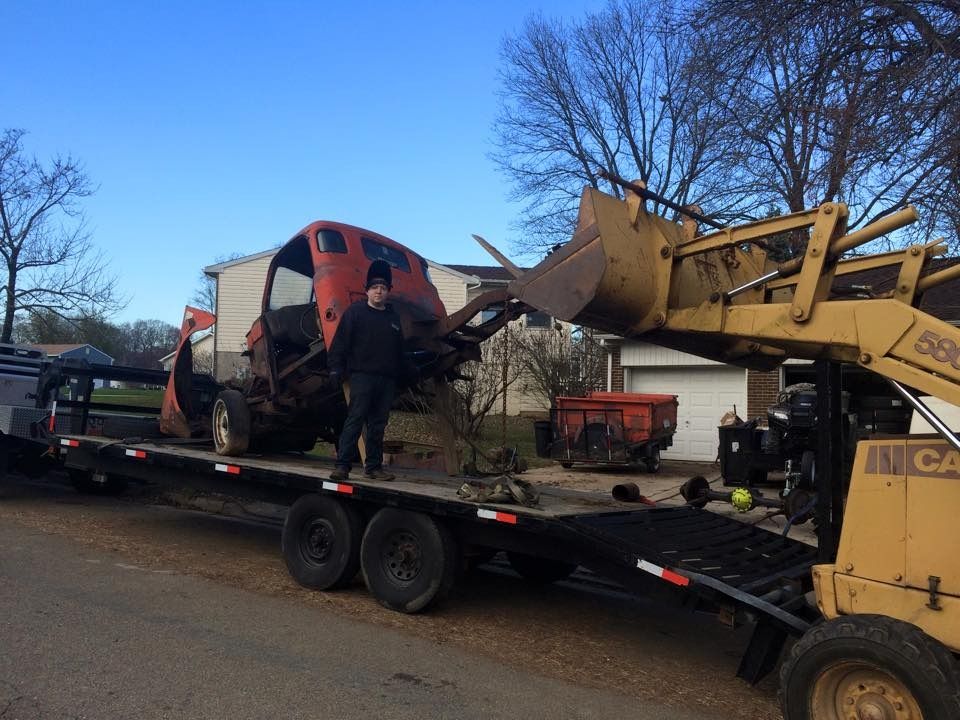
Heres a pic of the truck the day I picked it up
248197_10201865070573216_1921964742_n_zpsd4391f08.jpg


After a few coats of primer
47primer_zps8nqs0kvq.jpg


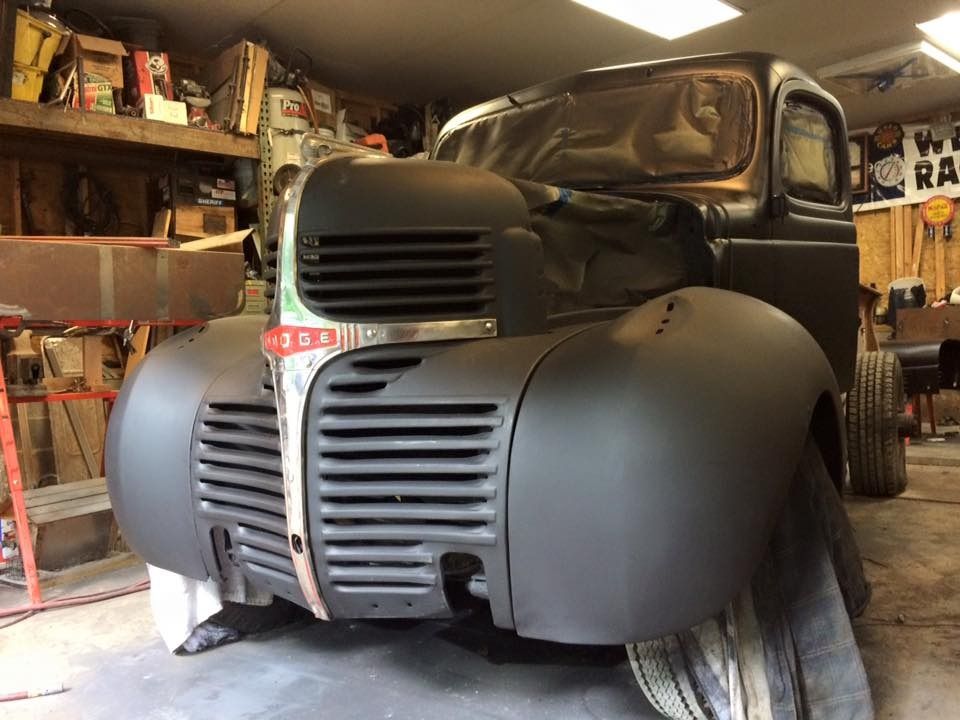
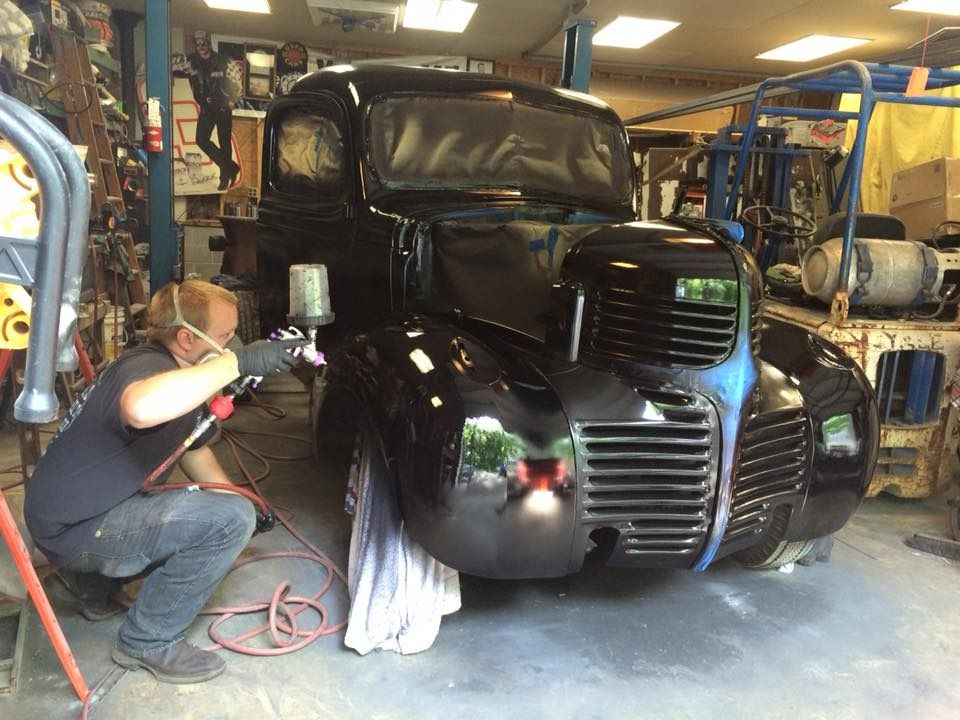
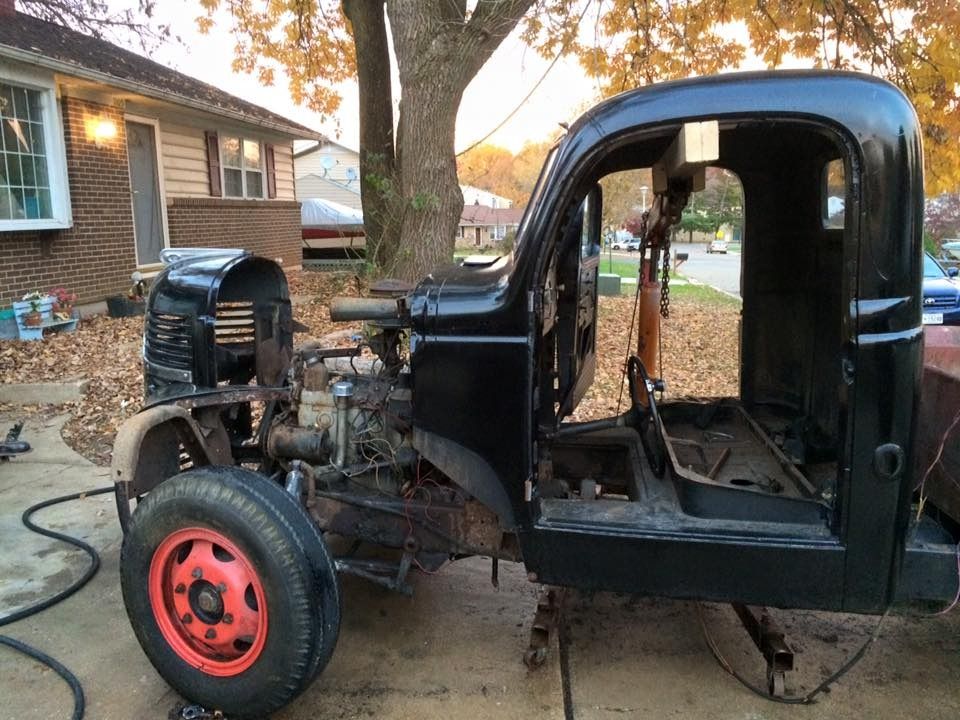
And finally into paint
47spraying_zpsrd1ha2vz.jpg


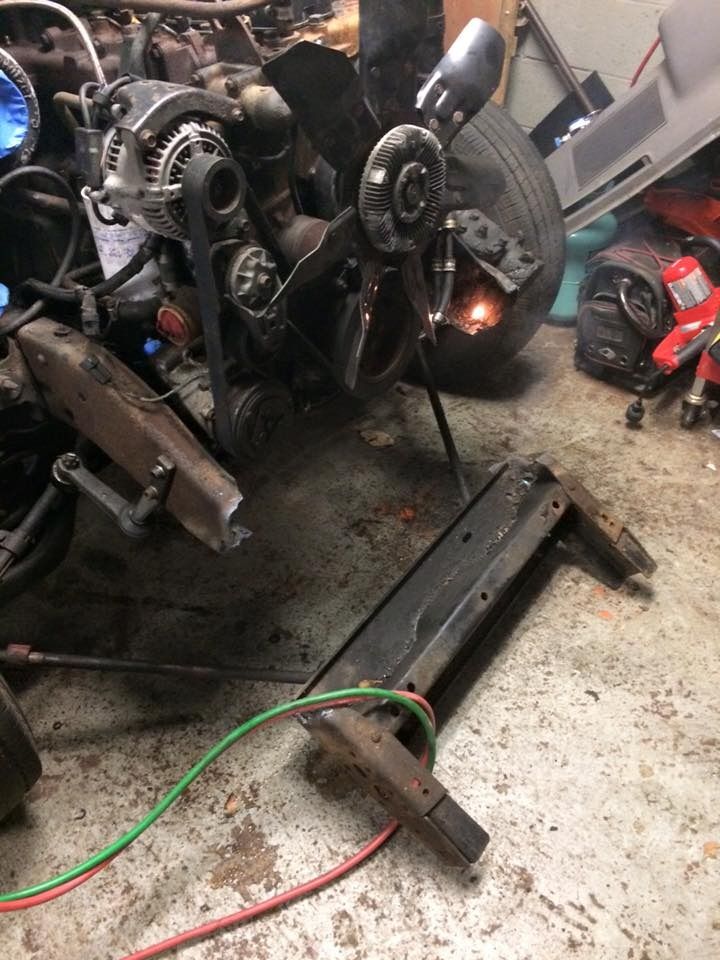
And so the work begins for taking the 93 and 47 apart
12190862_10208282176316849_192623615685888367_n_zpspihxzqcw.jpg


12219369_10208282176476853_6154832028057593681_n_zpsdolt69vw.jpg


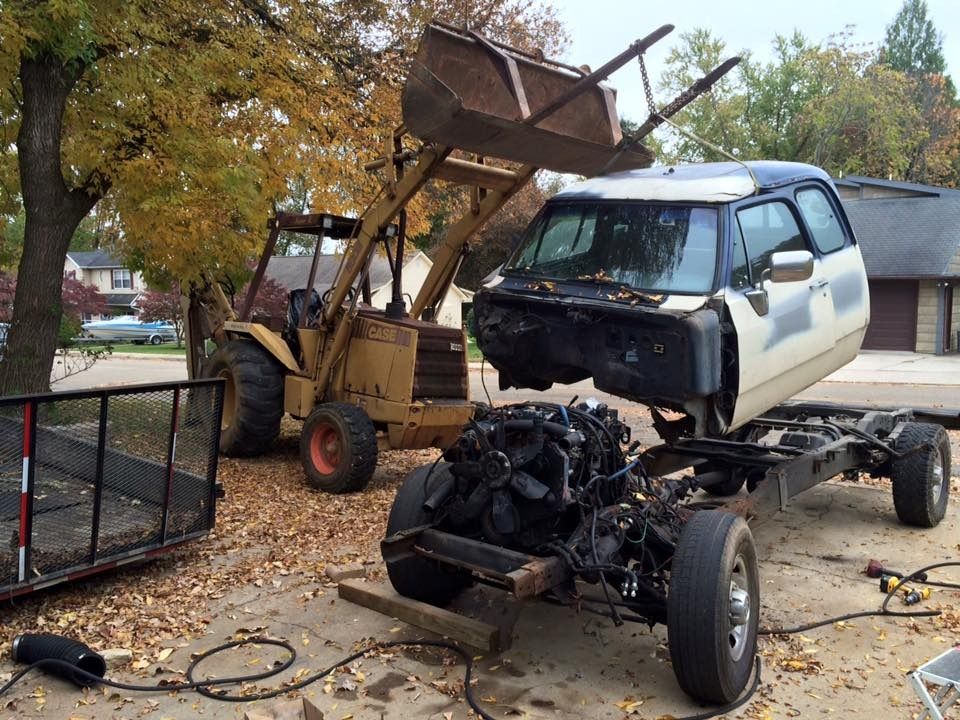
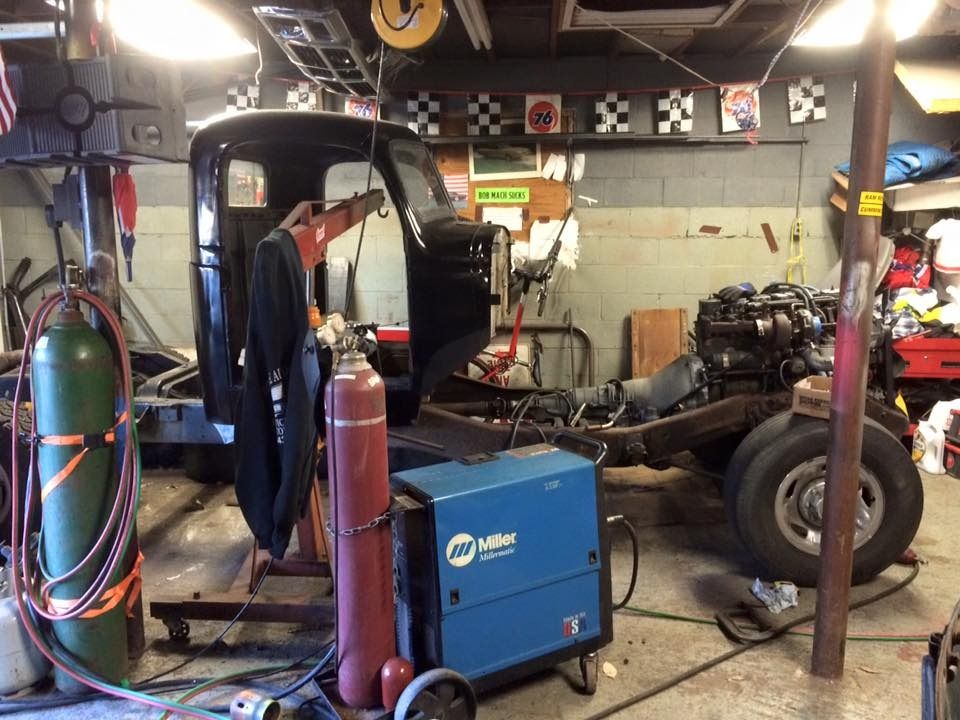
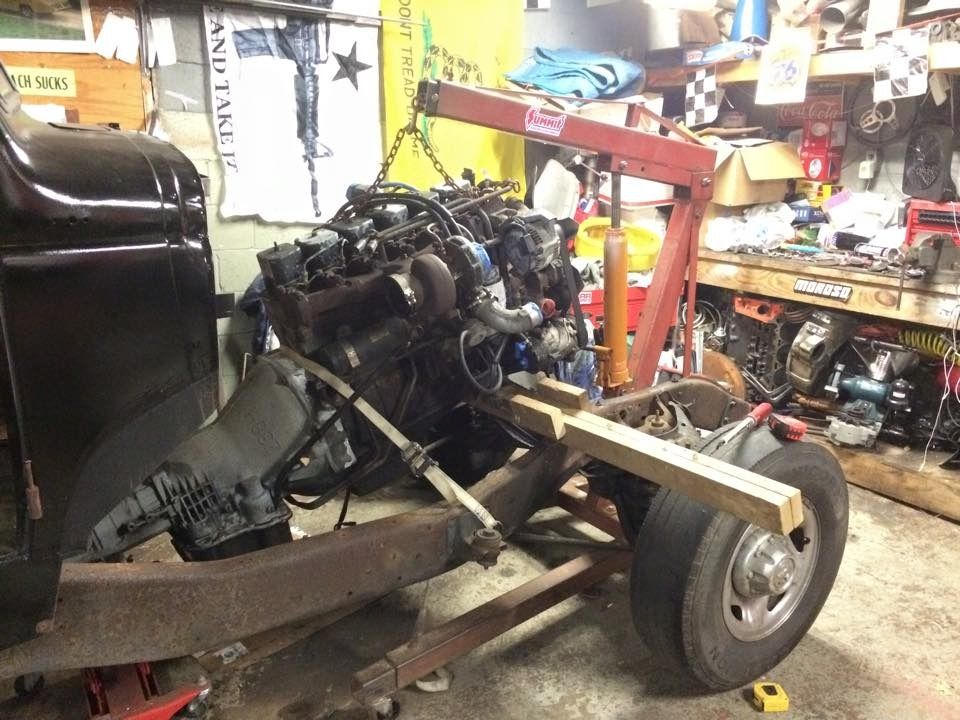
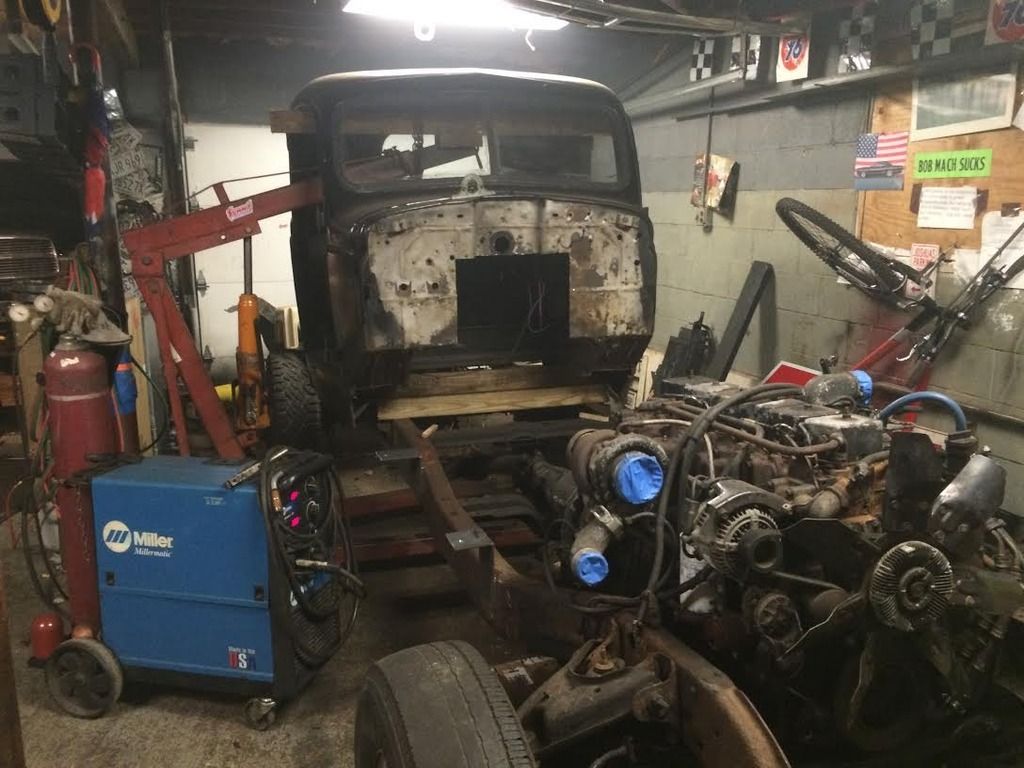
This didnt work so well. The cab fell off the engine crane, but luckily I had safety straps that caught it. I actually ended up moving the cab to the 93 frame with help from 4 friends. Alot easier than playing games with the engine crane again.
11693926_10208282176876863_2811971811819869865_n_zps0yz6ijlr.jpg


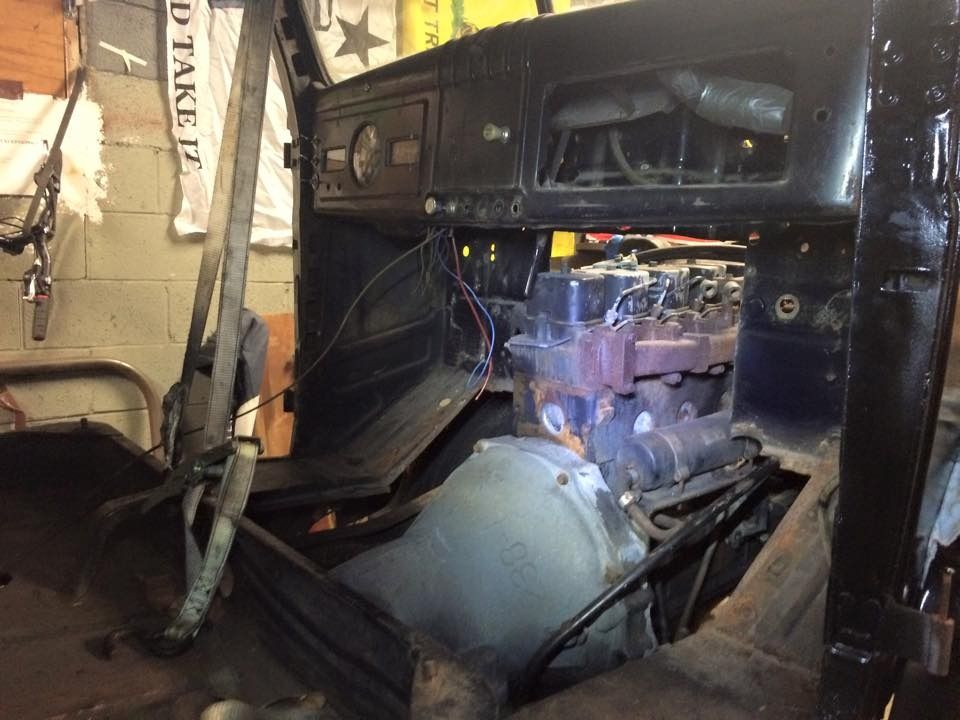
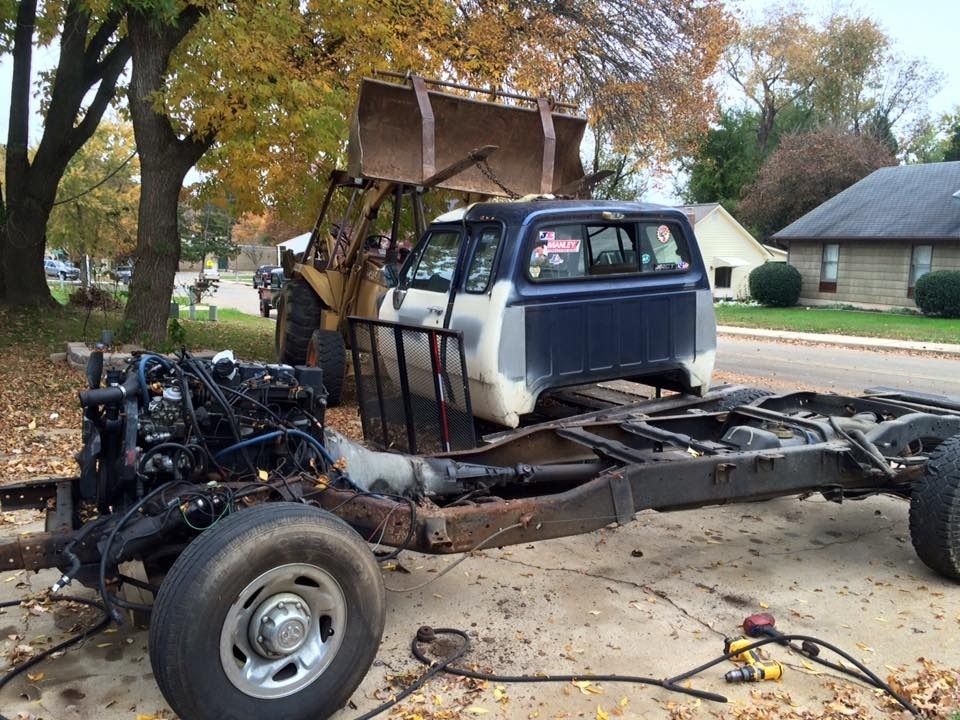
Finally the cab just sitting in place on the 93
11049655_10208282177116869_810680467768023575_n_zpsw329bev9.jpg


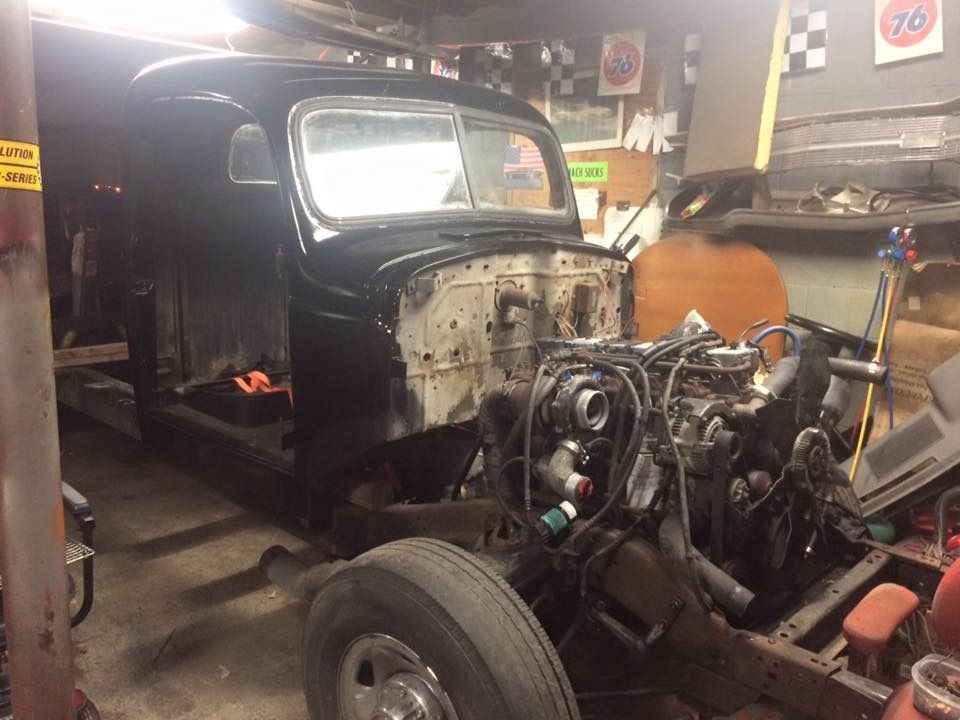
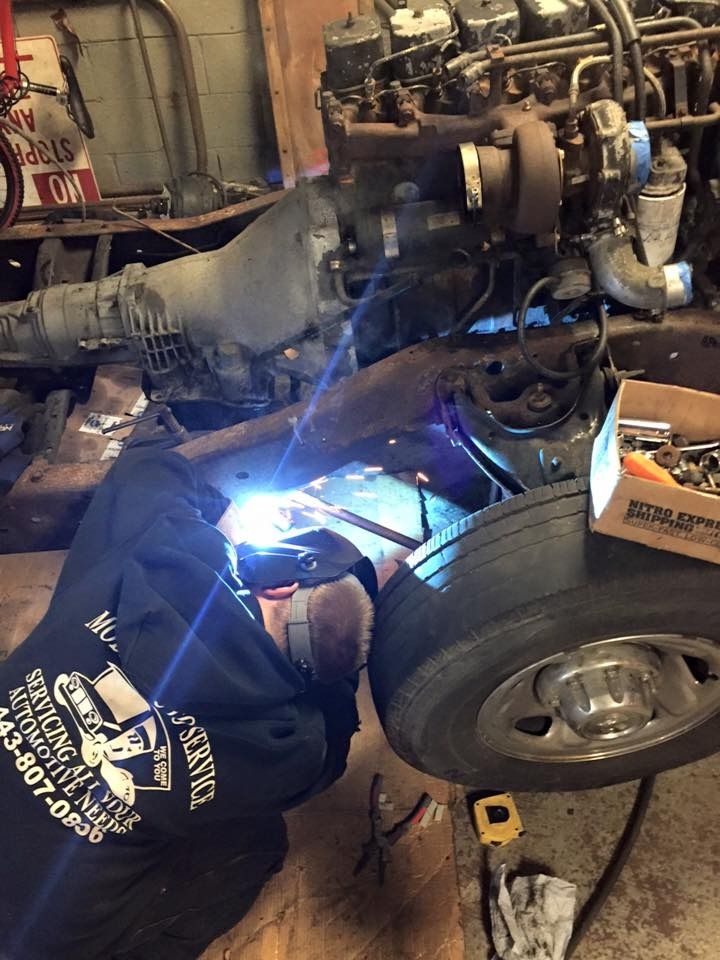
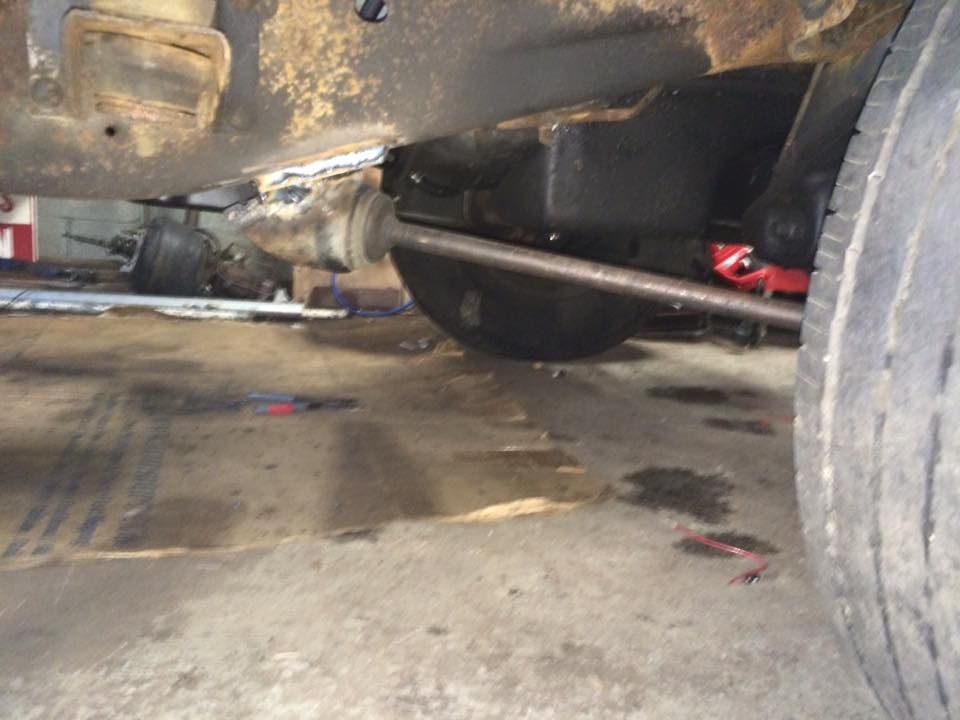
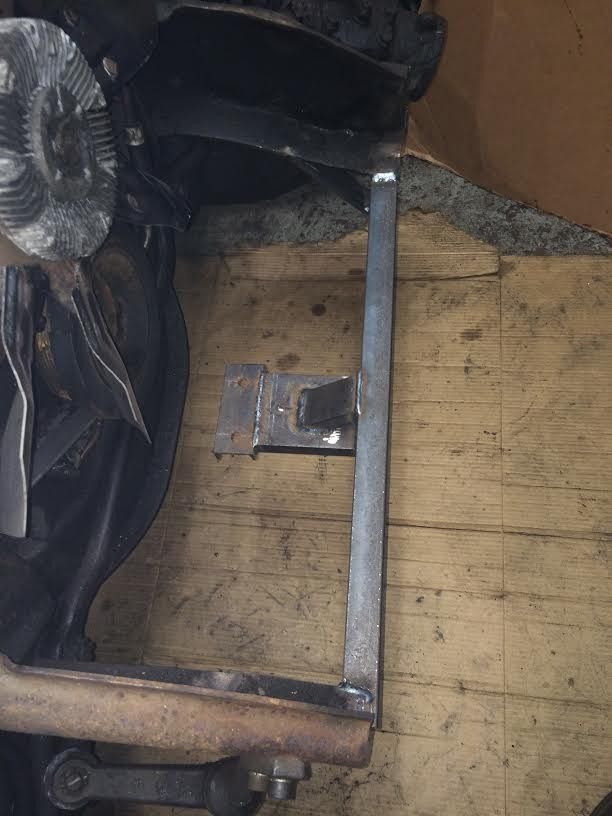
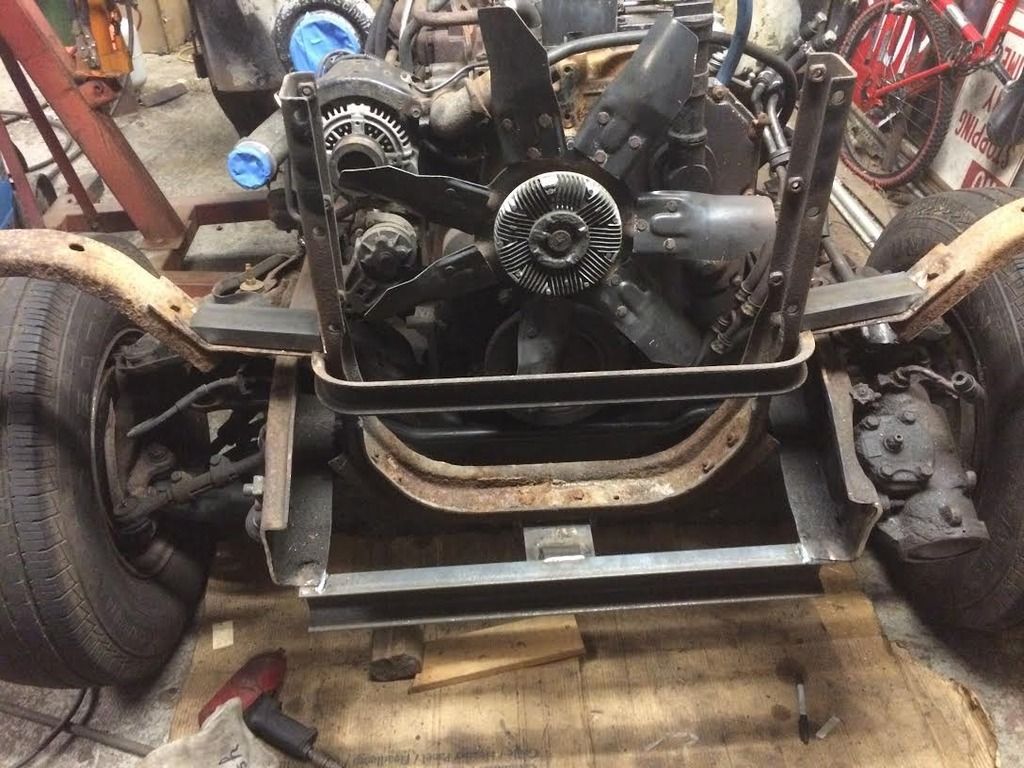
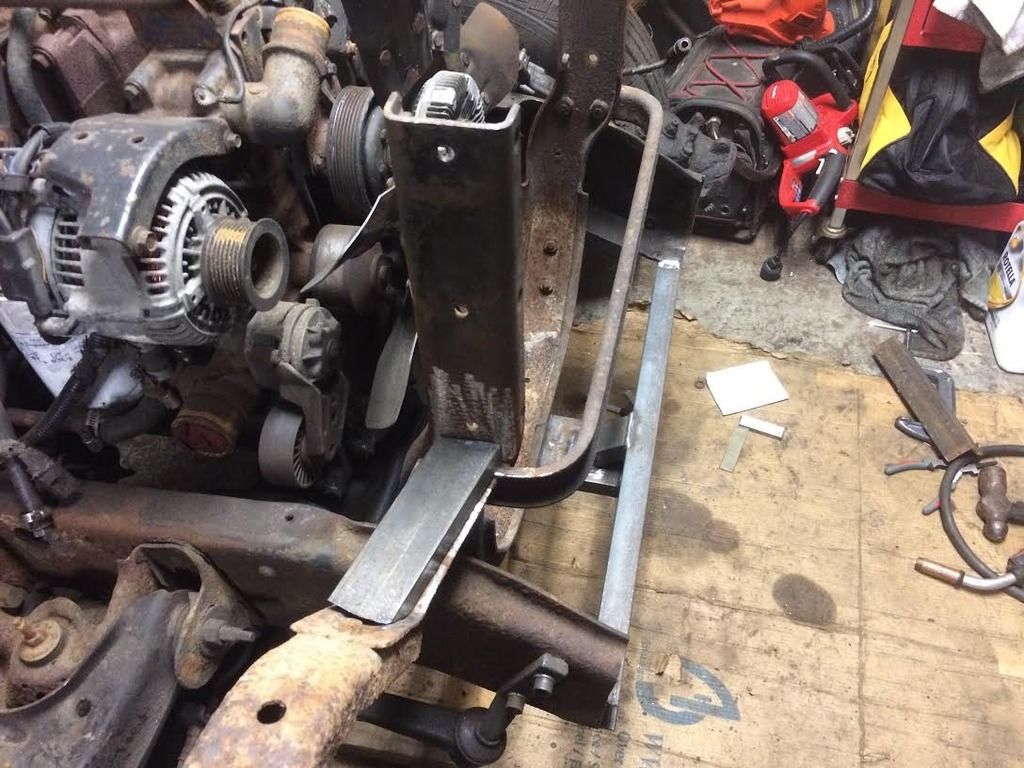
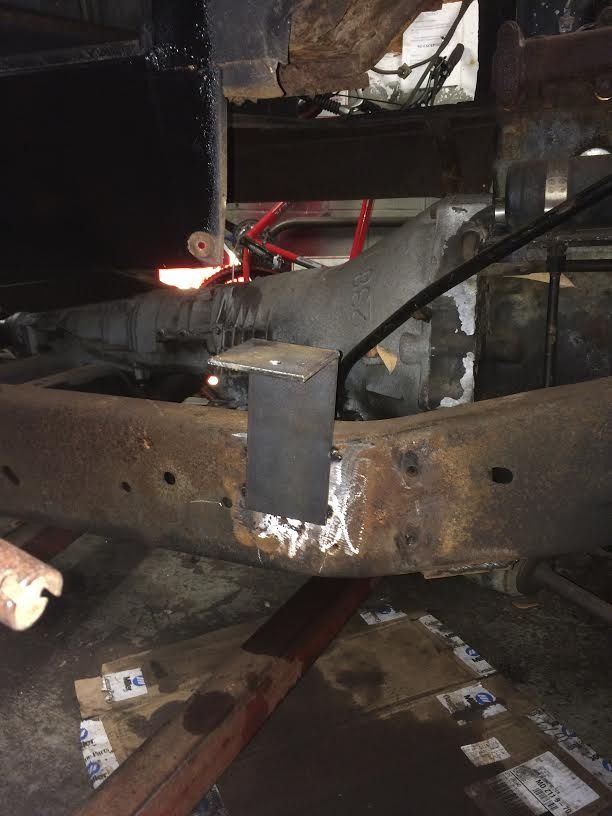
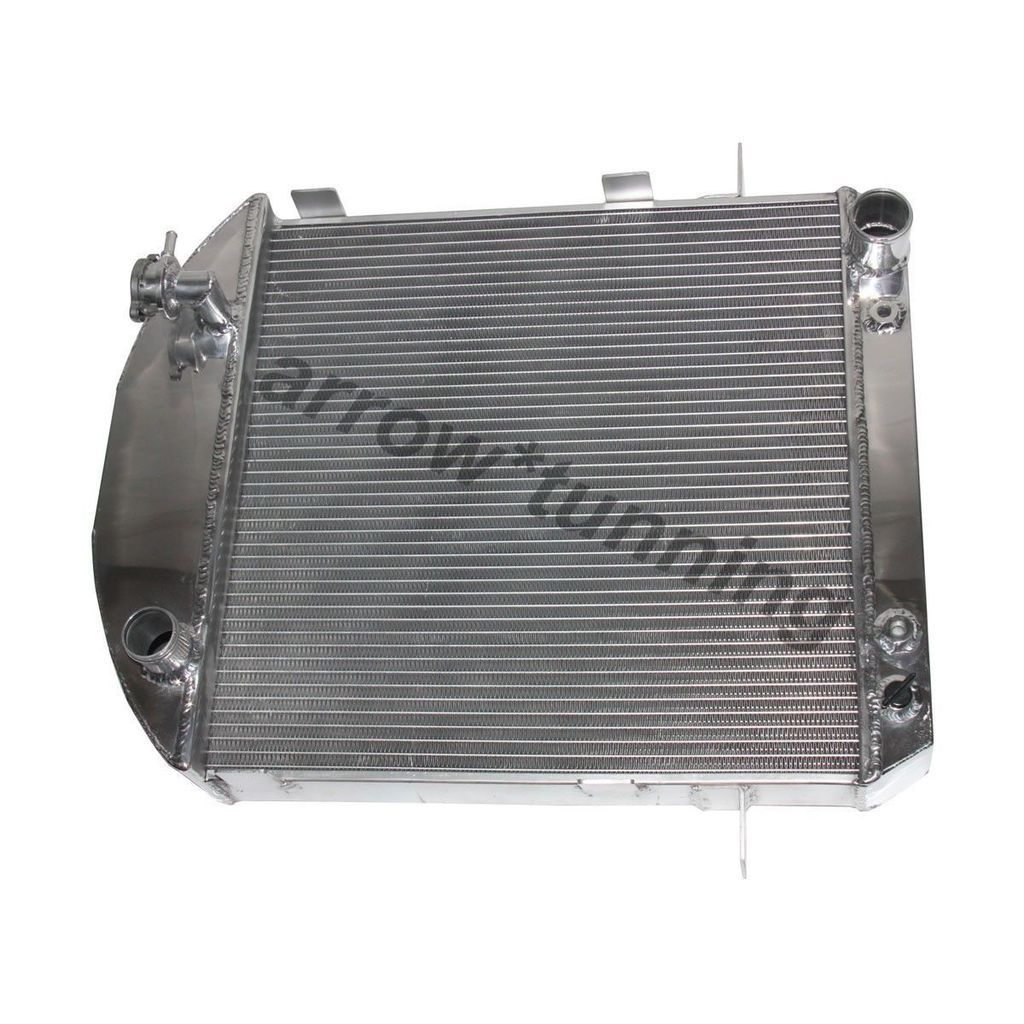
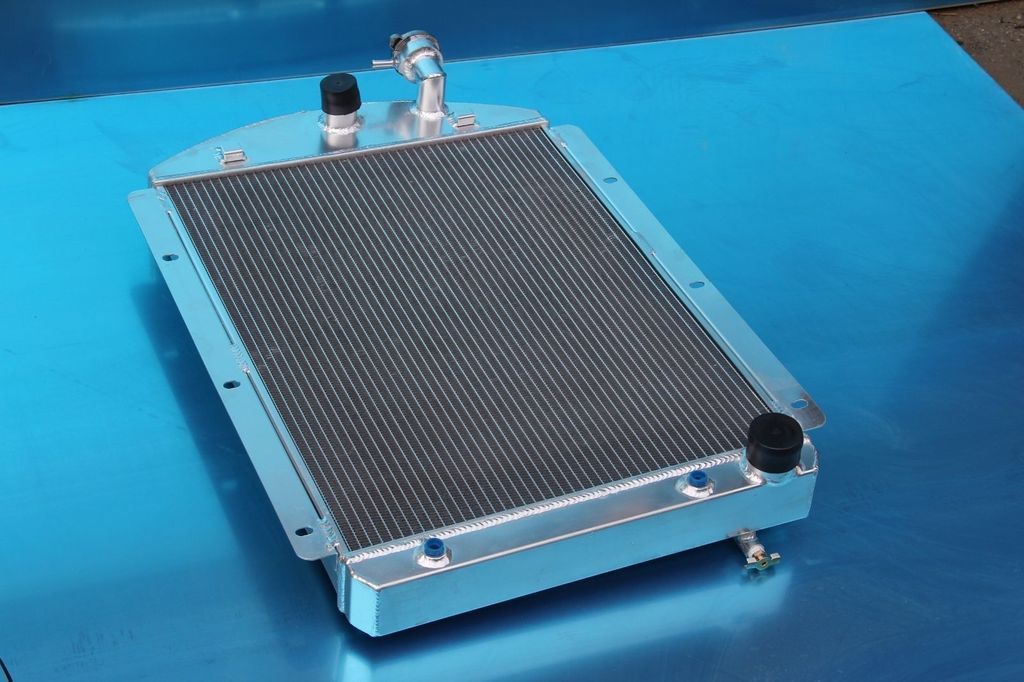
It appears I will have to move the engine back about a foot from where it sits now, so that I can fit a radiator and an intercooler. I will also have to modify the 2wd front suspension, because the fenders of the 47 do not go far enough forward to go past the Srut arms that hold the lower control arm in place.

I also have an old school Holmes wrecker boom to go on the frame of the truck. I will be mounting the wrecker boom inside of the original bed.

I am also planning on flipping the turbo upside down with a 3rd gen Dodge Cummins manifold upside down, and then running a hood stack... No clearance at the firewall after I move the motor back.

12233501_10208303539890925_801458319_n_zpsbetaiw0k.jpg


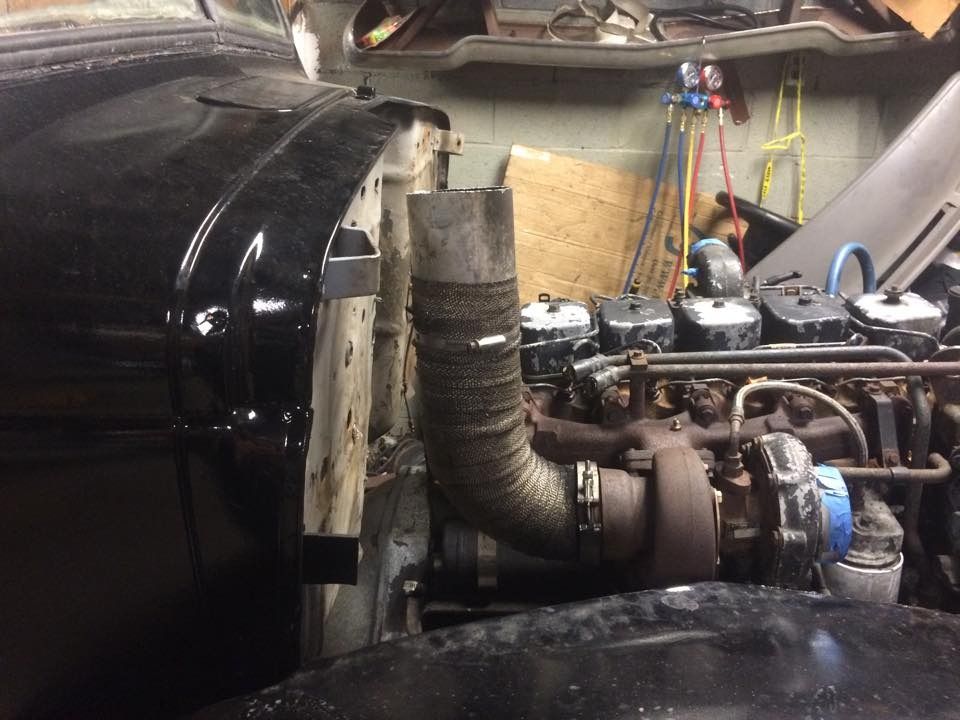
The current VE 12v in the 93 has 7x.010 injectors and a BD Super B 62 turbo with a 3200 spring in the pump and the fuel screw all the way out. Should make this little 47 pretty quick.

More pics to follow!
 
The front suspension of the 93 frame would not allow the grille to clear. So I had to modify it a little bit.
12274655_10208361372296699_7130888298300603160_n_zpsnudpwbss.jpg


12278882_10208361251493679_1192774619070982956_n_zpscegehwvw.jpg


12249646_10208361291574681_1234926328532288450_n_zpso1pca74y.jpg


12243326_10208361251773686_2029390620238745763_n_zpsyxjjzuqw.jpg


Then I had to move the motor back 12" to make room for the radiator and intercooler
12316657_10208462545825974_6585201255309299164_n_zpseze7pj8c.jpg


Gonna need to make a large removable doghouse

12342495_10208462545585968_6329203204026130249_n_zpsnbeodgkk.jpg


Donor truck for the bed. Pretty hard to find a bed in decent shape around this area.

12313773_10208462577226759_932543805971433869_n_zpsbxubhqu0.jpg


12311281_10208462546025979_5661686157046262769_n_zpsrp5qlvpa.jpg


Mocking up the grille and fenders. I will snap some pics of the mounts I made.
12360364_10208462545425964_8409527725474498288_n_zpsitijoedq.jpg


Next step is making the cab mounts, then taking it all back apart to paint it. Lots of fresh welds to paint!
 
Last edited:
Cool project. Its weird hearing someone say they are using 1st gen parts for the better brakes and steering though.:lolly:
 
If you have ever seen what these had from the factory in 47, this first gen suspension will be the equivalent to driving a lambo :lolly:
 
Knocked out a few things over the weekend. Had to make a crossmember to hold the 47 fender / core support bracket. Its 3.5" C channel, so its pretty sturdy. Also Made some gussets to brace it up.

97690a67-d283-4fb7-93b2-27dbe0557414_zpsh9vjyzpm.jpg


54905c94-fd1e-4e90-ae84-a6ea1e2bfb35_zpswqp6gshc.jpg


Had to cut some of the bracing for the front fender mounts, so I used some C channel to brace it.

3c029e60-d0b7-49a5-a271-276bd47a0c10_zpsj13w7p78.jpg


After I figured out where the front end was going to be, I was then able to decide how to mount the cab. I will be also making some gussets to brace the mounts. w

45cd1929-6eac-4e09-a6f3-e712d8aad23e_zpsjrwf1qjx.jpg


d4bca8ca-9f67-49eb-9e14-98143fb03844_zpsrsjsej5k.jpg


Next is making a dog house and a floor for the cab. Pretty big hole I had to cut.
f96c0bfb-669d-4b16-8ab2-b57dfd591f4f_zpsexntqmfd.jpg


Ordering the radiator this week.Thought of doing a rear mount radiator, but after moving the motor back I have plenty of room to mount the radiator and intercooler. Its been tough to find a radiator with 1.75 inlet and 2.125 outlet, so I am going to use silicone couplers to adapt down to 1.75". With the silicone couplers I will just use 1.75" pipe to connect it all up. Looks like a aluminum radiator from a 32 ford with left inlet and right outlet is going to work out great.

s-l1600_zpshvljrdmq.jpg


Im not worried too much about the cooling ability of the 32 ford radiator, its a 3 row made for a v8 application, so it should be ok. If it gives me trouble I will just do a rear mount setup or have one custom made for the front.
 
Ended up going with an aluminum radiator from a 41-46 Chevy truck. 3 row, 29 1/4" high X 20 5/8" wide, 1.5" inlet and 1.75" outlet. Ordered all of the silicone boots to adapt it over to the 1.75" outlet and 2.125 inlet of the Cummins. Cant beat $147 shipped for the radiator and about $4 each for the silicone boots.

s-l1600_zpsi24hlazy.jpg
 
I have a very similar project going on. 48 Dodge short bed, with 4BT, 2000 Ram chassis(Nv4500, 5 speed, 2wd, Dana 70). Chassis is shortened 15", A-arms are 3" shorter, Dana is 9" shorter. Custom intercooler, radiator, motor mounts and twins. Shorter engine allowed keeping stock hood without monster dog house. Look at Flying Hammer Facebook page for pictures of 48 and other projects.

Your project looks very cool. There was a similar truck to yours at PRI, 2 weekends ago. Ram frame, 6 cylinder twins....Industrial Injection is involved with build. A picture is on my Facebook page (Clark Olson).
 
That sounds like a cool truck you are building. I also just checked out that truck from the SEMA show, it is sweet! Do you have a build thread for yours as well?

I am also planning on twins, probably next winter. For now it will be the single 62 with a stainless hood stack. The twins for me will open up a whole new can of worms, as then I will need to stud it and build a stronger trans etc etc...

Didnt get much time to work on the truck over the last week, busy with Christmas and working on my DD.

I did get a whole bunch of parts delivered last week. Hopefully this week I can make radiator mounts and intercooler mounts, as well as make the piping to connect them.
 
Worked on the drivers side firewall a bit yesterday. I will be using the factory 93 steering column, brake pedal, brake booster, and gas pedal. The factory firewall on the 93 was too wide to use as is, and the steering column would be too far left when placed in the 47.

To alleviate these issues I cut out all of the necessary stuff from the firewall on the 93, made a 13 3/4 x 13" square "template" on a piece of cardboard, then welded everything together where it all would fit. One hell of a puzzle lol.

e2b18a03-2e65-4831-87c9-4304c7633226_zpsb84639ml.jpg


a361f840-e745-474d-93f5-07e9f536bf23_zpsn6lb50jc.jpg


Also, I am still learning how to properly weld 18ga. Dont laugh at my welds lol. My Miller 251 will only go down to 14 amps, so I had to constantly start and stop my welds to keep from blowing through. I bumped up the wire speed and alleviated some of the burn through, but its still tough to lay a nice bead on thin stuff. I typically run 75/25 with .035 wire, but I switched out to 0.030 for the thin stuff.

bec10537-1d21-4af8-8718-03b675276202_zpscigcuuya.jpg


Braced up my cab mounts with some C channel, and mounted the cab temporarily. I will be pulling it all back apart to paint the frame and motor when I am done the initial fab work.

72658040-972a-417a-8dd9-223aef39ee04_zpsqrhmug5g.jpg


This week I also had my Dad mill the ports on the third gen manifold so that the round to square transition would be smoother when mated to the 12v head.

69ce66d1-8519-4cce-84dc-33cf1eccf381_zpsl5vlaxhz.jpg


f08cebad-95a5-4d4e-9c07-e836870dc293_zps0sndswah.jpg


The next step is building the floor and trans hump, then after I knock them out I will build a "removable" doghouse. Looks like I am going to have plenty of practice welding thin stuff!
 
Instead of welding all that thin stuff together, why not just start with a fresh sheet and punch the holes in it?
 
Instead of welding all that thin stuff together, why not just start with a fresh sheet and punch the holes in it?

Honestly I wanted the challenge of welding the thin stuff. I wanted practice in that kind of metal work, so I figured this would be a good start lol. I thought about marking out the holes on a fresh sheet of 18ga, but this way I was able to retain all of the factory size holes without having to cut out the larger oblong steering hole.

On that note, I bought a brand new CUT50 cheap ebay plasma cutter, and it turned out to be junk. The air solenoid is not working when an arc is struck. Messed with it some, but I believe the solenoid is bad. The initial plan was to use the plasma cutter to cut all the holes in the firewall, but the machine does not want to cooperate at this time. Still attempting to get a refund from ebay, but thats another story in itself.

Didnt really want to drop a huge chunk of cash on a new plasma cutter when I picked up the CUT50, but now I am in the market for a used Miller or some other name brand plasma cutter. Good tools make all the difference!

Fair enough. That's where a TIG would be handy.

I picked up a HyperTherm 1000 this summer. Bought half the price of the newer HyperTherm 40, which is about 2/3rds of the capacity. I have a hard time bringing myself to buy discount tools for the reason you describe. There are exceptions sometimes though.
 
Ive looked into HyperTherm, they are sweet. Heard alot of good about them. Probably one of the best on the market.

I completely agree with you on the Tig for the thin stuff. Ive been searching my local craigslist for a decent used one, definitely would want AC/DC so I can do aluminum and steel.

For the rest of the floor, I am lucky to have access to a fairly large sheet metal roller, as well as a large brake. Don't have much experience with the roller, but I am willing to give it a shot for the trans hump. I also picked up some 1" box tubing so I could make a frame for the floor, as most of the factory floor in the 47 was just wood.

More pics soon!
 
Back
Top