1947 Dodge WD-21 Cummins Swap PICS INSIDE

glad to see another guy taking on a similar project. I need to throw down some updates to my build thread.
check mine out anyway give you some ideas for the intercooler.
39 dodge on 96 2500 chasis
are you going to run the stack through the hood?
 
Made some headway with the firewall and floors yesterday. Made a "Custom" metal brake out of some angle iron and a vise lol. It worked for the small bends on the floor, but I went and used the 8ft brake to make the bends on the trans hump.

Heres the Vise brake in action:

brake1_zpsaf2qujwn.jpg


Welded into the cab:

brake2_zpsggpg9iw6.jpg


Firewall piece:

firewall1_zpsylfjbhus.jpg

firewall%202_zpst9duoelg.jpg


It all fits, but I want to find a Hydroboost setup instead of the Vacuum

booster1_zpsqlszwup2.jpg


Steering wheel, brake pedal and gas pedal mocked up:
firewall3_zpsdwdnyoiw.jpg


Fancy Trans hump. Made it with an old school 1920s 8ft brake.

floor1_zpswnrdbng4.jpg


After I get the floor knocked out im going to start on the removable engine doghouse. Im going to make it with the real brake, much easier to use than my vise brake lol.
 
Last edited:
glad to see another guy taking on a similar project. I need to throw down some updates to my build thread.
check mine out anyway give you some ideas for the intercooler.
39 dodge on 96 2500 chasis
are you going to run the stack through the hood?

I looked at your project! Looks awesome! Post some updates!

The intercooler will be almost the same to what you have. I bought an intercooler just like yours with inlet and outlet on the same side and I am going to flip it up and run a 90* silicone coupler over top of the radiator. Looks like it will be a tight fit over top of the radiator!

I need to make an intake horn so that I can face the inlet forward. I tried to rotate the stock air horn intake forward, but the bolt pattern is slightly different. Most likely I will use 1/2" aluminum plate with a 2.5" aluminum 90* elbow tig welded on, with the correct bolt pattern drilled in the plate.

As for the stack, I may just run no hood. I feel kind of bad cutting up an original hood lol. I may just see how it looks, and if it looks goofy with no hood then I will suck it up and cut the hood. The turbo / manifold setup I am using may also intefere with the hood. I will post a pic of that shortly!
 
The other floor / trans hump I made was not sufficient. It ended up not being wide enough for the removable doghouse I am making, so I bent a new one.

Here is the freshly bent trans hump and the doghouse

floor%203_zps0sdwyxal.jpg


Partially trimmed

floor%202_zpsihpgq3xo.jpg


Fitted and trimmed in cab

floor%204_zpspou0ojr4.jpg


Tacked in and doghouse mocked up

floor%201_zpsln3mhzlj.jpg


Next step is finishing up the removable doghouse. I am definitely learning alot about working with thin metal lol.
 
Looks good Josh. I'll have to swing by and check it out when I get my ass back on that side of the pond.
 
Looks good Josh. I'll have to swing by and check it out when I get my ass back on that side of the pond.

Sounds good man! Its been awhile. Give me a shout when you get back to the motherland. Be safe over there!
 
if you ruin your hood I have a spare for ya. and second if you end up using the vac booster where you have it a hood wont clear it there anyway. keep the progress coming
 
Finished the floor and removable doghouse yesterday. Pretty tight fit, 6 bolts hold it on. Still may add some type of thin rubber strip between the doghouse and the cab floor.

Heres a shot of the doghouse before paint.

01c5097f-cc17-415c-8e65-6bc78760a9aa_zpsynkpciuu.jpg


11625ad3-cd9f-4366-8c2e-060850178389_zpsplb4c78m.jpg


Laid a coat of Rust Oleum black on the entire doghouse, cab floor, and the complete underside of the cab.

12bf8dee-b747-4482-9d82-b9ca7287d94b_zpswnxjs4ag.jpg


I have used this brush on Rust Oleum Enamel many times in the past. Works great in the elements, just takes awhile to dry lol. I am going to paint the entire frame in black, then do the motor and trans in torch red. Typically it takes two coats to get the best coverage, especially if the surface is smooth.

Looks like next weeks plan is to figure out the fuel tank location. I may end up using the factory 47 tank, just relocating the inlet on the top of the tank. I bought some 6AN weldable bungs to aid in the attachment of fuel lines to the tank. If I cant get the 47 tank to fit right, I will just remount the original 93 tank. The main reason I wanted to get away from the 93 tank is the OHM reading of the sending unit. Its hard to find an Auto Meter gauge that will work with the factory dodge sending unit. With the 47 tank I can just cut a hole in the top of the tank and add an aftermarket sending unit that will match the gauge.
 
Finished the fuel tank yesterday. Decided on just modifying the original 47 tank.

Made a new filler neck out of some 2.25" pipe and welded the hole from the original filler neck. This will allow me to retain the factory fill pipe on the 47 cab. Found an Autometer Gauge that works with the 240-33 ohms boat sending unit. The factory bolt circle of the 47 dodge tank matched exactly with the new boat tank sending unit bolt circle. Just had to drill/tap the holes to 10-32 to match the newer larger size screws.

84f6438f-4b15-482b-af25-294799705075_zpslxyvxfcv.jpg


Welded on some stainless 8AN fittings. The lower one will be the supply and the higher one will be the return. Mounted in the rear of the tank so under acceleration the supply will still get fuel. Thought of making a sump, but I have a similar setup to this in another vehicle and never had any fuel supply issues.

79df3251-28b5-4c7f-9d2c-e713abce7751_zps7swsru7n.jpg


Put my Fiancee to work and had her painting the motor and front chassis. Thinking of pulling the valve covers and polishing them. I saw a few trucks with that done and I like how it looks.

2a917549-4c0c-40df-88af-9b425d2a30e1_zpsk6ljkmwn.jpg


The truck will be getting Hydroboost setup next. I spent a few hours scrounging the local junkyard and all of the hydroboost setups were gone, but I was able to find a nice 3 passenger gray leather bench seat out of a Honda Odyssey. Almost factory size.

I ended up sourcing the Hydroboost brand new from Advance auto. Its from a 1992 Astro Van, combined with a master cylinder from a 1978 Corvette that had a Disc/drum setup. That particular year had outlets on the passenger side of the master cylinder, which would fix the hood clearance issues. Ill post pics of that next week when I get a chance to work on it again. Working full time and going to college full time doesnt leave me much time to tinker lol.
 
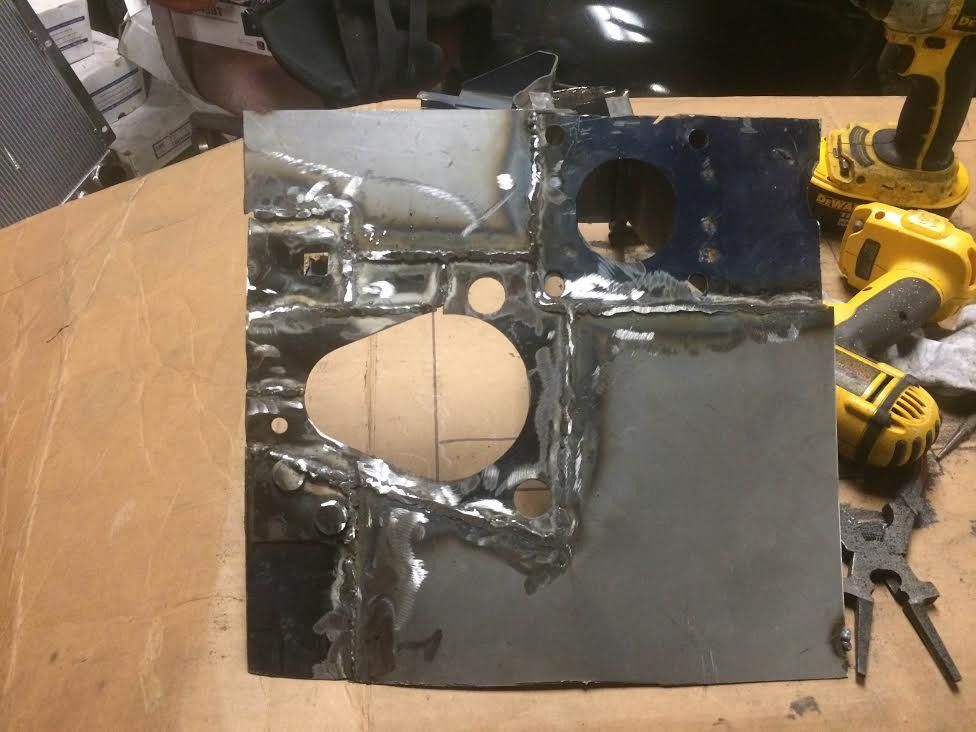
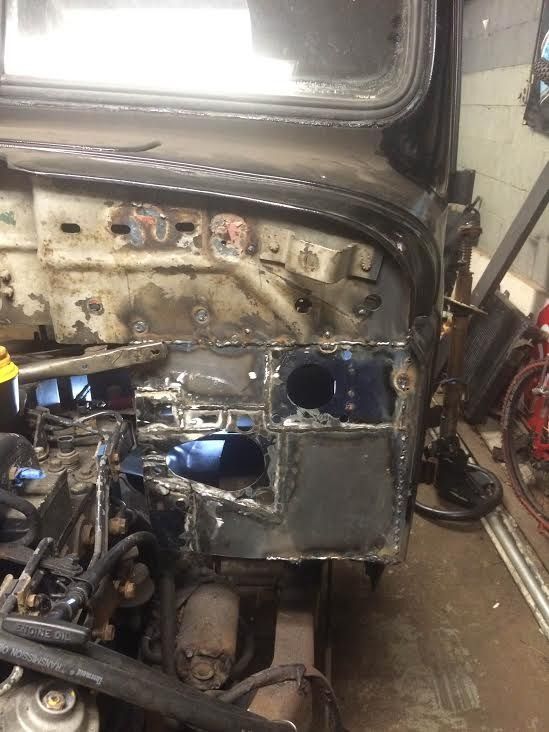
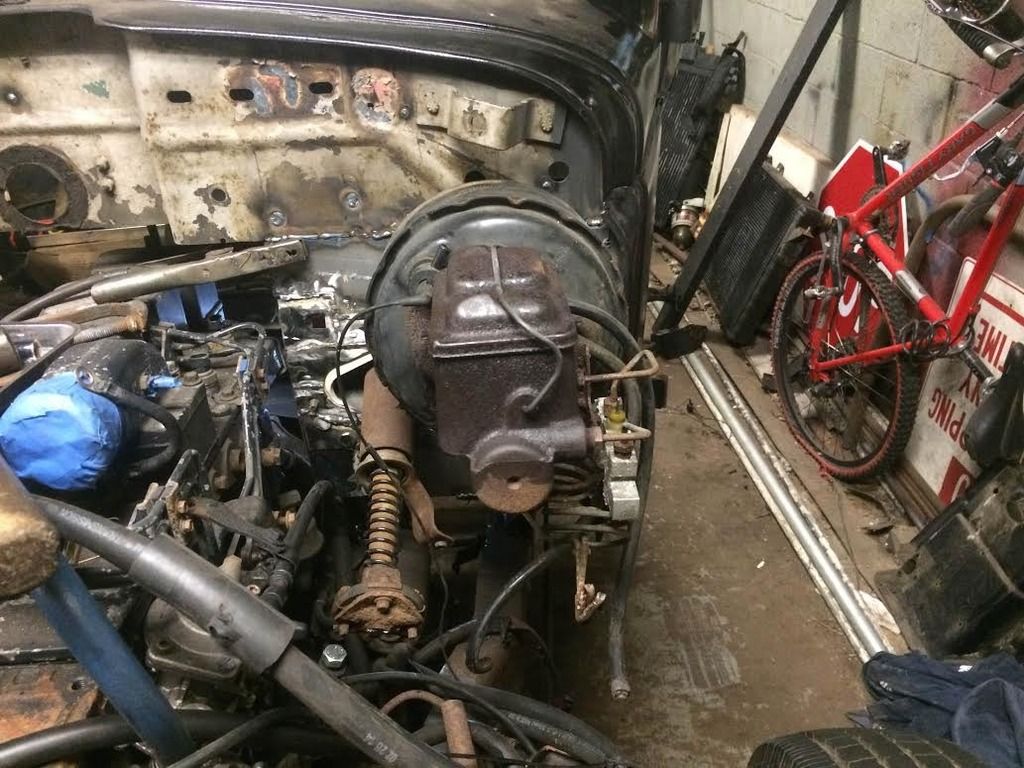
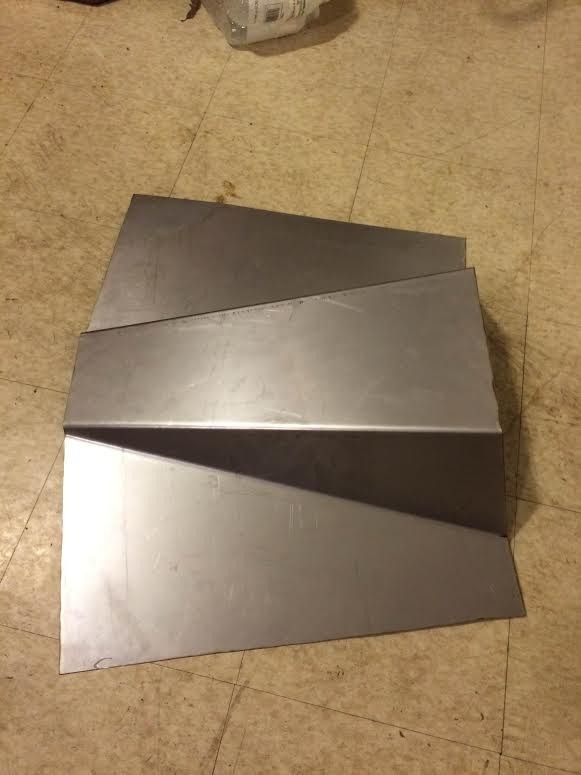
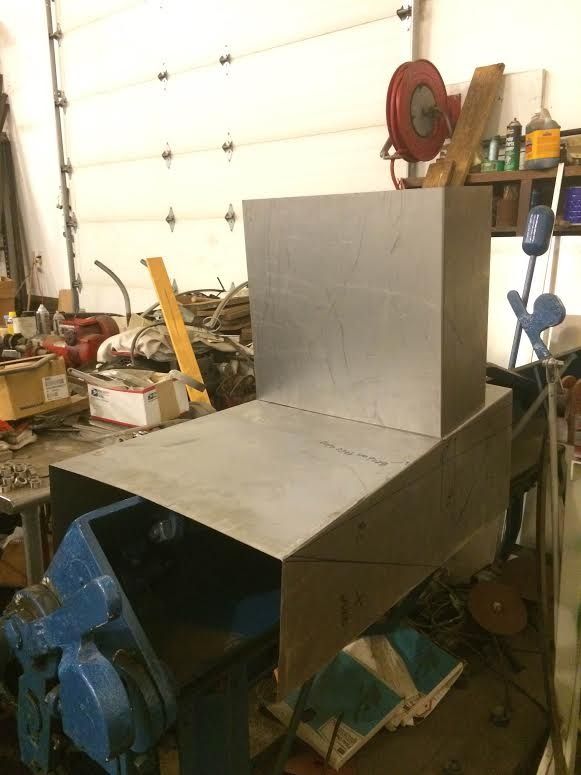
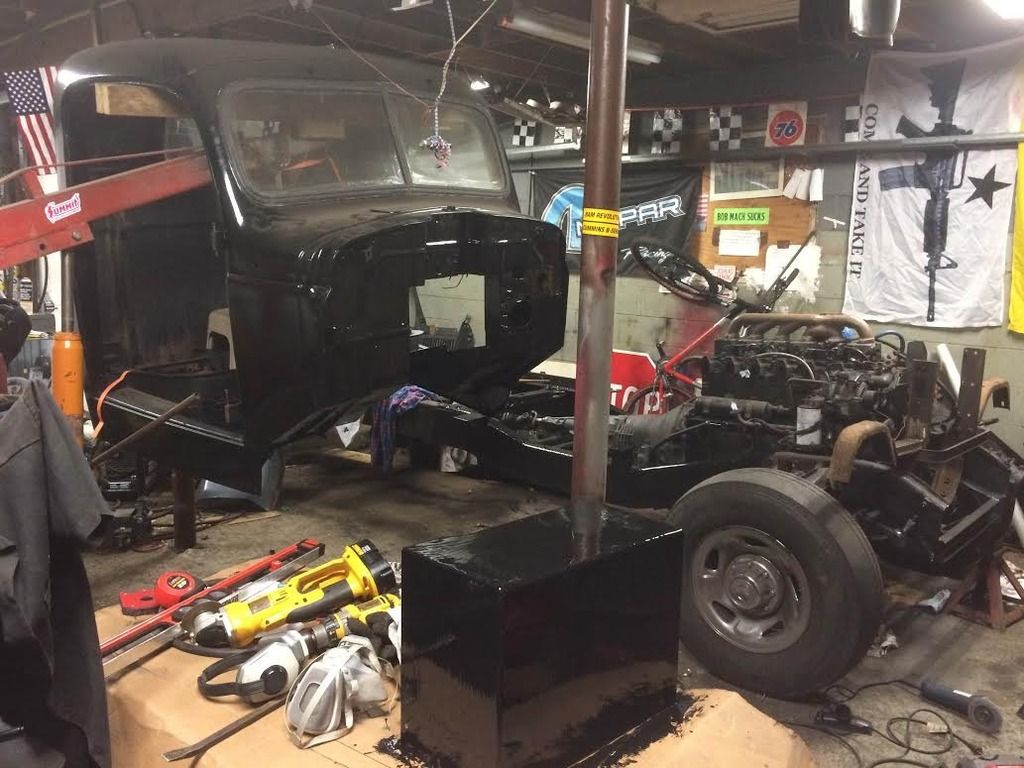
Got around to making a hydroboost setup last week. I originally bought a corvette master cylinder to try, but it was not large enough for what I needed. I ended up using a brand new 92 Astro van hydroboost and mated it to the 93 Dodge master cylinder. I made a bracket out of 3/8" steel to mount the setup to the firewall, and then added spacers on the drivers side of the bracket to give me some inward angle on the master cylinder. Right now the spacers are washers, but I will switch them over to some round aluminum spacers once I finally bolt in on the truck permanently. The spacers are necessary so the hood will close, as the hood tapers in towards the middle of the truck.

50502e68-e72e-48fa-959c-93b6b69f8890_zpsbqgjul9t.jpg


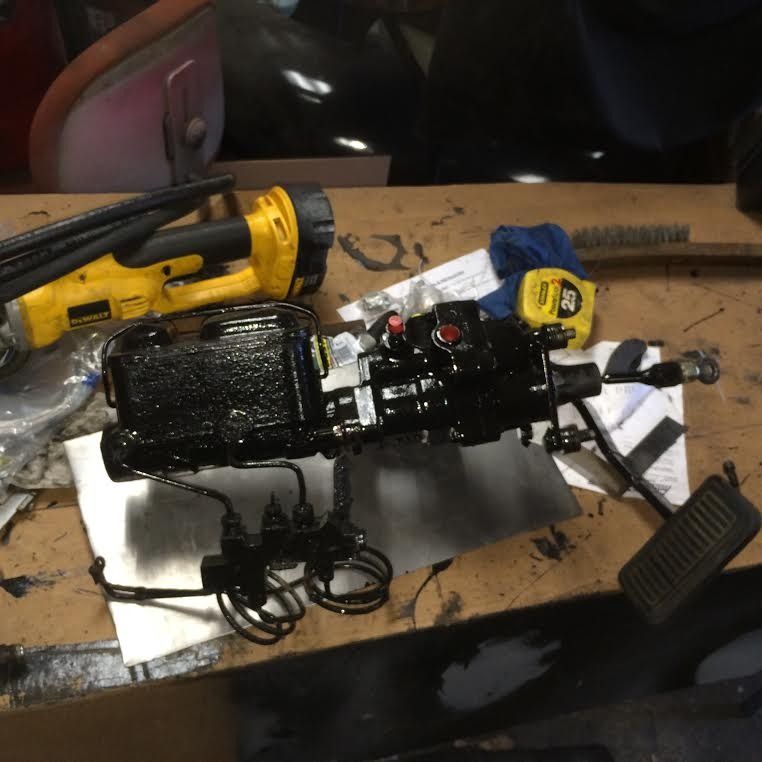
I also had to make the push rod inside of the hydroboost system as the new hydroboost did not come with the master cylinder push rod. The master cylinder mounting holes from the 93 also was slightly wider than the Astro hydroboost. I drilled out the mounting holes a little bit in the master cylinder and it fit just fine.
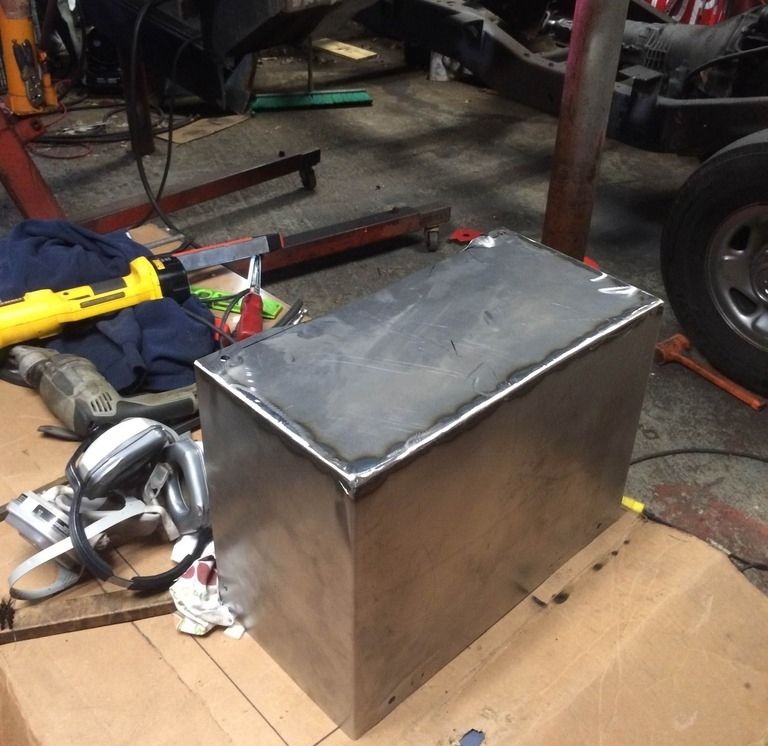
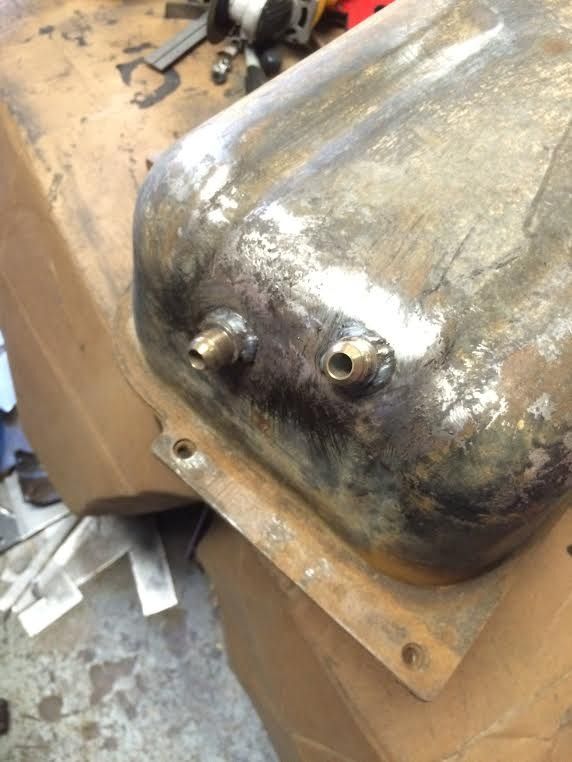
Some may ask "Why not just use the Astro master cylinder?" The answer is because the Astro master cylinder does not have a large enough bore and stroke size to properly match with the factory brakes on the 93 chassis. Plus I also would rather have a steel reservoir master cylinder, the plastic just looks kind of ugly lol.
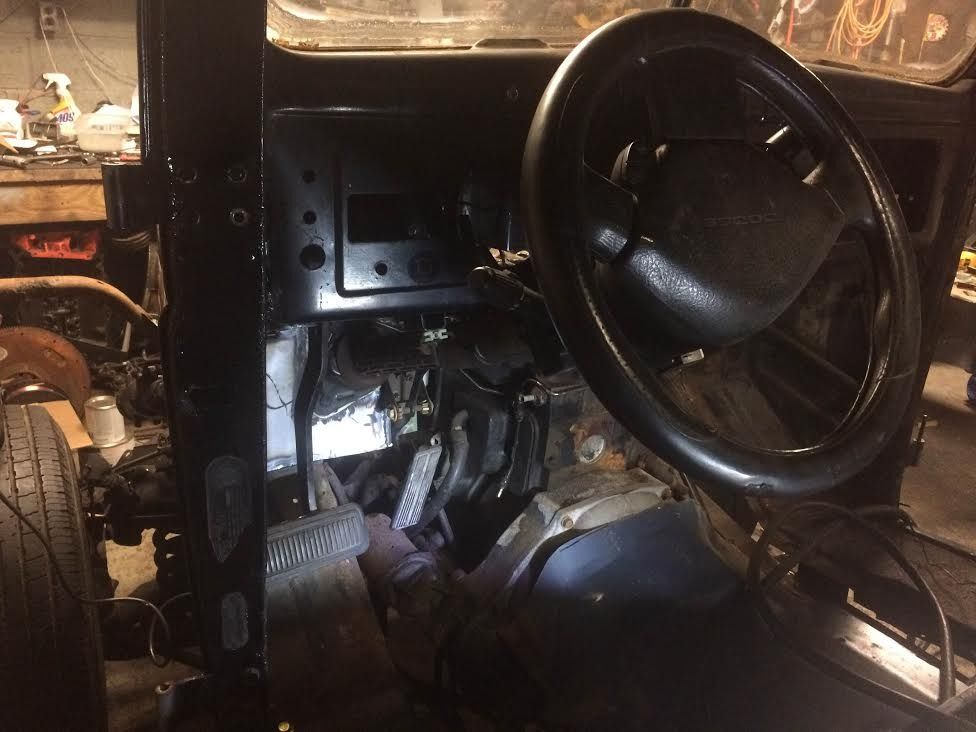
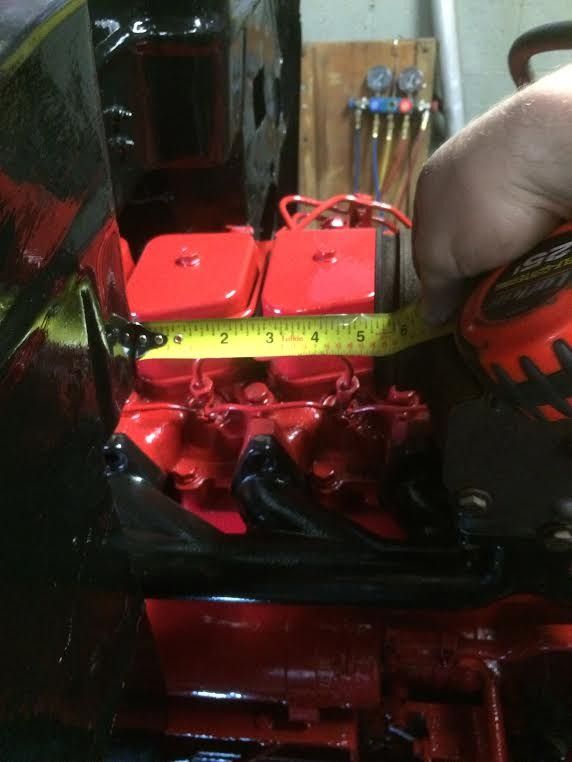
After I mocked it up on the truck, I was able to see how long of a pedal travel would be needed. I wanted some pedal push rod adjustment just incase, so I made a threaded rod with a lock nut that has about 1" of adjustment.
For Pressure lines to and from the PS pump, hydroboost and steering box I am going to go with 6AN braided line. Russel makes adapters to use the 6AN fittings with the metric hole sizes found on the hydroboost, ps pump, and steering box.
I believe the hydroboost setup is well worth the $200 I will have into it once all is said and done. Stopping is important!
 
Last edited:
Yesterday I was able to knock out the downpipe and intercooler / trans cooler mounts.
There is only 5 1/8 " between the back of the turbo and the firewall. I tried fitting a regular 4" tight radius elbow in there, and there was no way that was going to happen.

c13532e5-6a25-4438-b16f-e7401027a2b3%201_zpstnrezuhz.jpg


4" square pipe seemed the best way to go for tight areas like this. At the bottom turn I will be switching back to round pipe.

ee86748b-2919-4612-9b68-7d4ba0c38979_zpsyygjz7lj.jpg


The 4" pipe still allows for enough room to wrap the pipe in header wrap to keep some of the heat in.

b2328e13-8393-4e3b-bd73-32f4a1be5616_zpsms50zsx5.jpg


Here is the completed downpipe. 3 30* cuts to give me a total of a 90* turn. Plenty of flow there!

7adbdc78-1033-466c-93ec-585cd1c9118a_zpswwfucllj.jpg


Intercooler / radiator mounted, as well as both trans coolers

cc01c6bf-c10a-4a4b-b526-8afb1322fc26_zpsfyymfrjc.jpg


cdc664cd-0794-479e-a448-f5d75f980c06_zps67ngpixj.jpg


Acquired a new set of wheels for it. Factory 17" wheels off an 06 Ram 2500. Should look a little better than the second gen steelies it has now.

cfff2f7a-4d4d-4654-b1fb-4c68d0583e00_zpsjz1fu3ge.jpg


College courses have been taking most of my free time lately, so I havent got as much done as I would like. I will post some more updates soon!
 
Its been awhile since I posted any updates, but lately I have not had time to work on the truck. Bought a house recently and am now engulfed in that. But I am taking the time to make the garage a decent shop, installed a lift and ran a 100 amp service out to the garage for the welder / compressor etc. Hopefully by Fall I will be back at working on the truck!
 
Back
Top