Dicking Around . .

Borg Warner is rather clear on their recommendations, I am unsure why this information isn't more common.
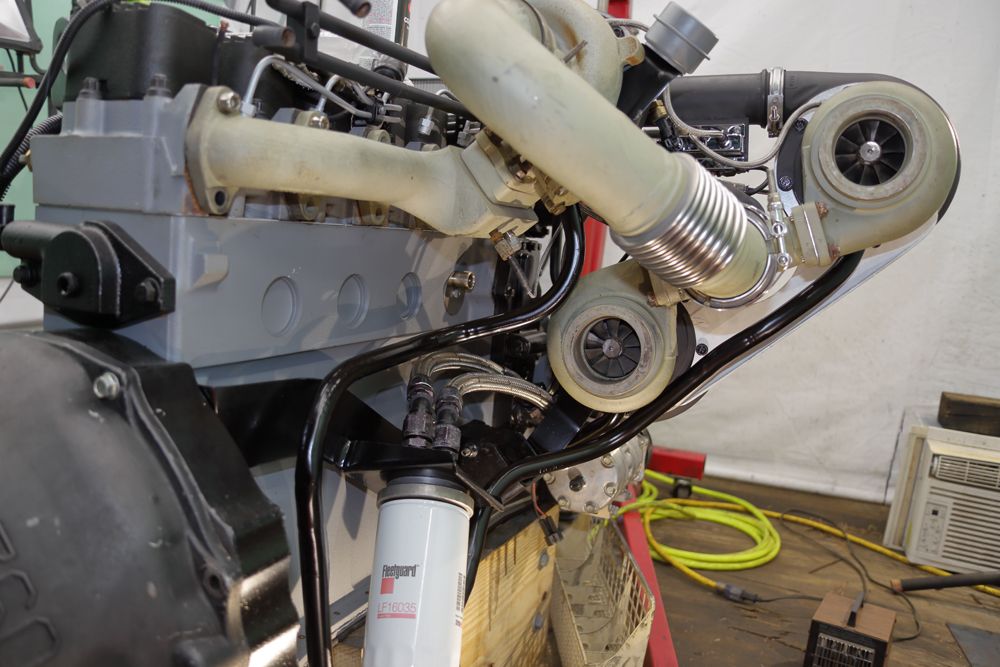
Interesting. I don't recall seeing this article in any of the boxes when I got the turbos. I may be mistaken but, . .
I'm disappointed my dumbazz didn't catch this to start with. :bang
 
So, I fixed a stupid transmission dip-stick tube O-ring leak once and for all and then got on with making the remaining turbo lube-oil drains. Started with the top primary.
- More specialized CAD (Copper-tube Aided Design) work developing/fitting a prototype using 3/8" soft copper tubing.
- Fold up the 3/4" EMT conduit to duplicate the prototype.
- Braze on a flange.

Developing_Fabricating_Turbo_Lube_Oil_Drains.jpg


- Clean up, paint and install. It's kinda hard to see but, the plan is to use a short section of 3/4" ID hose to connect the hard-pipe to the oil-pan fitting (typical of all three drains).

Top_Primary_Lube_Oil_Drain.jpg


One more to go. :bang
 
What are you trying to grow in the cracks of your plywood floor?

Following along from home. Can hardly wait for the video of this VE running again. Maybe Christmas present?
 
EMT has a painted coating on the inside, depending on the brand. Either way, be careful using it for anything but a temporary fix. It does not like heat or oil, from what I've seen and can flake off.
 
EMT has a painted coating on the inside, depending on the brand.
Yeah, I've seen that wire pulling lubricant coating flake off in sharp bends of the EMT. I'll remove all that chemically or with fire. Thanks.
 
So, I fixed a stupid transmission dip-stick tube O-ring leak once and for all and then got on with making the remaining turbo lube-oil drains. Started with the top primary.
- More specialized CAD (Copper-tube Aided Design)

Top_Primary_Lube_Oil_Drain.jpg


One more to go. :bang

I like your custom BPAD clerencing on the downpipe ( Ball Pein Aided Design) :hehe:

Sweet build man keep it up! :rockwoot:
 
I like your custom BPAD clerencing on the downpipe ( Ball Pein Aided Design) :hehe:
Yeah, even though I was able to recess the HVAC blower motor about a 1/2", it still wasn't enough to clear that pipe comfortably.
I'll ignore it if you will. ;)
 
Yeah, even though I was able to recess the HVAC blower motor about a 1/2", it still wasn't enough to clear that pipe comfortably.
I'll ignore it if you will. ;)

Hey, first...the turbo system as a whole looks awesome...Second...once its installed, never happened.

On a side note, what are the specs on the wood stand you got going on?

I need to build one like that anything special or just some 2x6 on plywood?
 
what are the specs on the wood stand you got going on?
- 2x12 with three 2x center/end-pieces. Shortened in height to clear the oil-pan. (up front the tallest, the rearmost, the shortest.
- All fastened with 1/2" lag-bolts set no less than 3". All installed in pre-drilled holes. Just small enough holes to have the threads of the bolt get a good purchase while not so tight as to split the wood. Washers under the heads so as to help pull them up tight without cutting in, so to speak.
- The above affair is set, centered on a 2'x4' sheet of 3/4" plywood (the higher the ply-count, the better).
- The bottom is fastened with 2 1/2" heavy dry-wall/deck-board type screws every 6" on the sides. only two in the center pieces well away from the lag-bolt penetrations so as not to increase the chance of splitting the board.

** Screw the 2x's to the plywood before drilling/installing the lag-bolts. That way, the damned thing is square to the block.

The thing will be just wide enough to clear bumps in the side of the pan's top and still rest for the most part on the wood (the block won't line-up with chit).


>Sigh< I bet I've outlaw family members who's just throw the heap on a pile of tires and just deal with it.
 
[/QUOTE]
-
>Sigh< I bet I've outlaw family members who's just throw the heap on a pile of tires and just deal with it.

Chit, I didn't even have tires to put down....Oil pan needs replaced anyway but this isn't a long term solution by any means lol
12valve2.jpg
 
This "Minor Details/Loose Ends" chit is getting out of hand.

I got the lower primary's oil-drain tube sucked up closer to the turbo to better insure clearing the passenger's frame-rail.

Bootom_Primary_Drain_Final.jpg


I made the secondary's oil-drain tube. It was a PITA ciphering the various angles of approach to the flange so as to clear all the nuts, bolts, waste-gate linkage, etc along the way AND, be able to get a wrench on those same nuts and bolts later.

Secondary_oil_drain_side.jpg


Secondary_oil_drain_flange_from_under.jpg


With the exceptions of fabbing/installing Resilient support-mounts to those long oil-drain tubes and, providing connection fittings at the pan, I think the turbo oil-drain crap is done.

Turbo_oil_drains_side.jpg


Long_Turbo_Oil_Drains_1.jpg


Engine_Turbo_Aft.jpg


There was a time when one could figuratively set a young'un on each side of the engine and shut the hood with no hurt feelings.

Huh. :doh:
 
Next time I pull my drain it's getting Allen screws so I can use a wobble driver.

Sent from my motorola one action using Tapatalk
 
That's a right sporty balancing-bar you got there. Where'd you find that?

Looks like a harbor freight piece

Yes sir, super cheap and worked great tilting it fully dressed out of the dodge.

Only complaint I read on it was the handle sucked...that turned out to be very true, but I got it to work, just could have been easier.

I used a HB hoist, leveler and transmission jack...all worked great on these heavy a$$ parts....If I did it everyday, I'd spend up, but since I plan to build one of these every few years, I think they will be just fine.
 
This is a fine example of why I dread some tasks I do. Can't just make a damned pipe-clamp. I do understand why some might just use some plumber's tape and call it good. :(

Making_Oil_Drain_Anchors.jpg


Anyhoo, those long turbo oil-drain pipes are secured with resilient mounts that are fastened with genuine Cummins bolts through drilled & tapped penetrations.

Oil_Drain_Anchored_1.jpg


Oil_Drain_Anchored_2.jpg


Spent a few minutes installing the main battery cables including new battery-end connectors.

Installed_Battery_Cables.jpg


Renewed_Battery_Connectors.jpg


Dicking around. :bang
 
Back
Top