
You are using an out of date browser. It may not display this or other websites correctly.
You should upgrade or use an alternative browser.
You should upgrade or use an alternative browser.
Project Leftovers: The Rise of Frankenstein
- Thread starter Big Blue24
- Start date
CorneliusRox
Seasoned Rookie
Jeeze! That head must have been left right next to a dehumidifier with the lack of corrosion it has.
fatty
VE
As long as that beast of yours stays in canada I like my chances.
Thanks again everyone for all the positive feedback, I am really hoping to do the 12v justice as I don't think there has ever really been a strong one in the dpc. at least none that I know of.

Didn't Chris Werner win it in a 12 valve a few years back? That one was definitely in the strong category.
diesel_importer
Active member
^ think that was more than a few years ago, but yes I believe so.
Big Blue24
Comp Diesel Sponsor
Update: Water/Air Cooler Plumbing
Todd finished up the water/air cooler setup building a custom aluminum manifold for the feed and return circuits for the ice water system:
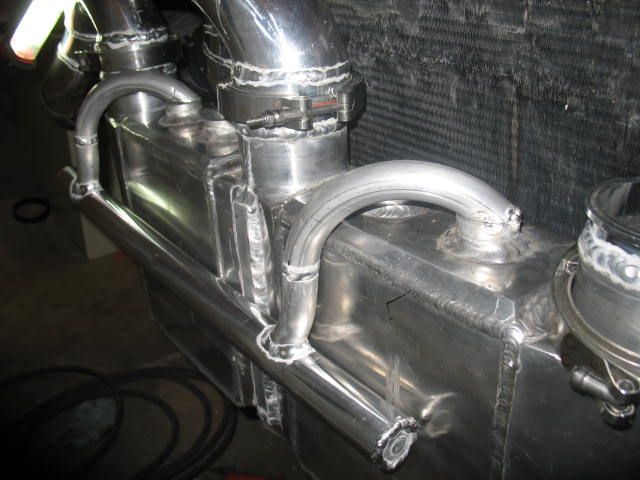
It turned out pretty slick, especially for entry level fabrication experience!!

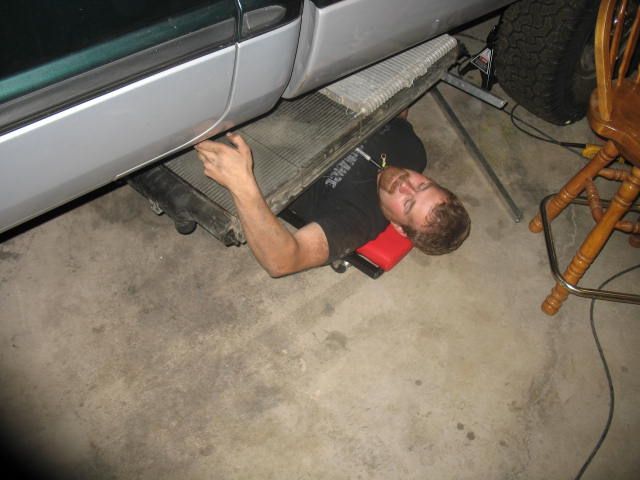
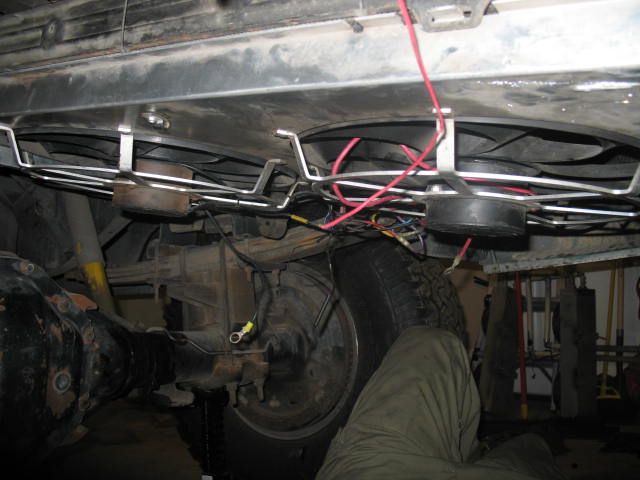
For the heat exchanger/cooler for street use, Todd mounted electric fans onto a stock/style radiator that will be mounted under the truck.
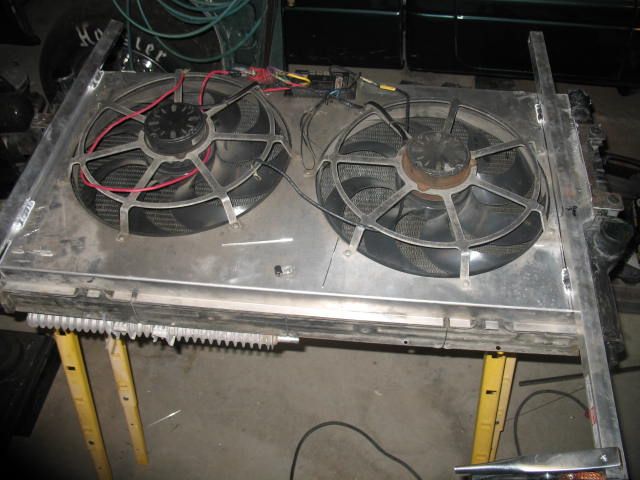
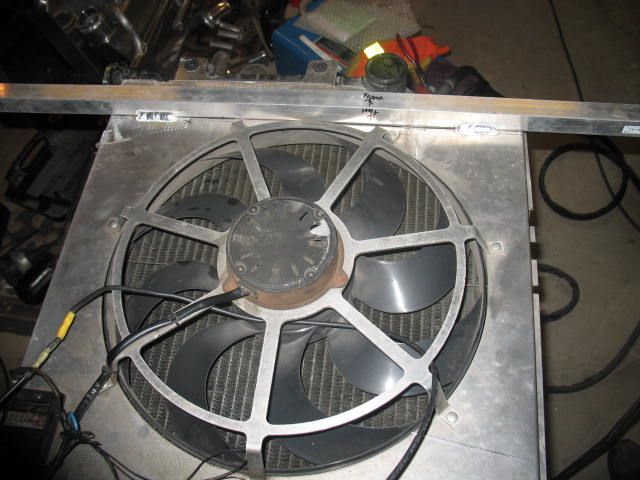
Buddies that work for free are always a nice asset!! Special thanks to Baron! He's a Ford guy so he's very comfortable working around radiators, EGR coolers, typical 6-leaker failure points..... :hehe:
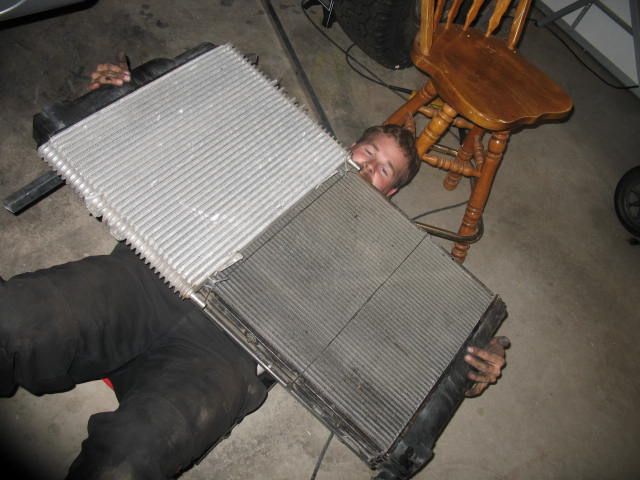
Todd tried to use aluminum wherever it was feasible to try to save a few extra lbs of weight, all those coolers and fluid add up so it's best to save weight where possible.
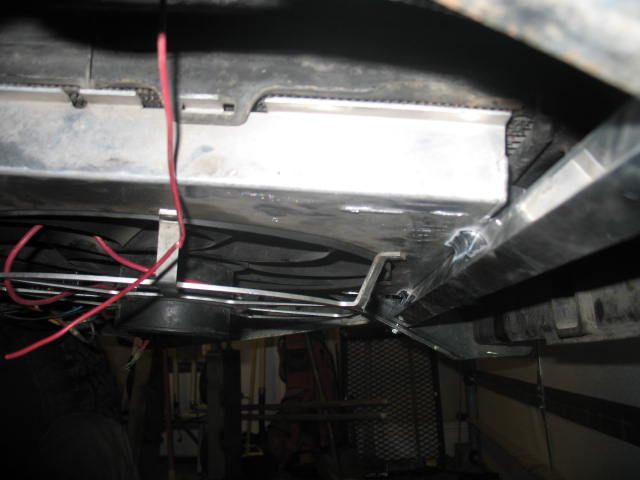
Todd finished up the water/air cooler setup building a custom aluminum manifold for the feed and return circuits for the ice water system:
It turned out pretty slick, especially for entry level fabrication experience!!
For the heat exchanger/cooler for street use, Todd mounted electric fans onto a stock/style radiator that will be mounted under the truck.
Buddies that work for free are always a nice asset!! Special thanks to Baron! He's a Ford guy so he's very comfortable working around radiators, EGR coolers, typical 6-leaker failure points..... :hehe:
Todd tried to use aluminum wherever it was feasible to try to save a few extra lbs of weight, all those coolers and fluid add up so it's best to save weight where possible.
Big Blue24
Comp Diesel Sponsor
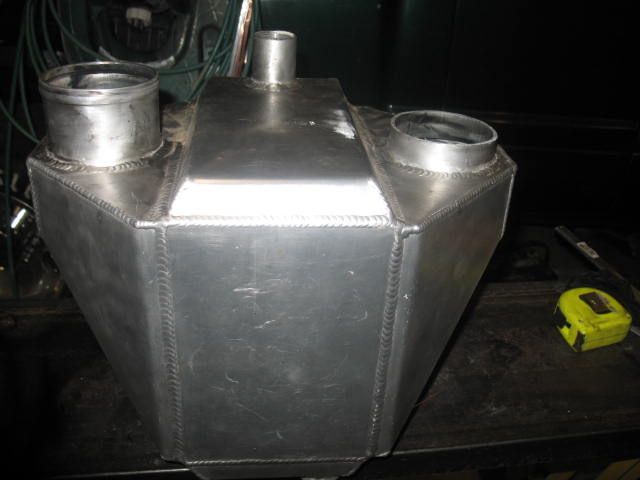
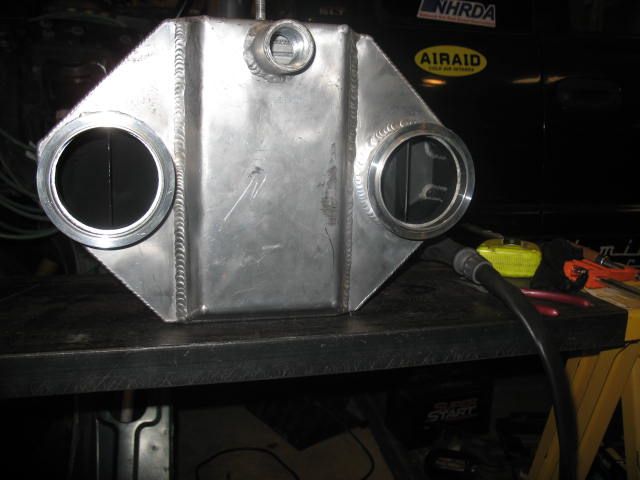
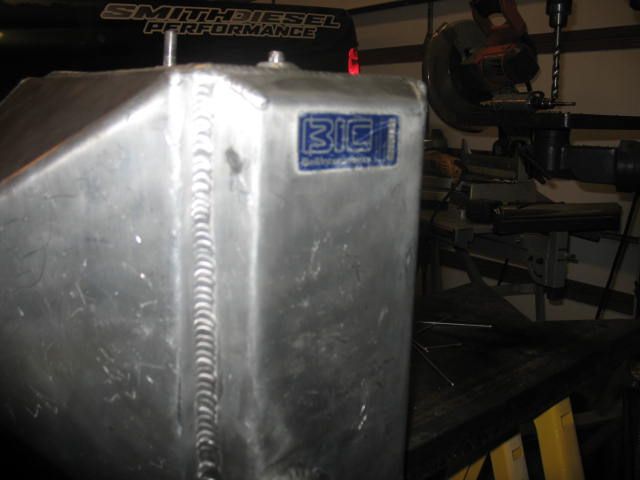
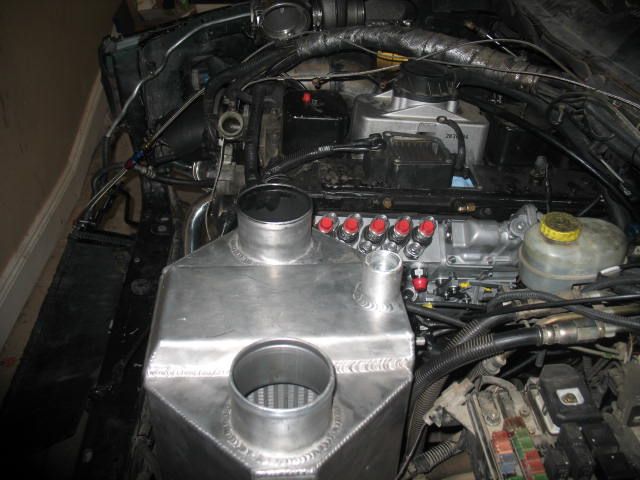
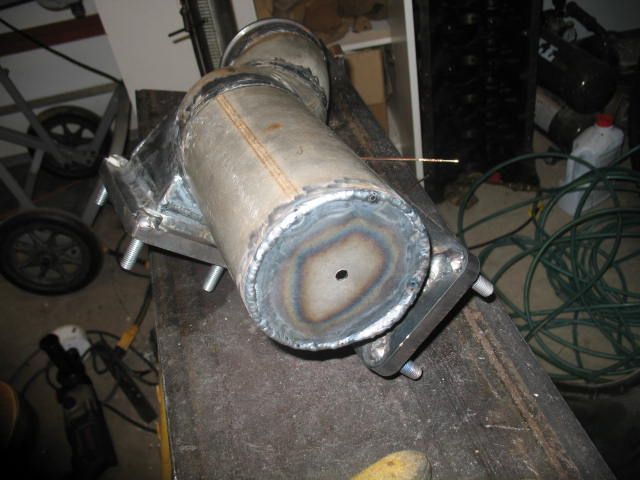
Update: High Pressure water/air intercooler
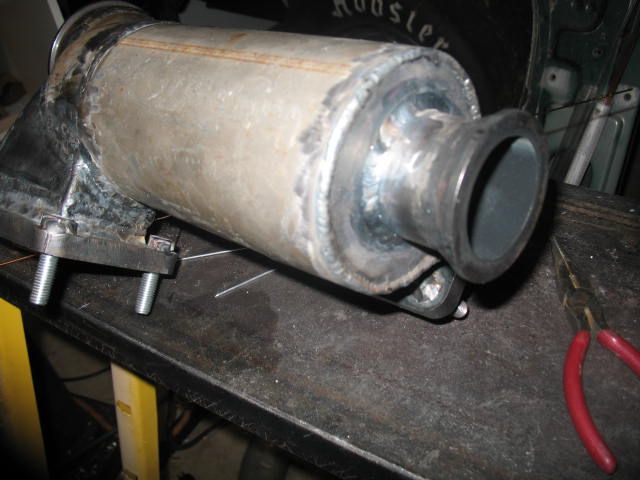
In keeping with the leftovers and co-mingled parts theme, we are utilizing this massive Bell water/air cooler for the high pressure boost cooling just prior to entering the motor:
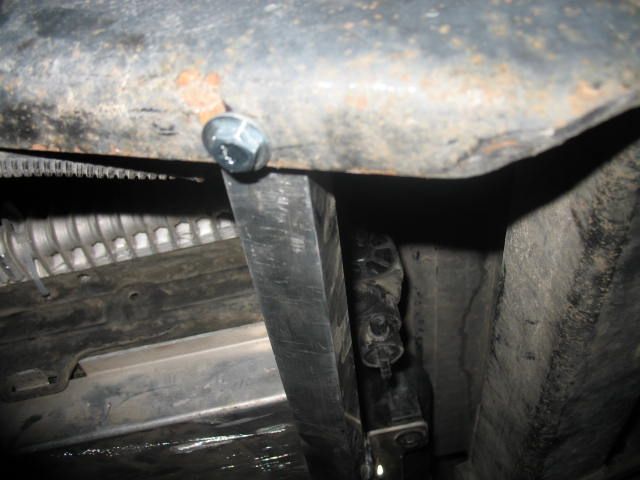
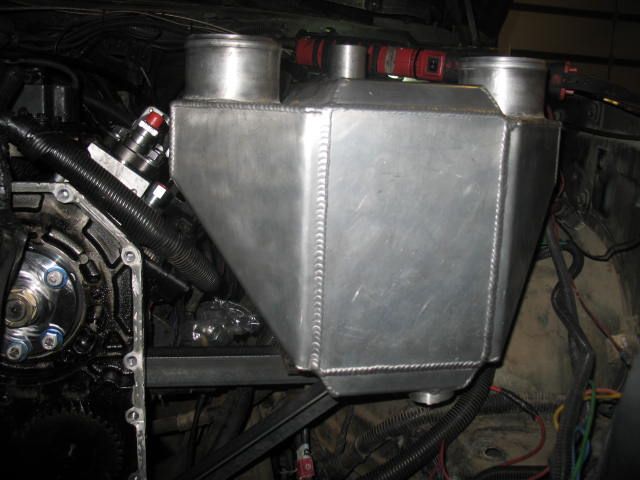
Todd started by fabricating a bracket on the driver's side mounted to the motor to keep the cooler aligned/floating with the torquing motor:

It fits like a glove!
In keeping with the leftovers and co-mingled parts theme, we are utilizing this massive Bell water/air cooler for the high pressure boost cooling just prior to entering the motor:
Todd started by fabricating a bracket on the driver's side mounted to the motor to keep the cooler aligned/floating with the torquing motor:
It fits like a glove!
YOUNG GUNS15
Im AWESOME!!!!
You mean It just barely fits!? Holy crap, taking lessons from the 6.0 crowd are we? Hahaha lets jam this thing here with less than a 1/16 of an inch for clearance lol.
Looks good!
Looks good!
GorillaDave
Aníbal Catastrophe
How does it look hood clearance wise? Seems like it would be an awful sharp connection at the big cooler to clear the hood.
94 12valve
Kingpin
In the performance diesel industry, the highest bang for the buck turbo currently available, in our opinion, is the Borg Warner S475 part number 171702. For roughly $650-700, you get exceptional turbine flow combined with a massive 100 lbs per minute of air.
I do agree this is the best bang for the buck turbo out there, but I do think you will find two of them in this twin set up will be too much.I ran one of these on my puller this year when I was in a pinch for a charger. While it got the job done and lit pretty easy as a single around 3k with two of them I'm worried you will be out of usable rpm when they finally light.
There a bit more coin but I think turbo number 177101 would have been a better choice for the primary's. With the 74/83 turbine in a 1.1 t4 they should light up much better in this triple set up. Same compressor wheel and flow.
This is just my .$.02, I do enjoy your build threads keep up the good work :rockwoot:
Big Blue24
Comp Diesel Sponsor
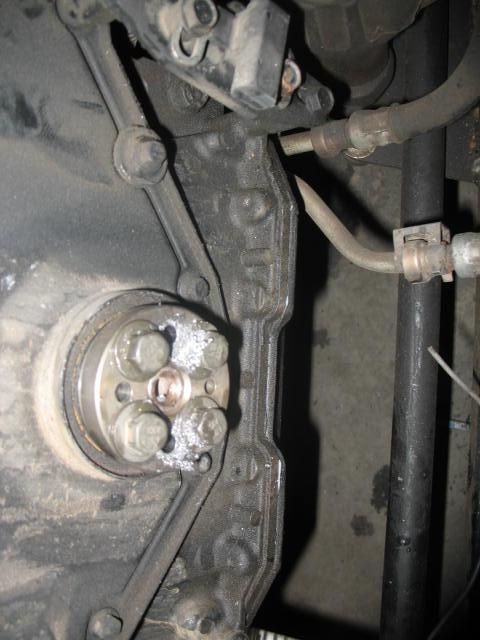
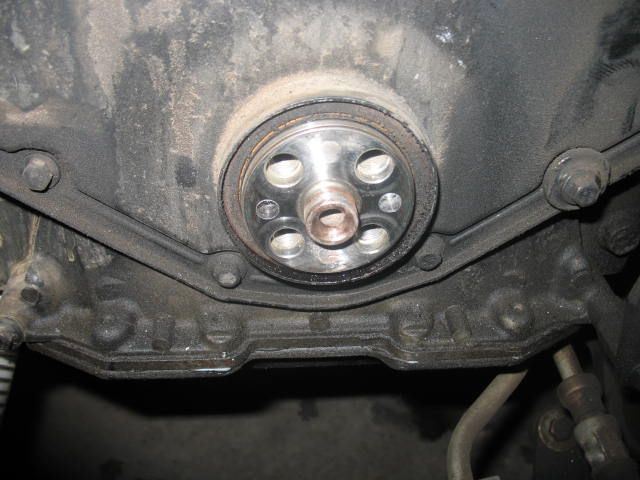
Update: Harmonic Balancer/Dampener
We plan to spin the motor up to 5200 rpm if necessary to make the setup work at elevation in some of the various contests required in the Diesel Power Challenge. In preparation for higher rpm usage, Todd drilled the crank for extra pins to engage the Fluid Dampr. The upgraded dampener is also required to be SFI rated in order to legally go quicker than 11.50 ET in the 1/4 mile.
Fluid Dampr Jig was used to drill the holes:
Last edited:
Big Blue24
Comp Diesel Sponsor
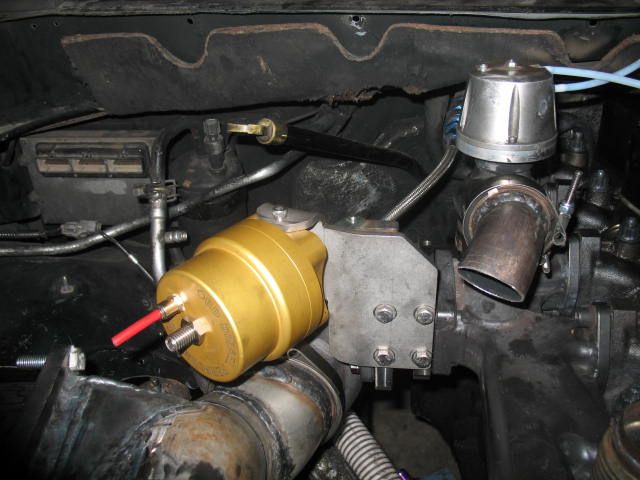
Update: Shock Tower Modification & Final Turbo Plumbing
When Todd was finishing up the triple turbo fabrication and install, it became apparent that the shock tower on the passenger side was in the way of a turbine housing.
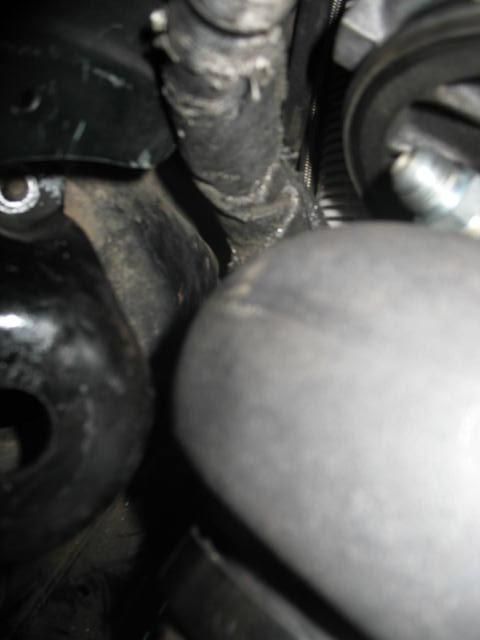
A little cutting for clearance:
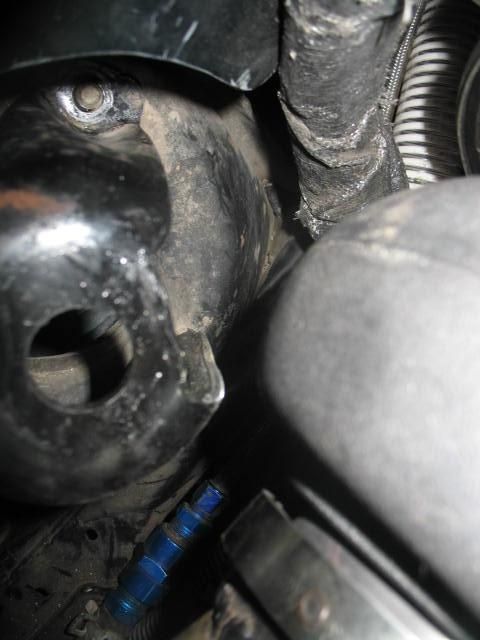

We were able to keep and use the BD spool valve for the GTX4202 manifold turbo, it was tight but everything fit.
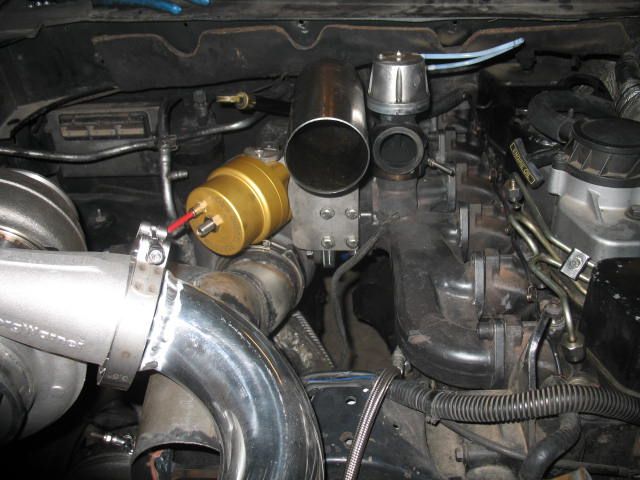
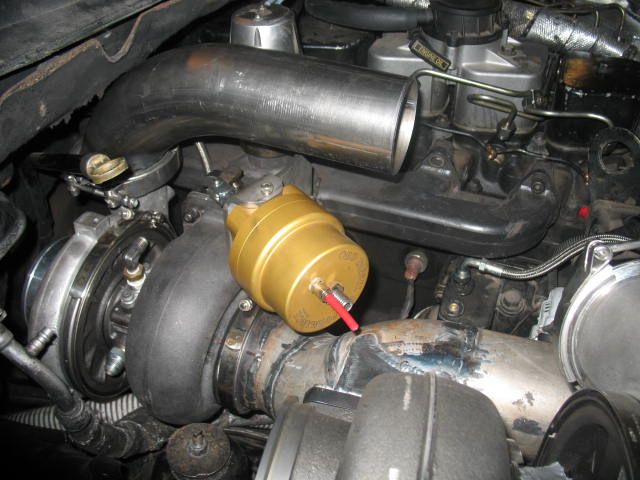
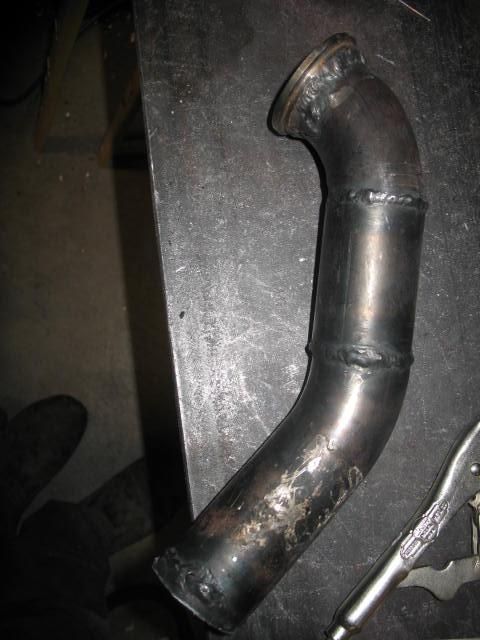
Todd also added a wastegate in the hotpipe:
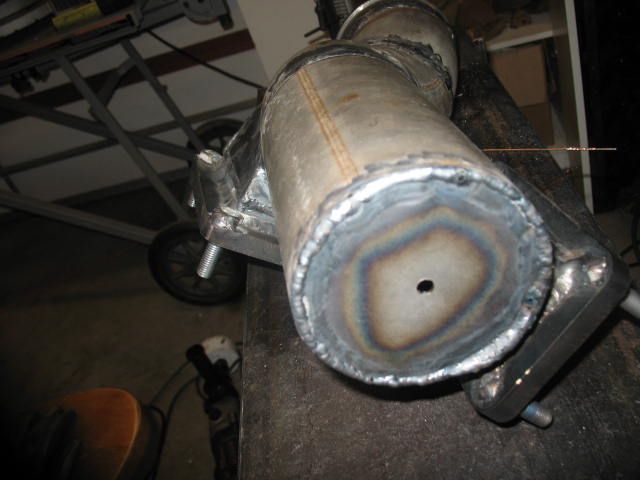
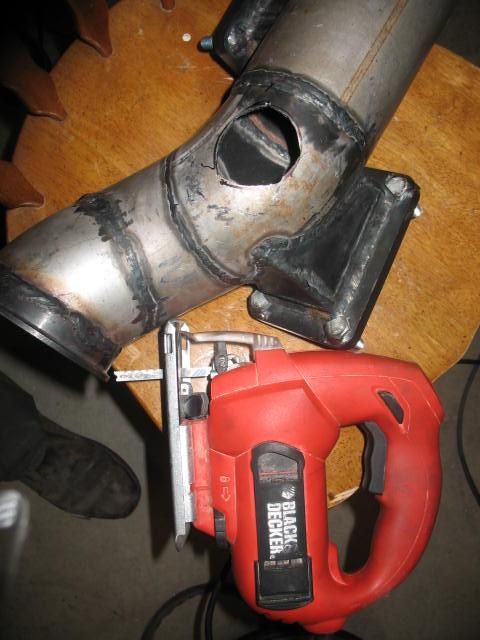
In keeping with the Frankenstein/Project Leftovers theme, Todd harvested some flanges from an old hotpipe/former racing project!!!
The alternator bracket makes for a nice turbo/hotpipe brace location.

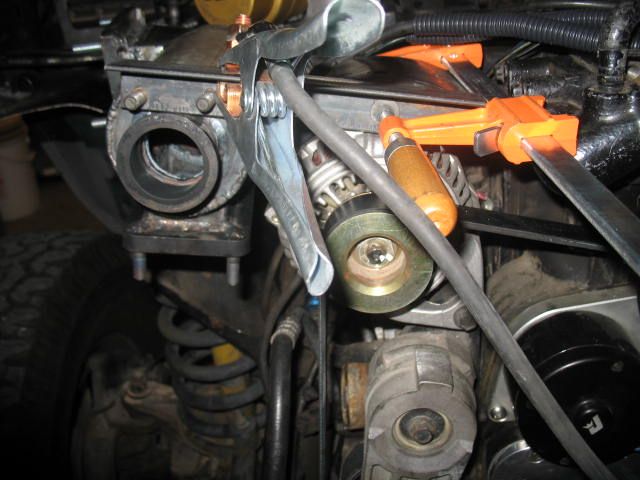
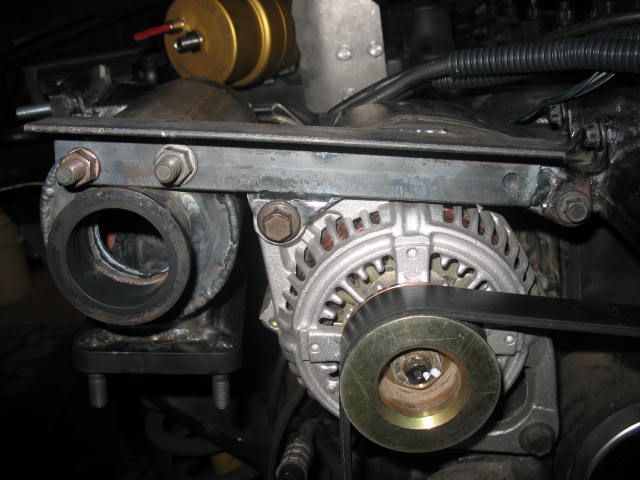

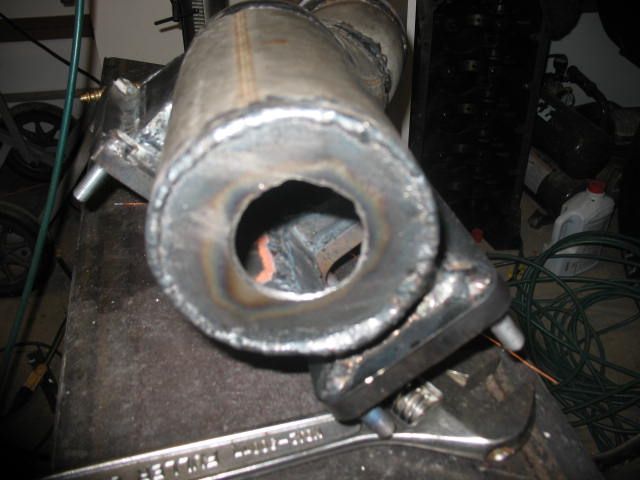
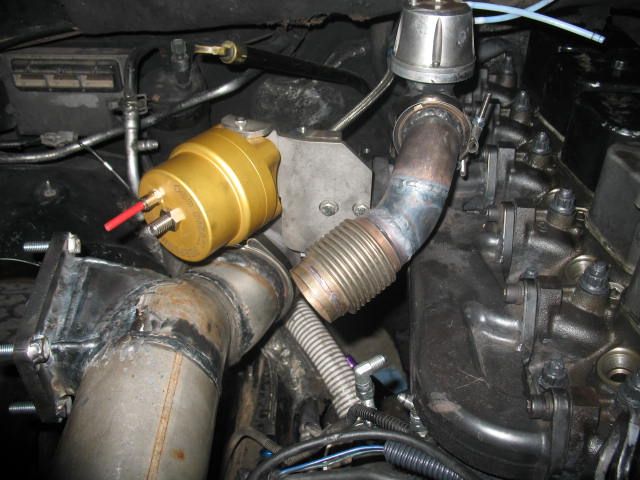
More parts harvesting/salvaging:
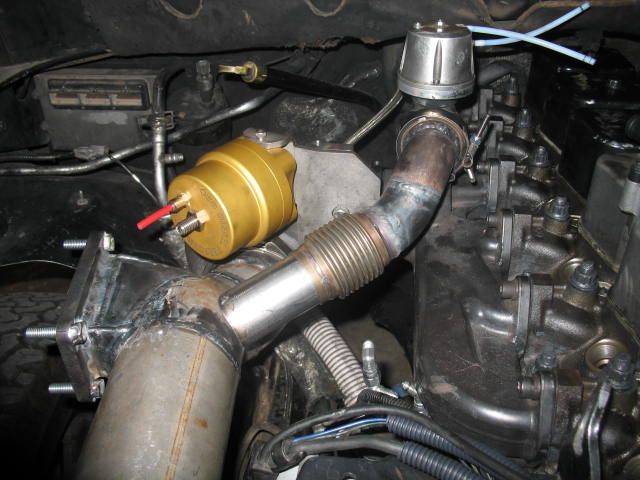
A bellows was added for thermal expansion:
When Todd was finishing up the triple turbo fabrication and install, it became apparent that the shock tower on the passenger side was in the way of a turbine housing.
A little cutting for clearance:
We were able to keep and use the BD spool valve for the GTX4202 manifold turbo, it was tight but everything fit.
Todd also added a wastegate in the hotpipe:
In keeping with the Frankenstein/Project Leftovers theme, Todd harvested some flanges from an old hotpipe/former racing project!!!
The alternator bracket makes for a nice turbo/hotpipe brace location.
More parts harvesting/salvaging:
A bellows was added for thermal expansion:
Well, did you receive the email today as well?
I did!
Joesixpack
Pull'n it.

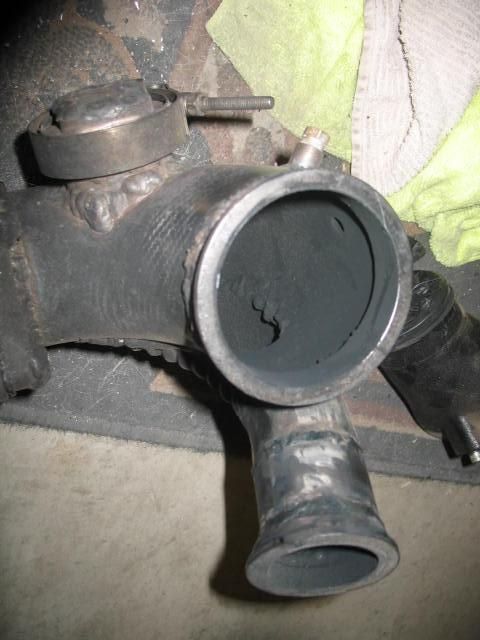
My OCD won't let it rest. The two input ports equal to the single output port is giving me a fit!
My OCD won't let it rest. The two input ports equal to the single output port is giving me a fit!
2 inlets are 3" v-band. outlet is 3.5" v band. with the air being colder and more dense on outlet side I am hoping that the 3.5 will flow adequate.
Joesixpack
Pull'n it.
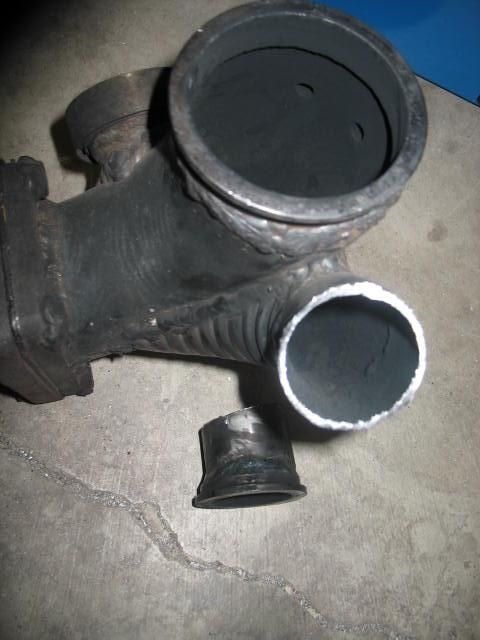
14 squares vs 9.62. Not the end of the world with the IC's being machines. I'll sleep a bit better LOL!