Rebirth of Monster Mudder

I hope so, ending up having a ton of time just in the fenders, starting to get ideas on how to make the rear bedsides and what I'm going to have to do to get a mold off the grill. Going to have to remove the bars sections and replace them with some either sheet metal or aluminum to fill it in and pull the mold on it.
 
last couple of nights been sanding on the one front fender and the rear fender, using guide coat and working out all the shallow spots and ended up getting into the foam on the front fender in a couple of places getting it evened out and had to dig in and add filler deeper into those areas to get it all worked out right.

Tonight, got them to a point where I think a layer of glaze putty was in order and will sand them tomorrow with 180 and guide coat sprayed on.

The other front fender was unmolded last night and it was really wet still in the center, I trimmed it up and added more foam in the center and let it set till tonight. Tonight I mixed up two big batches of plaster of paris and applied them to it. I'm going to pick up one more box tomorrow and apply 2 more layers tomorrow night and then file it smooth with a rasp before I apply filler to it.

31054714340_f50750156c_k.jpg


30616764223_f8bf1648b3_k.jpg


31279350502_a2853ad2f9_k.jpg


31279352782_5089bbfbc9_k.jpg


31460736956_ee360ca380_k.jpg


31351836942_fd8e979036_k.jpg


31351835242_35d177bc37_k.jpg


31460734046_7e6eaf9280_k.jpg


31498220315_0efc0a2747_k.jpg


31382678411_d26d8b16c2_k.jpg


30657300414_de014932e7_k.jpg


31498217775_f2401daba3_k.jpg


31498215815_6525c1e6e5_k.jpg


30657297634_ec01f9f5ca_k.jpg
 
Still working on the fenders, the rear fender is pretty much ready for primer and cutting the grooves for the flanges to help hold them in place.

The first front fender is close, but I keep finding spots that I've made too thin with sanding and the filler has cracked, so I've been punching through those and digging a hole to fill up with filler and sand it back smooth. I've also started applying filler to the inside side of that fender and will sand it down smooth tomorrow and mark where the groove is going to be for the flange on that side.

I cut a couple of profile templates for the completed fender to be able to gauge where I'm at on the other front fender, I've got it pretty close to the inside profile of the other fender now, so will start applying filler to it tomorrow.

A used 4.56 and up carrier for the dana 60 arrived yesterday along with the weld in tube ends from ruff stuff for my new front longer control bars. Hoping to have the fenders finished by the time I start vacation on Weds, so I can get the dust cleaned up in the shop from all the sanding and get the transmission pulled out of the truck and start removing the front diff and begin moving the diff forward.

30753518793_8d10f01f46_k.jpg


31416169532_f0b13c4996_k.jpg


30753516213_a4470e4622_k.jpg


31190738450_de56fcf13f_k.jpg


31416160032_a338b3d54d_k.jpg


31416159622_d3a3b883c4_k.jpg
 
We are in the planning stages for my daughters 1st gen.

Check out the MRA 'Hot Street Rules'. We are planning on competing in the 'Super Stock' class, but, I do believe we could fit into the 'Hot Street' class.

Anyone trying to be seriously competitive in this mud racing world with an L-6 power plant that weighs +/-950 lbs setting in the original location is, for the most part, starting a loosing proposition.

I have not consulted with any of the rule makers. However, we are going to go ahead and back the cummins up to position the #1 injector over the center line of the front end. Most of the folks wont care until we start becoming competitive. Am I asking for an advantage? I don't think so as the cummins outweighs my friends 706cuin N/A big block by a little over 200lbs. Somewhat of an advantage will be gained by backing the weight of the trans and transfer case up. However, this advantage doesn't come close to making up for the additional 120 or so pounds we will be placing right at the front end centerline.

We ran in "Super Stock" several times with little Bodacious. I can tell ya straight up those folks don't like getting whipped by a diesel powered vehicle. At that time, most of the rule makers understood our disadvantage and let us run. We were normally lighter than the full size rigs, but, the top runners in this class have small trucks with 600+ cuin engines. On top of all that, you can't find a single stock part in those engines. We've changed the cam, had some head work done, and added a larger turbo.

Just wanted to get your thoughts.
 
I've talked to MRA at one point about maybe going to one of their races, but my truck really didn't fit their rules at that time, haven't looked at them lately. They invited me to their rules meeting in TN, but had our own rules meeting that weekend. I pulled up their bog pit rules and don't see a hot street class, The only thing in their super stock class I see that might cause you problems with moving the engine back is the "Firewall cannot be cut, relocated or reshaped. I'm one of the techs for the org I primarily race with. The org wasn't really checking trucks till me and another guy stepped up and started teching trucks a couple of years ago and this set of trucks we all knew were illegal for the classes they had been running in got really upset when we teched them and moved them up to the proper classes because of the modifications they had on thier trucks, they packed up and left.

I don't know how well the MRA techs, but an engine setback is pretty obvious unless you are very creative. I would definately know it was different, but I've been around all manner of vehicle engine compartments all my life.

I agree the weight of the cummins causes a huge disadvantage on the front end of the truck. I'm still struggling with deciding on whether or not to move the axle forward this winter to shift weight back or wait and try and find me a lighter frame and custom build it out with engine set back and relocate all the body further back. I think that would be the ideal way to go as it would shift more weight back. My truck right now is trying to lift the front end up and hoping with the gear change, front shock/spring change, lighter front clip that it will really help. But it's a trial and error thing on what's going to work. I don't like changing a bunch of stuff at once, but may go ahead and throw the axle move in at the same time and then start hunting for a frame that will work to move the platform too as a long term goal.
 
Don't take me the wrong way. We are not going to try to skirt the fire wall rules, we are going to hopefully change the rules to give us diesel nuts a fighting chance.

Those fellas you are running against out your way probably don't have much different set-ups than the fellas here. Suppose you went all out and your truck made 2k+HP with no other changes, your gonna have to have a custom 80 front to take the abuse.

I've seen dang near 50/50 weight distribution on some of the top Super Street and Super Stock trucks. I don't think you will ever see it unless you either back dat cummins up or add ballast to the back increasing your overall weight. That's how these fellas are getting life out of even the dana 30 front diffs.

I think you are good with the body. I like what you are doing with the CF. Unfortunately other than that, the rest of your set-up is heavy. We did some crazy things to an '86 ford ranger frame yet went unnoticed to even the sharpest eyes.

I'd recommend starting with something small like a Toyota frame, shorten your wheelbase, extend the frame just a bit, and go from there. If you think that's a bit extreme, the early first gen dodge/ mid70's to late 80's chevy frames (like your daughter's) were pretty light compared to that second gen frame you have now. They also used leaf springs at all four corners so if you are allowed factory springs, you can run a GM fiber leaf with another steel false leaf.

I'm just making suggestions. You've done outstanding with what you got to this point.
 
Last edited:
Oh ok, that makes more sense then, that's what I've been doing working with other places I have tried to run at but their rules don't allow my truck in the current form.

Your right, my heavy frame and axles are killing me on weight. I have an 80's s10 blazer frame and a 93 dodge d150 frame sitting out here that I've contemplated using one or the other to build a new base for the truck. Most of the guys that are running the upper classes are using Toyota frames as well since they are fully boxed. Just not sure how they will hold up to the torque of the truck.

I'm planning on moving the radiator, fuel cell, dual fuel pumps and trans coolers further back in the bed to behind the back axle to shift more weight back.

I'm interested in seeing what the truck ends up weighing and the weight distribution if I get all of this done. Then I can decide from there I guess after I see how it runs this next season.

Spent the day out in the shop making it look like a cocaine factory, I hate the dust that doing body work leaves. Used the templates I made off of the other almost complete fender to start shaping the other front fender to the right dimensions. Think I've got my work cut out for me. The outer side of this other front fender is way low compared to the other one, the inside edges are about the same, so I started building up the outer edge and getting the right shapes going. That second fender is higher up on the plywood so I'm having to adjust templates to account for the height differences.

Finished off another gallon of filler and halfway through another today, need to grab a couple more tomorrow while in T town.

Think I finally have all of the thin spots on the front fender fixed and applied a glaze coat to it today and sanded it down with 180 grit and it's looking really good. Had two areas I need to apply just a touch more glaze putty to. Will sand them down tomorrow night. The rear fender is pretty much done, applied glaze to the back side and sanded it down with 180 as well, had a couple of low areas so I applied more putty to those areas and just need to resand them and see where I'm at.

31470521051_c0159a358d_k.jpg


31548932126_ae76c05503_k.jpg


30776690133_de93ad3745_k.jpg


31470508591_16f77ea171_k.jpg


31548922666_e98787051f_k.jpg


30776684963_7b9b893c18_k.jpg
 
Well, this week hasn't gone as planned. Somehow I got bit by a spider on the back of the leg and ended up sicker than a dog for a couple of days, so my first day of vacation, I ended up at the Dr and slept like 14 hours. Tuesday night, was fixing the final thin spot on the first front fender and was blowing the crevice out with the air gun and guess I got it a little too close and popped the mold. I was not a happy camper and so I got to fix that huge area. I also noticed that the symmetry between the two front fenders were opposite from what they should be, so I've been working both of them to get the same inside to outside symmetry going along with the templates for the front, back and inside profiles. I used the long sand board today on the 2nd front fender and it's damned near complete. Had a couple of little low areas that I added more glaze putty too and just put the first coat of glaze putty on the first fender tonight. Will start checking it for levelness and waves tomorrow. Rear fender back is finished, have one low spot on one side that I'm taking care of and then it will be ready to cut the grooves for the flange material to be inserted and hot glued into place, then I will tape off the surfaces of the flange material and once all three pieces are done with dry sanding, will start cleaning the cocaine factory up and then shoot a coat or two of high build primer wet sand then using 400 and 800 and then shoot a sealer primer coat on and wet sand with 800, 1000, 1500 and 2000. Should be ready to then make new tooling molds off of them.

Shots of the front fenders before the break
31593123981_6c6ef28444_k.jpg


31671446436_cdbd115391_k.jpg


31562076352_0becd3cf52_k.jpg


Shots of the broken ps fender

30898730483_7098447d0b_k.jpg


31708654485_ebfbcef1c5_k.jpg


31593117601_26b6882d9e_k.jpg


30867146084_018b57d009_k.jpg


Making progress
30867144534_2c43a18b54_k.jpg


30867143874_4a6e8a48cd_k.jpg


30867143874_4a6e8a48cd_k.jpg


31708647585_31bf700d0c_k.jpg


30867139914_da466845ea_k.jpg


31708642695_a1e8032059_k.jpg
 
Worked on the fenders off and on over the last couple of days they are real close to being done. The drivers side front is done other than the back side and flanges on the outside, front and back, working on those now. The passenger side fender, has two spots that went too thin that I'm working on and the flanges and backside as well. The rear fender is done except for the end flanges. Need to cut the grooves in it to put the flange material on the long sides.

Also need to cut the grooves on the inside edges of the front fenders after I finish smoothing the sides.

Had to take time today and sweep up the shop, was really starting to bug me. Had a huge pile of sanding dust, sand paper and cut off foam that needed to be gotten out of the shop.

30914919324_69f1d8f7d0_k.jpg


30946719593_f57dc44d3f_k.jpg


31384174320_f18683e26d_k.jpg


30946730453_045fe31fc2_k.jpg


31756530445_7bf6b22025_k.jpg


31756533495_a1bce2aad0_k.jpg


31756532515_c363c76ed7_k.jpg


31756533605_5a88f35094_k.jpg
 
Made big leaps today on the fenders, checked the back edges for straightness and had to do some power sanding on the rear fender and one front fender as I had a big wave out on both.

I've decided to use the boards the front fenders are sitting on and the flat lip on the outside as flanges for 3 sides on mold, just need to cut a groove on the back sides of the front fenders and put the board in it to make the back flange.

The rear fender and one front fender are complete other than the flange grooves cut and the other front needs some finish putty on a couple of areas in the morning and it will then be ready to have the grooves cut in it at well.

So tomorrow I will mark the 3 grooves one on each backside of the fender molds, cut them with my cutoff wheel on my die grinder, cut the flange boards and finish the one fender, then I should be ready to shoot a coat of primer on each one after I clean my "work" table up and off.

Think I'm going to have to put off moving the front axle forward this year, just not enough money to get a full hydro steering setup with all of the other stuff I plan on doing this year, unless someone knows of a steering box that bolts to the inside of the frame like ours but with a pitman arm going forward. There just isn't enough room on the front of the frame to move the factory box forward enough.

31627915952_401323ffb9_k.jpg


31627915432_fa68276ec7_k.jpg


30933383444_f7e12644d4_k.jpg


31627914272_75c7fda828_k.jpg


31627913182_3853cfef4b_k.jpg


31402366420_a314933e69_k.jpg
 
No primer was shot today, but they are finally ready to be shot tomorrow. Got all the notches marked and cut with my little marker I made. It's a high tech device, a caliper with a flat paint stick taped on one side and a sharpie taped on the other.

Made a huge mess cutting the grooves with the cut off wheel, then used some of that whiteboard wall board material to make the flanges and used wood glue on the inside and then hotglue on the outside. Added extra pieces at the bases to make more flat area then blended the filler onto them so it was all smooth.

30954674424_afd9ea9069_k.jpg


30954672684_35d06504b6_k.jpg


30954669244_adeb323c67_k.jpg


31423015410_a640b29df9_k.jpg


30954666234_8cabbefe7e_k.jpg


31679142481_08df33ea91_k.jpg


31679140141_d84c99c40f_k.jpg


31423007150_4c8aec9369_k.jpg
 
So the time it takes you to build something and post pictures is about the same amount of time it takes me to just post pictures.
 
LMAO, guess it helps to be a computer geek. My process is pretty simple. Take picture with phone, use flickr app on phone to upload to my account, go to pc, open flickr website to my account and photostream, click on the pic I want to share and click on the share pic button, go to the BBCode tab and copy url. Paste it in Comp D Post and then remove all the flickr crap but the image tags. Voila, that's it.

Planned on getting a lot accomplished today, but ended up working on my compressor quite a bit getting the auto drain back to working order and emptying out a huge amount of water. The auto drain got clogged up with some rusty scale from the inside of the tank. Not a good sign. Too many years in humid environments I guess. So while I was working on it went ahead and got all the drain lines plummed together and then routed out of the shop instead of each one going into a jug. One of those task I've been meaning to do for 3 years. Got it all working, tested the auto drain a couple of times, and it sticks again. Took it apart one more time and cleaned it up and seems to be working good again. Need to keep an eye on it and make sure it doesn't stick open or plug up again.

On the fenders, finally got the prime them about 4:30 today, they look pretty good, have a couple of areas that need a little tlc but overall considering what I started with they look damn good to me.

Messed around out in the shop after getting dinner in town and feeding the cows, and started wet sanding on one fender about 7pm got quite a bit of it sanded with 400, but it's still a little too wet in a couple of areas where I hit it heavier with the 3 year old remainder of a gallon can of tractor primer I had sitting on the shelf. Will finish wet sanding all three in the morning and then get out the next gallon can of left over primer.

31776730166_7a1affdcef_k.jpg


31776729726_50f16acdb5_k.jpg


31776726276_21bfe8963c_k.jpg


after a little wet sanding with 400 grit
30973530144_36984d55f3_k.jpg
 
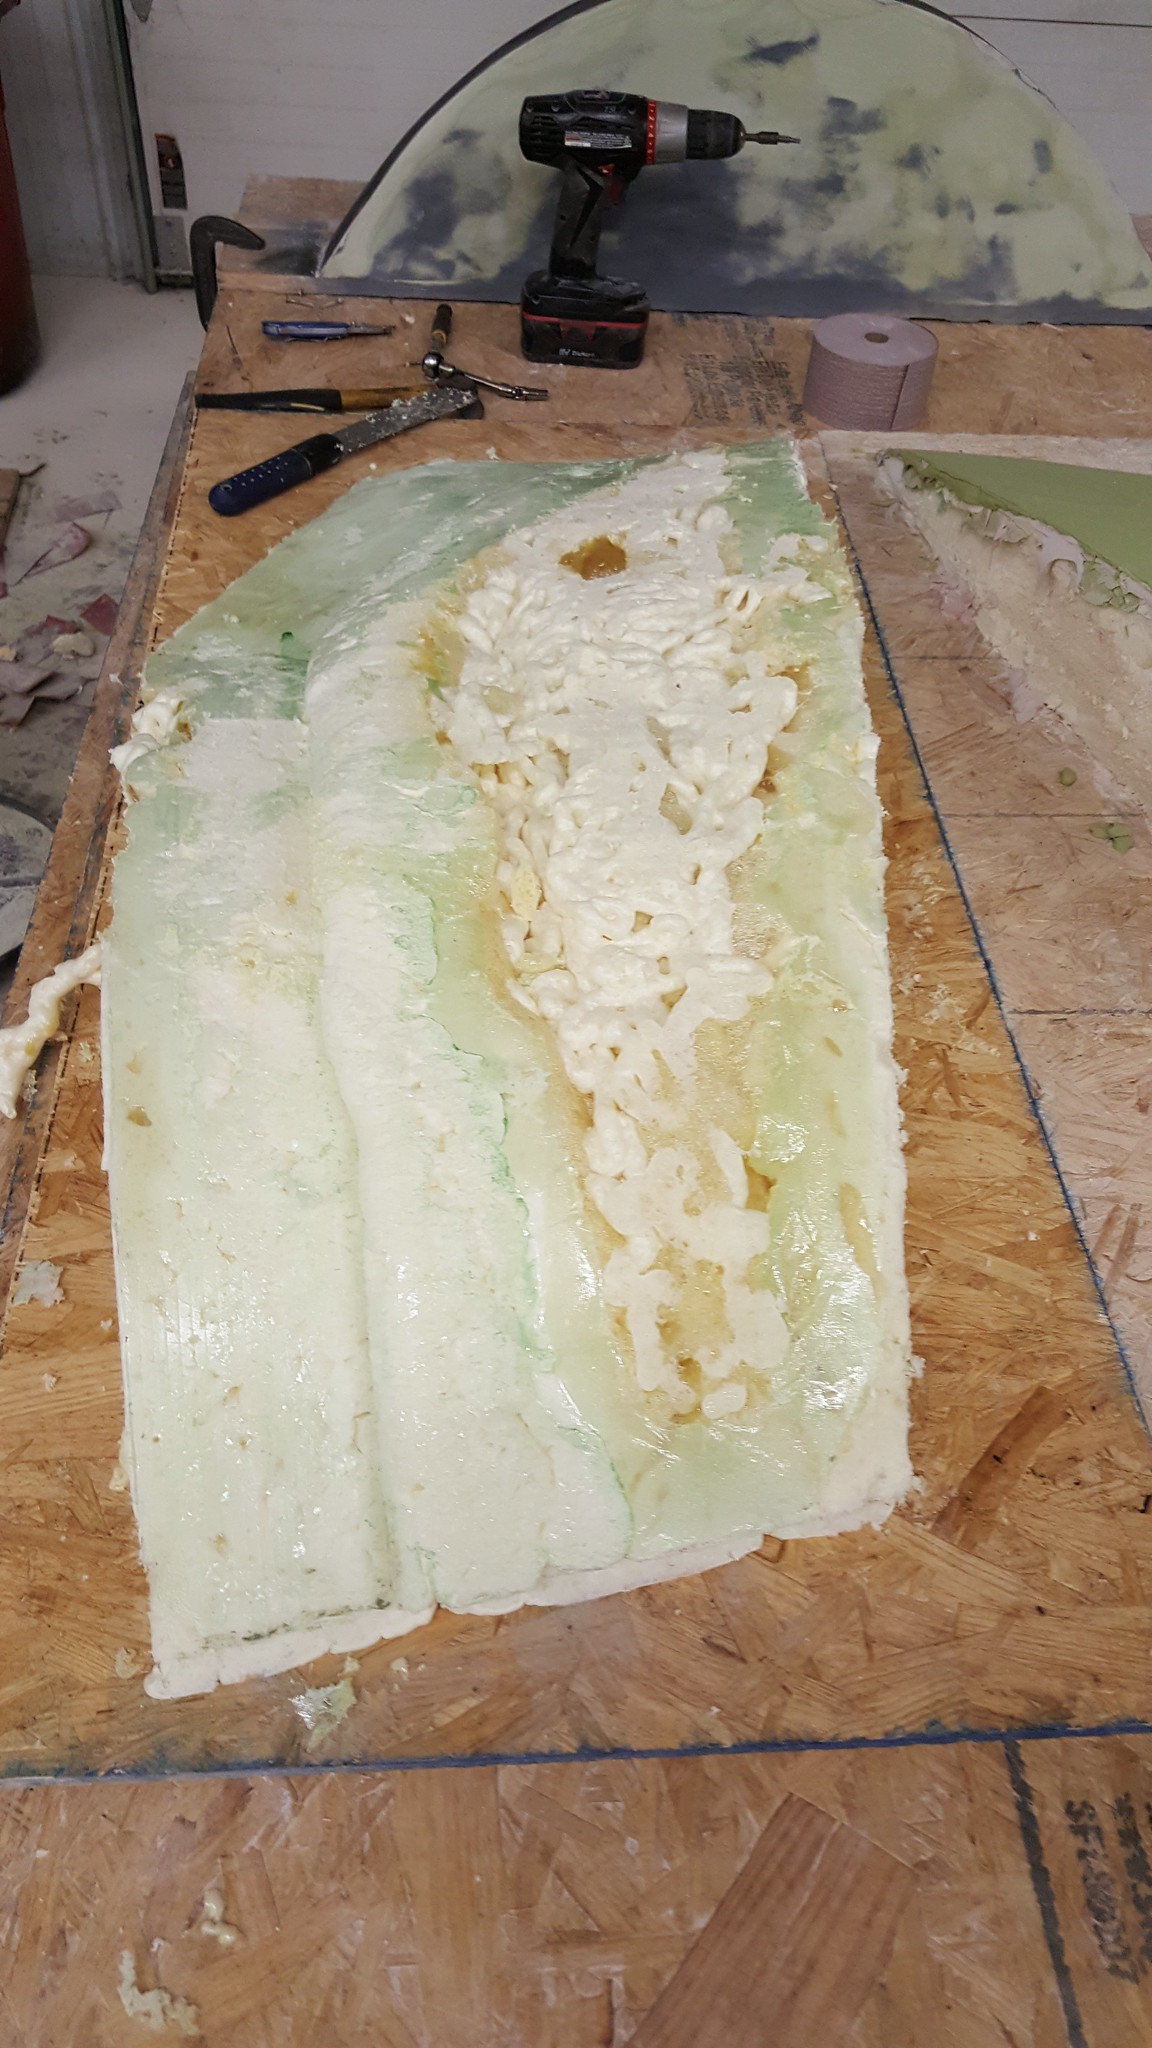
The first coat of primer looked good, there were a couple of places I had to fix so I put a little spot putty on them and it somehow caused that primer to turn loose where I applied it. So bigger sanding job, finish putty used and then sanded that down on the few spots. Shot another coat of primer, this time a primer / sealer. Well it turned to caca real fast. Weird cracks, tried sanding it down and it apparently affected the first coat of primer, you could take a scraper and just scrape both layers off in spots. So I scraped off what I could and then sanded it further down.

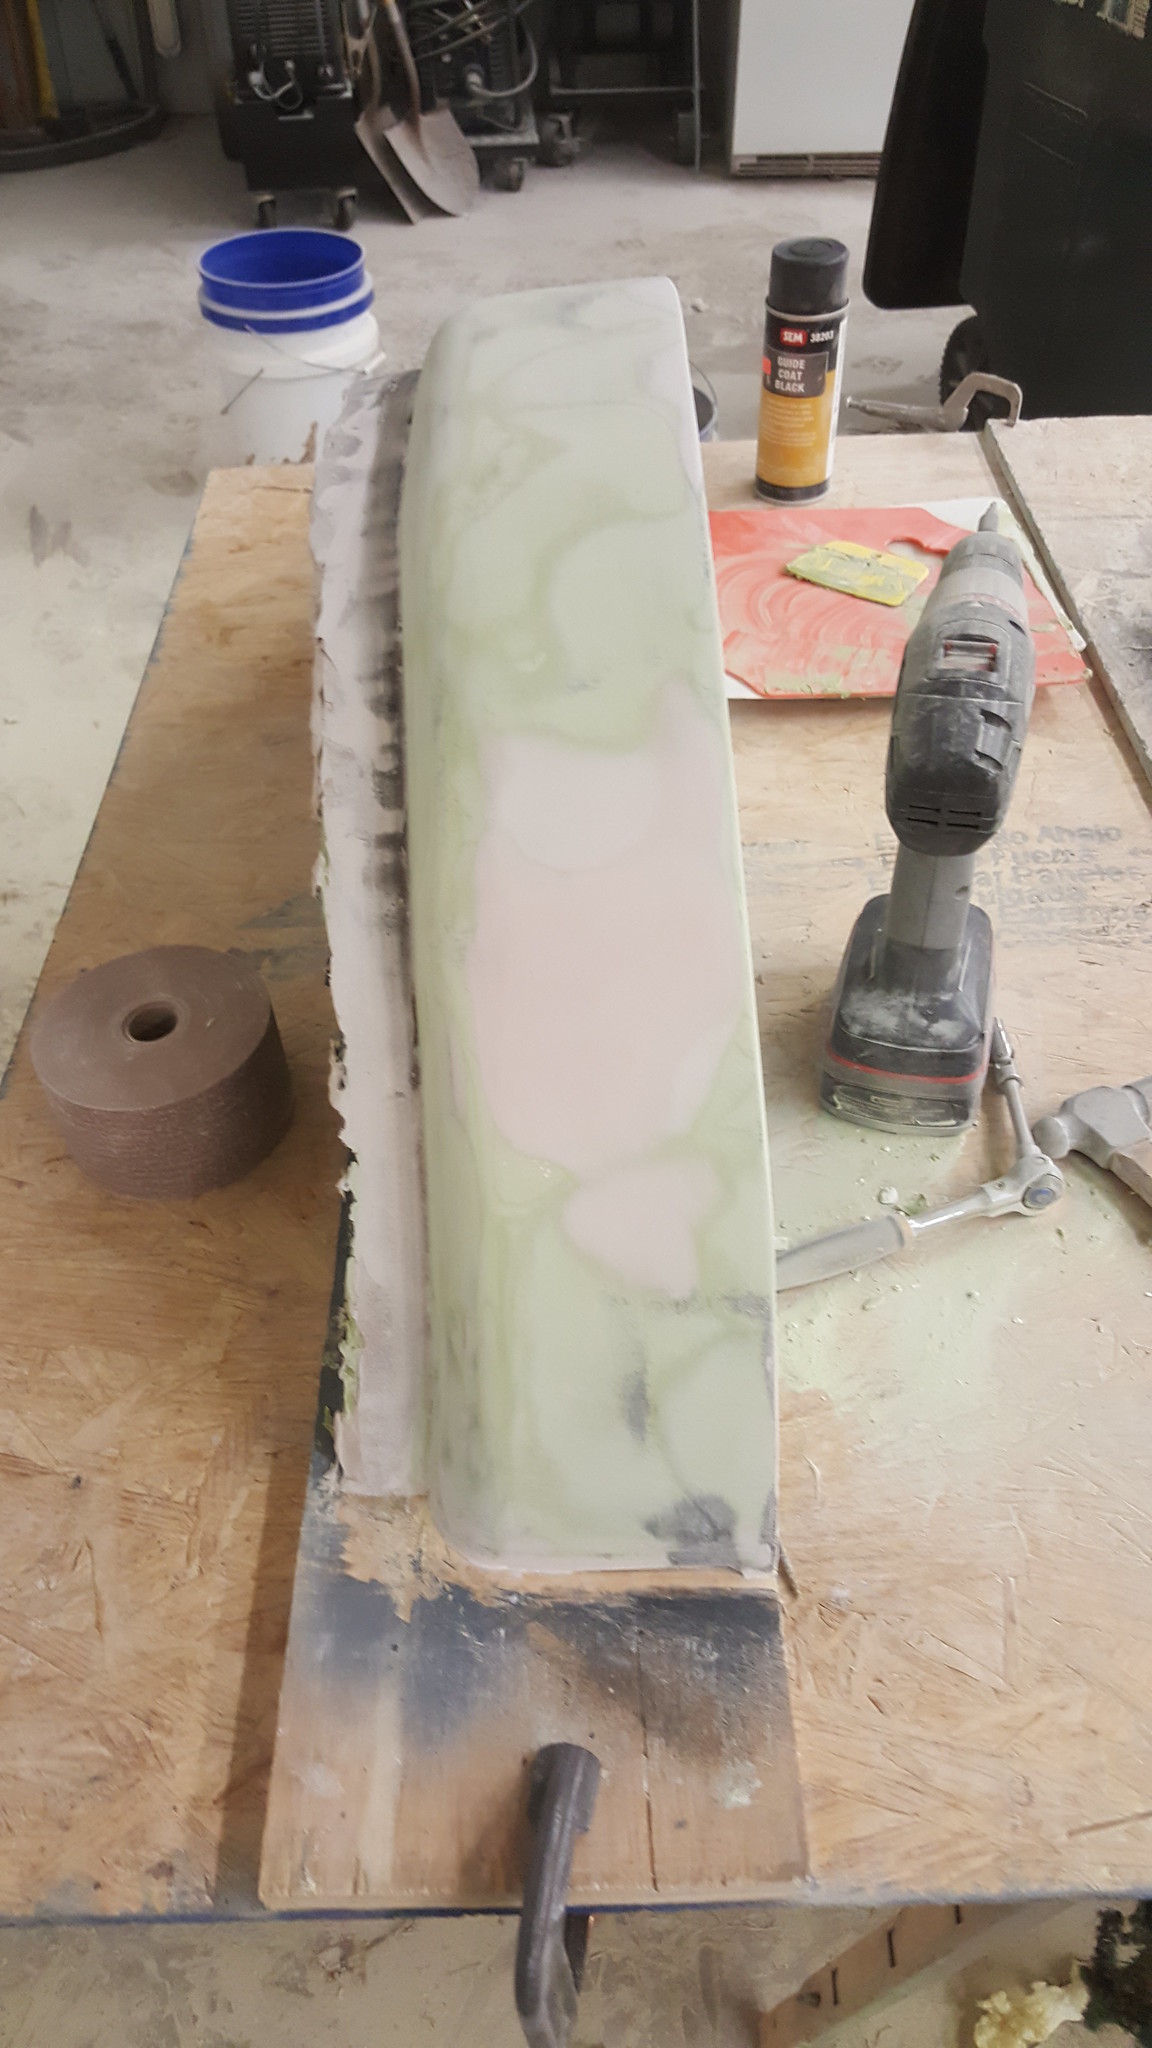
Went and bought a new gallon of primer and shot another coat on today, didn't crack like it did last time, but there are a few weird spots I'm going to have to figure out what to do with them.

Got the front shocks pulled out, measured and boxed up and ready to ship out to Bilstein next week. The way they measured out, going to remove the shock towers and try a set of the flat plates if I can get the reservoir hose up through them.

Since my wife is working this xmas eve, my son and I spent the evening out in the shop getting the transmission pulled out of the truck. Need to break it down and get the VB shipped off to Muldoons so he can do a little work on it. Also need to figure out what I burned up in it. The fluid was nice and burned. I did find that my zip tie that was holding the TV lever had come off, so I'm wondering if that might have been the cause of the issue. Going to make something that works better before I put it back in.

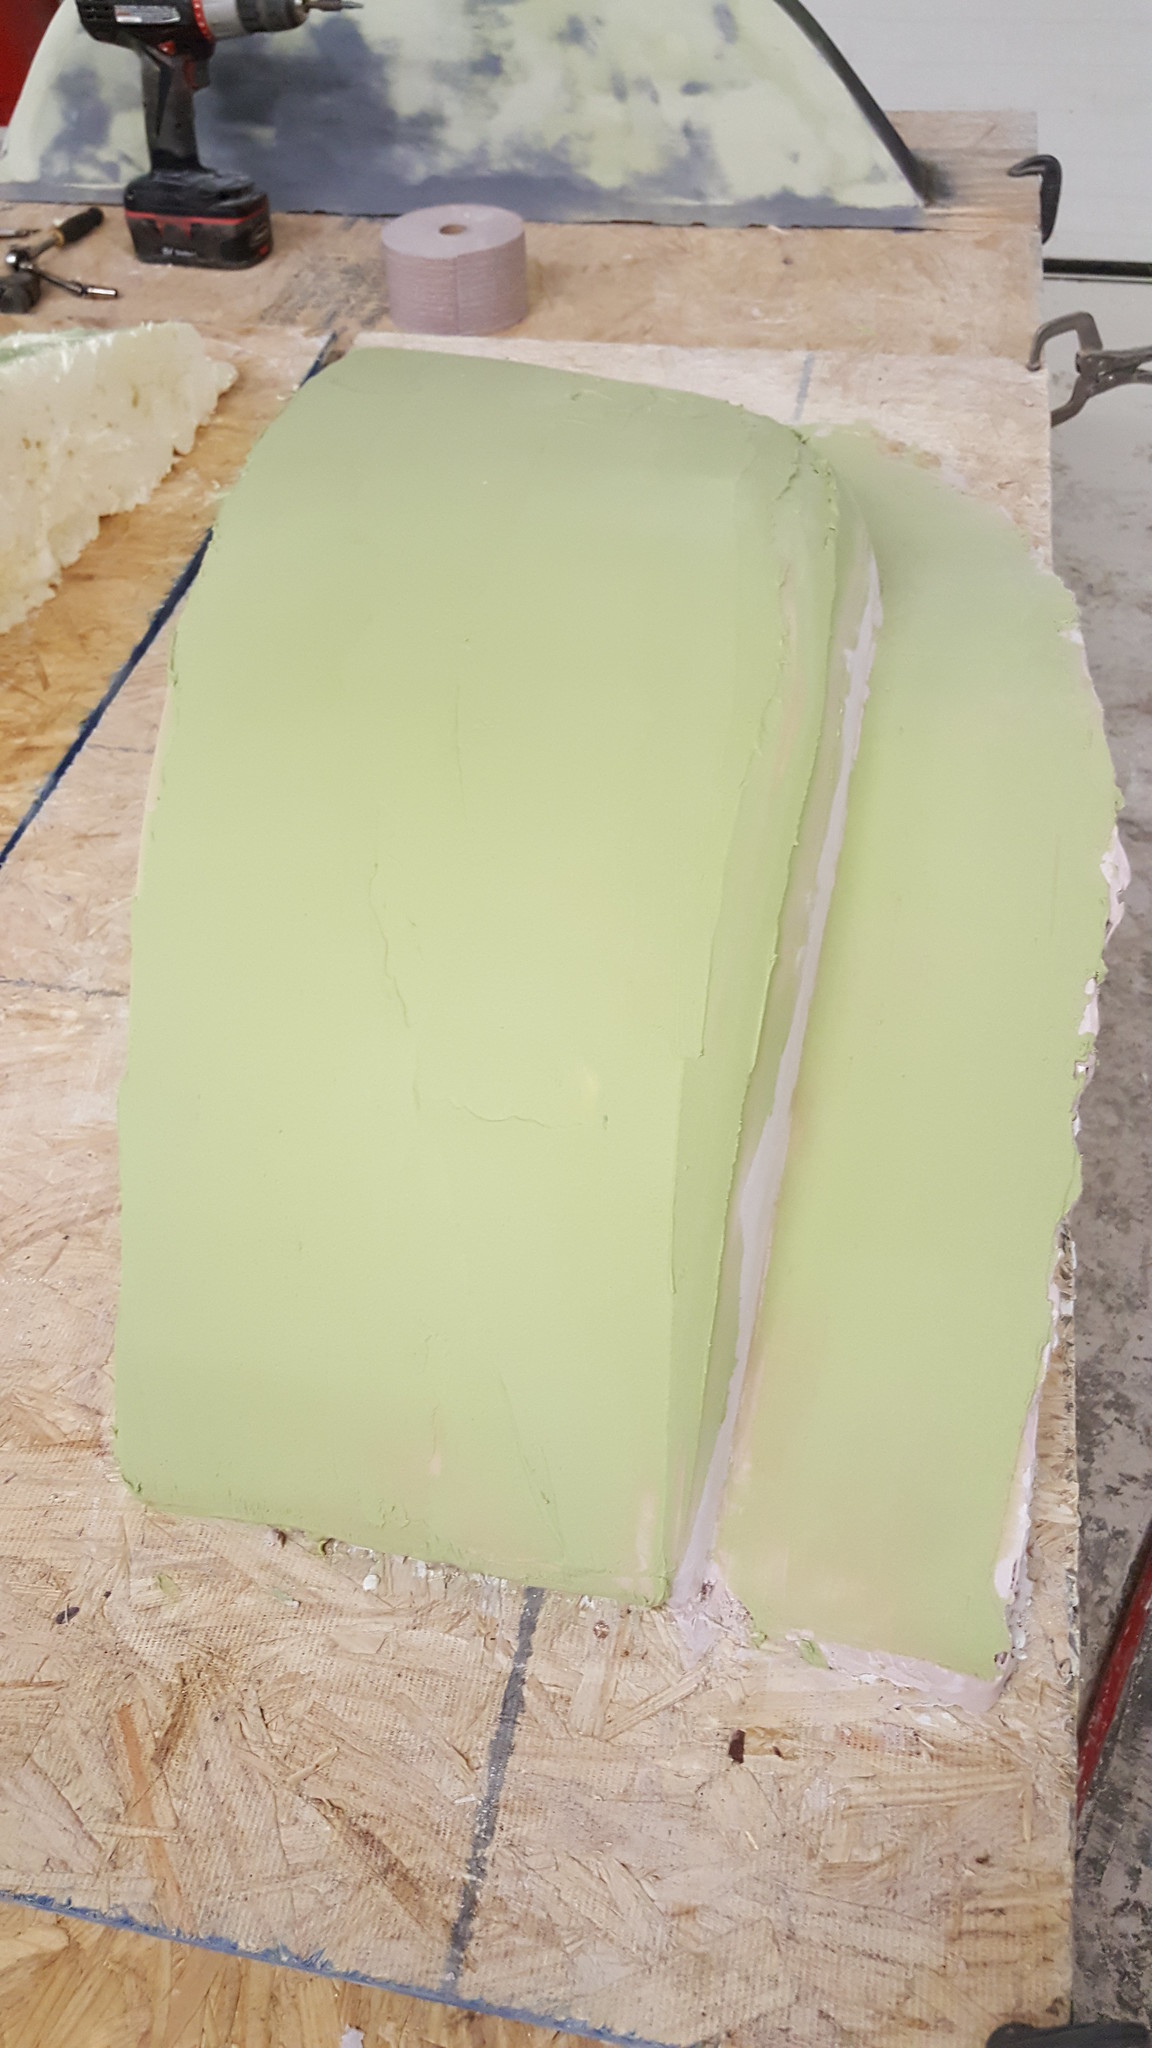
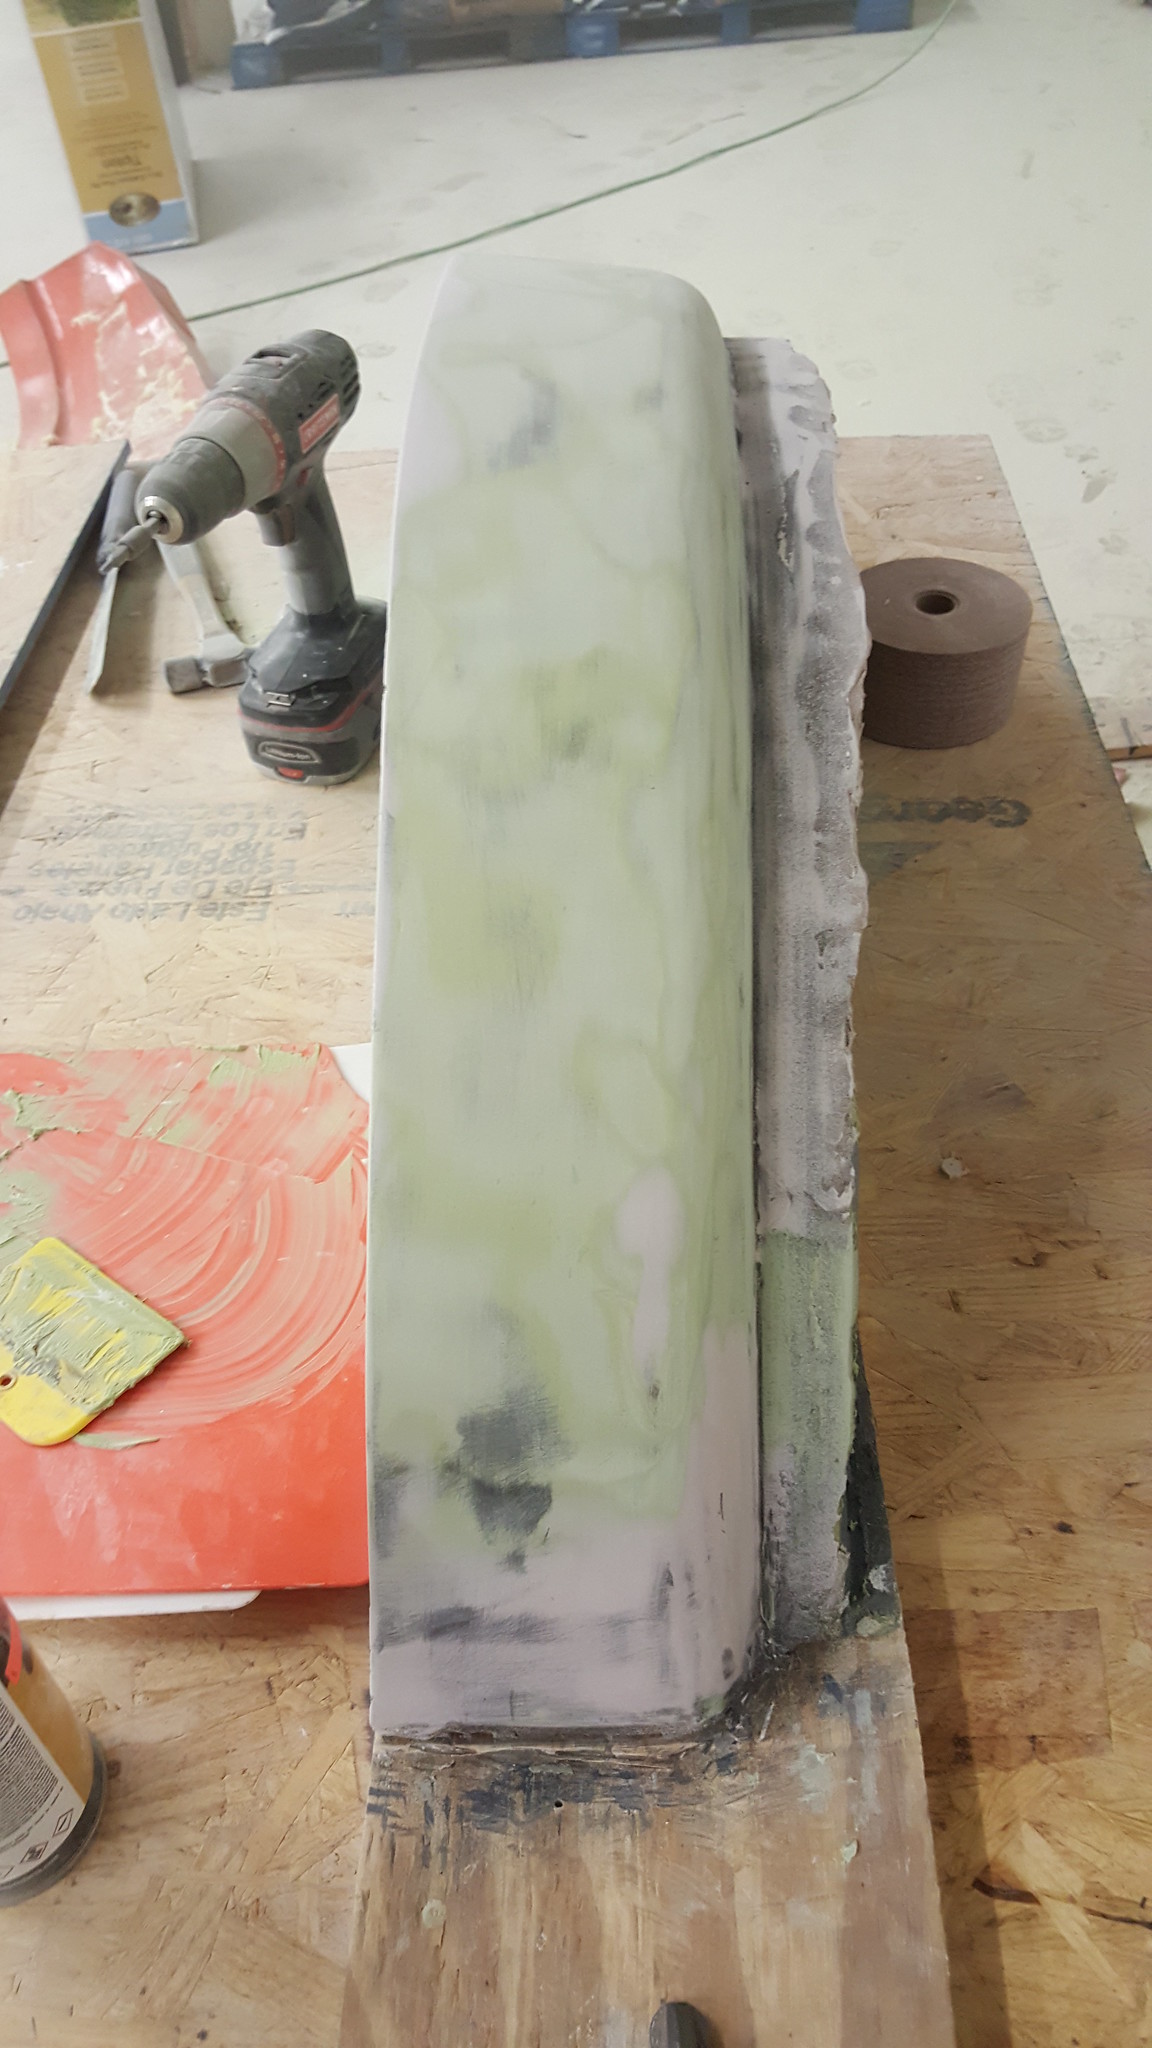
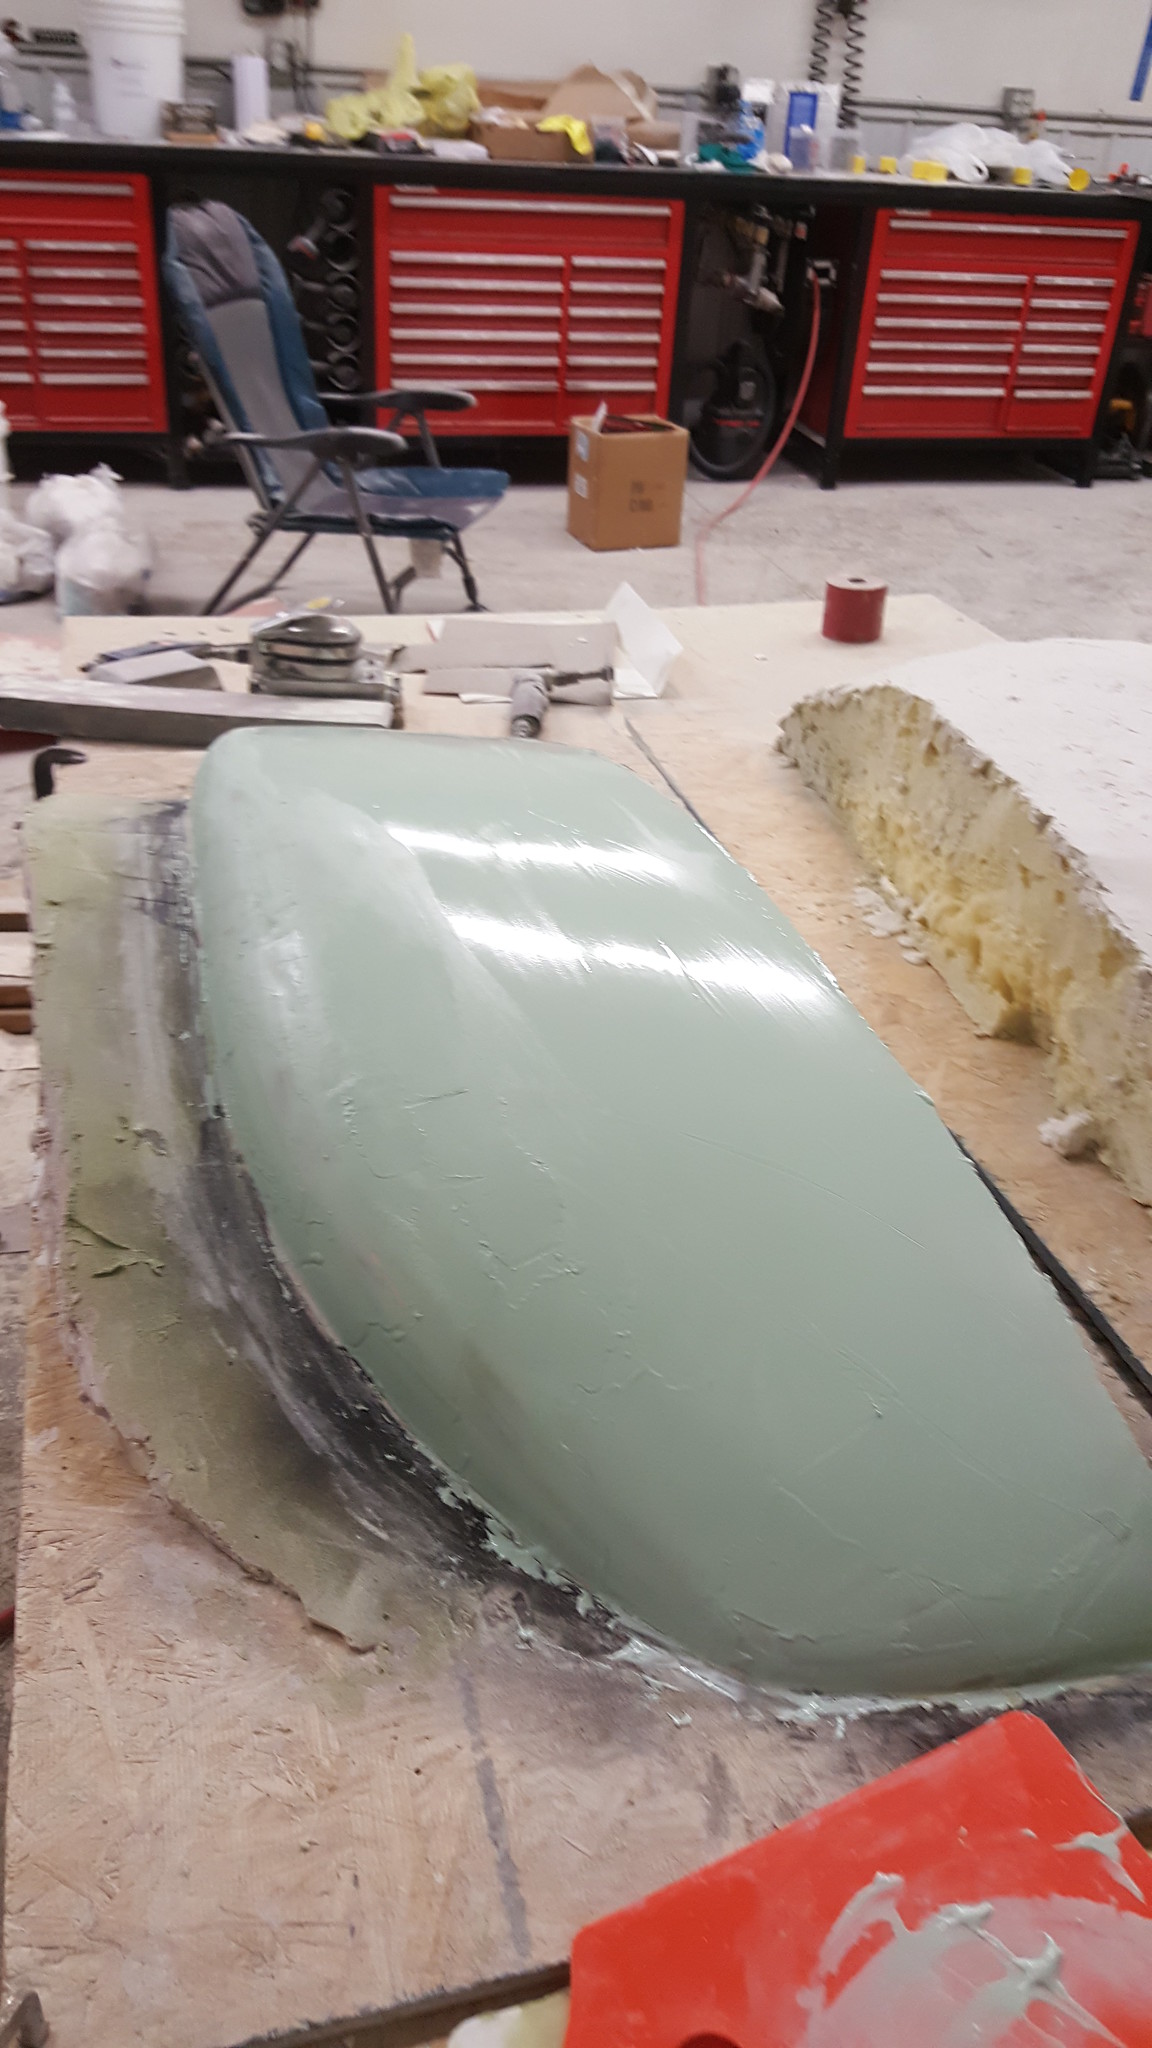
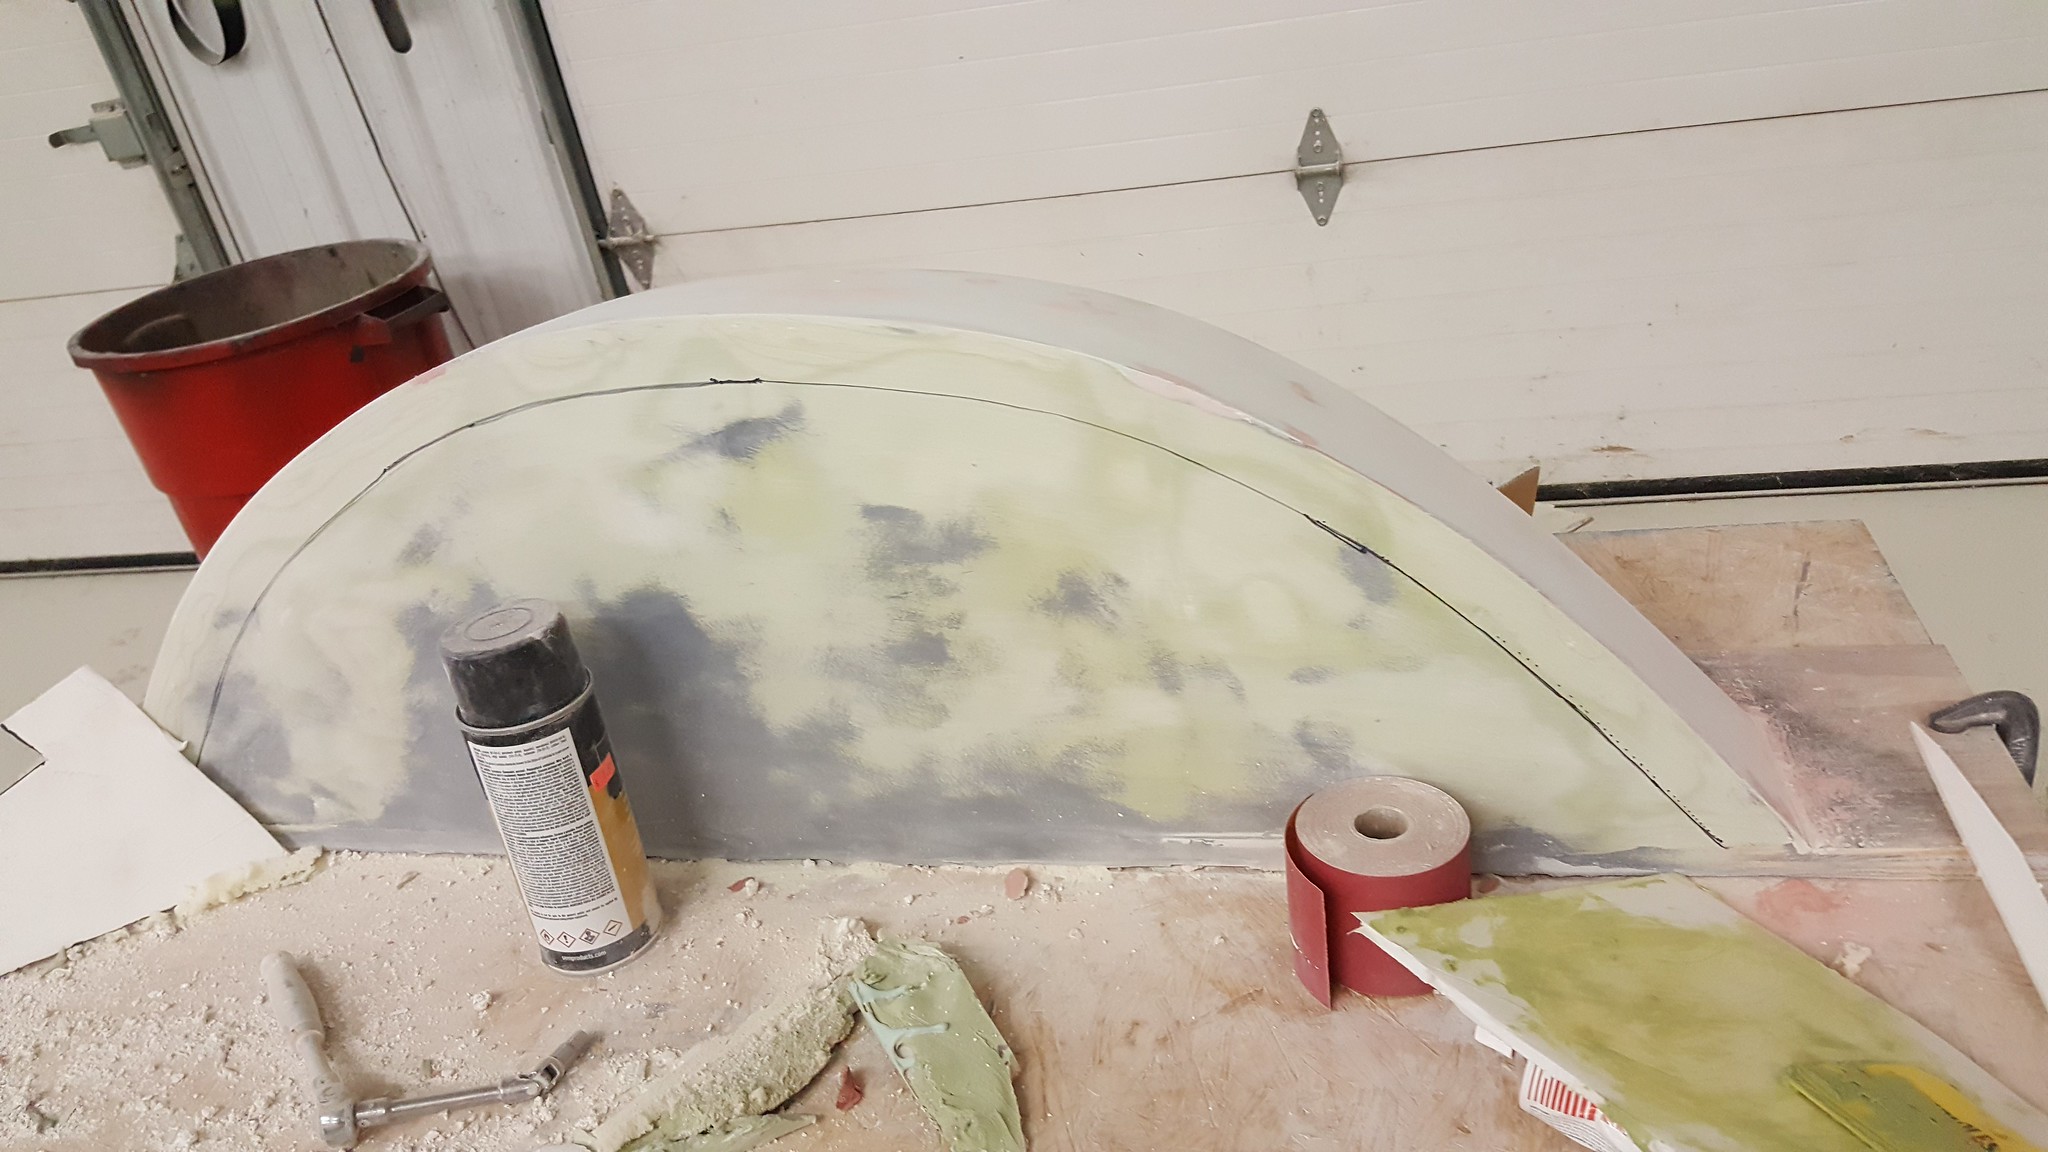
After 2nd coat, used too small of a tip and it shot really dry
31817859336_6fd6db8ca1_k.jpg


31046027943_0f3d853a3f_k.jpg


31817857916_22fcc1522a_k.jpg


Boxed up shocks, wonder if bilstein will love my flacking off paint....
31817856436_25288963c0_k.jpg


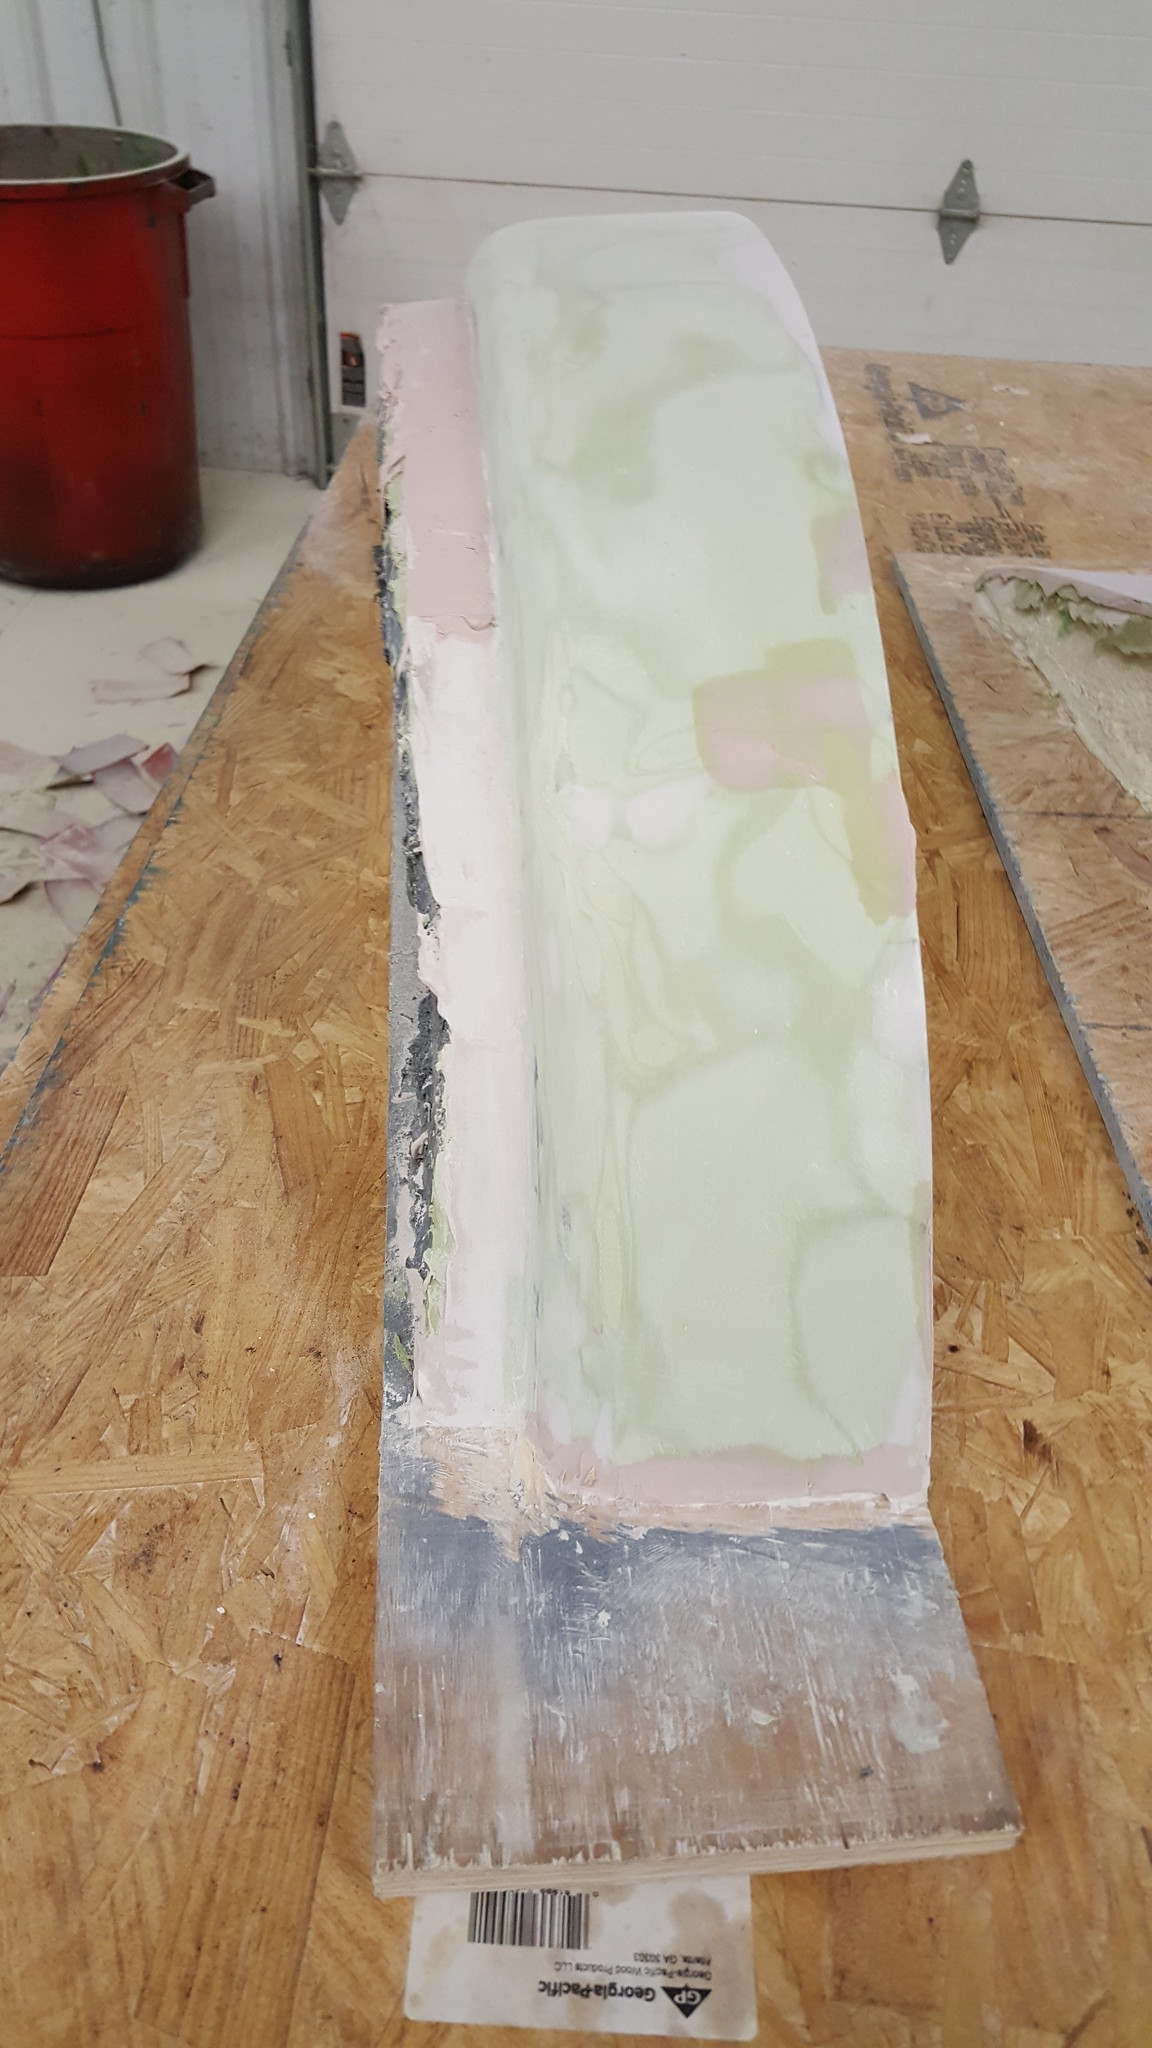
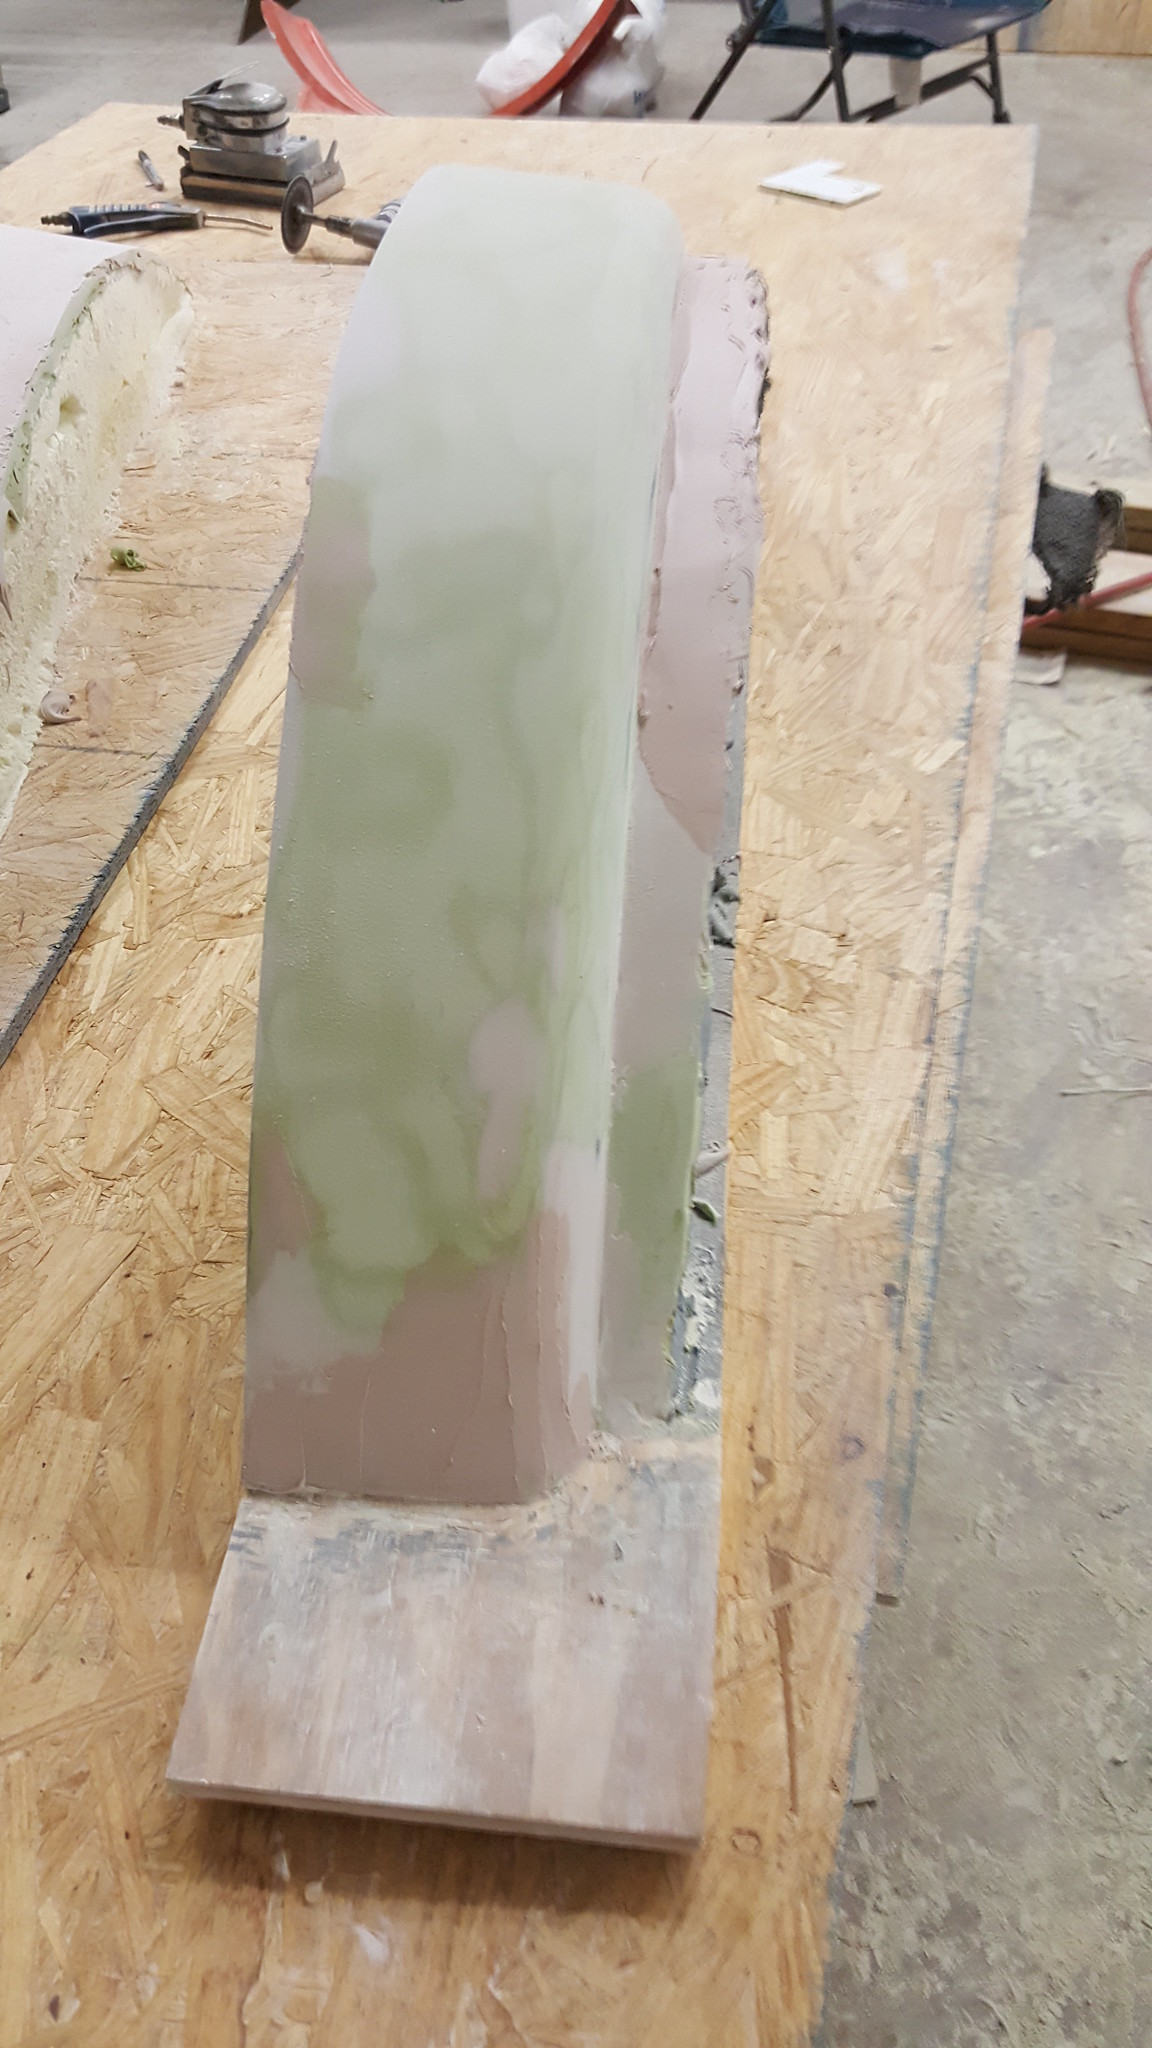
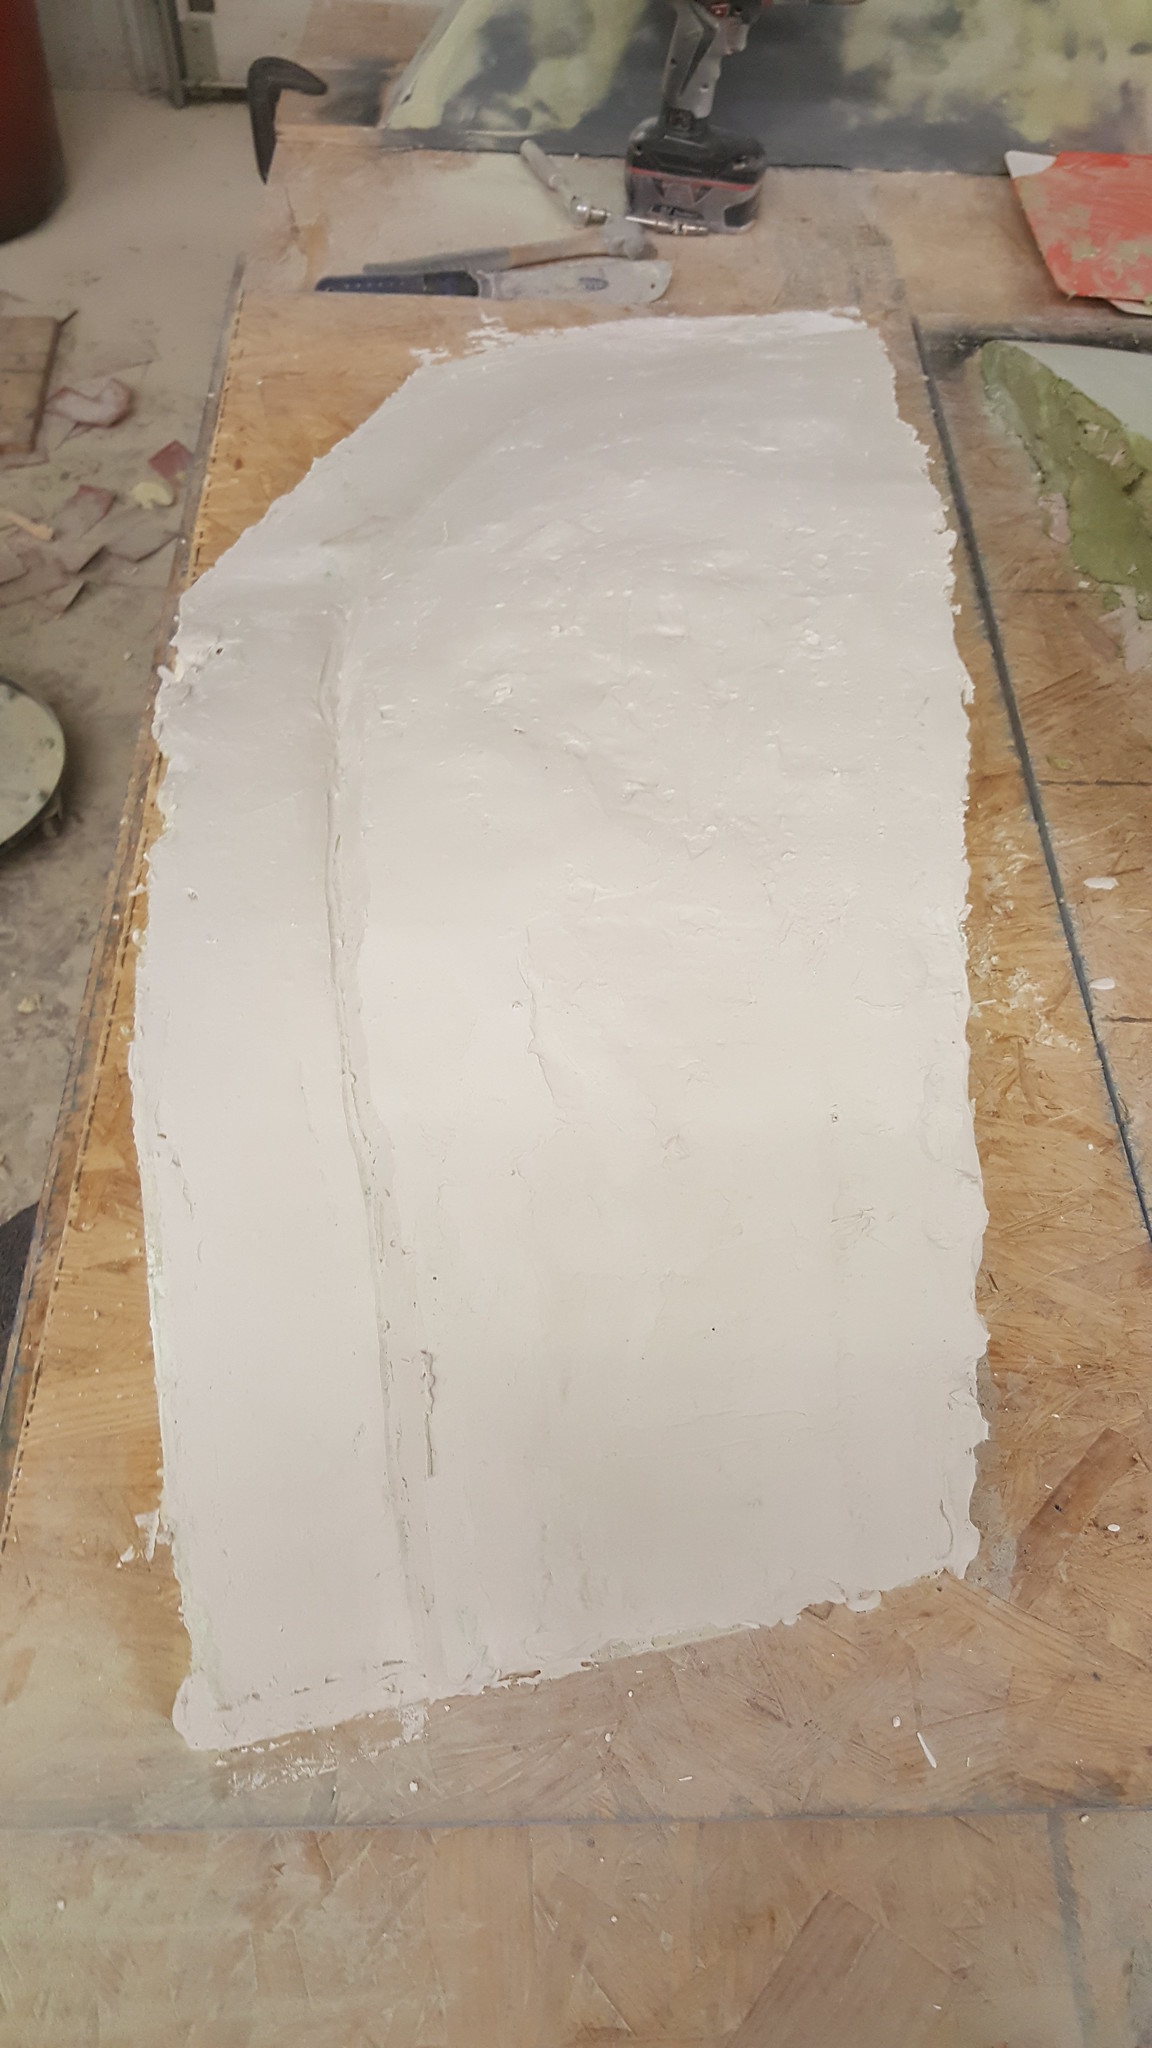
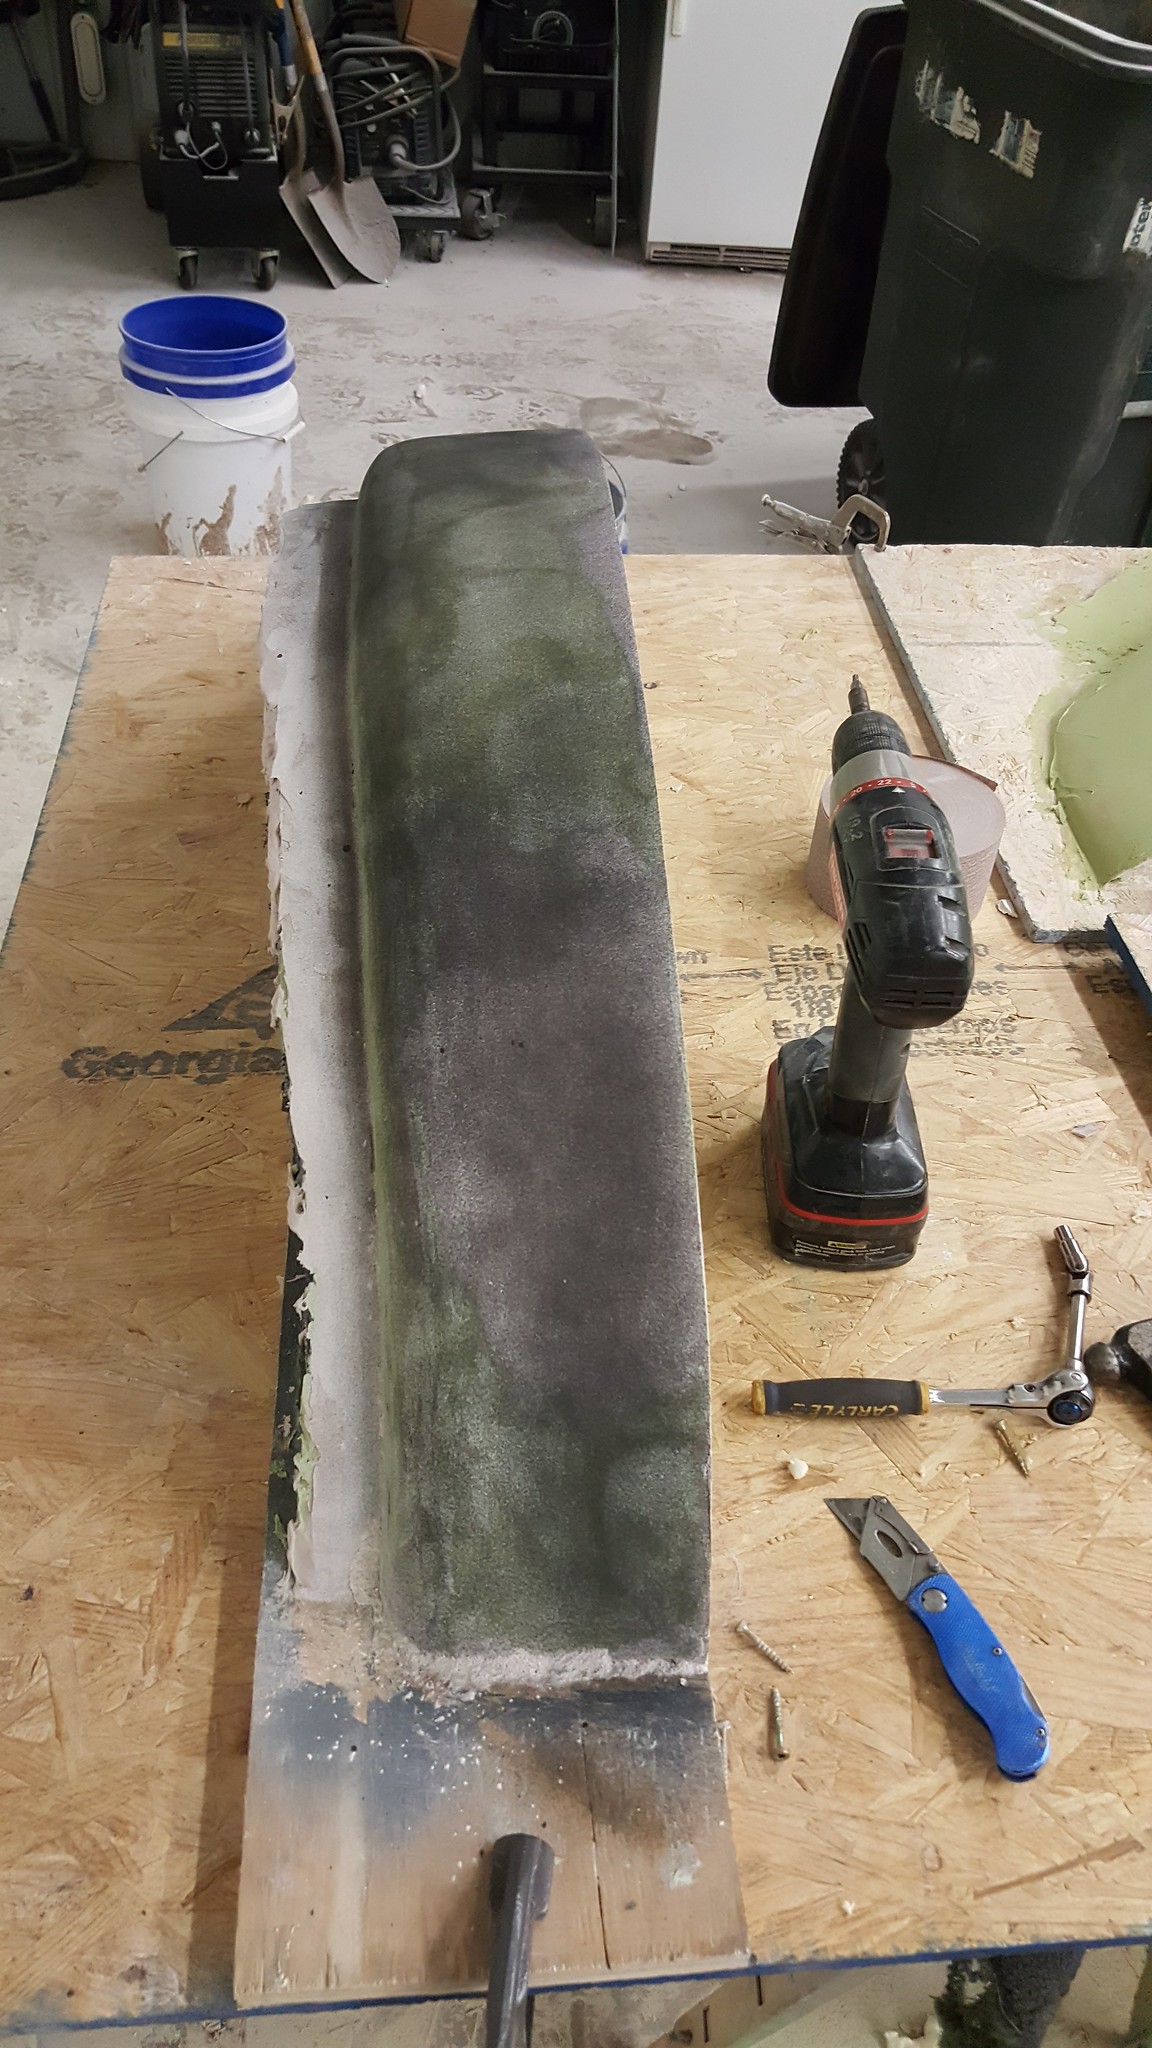
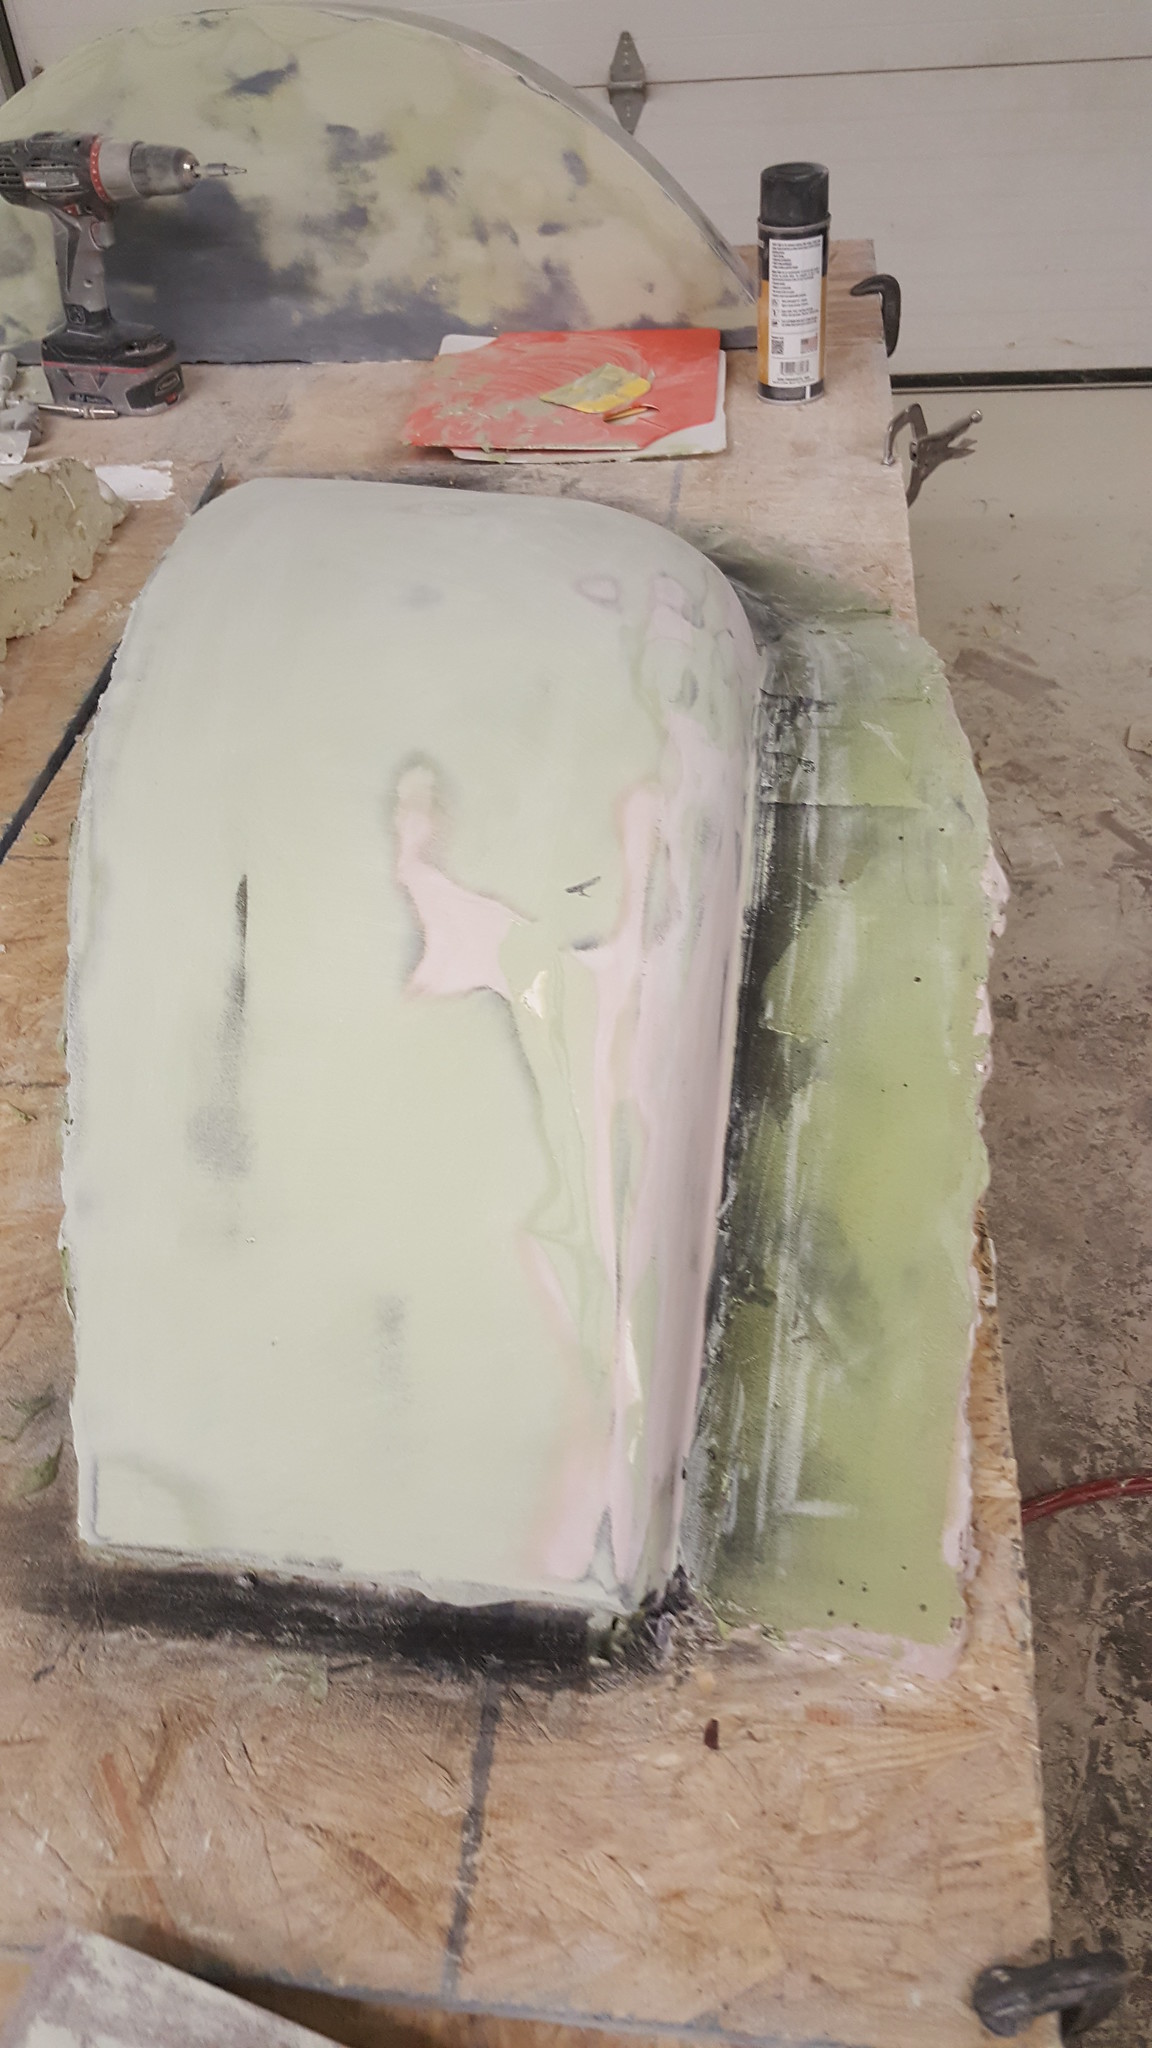
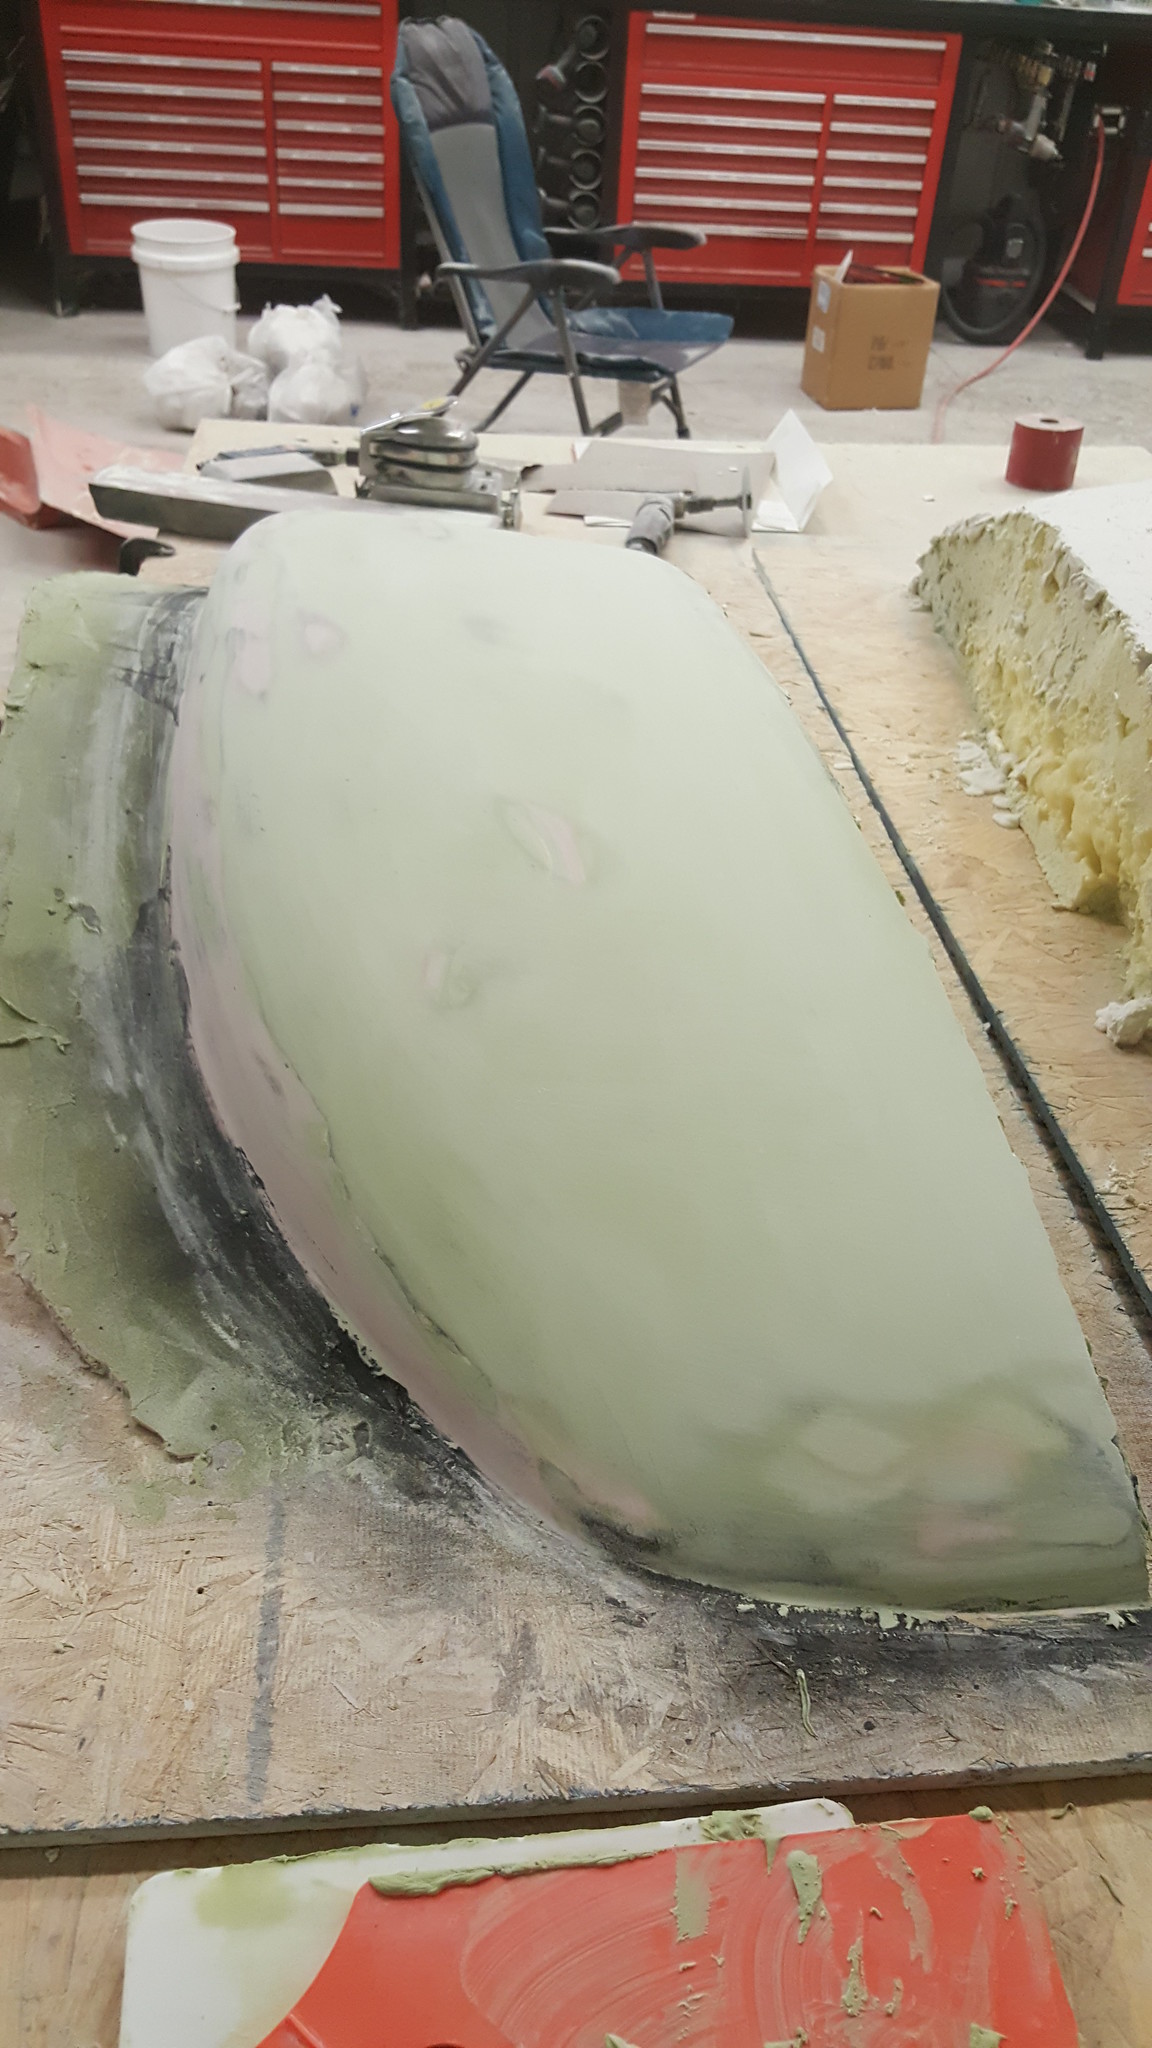
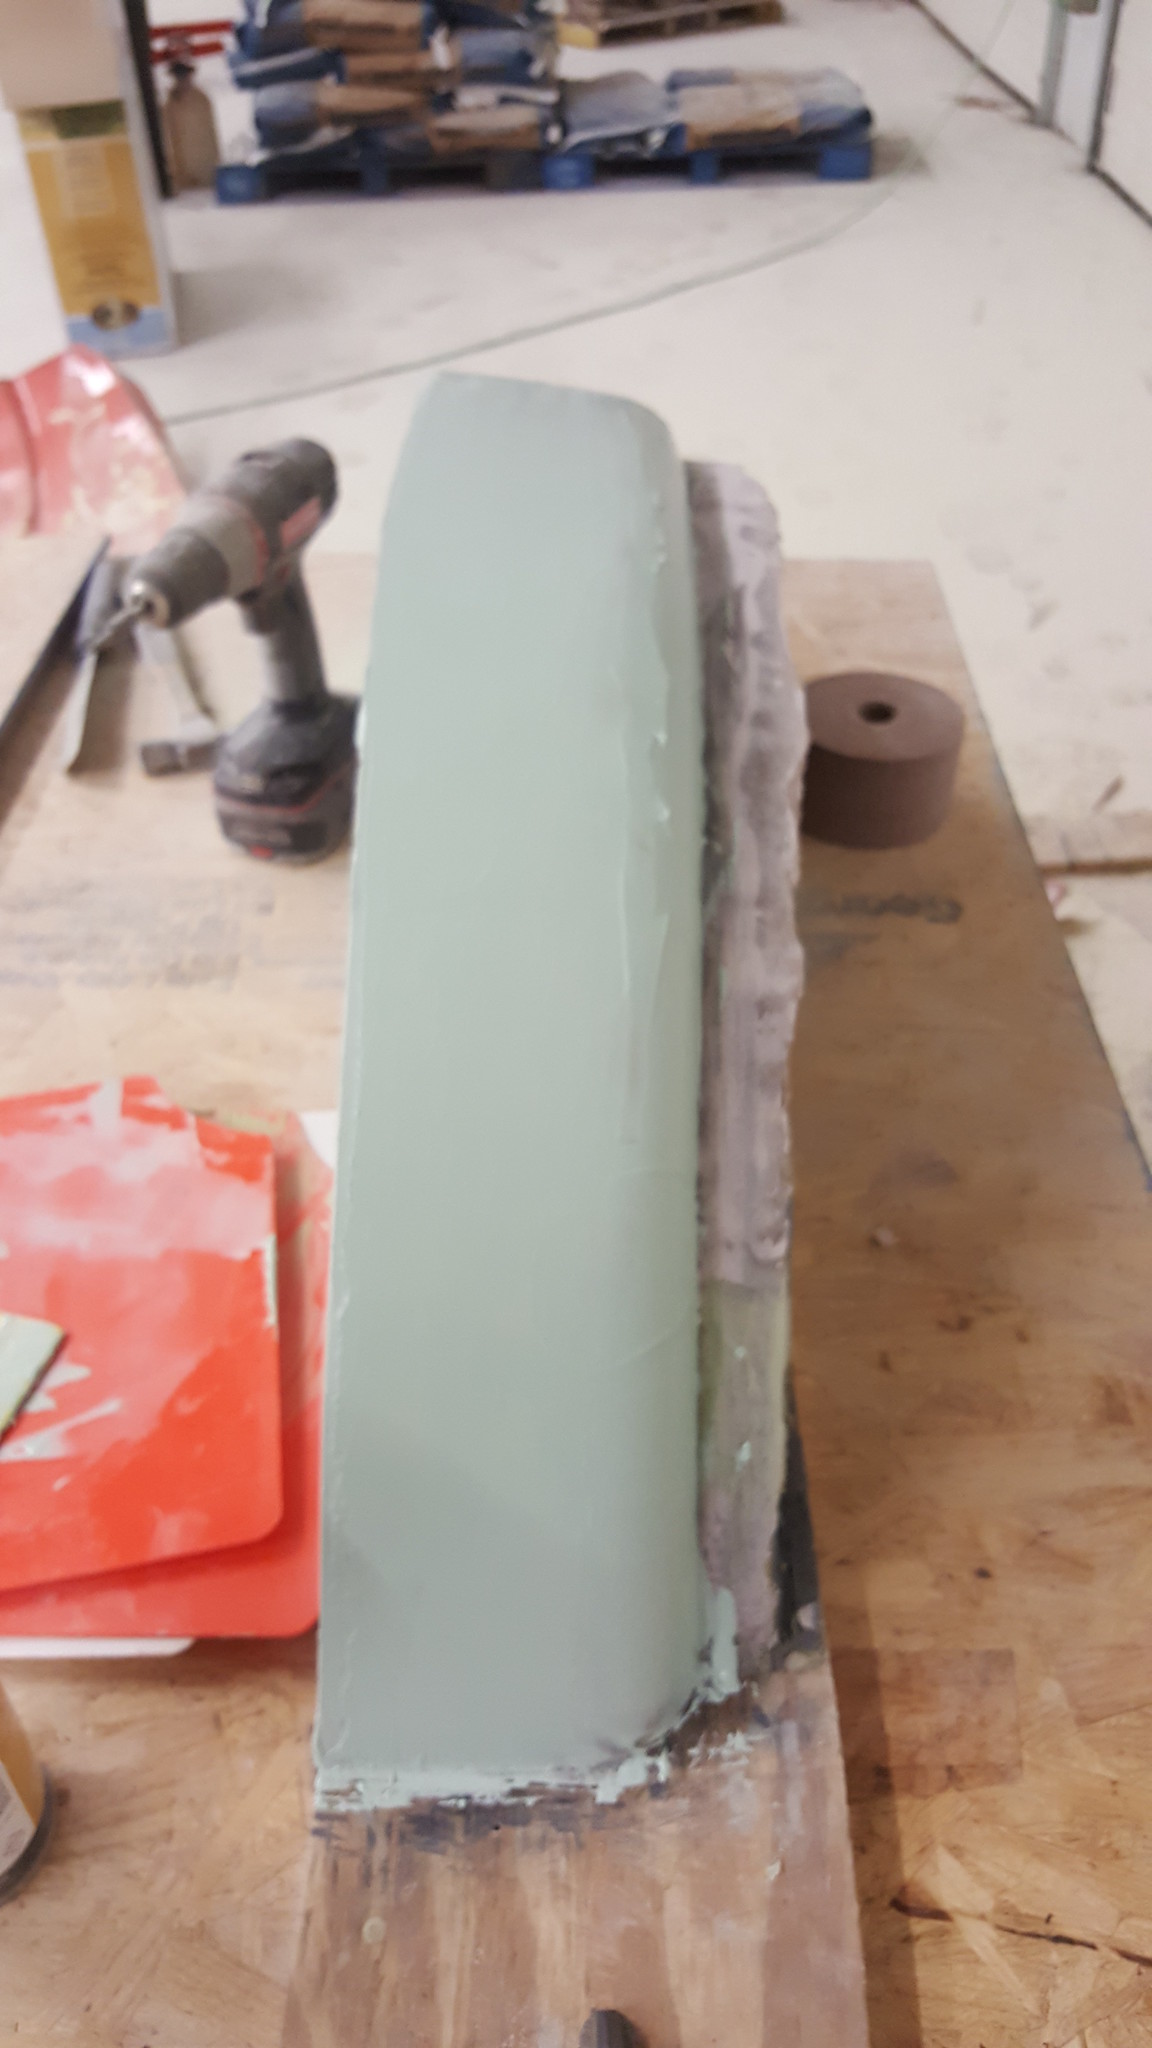
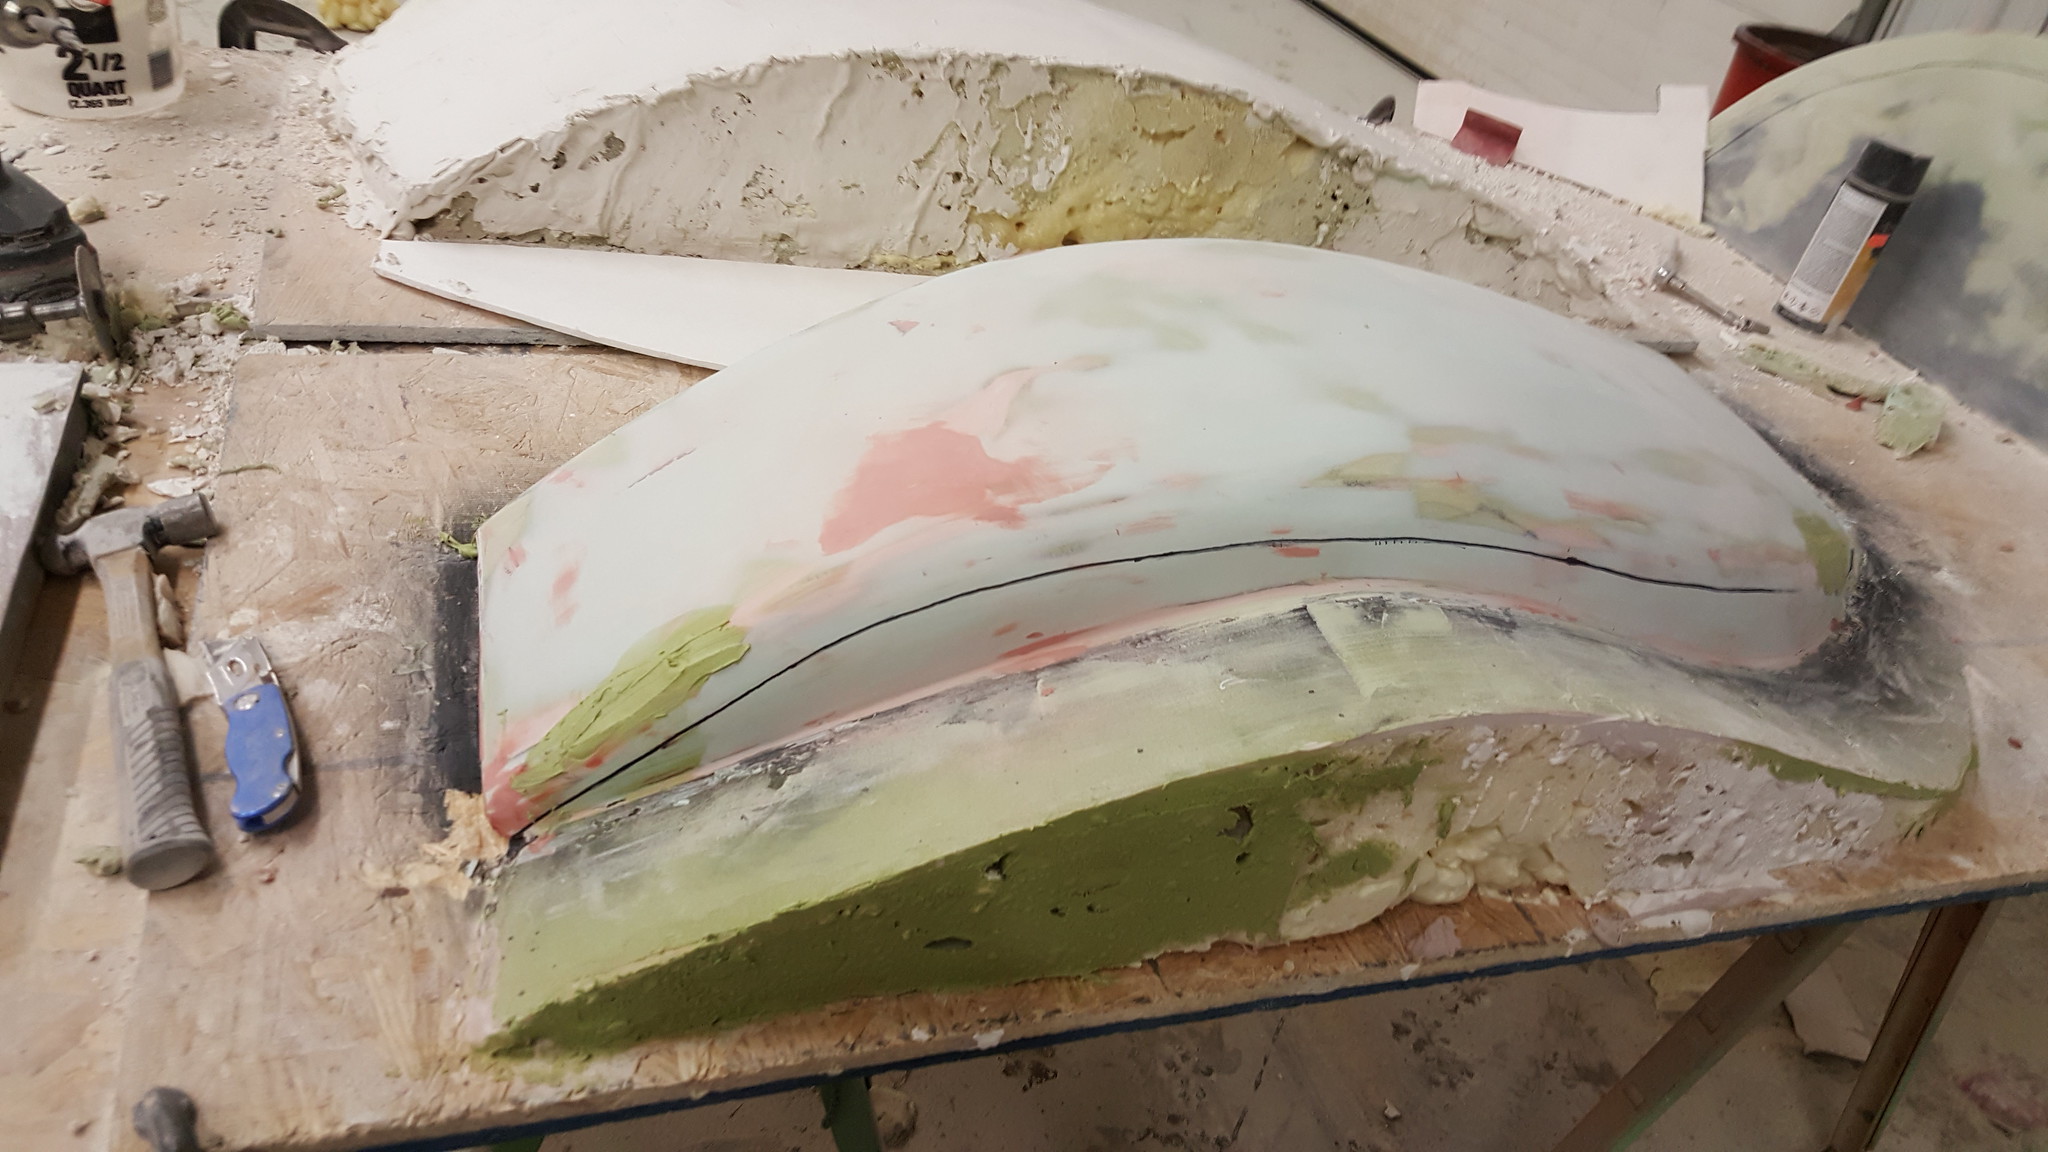
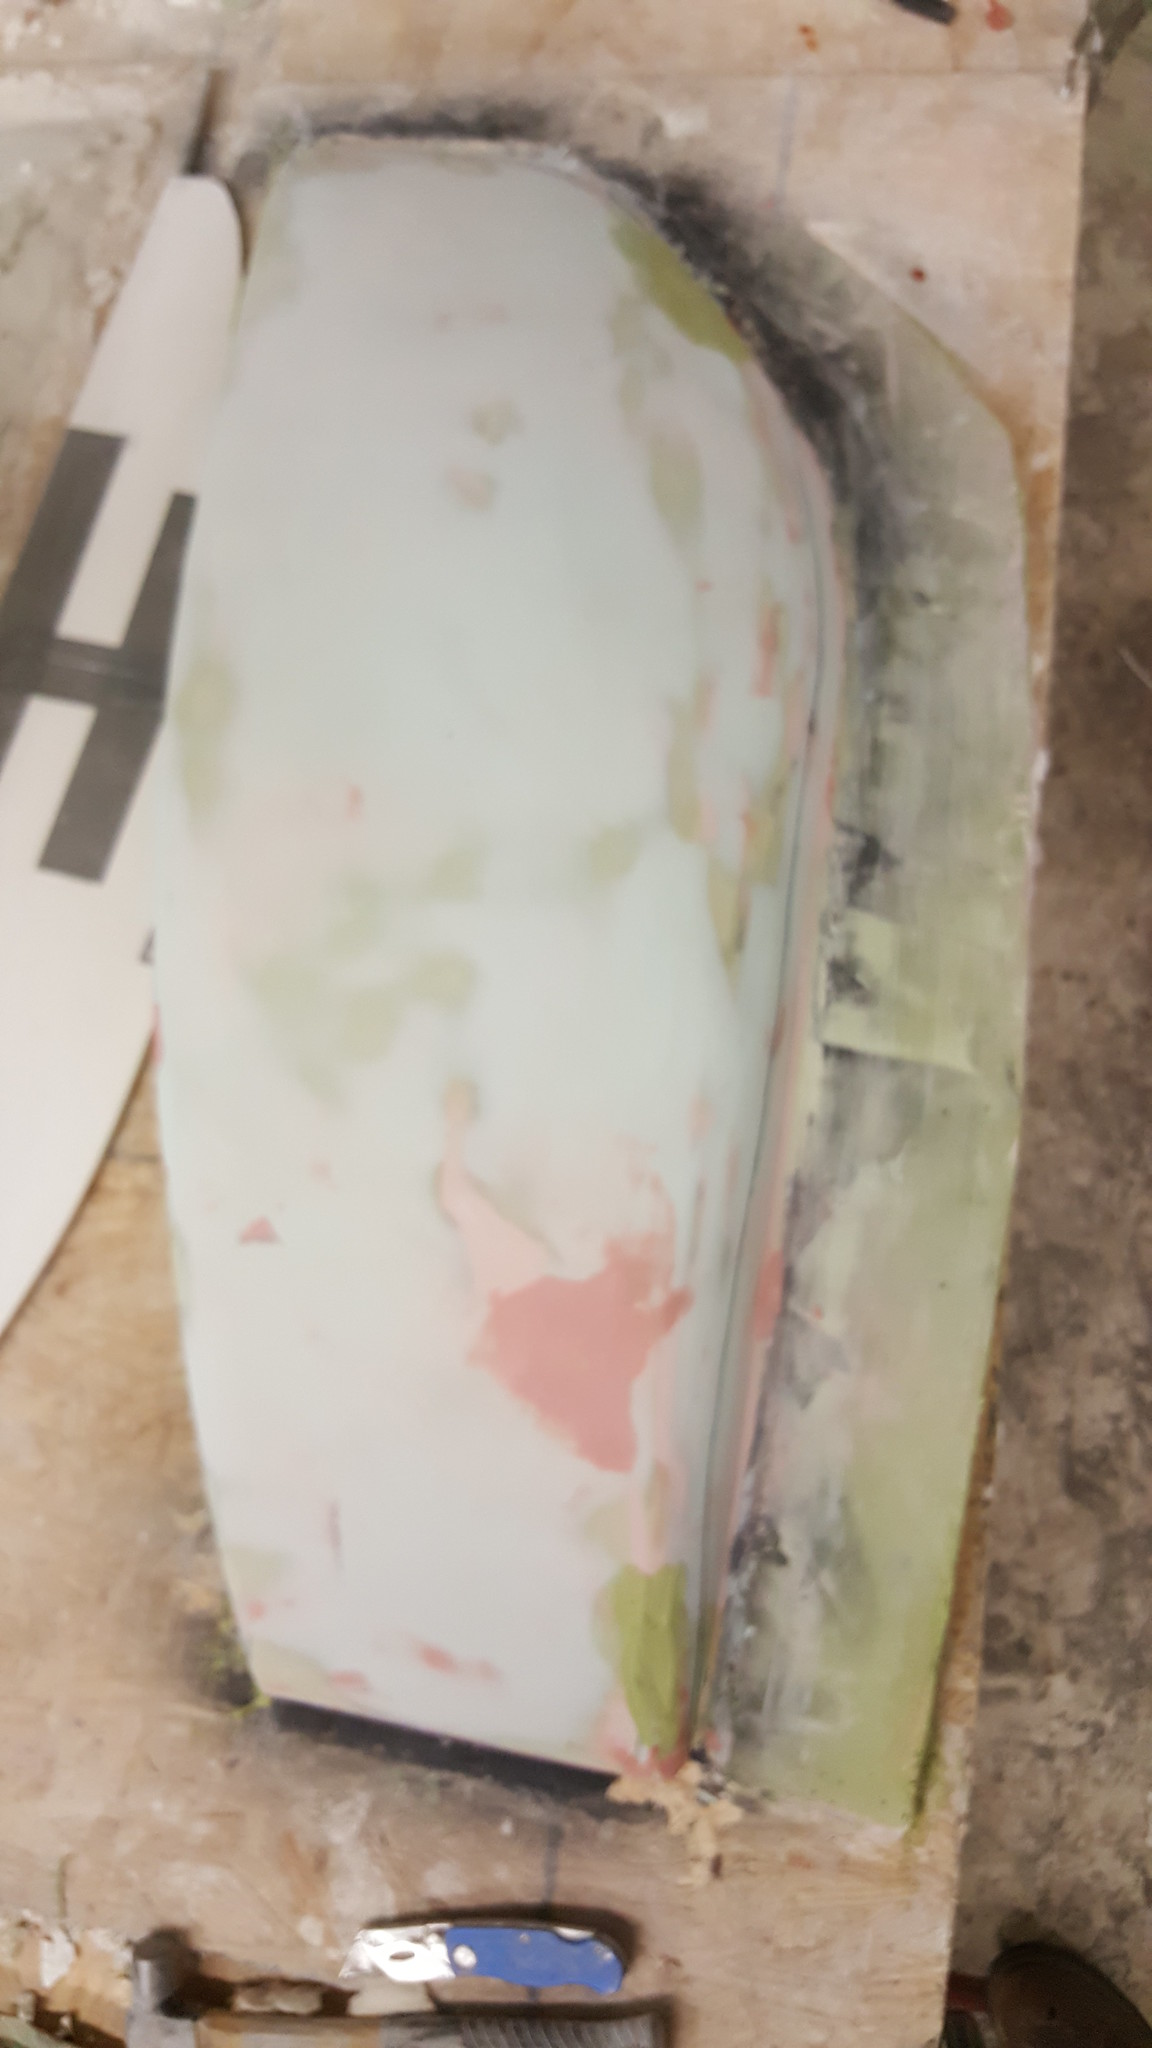
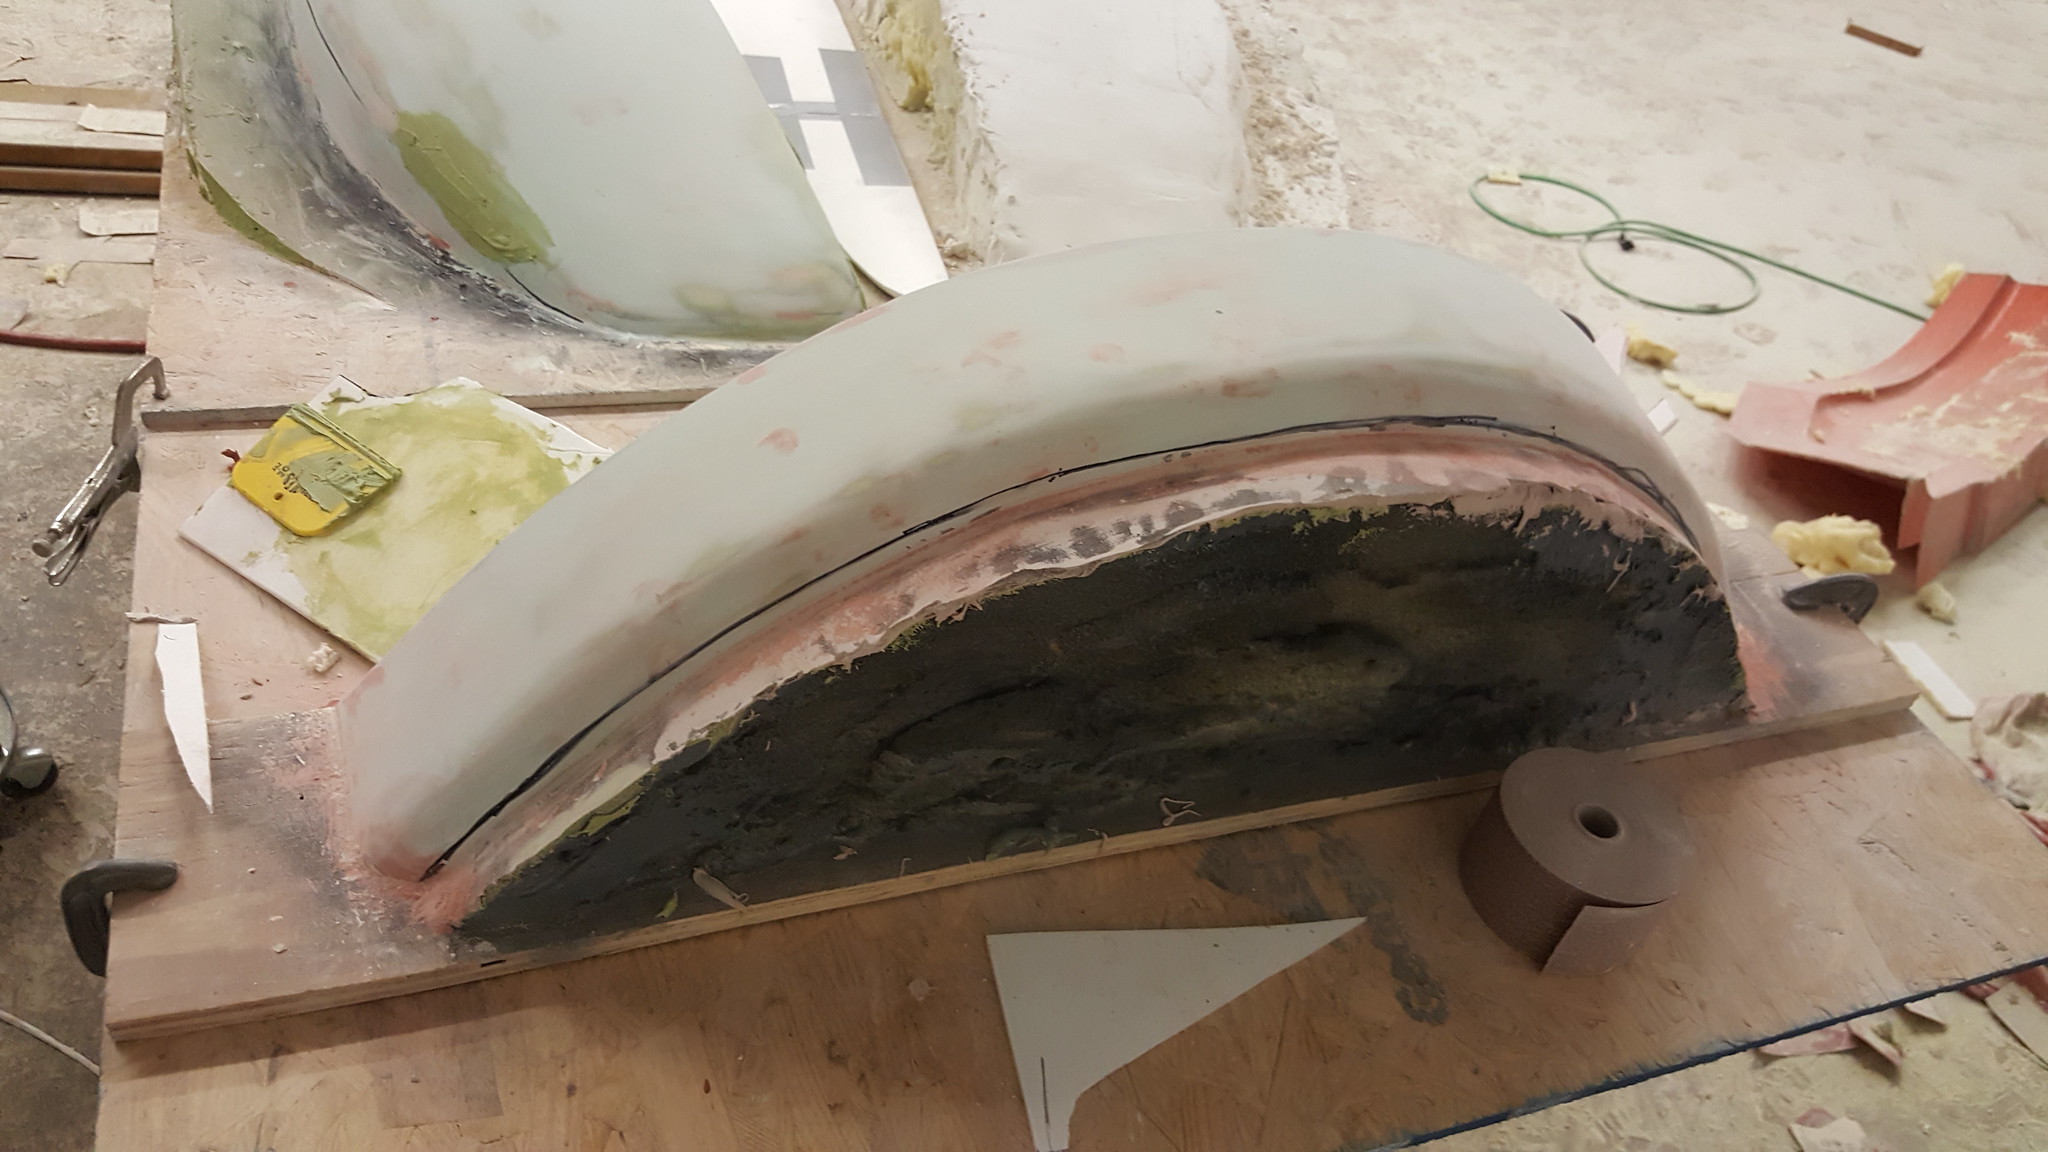
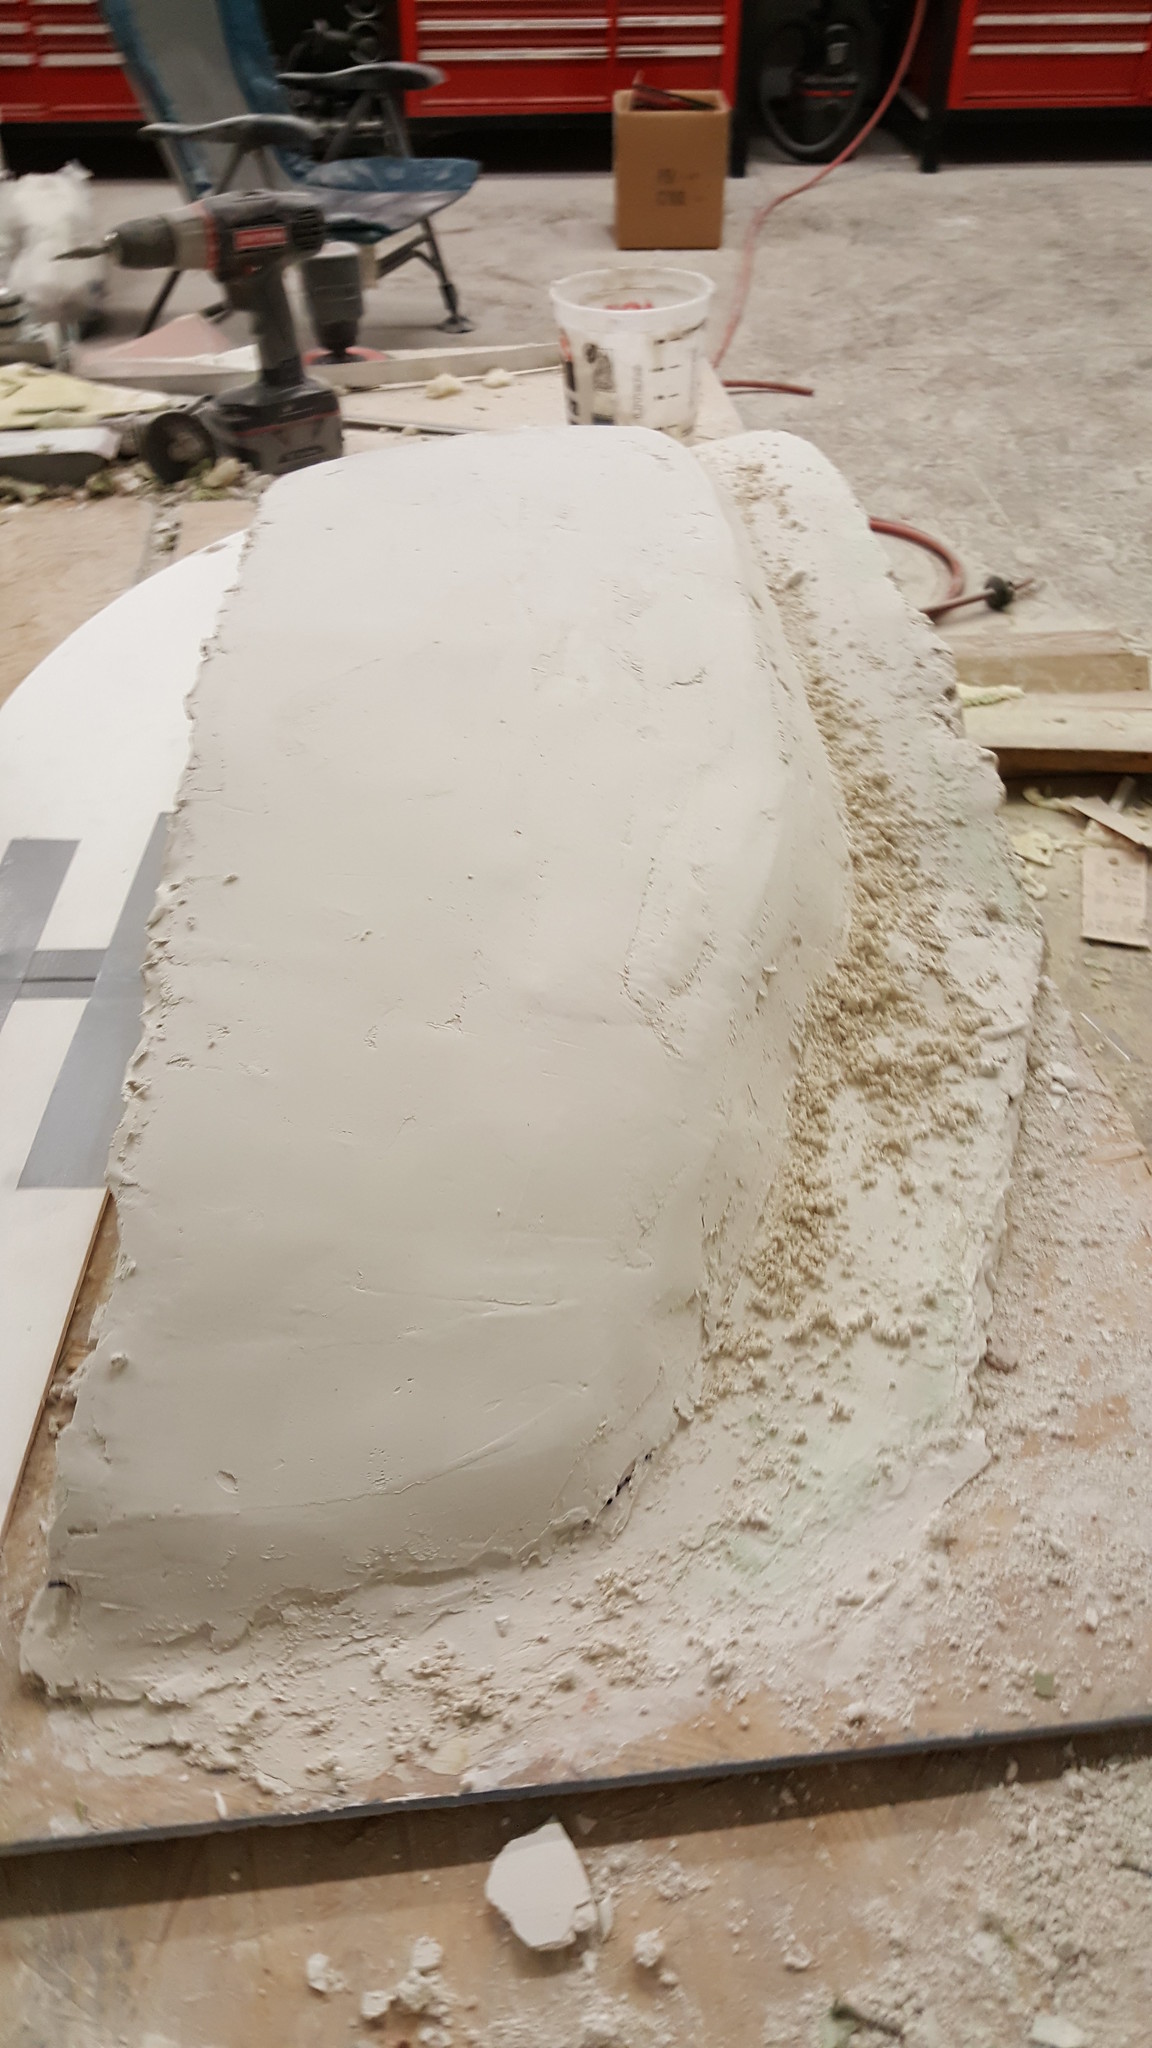
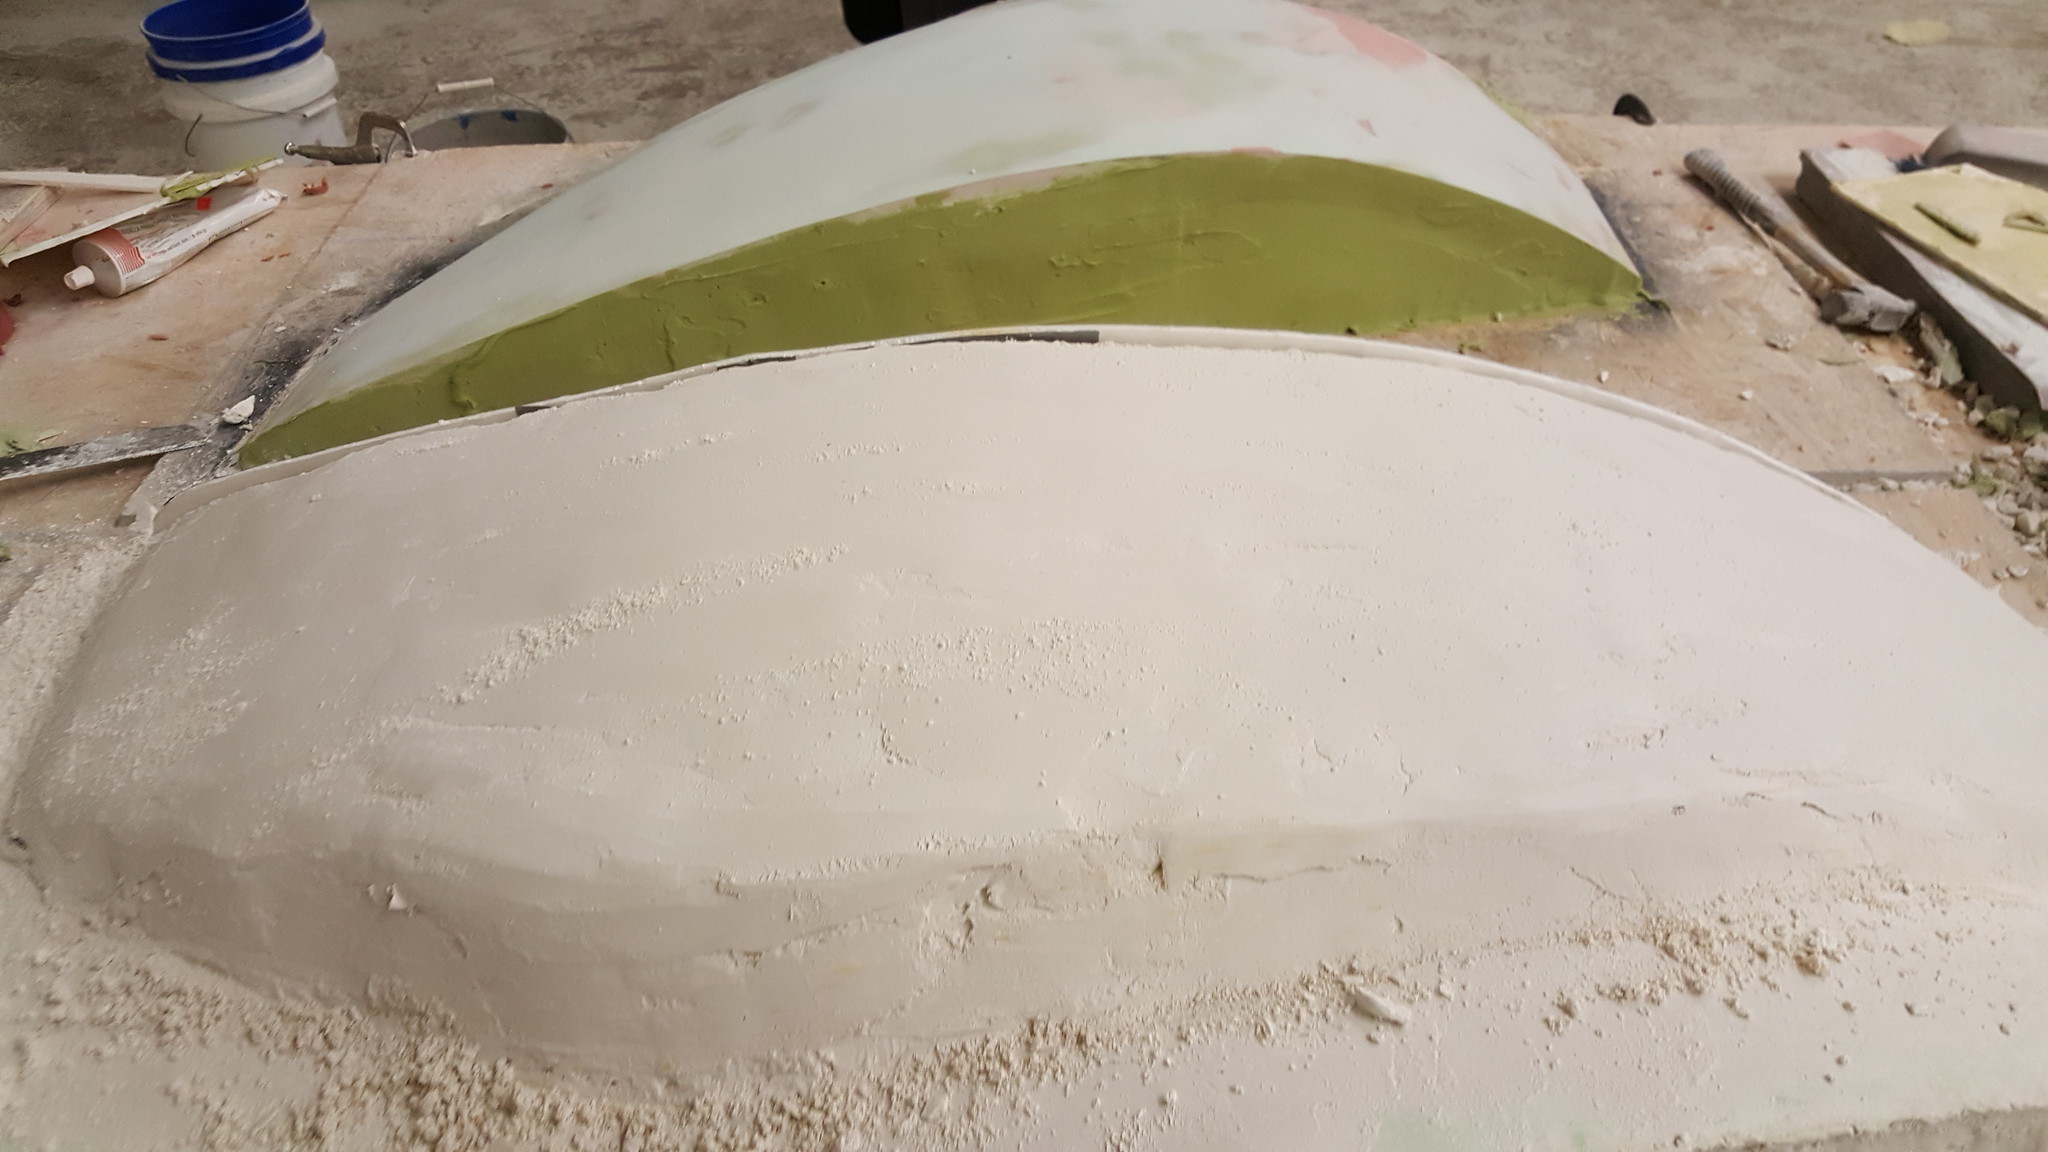
Fenders scraped and sanded down
31817853686_79f11dafe2_k.jpg


Tonight's primer coat
31482861140_1777dfff3d_k.jpg


31739167171_0d984d7767_k.jpg


31776730166_7a1affdcef_k.jpg


Compressor is working great now and the auto drain is working perfect.
31817856776_6ac1981e5b_k.jpg


Transfercase and transmission out of the truck
31046015363_689430aa3e_k.jpg


31817852736_c9360d6535_k.jpg
 
Do you have a picture of the other side of the trans handy? trying to figure out if I have to get the PPP brackets/lever or not. I guess I should just ask what was required for install, huh?
 
I will grab a pick when I go out to the shop today. I would recommend getting their bracket and lever but that's just me.
 
Here are picks of the bracket and mount. I got a longer cable than they normally ship out, can't remember the length but I know it was longer.

shifter lever
31722485672_f9e7fc9c73_k.jpg


mounting bracket
31832137696_d4111b065d_k.jpg


The only thing I have my wife pickup when she goes black friday shopping at wally world. Walmart Ultra cheap washcloths = great shop rags....
31832133916_c563f84fca_k.jpg


Piling up removed parts
31722478732_3c7abf2425_k.jpg
 
You didn't have any problems with the thick pan flange? I don't doubt the quality of their products,in fact that bracket looks way better than the stamped bracket I use, it's just that it's not tailored for us diesel guys. I don't want to have to hack it up later
Also, why did you choose the front entry over rear?
 
Last edited:
Not with the thick flange, just used longer bolts. I did have to trim the inside edge of the flange to fit the thick aluminum pan and bolt hole alignment, but it wasn't bad.
 
Tried a test part of a fender and they weren't ready to sand today, so worked on draining the coolant out of the truck, removing the radiator and two trans coolers. Picked up tools and all the bolts from removing the trans and transfercase. Cleaned up on the shop. Weighed the radiator frame I used to hold the radiator and it weighs 26lbs, the trans cooler side that bolts on to hold both of the coolers weighs 8lbs. Should be able to reduce the weight of those when I relocate them to behind the axle.

Dumped a ton of dirt/mud out of the radiator support. Need to take apart the fuel supply system next and then start figuring out placement behind the roll cage shock mounts.

31036757384_727a2682b1_k.jpg


trans cooler bracket
31036756254_de8b8c013c_k.jpg


radiator mount
31036759154_1d62e90c36_k.jpg
 
Back
Top