
You are using an out of date browser. It may not display this or other websites correctly.
You should upgrade or use an alternative browser.
You should upgrade or use an alternative browser.
zfaylors old man truck build
- Thread starter zfaylor
- Start date
jlbayes
New member
LOL you think you cool huh? I will probably spray it later in the season if I manage to keep everything together and it starts getting hints of winter. I would hate to start the summer off rebuilding a truck. I have an itch to get to the track as it is. How are the twins coming?
no, I know I am! :stab: LOL
got the rest of the stuff I "think" I need to finish the inter-stage piping. then oil lines and drains. then putting a hole in manifold for the gate.
CorneliusRox
Seasoned Rookie
Buy yourself some good drill bits and drill all of the way through the rivets and they punch even easier. I used a 1/4", 3/8", and 1/2" in that order obviously and they drilled surprisingly easy. Some have used step drillbits with good results. I would do a step drillbit after learning how soft the rivets are if I didn't already have the drill bits I used.
I knocked the head off of the rivet and then punched it through. After that it slides apart. chop off 16" and line everything back up. Drill new holes and you're done. Brake line needs shortened, new fuel tank (or cell), driveshaft, and bed are all that is left.
If I had all of the parts in front of me and a solid day to myself I could easily get it done in a day knowing what I know now. Just measure several times and hold your breath. It made me nervous cutting chunks of frame off LOL
Did you rivet it back together or bolt it? And if you rivitted it, what did you use to do so? A big hydraulic huck bolt style machine?
zfaylor
Comp Diesel Sponsor
no, I know I am! :stab: LOL
got the rest of the stuff I "think" I need to finish the inter-stage piping. then oil lines and drains. then putting a hole in manifold for the gate.
Thats exciting man! I am pumped to see what that thing is going to do for sure.
Did you rivet it back together or bolt it? And if you rivitted it, what did you use to do so? A big hydraulic huck bolt style machine?
I bolted it. It seems quite a few have had luck bolting them in the past. As flimsy as these frames are I think I could just about use grade 5 3/8 bolts and be fine LOL Seriously though the frames are like notebook paper compared to what I thought they were.
spoolinawd
New member
You can see in his photos that he bolted it back together.
What's the story with the manual valvebody kit?
What's the story with the manual valvebody kit?
zfaylor
Comp Diesel Sponsor
You can see in his photos that he bolted it back together.
What's the story with the manual valvebody kit?
I used the TFOD-3 kit from transgo. Was easy to install. Can make you a bit nervous at times with how many holes you have to drill and how much filing it requires.
zfaylor
Comp Diesel Sponsor
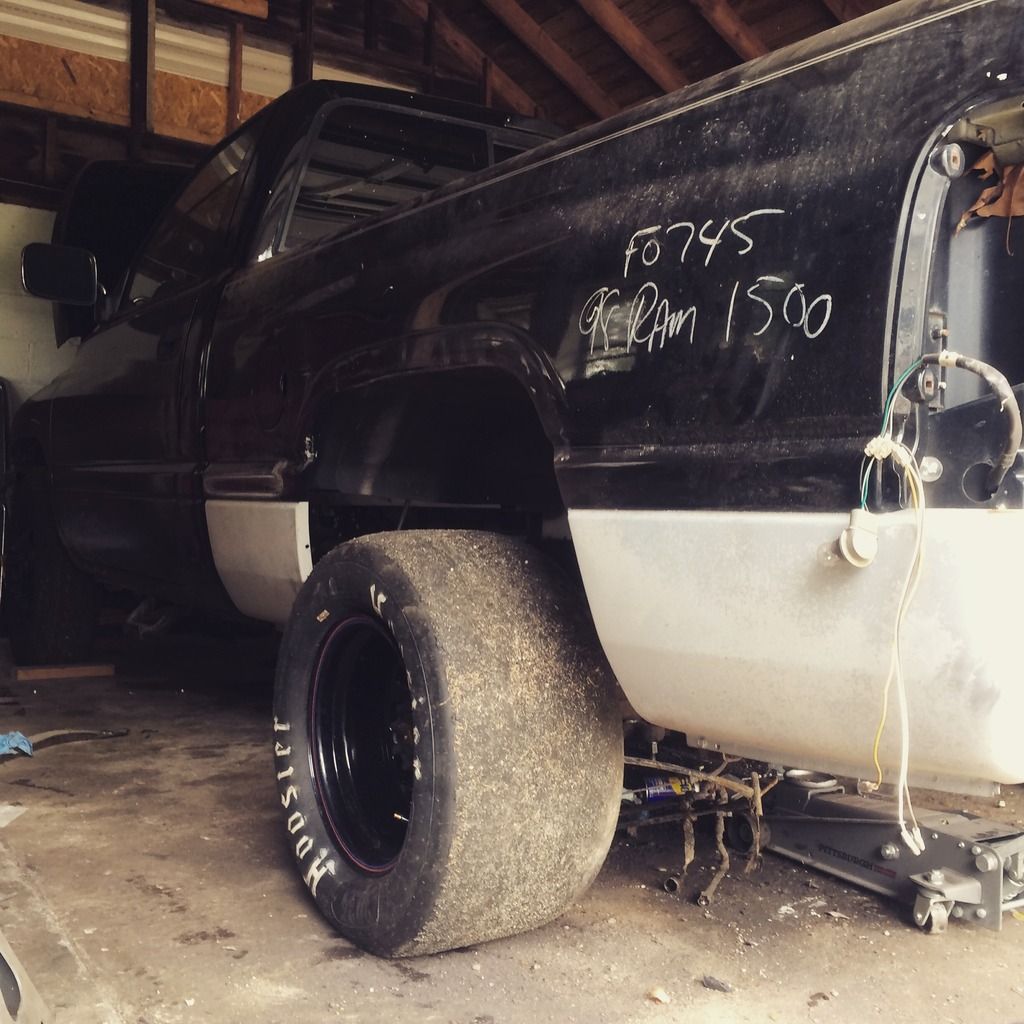
Just got one hell of a deal on a short bed. $300 for a rust free bed with one small golf ball sized dent. In Indiana that is luck.
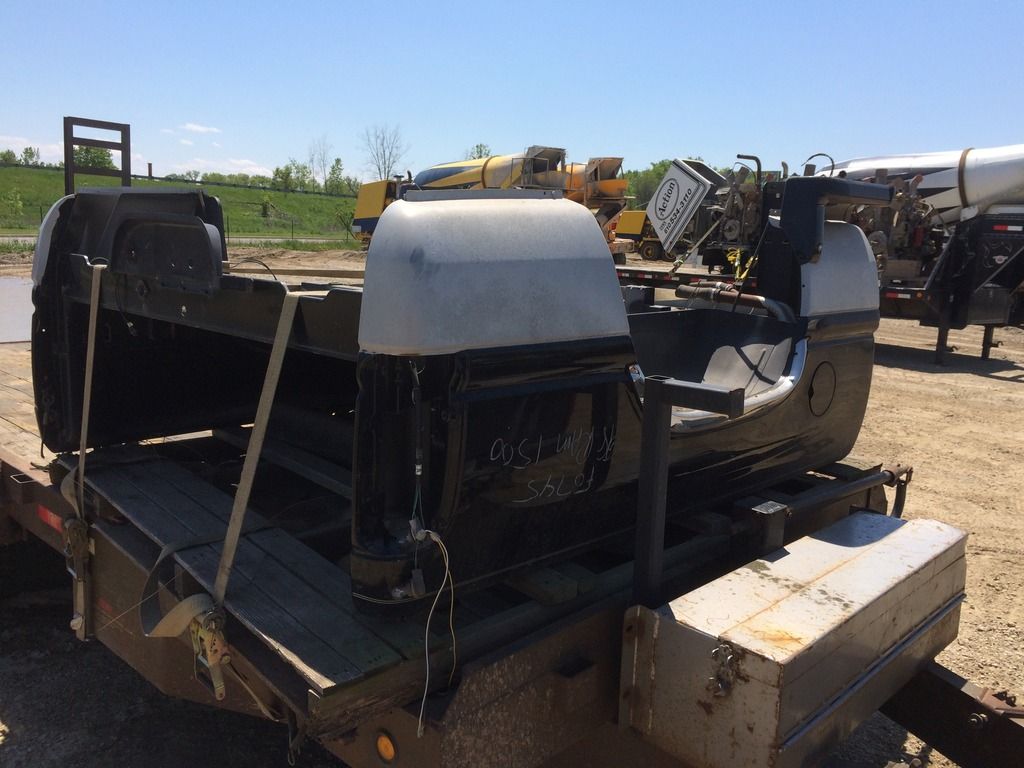
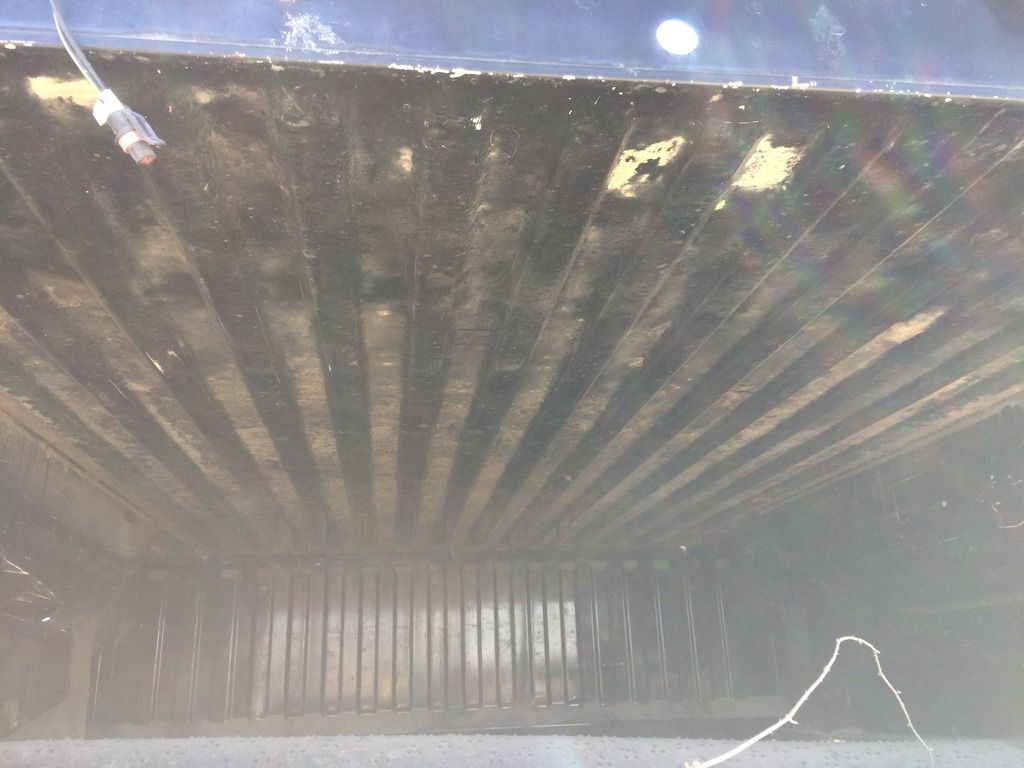
Inside of the bed has light scratches but otherwise still shiny new. Just dirt in the pic.
Plan to spray black and clear over the silver this weekend until I can re spray the truck this winter.
Inside of the bed has light scratches but otherwise still shiny new. Just dirt in the pic.
Plan to spray black and clear over the silver this weekend until I can re spray the truck this winter.
zfaylor
Comp Diesel Sponsor
Score! It's hard to find a nice bed, especially for $300.
No doubt. I couldn't get to the salvage yard fast enough with my money LOL
The guy at the driveshaft shop talked me into letting them paint it the shaft white. Apparently that is a requirement at tracks??? It was news to me but didn't cost me anything extra so I let them do it. If nothing else I will paint it black.
zfaylor
Comp Diesel Sponsor
Got the brakes done..ish. They work but I have a hydro boost setup I will be installing later so they are back to factory at least.
Got the bed on
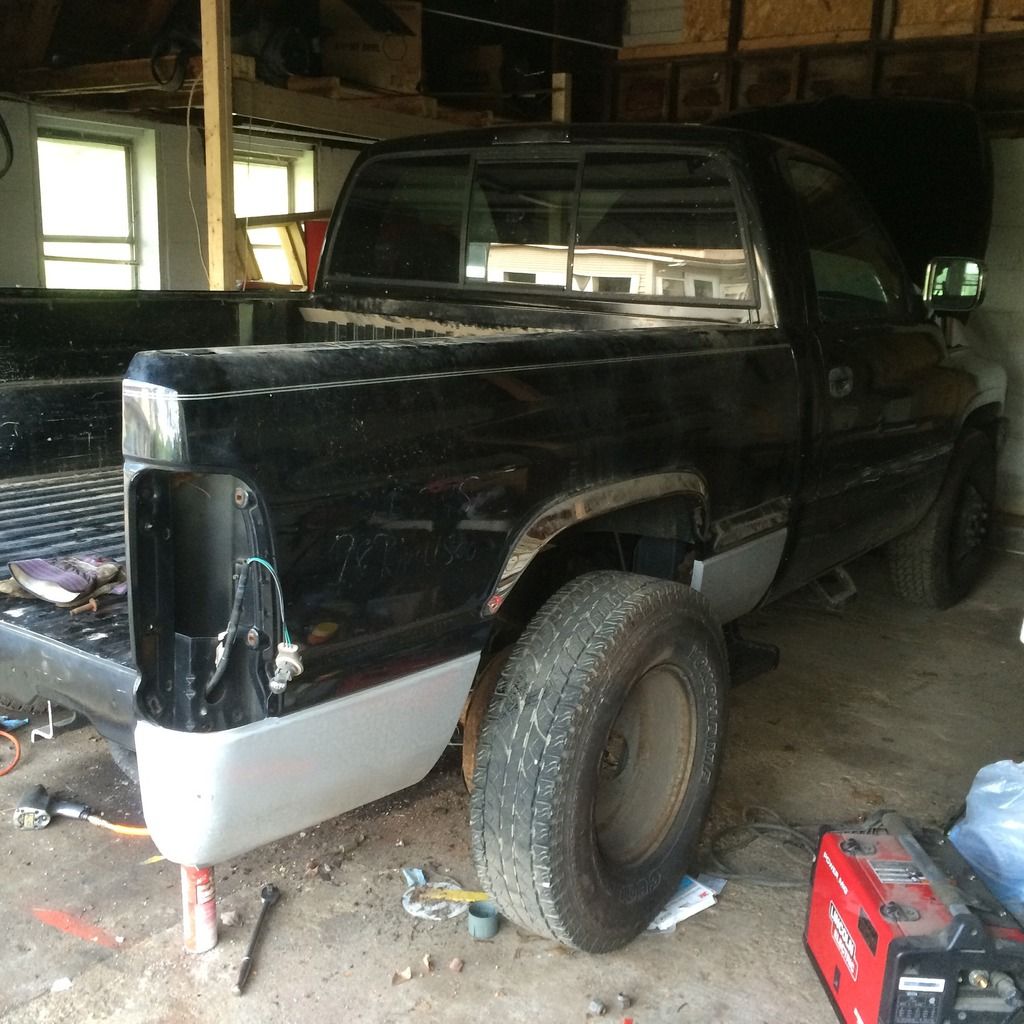
Shot of the inside of the bed in the light
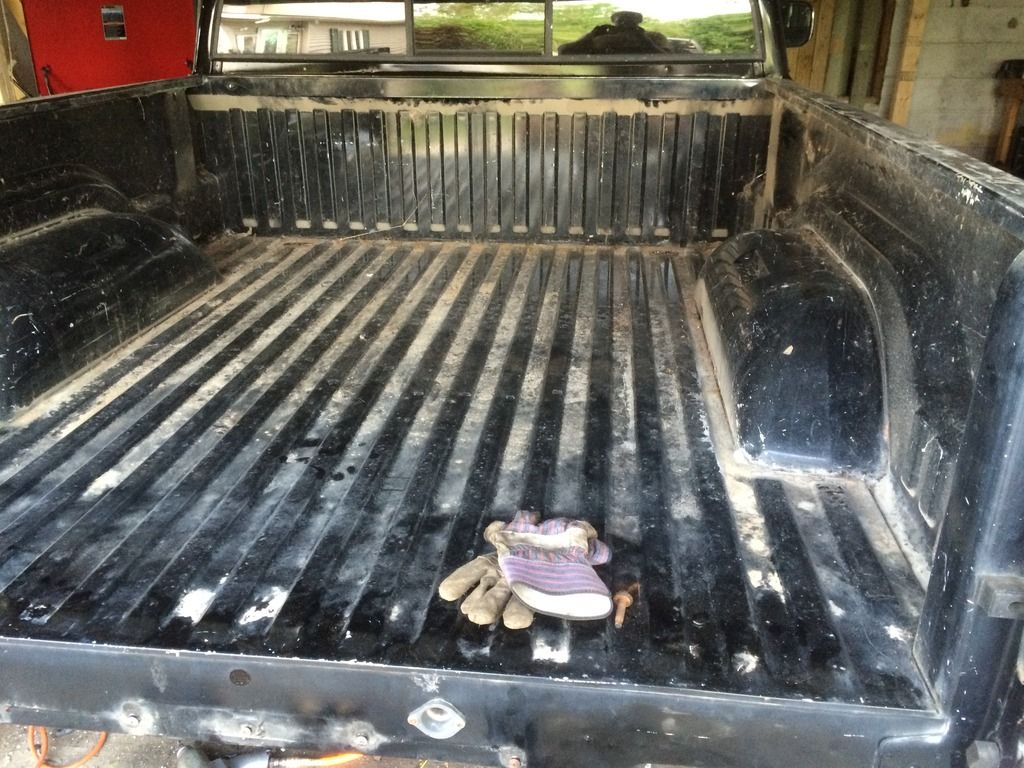
Very pleased with the bed purchase. Inside of the bed is as flawless as I thought.
To do list left:
Pickup driveshaft on wed
Install fuel cell tomorrow
Install oral pan on new bed
Grind drums for slicks
Install new single wheel front rotors on tuesday when they show up.
Fill rear end
Remove chrome trim and body kit pieces from bed
Paint over the gray and buff the bed to halfway match the truck.
The list is down to the tedious things for the most part. Hope to have it done by friday. I have a wedding to attend next weekend so unfortunately it will be next friday before I can hit the test and tune at best.
Got the bed on
Shot of the inside of the bed in the light
Very pleased with the bed purchase. Inside of the bed is as flawless as I thought.
To do list left:
Pickup driveshaft on wed
Install fuel cell tomorrow
Install oral pan on new bed
Grind drums for slicks
Install new single wheel front rotors on tuesday when they show up.
Fill rear end
Remove chrome trim and body kit pieces from bed
Paint over the gray and buff the bed to halfway match the truck.
The list is down to the tedious things for the most part. Hope to have it done by friday. I have a wedding to attend next weekend so unfortunately it will be next friday before I can hit the test and tune at best.
zfaylor
Comp Diesel Sponsor
Got my slicks mounted up and the trim off of the bed today. Now I am working on mounting the fuel cell.
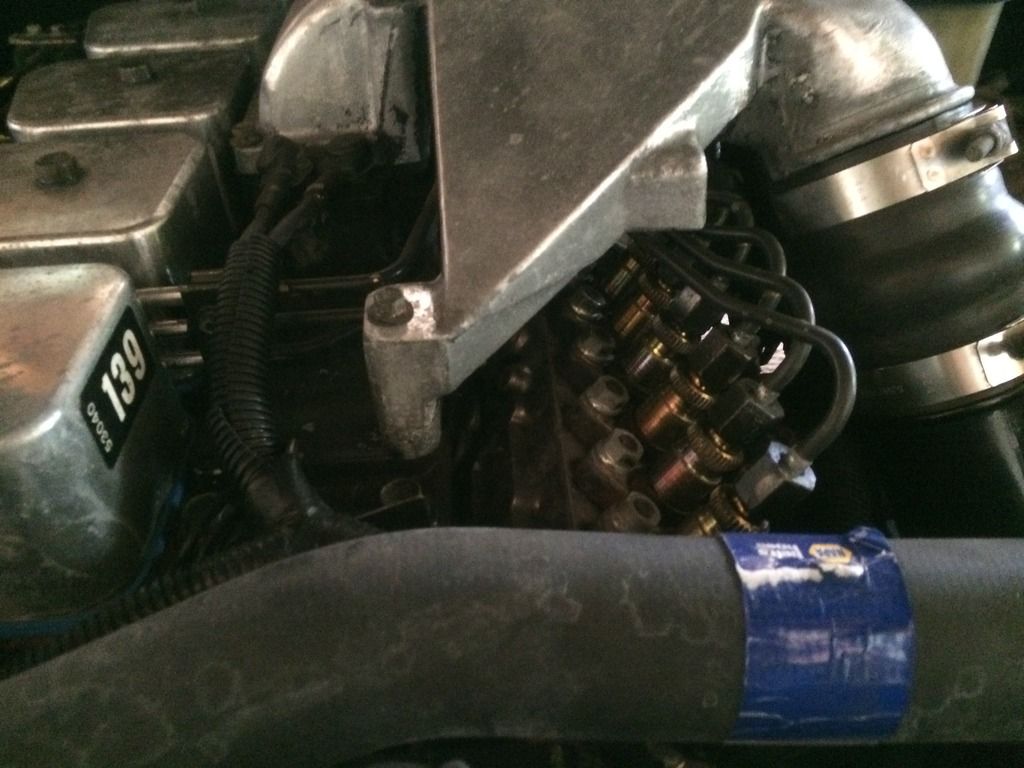
Underhood shot. Pretty basic 12v.
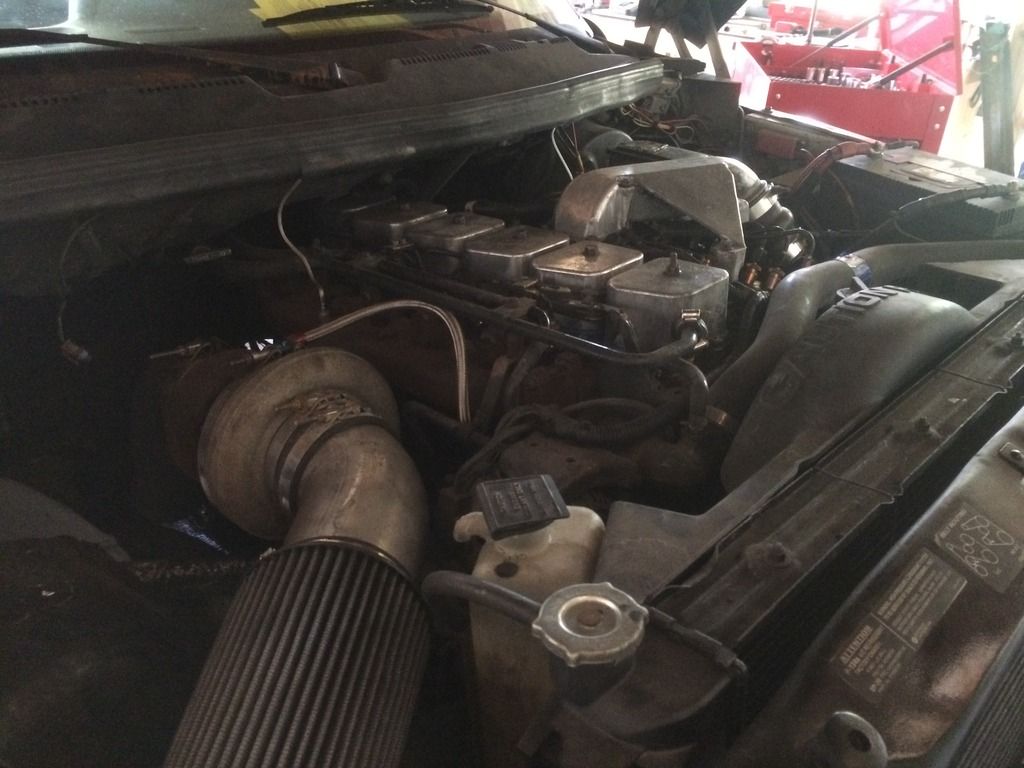
Was able to get my 180 pump pretty spotless before I swapped it on. Sealing off the holes extremely well and using aircraft stripper and a toothbrush it came clean effortless.
To do list left:
Pickup driveshaft on wed
Install fuel cell tomorrow
Fuel lines to cell
Install new single wheel front rotors on tuesday when they show up.
Fill rear end
Paint over the gray and buff the bed to halfway match the truck.
Opinions on location of cell are open. I am sitting with a miller lite staring at it. The options are fairly slim as it stands. Towards to cab or directly in the center without much modifying. Is it worth the extra hassle to mount it in the back right corner? I assumed I should leave that open anyhow in case I get it light enough to add ballast in that location some day.
Underhood shot. Pretty basic 12v.
Was able to get my 180 pump pretty spotless before I swapped it on. Sealing off the holes extremely well and using aircraft stripper and a toothbrush it came clean effortless.
To do list left:
Pickup driveshaft on wed
Install fuel cell tomorrow
Fuel lines to cell
Install new single wheel front rotors on tuesday when they show up.
Fill rear end
Paint over the gray and buff the bed to halfway match the truck.
Opinions on location of cell are open. I am sitting with a miller lite staring at it. The options are fairly slim as it stands. Towards to cab or directly in the center without much modifying. Is it worth the extra hassle to mount it in the back right corner? I assumed I should leave that open anyhow in case I get it light enough to add ballast in that location some day.
Last edited:
zfaylor
Comp Diesel Sponsor
Got to finally drive it tonight. All I can say is I love it and it feels like it is going to be a handful in a good way. I took it down my side road with my slicks on. They still have 20+ psi in them. It was all they could do to keep from breaking loose on the asphalt in every gear.
I thought the trans was constantly locking and unlocking. Started freaking out and realized my speedo was doing the same thing LOL
More pics tomorrow.
I thought the trans was constantly locking and unlocking. Started freaking out and realized my speedo was doing the same thing LOL
More pics tomorrow.
hondarider
New member
Sweet! Very awesome build!
Sent from my iPhone using Tapatalk
Sent from my iPhone using Tapatalk
GreenMeanie5.9
Poop Naked
Trucks gunna be slow lol!
zfaylor
Comp Diesel Sponsor
Sweet! Very awesome build!
Sent from my iPhone using Tapatalk
Thank you sir! It will be a long road to get it where I envision it but had to start somewhere.
Trucks gunna be slow lol!
Damit Josh I know these things LOL
:shake:
zfaylor
Comp Diesel Sponsor
Got some more of the little things done today. The truck drives and all of that jazz but I am pretty picky about some things that makes me drag it out much longer.
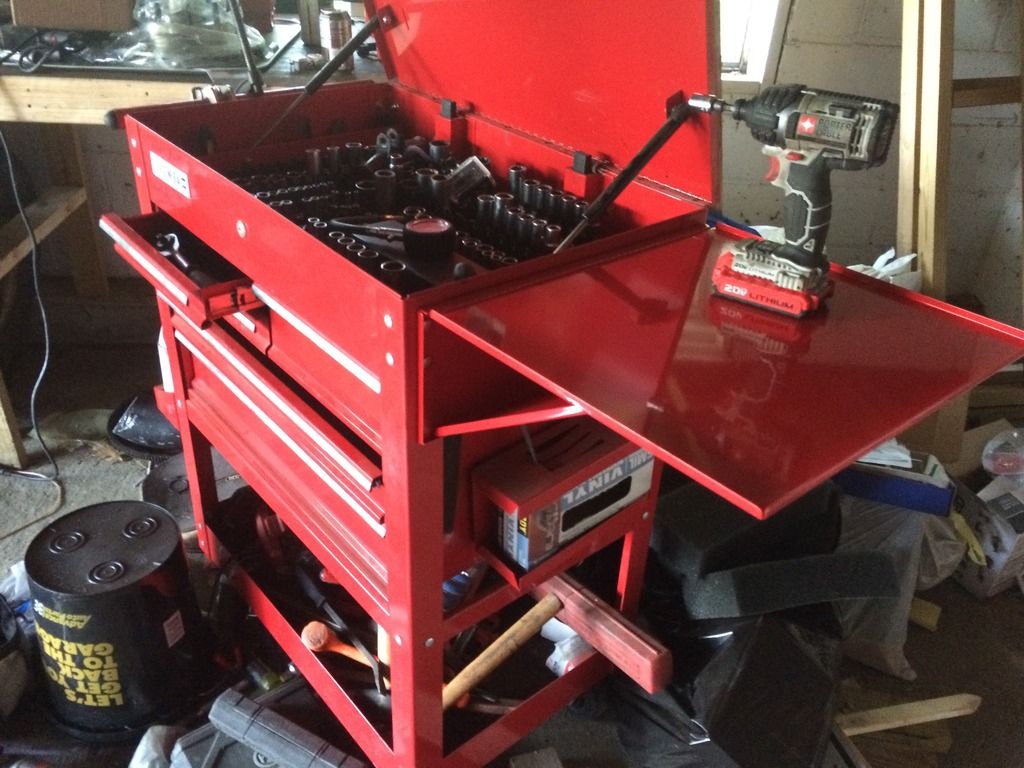
First off Harbor Freight now has some accessories for their kickazz tool carts. I got this side table for it for $15 on sale. I know a lot of us have these carts on here.
Anyway got the fuel cell in:

Not really rocket science on installing these. Put the sump to the back so it gets fuel during acceleration. Us some AN fittings and some hose and voila your're done. Also make sure to REMOVE THE FOAM unless you are positive it is rated for diesel fuel as it is rather hard on things if it is not.
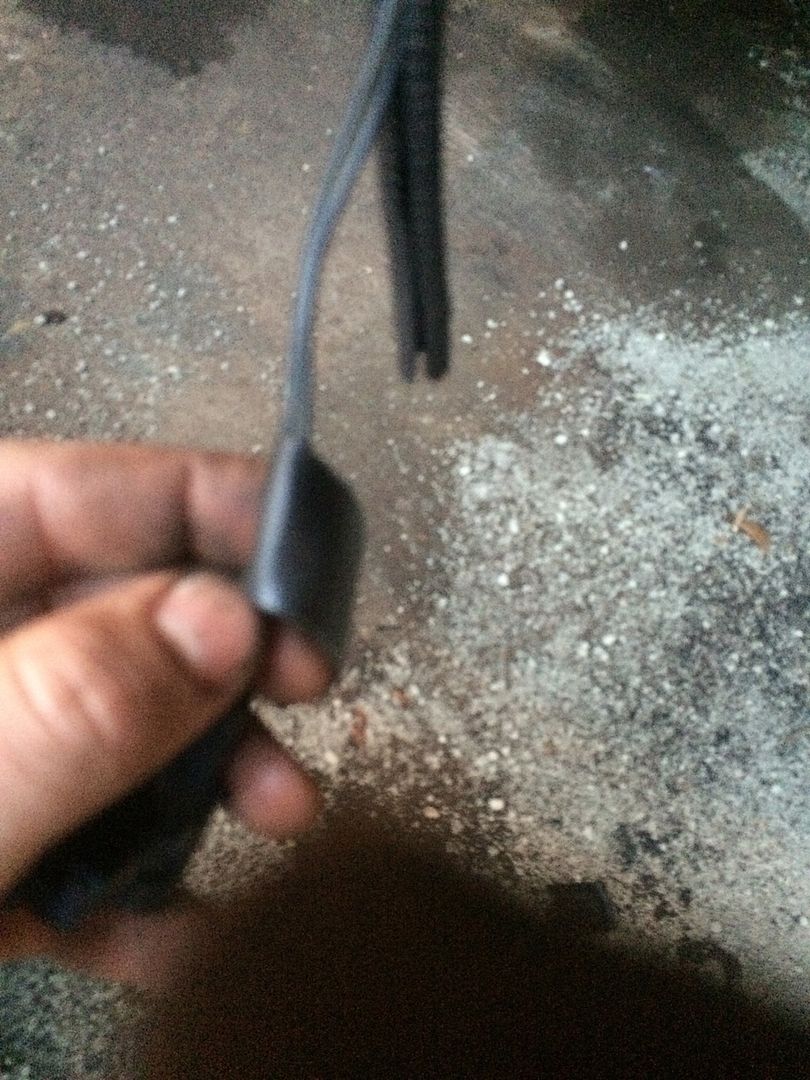
I got some lights wired in. Finally wired in my license plate light on my oral pan. I freakin hate butt connectors so I try to use good connectors as much as possible. I used a 2 pin weatherpack connector on the license plate light. Here is a run down on how to use weatherpacks. I prefer deutsch connectors but I am not using $15 worth of connectors for the license plate light LOL
Start by pushing your rubber onto the wire. Then strip the wire like you would for a normal connector. On these tiny wires I like to strip 2x as much and double the wire back so the pin has something to grip. The rubber goes on first. If not it isnt the end of the world but it can be a pain pushing it over the stripped wire.
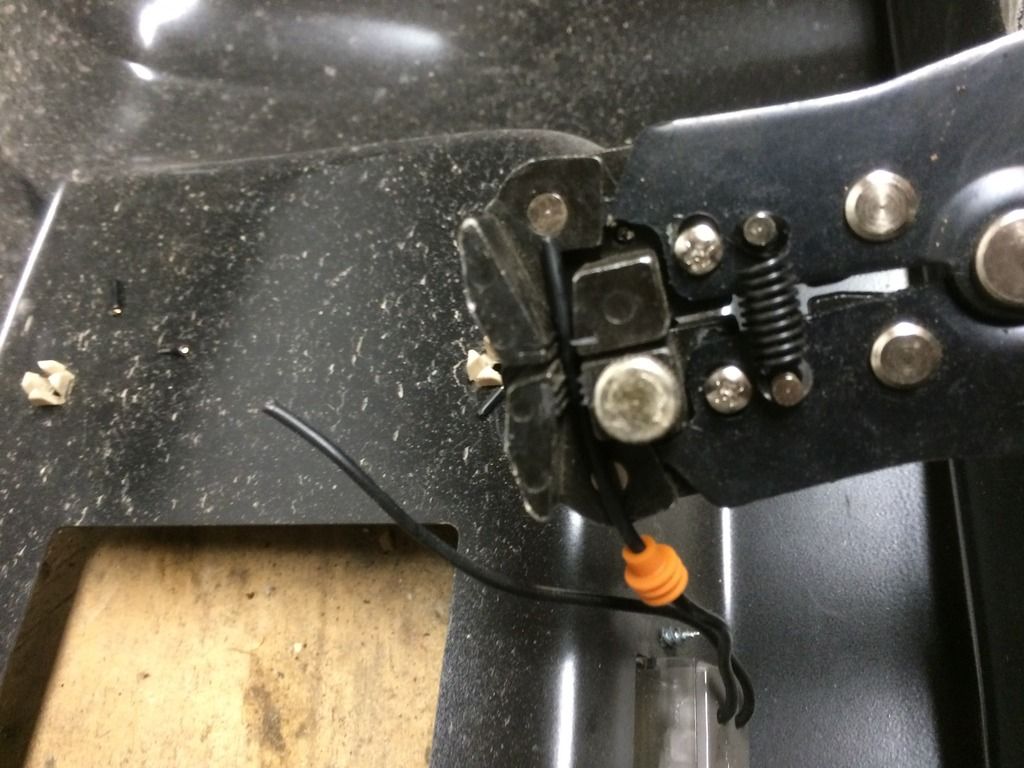
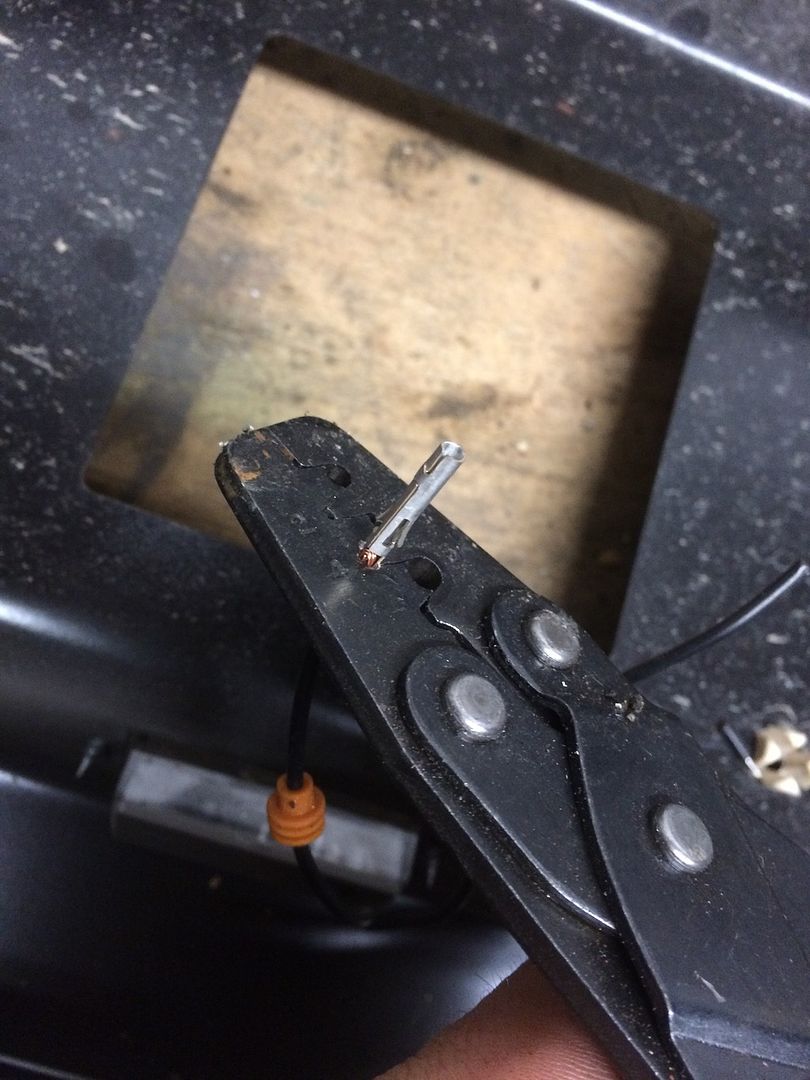
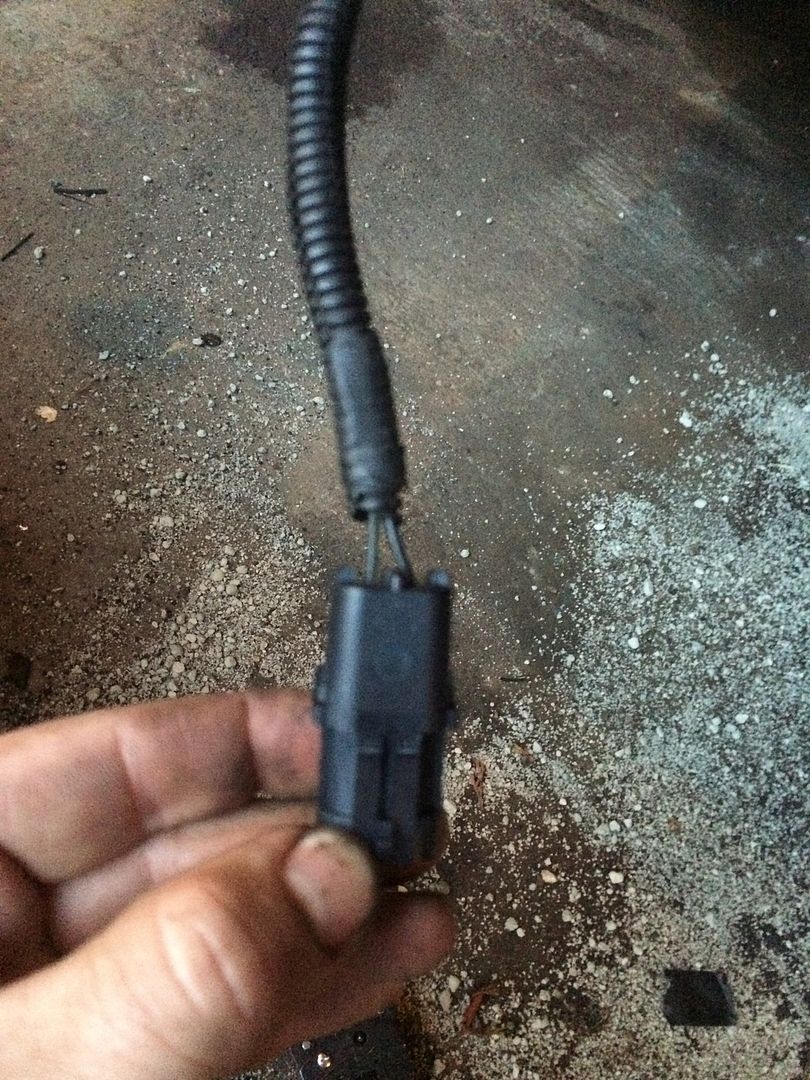
Push your pin over the wire and use your open barrel crimper to crimp it nice:
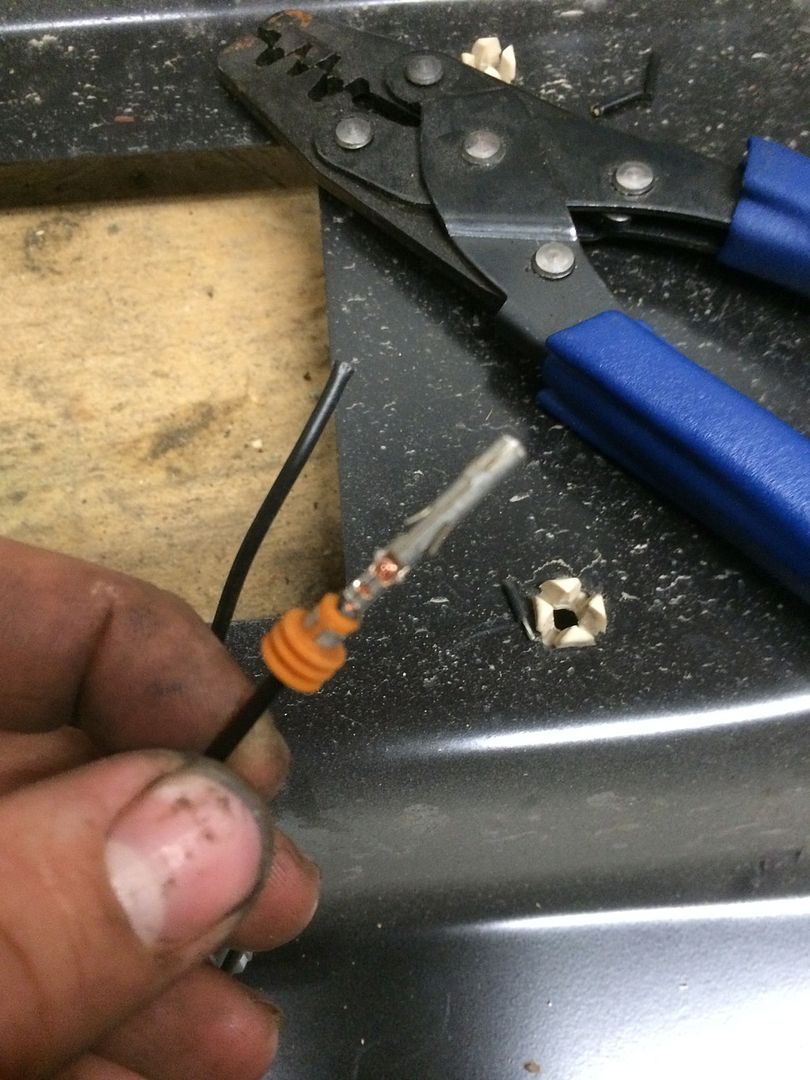
Slide the rubber up and put the smaller diameter collar of the rubber under the tangs on the back of the pin:
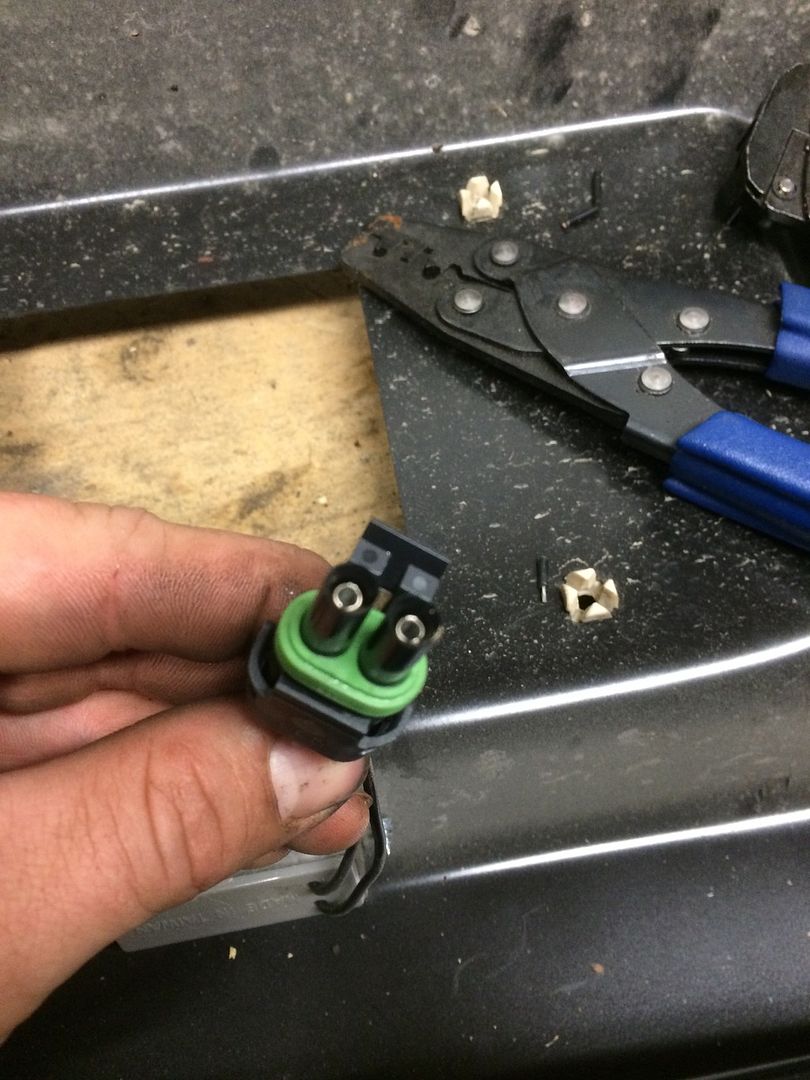
Then you just push the pin into the back of the connector cavity and you're done. Remember kids it is FEMALE pins in MALE cavities and visa versa. The opposites go together as far as pins and cavities go.
Like so:
Now some more wire schooling. Lets talk how to wrap wires correctly and not make a gooey mess like a bucktoothed hillbilly.
Use some convoluted tubing at least. It is cheap. Like really cheap. To properly install said tubing you slide it over your wires. An at the ends you wrap the WIRES first. like so:
Then slide the tubing over like so:
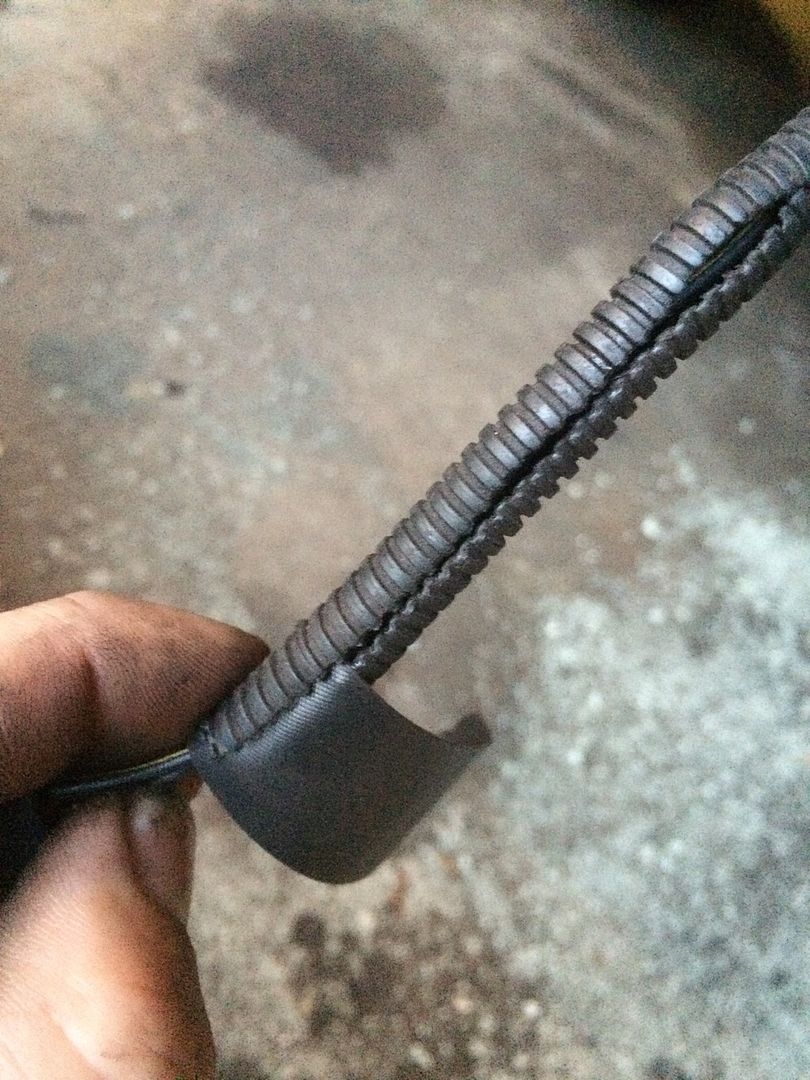
Then finish wrapping until you get this:
I buy the good silicone tape that is self adhering. It works 10x better than standard plastic crap electrical tape and isn't all that bad on price.
I realize all of this crap is boring but I liek to think of it as charity work for the less fortunate in the wiring department. I get so tired of dealing with balls of cheap electrical tape and household wire nuts that I teach the correct way to do things as much as possible to maybe prevent future mishaps.
First off Harbor Freight now has some accessories for their kickazz tool carts. I got this side table for it for $15 on sale. I know a lot of us have these carts on here.
Anyway got the fuel cell in:
Not really rocket science on installing these. Put the sump to the back so it gets fuel during acceleration. Us some AN fittings and some hose and voila your're done. Also make sure to REMOVE THE FOAM unless you are positive it is rated for diesel fuel as it is rather hard on things if it is not.
I got some lights wired in. Finally wired in my license plate light on my oral pan. I freakin hate butt connectors so I try to use good connectors as much as possible. I used a 2 pin weatherpack connector on the license plate light. Here is a run down on how to use weatherpacks. I prefer deutsch connectors but I am not using $15 worth of connectors for the license plate light LOL
Start by pushing your rubber onto the wire. Then strip the wire like you would for a normal connector. On these tiny wires I like to strip 2x as much and double the wire back so the pin has something to grip. The rubber goes on first. If not it isnt the end of the world but it can be a pain pushing it over the stripped wire.
Push your pin over the wire and use your open barrel crimper to crimp it nice:
Slide the rubber up and put the smaller diameter collar of the rubber under the tangs on the back of the pin:
Then you just push the pin into the back of the connector cavity and you're done. Remember kids it is FEMALE pins in MALE cavities and visa versa. The opposites go together as far as pins and cavities go.
Like so:
Now some more wire schooling. Lets talk how to wrap wires correctly and not make a gooey mess like a bucktoothed hillbilly.
Use some convoluted tubing at least. It is cheap. Like really cheap. To properly install said tubing you slide it over your wires. An at the ends you wrap the WIRES first. like so:
Then slide the tubing over like so:
Then finish wrapping until you get this:
I buy the good silicone tape that is self adhering. It works 10x better than standard plastic crap electrical tape and isn't all that bad on price.
I realize all of this crap is boring but I liek to think of it as charity work for the less fortunate in the wiring department. I get so tired of dealing with balls of cheap electrical tape and household wire nuts that I teach the correct way to do things as much as possible to maybe prevent future mishaps.
zfaylor
Comp Diesel Sponsor
Got the driveshaft picked up from action machine as well obviously since I drove it. They painted it white per some track requirements.
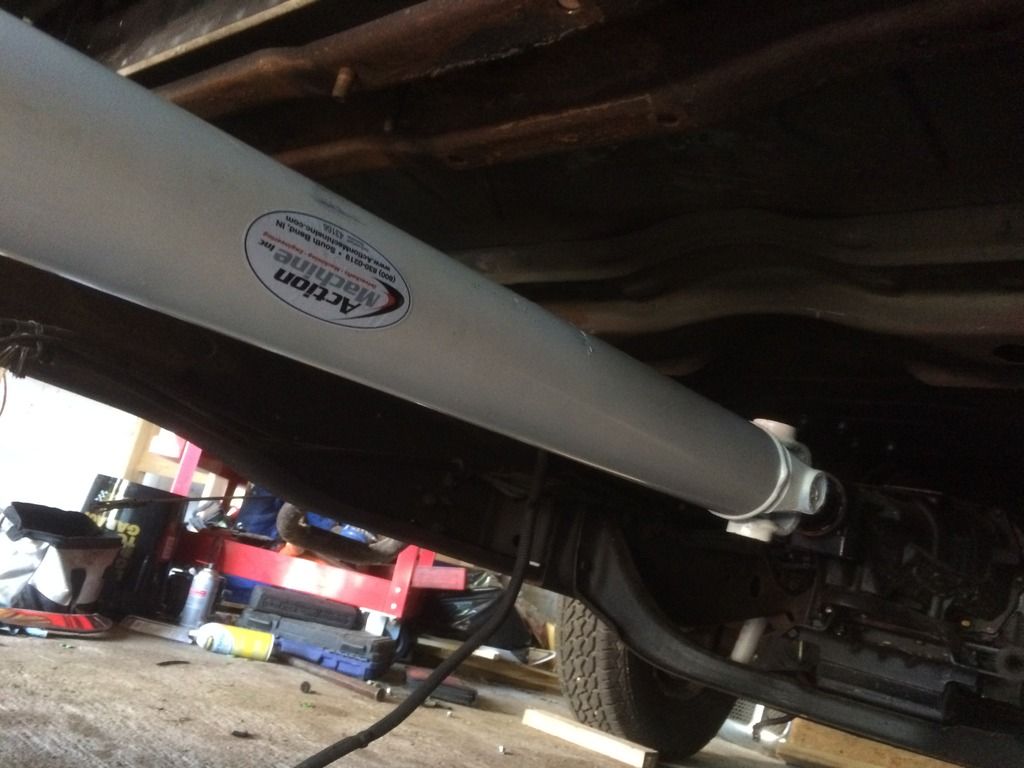
Fits like a glove. You just measure center of u joint to center of u joint with the truck on the ground. They made it 1 piece obviously and out of 3.5" steel. I would have loved aluminum but it was almost double since they were able to use my old steel yokes for this one.
This is how the truck currently sits:
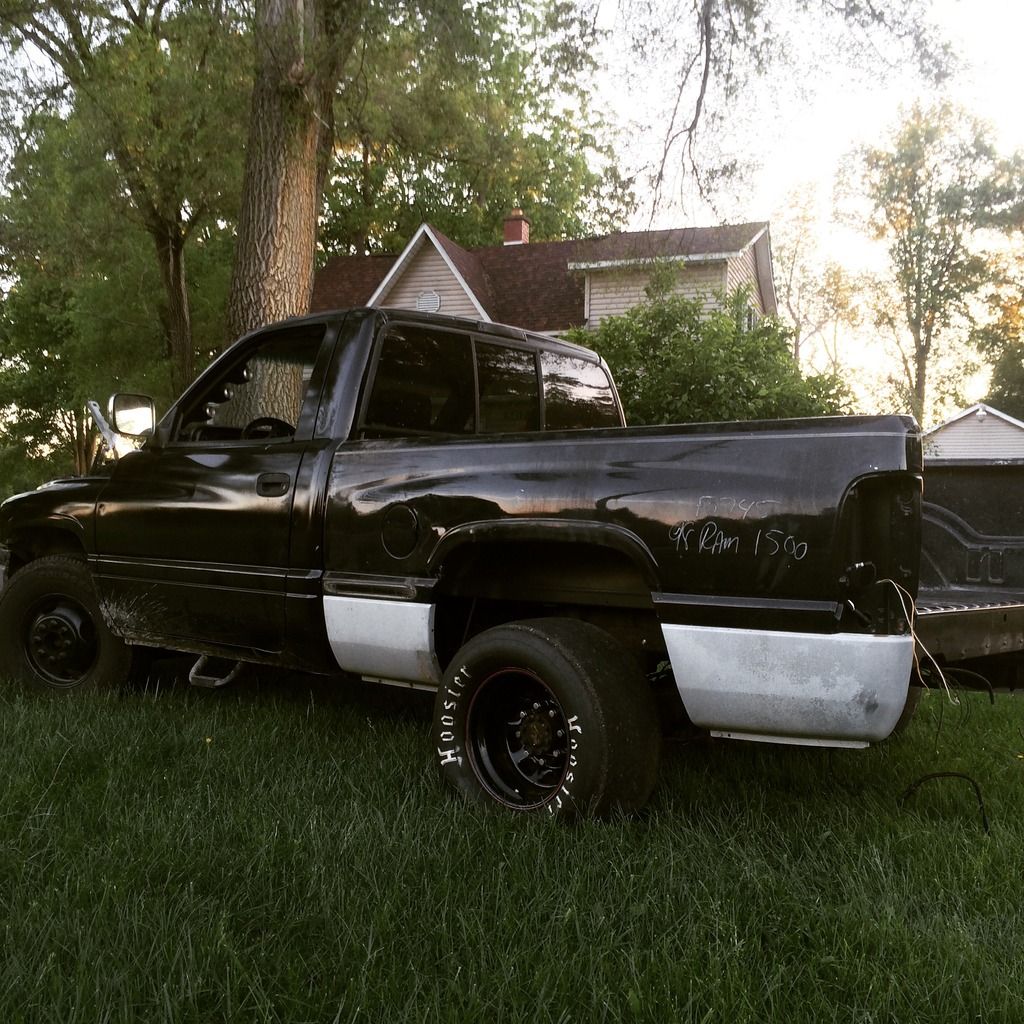
Going to get my single wheel rotors on this weekend. Possibly tonight and work on getting factory aluminum 2nd gens to fit on the back. They are so dam close to fitting I might only have to knock the rust off of the drum with the grinder.
Fits like a glove. You just measure center of u joint to center of u joint with the truck on the ground. They made it 1 piece obviously and out of 3.5" steel. I would have loved aluminum but it was almost double since they were able to use my old steel yokes for this one.
This is how the truck currently sits:
Going to get my single wheel rotors on this weekend. Possibly tonight and work on getting factory aluminum 2nd gens to fit on the back. They are so dam close to fitting I might only have to knock the rust off of the drum with the grinder.

spoolinawd
New member
How much for the one piece shaft and what was the measurement?