lets see pics of traction bars

I am building 2 sets the exact same way but I'm curious if your smaller pipe is full length going through the bigger pipe or just a certain length going into the bigger pipe? I personally am doing full length through the bigger pipe just asking what you did.

Im not building them, but the smaller bar is full length!
 
Whew, just read through this whole thread! A lot of very good info, :thankyou2:
Thinking about doing bars for quite a while, heres what I had planned.
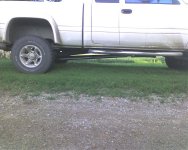
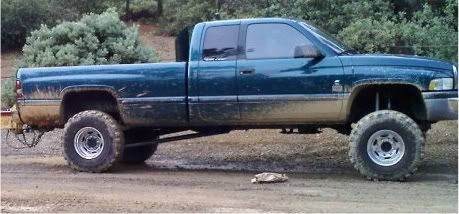
This is a daily driver, maybe a sled pull or two, and a run or two down the 1/4 mile, but no more than that.
I'm also planning to do something to soften the rear, possibly mounting the spring shackles on an air bag supported crossmember (see Kelderman). I've even debated eliminating the springs and building a 4 link, air bag system.
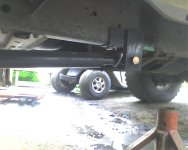
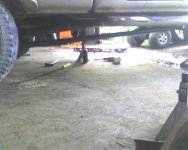
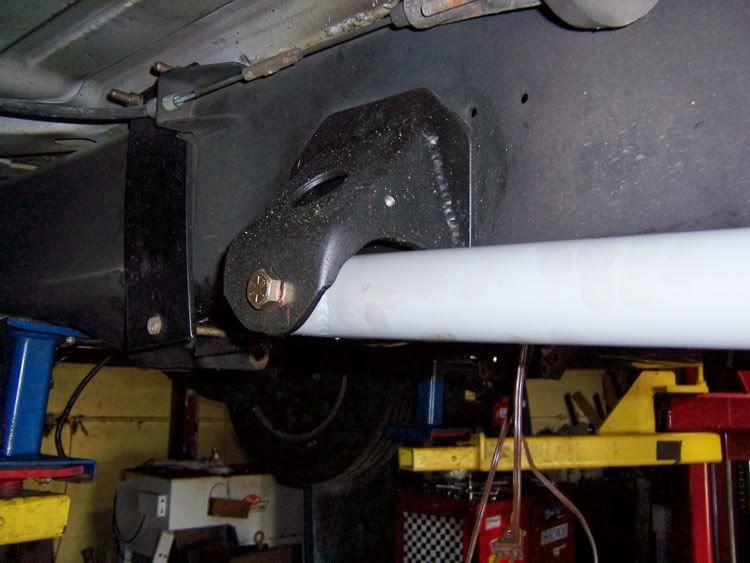
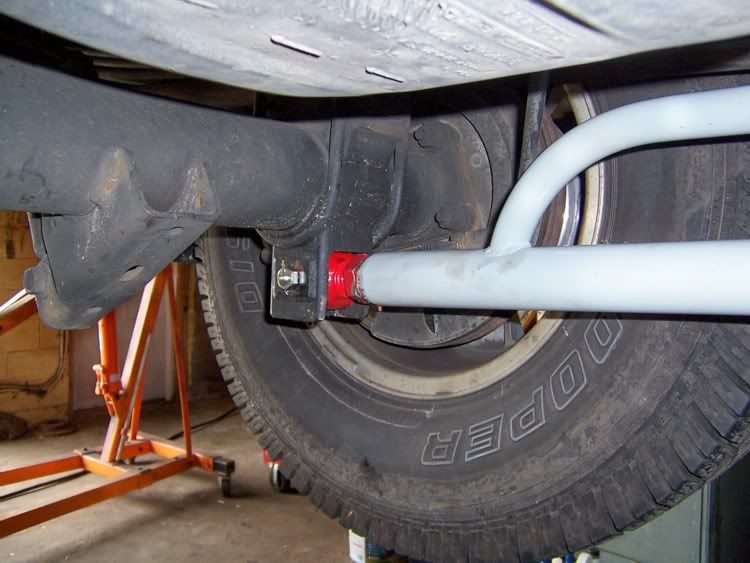
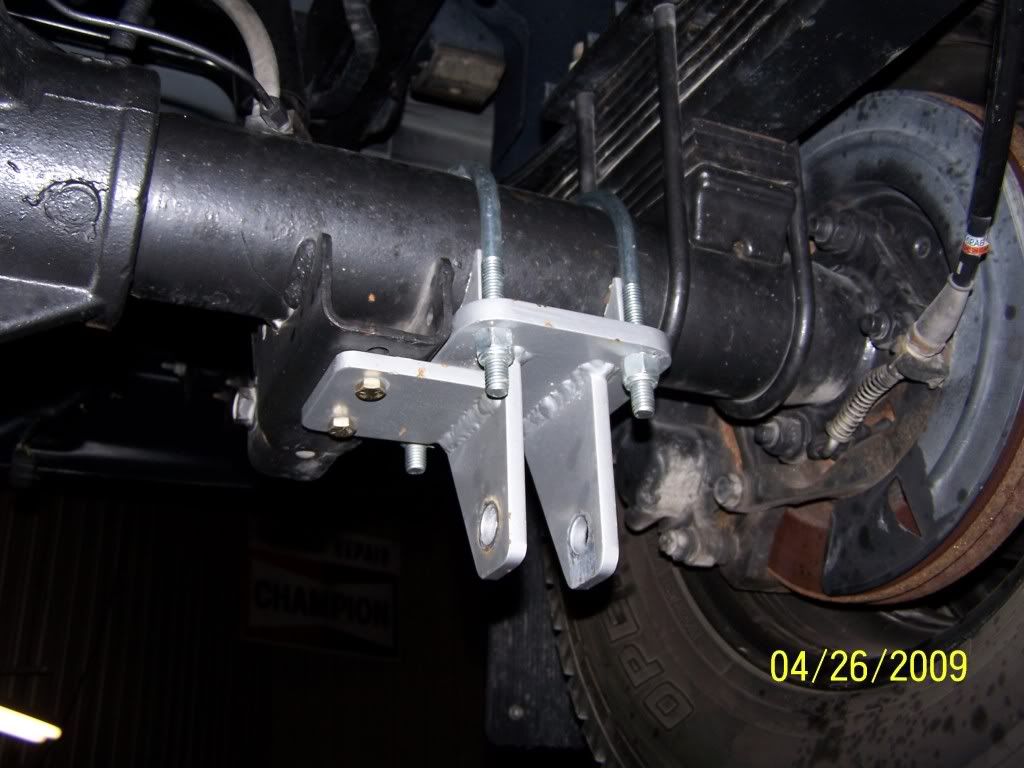
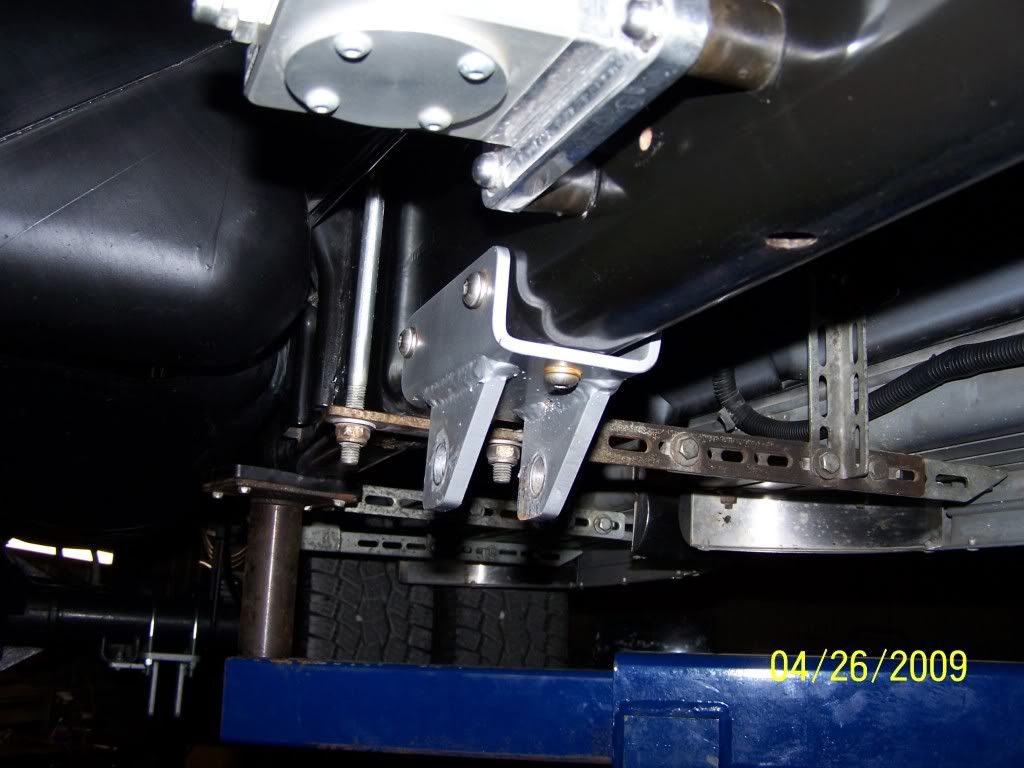
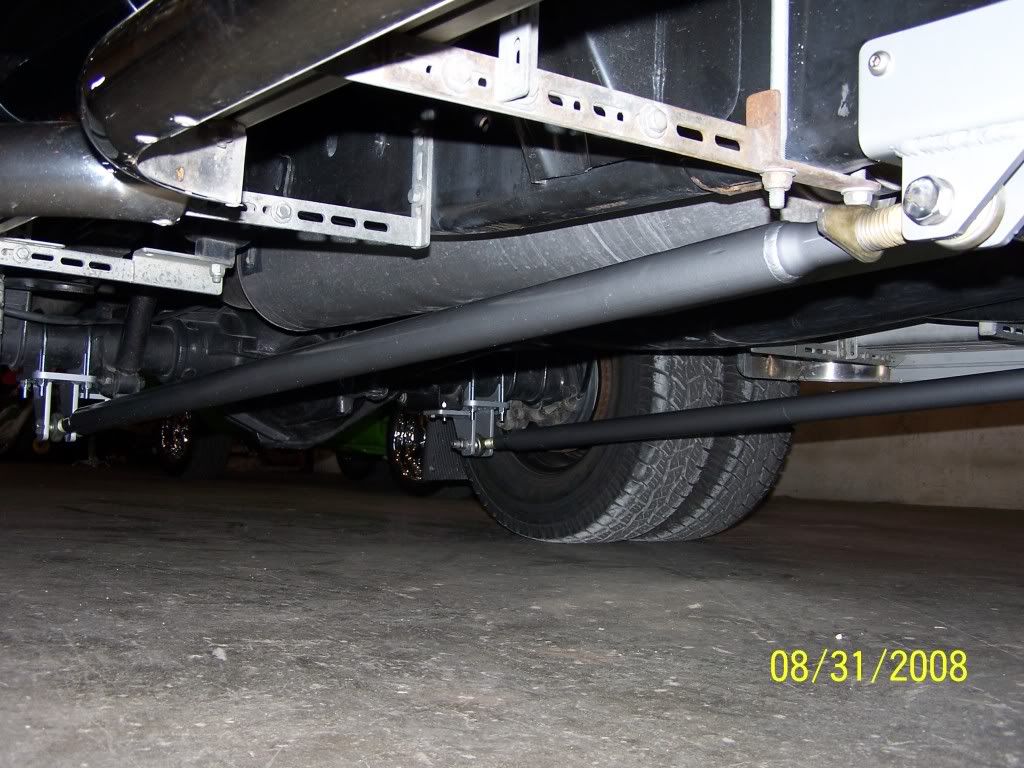
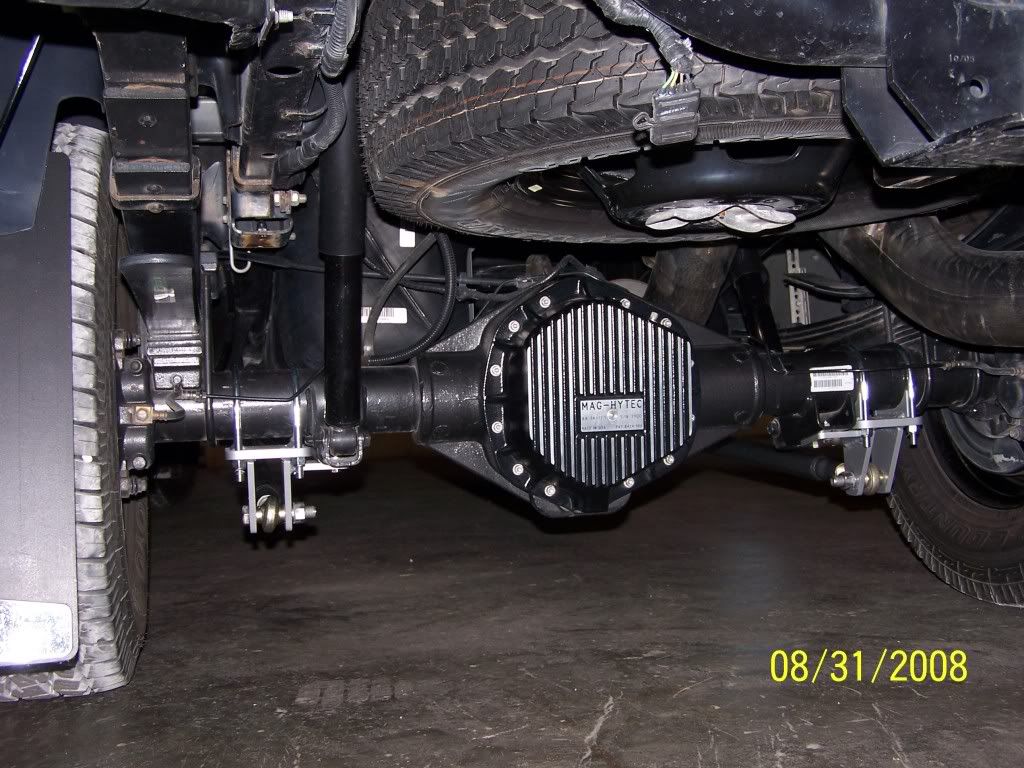
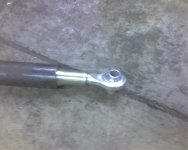
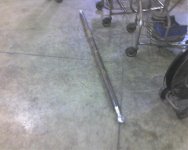
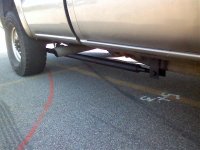
I plan to make a bracket to bolt on the bottom of the u-bolts, and run a single bar to the slight angle drop of the frame bottom about where the front bed/back cab is, about 66". Heard about the tractor supply links, noticed there are different ratings and sizes, and planned to use the category II, type with 3/4" bolts.
You can also get heims and inserts from any speed/race car shop, better quality, a bit more cash.
Now, where the spring end heim mounts would be important, due to the spring travel arc, and since the lift block is actually tilted forward, I planned to move that mount rearward from axle center, and/or drop it a little. The longer that bracket is, the more leverage and effect it will have, any input?
It would be great if someone with the proper software could plot the spring arc.
Heres what I've heard elsewhere:
"The A-arm style rides too rough for the street" That comment was echo'd here.
"Weld the axle tubes, or the center section will spin" Any input there?
"Make the bars the same angle as the driveshaft" Yes/no, doesn't matter?
Once again :thankyou2: great info here.
 
not a good pic
1005081046-1.jpg
 
Unless you have a traction link coming directly off the differential, then YES! weld the centersection to the tubes. Think about it, the bars we all add stop the axle tubes from spinning, thats great, but the real purpose of putting them there is to keep the pinion from wanting to tip up, as it tries to "walk" up around the ring gear. I looked at mine, and it's just two smallish areas in the housing fusion welded to the tubes inside them. I cleaned it up some and made some nice thick beads around the joint...

As far as the leverage issue on the tubes.. I made my brackets so the bottom of them would be parallel to the bottom of the differential, the mounting point just above that. I wanted the mount as far away from the centerline of the tube as possible, for more leverage, right? I used Johnny joints on both ends, made the rear mounts as wide as possible, the front mounts directly below the framerails in the custom boxes i made. The triangulated design keeps the axle centered under the truck and hopefully will keep the rear end from feeling mushy and soft, alot of times getting on it i can feel the truck dancing around on top of the axle.. Yes, get the bars as close to driveshaft angle as possible (if you like long bars, it's very easily achievable, if not, caltracs are probably for you).. Engineers did a good job of designing the driveshaft angle to change in lengthas little as possible as the axle moves through spring travel, so naturally you want to mimick the same angle of the driveshaft so you do not get binding. Just yesterday at TS i looked under several pullers, some really messed up the geometry just to bind the suspension so the truck wouldnt squat, one guy even added links from the rear of the frame forward to the axle, to triangulate it and prevent ANY suspension movement.

You can see all of this above in my album on the other page
 
Last edited:
Thank you MrStroker. It really helps a lot. I've been going back and forth between the CalTracs style and the long single bar.
 
Heres what I've heard elsewhere:
"The A-arm style rides too rough for the street" That comment was echo'd here.
"Weld the axle tubes, or the center section will spin" Any input there?
"Make the bars the same angle as the driveshaft" Yes/no, doesn't matter?
Once again :thankyou2: great info here.

Without a shackle - yes.

Possibly, but highly unlikely.

Not required.
 
When making them from 3pt top links, what size links is everyone using? I just bought a set of Cat-1 top links... man are they heavy! With pipe they are gonna weigh a ton!
 
It's good to have friends....

good to have friends with tools...

Mine aren't done yet but we worked on them last night. ID of the seamless pipe i got was a little small for the 3pt link. So I had a buddy who had a buddy who is a machinist. So he bored it out a bit so they'd fit.

Not welded yet and no brackets yet but 80" eye to eye... Pics are from my cell phone so not very good...

attachment.php

attachment.php

attachment.php

attachment.php

attachment.php
 

Attachments

  • img126.jpg
    img126.jpg
    42.5 KB · Views: 622
  • img127.jpg
    img127.jpg
    45 KB · Views: 623
  • img128.jpg
    img128.jpg
    54.1 KB · Views: 619
  • img129.jpg
    img129.jpg
    39.8 KB · Views: 615
  • img130.jpg
    img130.jpg
    58.9 KB · Views: 613
throw'em on top

Top mount gets you excellent ground clearance, having them parrallel to the road means the geometry wont rotate the hub very much during travel and lastly top mount is fighting a pulling force not a pushing force, DOM doesnt stretch so there is absolutely no give. Bottom mount bars flex.

I made mine with .190 wall DOM, 3/4" thick Heims with 3/4" bolt hole.

Lot's of punishment and they are still kickin butt.
 

Attachments

  • 2009-06-18%2006.10.26[1].jpg
    2009-06-18%2006.10.26[1].jpg
    58.9 KB · Views: 80
  • 2009-06-18%2006.10.14[1].jpg
    2009-06-18%2006.10.14[1].jpg
    51.9 KB · Views: 817
Finally got mine done and mounted up... Sorry for the crappy cell phone pics...

The washers are just there till I get longer U bolts today.

And don't pay any attention to my filthy truck... lol
 

Attachments

  • img140.jpg
    img140.jpg
    47.4 KB · Views: 88
  • img141.jpg
    img141.jpg
    57.2 KB · Views: 65
  • img142.jpg
    img142.jpg
    54.8 KB · Views: 37
  • img143.jpg
    img143.jpg
    72.6 KB · Views: 45
Back
Top